Last Updated on 12/12/2014 by Julius Motal
When it comes to lighting, you should absolutely never skimp on it when it comes to your photos. Photography is all about the act of capturing light and recording it. But knowing how to work with both natural light and artificial light is a skill.
Lucky for you, we’ve got over 53 solid lighting tutorials for you right here.
This post builds on our original lighting index.
Basics

The Basics of Lighting: Before you even start out in this list, you should familiarize yourself with the terminology in this article.
Lindsay Adler on the Difference Between Manual and TTL Lighting: Famed photographer Lindsay Adler shot a video with creativeLive that shows the differences between using TTL and Manual lighting.
Why Learning How to Light is More Important Now Than Ever: So why would you learn how to light? It will make your images stand out more than those from Uncle Bob. But you can also create work much different than lots of others that you probably see online.
The Basic Fundamentals of Lighting that Every Beginner Forgets: If you’re just starting to get into lighting scenes, then there are some basics that you’ll need to remember in order to create a better scene. And here are some of those basics.
The Secrets Behind Making Your Images Look Sharper: The process of making your images look sharper starts with proper in-camera procedures. You’ll need to use lighting in just the right way.
Starting with Window Lighting: The place where most photographers that want to get into lighting start with is right in their home–the window. This type of lighting can be beautiful but also have unpredictable results, so we recommend giving it a try first.
As an aside, window lighting is part of how you get better food photos–and photos of your latte.
Evaluating the light: When you take a picture and you’re trying to work with the lighting, you need to start paying attention to a lot more than the composition. So what you’ll need to do is take careful notice of things like the direction of the light and the shadows. Before you even shoot an image, you should get accustomed to looking at the light in your photos and figuring out what’s best for your image.
Underexpose Musicians with Bright Lights on Them: Shooting concerts at venues with a spectacular light show means that you’ll most likely have to deal with lots of highlights on a subject. To get the details, try to consistently underexpose your images.
Taking better advantage of natural light for portraits: In this guide, we talk all about things like working with an overcast day–which basically clouds the entire Earth in really soft light.
The Methods of Flash Photography that New Strobists Should Try at Least Once: We know that you’re still getting used to being able to work with this aspect of photography, you should at least know what’s possible.

Using Direct Flash: Many photographers in the fashion world use this method for the candid and RAW look that it gives their subjects. It needs to be used correctly though, and it is mostly done through working with your subject to pull off some sort of crazy pose.
Shooting at High Noon: Working with natural light at high noon isn’t as tough as it seems to be. If you have an idea of how to work with light and shadows, then you’ll realize that shooting in the shadows is one of the best ways to go about shooting at noon.
Using Middle of the Day Lighting: This post is much more technique based that the previous one on this list. It will give you many more ideas to try.
Why You Should Use a Flash During the Day: Photographers know that when you’re supposed to use a flash is during the day. It helps to fill in shadows caused by the sun. We will build on this in posts further down the list.
Using a Flash in the Middle of the Day: During the middle of the day, it can really tough to properly illuminate your subject. But in this post, we teach you how to do that.
Shooting During the Day By Using Shadows: Not every day can be overcast. And that’s why we’re all about shooting during the day in the shadows. You have much more control of the lighting situation there due to the evenness in the scene.
Why Good Lighting is Key to Sharper Images: Good artificial lighting will do something that natural light isn’t capable of doing. When you add a strobe, more details from a scene will come out. These are called specular highlights.
Intermediate

Starting out with One Light Source: the easiest way to start with artificial lighting is to work with one light source and really observe how it affects your image. Here’s how.
Shooting During the Golden Hour: While many photographers say that they love shooting during the golden hour, it isn’t always the easiest to work with unless you pay attention to your camera’s meter and also look closely at the light.
Backlighting an image: And while other photographers will tell you not to backlight, we’ll tell them to instead just go learn how to light an image better. Backlighting can be absolutely beautiful when done correctly. This is when the main light source if behind your subject. You may want to combine this with shooting better dating photos.
Diffuse a Flash with A Large Translucent Reflector: If you want to make a light source look significantly larger than it really is, use a translucent reflector. It will give off very soft and beautiful light.
Photographer Sam McGuire on Photographing Skaters: Photographing skaters requires lots of flash power to stop fast motion. Photographer Sam McGuire has loads of tips for lighting in this piece.
How to Make Strobe Light Look Natural: Blending the light from strobes in with natural light is a bit of an art and requires some trial and error. But here are some pointers.
TTL Lighting for Strobists: Most strobists tend to use manual lighting when shooting their scenes. But TTL lighting can also be very useful if you can work around its quirks. We call them quirks but others may call them blessings.
Using TTL Lighting to Blend Effectively With Natural Light: TTL light is one of the best to use to blend in with flash lighting. The reason for this is because it works witht he camera’s metering system to create the image and blend the light. It can indeed be unreliable at times though.
Using Contrast to Make a Subject Stand Out: We talk about making a specific subject in a scene stand out by using contrast and lighting to effectively create this contrast.
Advanced
Coping with Mixed Lighting Situations: Some of the biggest problems that you’ll run into it dealing with mixed lighting situations. For example, when your flash is daylight balanced, the ambient lighting may be something else. So how do you compensate? Here’s how.
Using an ND Filter to Overpower the Sun: An ND filter can help you and your camera kill ambient light that will soak in due to the technicalities involved with flash sync. But it also kills your flash output. Here’s how to work with both.
Conquering Mixed Lighting with Strobes: This post deals with putting a speedlight right up to the other light source and overpowering it to deal with any sort of mixed lighting situation.
Better Macro Images by Using Lighting: Lighting isn’t only about portraiture, it’s also essential when shooting products. But the macro world is a totally different realm. This also applies to food; but don’t just take our word for it.
Getting sharper images through better Lighting: Think that your lens is performing superbly now? Get a load of what it can do when you add artificial lighting to the scene.
Three Ways to Make One Light Look Like Two: With some very crafty positioning, you can make a single light source look like two. It’s tough, but it’s surely possible.
Don’t Forget About Rim Light: Rim light can give your subject an extra glow that makes the image look much more attractive. Try placing it behind them or on top.
Overpowering the Sun: Overpowering the sun is a method that is used to lower the contrast in a scene while getting the background of a sky and your subject perfectly balanced. It’s tough, but doable.
How to Color Match Your Strobes to Any Lighting Situation: Using gels is something that many photographers try to steer away from, but they can make your life much simpler if you understand how to use them. We explain how in this post.
Getting the Perfect Image of a Cup of Coffee: Working with the lighting in your scene will be really tough, so the best way to create better photos of coffee is to use large light sources that look like windows.
How We Shoot Our Product Photos: Good lighting is really important to us here at the Phoblographer, but so are good creative concepts. Here’s how we do it.
The Gear You Need
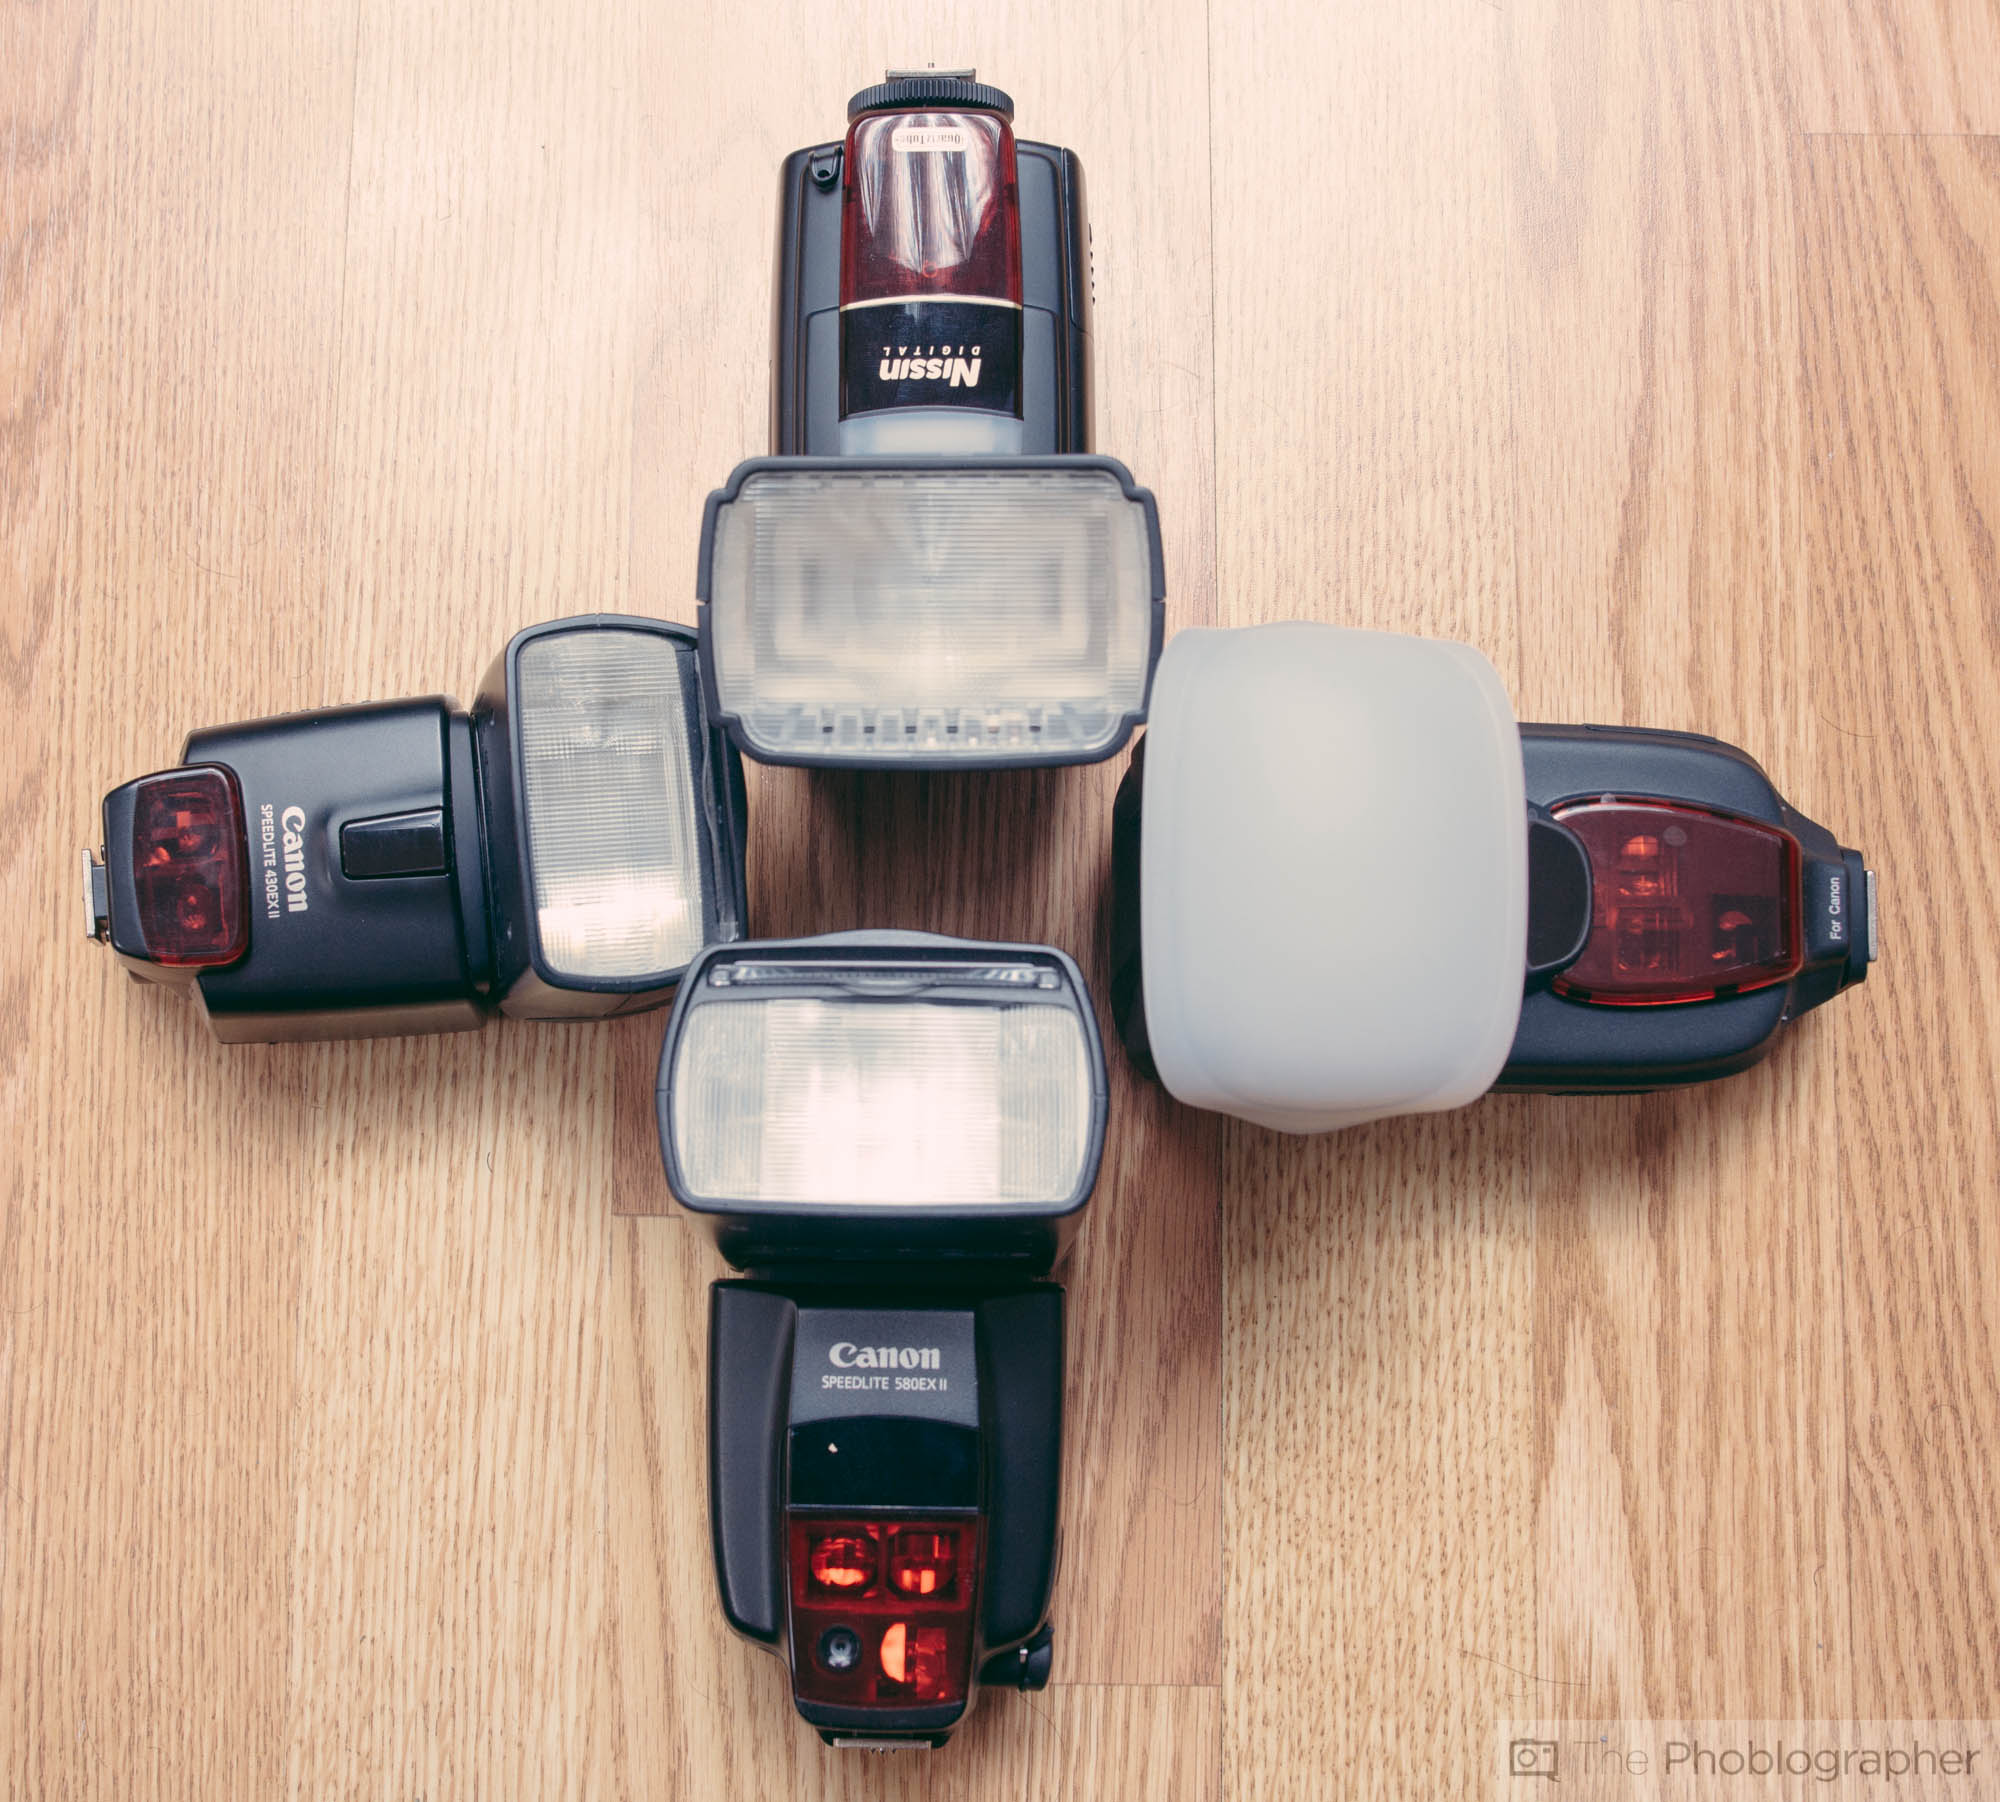
Why You Should Upgrade from Your Built in Flash to an External One: All of the pros will tell you to get the flash off of the camera and work on modifying and controlling the light. We’re going to have to agree.
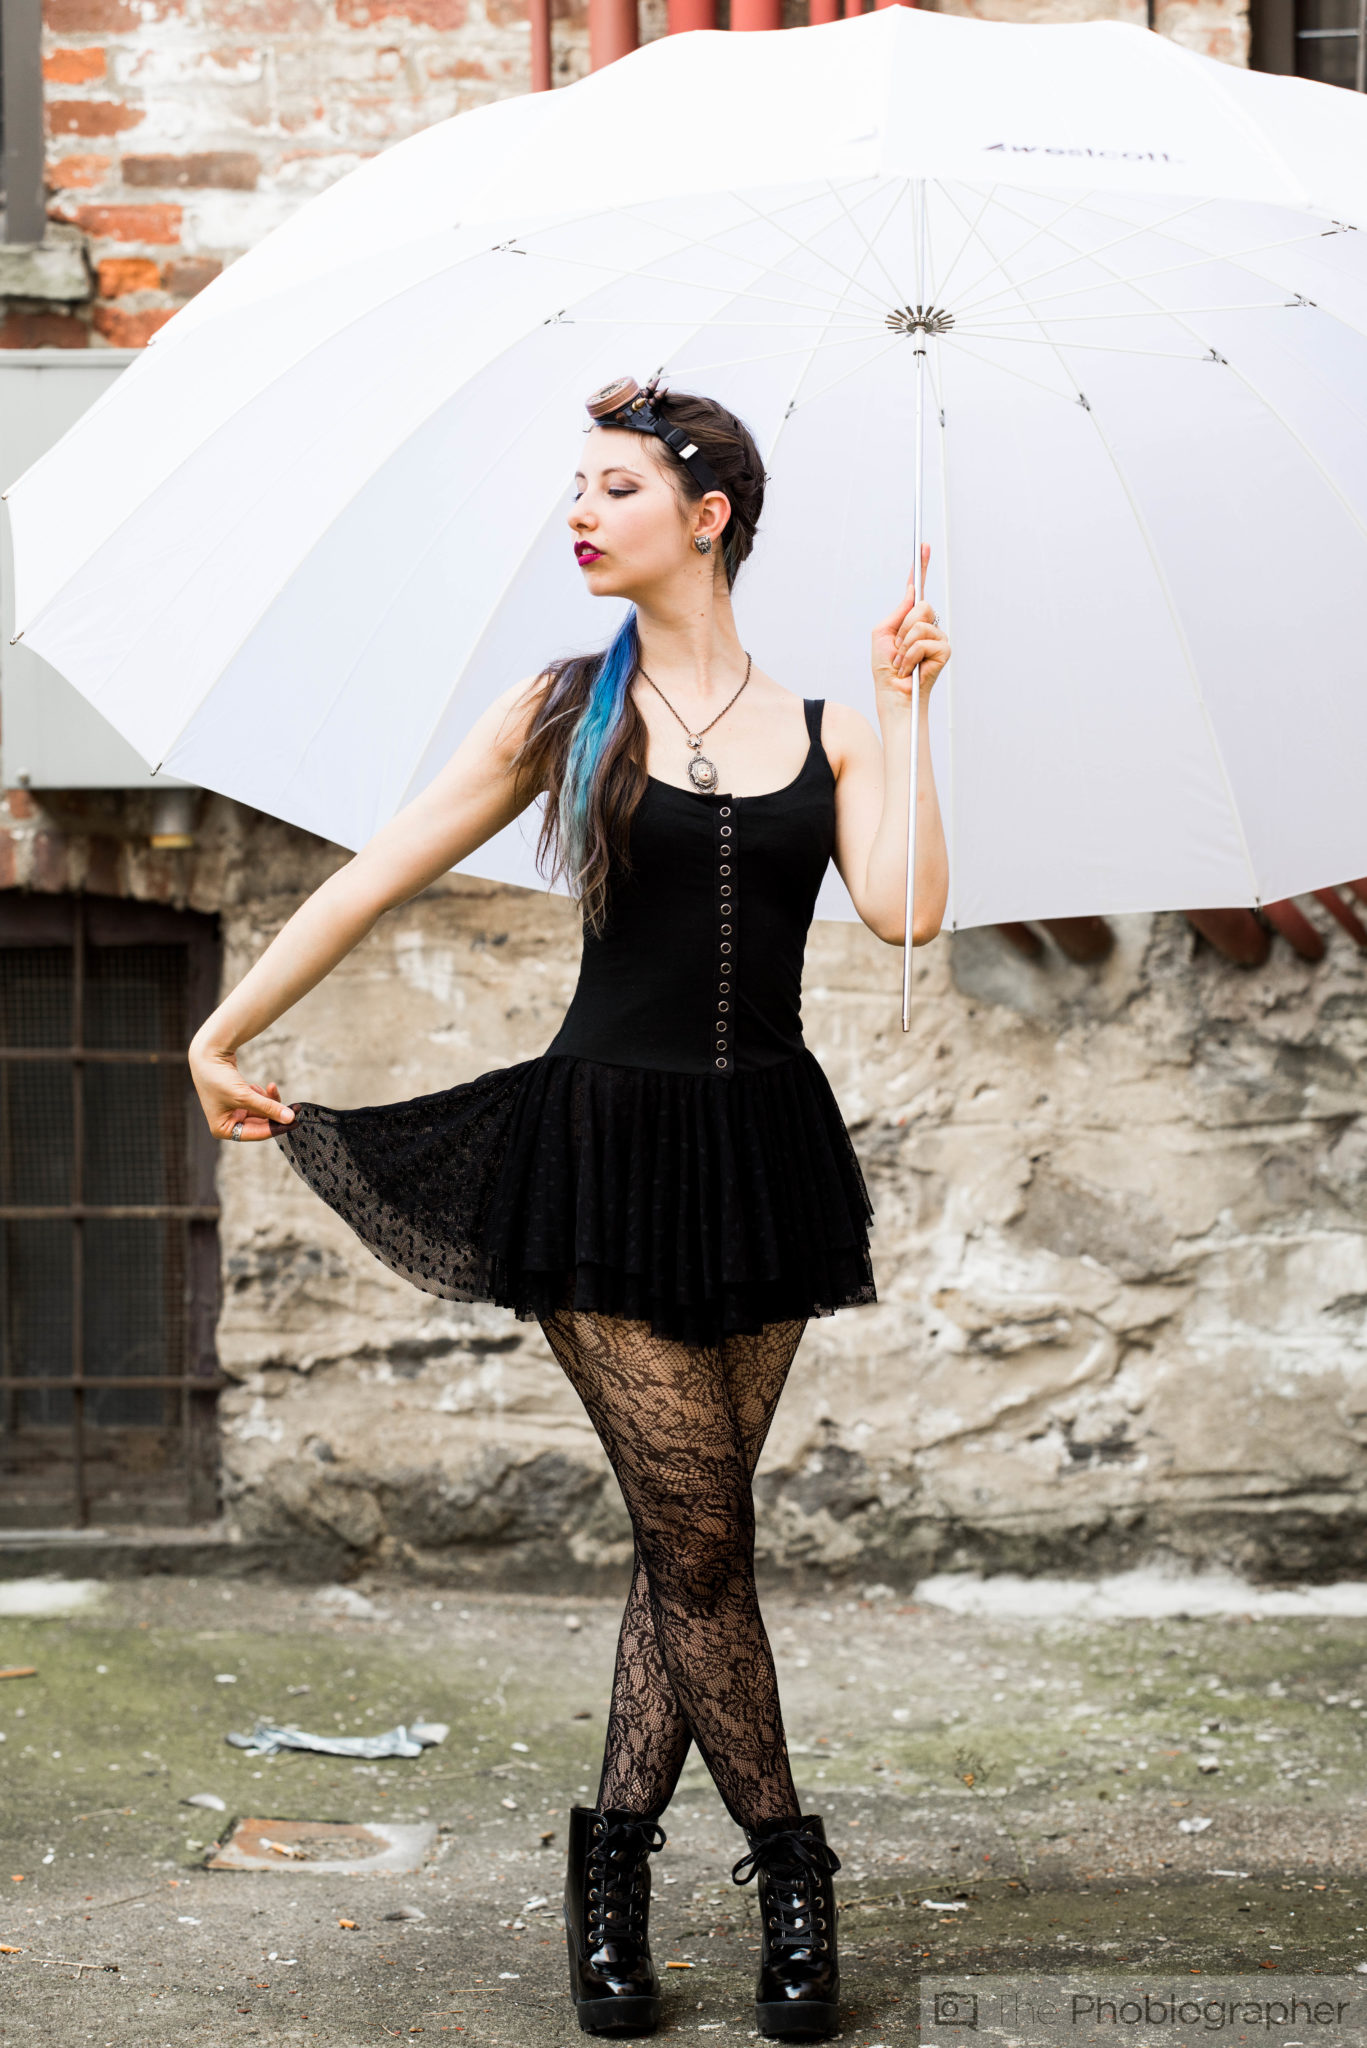
Why the Photographic Umbrella is the Ultimate Light Modifier: Umbrellas can act like softboxes, umbrellas or simple reflectors. And they truly rock at diffusing light. Here is why we love them so much.
Conquering a Crappy Lighting Situation: Photographer Lindsay Adler gives us a run down of objects that she uses to tackle some of the toughest lighting situations that she’s been in in her career as a photographer..
The Essentials for a Natural Light Portrait Photographer: Don’t just assume that you’ll be able to take better pictures without some ways of manipulating the light.
Why Lighting and Lenses Should Always be a Priority Over Your Camera: When an old camera works with new lenses and great lighting, it can surely hold its own with the latest offerings on the market.
Our favorite light modifier: These lighting modifiers are what the staff of the Phoblographer recommend for general use. Be sure to also check out our intro to softboxes, umbrellas and ring flashes.
Also be sure to check out our favorite speedlight modifiers.
What every new strobist needs: To start tackling the portrait lighting world seriously, we recommend that you invest in these first.
And lastly, our Creating the Photograph series is a major source of inspiration and ideas.