

When it comes to light, your images don’t need to look like there was flash added to them. In fact, some of the best photographers try to not fight natural light, but augment what it can do with flash by adding just the right amounts in specific spots. Doing this takes a lot of shooting and experimenting followed by careful analysis of what you actually are doing to make the changes in camera look like what you want them to.
And to do this, you don’t need anything extraordinary or amazingly fancy.
It’s About Balance of Shutter Speeds, ISO, and Aperture
The first thing that you’ll need to learn is that accomplishing this technique will require a delicate balance of shutter speeds, apertures, and ISOs. Here’s the breakdown–in a situation where a flash is introduced into a scene:
– The shutter speeds control the amount of ambient light in the scene
– The aperture controls how much of the flash affects the scene at its given exposure
– ISO controls the overall exposure of the scene
So what does this mean in practice? For starters, if you want a very shallow depth of field and want to add some fill flash, you’ll need to shoot at a wider aperture and bring the flash output down by working with the flash (more on this in a bit.) Want more of the background light to seep in? Then you may have to bring the shutter speed down to a very slow exposure. If you do this, you may need a tripod.
To counter the need for a tripod, you can raise your ISO. But if you raise your ISO, then you’ll need to bring your flash power down a converse number of stops. For example if you’re at ISO 100 and your flash is at 1/32nd but then decided to increase to ISO 400, you’ll need to come down to 1/128th power on your flash.

Large Light Diffusers
Then it’s all about the simple rule of photography: the larger the light source is in relation to an object, the softer the light. In this case, you’ll want to put your flash into some sort of light diffuser. These are softboxes, umbrellas, reflectors, octabanks, etc. They essentially take the existing light and spread it out in a very large area.
The other alternative is to bounce it off of a wall or nearby surface. Generally, the larger the diffuser, the more power you’ll need to put into the flash. What you should also know is about colors. Silver interiors will give you light extra pop due to its uber-reflective properties while white will just do a generally good job. There are also translucent options which diffuse the entire space.
Be sure to check out our guides to umbrellas, softboxes and ring flash. And just for reference, this is what direct flash does.
On lots of our recent shoots, we’ve been very happy working with wall bounce. This all goes without saying that the flash should be out of your hot shoe to begin with. But as you’ll see later on in the piece, this is all about choosing the right locations and looking at the quality of light present to begin with.
But with that said, there are always times where we need to use diffusion materials; in this case we go for six/seven foot umbrellas, large softboxes, octabanks, and sometimes really big ring flashes. However, we’ve also done some great work by having an assistant hold a reflector and a flash and making the flash bounce off the reflective panel. It often works out really well.
Flash Power Output
We’ve been talking a lot about flash power output, and now we’re going to explain it. Flash power output is essential to your work. If your light will output 180 watt seconds of power, then at 1/2 power it will be 90 watt seconds. Then at a quarter power it will be 45 watt seconds. But when you set your aperture, you adjust how much of that flash output affects the image. Flash power output also gets affected by the spread of the flash when a light modifier is introduced. However, it doesn’t really get affected by your flash’s zoom head except that the flash output is either spread out more or less depending on how wide or telephoto you go.
Generally, in brighter situations you’ll also want to work with lower flash power because of something called flash duration–which essentially takes over what your shutter speed will be. And in general, the less the power output on a certain flash, the faster the flash duration will be.
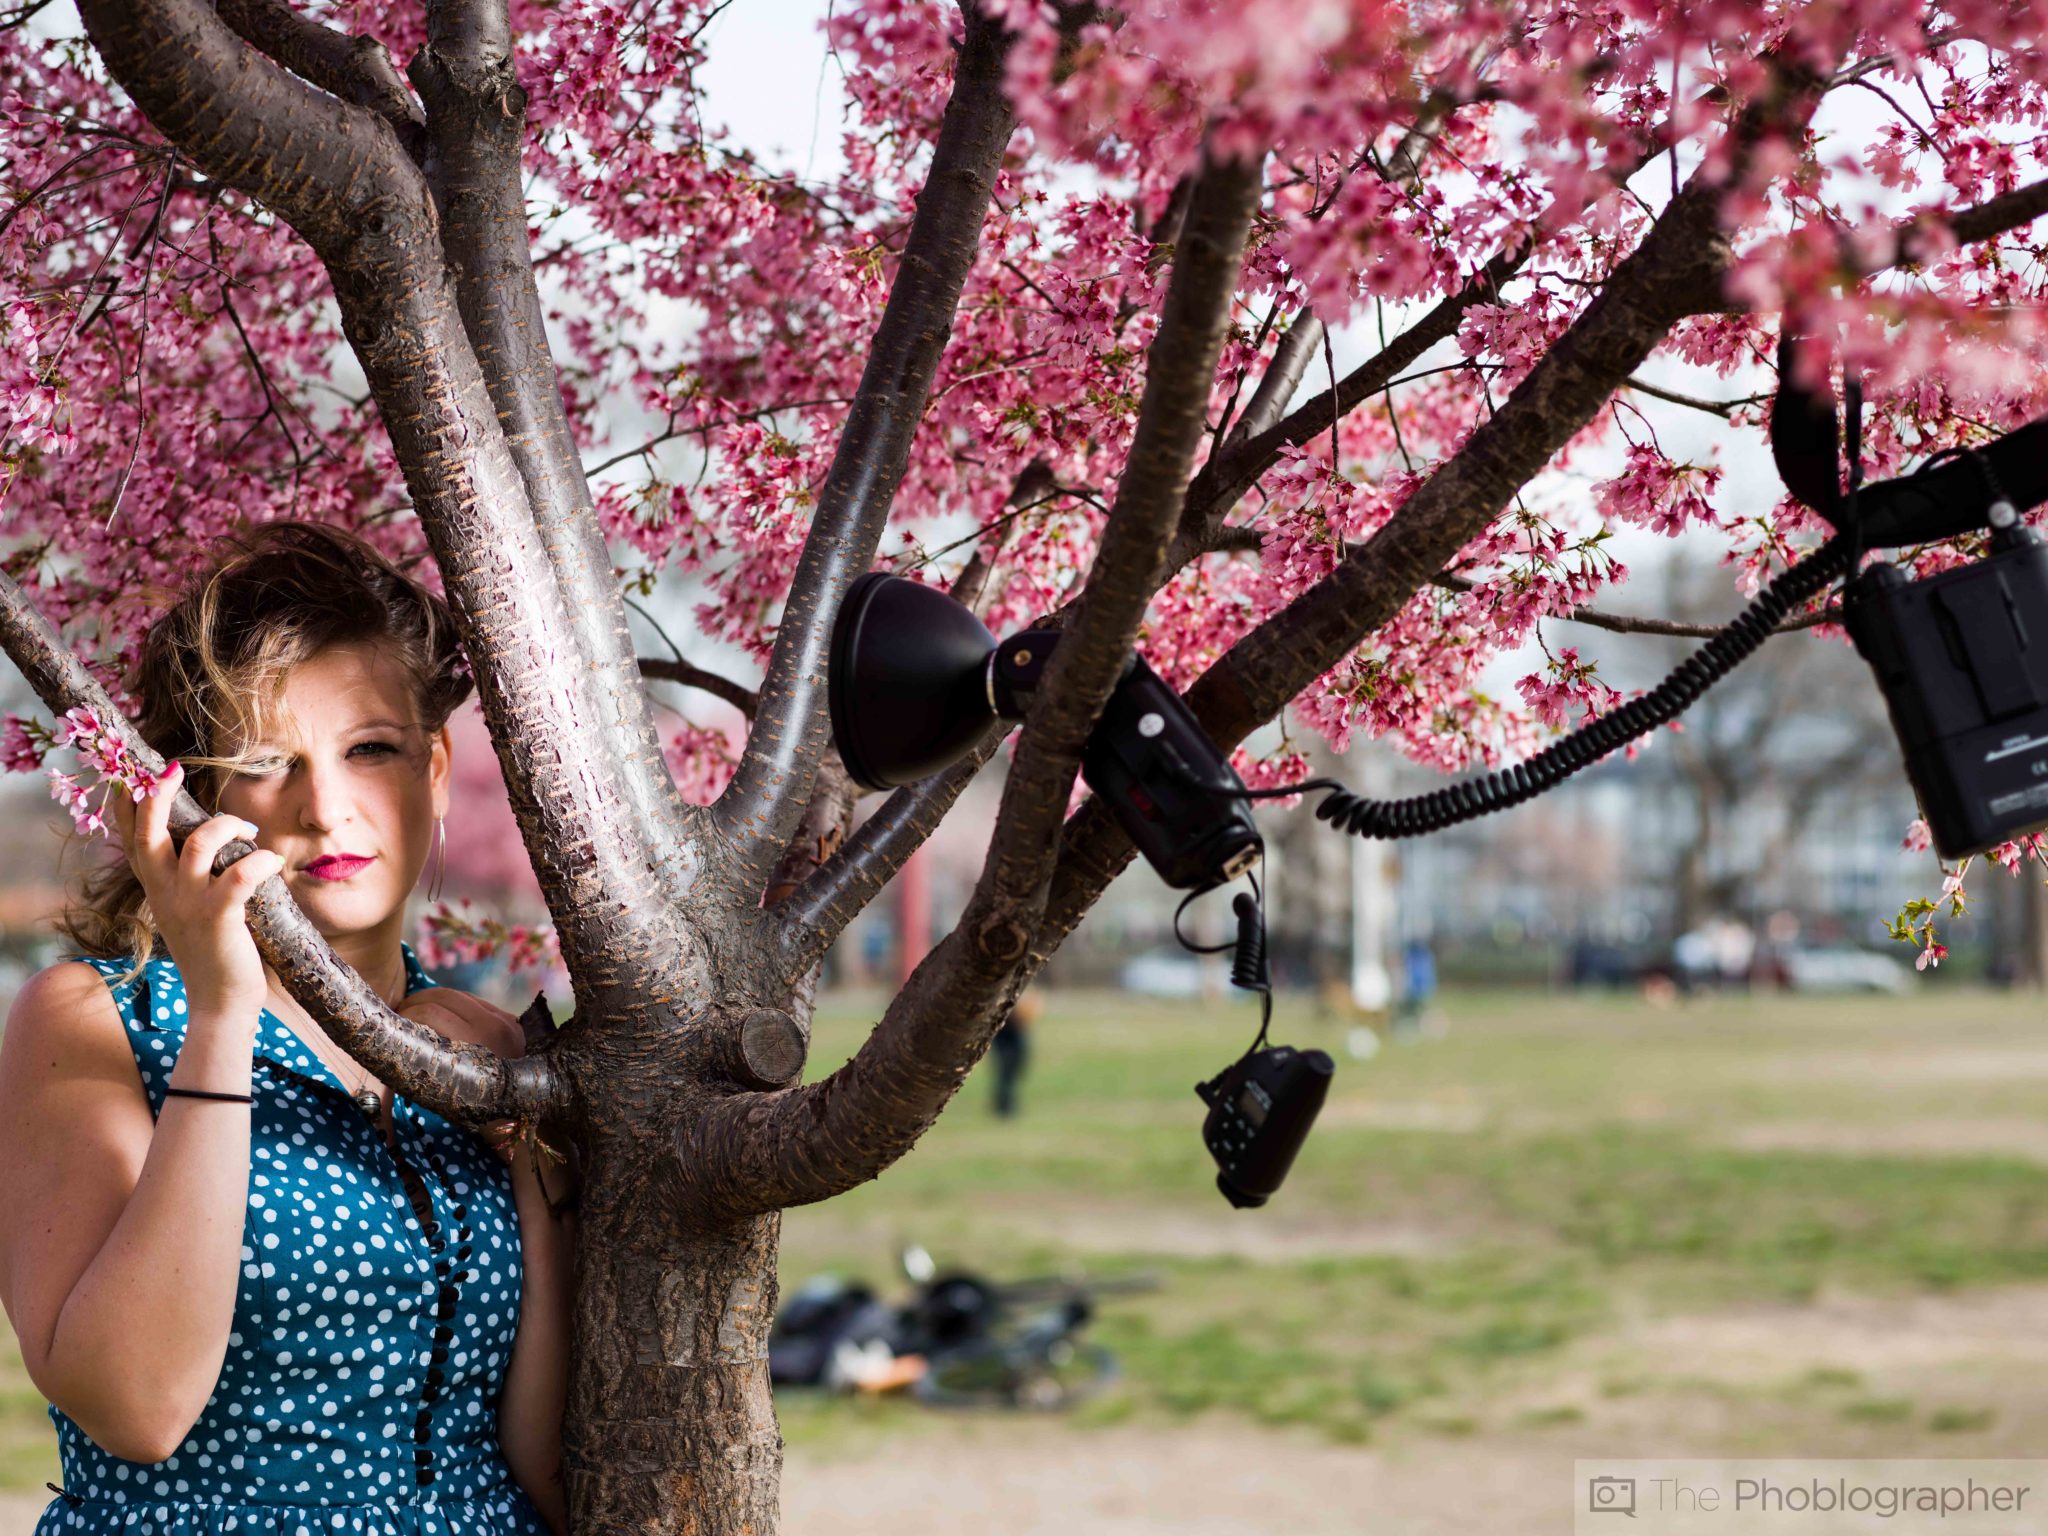
Work in the Shadows
To prevent these problems from happening to begin with, you can work when there is bright sunlight abundant but take the shoot into a shadowy area. Why do this? Well, when shadows are introduced then your flash has more room to work with and the light is also much more controllable. Essentially, it’s much easier to light a scene one light at a time than to put a giant cover of some sort over the sun’s light.
When working in the shadows, we generally recommend that you look for lighter shadows than darker shadows. The darker your shadows are, the more you’ll need to crank up the output of your flash and in turn the more your image will look like flash was added to the scene. And again, the point is to make the two lights blend evenly.
Some great examples of shadows that are simple to work in are the shadows that a building casts, under trees, under an awning of some sort, or if you have a reflector you can position it above your subject to kill the sunlight. This usually works with bigger reflectors of some sort. What you can always do is let the natural light fill in one side of the image while the other receives the benefits from the flash.
For more, please follow us on Facebook, Google+, Flickr and Twitter.
Get rid of the ads!
Did you enjoy reading this article as much as we enjoyed writing it? There's a way to support us and our reporting, getting ad-free navigation and more as a bonus. Subscribe to us for less than a coffee per month —just $3.99— or take advantage of our yearly subscription with a hefty discount for only $25.- An ad-free experience
- A free mystery box for Lightroom or Capture One
- All the books in our store
- 20% discount on Capture One
- 30% discount on Imalume Photo Theft Protection
- 20% off Herbs and Kettle Tea Company.
- 20% off your order from MPIX printing services.
- 5% off Viltrox Products via their eCommerce store.
- 10% off all film developing, printing and scanning services from Blue Moon Camera and Machine
- 15% off 7Artisans products: The lens and accessory maker is offering a sweet discount for Phoblographer's readers.