
Last Updated on 04/27/2014 by Julius Motal
Macro photography can be a great hobby to do at home and can even be therapeutic. But getting better macro images isn’t simply a matter of composition and making sure that the subject is in focus–it’s also about technicalities. In fact, it could even be one of the most technical forms of photography.
Here are some tips on how to get better macro shots.
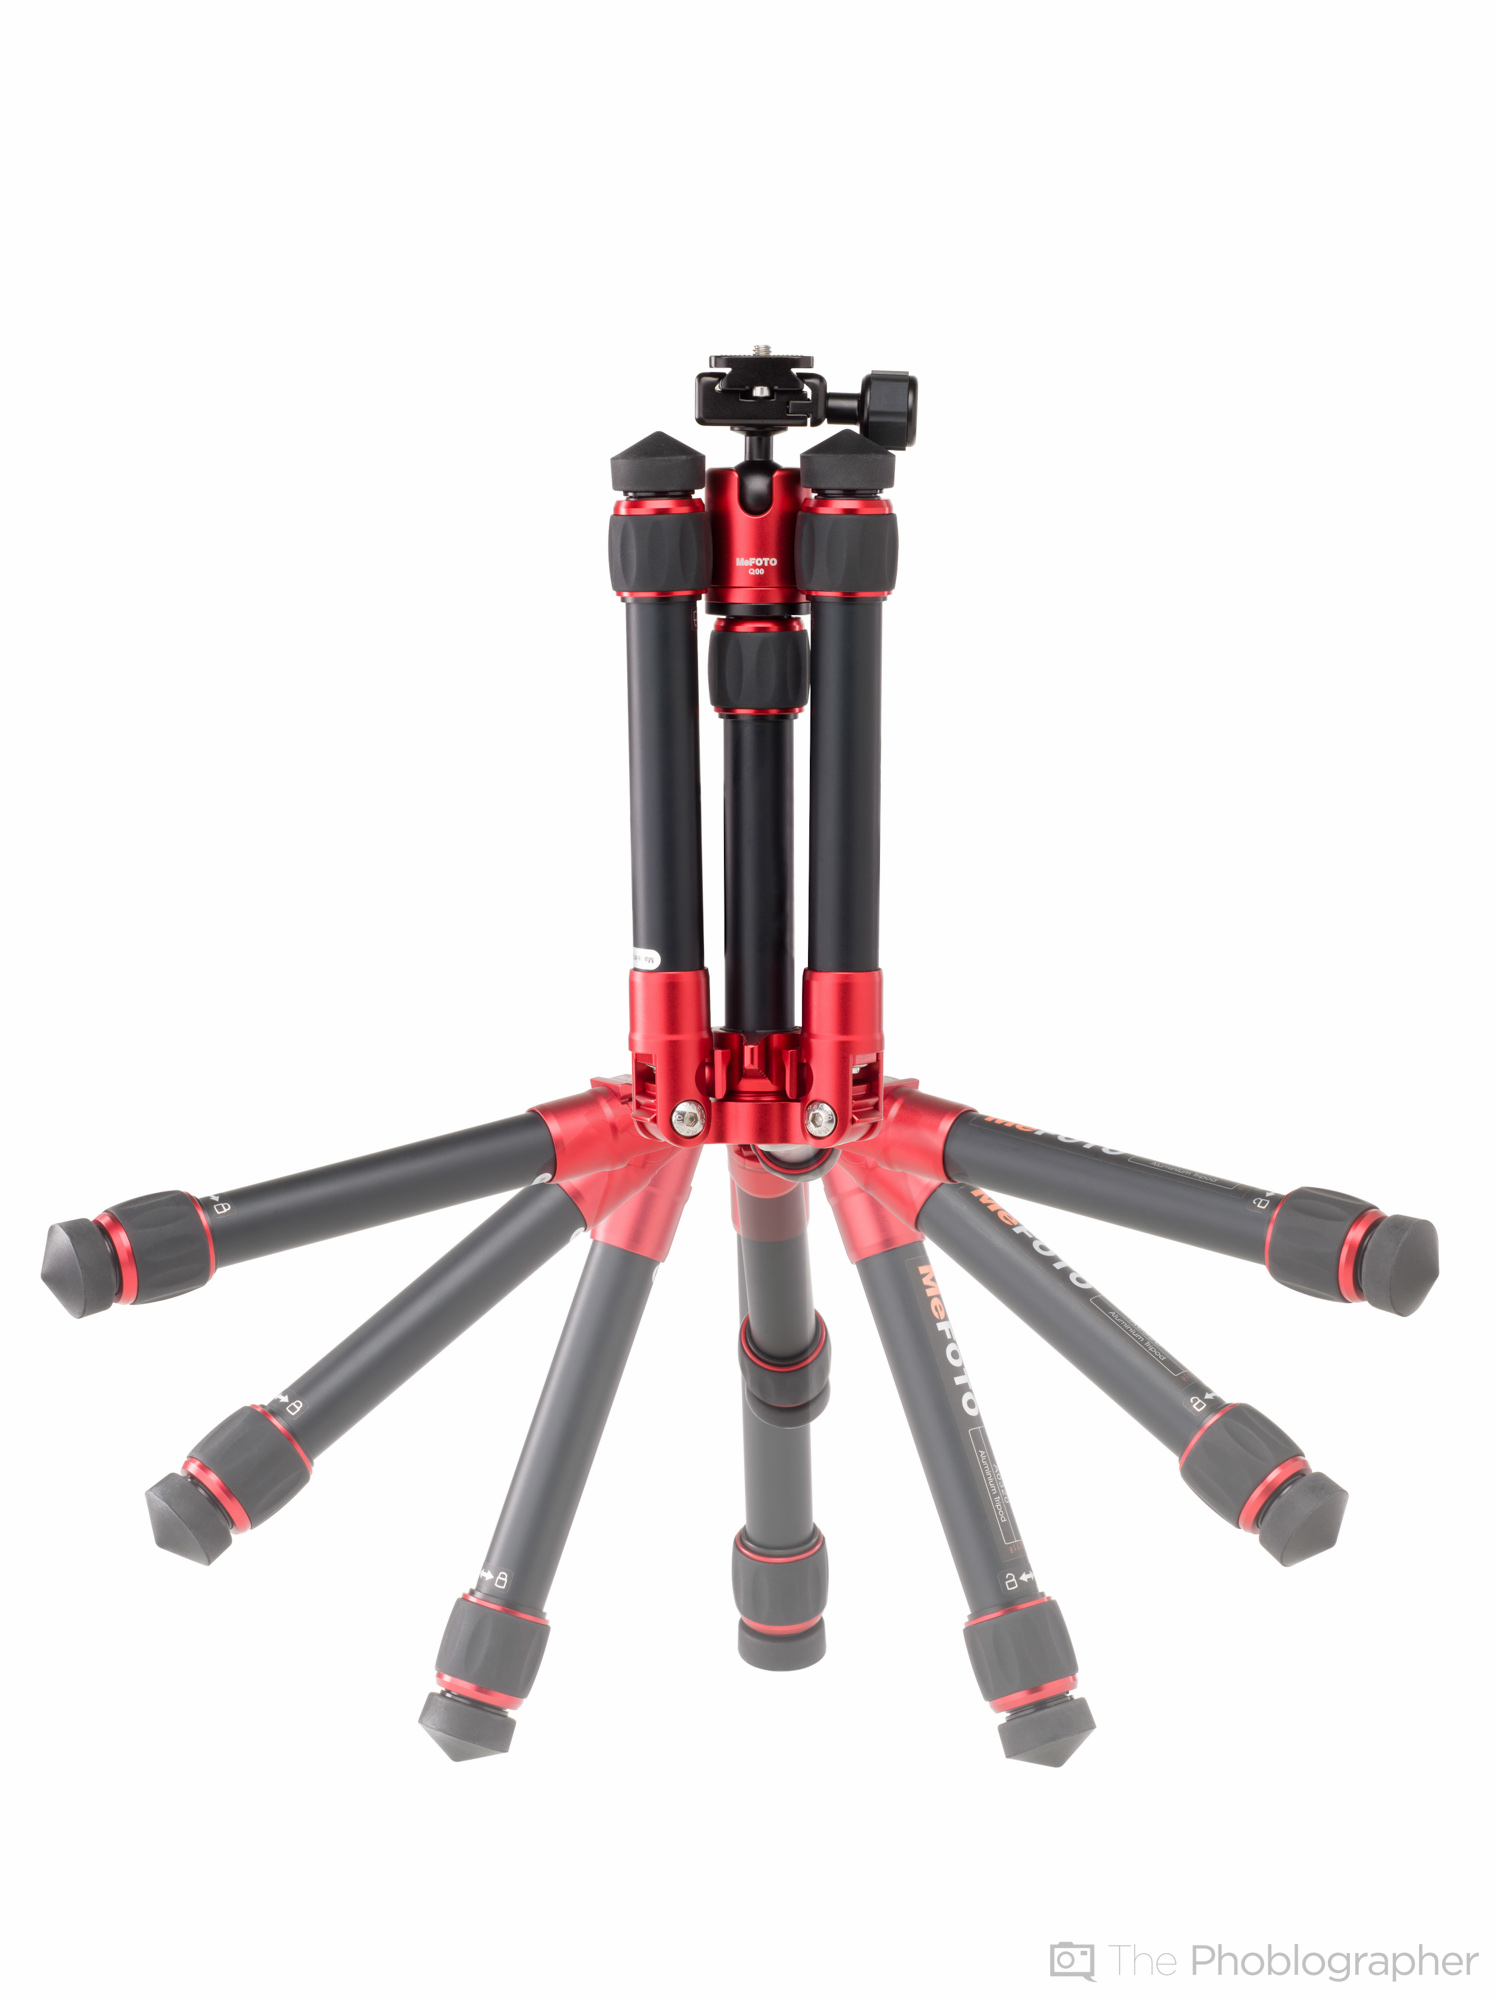
Low ISO and a Tripod

The very first tip should be a near obvious one for everyone but many folks indeed try to get away with higher ISO images. Sure, you can sure a macro image at a higher ISO but you’re not getting the best possible picture quality that you can. So in order to get crisper and more clear images, we strongly recommend that you shoot at a low ISO on a tripod.
Additionally, we also recommend that you use a fast shutter speed that is greater than that of the reciprocal of your focal length. By that, we mean that if you’re using a 60mm lens on a Micro Four Thirds camera that you’ll be shooting at an equivalent of 120mm. So your shutter speed should be at least 1/125th. This will help to ensure that you’ve got a steady, clear, crisp photo that is free of camera-shake.
We also think that using a tripod for this type of work is nearly fundamental. If you’re a more experienced shooter and you believe that you can handhold your lens without camera shake, then please be honest with yourself before you attempt to do so.
Some macro lenses have image stabilization built in that helps even more with this matter, but it shouldn’t always be relied on because while it can be effective, it can’t always compensate for your own unsteadiness in various situations. But if you really must shoot without a tripod, consider how effective the image stabilization of the lens is.
Tripods that allow you to get up close and personal to your subject are really going to be essential to shooting better macro images; and this will all depend on the type of head that your tripod has.
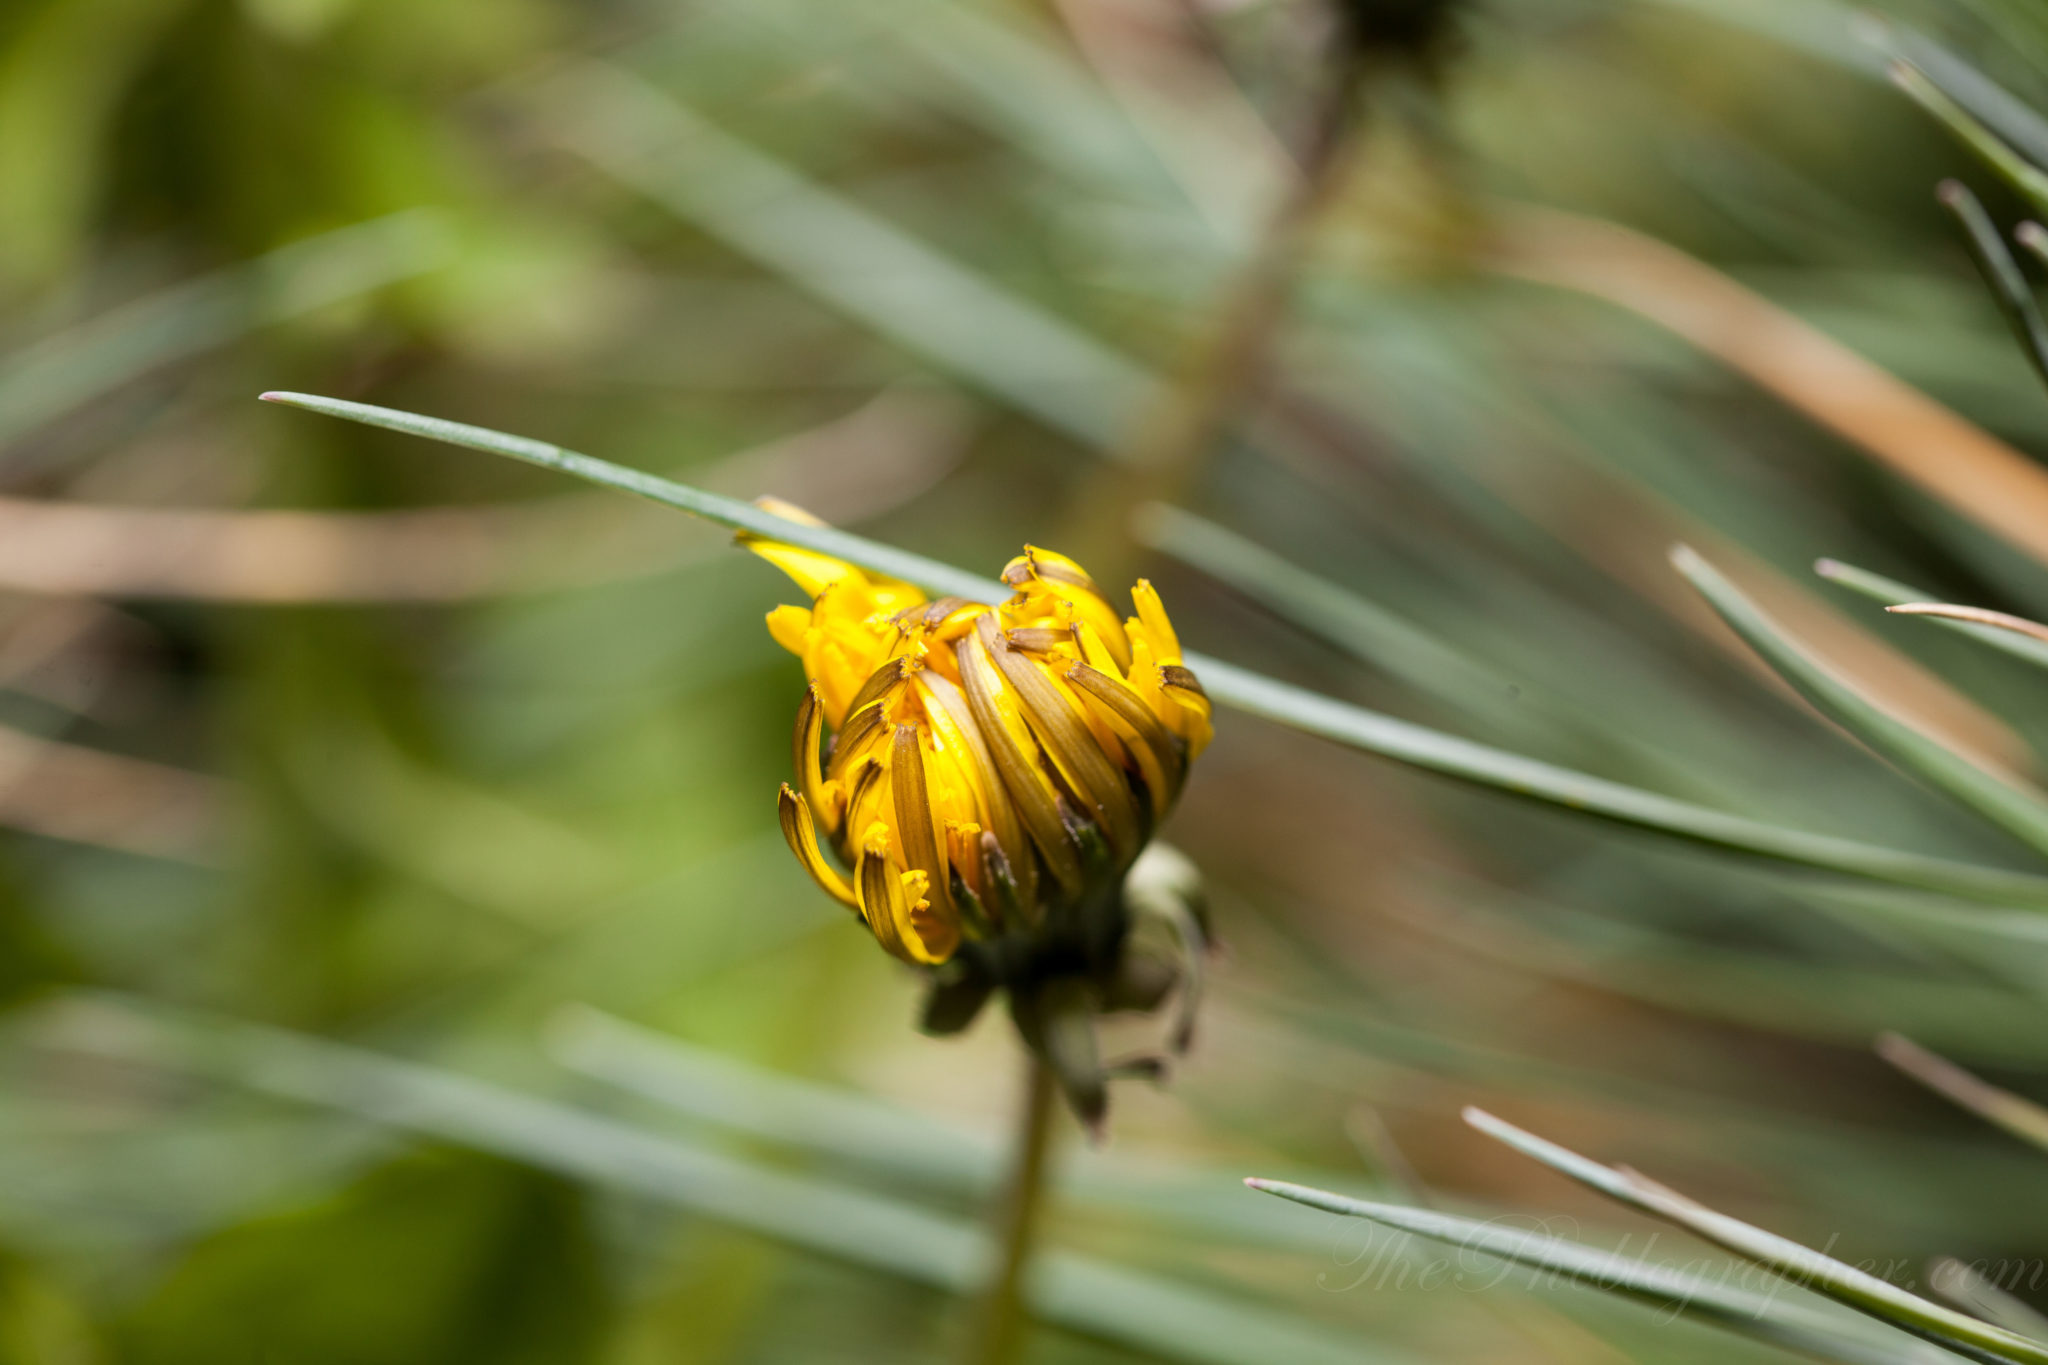
At Macro Distances, Depth of Field Becomes Razor Thin

When shooting at the super close up distances that macro work requires, consider the fact that shooting wide open will render an image that may be tough to find exactly where you’re focused. The reason for this is because of the rule of photography that states that the closer you are to a subject the less will be in focus at a given aperture. When you focus out and further away, more of a scene naturally comes into focus. But in this case, very little will be in focus.
This can present a very challenging problem if you’re trying to shoot something like a flower and suddenly the wind starts to pick up. In fact, it can be incredibly frustrating. In a case like this, maintain your shutter speed at a fast setting but also be sure to stop the lens down.
This is also one of the reasons why we recommend shooting with a tripod because you’ll need to ensure that you’re totally still. At these distances the problem is that the slightest movements are intensified and make working tougher.
Check out: Five Macro Lenses You’ll Want to Get Closer to.
Don’t Stop Down All The Way, Use the Focus Stacking Method
Many macro lenses allow you to stop down to f32 and sometimes even further. We recommend that you don’t do this for the obvious diffraction issues. Instead, what you’ll want to do is consider focus stacking.
In a nutshell, what focus stacking requires you to do is shoot one area in focus, then the next, then the next, and so on until you get the object that you want sharp fully covered by the photos that you shot. In real life, this translates to shooting the tip of a flower first, then moving slightly further out until the other tip is photographed.
Then what you’ll do is merge all of the images together in Photoshop using layers. It’s how you get the absolute best image quality though it can be tedious and time consuming.
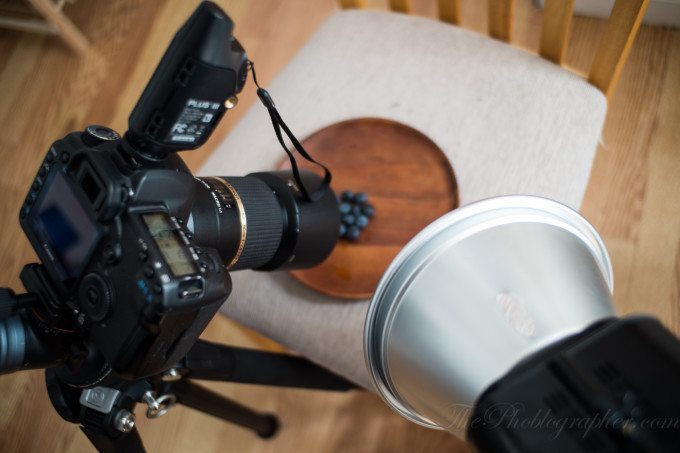
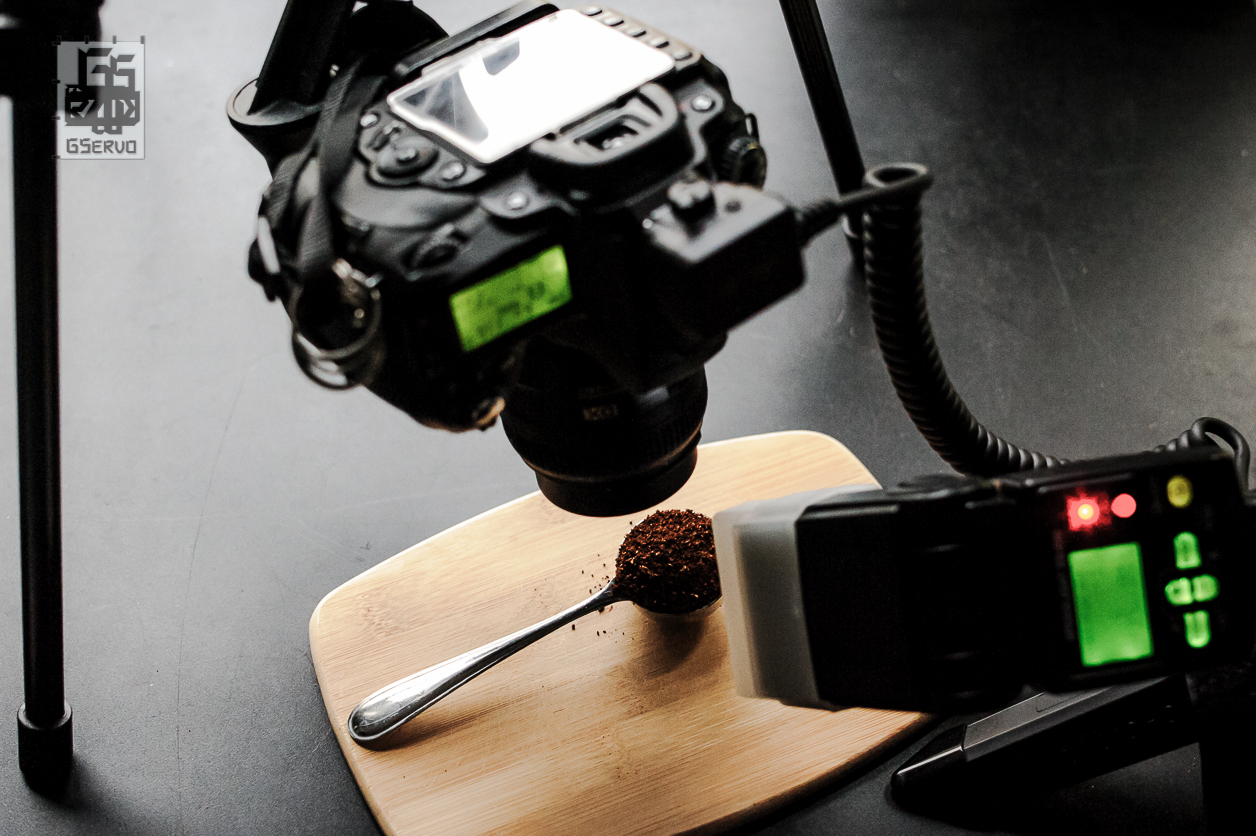
Flash Over Constant Lighting
When you’re photographing a macro subject, we strongly recommend using a flash over constant lighting. Watt second by watt second, flashes of the same price as constant lighting are much more powerful and can stop motion to give you crisper and cleaner images than a constant light can give.
Sure, a constant light is simpler to use, but once you have a hold of a flash you’ll be astounded as to how much a big difference the image quality will be.
Check Out: Improve Your Macro Photography By Using a Flash
Manually Focus
Our last tips is to manually focus your lens. Despite how far and how good autofocusing has become, we recommend manually focusing your macro lens when you get to the macro ranges. Otherwise, your camera and lens will work together quite slowly and may even misfocus often. To make sure that you get the sharpest images that also have spot on focus, manually focus the lens instead.
Sometimes, using your LCD screen and magnifying the area might also be a great option.
For more, please follow us on Facebook, Google+, Flickr and Twitter.
Get rid of the ads!
Did you enjoy reading this article as much as we enjoyed writing it? There's a way to support us and our reporting, getting ad-free navigation and more as a bonus. Subscribe to us for less than a coffee per month —just $3.99— or take advantage of our yearly subscription with a hefty discount for only $25.- An ad-free experience
- A free mystery box for Lightroom or Capture One
- All the books in our store
- 20% discount on Capture One
- 30% discount on Imalume Photo Theft Protection
- 20% off Herbs and Kettle Tea Company.
- 20% off your order from MPIX printing services.
- 5% off Viltrox Products via their eCommerce store.
- 10% off all film developing, printing and scanning services from Blue Moon Camera and Machine
- 15% off 7Artisans products: The lens and accessory maker is offering a sweet discount for Phoblographer's readers.