One of the biggest things that you’ll learn as a photographer is how to meter correctly. Something that I’ve personally learned is that no camera in the world can tell me what I want. And if you’re a computer programmer, you know that any machine can’t think: it can only do what you tell it to. So in order to figure out how to get your image to look the way that you originally thought, you need to figure out how to expose a scene according to what you want. We’re refraining from saying the word “proper exposure” because no exposure at all is proper–it’s only what you want it to be.
So what do you need to remember? Check out our tips below.
Reading the Meter
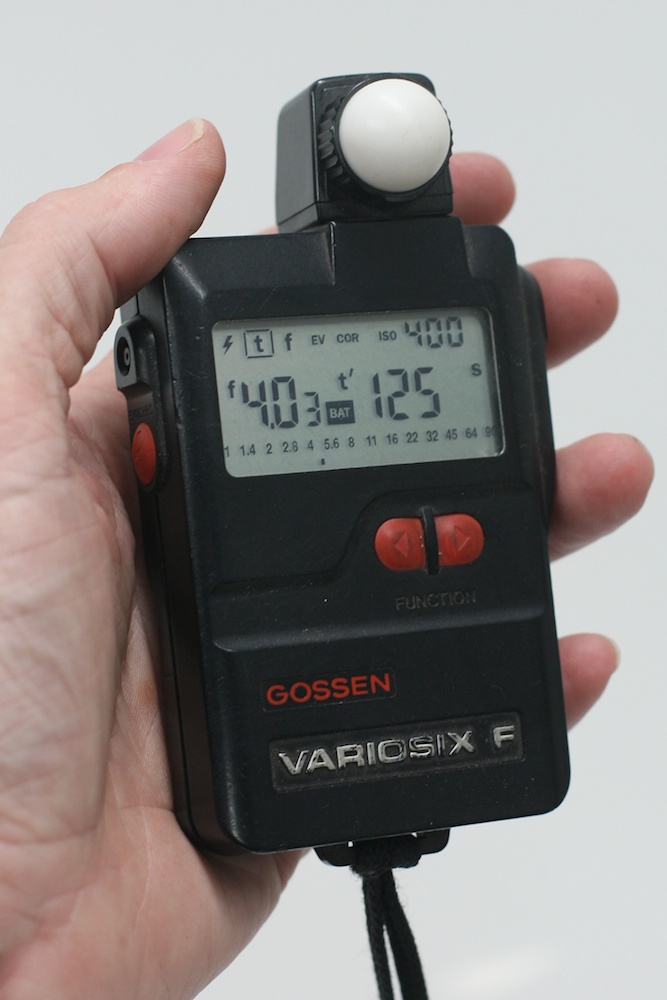
First off, let’s talk about metering. When you’re shooting in manual mode, often beginners are taught to expose so that the marker is in the center–which then means that the scene is properly exposed. However, this exposure reading is only according to what the camera was already programmed to think.
We don’t think that anyone would disagree with us when we say that most photographers put most of the emphasis on exposing their subject and not the overall scene the way that they want. And depending on the various scenes that you try to photograph, your camera’s metering may not give you exactly what you want.
So you’ll need to work around this.
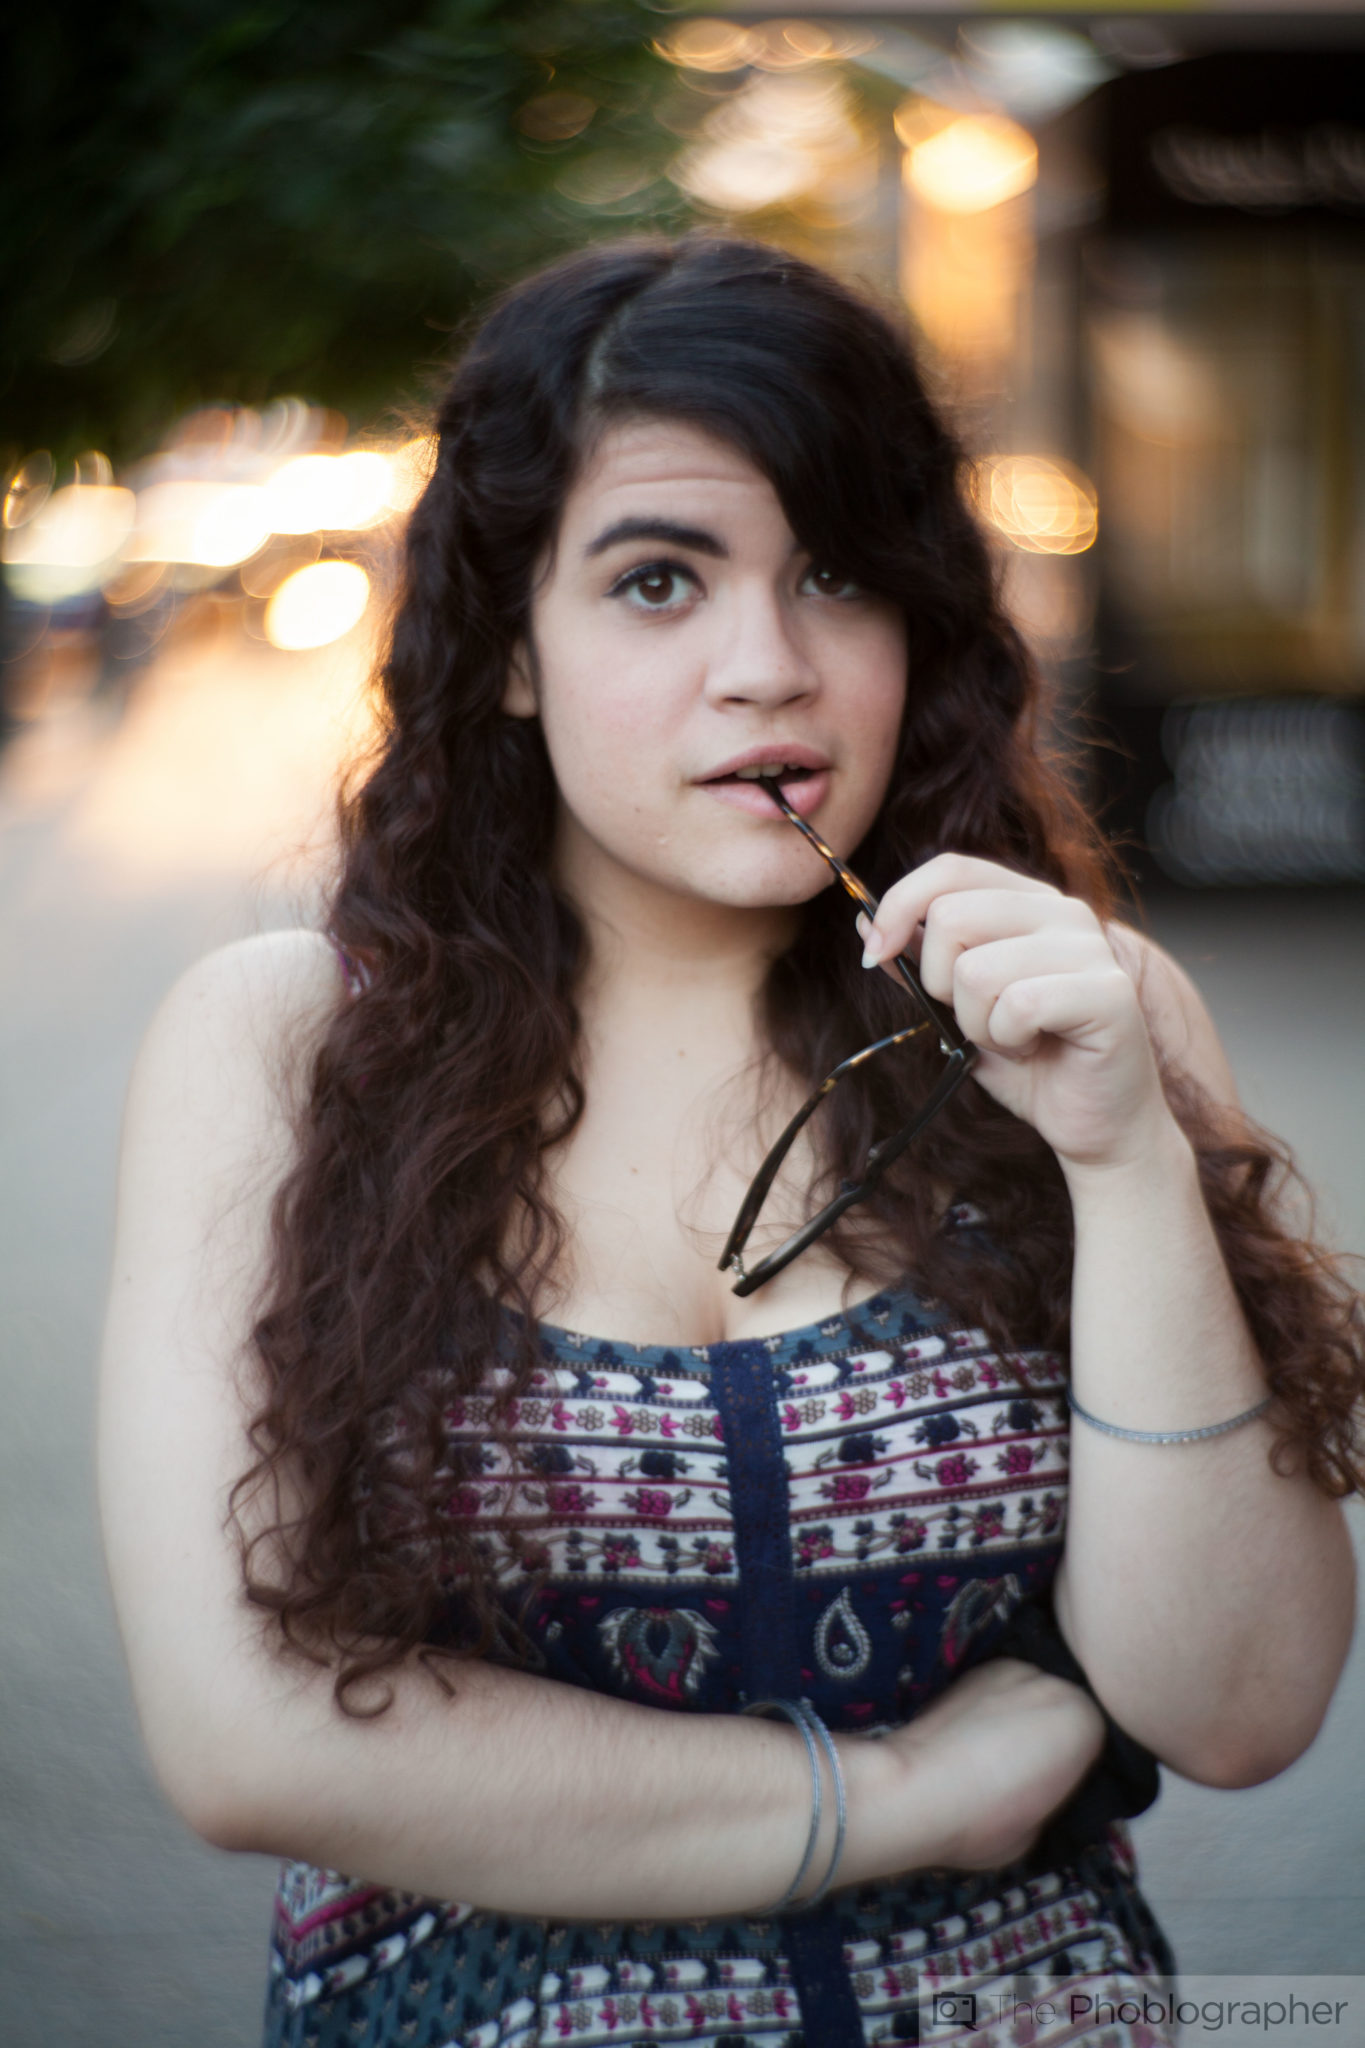
Backlight: If the Sun is Behind Your Subject, Overexpose
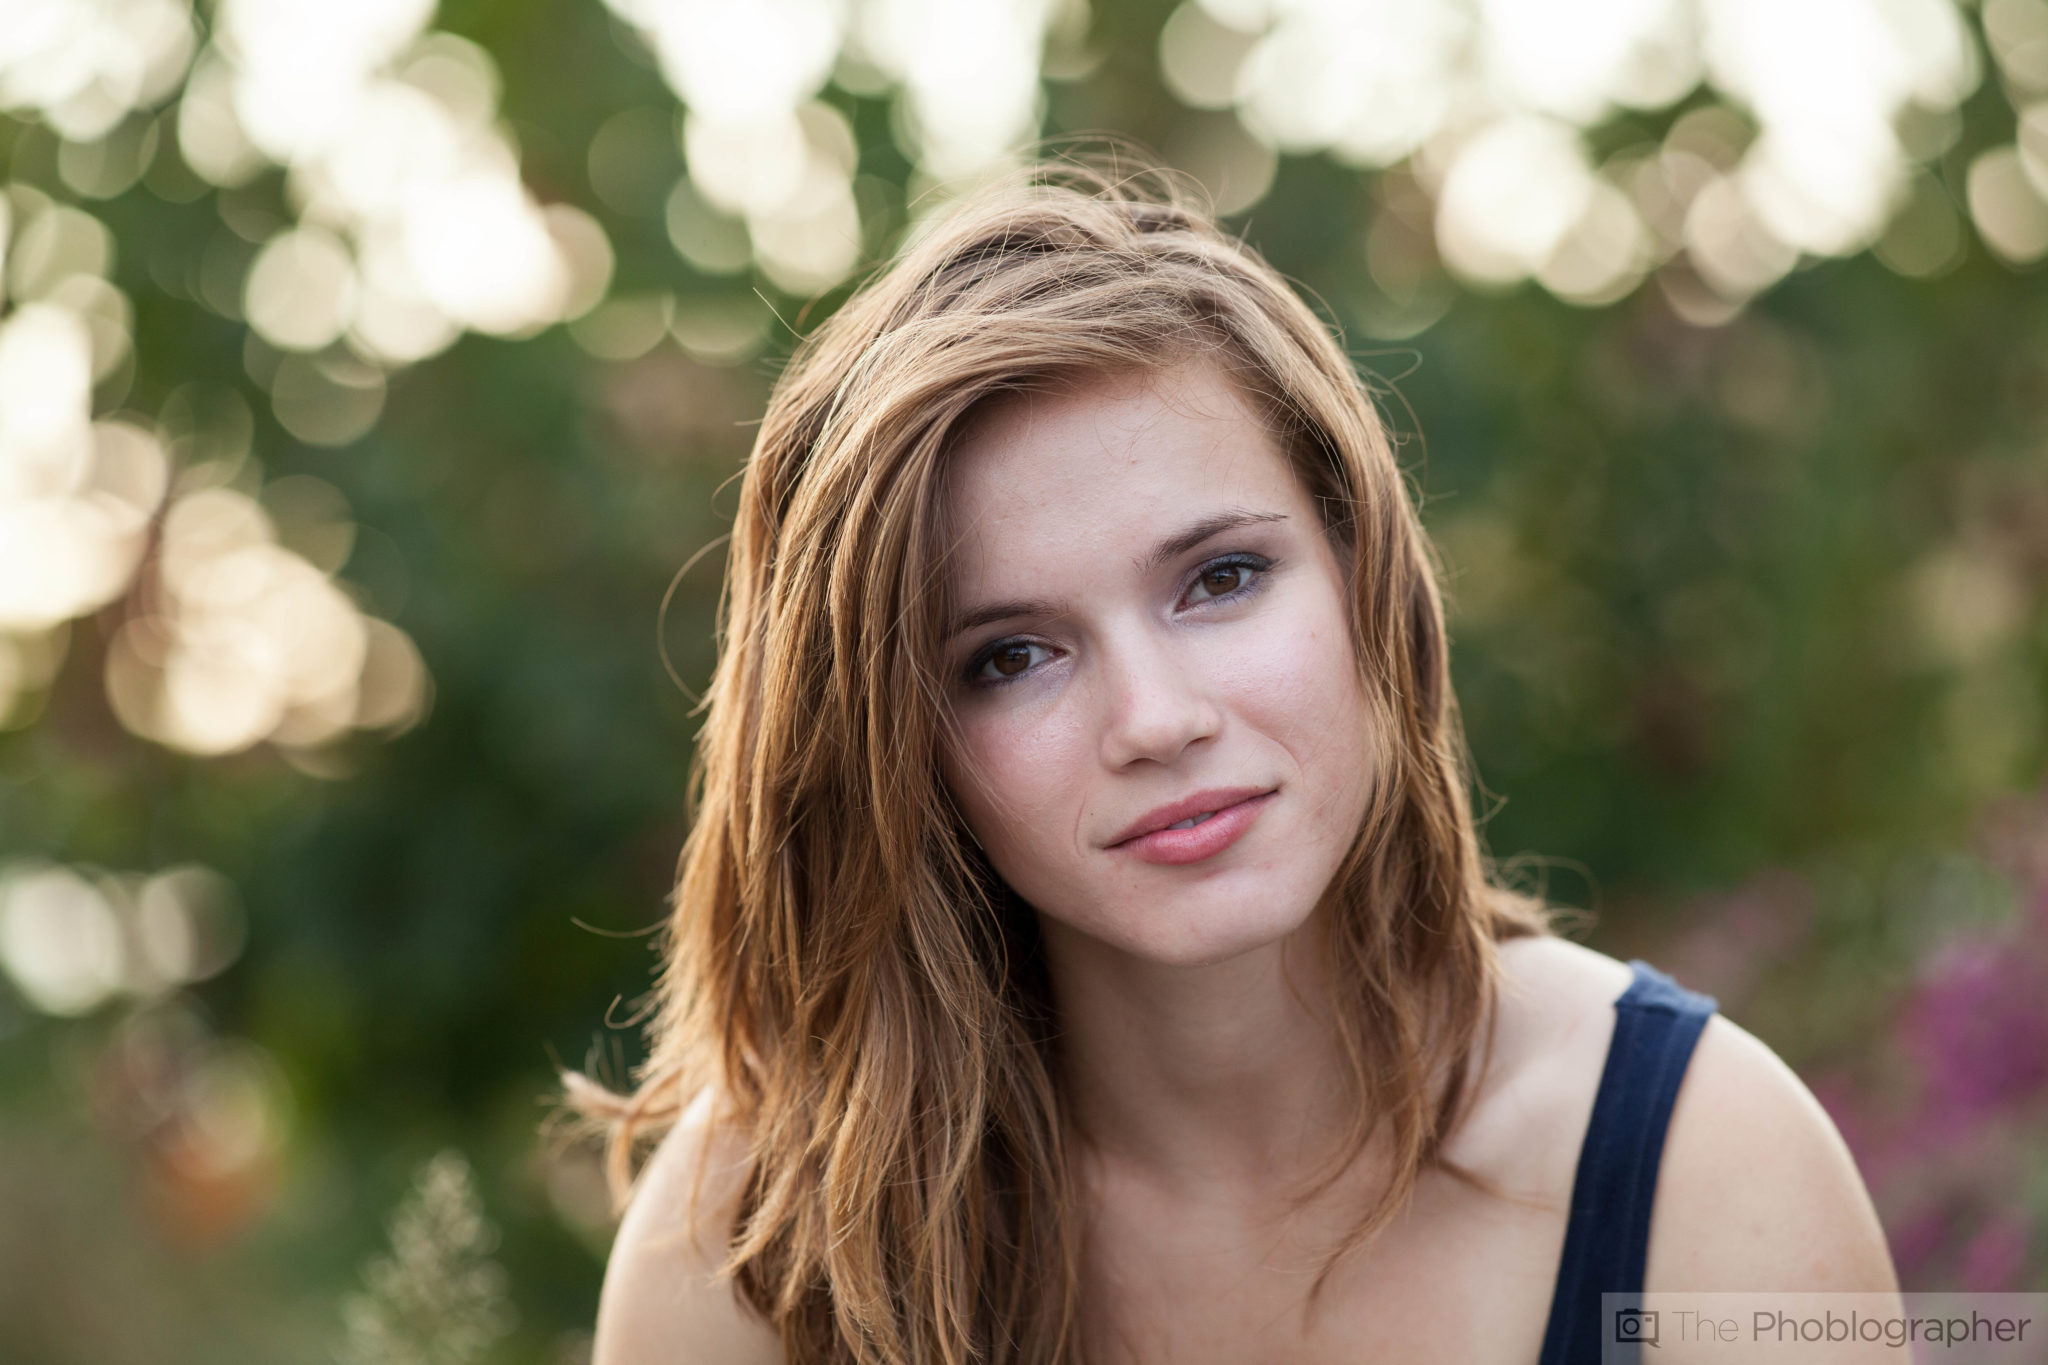
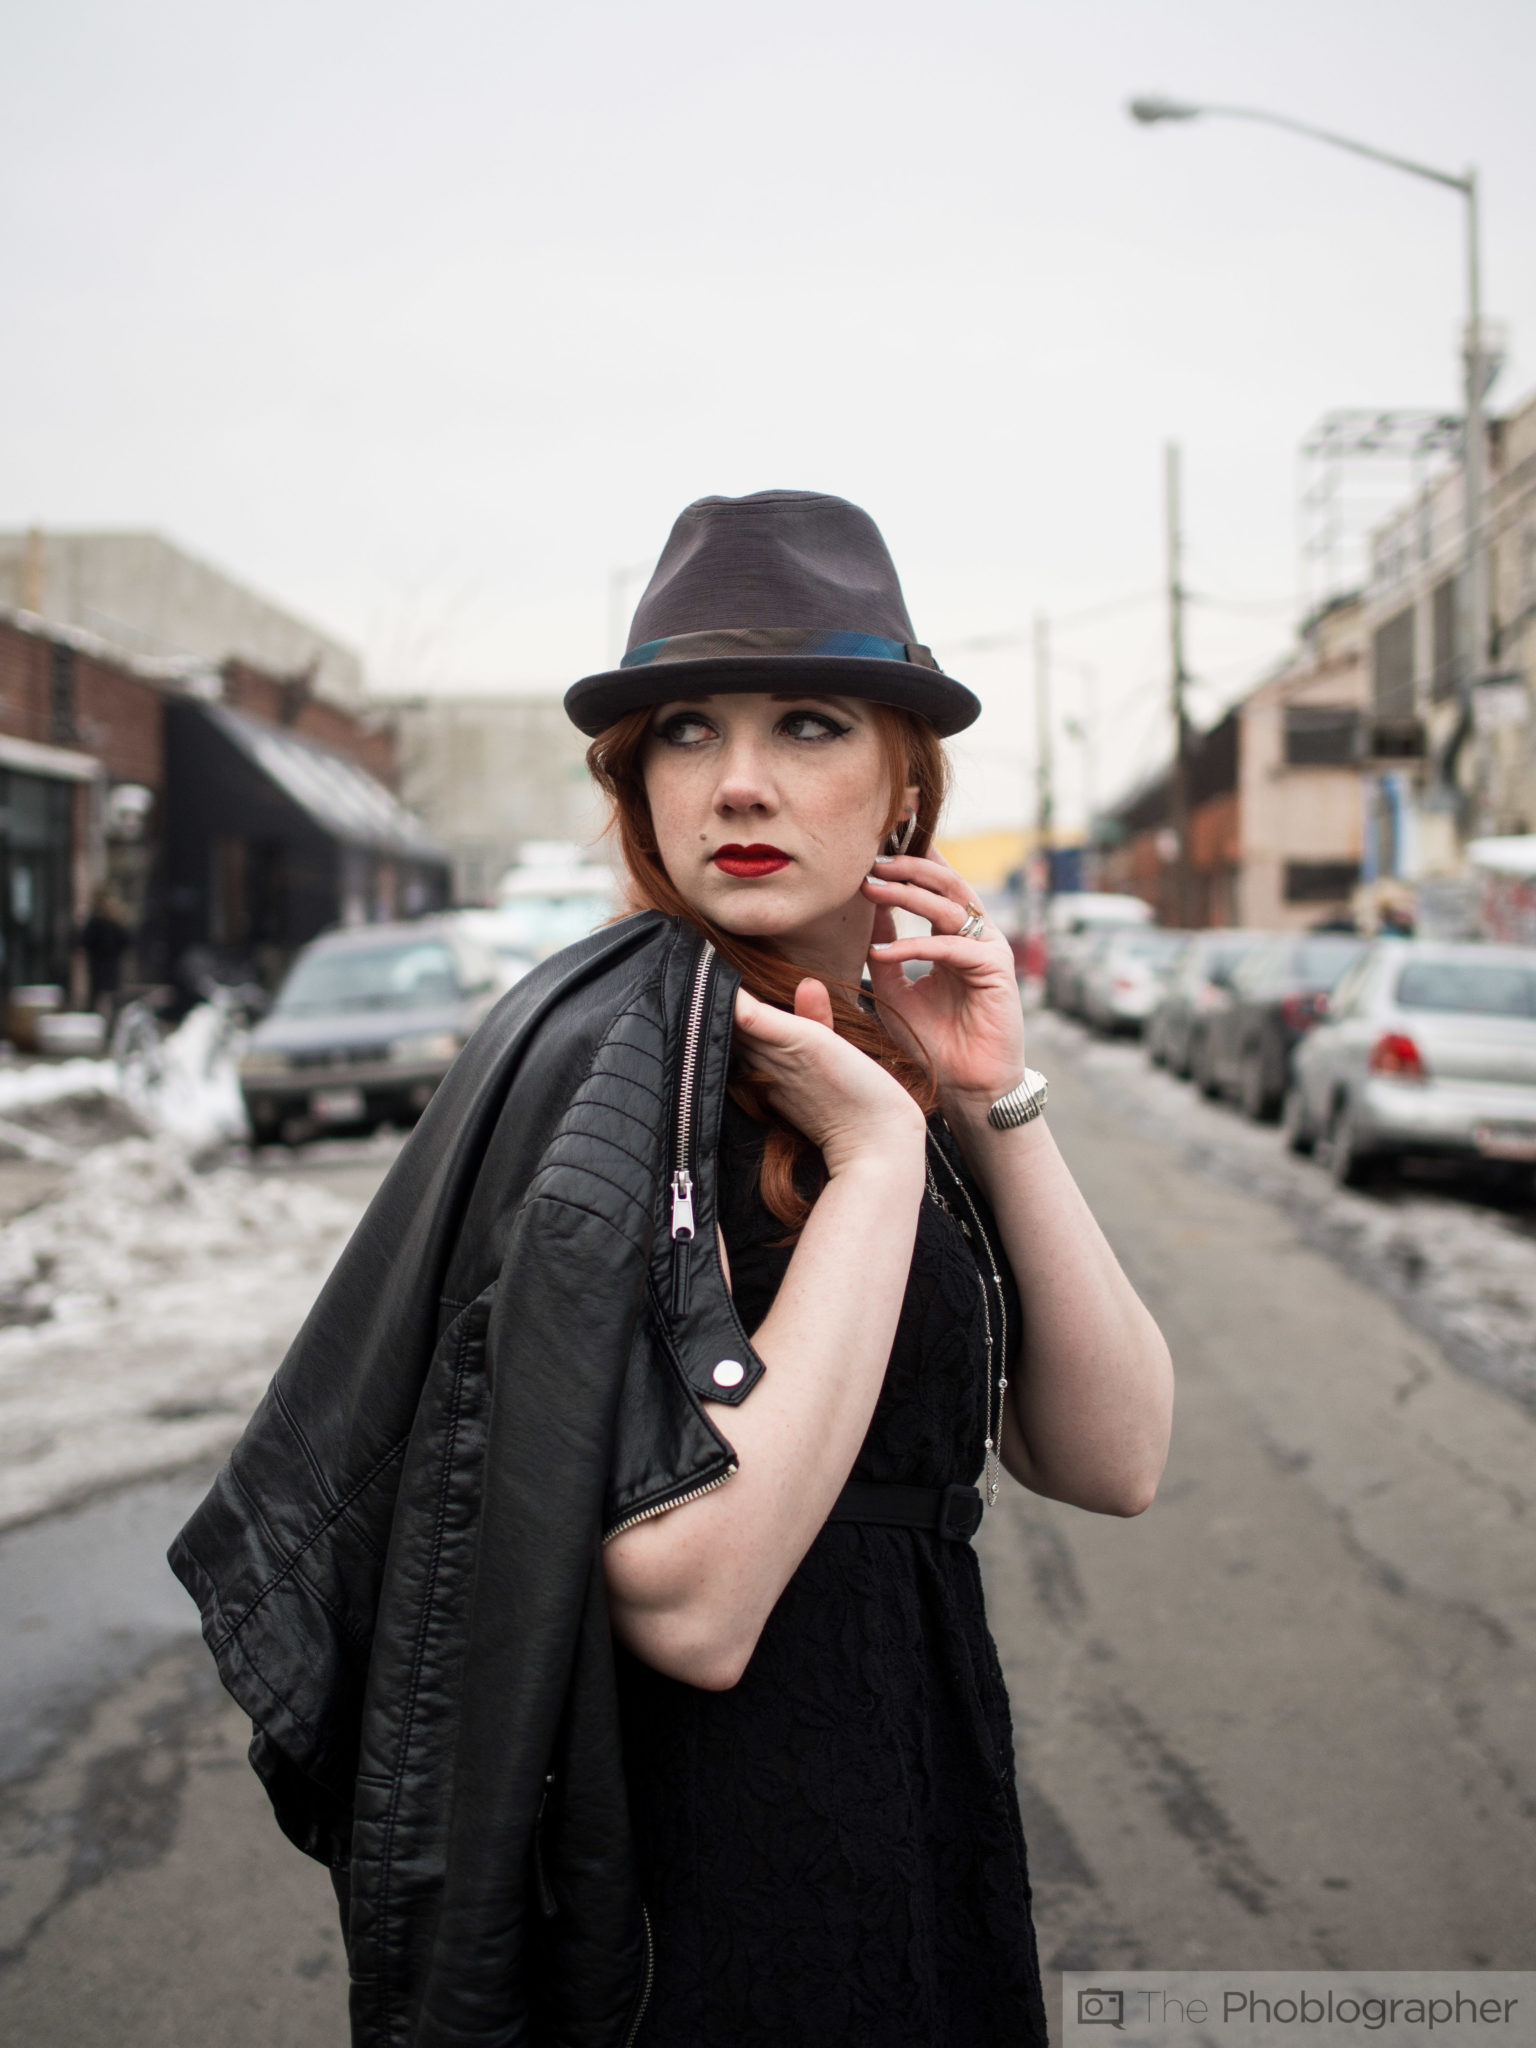
Model: Grace Morales
Everyone tells you not to backlight, right?
Well guess what–they’re wrong.
Backlighting works so incredibly well that sometimes it’s the only type of natural lighting that I’ll ever use. When your subject is backlit, then the sun or main light source is behind them. The advantages of backlighting are that your subject doesn’t need to struggle to keep their eyes wide open because they’re otherwise staring into the sun, but it can also look really beautiful in the right situations.
What we encourage you to embrace is shooting during the Golden Hour or the Blue Hour. These times are also known as sunrise/sunset for the Golden Hour and Dawn/Dusk for the blue hour. The sun’s golden rays can give your image and your subject’s skin a healthy and radiant glow.
When you’re backlighting, your camera will most likely try to expose your scene so that you’ll get details in the sky and not on your subject. As a result, your subject will be silhouetted in the shadows. You can try to fix this in post by boosting the shadows and overall exposure, but it won’t always give you the most pleasing results.
Providing that your camera is set to the evaluative metering mode, then you’ll generally want to overexpose your scene by around 1 to 1 1/2 stops. The fact that you’re making the scene brighter will be able to bring out more details on your subject.
But to get even better results, you’ll need to experiment with metering modes to see exactly what your camera is capable of doing.
Spot Meter; Don’t Use Evaluative or Center
Most cameras stay in a mode known as evaluative metering mode–which means that your camera will read the entire scene and find an average setting that works best for the midtones. But if you choose spot metering, it will work with the scene to get the best and most balanced exposure that it can based on that spot that you’ve selected. Usually, this spot is associated with where you’re focusing on.
Aperture/Shutter Priority with Exposure Compensation
If you’re not going to shoot in manual mode, then keep in mind that you can shoot in Aperture Priority or Shutter priority and use exposure compensation. Sure this may sound very basic, but you’d amazed at how many experienced photographers don’t use this feature.
During the Day is When You Should Use a Flash
Despite the fact that it seems a bit absurd, during the day is when you should be using a flash to fill in shadows on a subject’s face. But with that said, just try to fill in the shadows and nothing more unless you plan on doing more advanced tactics like overpowering the sun.
Get rid of the ads!
Did you enjoy reading this article as much as we enjoyed writing it? There's a way to support us and our reporting, getting ad-free navigation and more as a bonus. Subscribe to us for less than a coffee per month —just $3.99— or take advantage of our yearly subscription with a hefty discount for only $25.- An ad-free experience
- A free mystery box for Lightroom or Capture One
- All the books in our store
- 20% discount on Capture One
- 30% discount on Imalume Photo Theft Protection
- 20% off Herbs and Kettle Tea Company.
- 20% off your order from MPIX printing services.
- 5% off Viltrox Products via their eCommerce store.
- 10% off all film developing, printing and scanning services from Blue Moon Camera and Machine
- 15% off 7Artisans products: The lens and accessory maker is offering a sweet discount for Phoblographer's readers.