
The Golden Hour: it’s one of the times that photographers talk about the most. If you’re new to shooting, this is a time when the Earth is bathed in lots of golden and orange natural light. Think about all the times in the movies when you’ve seen a couple romantically watching the sunset or the sunrise together. This romantic moment isn’t just because of the bond between the couple but also because of the fact that this daily occurrence is such a jaw-droppingly beautiful one.
So, are you ready to shoot?
It Occurs During Sunrise and Sunset

A better way of saying what the Golden Hour is is to call it what it really and colloquially is known as: sunrise or sunset. During this time period, the sun is just coming up or going down and is a much more orange tinted color than it normally is. If you’re choosing to shoot landscapes, you can take advantage of being able to shoot during the early morning hours or a period when folks are either still at work or way after it depending on the season.
Engagement photographers try to shoot around sunset because that’s when their subjects may be more alive rather than the first hours of the morning. However, if you’re a wildlife photographer, your best bet at capturing some of your best images is by being up before the crack of dawn. This is when the animals are just waking up.
Sometimes It Can be Overwhelming
Mostly everyone talks about how gorgeous the golden hour can be, but indeed it can be tough to work with, too. At certain times of the year, the light can be overwhelmingly orange and strong. In fact, it can make an image look pretty horrible. To get around the problem, what you’ll often have to do is wait for the light to be diffused by a cloud. This softens up the effect of the orange tint, but it can also be a very short window of time for you to shoot in.
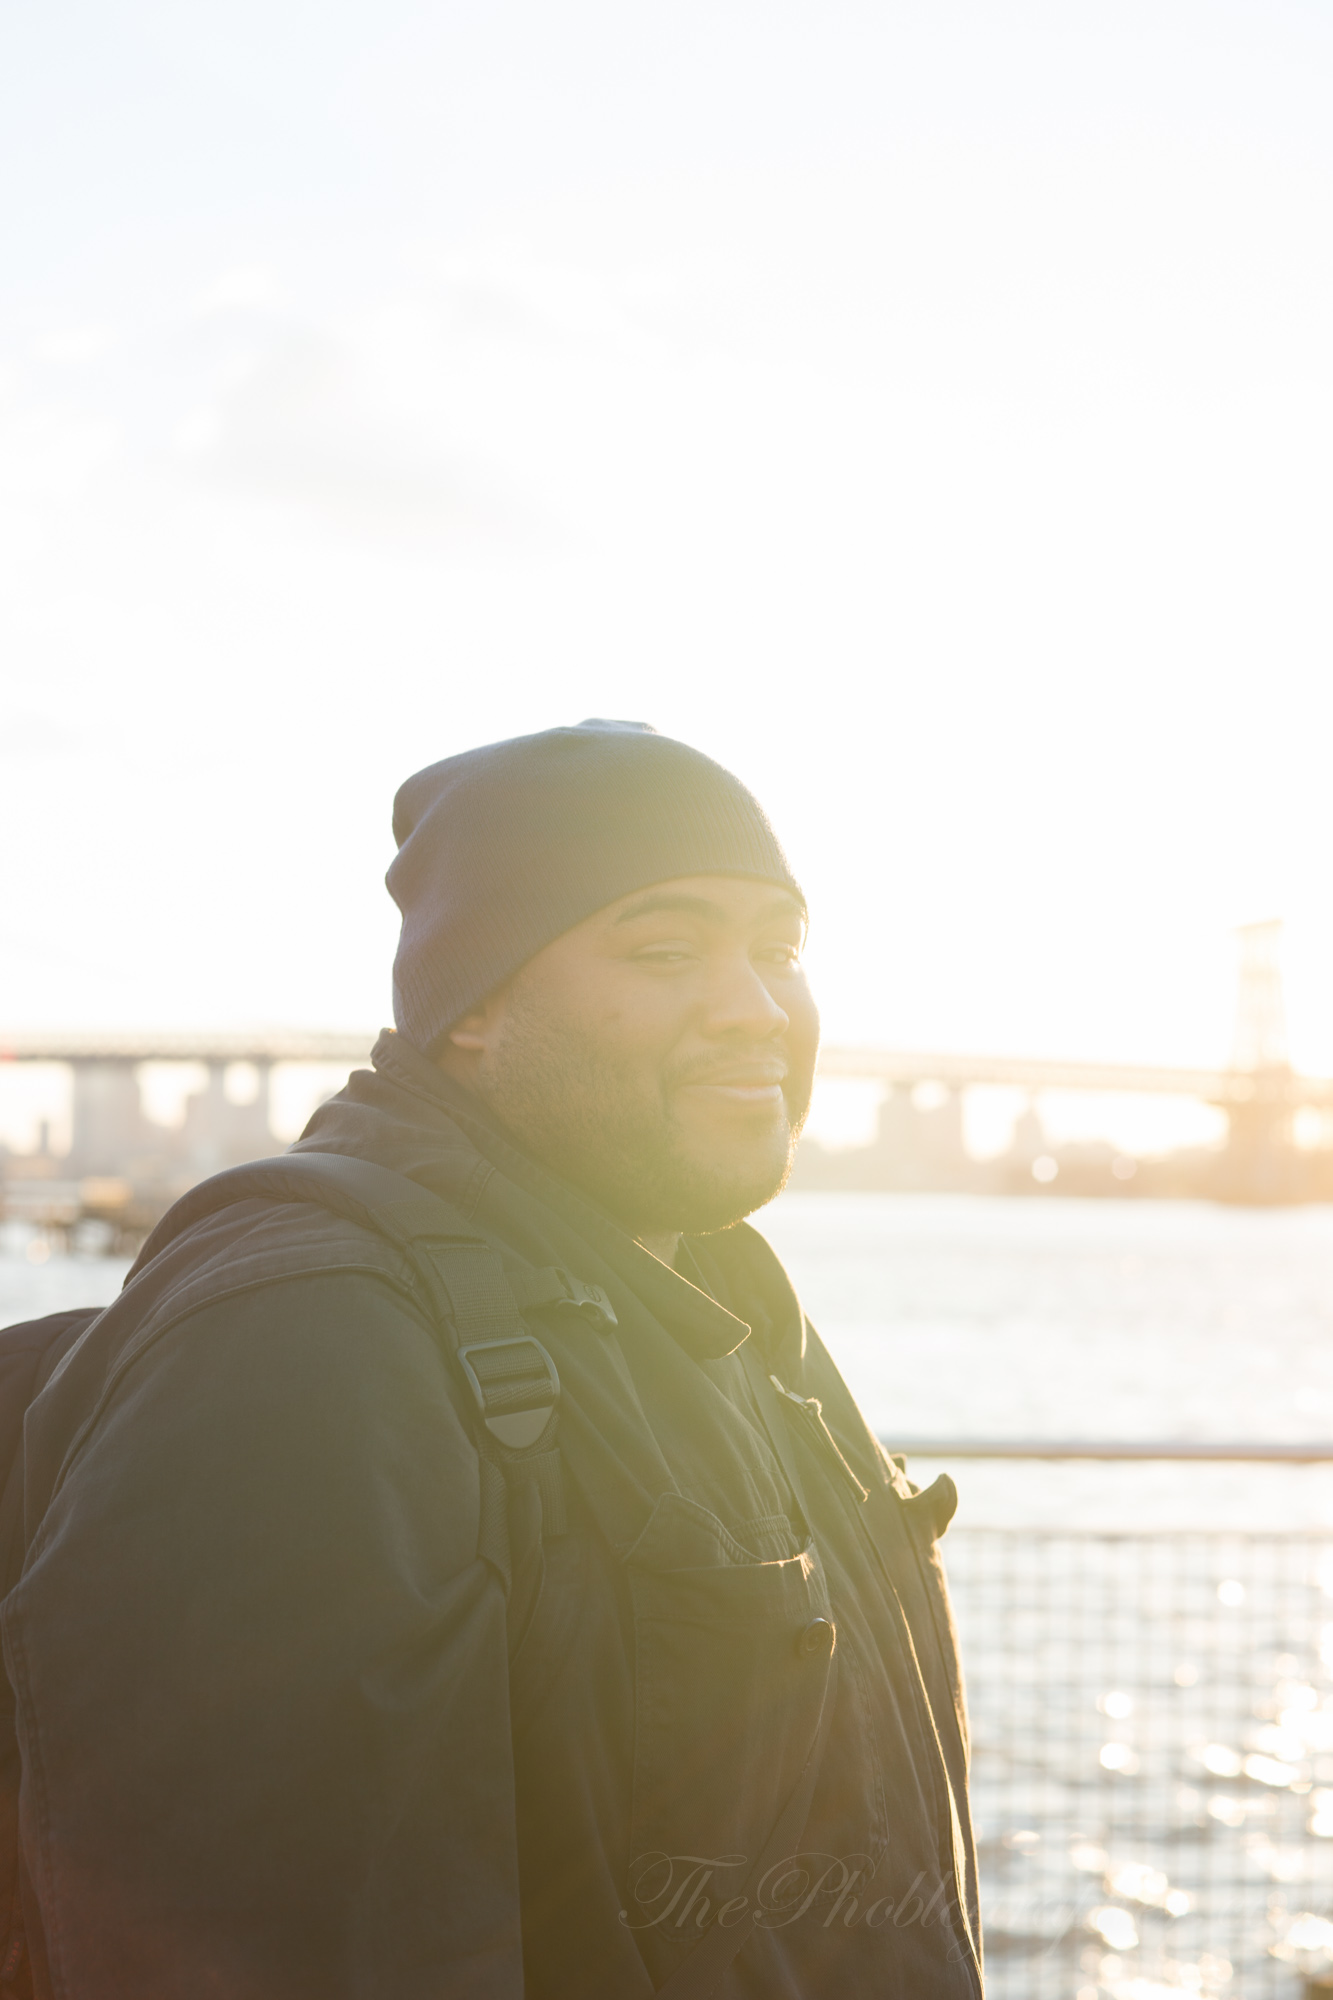
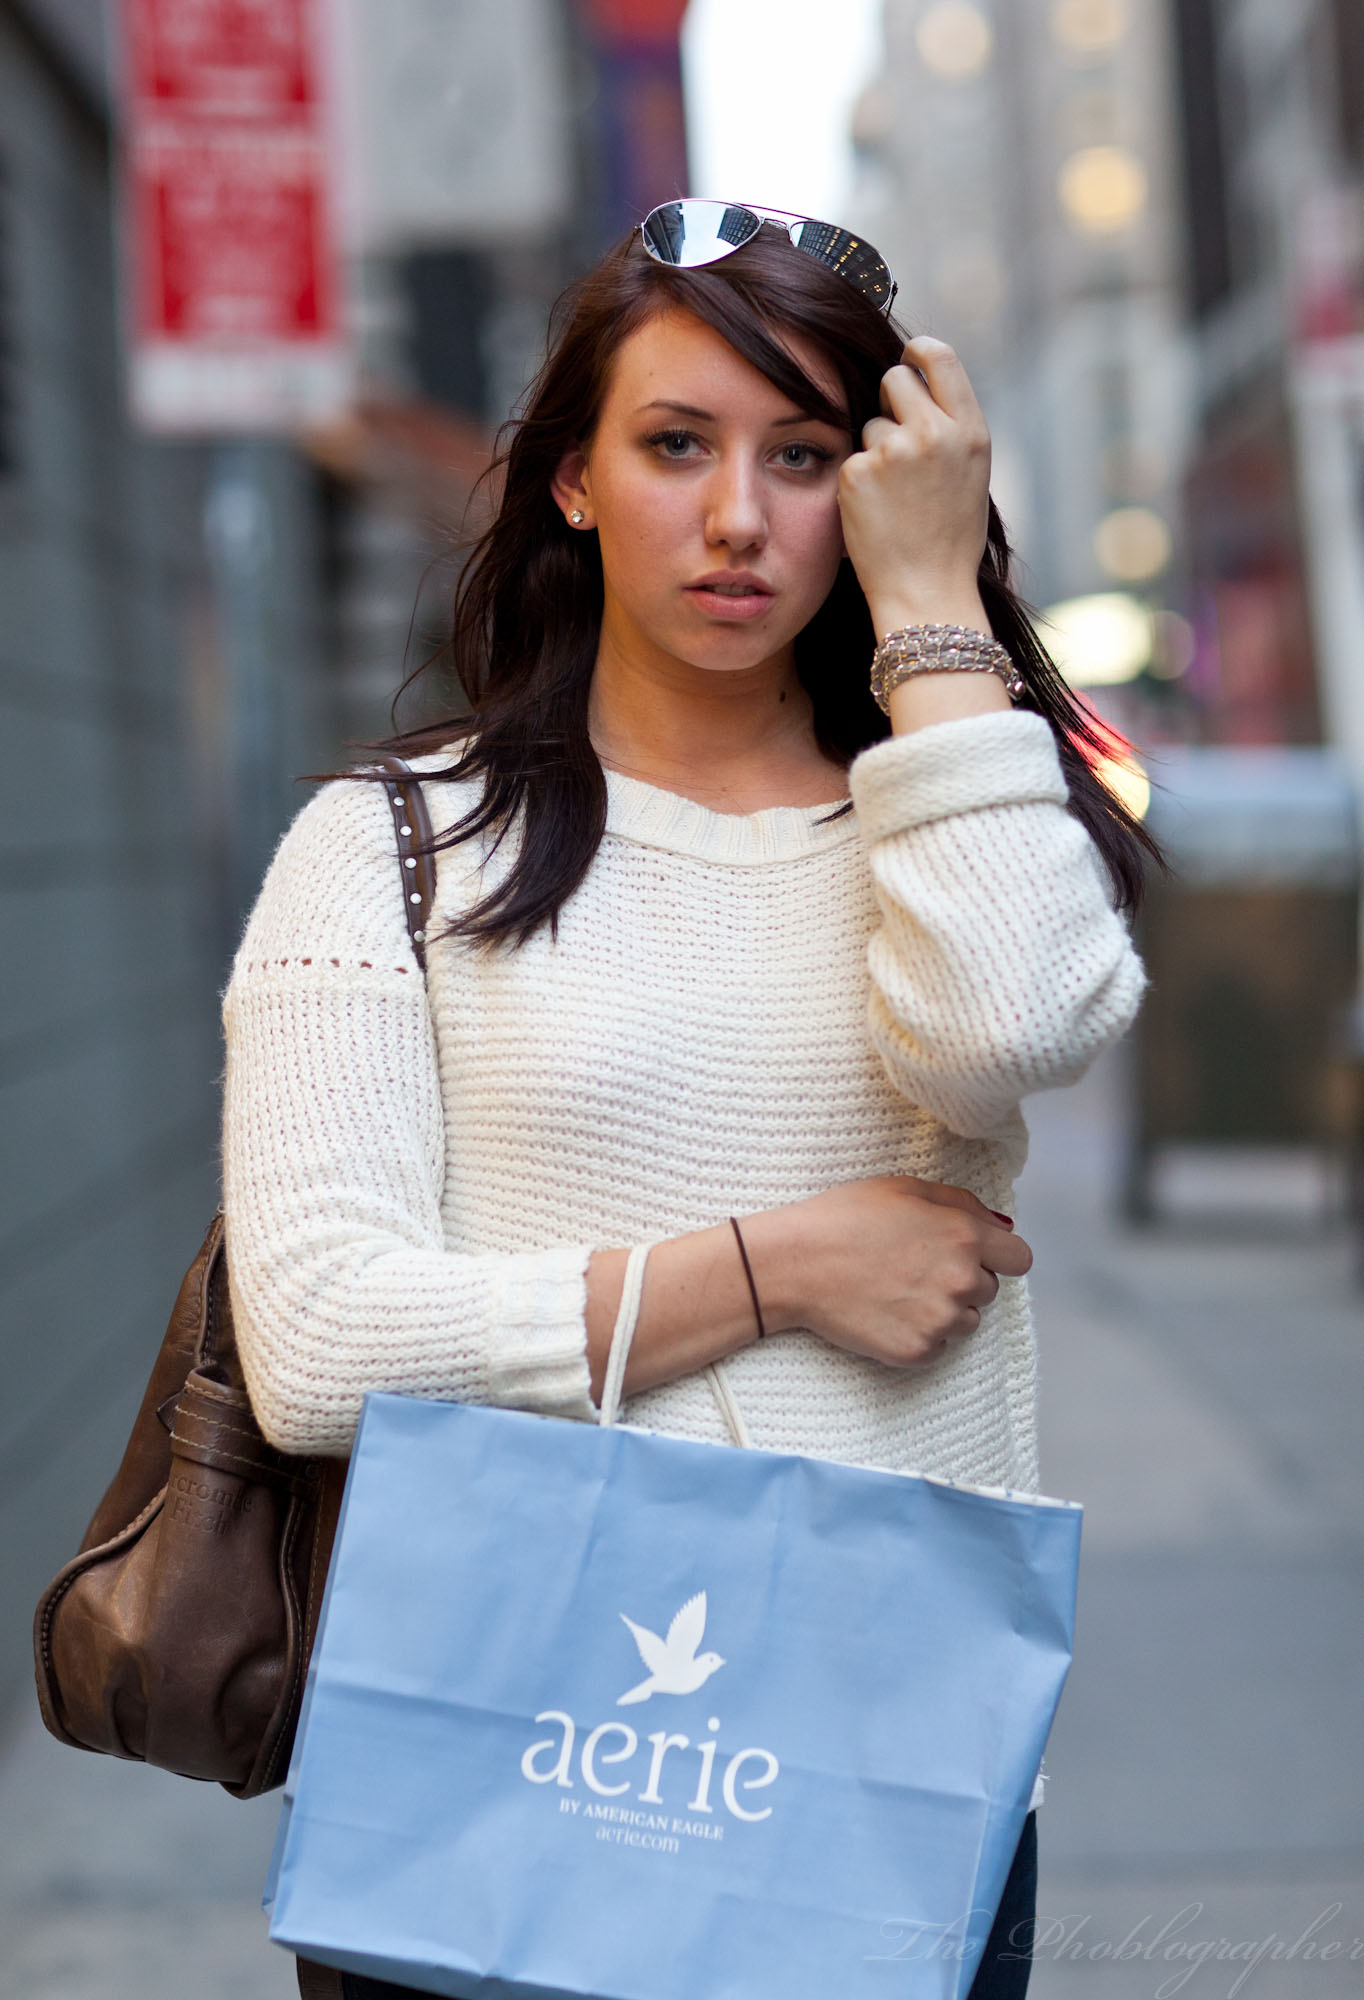
For Portraiture: It’s At Its Best When You Backlight a Subject or the Sun is Diffused
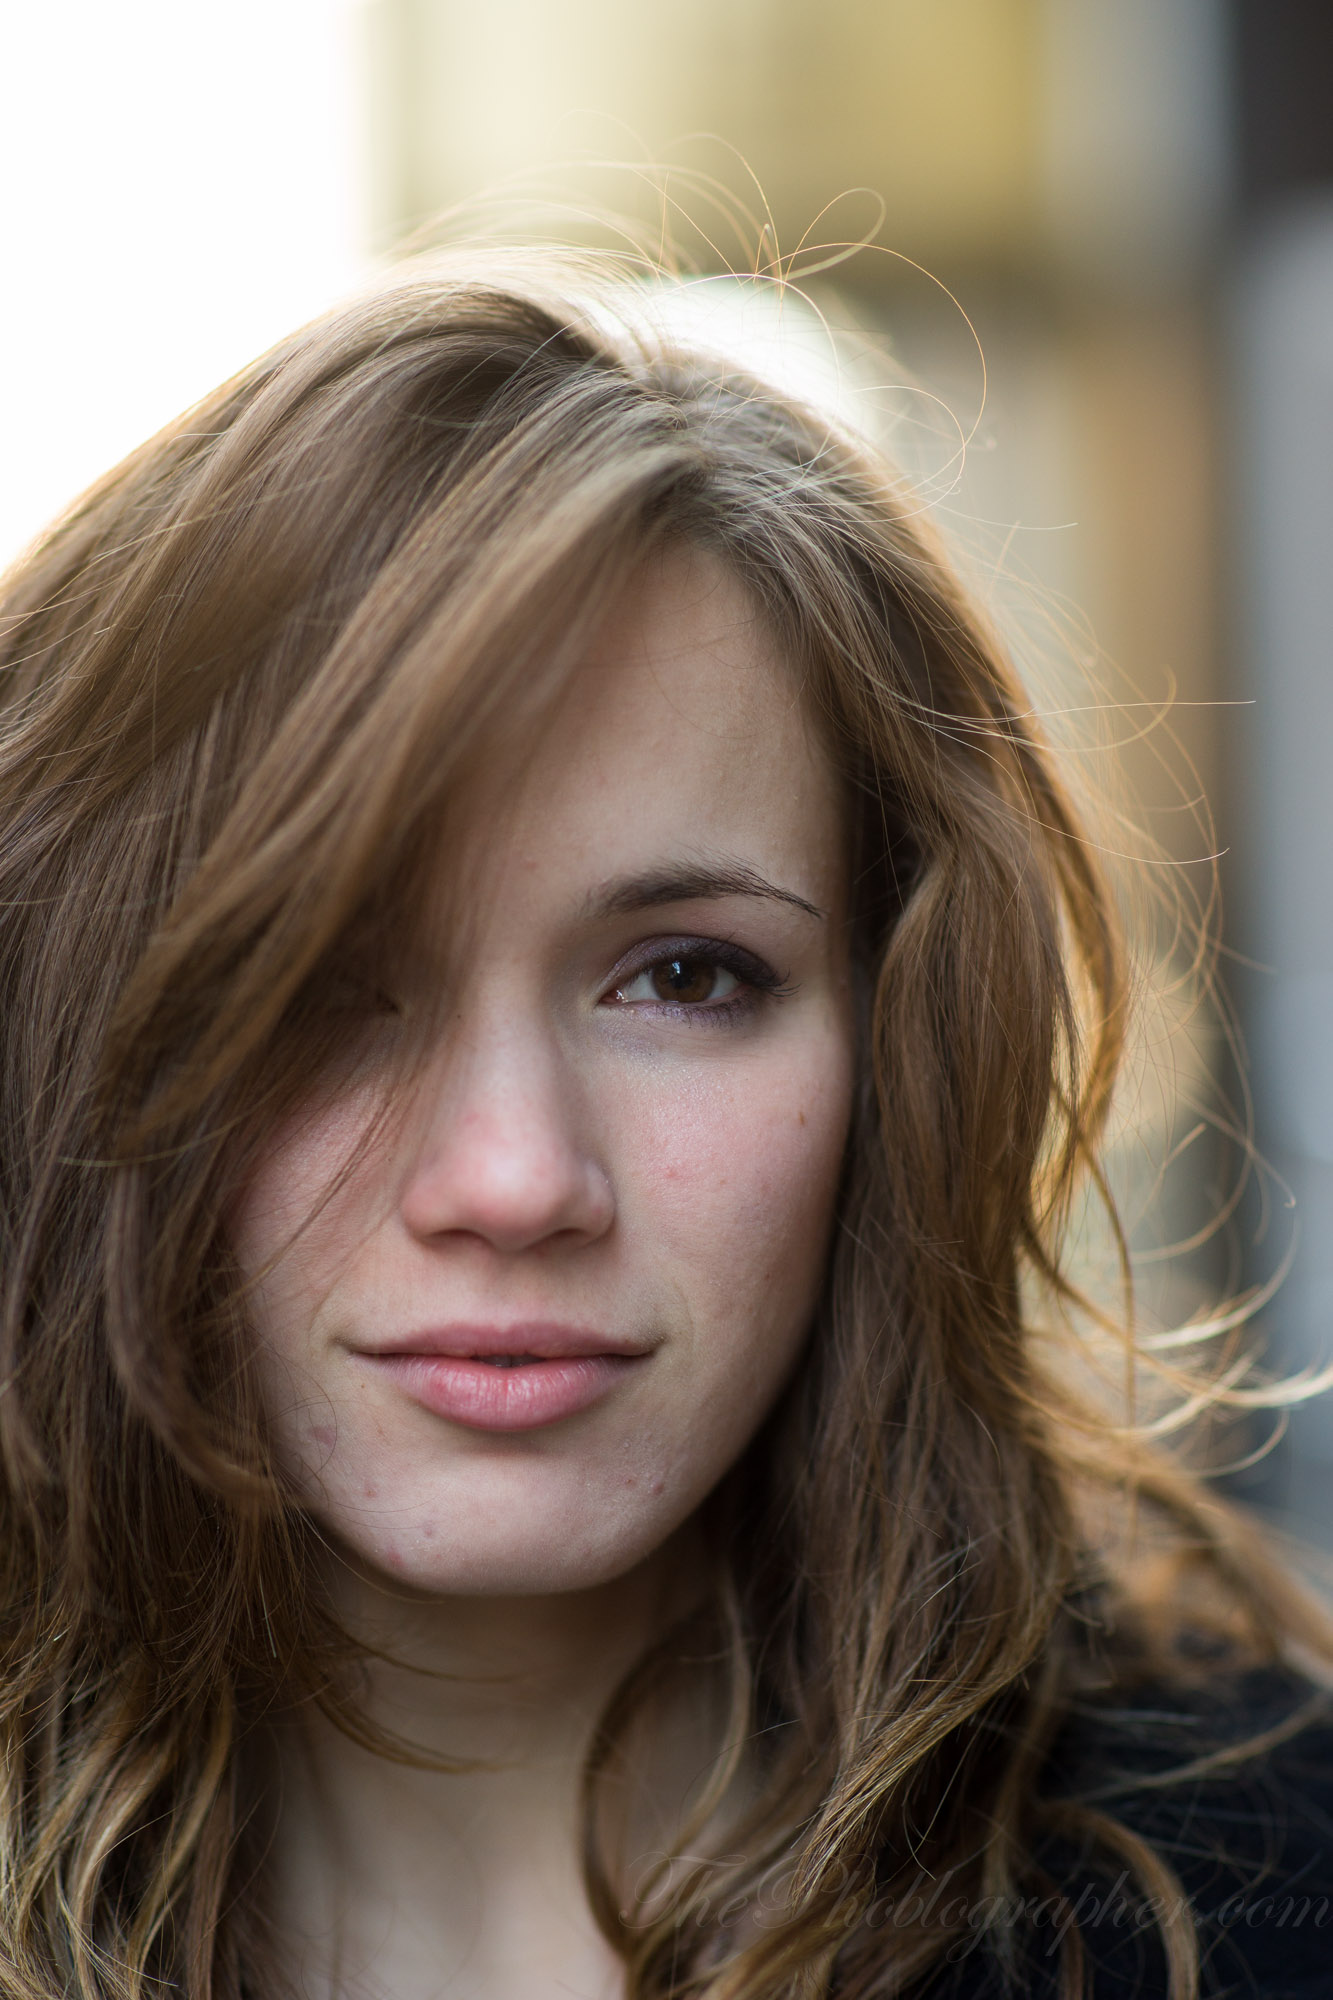
The Golden Hour is an excellent time for portraiture. If you live in a big city, then you can take advantage of the natural diffusion that tall buildings can give you when shooting a subject. But if you’re out in the woods or the forest (and even the suburbs) then it may be tougher to work with the natural light. As we stated earlier on, you’re best off waiting for a cloud to diffuse the sun or by backlighting you subject.
Though many portrait photographers will tell you to never backlight your images, we recommend that you don’t listen to them as backlit images can be absolutely beautiful. And here’s how.
For Landscapes: Spot Meter For the Shadows Then Underexpose By Up to a Stop
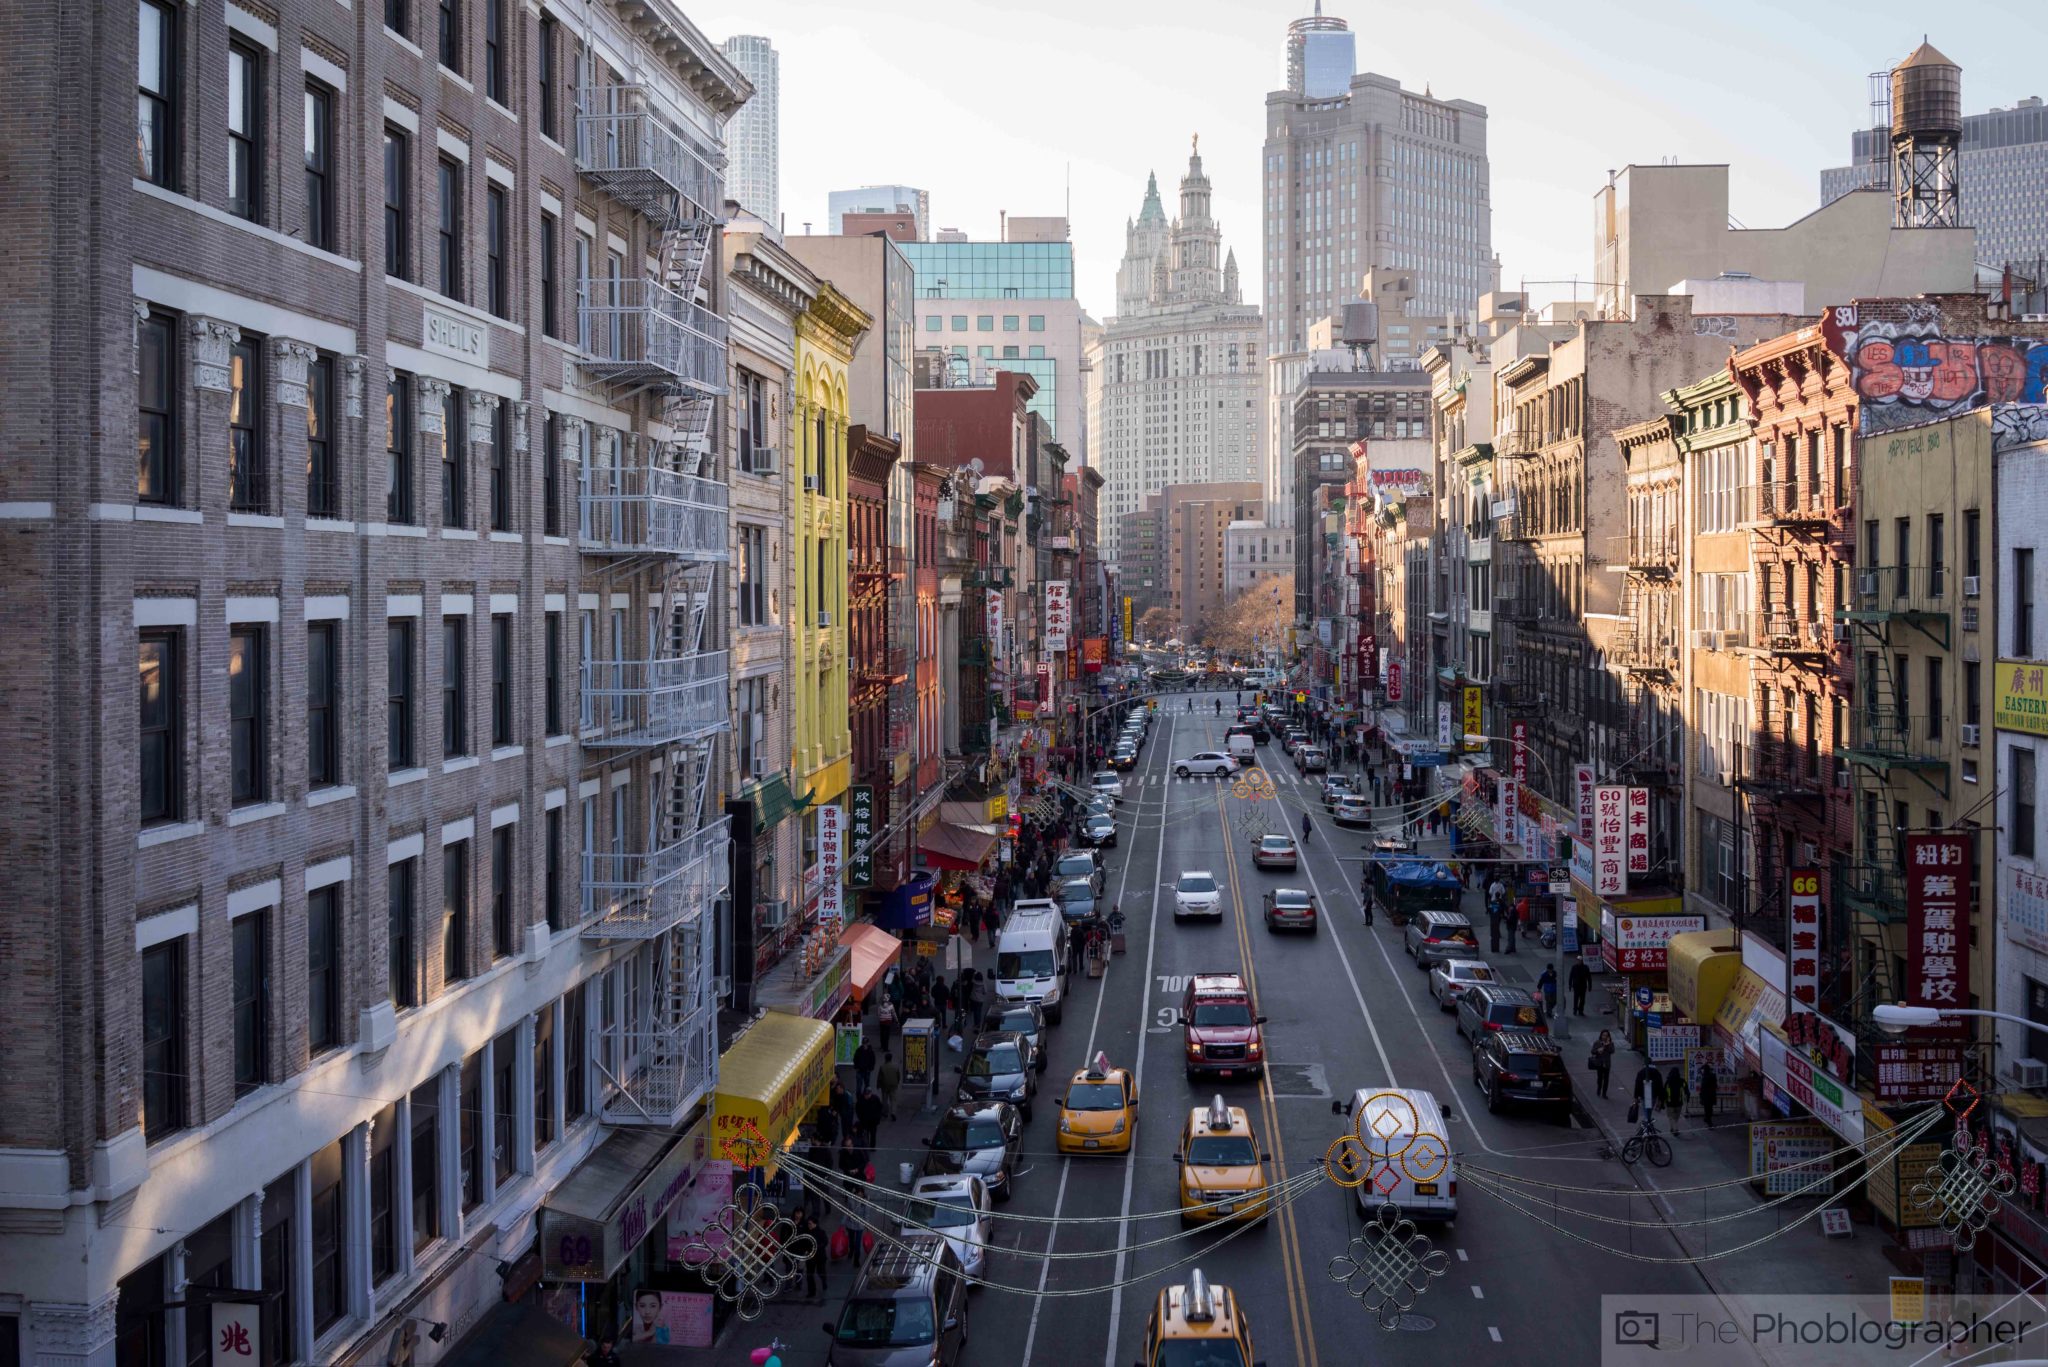
The dark art of metering is something that needs to be mastered by many. Automatic metering and what your camera is telling you will absolutely never help you deliver the image that you want. One way around this problem that specifically applies to landscape and cityscape shooting has to do with spot metering. But as a specific trick, you can try to meter a scene for the shadows and then just underexpose by a stop to balance out the details in the highlights and the shadows.
The rest can be done in post-production.
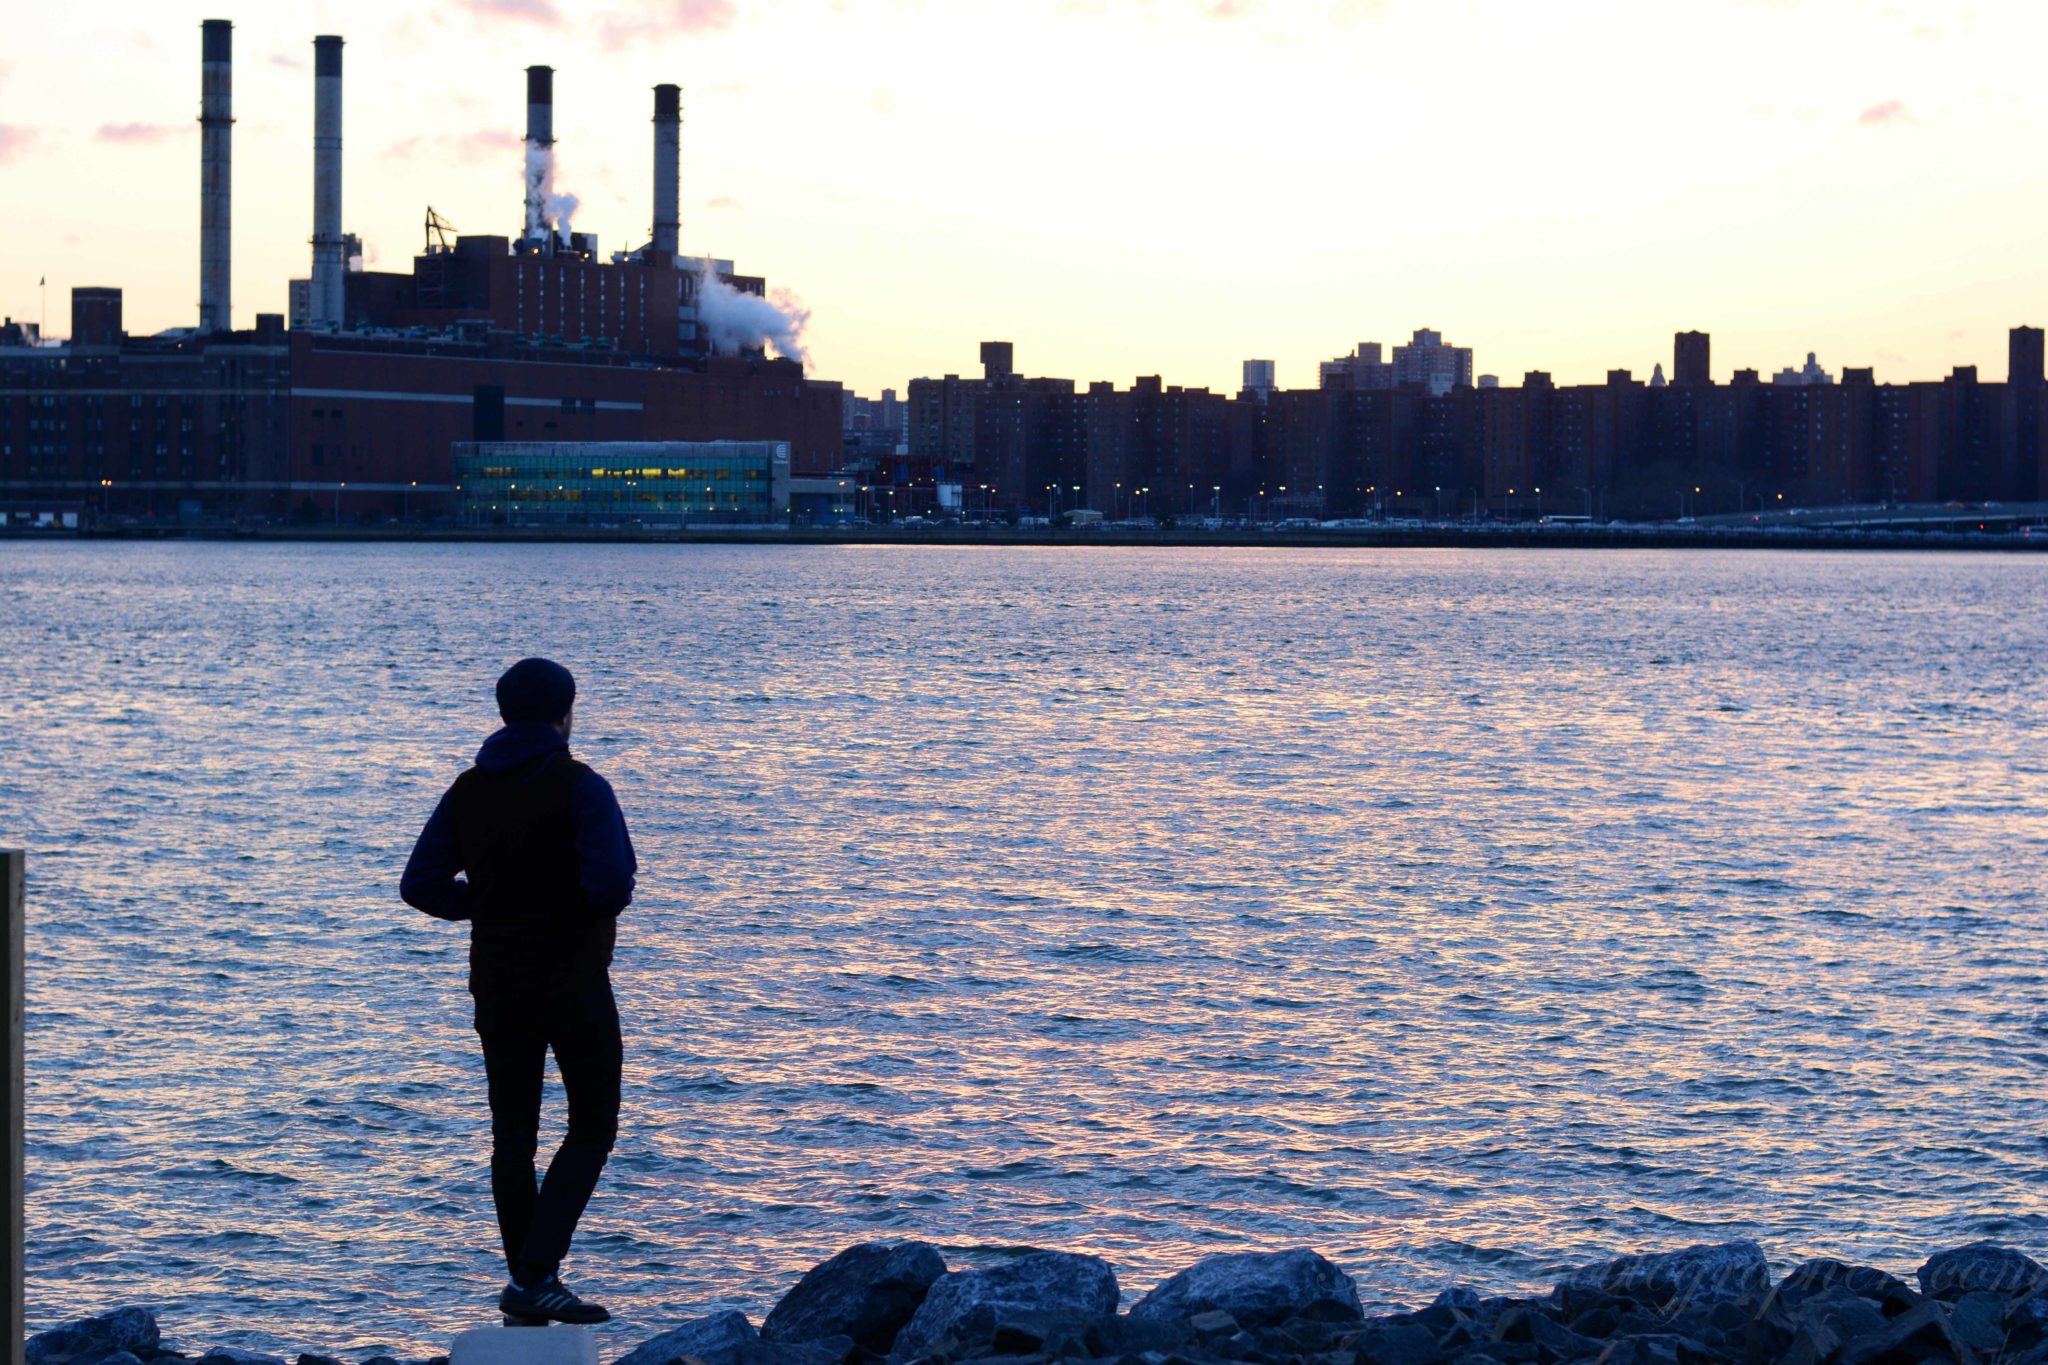
The Blue Hour Can Be Even Better
 While everyone talks about the Golden Hour, something that almost no one realizes (and many have yet to discover) is the Blue Hour. The Blue Hour can be equated to dusk and dawn–and it is right before the sun comes up (in the morning) and right after the sun goes down (in the evening.) During the blue hour, you’ll get the remnants of sunlight and the Earth will be bathed in lots of blue light. This blue light is absolutely beautiful and tends to work well with skin tones as well as landscapes.
During this period, you’ll need to raise your ISO settings a bit more and open up your aperture. However, the light will be at its softest and you’ll experience little to no hard shadows on your subject if you’re shooting portraits.
The best thing about the Blue Hour is that it works equally well in both suburbs and large cities. The start of what will (or was) great warm light is equally diffused in both scenarios.
The biggest problem with shooting during the Blue hour though is that it isn’t an hour long. In fact, you’ll be lucky if it’s around 15 minutes long. Because of this, we recommend it for people with a full creative vision in mind and the technical know how to get it done. The reason for this is because if you don’t get the image right in the camera the first time around, you’ll need to wait hours and hours until the next blue hour.
So good luck.
For more, please follow us on Facebook, Google+, Flickr and Twitter.
Get rid of the ads!
Did you enjoy reading this article as much as we enjoyed writing it? There's a way to support us and our reporting, getting ad-free navigation and more as a bonus. Subscribe to us for less than a coffee per month —just $3.99— or take advantage of our yearly subscription with a hefty discount for only $25.- An ad-free experience
- A free mystery box for Lightroom or Capture One
- All the books in our store
- 20% discount on Capture One
- 30% discount on Imalume Photo Theft Protection
- 20% off Herbs and Kettle Tea Company.
- 20% off your order from MPIX printing services.
- 5% off Viltrox Products via their eCommerce store.
- 10% off all film developing, printing and scanning services from Blue Moon Camera and Machine
- 15% off 7Artisans products: The lens and accessory maker is offering a sweet discount for Phoblographer's readers.