Last Updated on 06/30/2014 by Julius Motal
Lots of photographers try to make things simple when it comes to lighting by working with a single source of illumination. And to be honest, we don’t blame them. When you work with lots of lights, you’ll need to learn ratios and have a better idea of how you want the illumination from the lights to work. So working with one artificial light is usually one of the simplest and most portable way to create images.
Here are some of the best ways to do just that.
The Obvious: Take it Out of the Hot Shoe

Photographers have been saying this for a long time now, and for the most part it’s totally true. One of the biggest photographers that practices this philosophy is the legend himself Zack Arias. We understand why a wedding photographer should shoot with a flash in the hot shoe and a Rogue Flash Bender attached–that totally makes sense in the situation that they’re in. But unless you’re doing that or shooting an event, there really is no need ot limit yourself like that with the light source is one spot and able to face in many directions.
So why should you get it out of the hot shoe to begin with?
– Getting it off of the camera hot shoe and on a light stand gives you a variety of different lighting effects that lets you have more control over the way that the image looks.
– It allows you to have a heck of a lot more creative freedom
– It lets you control the illumination of the subject and the scene much better
– It maks the light a heck of a lot easier to work with in terms of where you want it to be aimed. In turn, this can result in longer battery life of the flash/strobe
And lastly
– You can put a light modifier on the flash to change the way that the light spreads and looks overall
Of anything on this list, we strongly recommend that you get a really big light modifier.
Get a Big Modifier
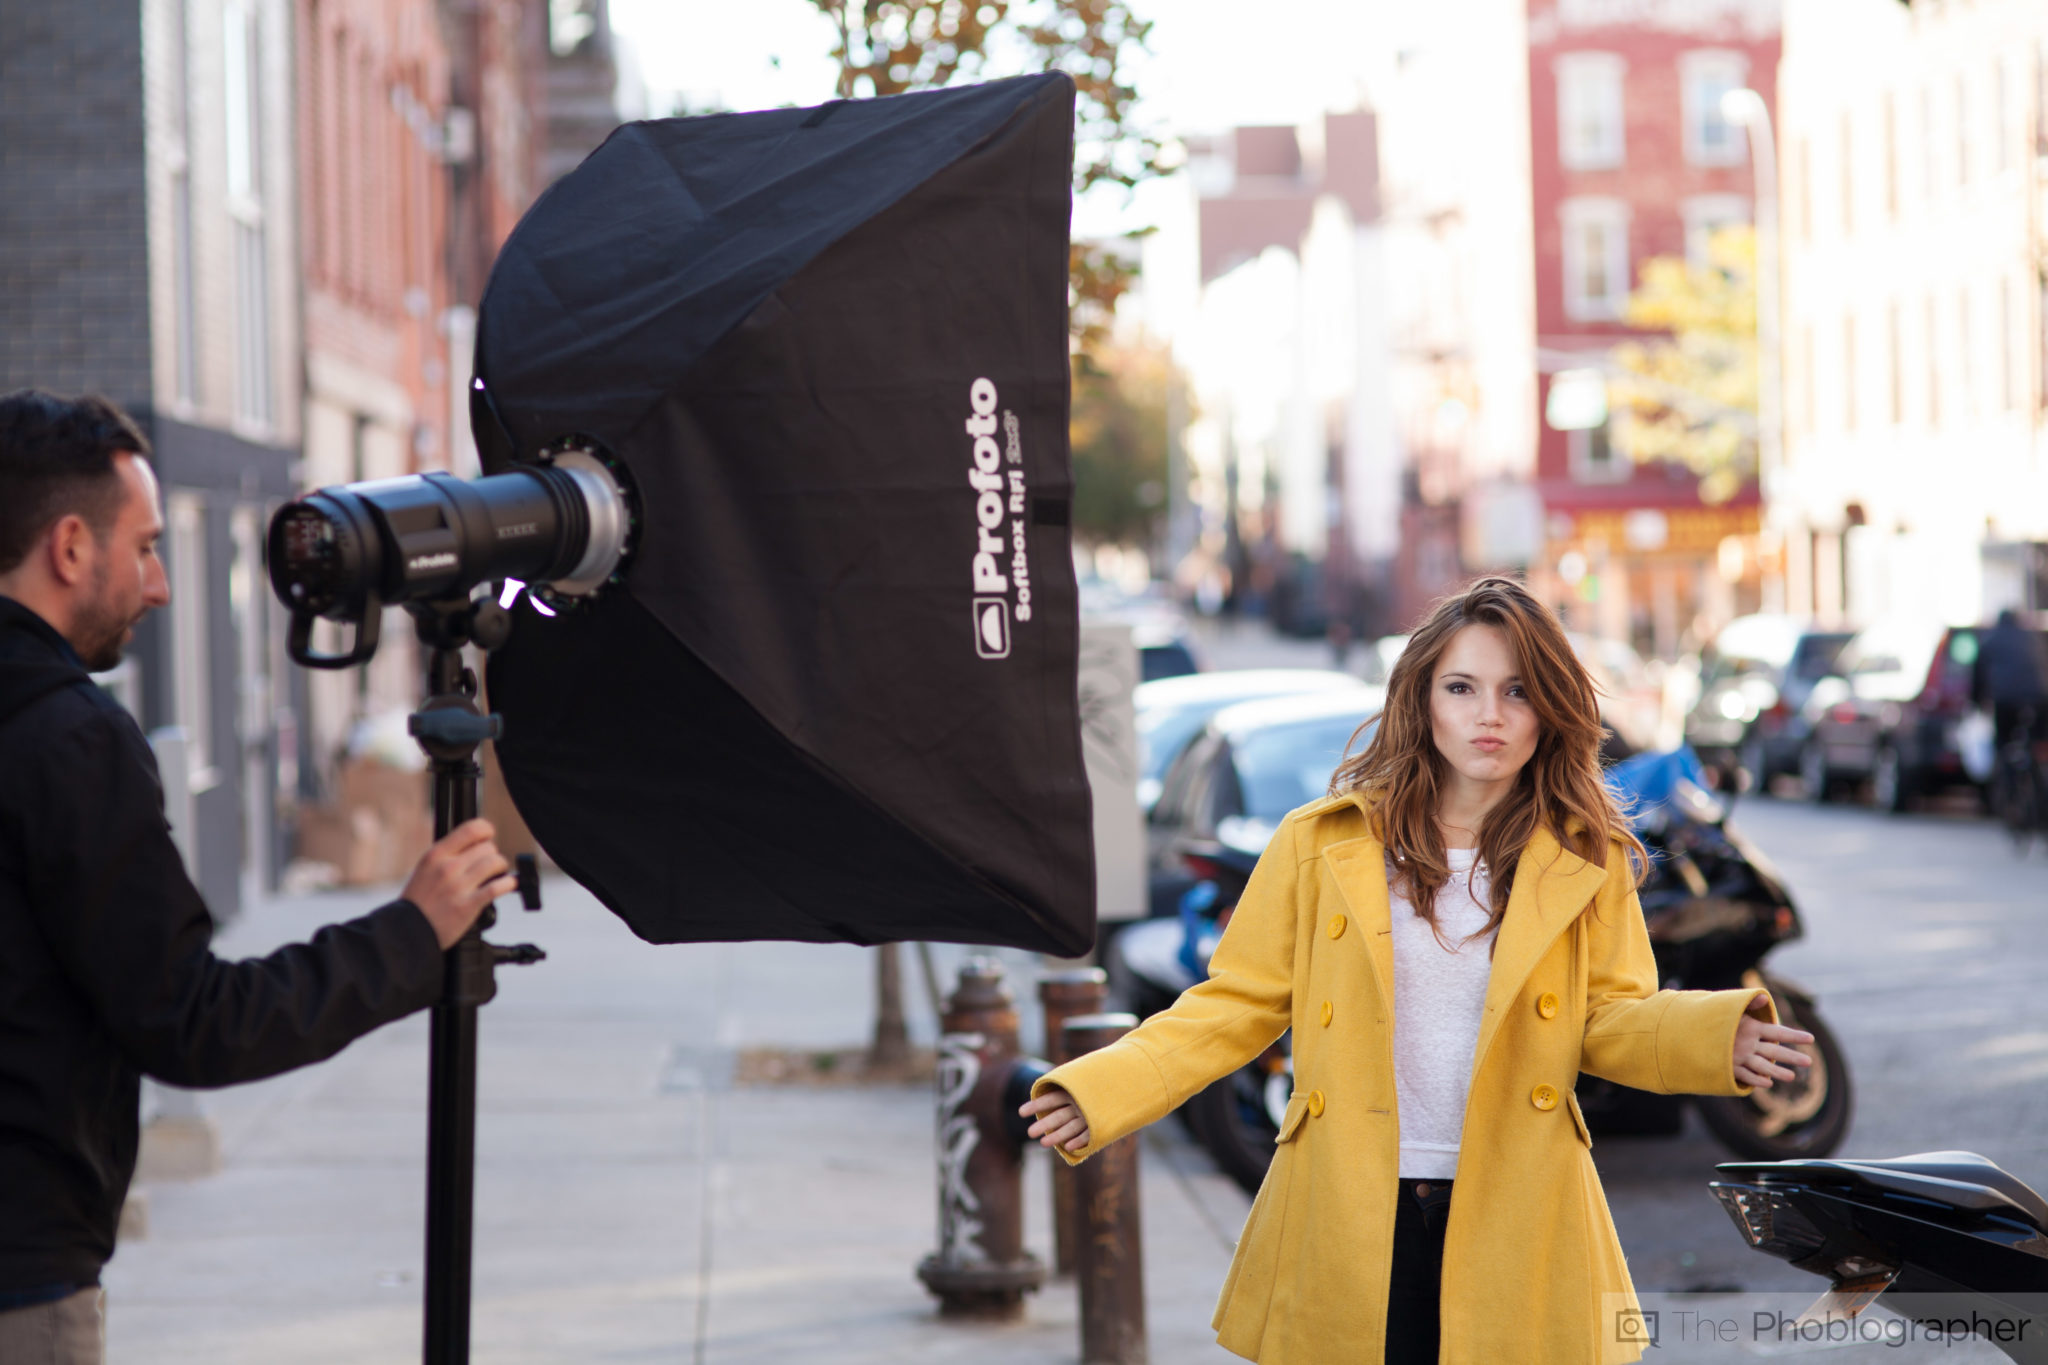
When it comes to lighting, the rule is often to make it look soft. Though there are surely creative exceptions to this rule, it’s the general norm with portraiture and other types of work. In order to do this, you’ll need a big light modifier. In general, we recommend anything 36 inches or larger. As a rule of thumb:

– The larger the light source is in relation to the object, the softer the light.
– The smaller the light source is in relation to the object, the harder the light.
The best way to figure this out and observe this is with the sun. When the sun is shining down on a cloudless day, it creates hard shadows on everything below it. As a note, hard shadows can be differentiated by how dark they are. Soft shadows, and therefore soft light, has light shadows.
In conjunction with the sun theory, when a big fluffy cloud moves in front of the sun, it essentially gives off the same look as a softbox. What basically happens then is the fluffy cloud becomes the light source and instead of a small sun being the light source the big cloud is. As such, the big cloud is a big light source–and therefore soft.
Some of our favorite light modifiers to work with come from Phottix, Profoto and Westcott. Umbrellas, softboxes, and octabanks will be some of your best friends when it comes to this type of work.
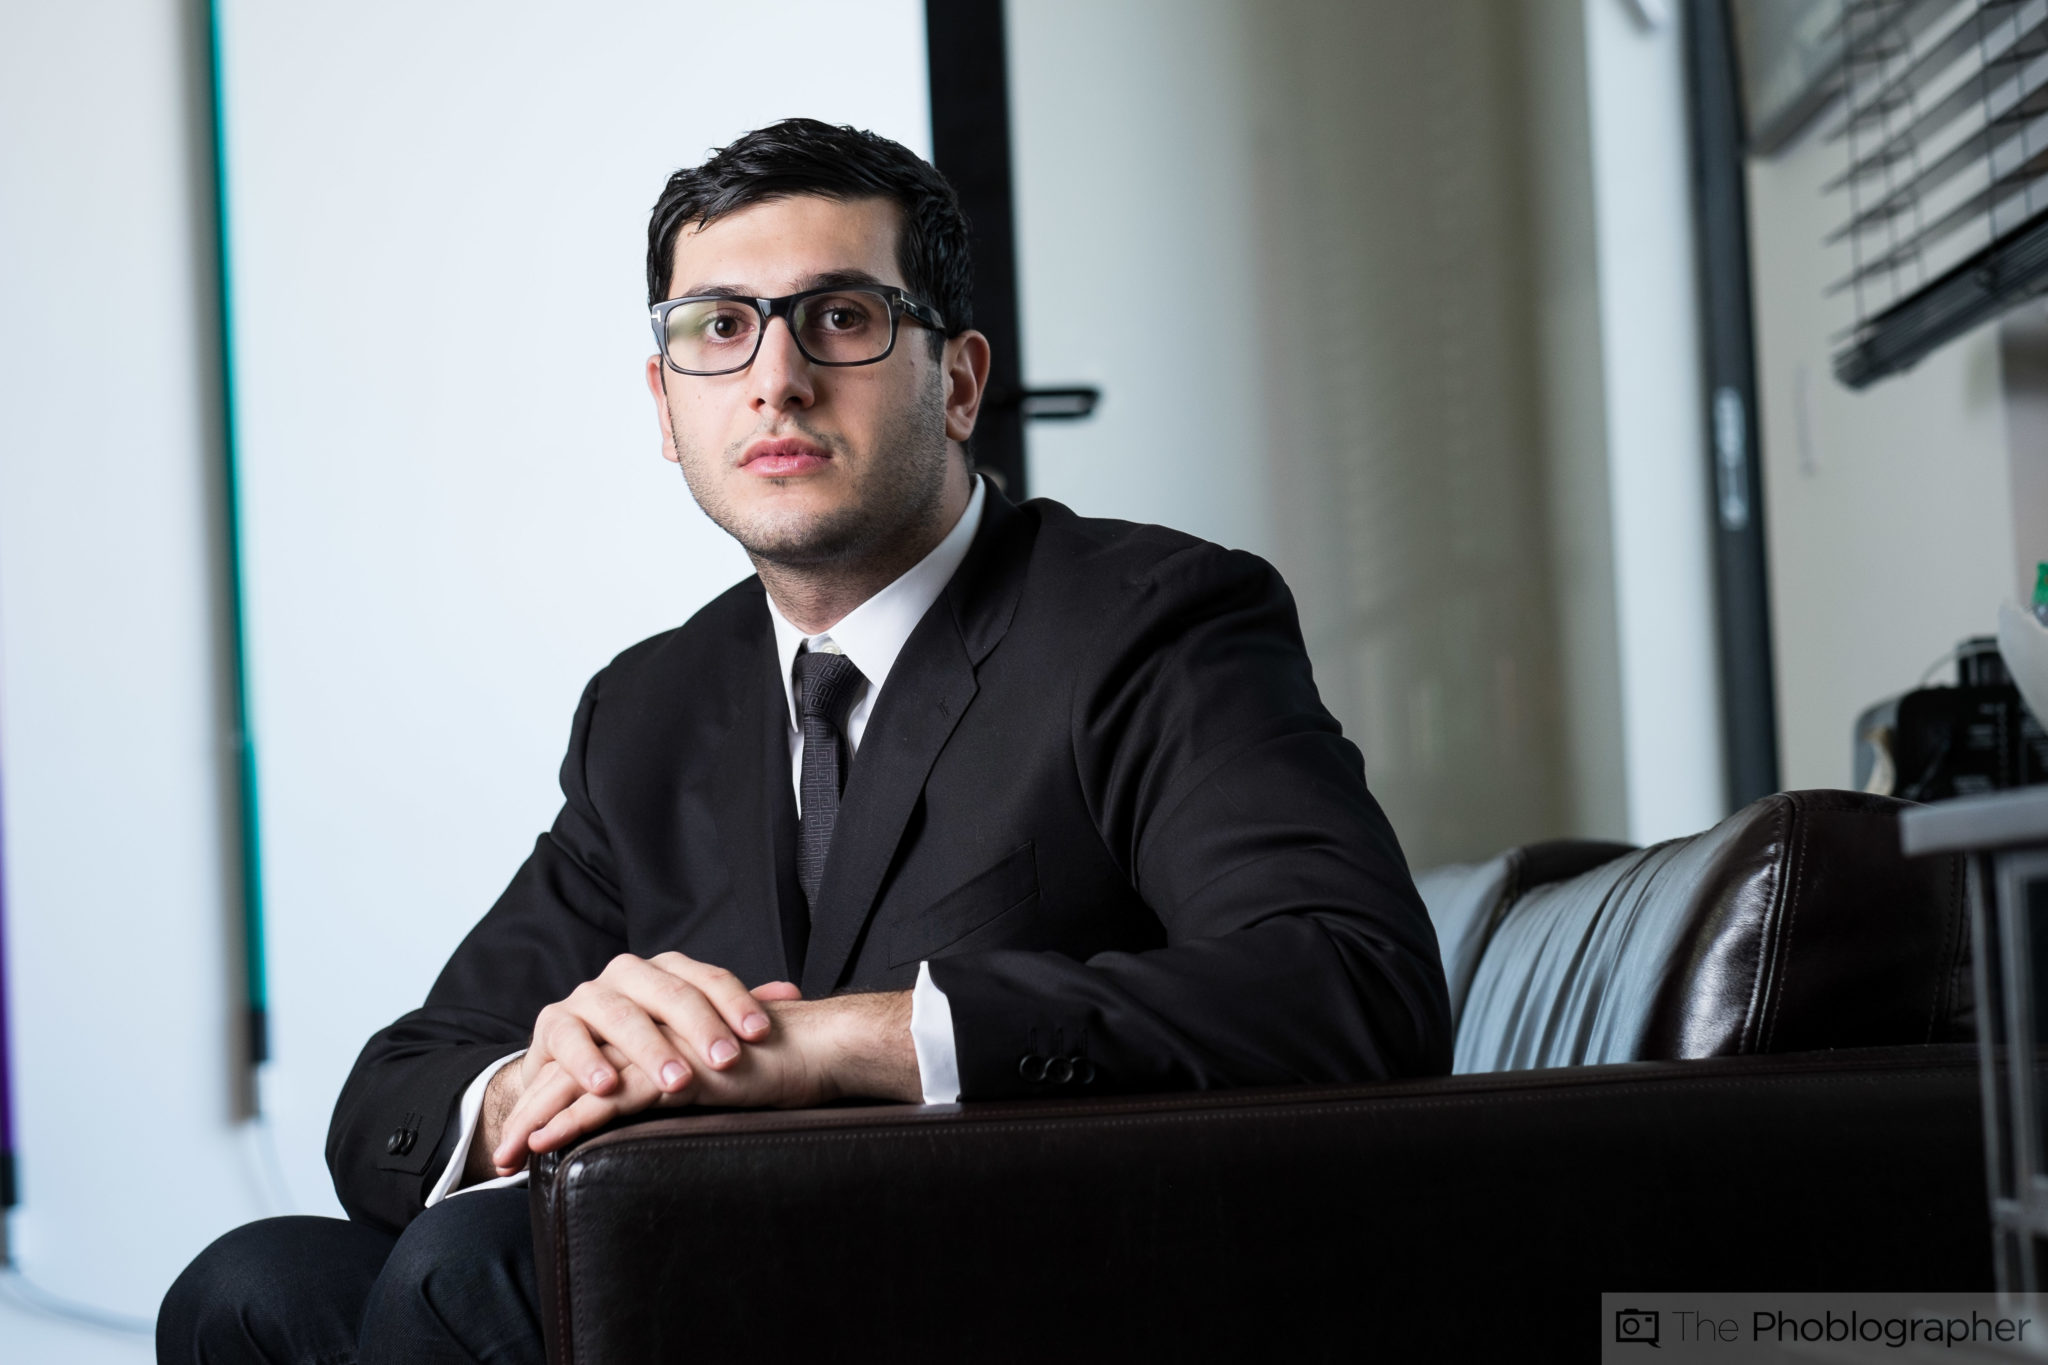
Or, Start by Bouncing it Off of a Surface
If you don’t want to pay for a light modifier and/or don’t want to bring one with you; you can be a bit more creative with the way that you work with lighting by bouncing it off of a surface of some sort. This works the absolute best if you’re inside and the interior walls and ceiling are white. Otherwise, if you’re bouncing the light at a red brick wall then your lighting will in turn be tinted with hints of red.
Two of our favorite flashes to use are the LumoPro LP-180 and the Adorama Flashpoint Streaklight 180W. Both are different in design as the Lumopro is more light a traditional speedlight and Adorama’s is a bit like a monolight. The Flashpoint light comes with an umbrella reflector built in though that can be used with it aimed directly at the subject due to the built in diffusion.
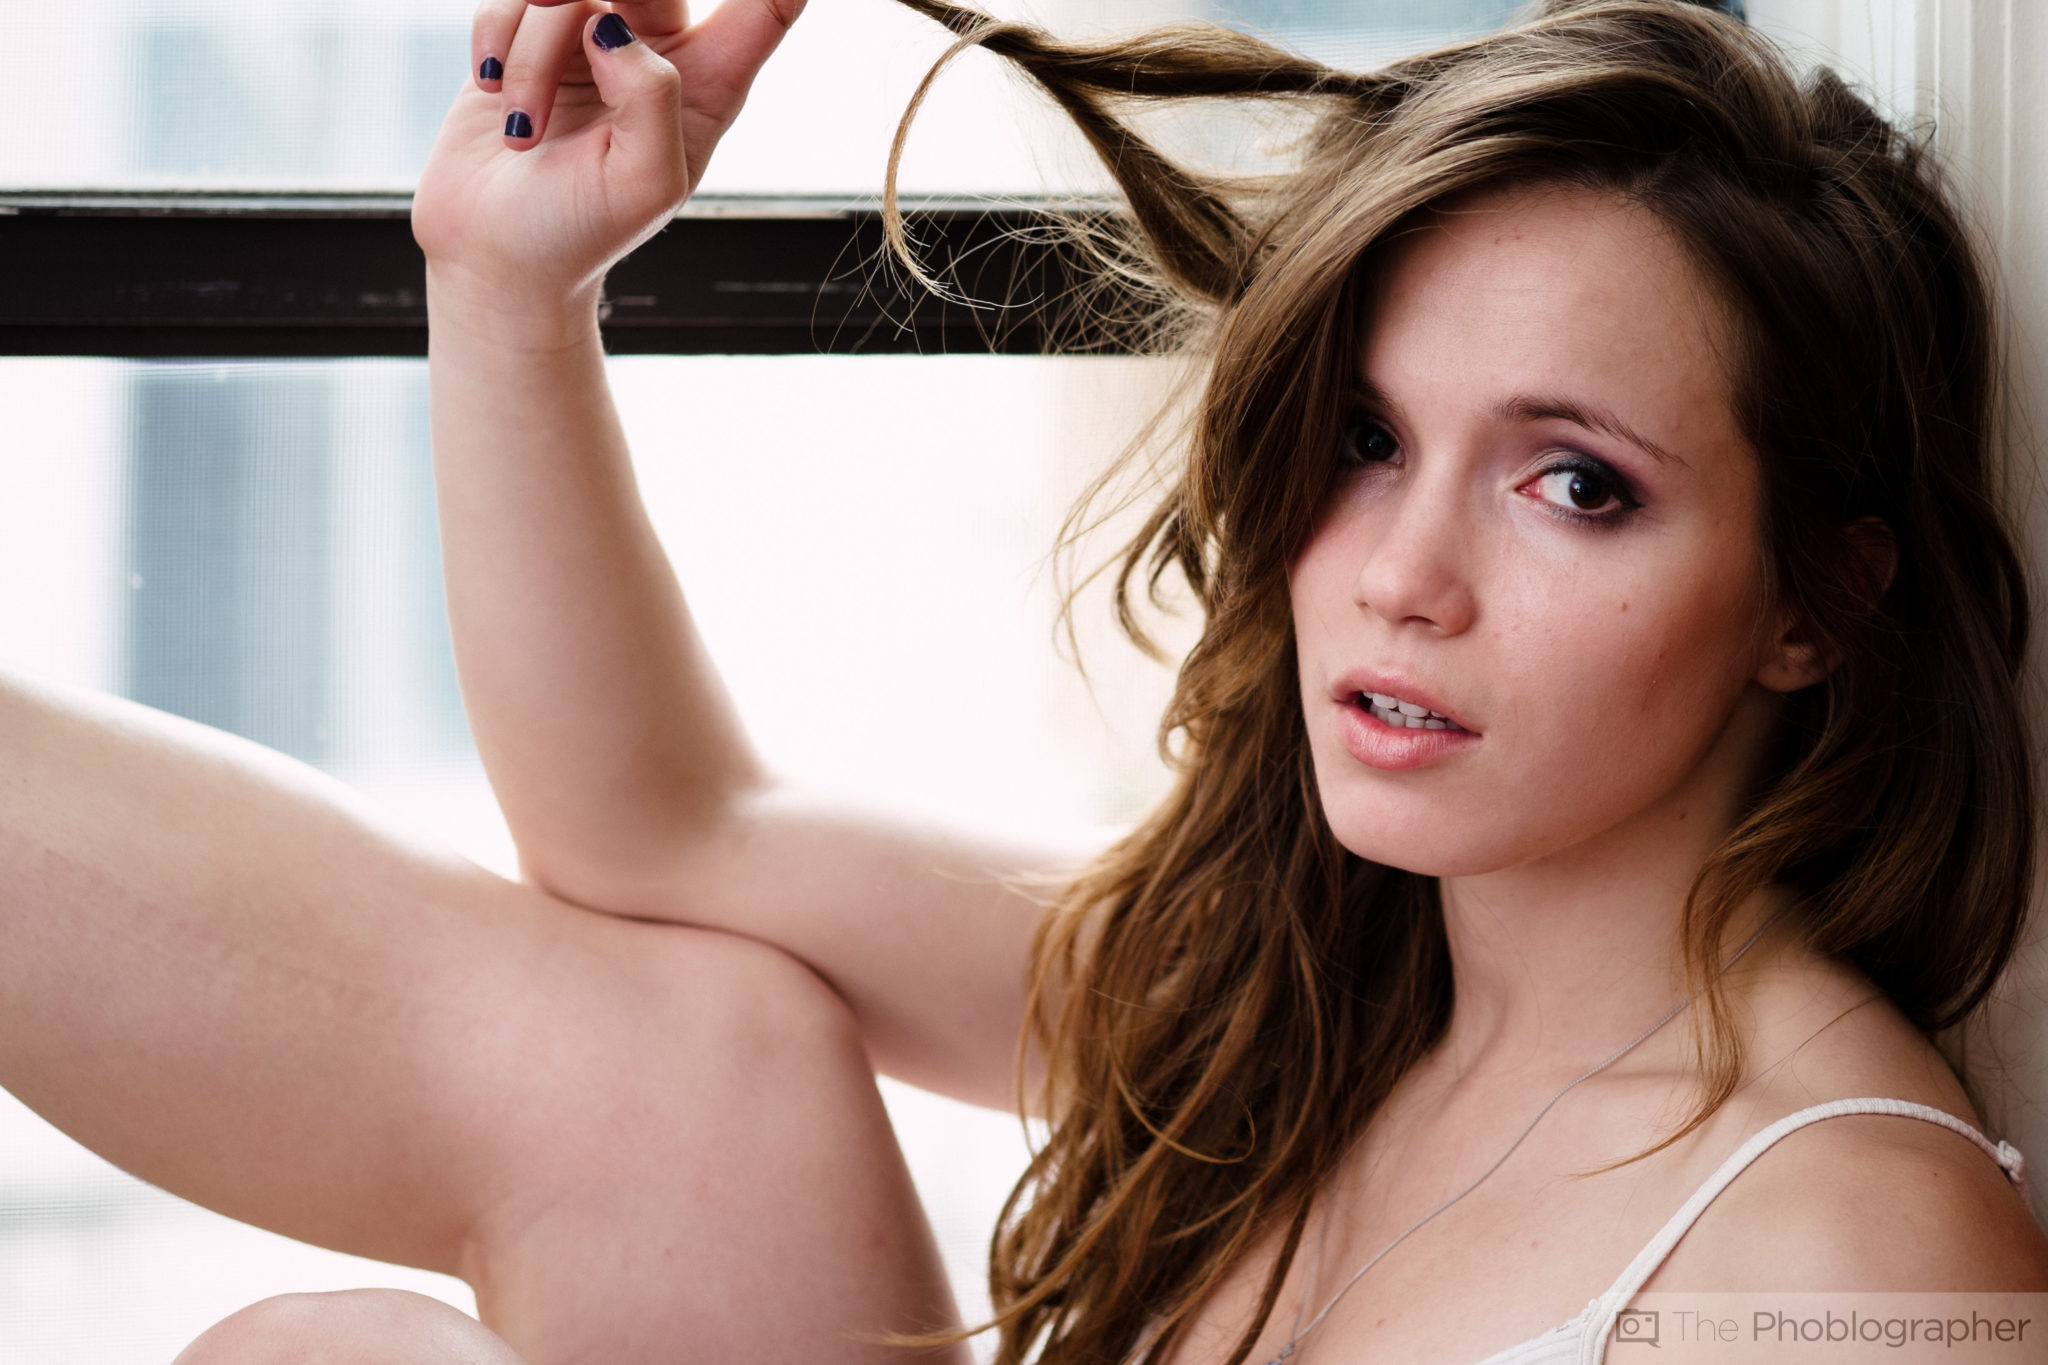
Use it in Conjunction with Ambient Lighting
One of the best ways to use a single light source is to combine it with ambient lighting in a scene. If you’re in a studio and there is no other light, then that’s one thing. Typically, you’ll be using parabolic umbrellas, zeppelins, and octabanks–but otherwise you may not need something as massive as say seven feet wide. As we stated earlier on, something around 36 or 42 inches can work fine if you blend the flash output with the ambient lighting. In this case, the flash output should be used to complement the ambient lighting.
To do this, what you’ll need is to figure out the ISO and the shutter speed first. In this case, the shutter speed controls the ambient lighting while your aperture will control the amount of flash that actually affects the scene at the given exposure.
The Narrower Your Aperture, the More Power You’ll Need
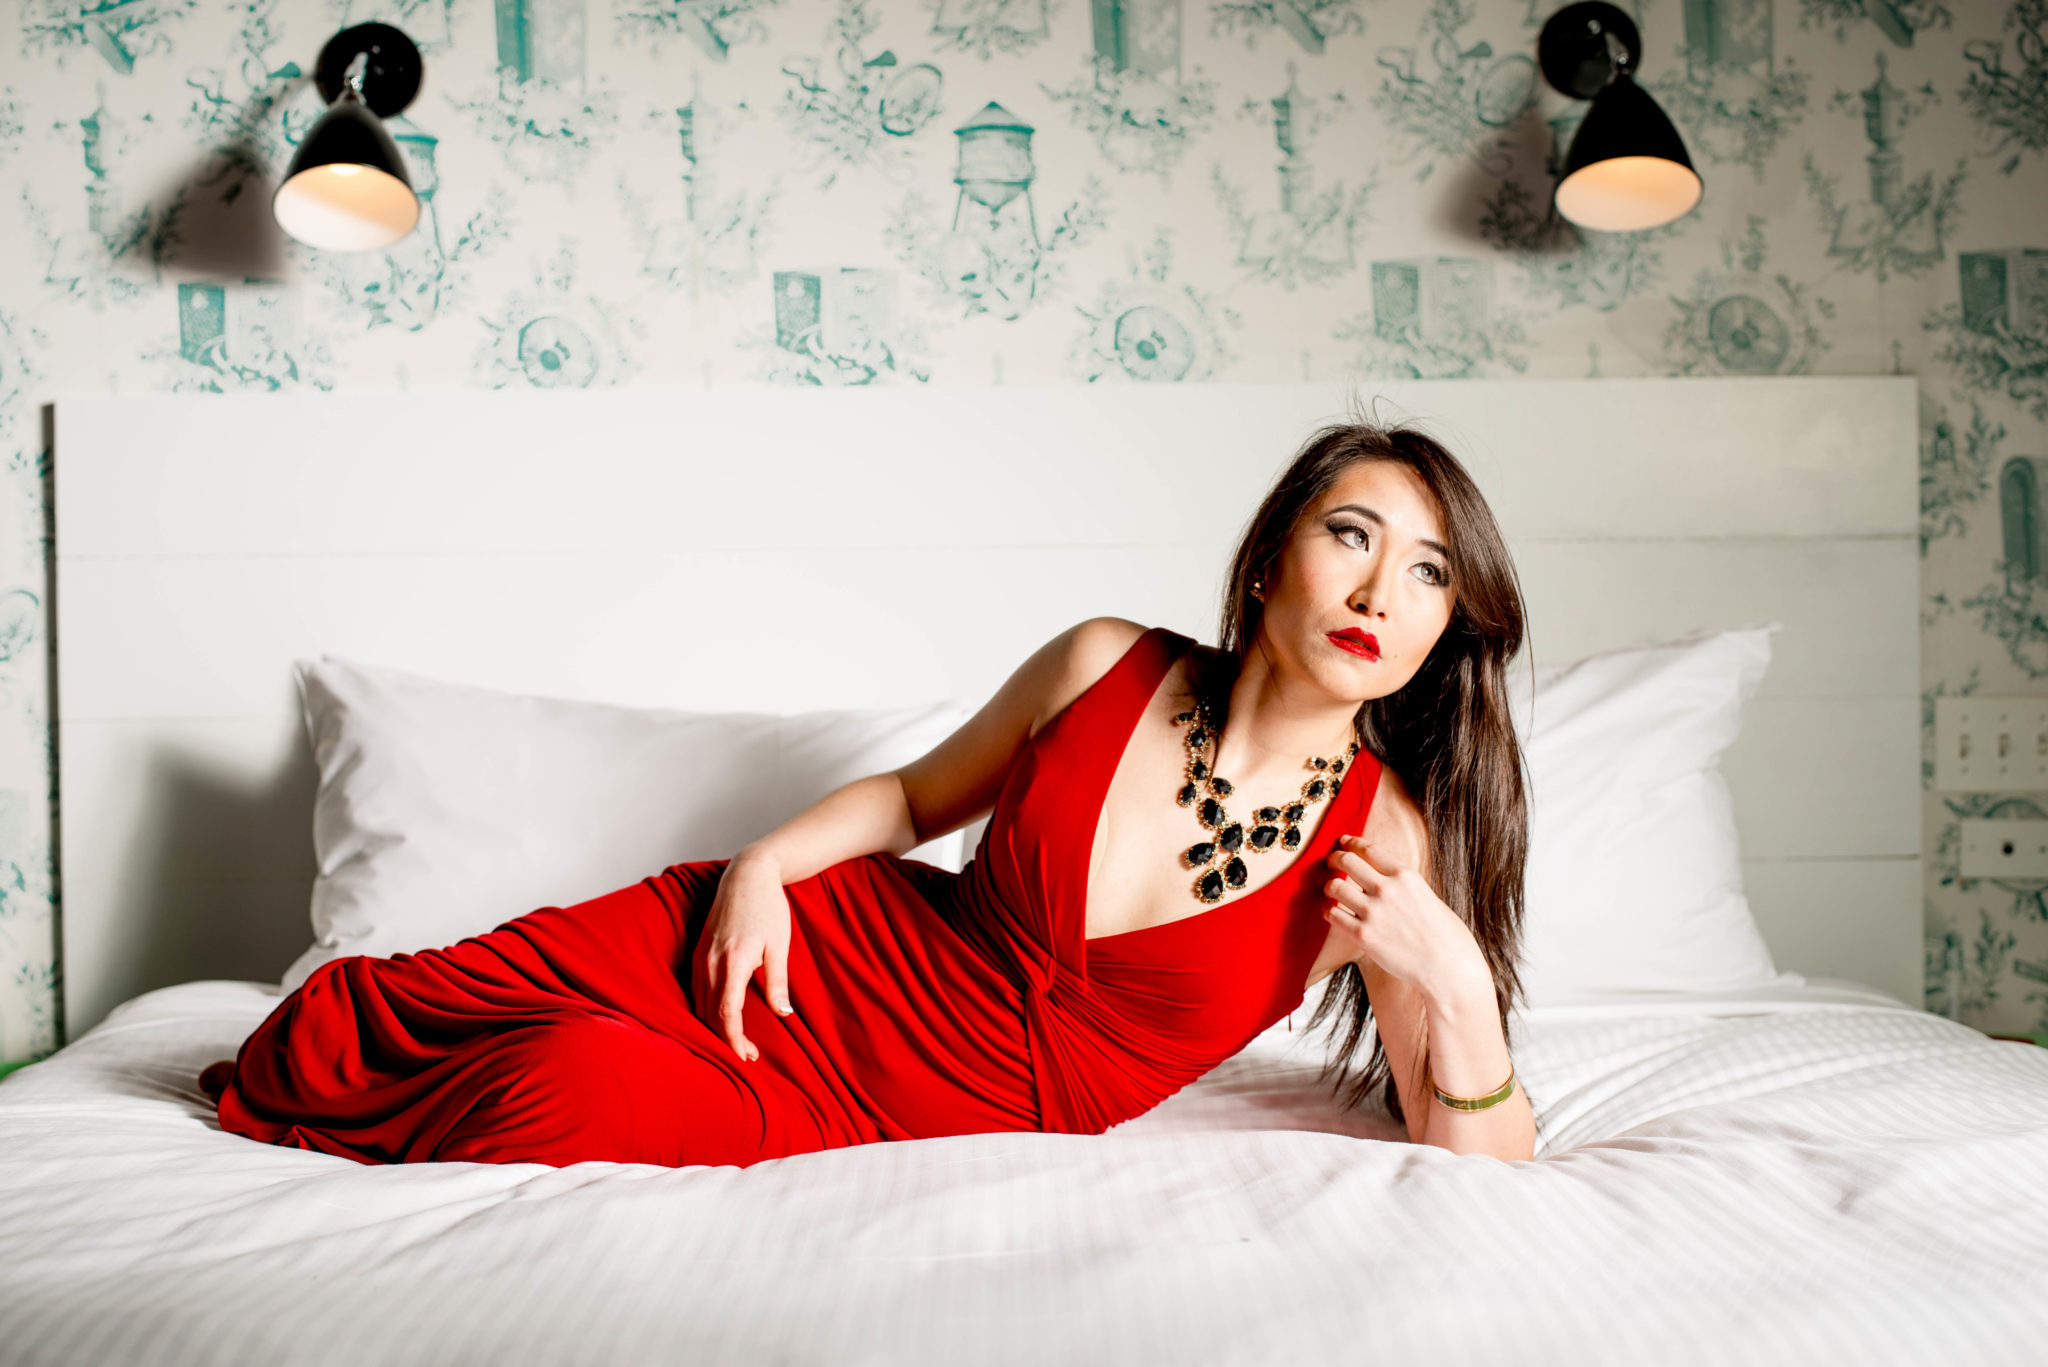
As we stated, when you stop down your aperture not only does more come into focus but it also cuts down some of the power that the flash will output. When you combine it with a very large light modifier, then you’ll need to really crank up the flash power. The reason for this is because the modifier spreads a lot of the light out over a large area. And in order to do this, it needs more power.
You can conserve power theoretically by opening up the aperture a bit and experimenting with the results accordingly.
Get rid of the ads!
Did you enjoy reading this article as much as we enjoyed writing it? There's a way to support us and our reporting, getting ad-free navigation and more as a bonus. Subscribe to us for less than a coffee per month —just $3.99— or take advantage of our yearly subscription with a hefty discount for only $25.- An ad-free experience
- A free mystery box for Lightroom or Capture One
- All the books in our store
- 20% discount on Capture One
- 30% discount on Imalume Photo Theft Protection
- 20% off Herbs and Kettle Tea Company.
- 20% off your order from MPIX printing services.
- 5% off Viltrox Products via their eCommerce store.
- 10% off all film developing, printing and scanning services from Blue Moon Camera and Machine
- 15% off 7Artisans products: The lens and accessory maker is offering a sweet discount for Phoblographer's readers.