Last Updated on 12/03/2014 by Julius Motal

While everyone knows that your lens and camera working in conjunction together are what will yield you a sharper image, not many folks think about another very big factor: lighting. Lighting, more than any other parameter of a photograph, is what will dictate how sharp your image looks. While cameras like the Sony A7s seem to take the laws of exposure and throw them right out the window, your defiance of said laws won’t necessarily yield you spectacularly sharp images.
Even if you don’t care to look at your images at 100% or 200%, there are still methods that you can do to make sure that your images at least look sharper without looking specifically at an area.
This guide will cover the key to sharper images without excessive post-production.
Autofocusing Algorithms
We’re going to start with the extreme basics, and that has to do with autofocus algorithms. With very little light, your camera will have a tough time focusing on a subject. You can go ahead and manually focus if you want, but even that can be tough for the best of photographers when using a camera with an optical viewfinder. When using electronic viewfinders, it is easier because you see exactly what the sensor sees.
When your subject and scene have a lot of light illuminating the front of the scene (or the part of the scene closest to the camera) then your camera will be able to autofocus with no real issues.
Sometimes your camera and lens won’t always communicate so well together, so in a case like that you’ll need to use a well lit environment to test and adjust the focusing. With Canon cameras, this is called Micro Adjustment but pretty much everyone else calls it AF Fine Tuning.
The Way Colors and Contrast Work on the Human Eye
Would you believe that the deeper the black levels are in your image, the sharper it can look when you’re not looking at the image at 100%? If you’re reading this article and a reader of this site in general, then you’re probably posting images on the web without the intention of getting someone to look at your images at 100% and instead trying to get someone to focus on the whole scene.
You can tweak the contrast and the colors to look even sharper than the scene currently is. This method really starts with proper in-camera procedures that we will get to later on in the article, but when it comes to the post-production stage what you can do is work with the color channels, contrast, and black levels to make the image pop more. Start by emphasizing the most prominent colors in the image and work with the rest.
When certain colors are emphasized, they tend to reach out to the human eye and grab its attention immediately. But the human eye also seems to look at blacks in contrast to other images and almost glances right over the blacks.
ISOs and Maintaining a Balance
To get the sharpest images, we recommend shooting at the lowest ISO you possibly can in the situation that you’re shooting in. Back in the film days, photographers never used to go above ISO 400 when using a flash, but in the digital world, ISO 1600 has become the new ISO 400. Many photographers using flashes and studio lighting will still most likely not shoot above ISO 400.
The higher you raise your ISO, the grainier your image will become and the less details there will be. To get the most details, you’ll need to shoot at a lower ISO setting. But at the same time, you need to maintain a balance of some sort. If you’re shooting without a tripod, then a lower ISO setting can be tough to work with because it may mean that in order to fulfill your creative vision that you need to shoot at a very low shutter speed.
Here’s what we mean by this:
– Shutter speeds control the amount of ambient light in your image
– ISO controls the overall sensitivity in the image
– Aperture controls the amount of light from the flash that affects the image (when shooting with the light in manual mode, TTL makes the camera and flash do whatever they want.
For this reason, we recommend trying to maintain a balance between details and ISO settings. Just be prepared to be alright with your images not being as sharp as they potentially can be.
Specular Highlights
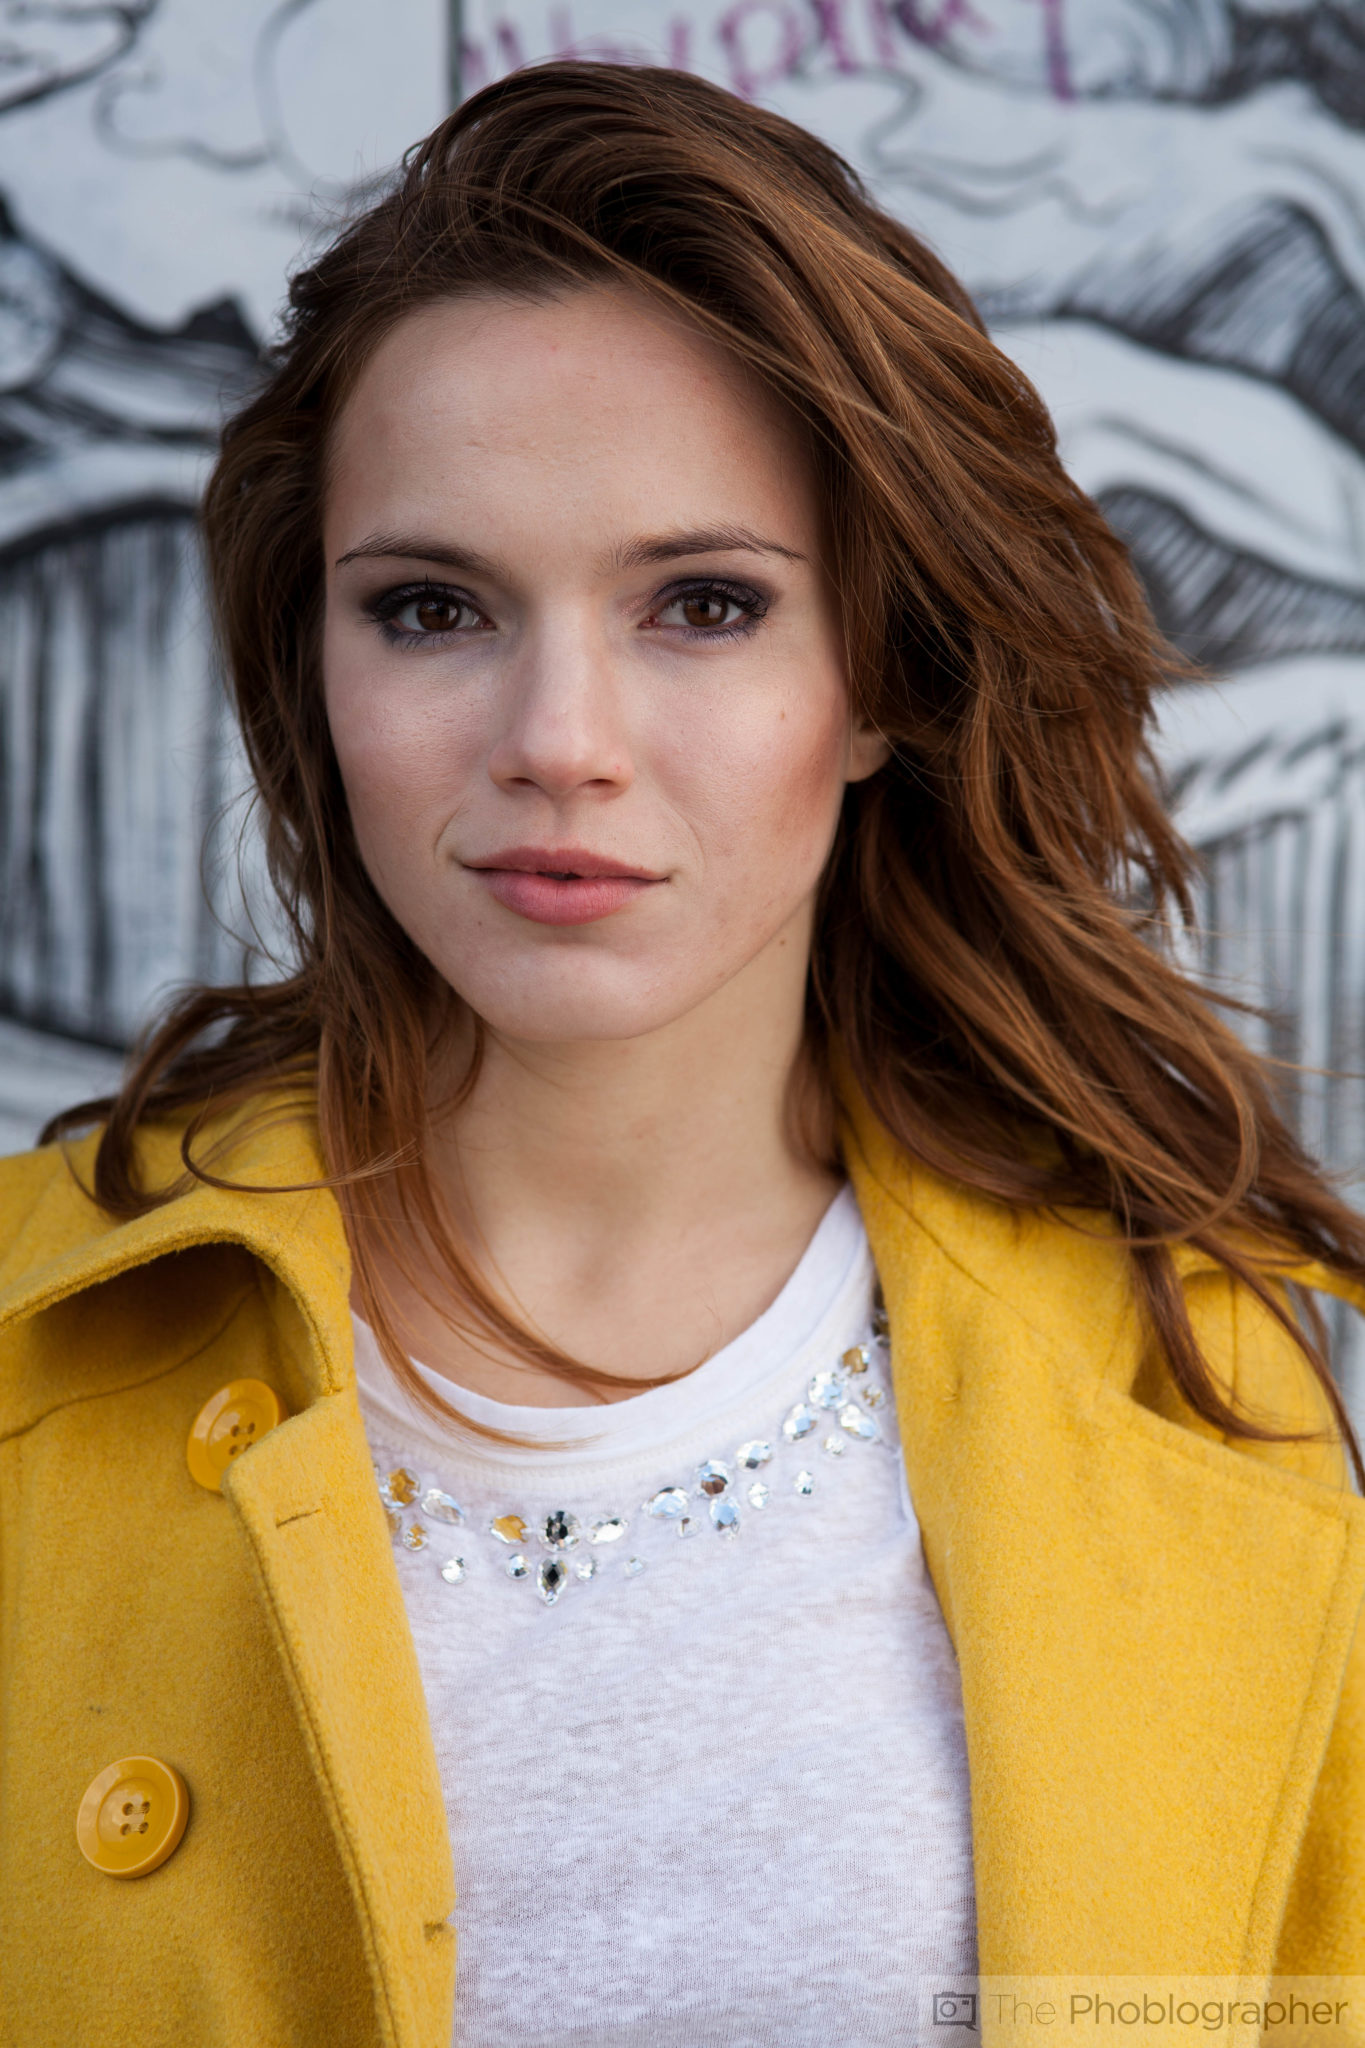
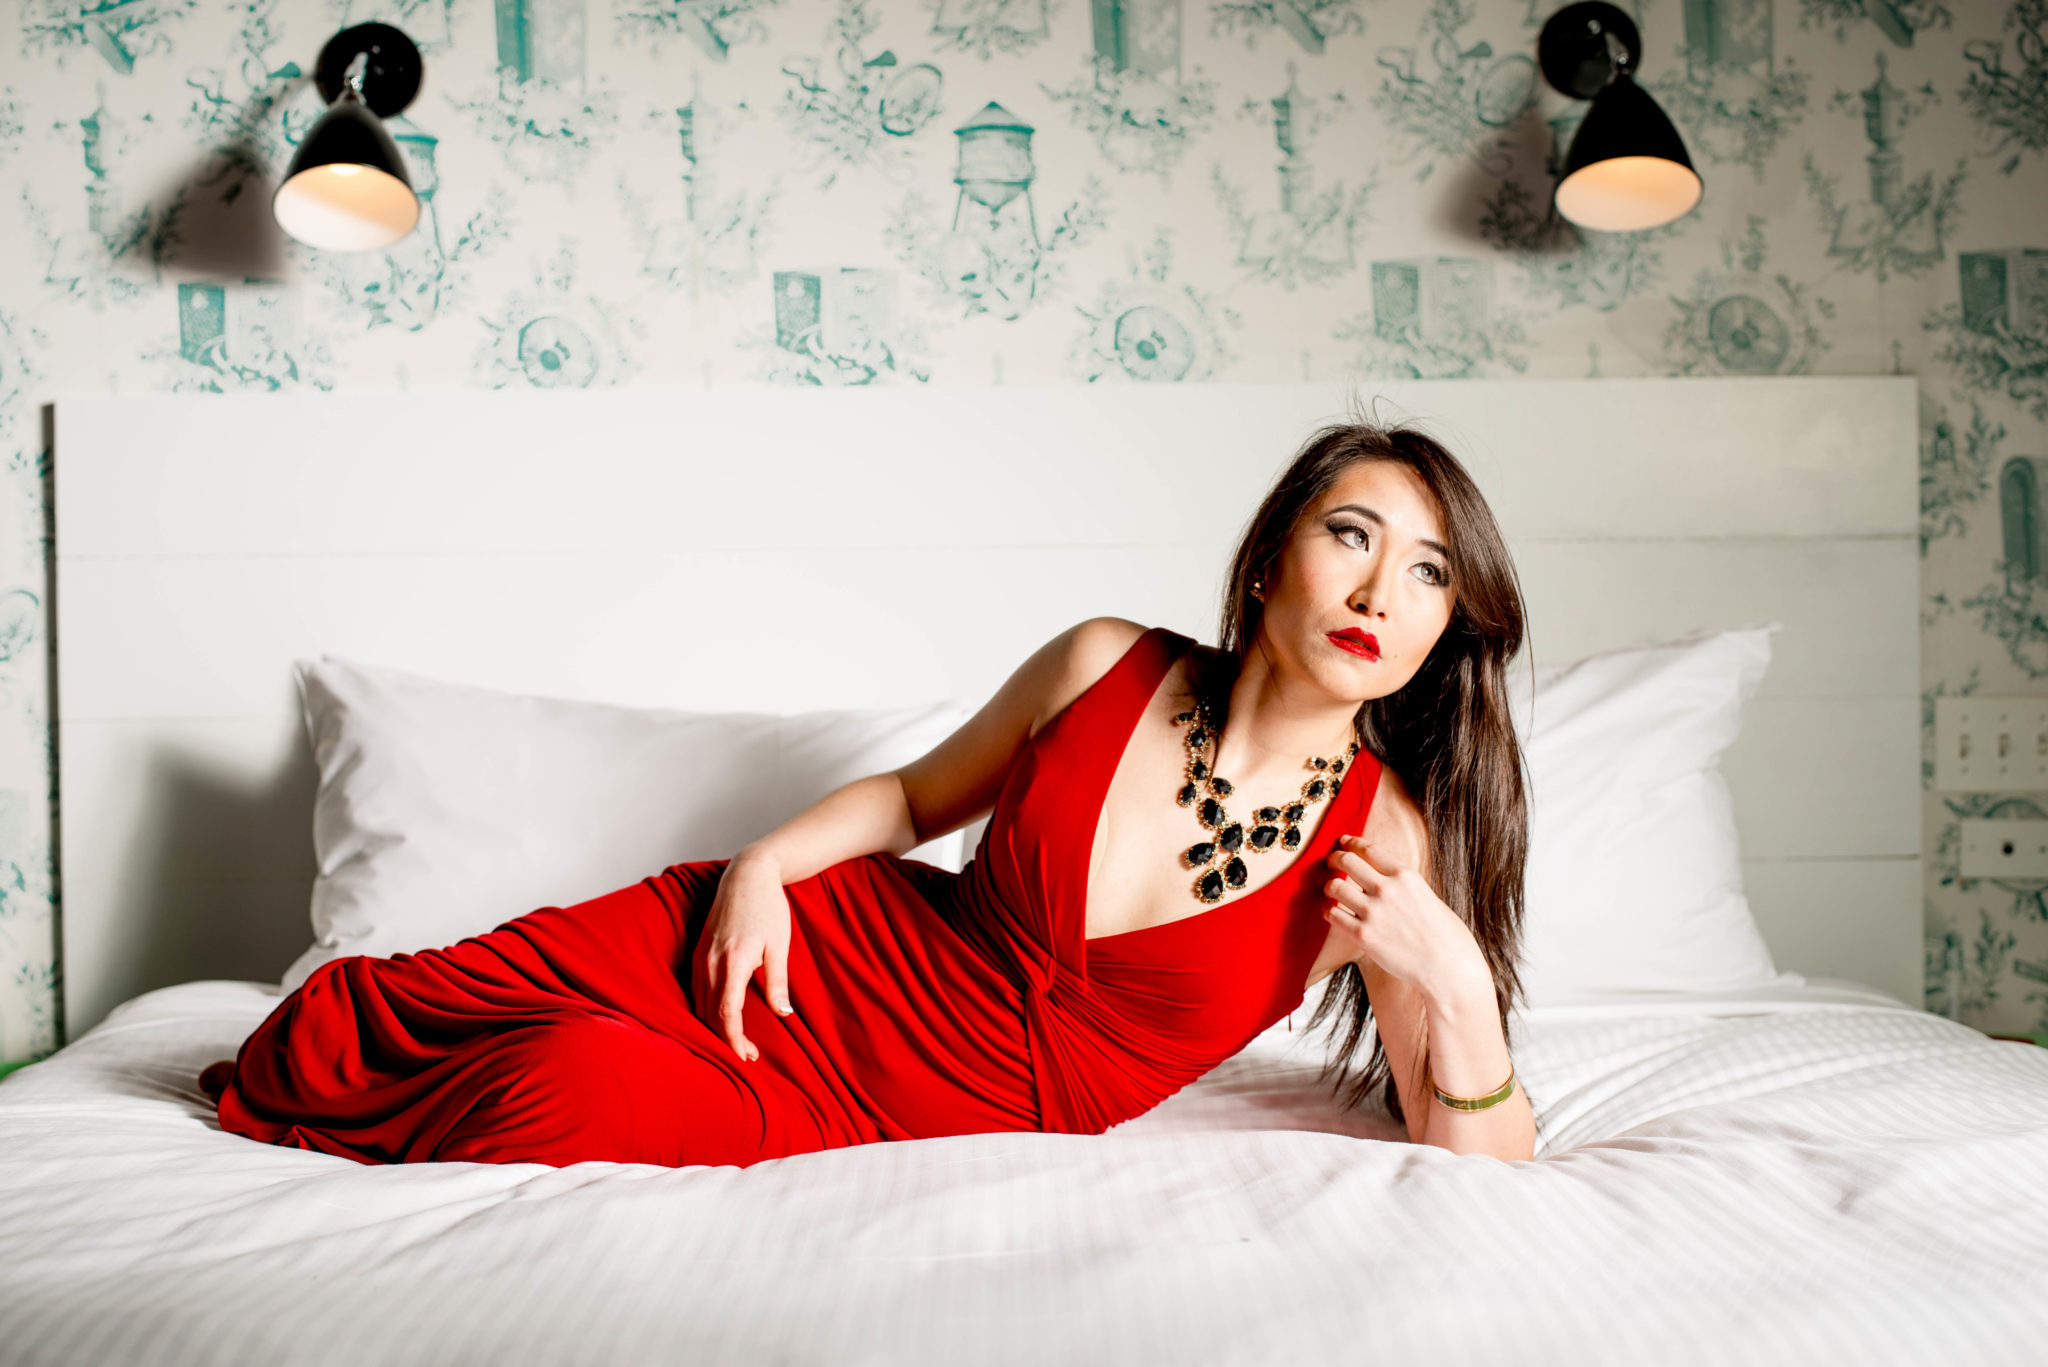
Good lighting will help to bring out details that a lens won’t otherwise be able to do no matter what the resolution of your camera is. Consider the fact that when a photograph is taken, it manages to pull in details. But when a flash or studio strobe is added (even if it is being diffused) more details will come out. The reason for this is because there is more light to emphasize those details.
What the flash does is emphasize the differences between the very little blacks and whites in the smallest of the areas of the image to bring out extra sharpness that wasn’t visible before. But a flash does a lot more than that. What a flash also does is add in a fast flash duration which is measured in fractions of a second the same way that shutter speeds work. When a flash is added to an image though, the flash duration effectively works with the shutter speed to stop motion. That means that if you’re shooting at 1/250th of a second and the flash is rated to have a duration of 1/8000th that the flash will help to stop any sort of motion to create a crisper image with more detail.
These details that the flash is creating are called specular highlights. In our tests, a flash is far superior to reflectors or LED light panels. The reason for this has to do with the flash duration. In fact, when you purchase a flash or studio strobe you should always look at the flash duration.
Get rid of the ads!
Did you enjoy reading this article as much as we enjoyed writing it? There's a way to support us and our reporting, getting ad-free navigation and more as a bonus. Subscribe to us for less than a coffee per month —just $3.99— or take advantage of our yearly subscription with a hefty discount for only $25.- An ad-free experience
- A free mystery box for Lightroom or Capture One
- All the books in our store
- 20% discount on Capture One
- 30% discount on Imalume Photo Theft Protection
- 20% off Herbs and Kettle Tea Company.
- 20% off your order from MPIX printing services.
- 5% off Viltrox Products via their eCommerce store.
- 10% off all film developing, printing and scanning services from Blue Moon Camera and Machine
- 15% off 7Artisans products: The lens and accessory maker is offering a sweet discount for Phoblographer's readers.