“You guys are fancy.” said Les Shu of Digital Trends to me one day during a Panasonic meeting. When I asked why, he told me that it was because of our product photography. Mario Aguilar from Gizmodo agreed with him as he passed the LX100 onto me to shoot during a press briefing.
One of the features of the Phoblographer that differentiates us from many other websites is also one of our biggest reasons why many folks keep coming back: our product photography. Every couple of months, it evolves to feature new textures, lighting styles, and of course–the products. Our product photos involve fairly simple lighting techniques combined with Post-Production techniques that help to make the products pop out more on the screen.
Due to popular request on Twitter, email, Facebook and Instagram, we’re teaching you about how we shoot.
The Story Behind Why We Shoot the Way We Do

The reason why we shoot the way we do comes from our humble beginnings. When we first started the site, we had a ton of credibility questions. The Phoblographer was (and still is) a website that is in a sea of folks that love to pixel peep. We didn’t ever want to encourage pixel peeping because real professionals look at an image as a whole rather than looking at a single part. Unfortunately, lab tests made us seem like we weren’t a legitimate site. And in playing into that role, we eventually got comments when we did first impressions and hands on posts asking whether or not we actually handled the products that we blogged about.
The most simple way to prove those trolls wrong was to actually photograph the products that we shot. But eventually, all of our product images looked bland, plain, and like someone would shoot it just for the heck of it to put it on Reddit or Craigslist. Eventually, all staffers were required to shoot their own product images for the site. But the site also went through sleeker redesigns and therefore also needed equally sleek products to work with it. This is when we knew that we didn’t want to show off photos that looked like there were on the Craigslist of the photo world. Instead, we wanted to start showing the world that we loved the products and that they should to. So with that said, we stepped up our game by adding elements of lifestyle photography to our products.
One of the biggest changes that we made was mandating that all product photos be shot landscape style to work best with the flow of the page and the way that the reader digests the story. The only vertical photos that would be allowed would need to be inserted at 675 pixels wide–which again works for our pagination, tables, and HTML coding.
Sometimes we would add people into the photos. At other times, we would mount the cameras onto a tripod or put the lens in a really beautiful area. It made us think about what we could do to make the images better.
Eventually, everyone was equipped with flashes and we started to create our own lighting situations to make products look even better. This was later solidified into our reviews and even was mandated with our first impressions posts. Indeed this also made us separate from other first impressions posts from places like CNet, Gizmodo, etc. It’s a style that the Verge does, and as you can see it clearly worked for them.
All this effort to make product images look great? You’d be surprised. When combined with specific naming and keyword conventions we saw that our images were shared more and more often on social networks–especially Pinterest and Tumblr. Further, these standards helped us grow even more when we joined Instagram.
Don’t think it’s worth it? Believe it or not, certain companies license the images from us–which is another revenue stream for the Phoblographer.
But as we always say: this couldn’t be done without a creative vision.
Lifestyle Applications
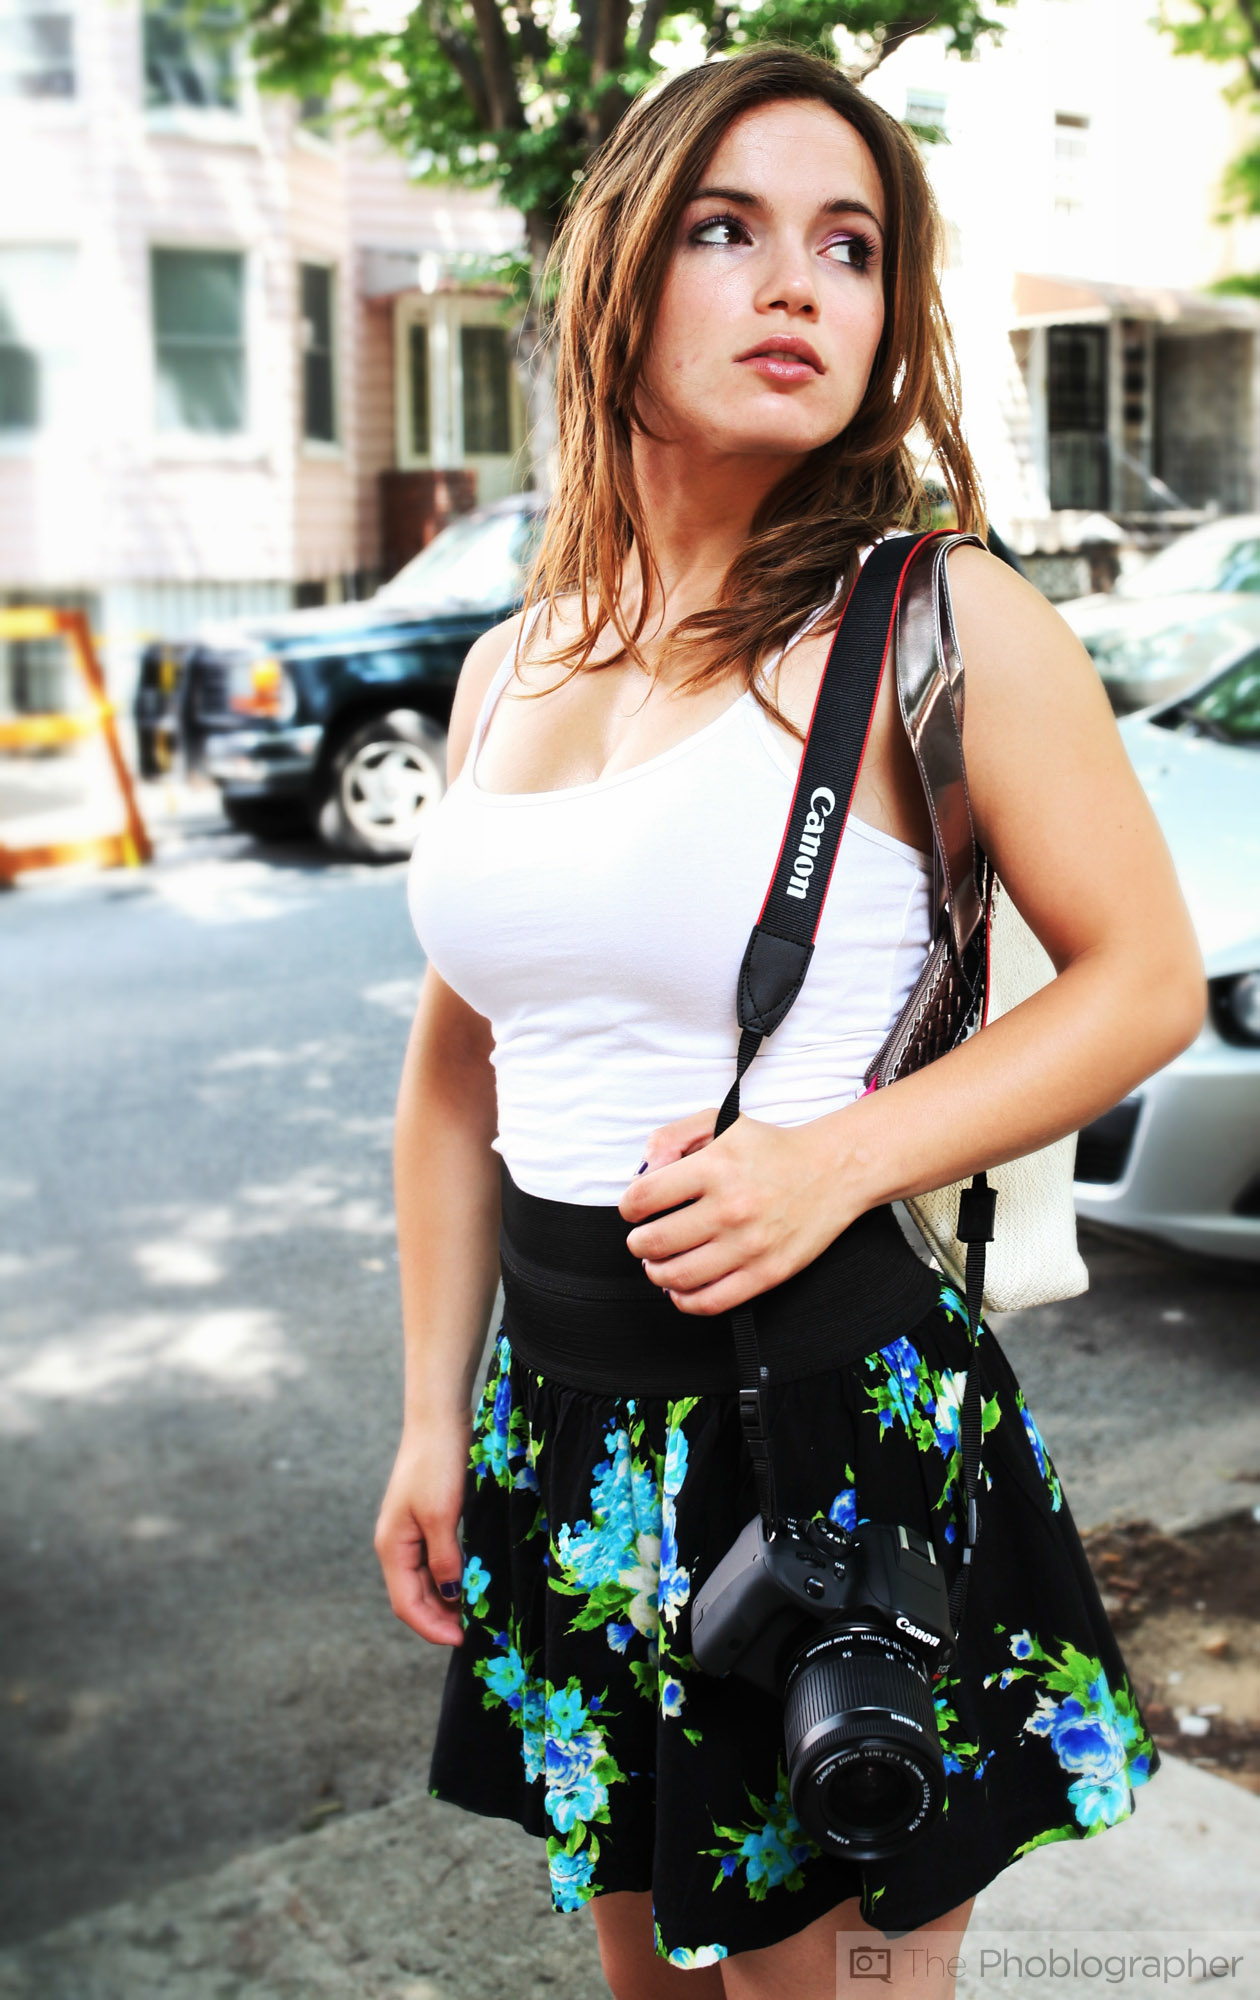
Shooting the images often requires a lot of thought. Sometimes we’ll even talk about them in order to ensure that the products look amazing–which generates clicks. And it worked. We can’t tell you how many times we get emails like, “What’s that strap?” or “What’s that bag?”
Part of this is because we often shoot product images anywhere between 35mm ot 85mm–and the reason for this is because it makes the viewer get pulled into the image more because it can make an image look like it’s from a human perspective.

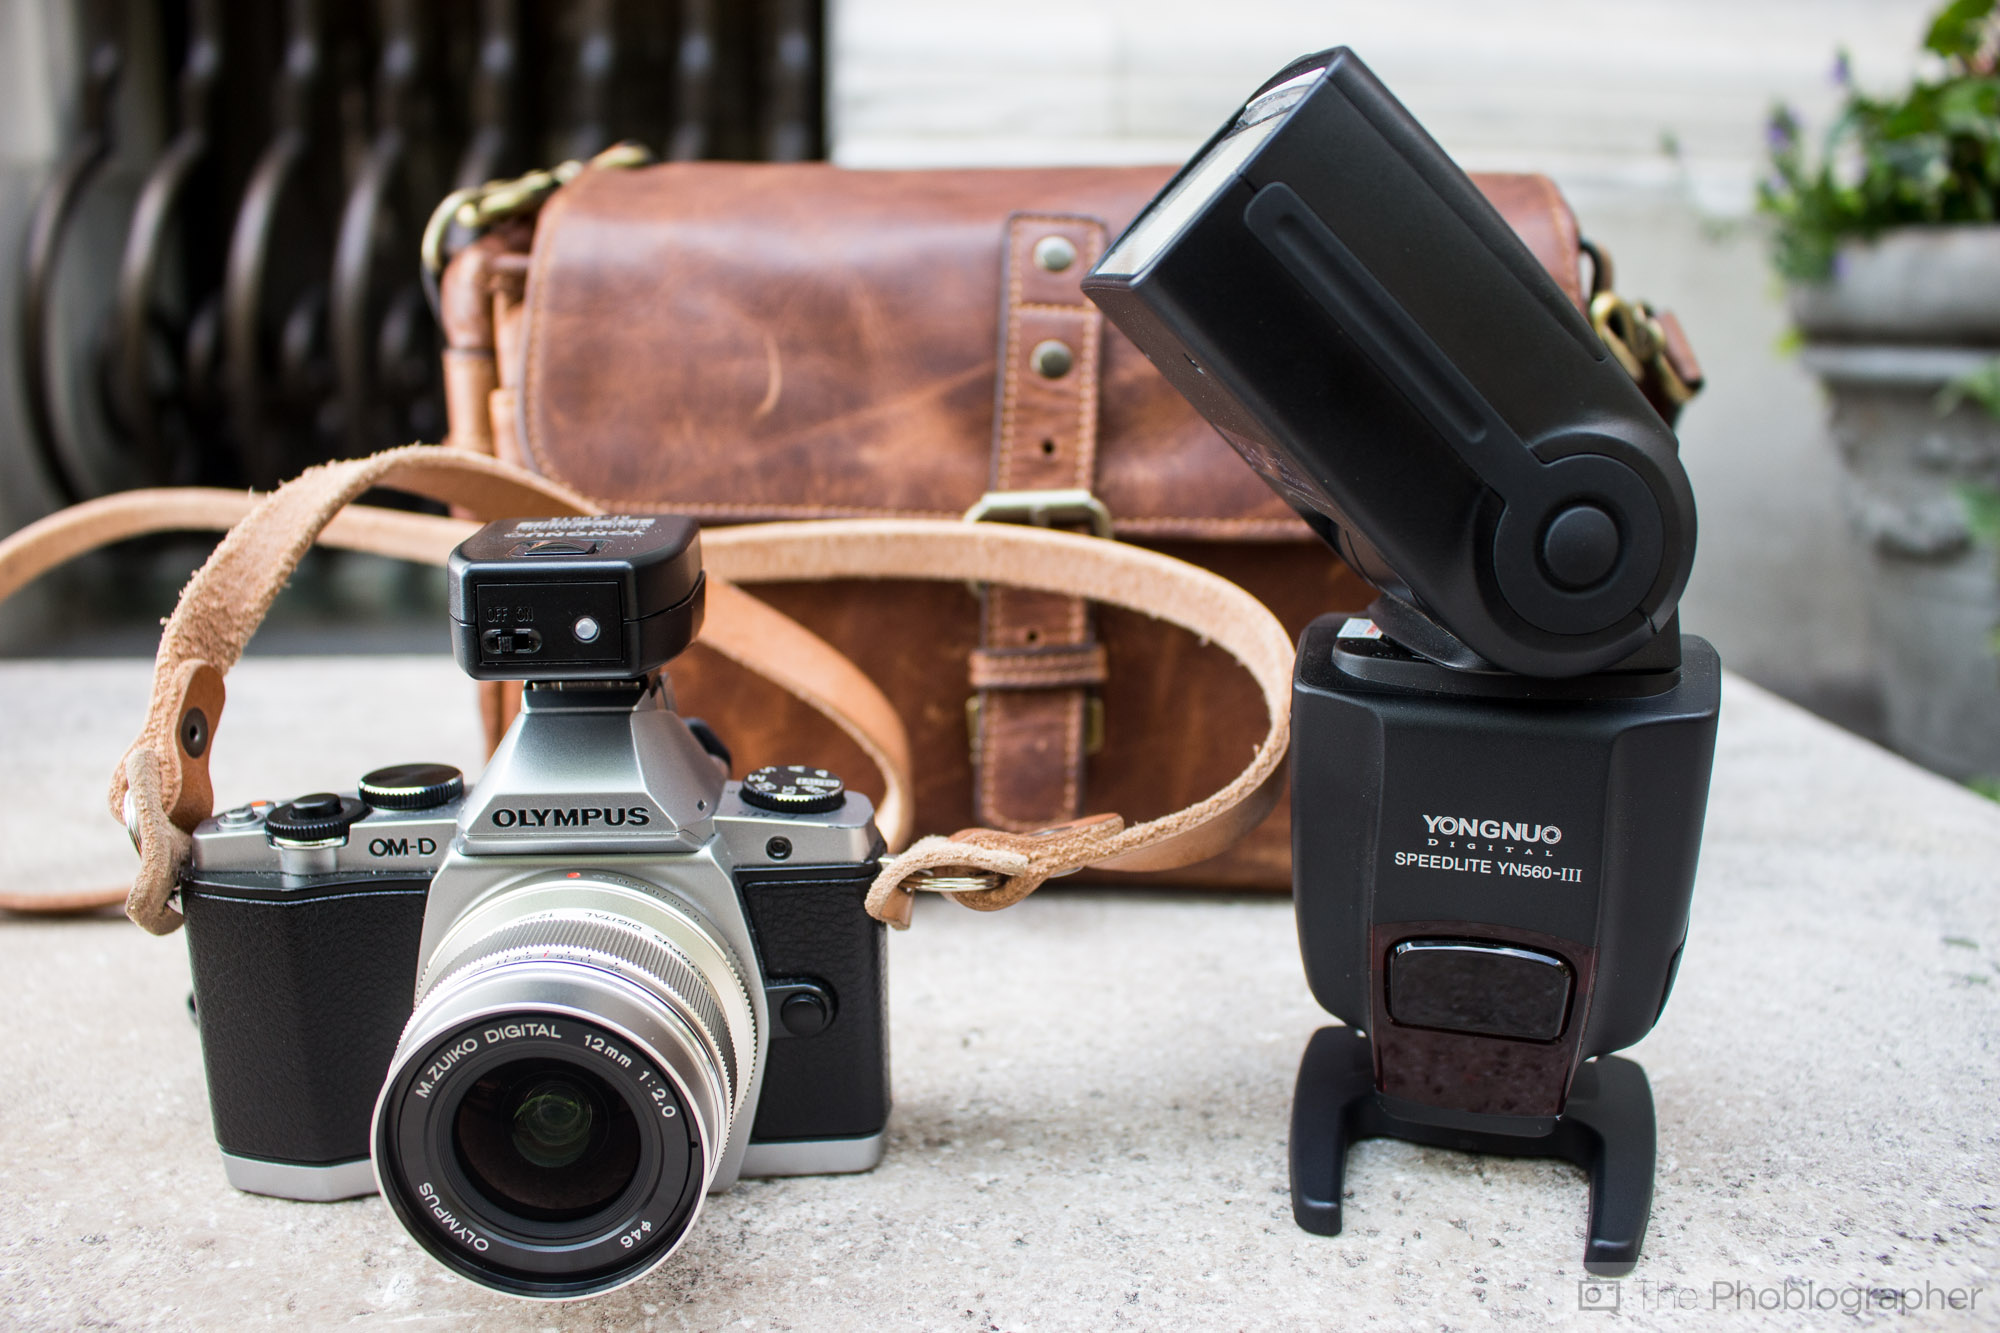
For example, take this bag from Zkin behind the Nikon D810. Would you believe us if we told you that we got over 30 inquiries about what the bag was? We reviewed it a while back, and while certain folks that aren’t all about aesthetics gawked at it, many others lusted over it. Sometimes shooting a product involves us shooting others along with it. We absolutely could have found another way to shoot the Nikon D810, but if someone went after a camera like this then they would also consider having an entire kit of some sort. So a nice camera bag would just make the image overall look better.
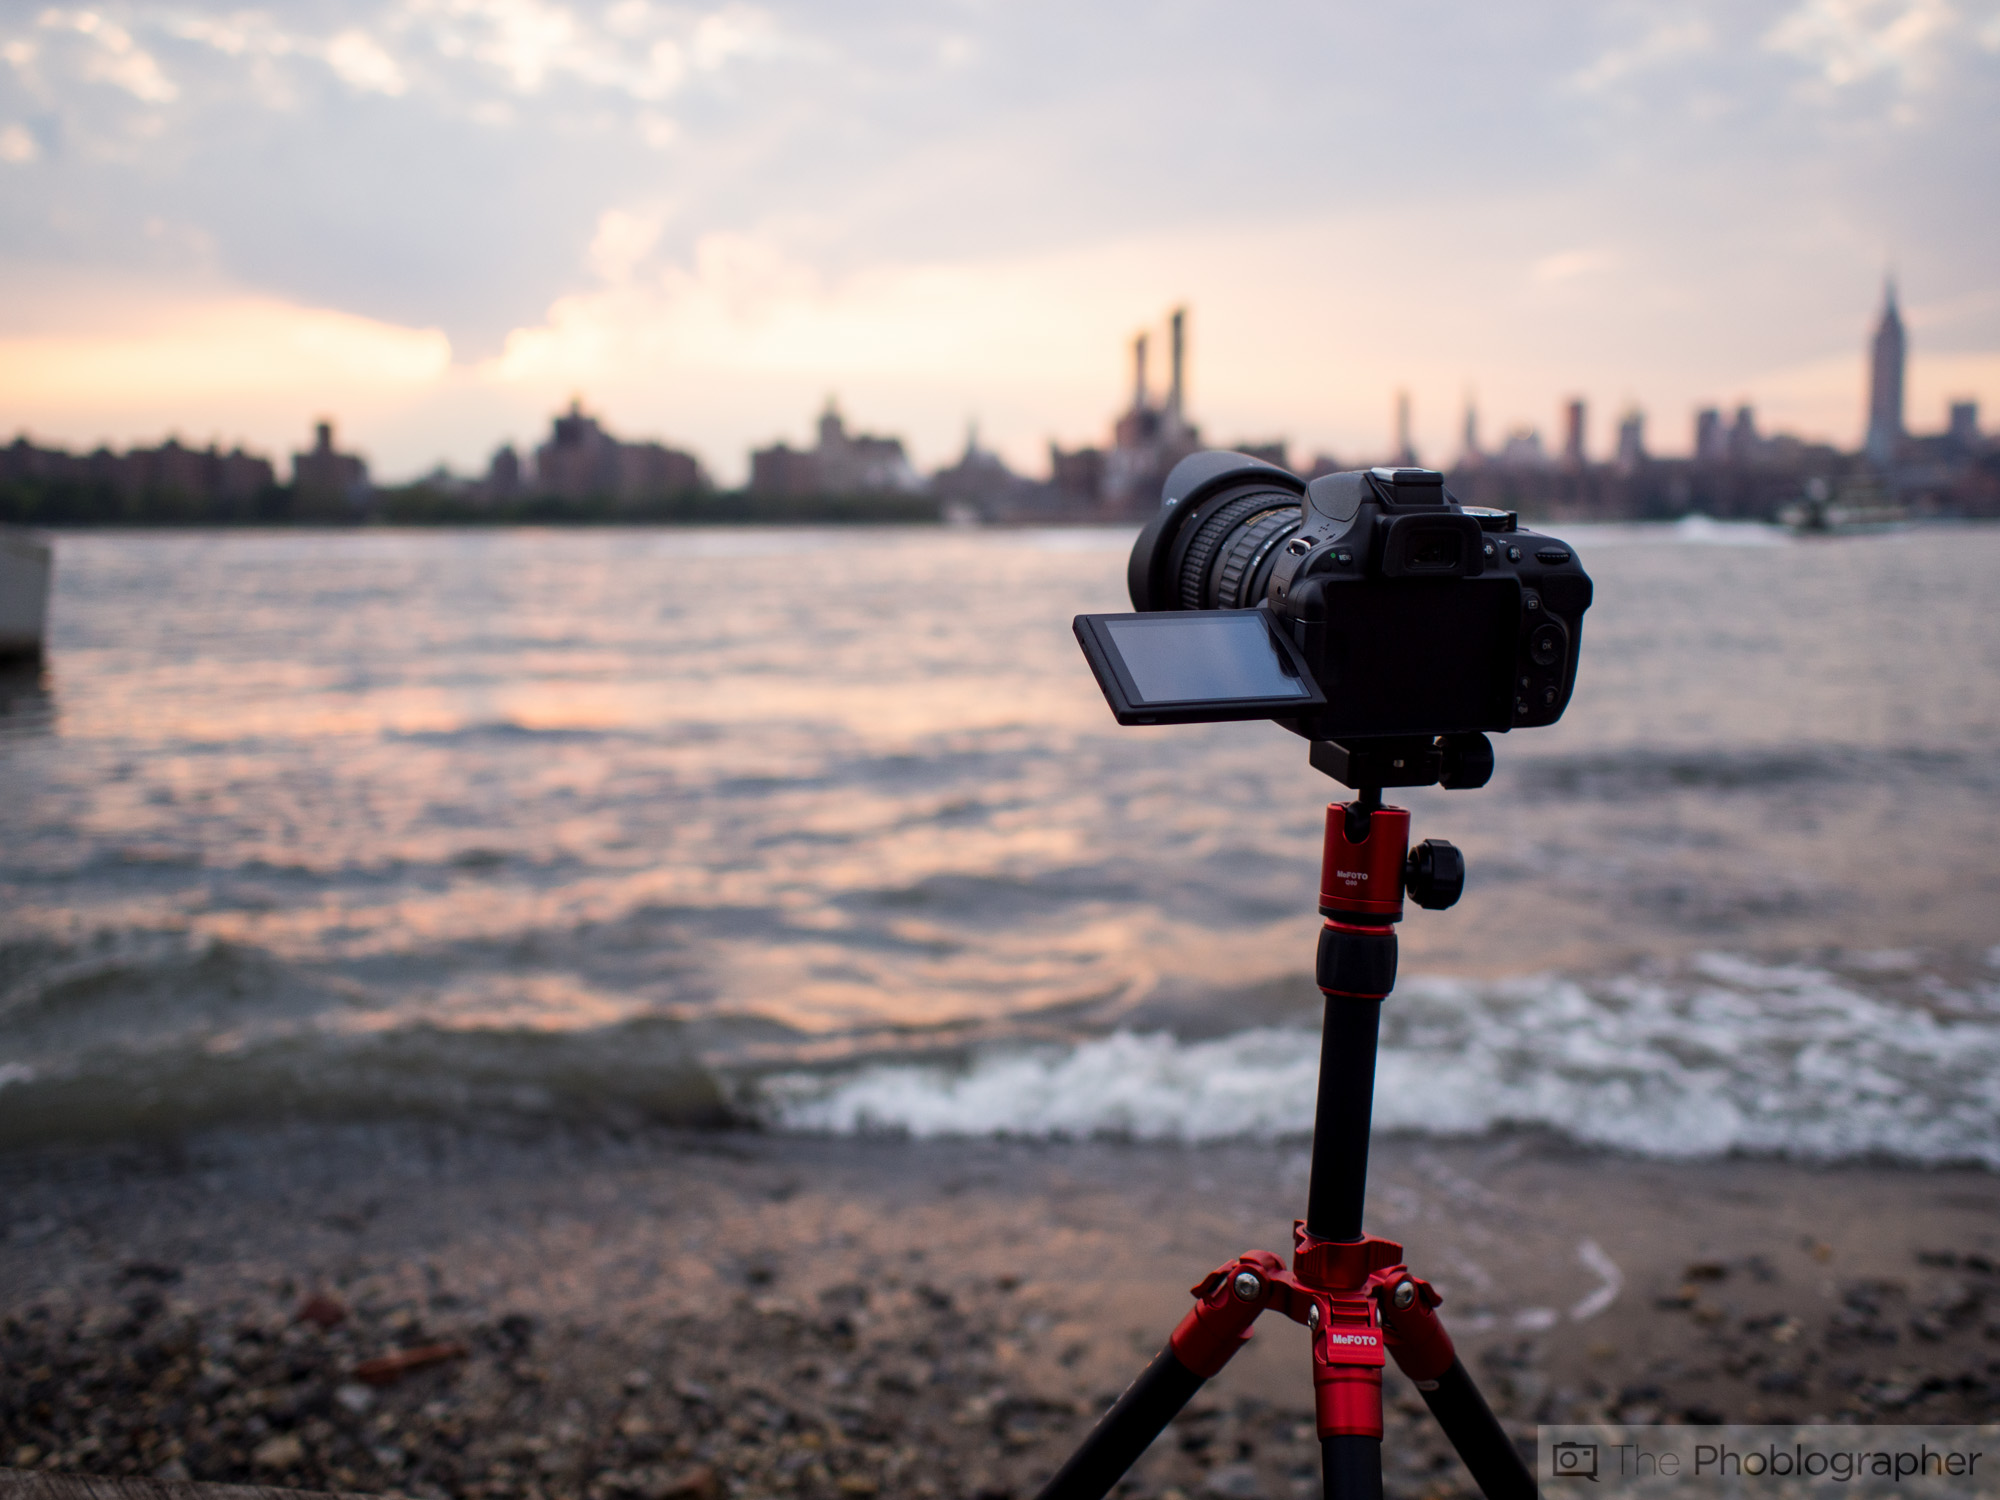
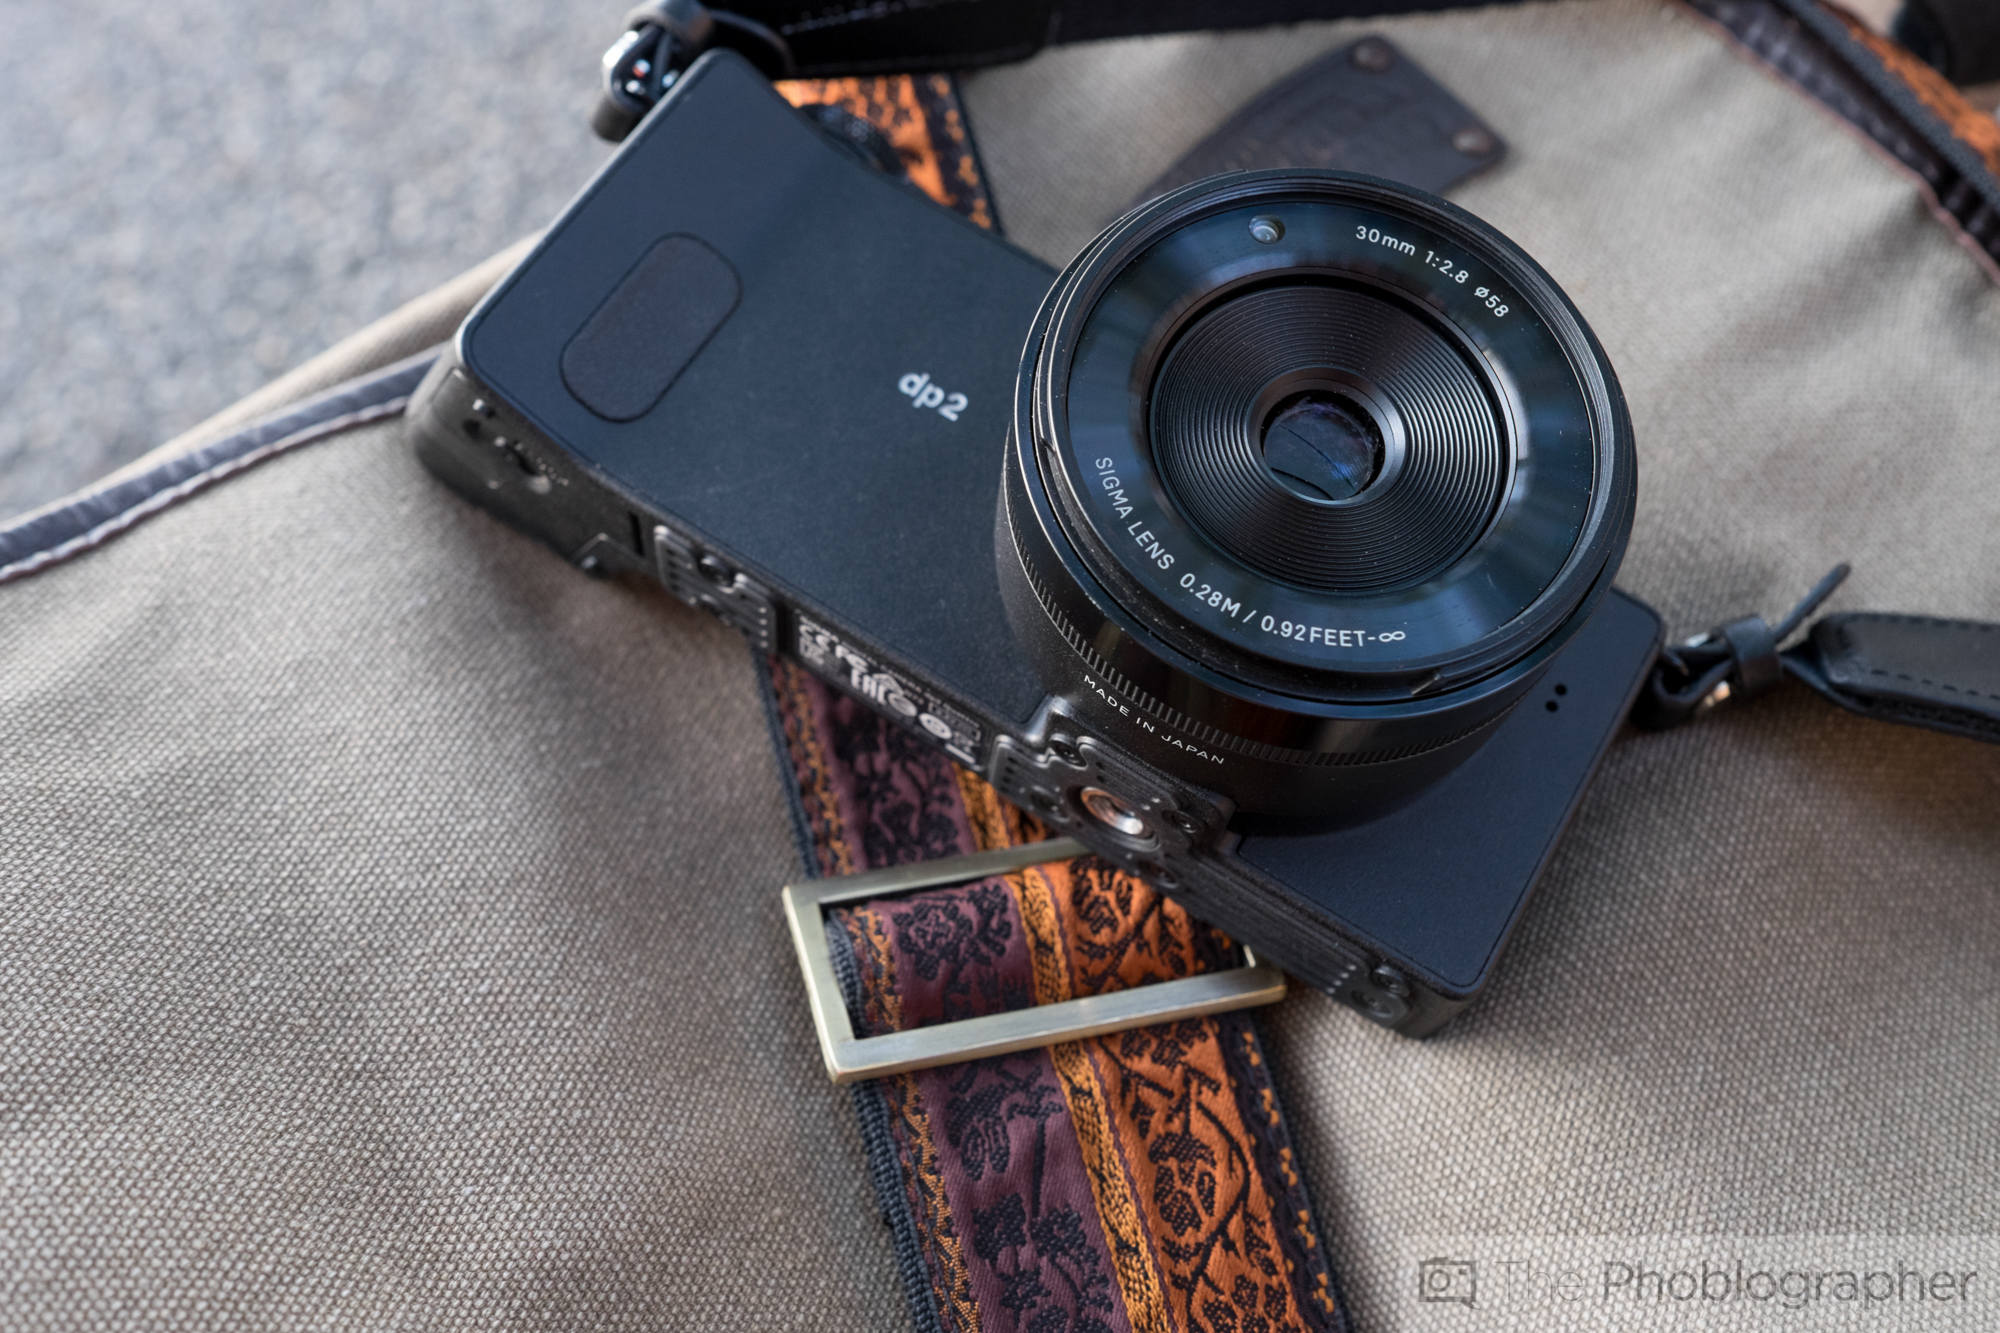
But the cameras and products also need to be placed in the real life situations where someone that purchases it would see themselves using it. And at the same time, we try to work on composition and product placement to synergize products together. In the image above, we highlight the Nikon D5200, but why would someone not use it with a MeFOTO Daytrip tripod?
Again, it’s all about understanding the user and making it appeal to them. We’re totally not trying to advertise. Instead, we’re trying to get folks to come into the site and get a beautiful visual experience.
Lighting
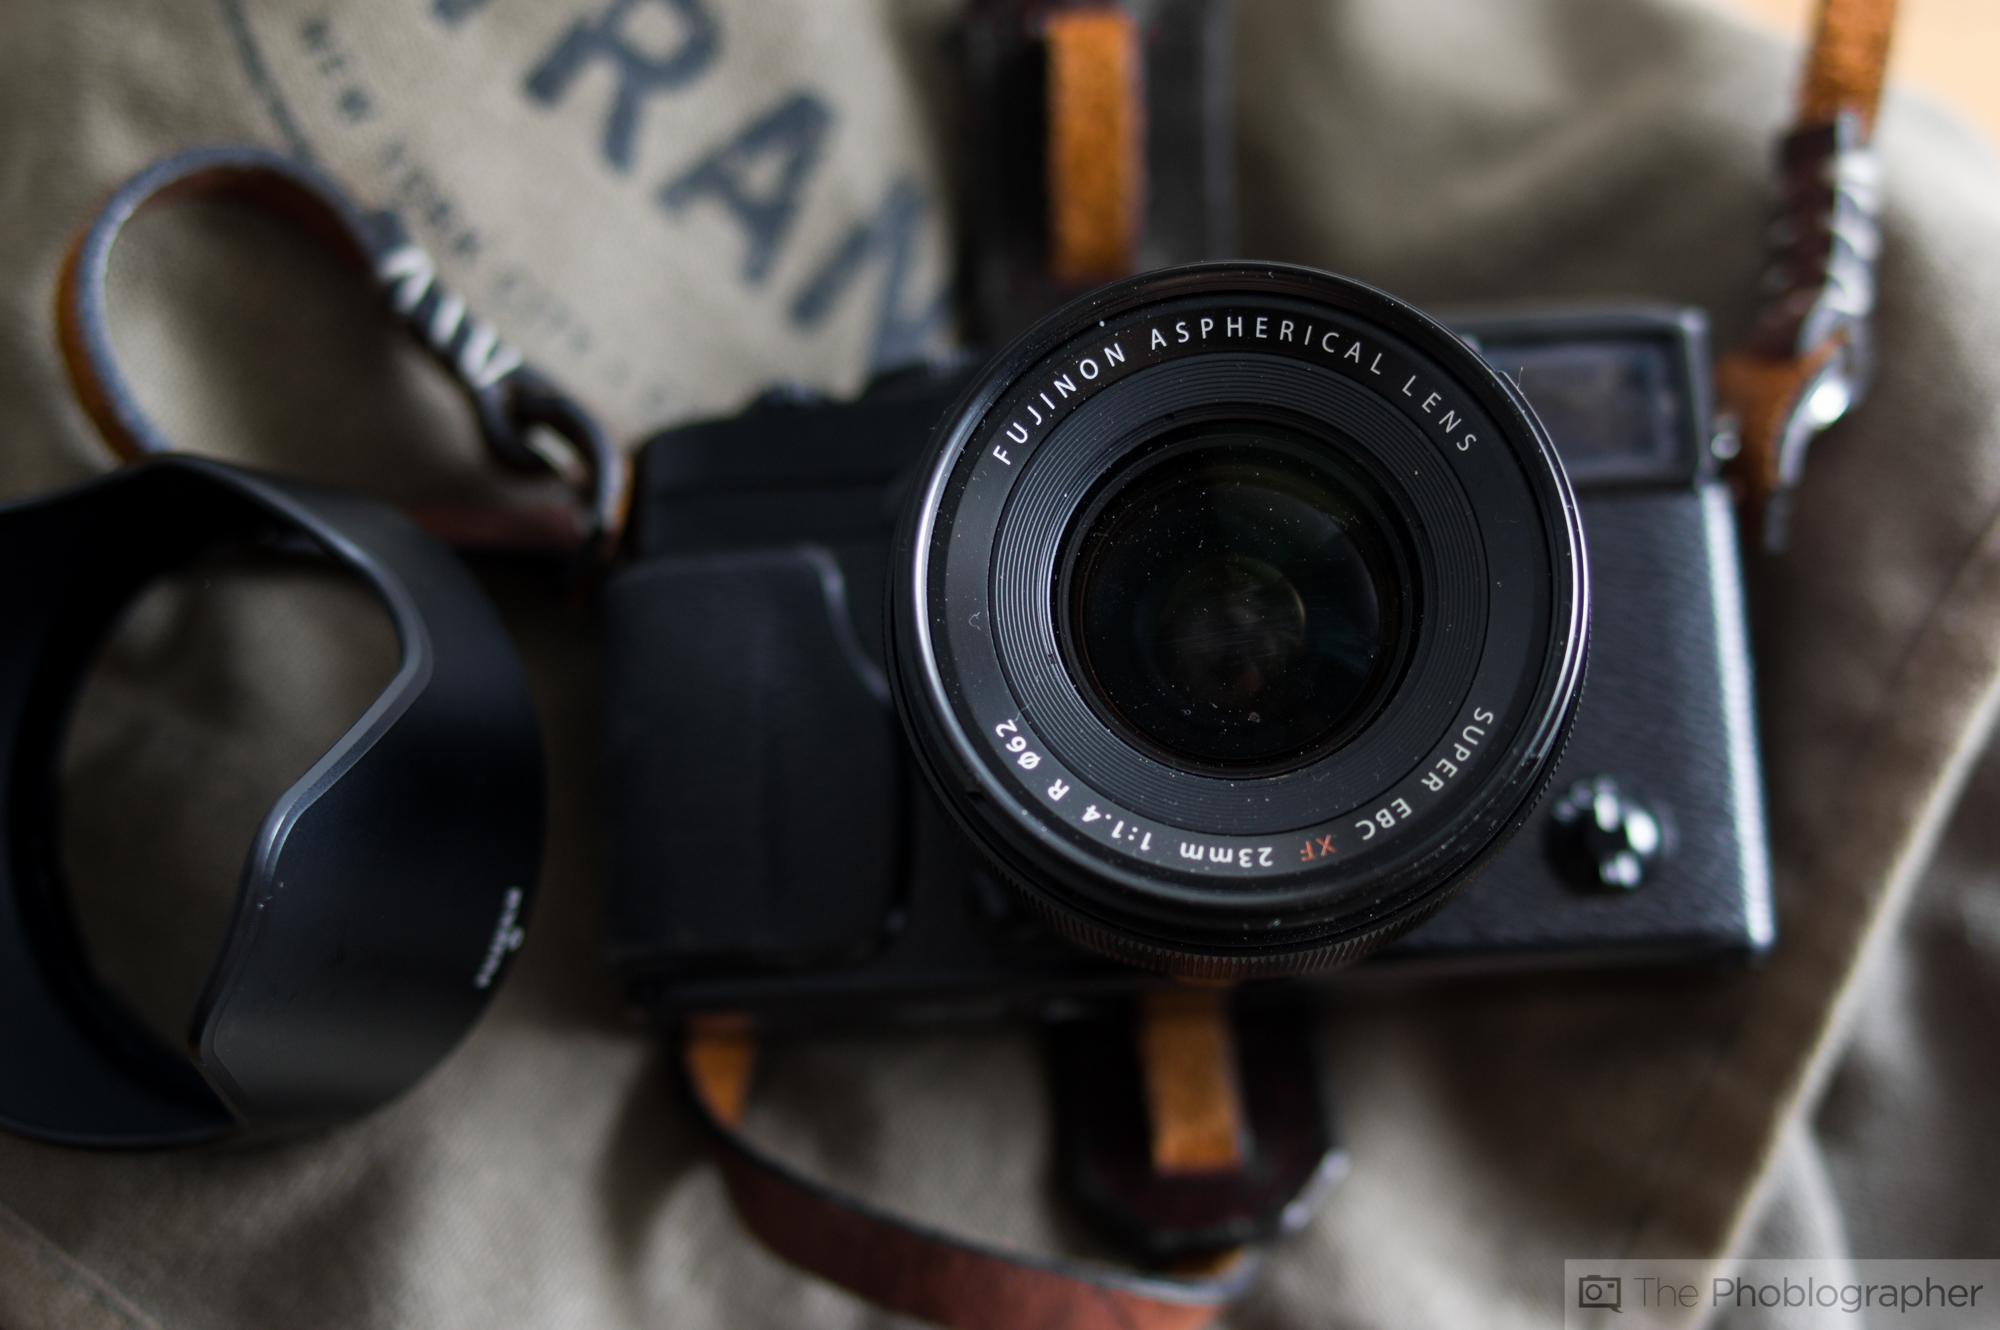
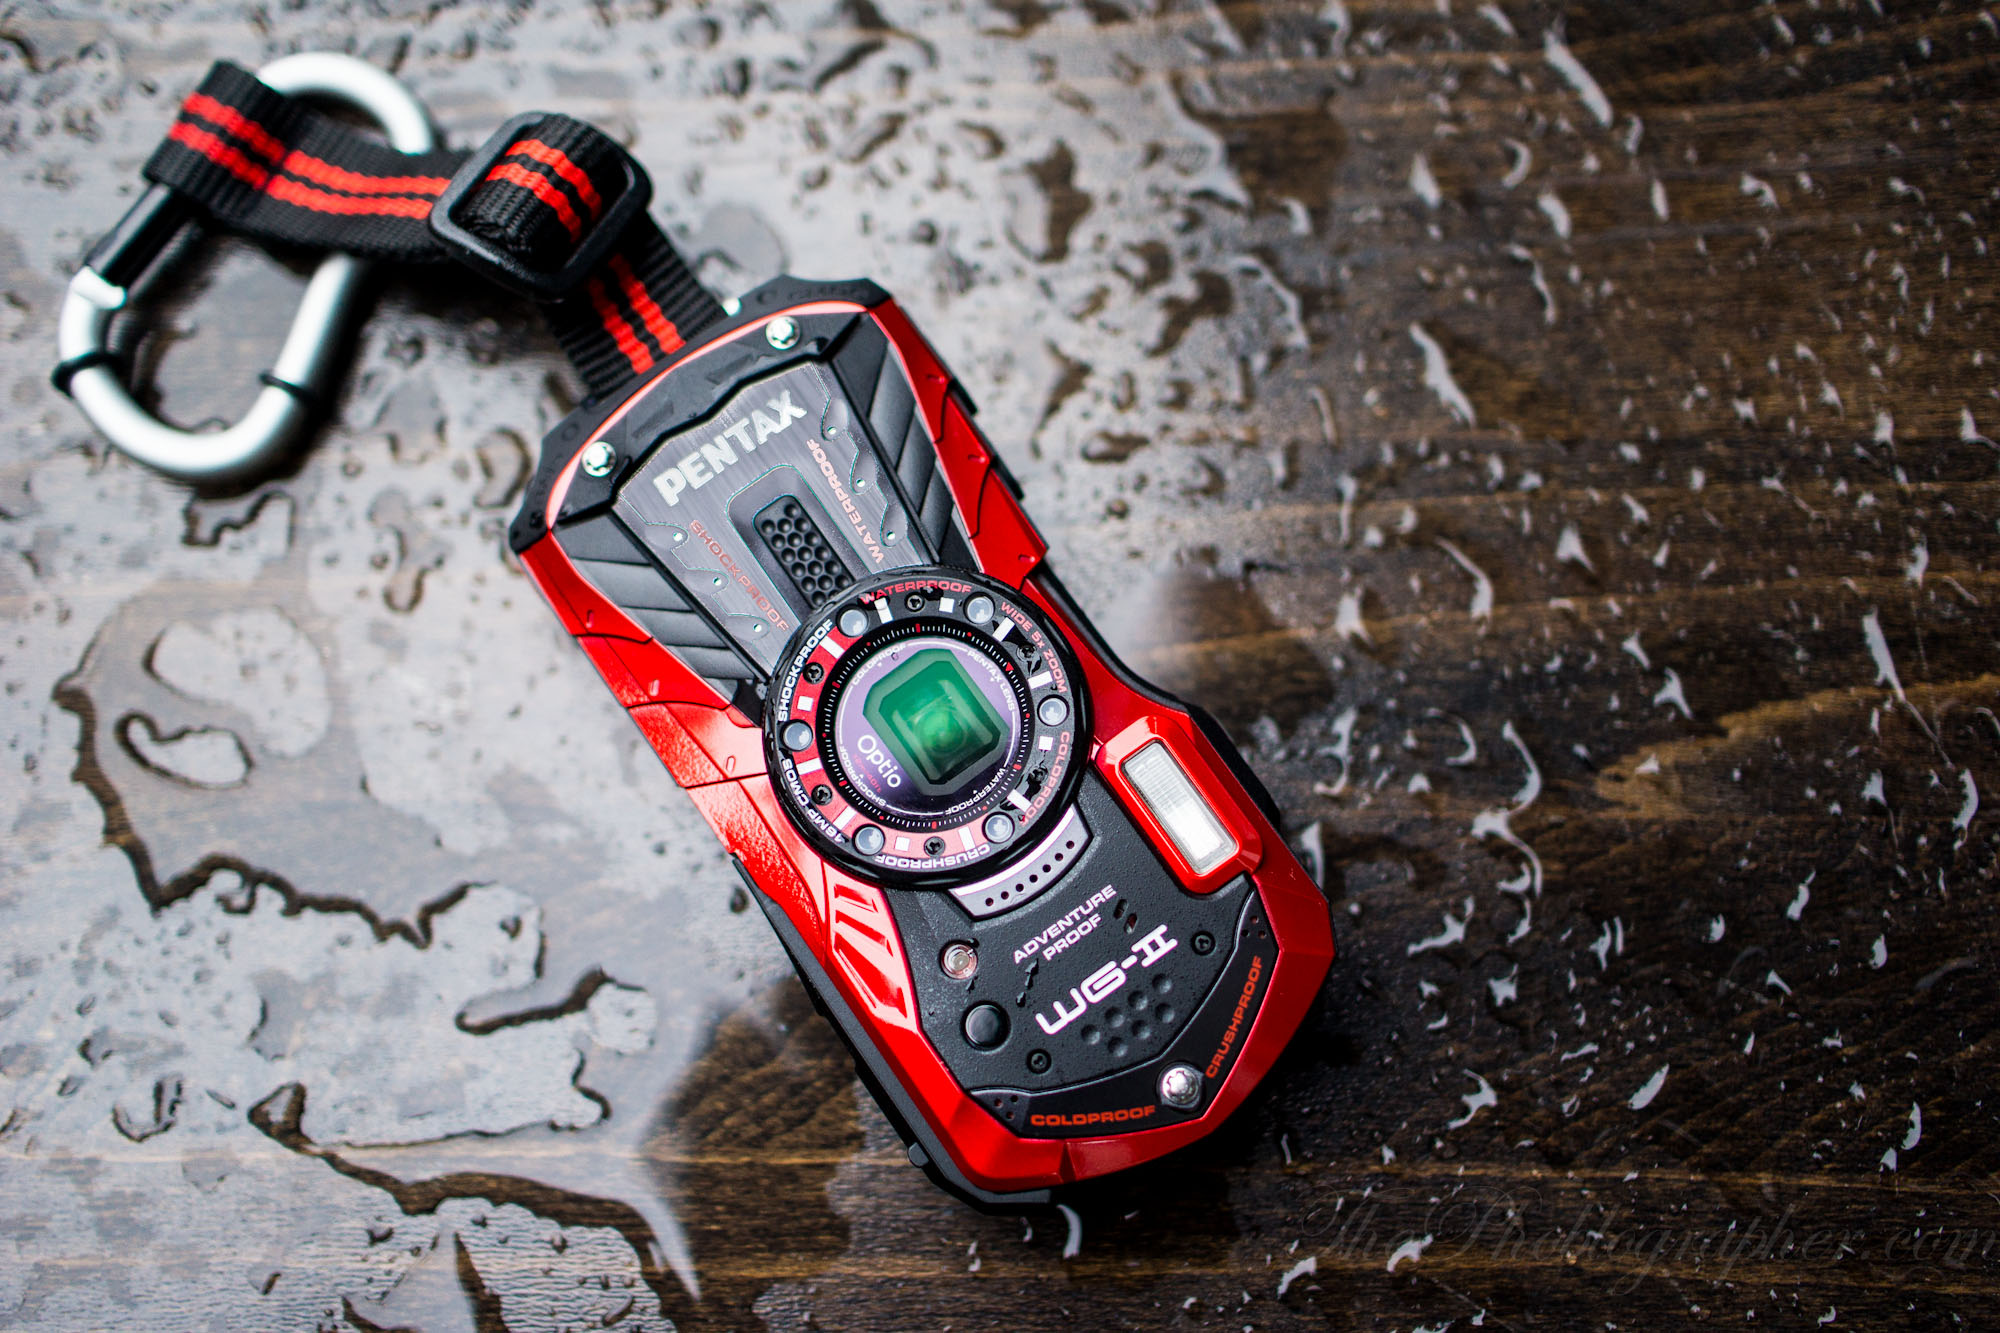
The lighting of our products is more or less everything that makes them look the way that they do. And for the most part,many of our setups are done with either all natural light or with a single strobe blended with natural light. Sometimes, we even try to enhance the effects of window lighting. The Phoblographer tends to work with textures, colors and other items to create entire scenes. And again–it’s all about having a creative vision and combining it with genuine gear lust. The important thing about the photos is that they have to be shot in a way that looks very natural and in a setting that it would actually be in–then the lighting will naturally (or creatively) find a way to bring out the product’s beauty.
Much of the current staff uses natural lighting–although that is indeed changing. Others have used lots of flash along with the natural light of an area to make more details pop in the images. This has to do with using specular highlights–like we talk about all the time.
Our vision is very consistent and not very technical at all–it’s just all about putting the item in the right situation.
Think of it as set design. We’ve never story boarded an image set, but we’ve indeed played with multiple lighting scenarios.
Post-Production

Bringing the images into Adobe Lightroom is the next step when it comes to editing photos from a session. Some of us will take loads of images where as others will be very exacting and get it right in camera for the most part. Our editing habits usually involve adding a vignette to put more emphasis on the product, boosting contrast, messing with the sharpness and black levels, and a crop. We try not to clutter our images too much while also trying to balance a real life situation.
These all help to put further emphasis on the products because many of the products that we shoot are black. Products that aren’t go through selective color processing.
Then the images are exported at 72DPI and at around 1000 or 2000 pixels on the long side.
Get rid of the ads!
Did you enjoy reading this article as much as we enjoyed writing it? There's a way to support us and our reporting, getting ad-free navigation and more as a bonus. Subscribe to us for less than a coffee per month —just $3.99— or take advantage of our yearly subscription with a hefty discount for only $25.- An ad-free experience
- A free mystery box for Lightroom or Capture One
- All the books in our store
- 20% discount on Capture One
- 30% discount on Imalume Photo Theft Protection
- 20% off Herbs and Kettle Tea Company.
- 20% off your order from MPIX printing services.
- 5% off Viltrox Products via their eCommerce store.
- 10% off all film developing, printing and scanning services from Blue Moon Camera and Machine
- 15% off 7Artisans products: The lens and accessory maker is offering a sweet discount for Phoblographer's readers.