Harsh, mid-afternoon sun is the bane of every photographer’s existence. Given the choice, very few of us would opt to schedule a shoot around high noon. As the name suggests, this is the irritating time of day when the sun reaches its highest elevation in the sky. With no cloud cover to diffuse it, you end up shooting in painfully bright conditions that cast spotty, unappealing shadows on everything; notably human faces. Many photographers, especially natural light shooters, prefer to work either first thing or later in the day to take advantage of the near-perfect light resulting from the Golden Hour. But sometimes, we aren’t awarded that liberty to choose. Since overcast days aren’t available by request, here are a few things to keep in mind next time you find yourself stuck making the best of a bright mid-day sun.
Find Shade
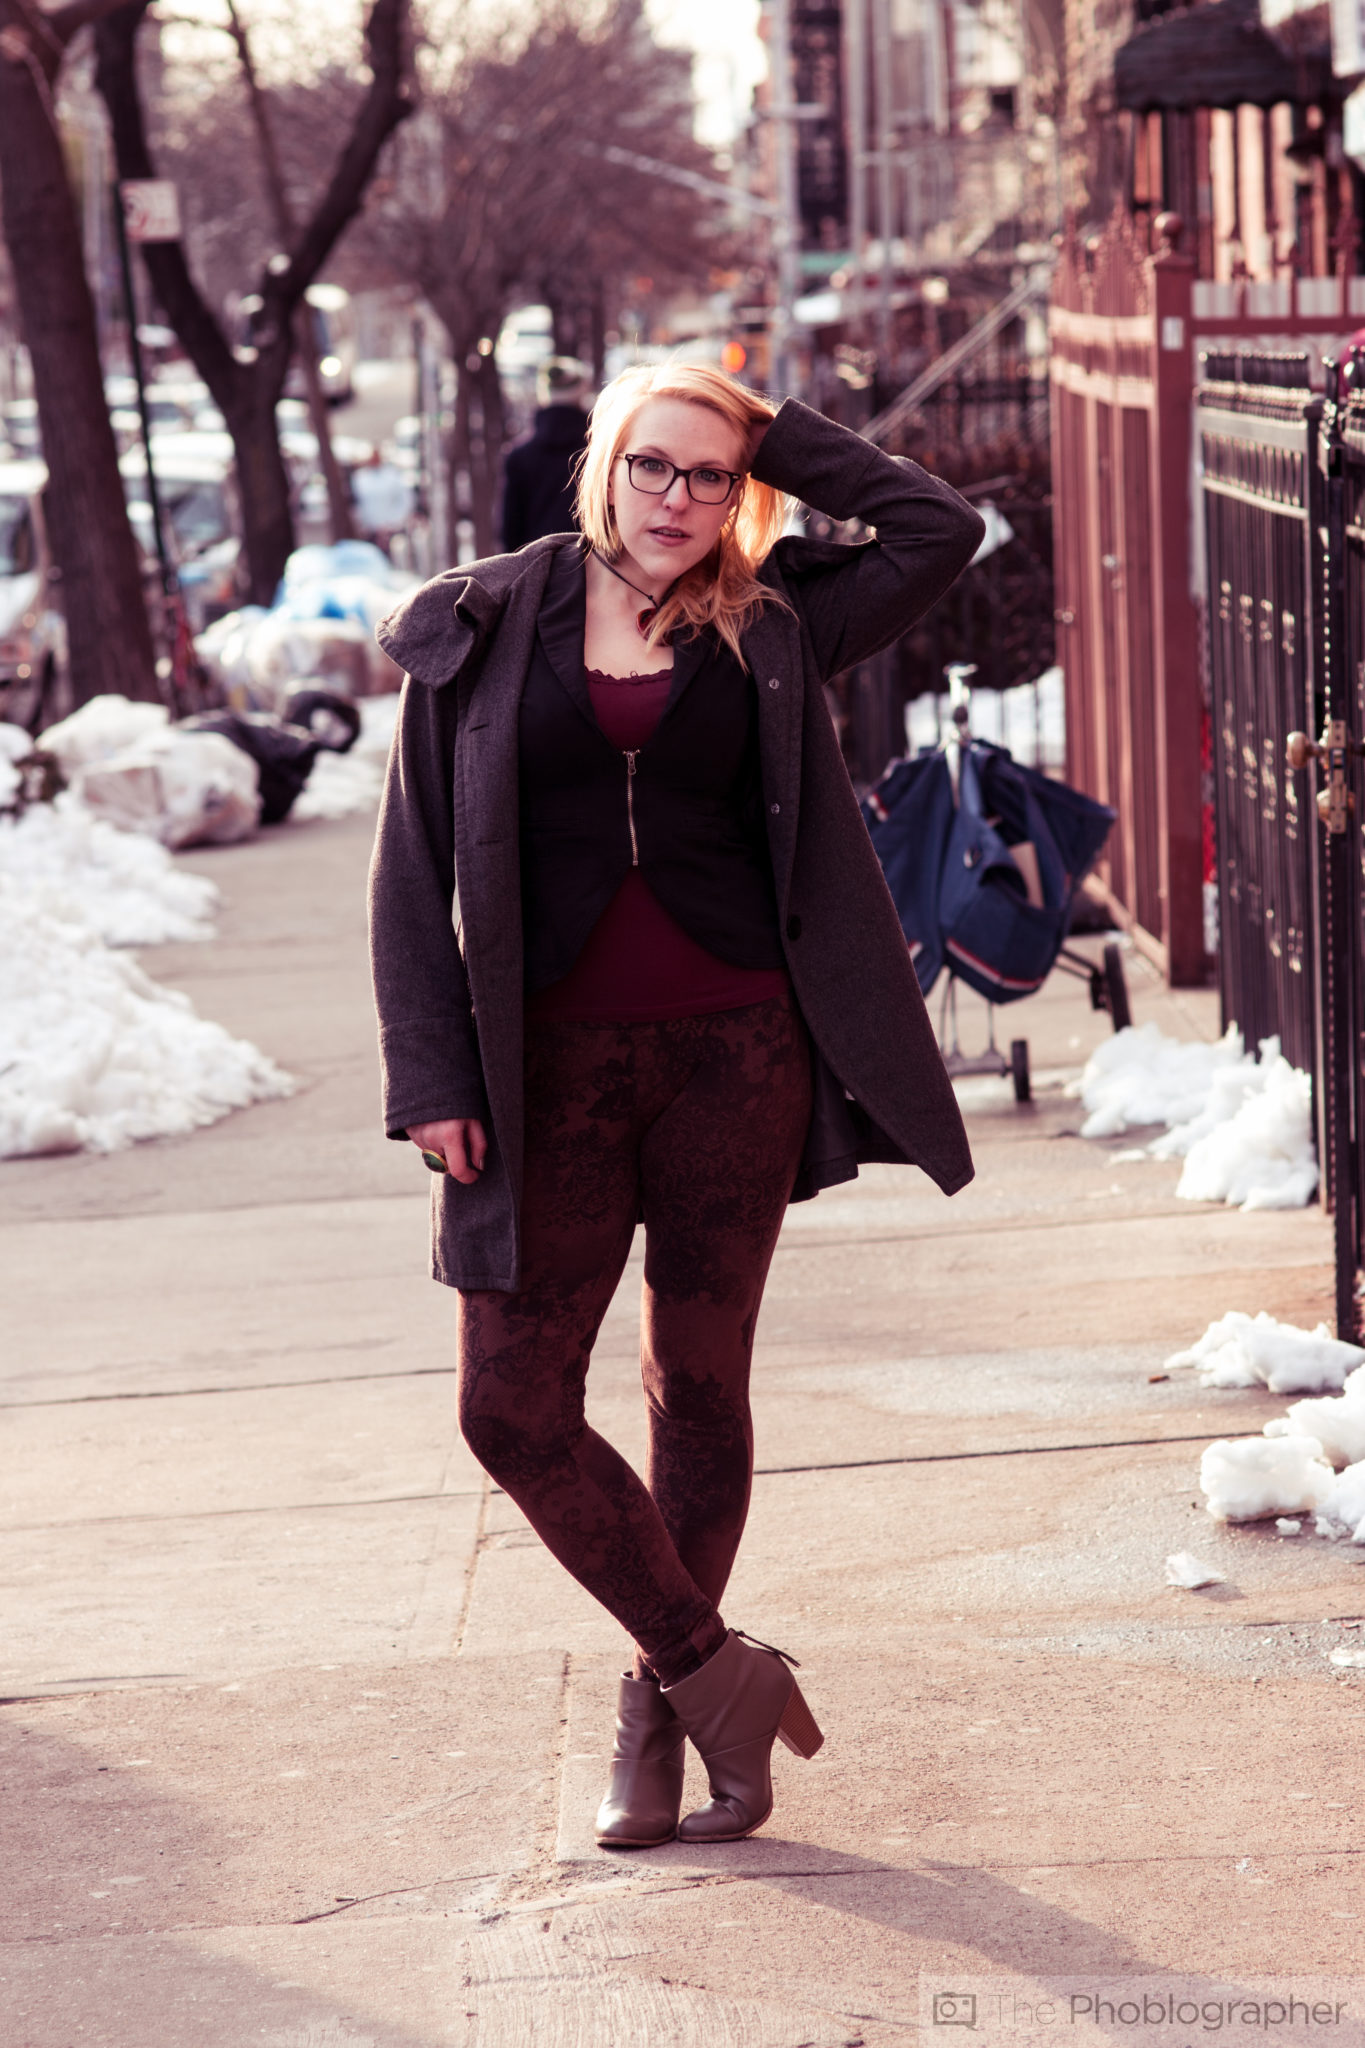
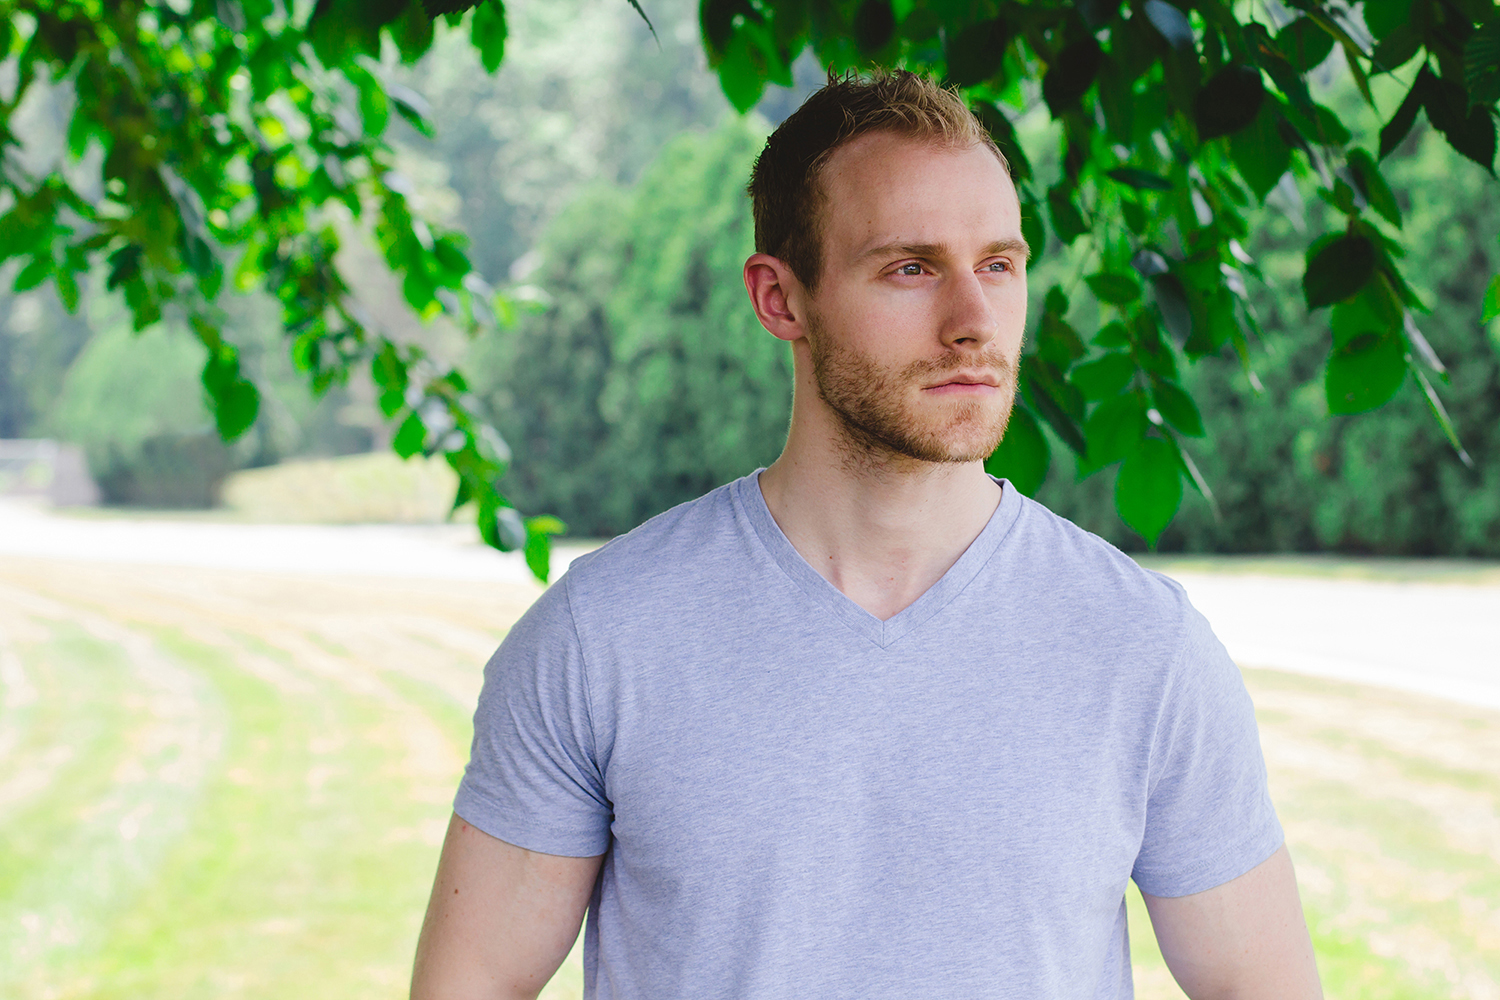
The first, and perhaps most obvious tip, is to get your subject into a shaded area. Look for a location that isn’t too dark or spotty, but instead provides a nice soft, even coverage. Think about positioning them alongside tall buildings, under large awnings, or beneath full, leafy trees (as long as too much dappled light isn’t falling through, or you’ll end up dealing with hotspots). On particularly bright days, sunny backgrounds can overexpose by a large margin when you meter for a subject standing in the shade. Some people aren’t bothered by this, and chalk it up to adding a pretty, dreamy quality to their images. Others find it incredibly annoying. If you’re one of the latter, try to find a spot where there’s less open space behind your subject. Make sure whatever is in the background is also shaded, or come in closer for a tighter, more isolated frame.
Make Shade
No good shady spots nearby? You might need to get a little innovative and consider making your own. One way to do this is with a diffusion panel, which you can buy as part of most collapsible reflectors (another helpful tool we’ll get to in a minute). They can be held between your subject and the harsh overhead sun by an assistant, or mounted to a stand. Instantly, you’ll have access to a pleasant, soft quality of light. The same thing can be done with a large translucent umbrella. If you don’t have some kind of diffuser on hand, think about what props you can incorporate into your shoot that will also block harsh light. For example, ask your subject to wear a stylish, floppy-brimmed sun hat. Build an impromptu outdoor blanket fort. Have them carry a boogie board overhead on their way to the pool or beach. Get creative.

Turn Subjects Away From the Sun
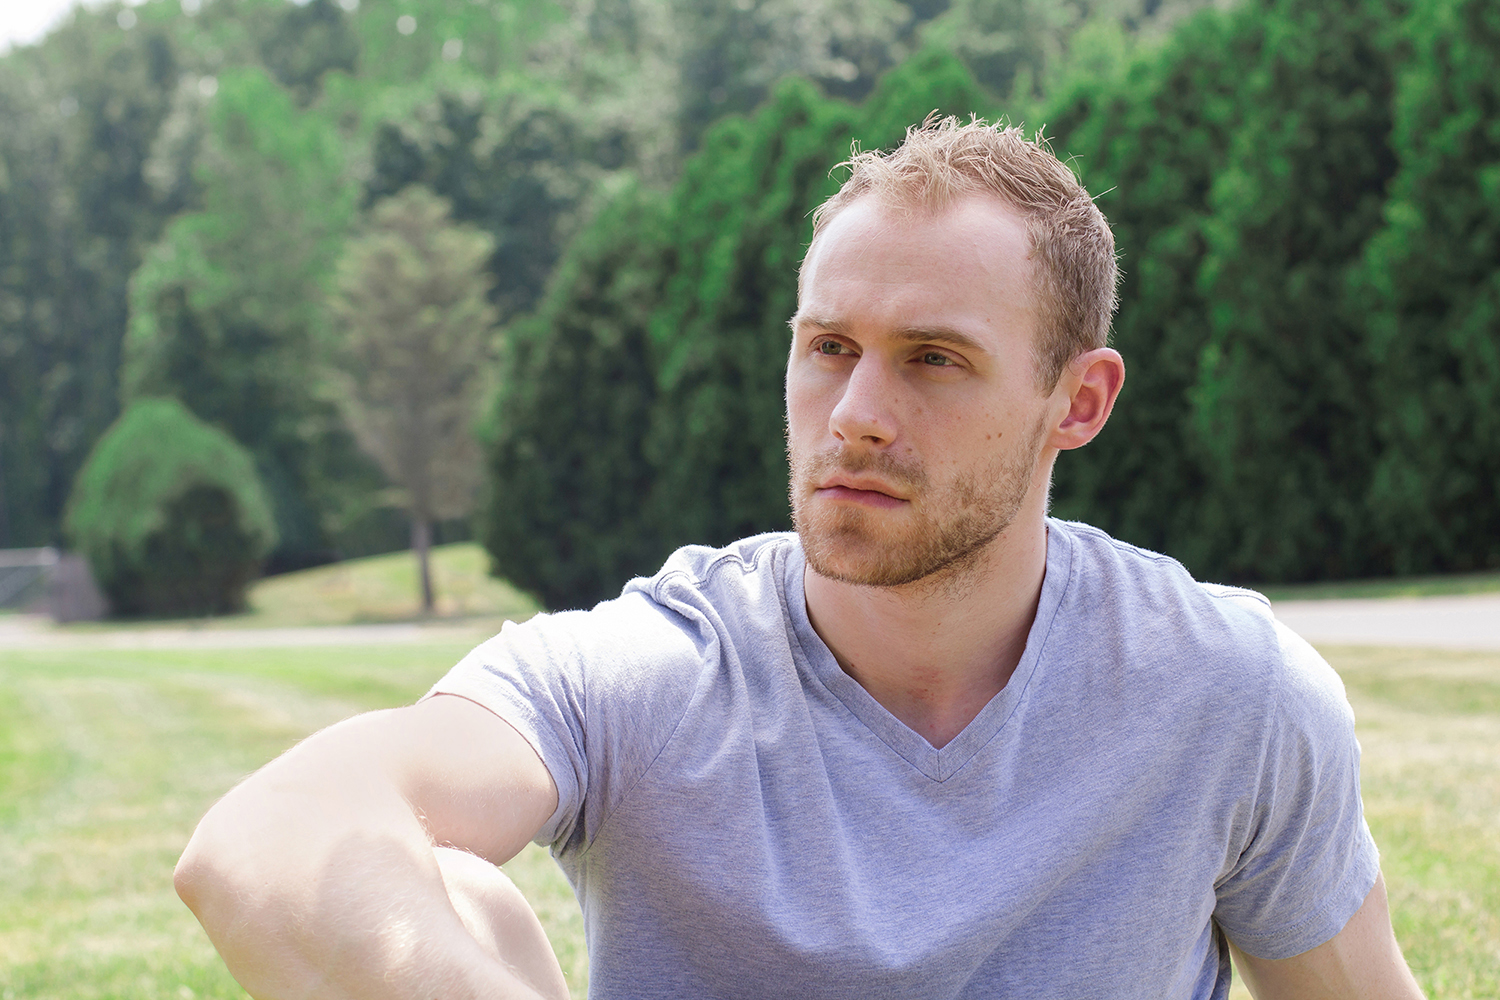
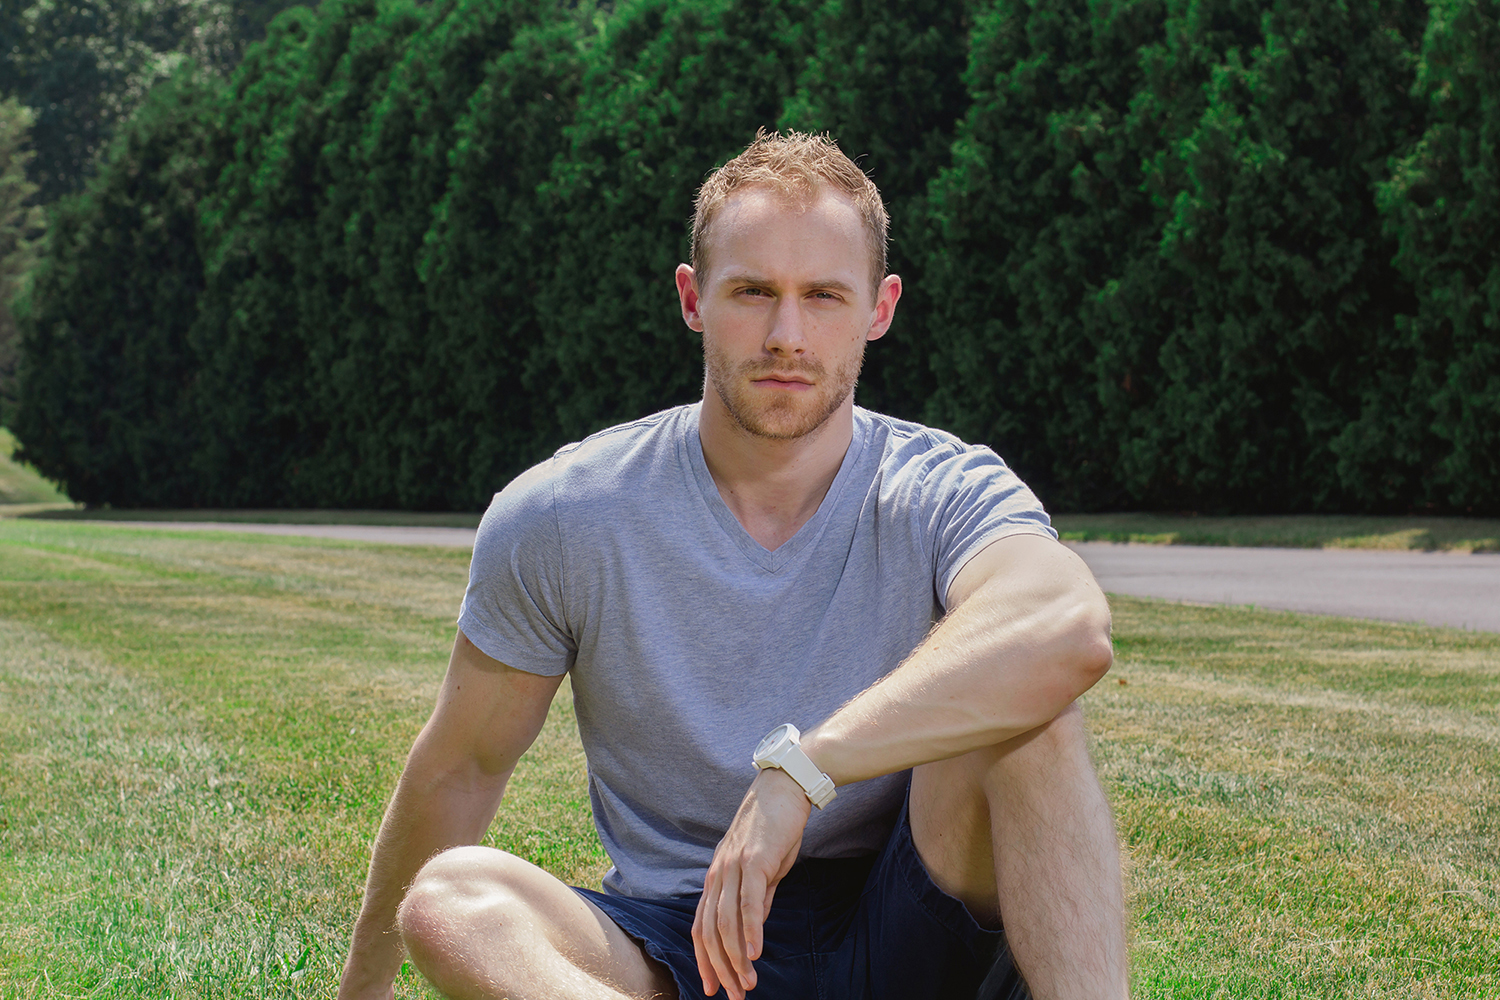
When all else fails and you’re stuck working in a wide-open space, position your subjects with the sun behind them. It might not always be an ideal scenario, but if nothing else, you’ll get the splotchy, unflattering shadows off of their face. That’s what counts. This is a particularly useful tip when you’re working with a big group, whether it’s shooting a family portrait or figuring out where to position a large wedding party at noon. You may lose detail in the sky this way, but that’s usually a small price to pay for making sure everyone looks good. Remember to spot-meter for the subject’s face.

Use Reflectors
A reflector really is an indispensable part of a portrait photographer’s arsenal. They aren’t terribly expensive, and for what you can achieve with them, worth every penny. There’s a wide variety of sizes available, and many come with some combination of interchangeable panels (gold, silver, white, black, translucent) to help you manipulate light in a number of ways. These are handy both in the sun and in the shade, when you need to lift some shadows in the face and create a pop in the eyes. You can prop them against something, have an assistant (or even your subject) hold them, or place them on an appropriate stand. On super bright days, be somewhat mindful aiming reflectors at a person’s face at close range. Gold and silver panels can kick back a beam of light almost as blinding as staring at the sun itself. If you don’t have a reflector, or prefer not to use one, look to your surroundings for what can serve the same purpose naturally. This is an important and incredibly helpful thing to bear in mind whenever you’re shooting with available light. Keep your eyes peeled for light-colored, neutral surfaces that bounce a little light back up toward your subject. Think white walls, light-colored pavement, wood, or sidewalks, sand, snow, and whatever else gets the jobs done. Just be wary to avoid anything that throws a weird color cast, or your post-processing will become all the more difficult.
Use Flash
It might sound counter-intuitive to introduce artificial light in a scenario where you already have plenty. But fill flash can be a huge problem-solver when direct overhead sun is causing odd, unflattering shadows on the face. You don’t need to haul out an entire lighting kit, although there’s nothing stopping you if that’s what you prefer. One or two wireless flashes will do the trick just fine. Some photographers really hate the look of flash, but it truly can be a lifesaver when utilized properly. It adds life back into the eyes, which as we know by now, are the primary focal point of a portrait. You won’t have those annoying raccoon-like shadows beneath the brow bone, and catchlights can really add some nice dimension. It can also be a major help in preventing your background from blowing out, since you’ll be able to get a correct exposure for what’s going on behind your subject. A pop-up flash is okay in a pinch, but to really have control over your results, use wireless speed lights and get them off the camera. Add an umbrella or small softbox to help diffuse the flash.
Get rid of the ads!
Did you enjoy reading this article as much as we enjoyed writing it? There's a way to support us and our reporting, getting ad-free navigation and more as a bonus. Subscribe to us for less than a coffee per month —just $3.99— or take advantage of our yearly subscription with a hefty discount for only $25.- An ad-free experience
- A free mystery box for Lightroom or Capture One
- All the books in our store
- 20% discount on Capture One
- 30% discount on Imalume Photo Theft Protection
- 20% off Herbs and Kettle Tea Company.
- 20% off your order from MPIX printing services.
- 5% off Viltrox Products via their eCommerce store.
- 10% off all film developing, printing and scanning services from Blue Moon Camera and Machine