
All images in this article were used with permission from their respective owners.
Nom nom nom nom nom…
Anyway, getting the perfect food photo isn’t extremely tough to do when it comes to technique–but instead it’s all about creative vision. There is a ton of presentation work that goes into food photography to make it appealing to someone. Plus, there is a lot of playing with colors and careful thought that is involved.
Here are some basic ways to improve your food photography.
Use Window Light
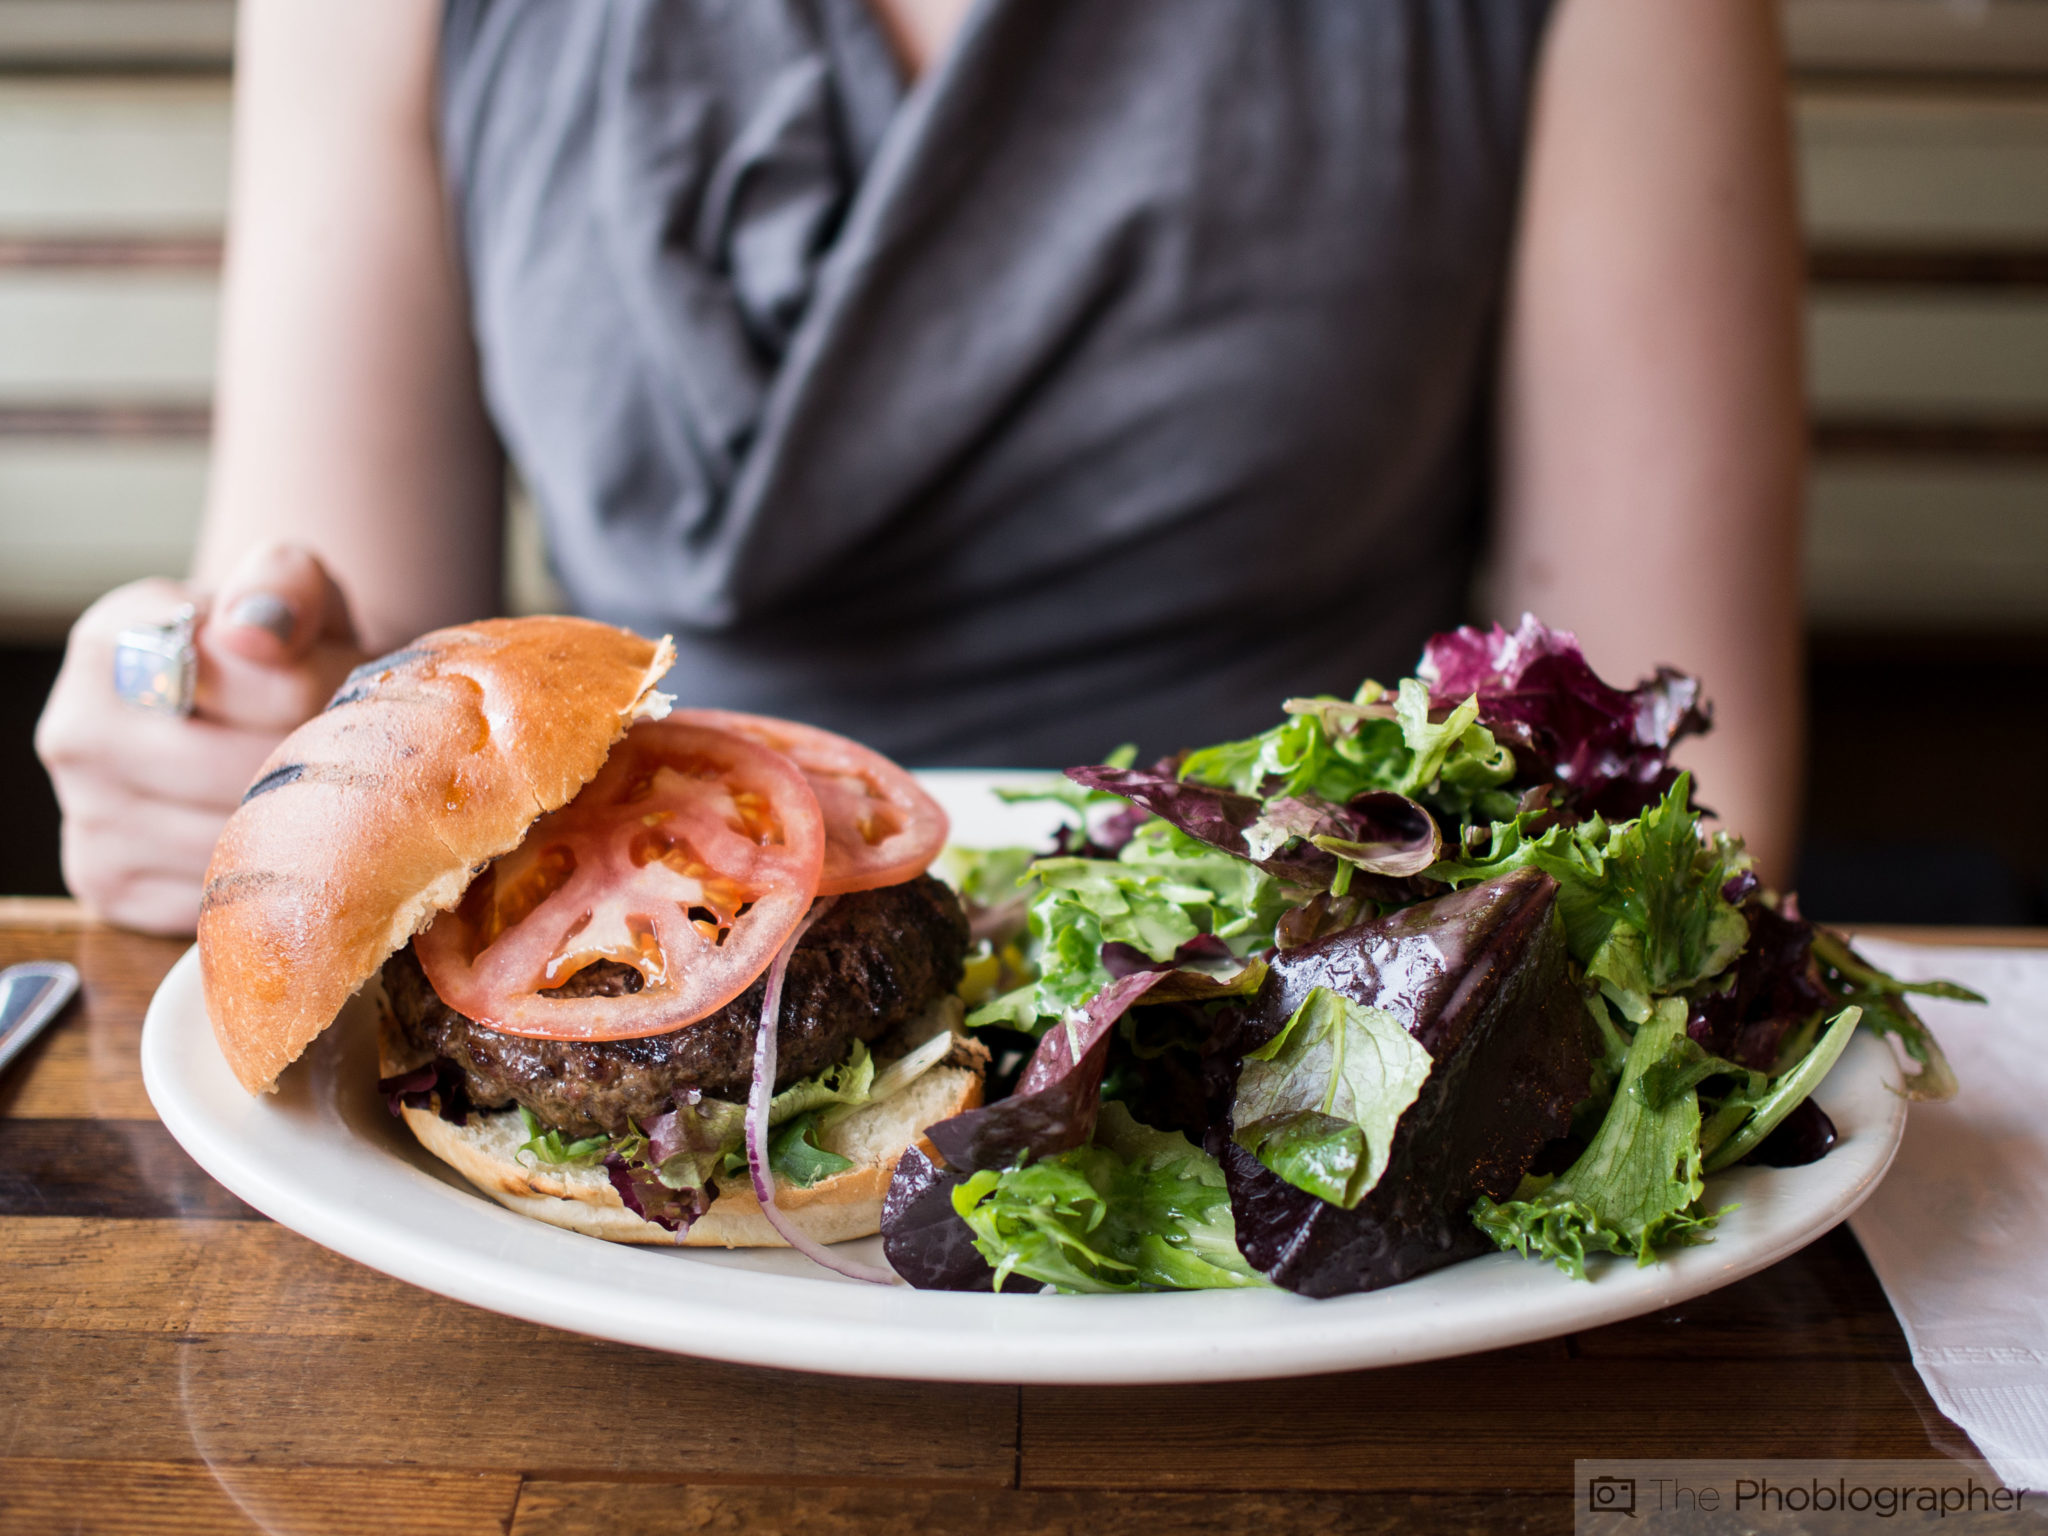
If you listen to what lots of professional food photographers do, you’ll find that most of them use window light. The reason why they tend to do this is because it gives a more homely look to the food and puts viewers right there in the experience by showing something very familiar. Couple that with soft lighting that a window usually gives and you’ve got a match made in heaven.
But for what it’s worth, when someone talks about window light, they often mean very soft diffused light. So you’ll need to do it at the right time.
Or…Create the Window Light Look
Now obviously, you’ll need to shoot at times when the light isn’t perfect–and that small window of opportunity to shoot when the light is perfect is incredibly narrow. So in order to make your own window light, we recommend that you take an external flash, set it to the widest focal length, put it right against a window blind, and illuminate your scene that way.
Use Reflectors and Specular Highlights
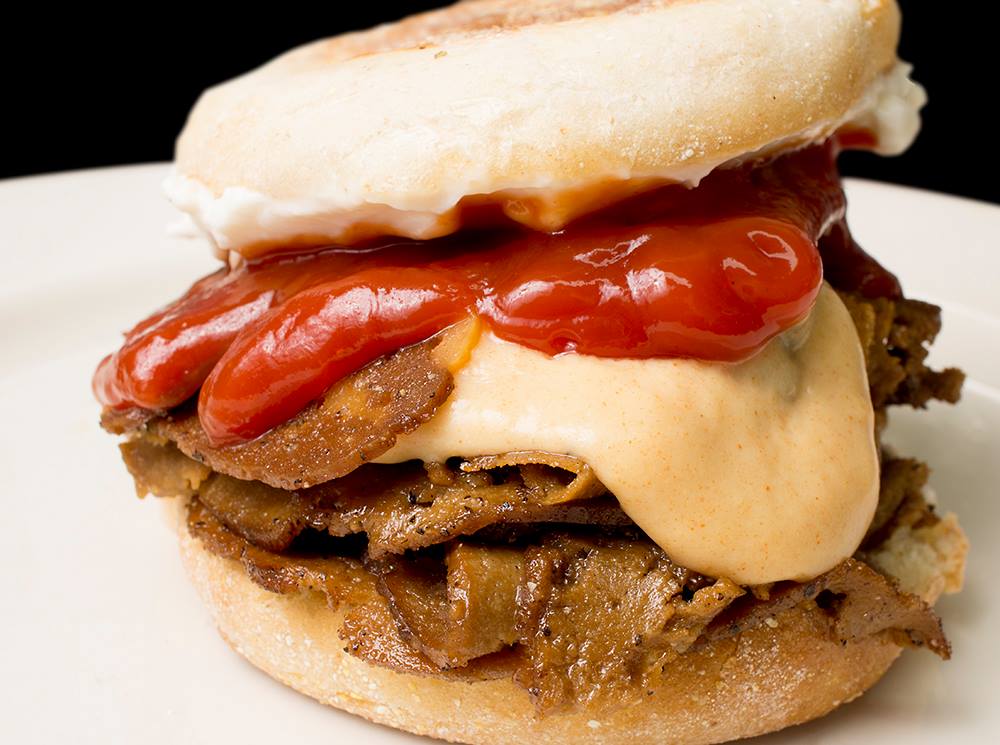
To get more details from your subject, a great idea is to add a reflector or specular highlights. Reflectors can help to bring out specular highlights–which are little lights on your subject that can give more details and do things like increase sharpness. Often, they are associated with making something look very shiny like in the image above. Without that shine, the image wouldn’t present itself as something so delicious.
It’s All About Timing
Shooting food images at the right time is also key. We were previously talking about the right time of day, but there is also a best time in the food’s shelf life to capture it.
If you’re photographing raw food, make sure that it is still very fresh and maybe even add water to it if it’s a fruit or veggie. Raw meat can be very tough to shoot and you may need to play with saturation levels in post-production afterwards.
If you’re shooting cooked food, the best time to shoot it is within 3-4 minutes after it has finished cooking. That means that if you really want to shoot some beautiful food, you need to have everything prepared beforehand in your scene.
Think about it as setting a table.
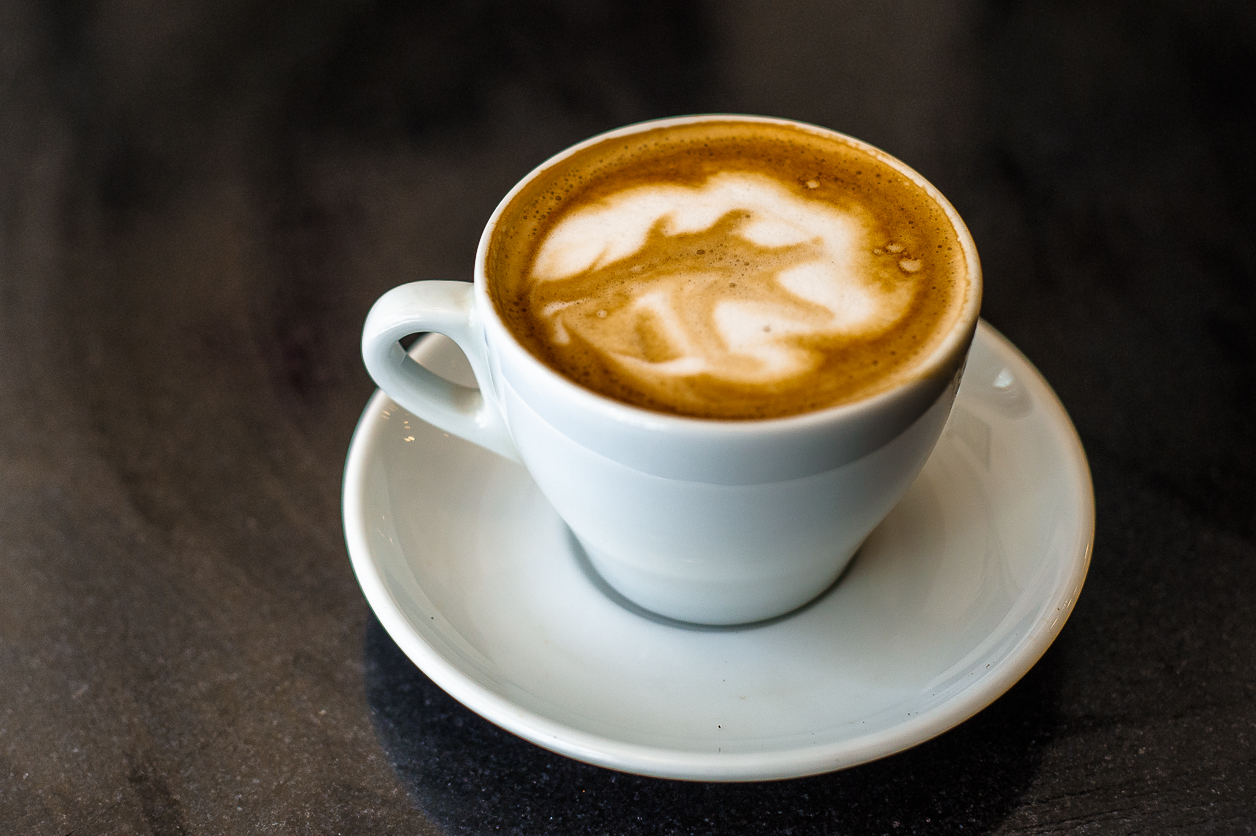
Create a Real Life Scene

Besides just getting the food and timing right, you need to get the scene right. Here’s where you need to think back to the times when you were younger and your parents prepared tables at Thanksgiving or some other big dinner. There was a lot of presentation and effort that went into it. So with that said, maybe try to pair your food with a drink, a perfect plate, utensils, napkins, etc.
If you’re in the foodservice industry or have friends in it, they can surely help.
For more, please follow us on Facebook, Google+, Flickr and Twitter.
Get rid of the ads!
Did you enjoy reading this article as much as we enjoyed writing it? There's a way to support us and our reporting, getting ad-free navigation and more as a bonus. Subscribe to us for less than a coffee per month —just $3.99— or take advantage of our yearly subscription with a hefty discount for only $25.- An ad-free experience
- A free mystery box for Lightroom or Capture One
- All the books in our store
- 20% discount on Capture One
- 30% discount on Imalume Photo Theft Protection
- 20% off Herbs and Kettle Tea Company.
- 20% off your order from MPIX printing services.
- 5% off Viltrox Products via their eCommerce store.
- 10% off all film developing, printing and scanning services from Blue Moon Camera and Machine
- 15% off 7Artisans products: The lens and accessory maker is offering a sweet discount for Phoblographer's readers.