Last Updated on 01/19/2014 by Chris Gampat
In the strobist community, we often hear about overpowering the sun. While the sun can deliver quite an insane amount of light, you can actually work with camera and strobe physics to get even less of the sun’s affect into your image. The results often are higher contrast images with a significantly more professional and beautiful look. But depending on your settings, you can add more or less contrast for your own creative style.
But if you’re totally new to this whole strobism game, here’s a quick guide on it all.
For Starters

Let’s remember a couple of things here when it comes to creating exposures where flash is involved:
– Shutter speeds control the ambient light
– Aperture control the flash exposure
– ISO controls the overall sensitivity in the image
– Flash output is always set to a certain level. It will consistently put out that amount of power unless it is in TTL mode–in which case it will then work with the aperture and ISO of the camera to create an exposure.
Here’s an example of what’s possible:
Gear Used
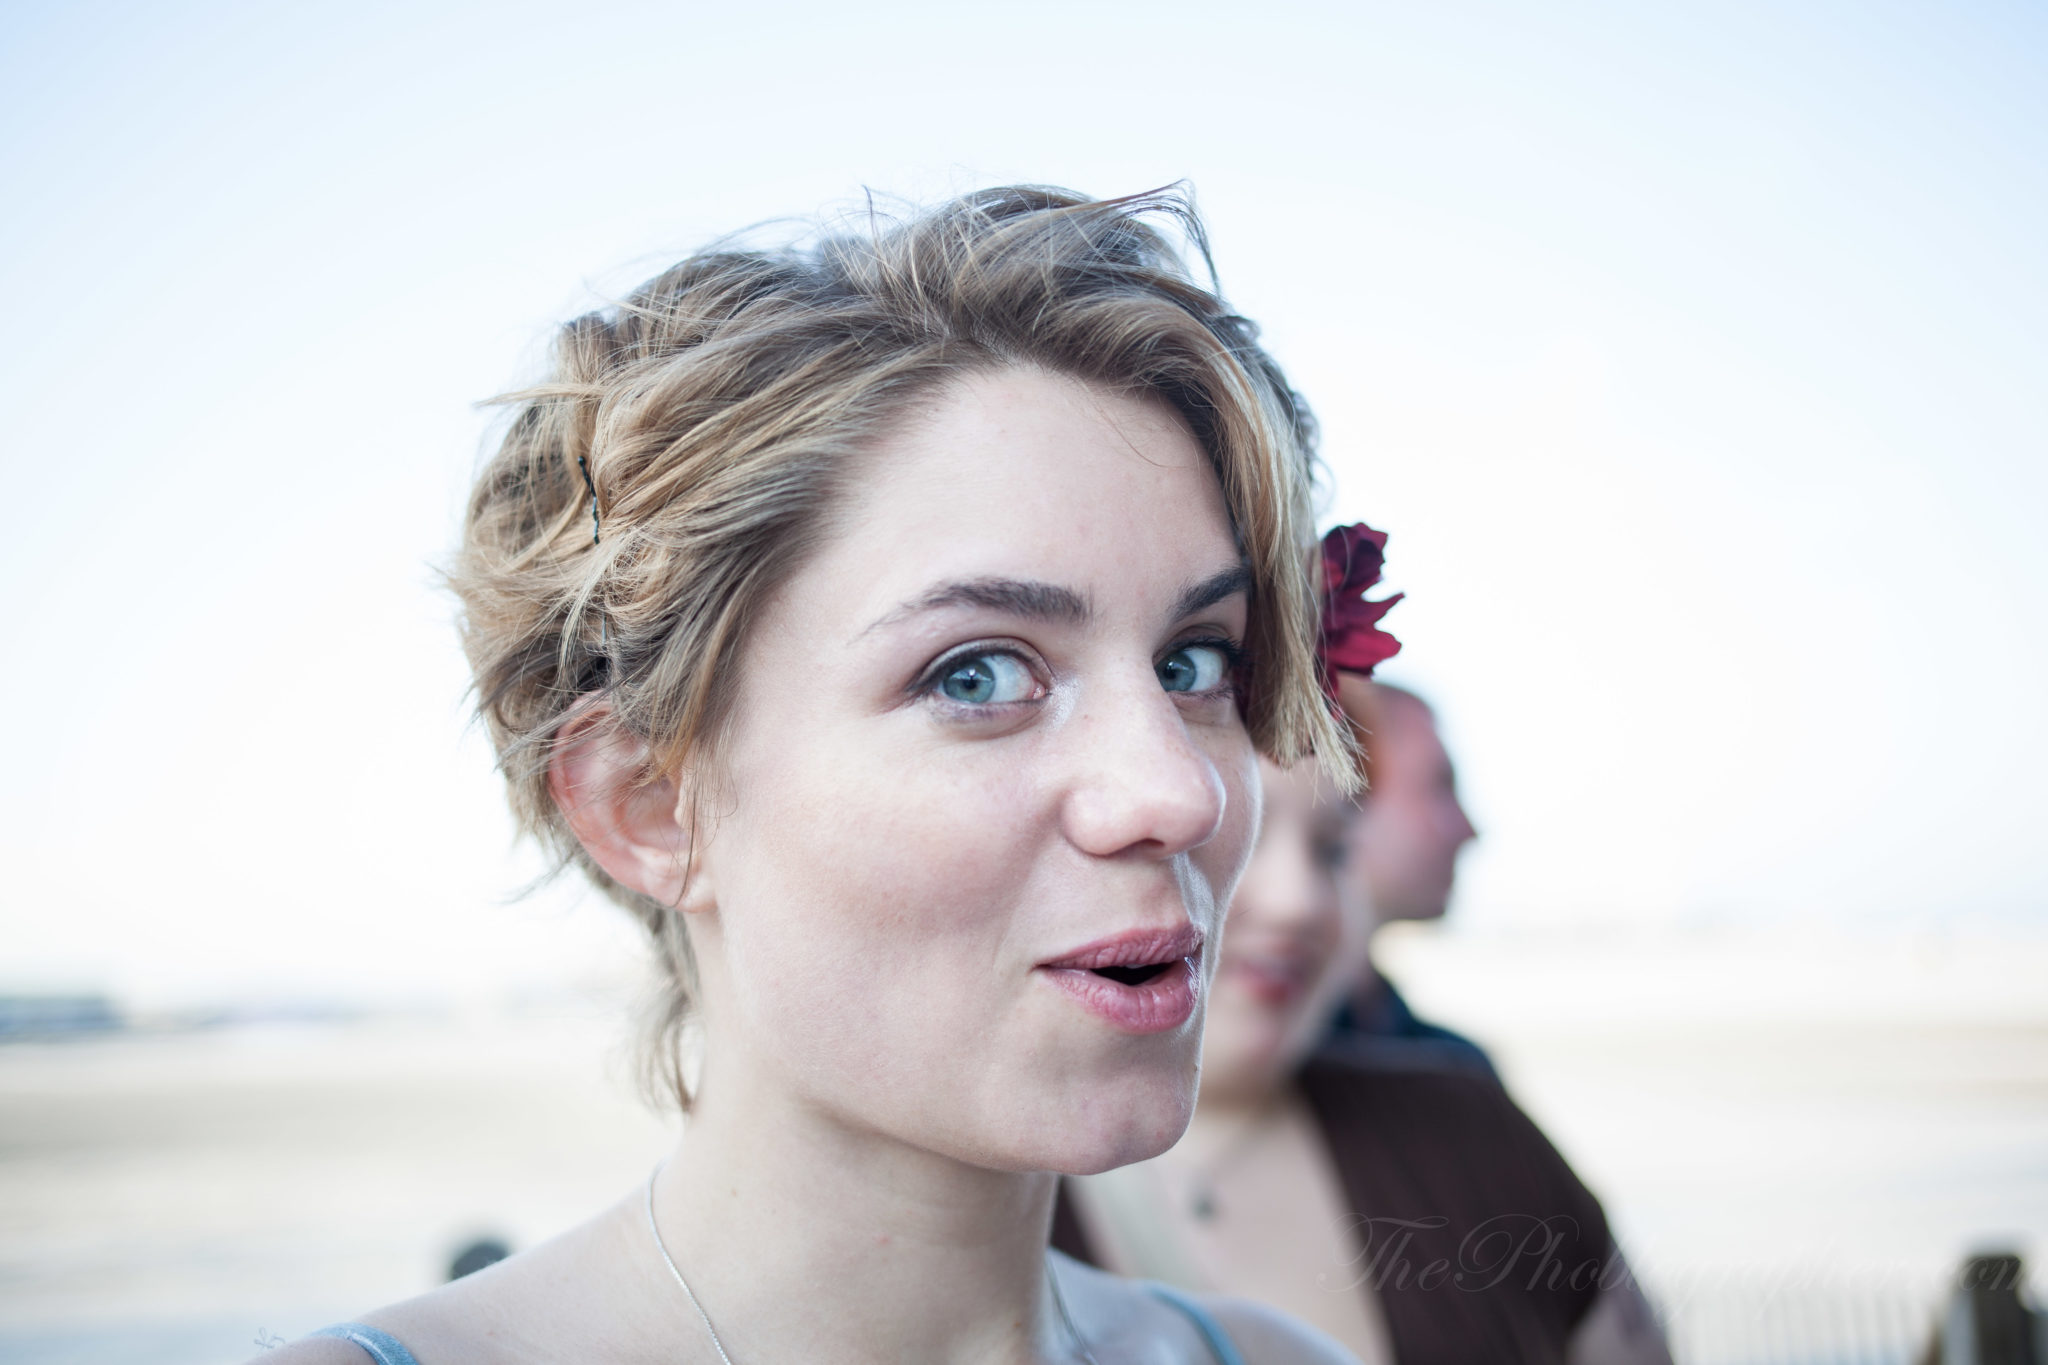
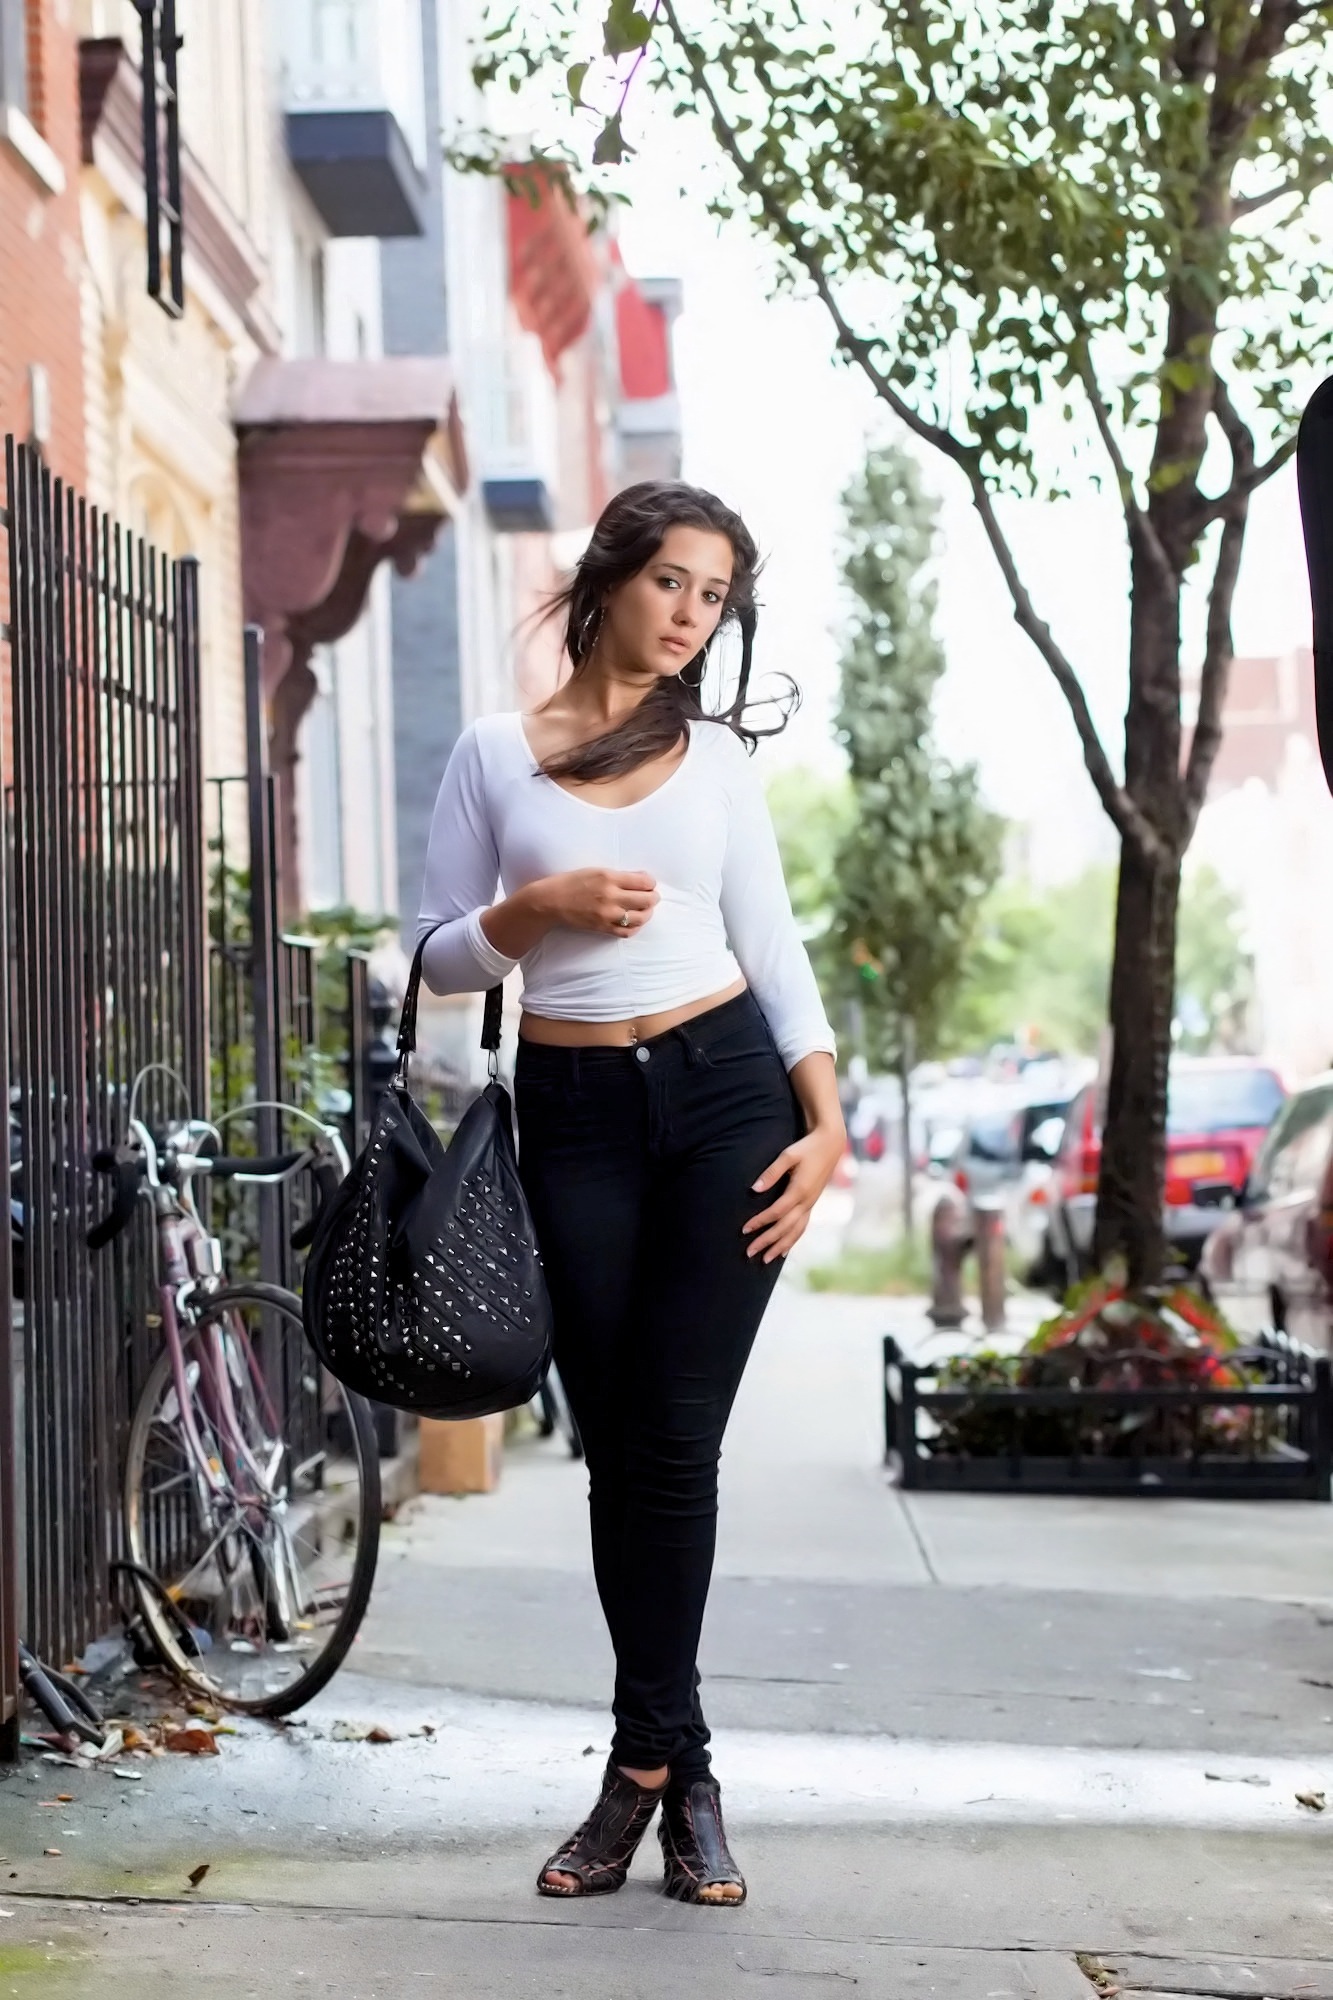
Image with No Flash

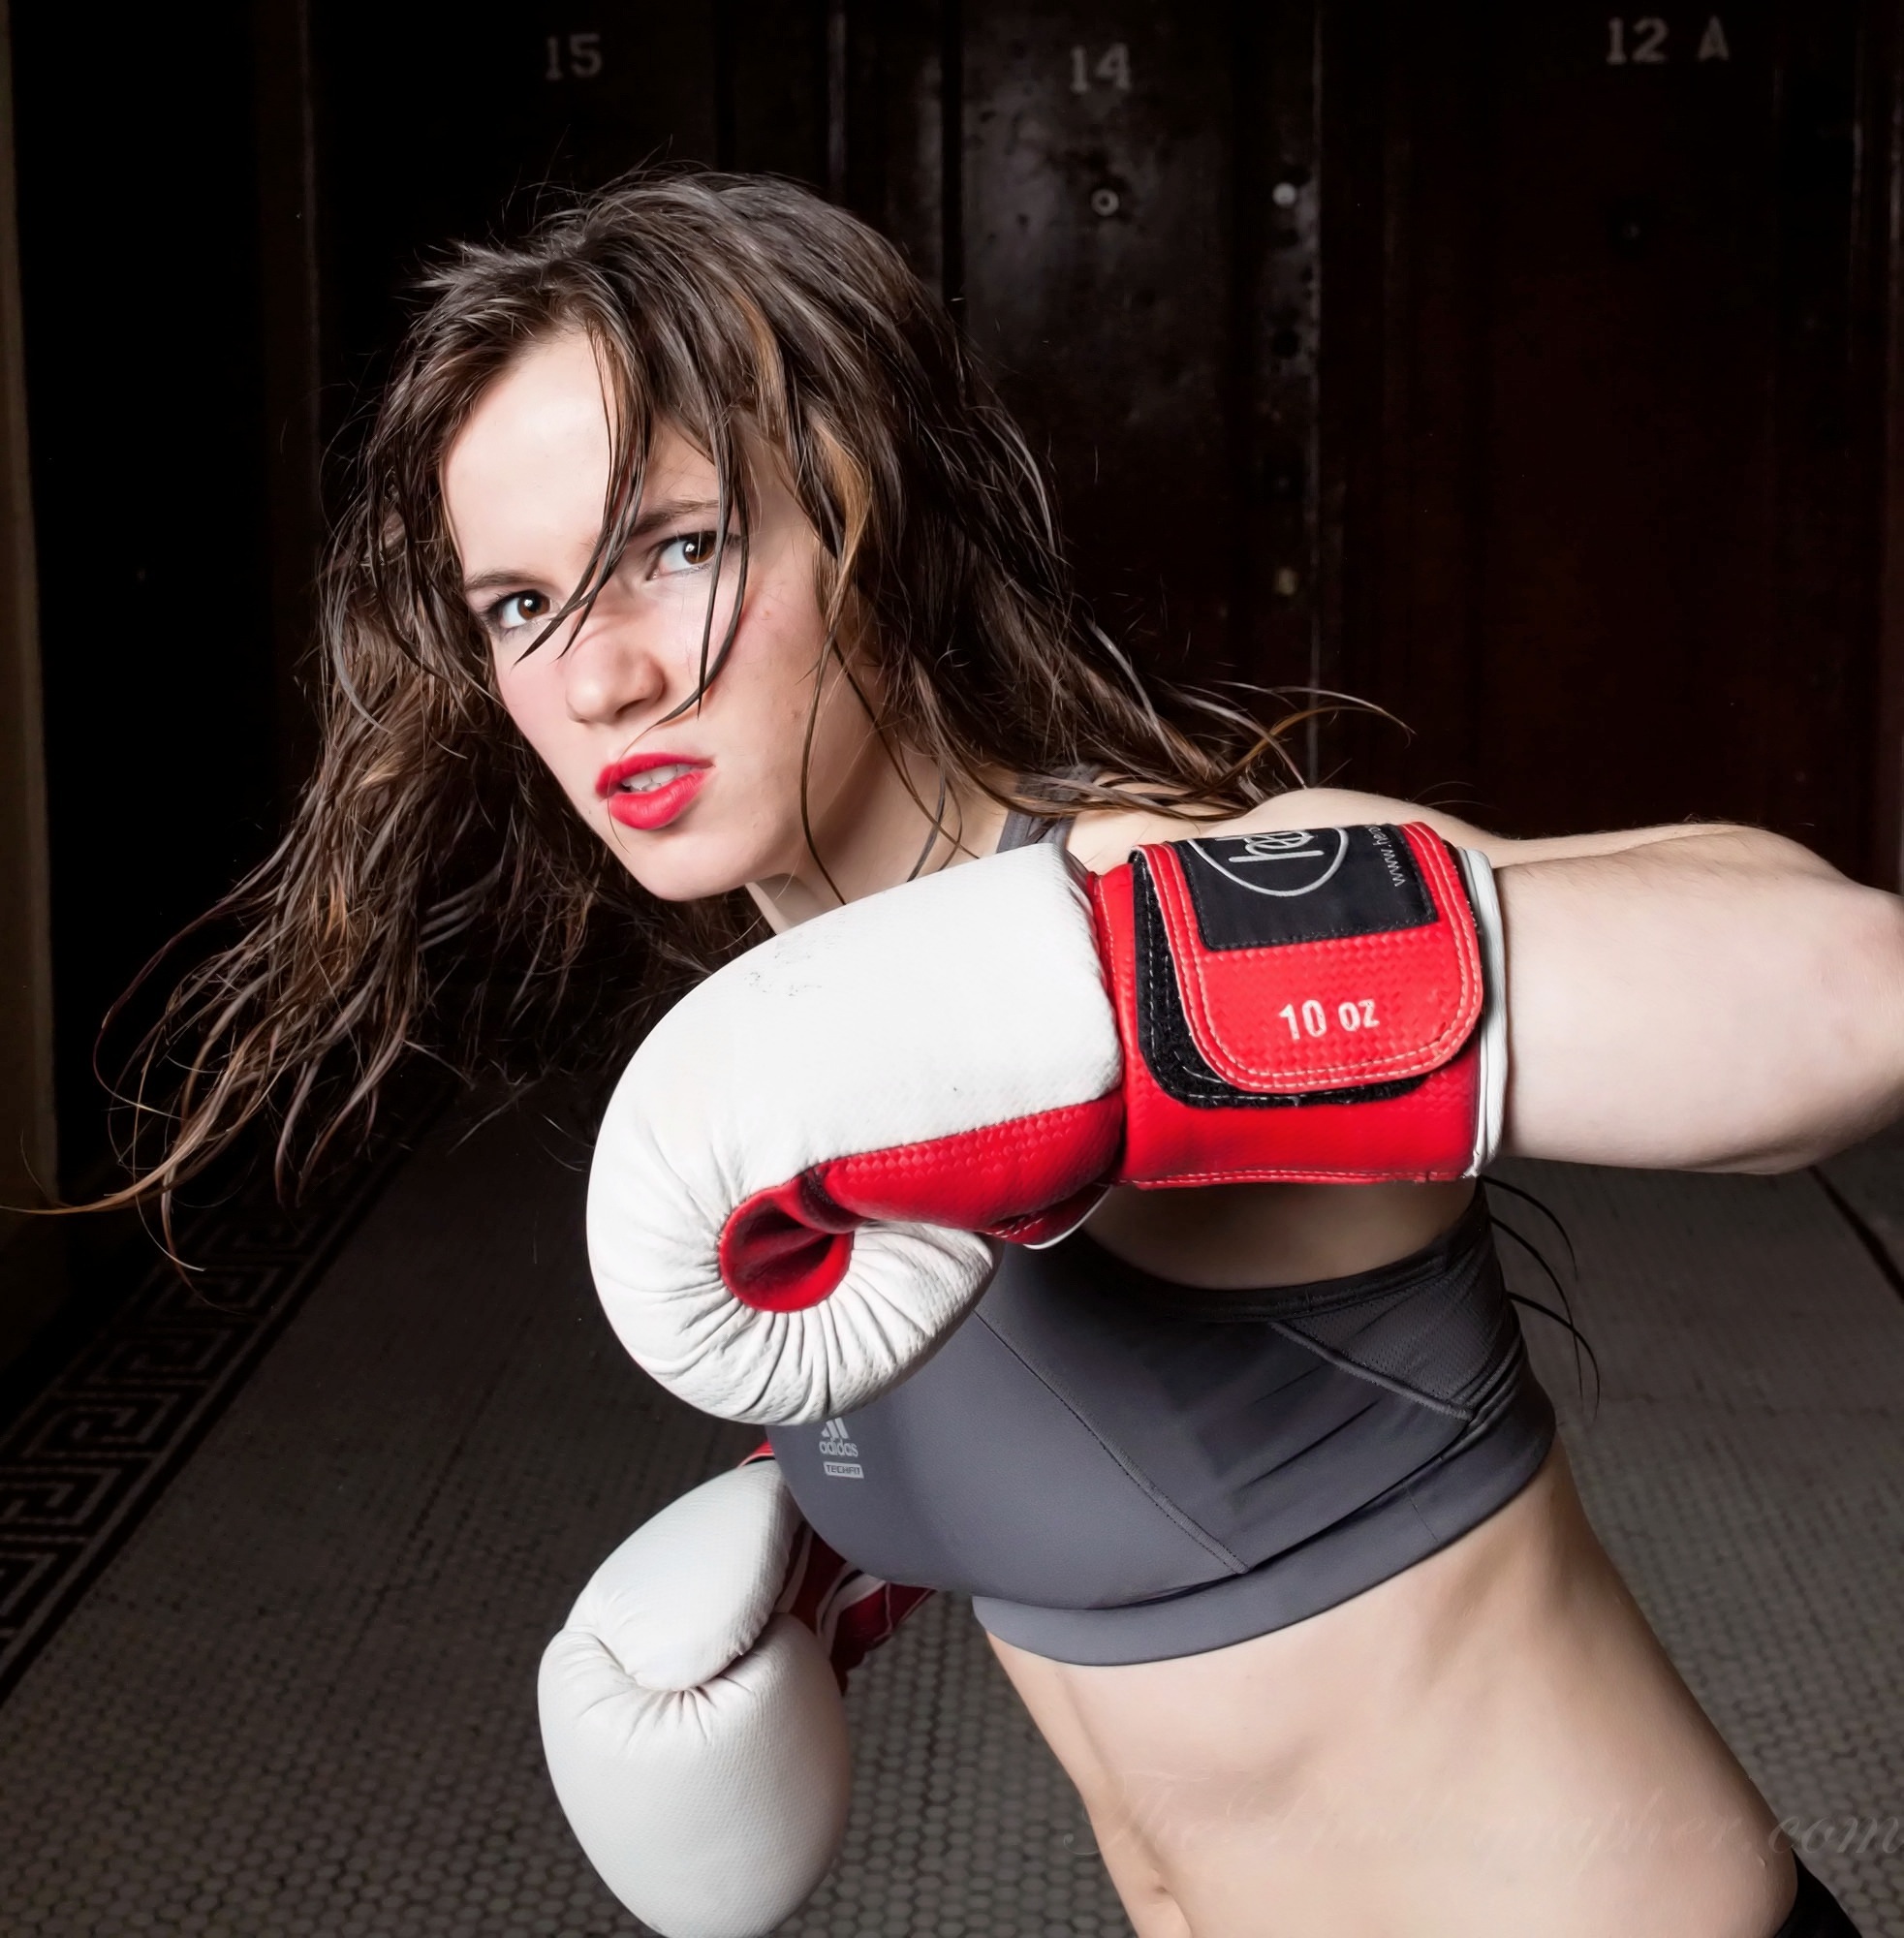
Image with Normal Flash

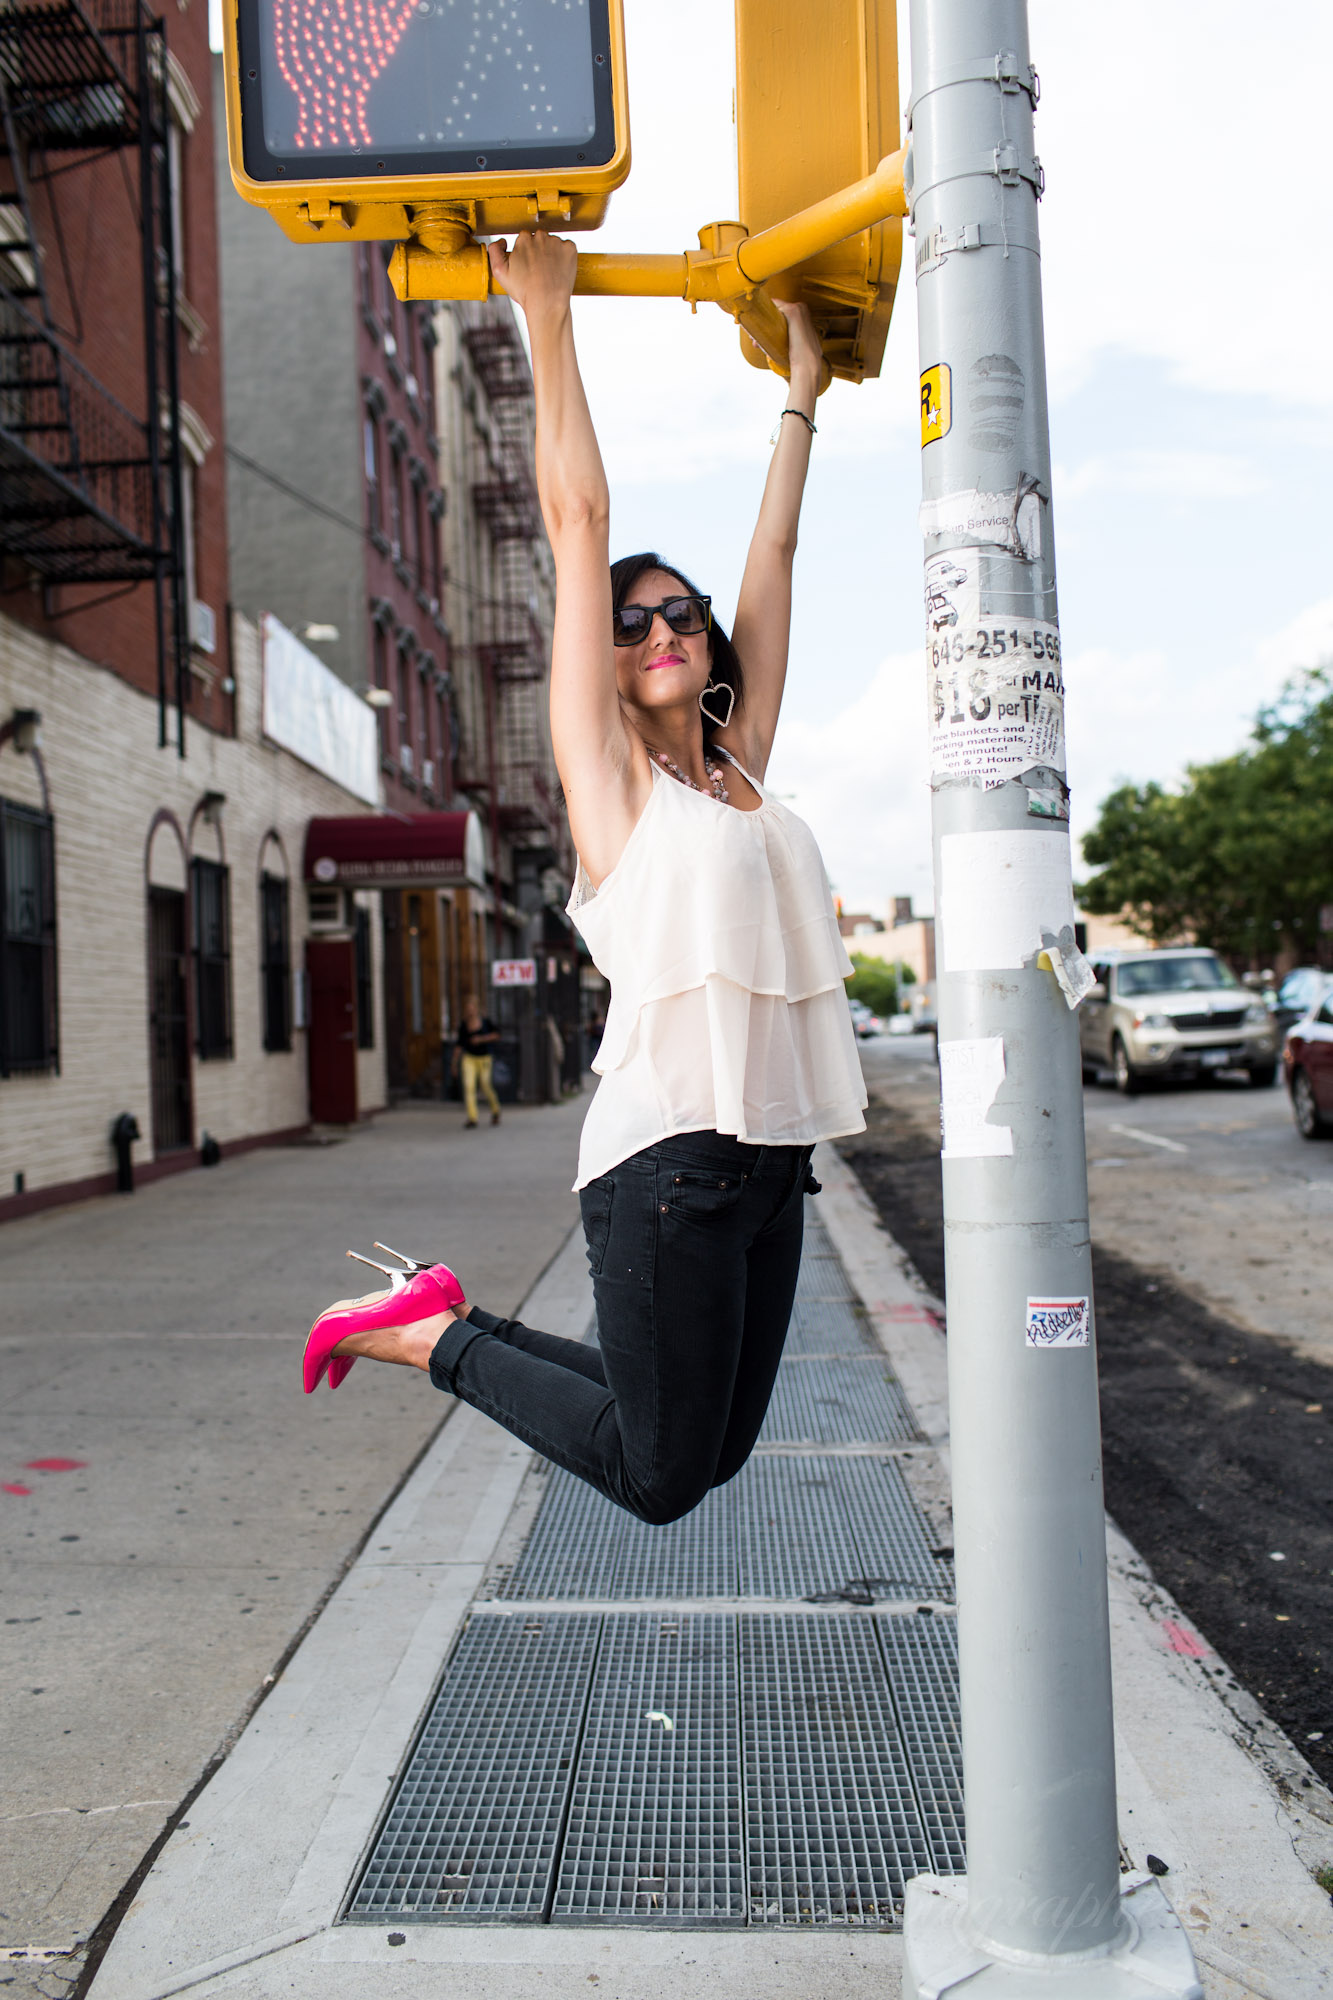
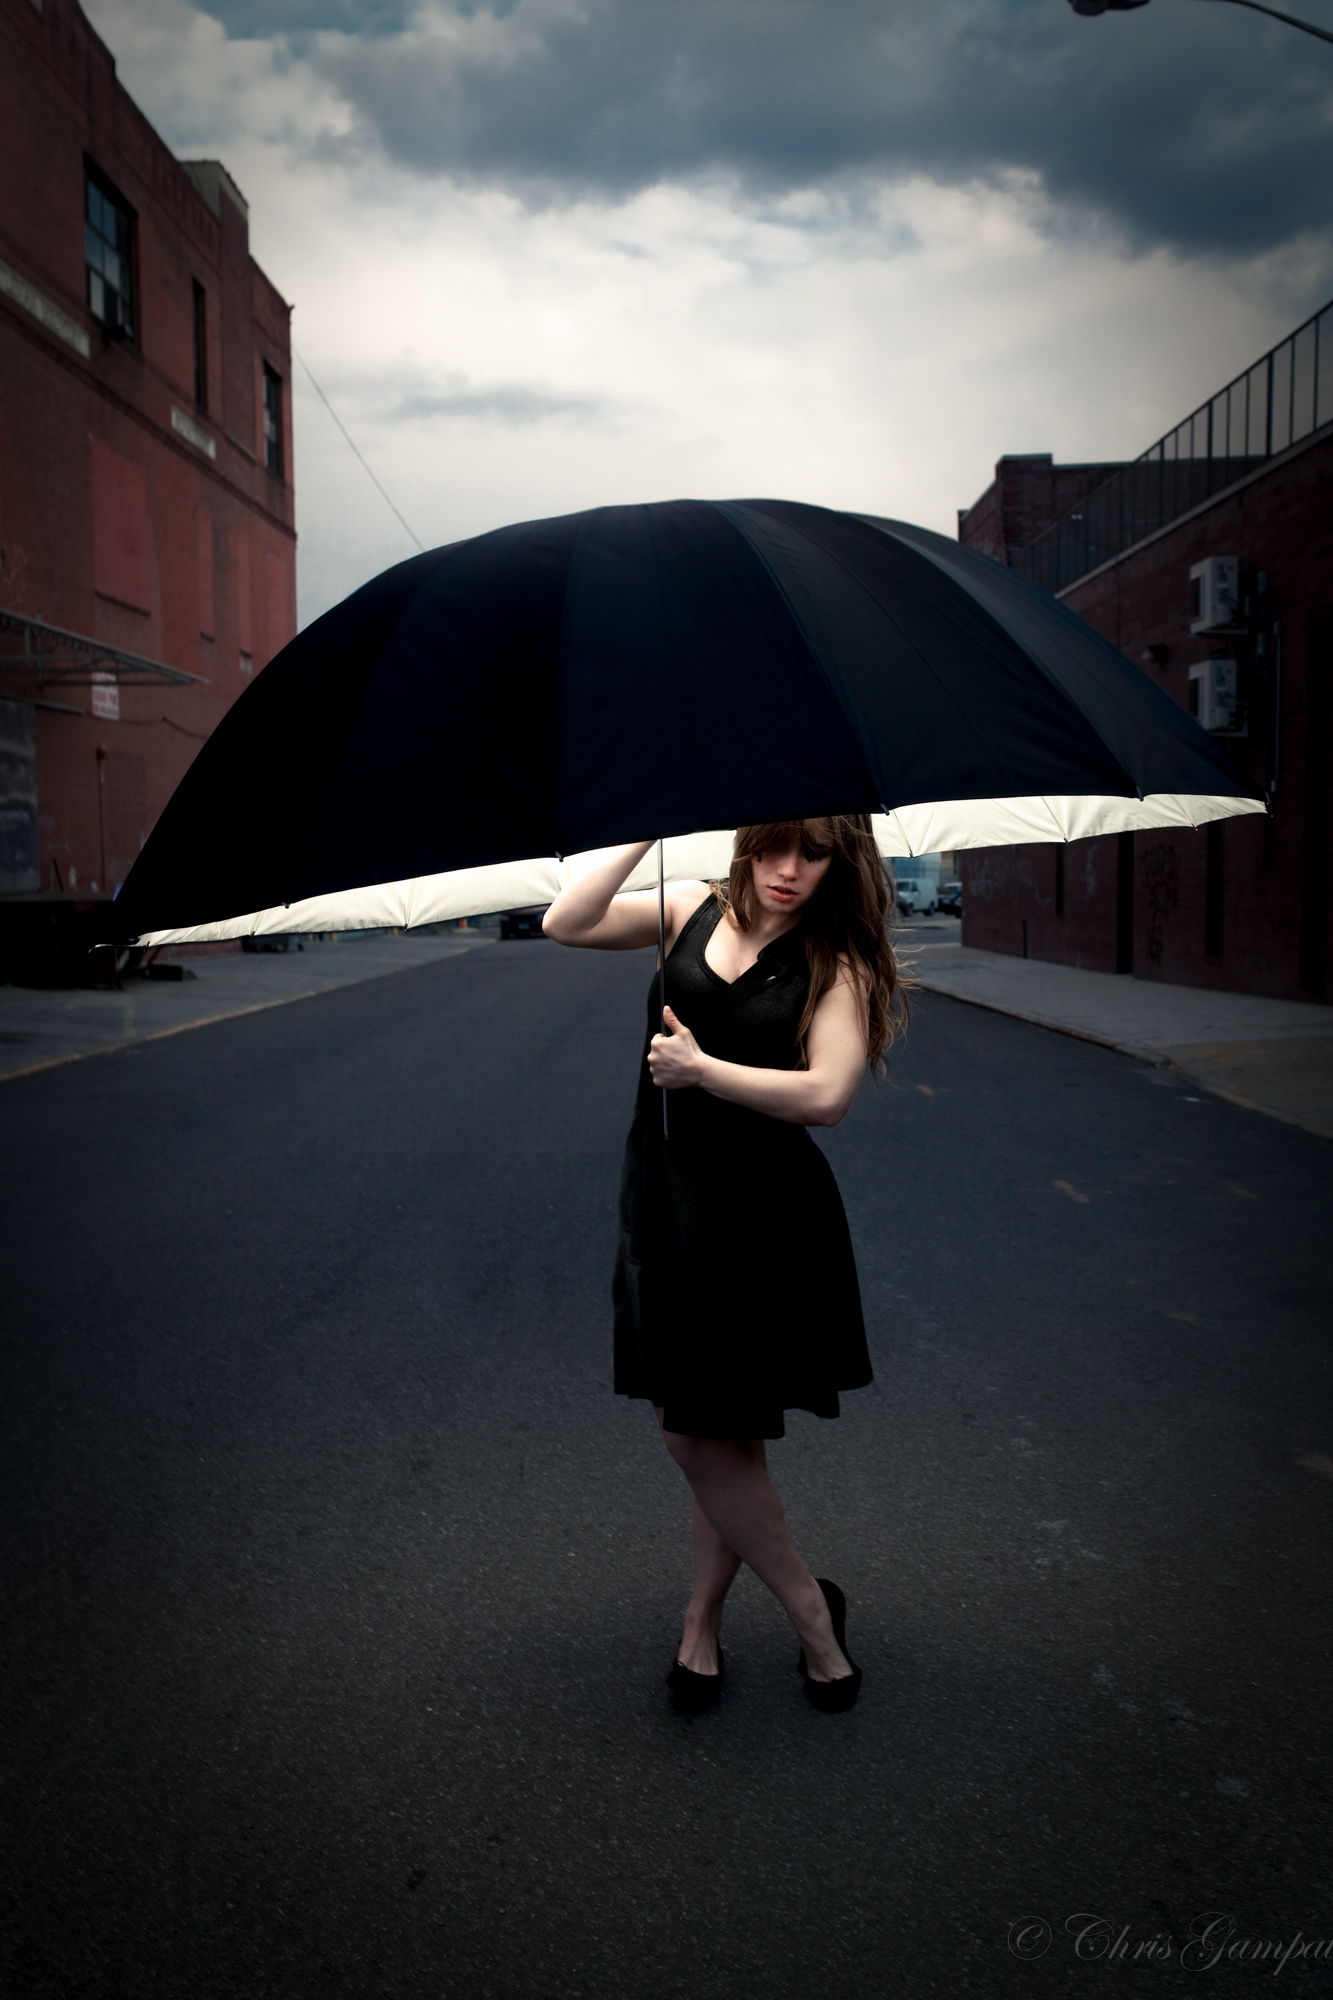
Image with High Speed Sync

Why Do I Need to Overpower the Sun?
As we’ve shown in the images above, it helps to give out a better look. You can get lots of details in the skies for example which will require a faster shutter speed while still illuminating your subject perfectly–essentially giving you a happy mix. Plus now, you don’t have to wait until the golden hour or the blue hour to go shoot your subject.
Now of course, you could surely be happy with backlit images. There are loads of wedding photographers and portrait photographers that do this. But if you’re not into the backlit look, like forget about it.
Why Not Just Use a Reflector to Fill in the Shadows?
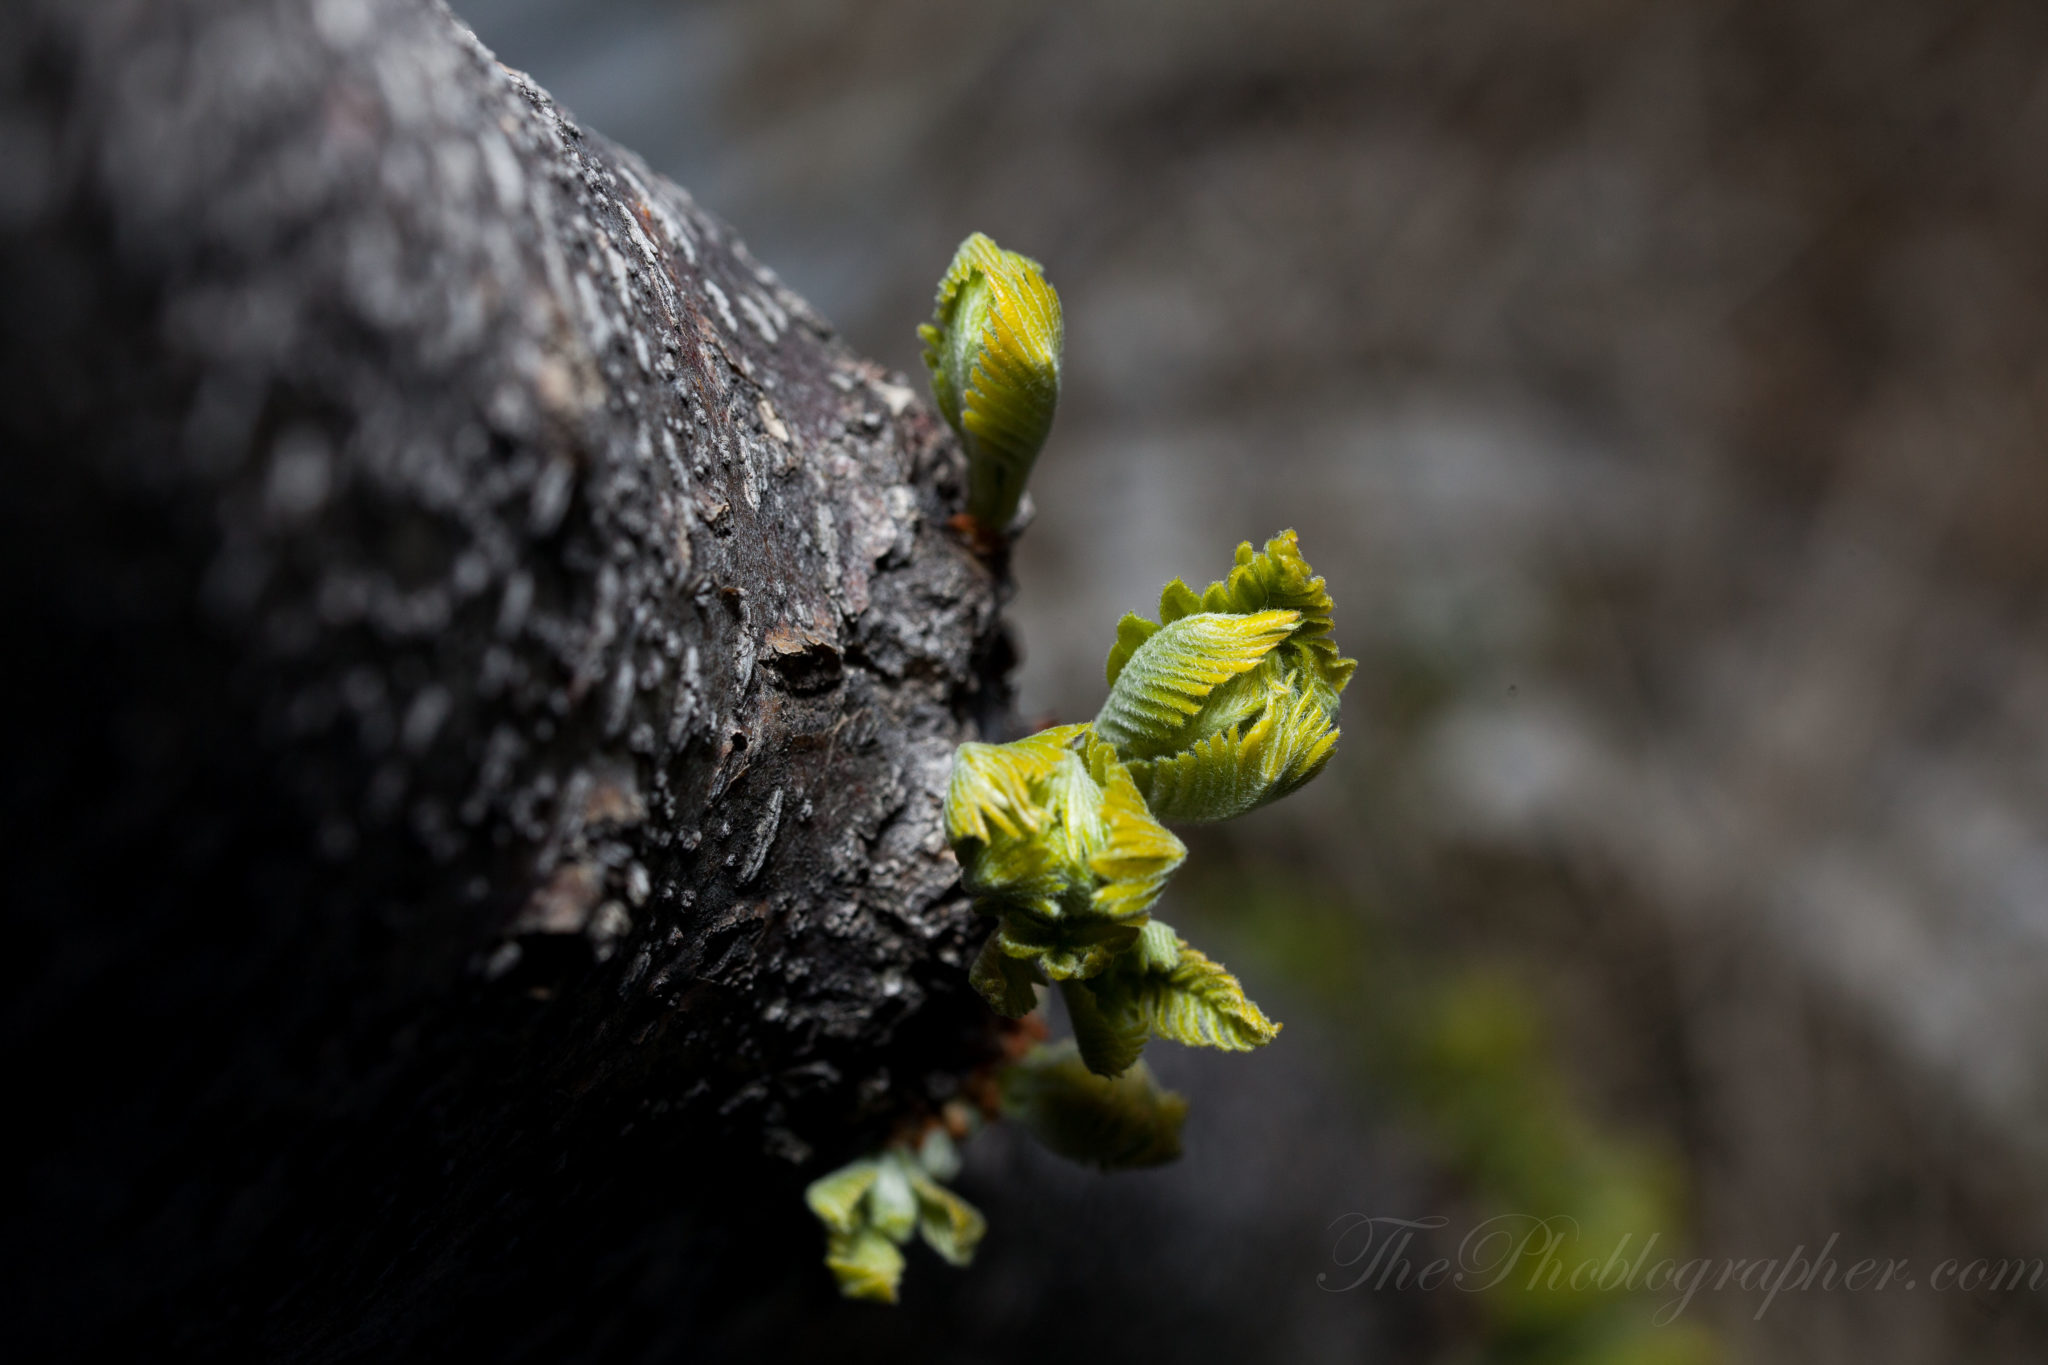
The answer has to do with specular highlights–and carrying things. Specular highlights are highlights added to areas of an image that help to bring out extra details–they’re used very often in Macro images.
The best reflectors are large in relation to the subject. So theoretically:
– If you’re shooting a subject and they are backlit, you’re going to have to still shoot at a higher shutter speed to get the details in the skies behind them.
– Since you’re shooting at a faster shutter speed and the key lighting in the image is behind the person, the front will be silhouetted.
– You can add in a reflector to reflect some of that light back into their face, but it won’t really be enough given that you’re working with one exposure parameter–which is the natural light.
– Adding in a flash though will add a whole nother exposure parameter that is totally controllable.
Cameras With a Leaf Shutter
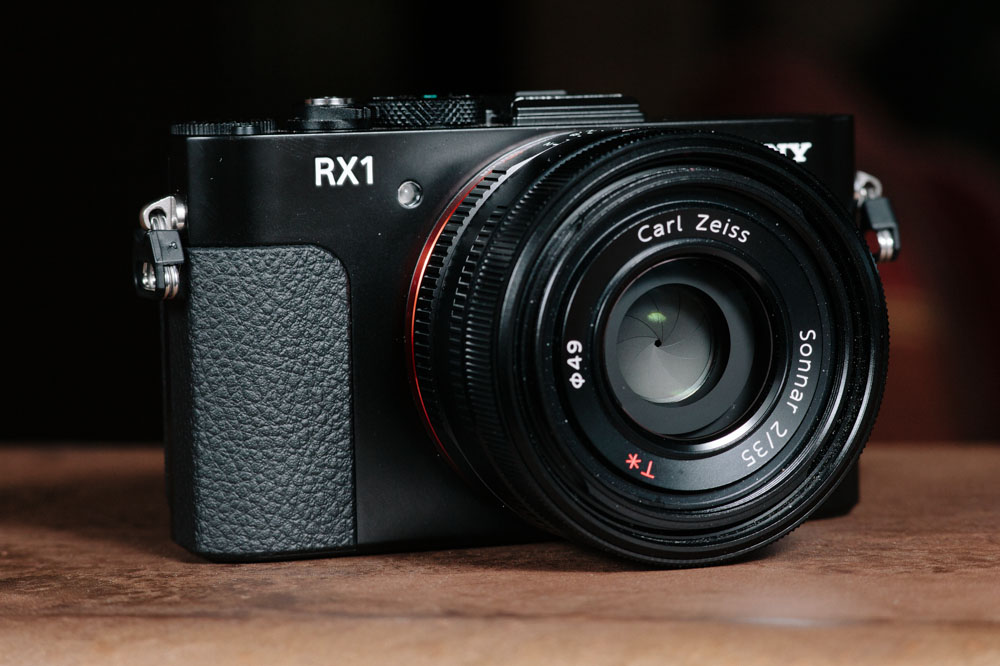
First off, a lead shutter is a special type of shutter in which the shutter is built into the lens. Most medium format DSLRs and SLRs have this. But lots of point and shoots do as well: such as the Fujifilm X100s , Sony RX1, Sigma DP Merrill series of cameras, and the Ricoh GR.
So what does a leaf shutter do? It lets you sync your camera’s shutter with strobes or flashes at a higher shutter speed by default using its normal built in technology. Normally, you’d need to set your flash or strobe to a special setting in order to do it otherwise. That means that no matter what flash you hook up to your camera, you’ll be able to sync the flash to its exposure with no issues.
How to Achieve High Speed Sync with Your Flash and Camera
For Hot Shoe Flashes: High Speed Sync
Every camera system has their own terminology for shooting at what their standard maximum shutter speed for syncing with flashes is. As a quick tip and reminder, many cameras shoot at a base of 1/180th, 1/200th or 1/250th. But if you want the faster shutter speed, you can do it with a faster sync setting. This can often be set from the camera body or from the flash itself. And if you’re using wireless triggers with radio built in, you can often do it from the triggers with no problems either.
Canon calls it High Speed Sync
Nikon calls it Auto FP
Sony calls it HSS (High Speed Sync)
Olympus calls it Super FP flash
Strobists will love being able to do this because it means that they can then go out and shoot when they want and not have to wait for golden hour or blue hour light–or an overcast day for that matter. What that means is that if you have full control over the lighting in nearly any situation and that you’ve also got less limitations prohibiting you from shooting.
Feels liberating, right?
During a high speed sync session, your flash lets out quick bursts of light rather than just one burst. These quick bursts help to ensure that your subject gets illuminated–and the bursts are often too quick for the human eye to see them.
Another technique called stroboscopic flash (or repeating flash) will let you see the actual bursts that happen in a certain amount of time.
Here’s how to do it with Canon Speedlites:
Strobes: It Has to Do With Flash Duration

The beauty of studio strobes is that they work in a totally different way than an on-camera flash does. This is where flash duration comes in. Flash duration is the speed at which your flash/strobe can fire at. Think of it as a shutter speed. If your flash duration is at 1/8000th, then you know that that is super fast. If it is at 1/320th, then it is significantly slower than what is possible at 1/8000th. Flash duration sometimes also has to do with the output power of your flash or strobe.
Your strobe or flash’s duration effectively acts like your shutter speed in some ways. Here’s a video explaining it a bit better and more visually.
The Good Old Variable ND Filter
Then there is the big equalizer: the variable ND filter. This is how the older pros from the film days used to get the high speed sync effect before the days of fast shutter speed and when they didn’t use a camera with a leaf shutter (or their shutter speed didn’t go as fast as they wanted it to.)
In our very first post in our Creating the Photograph series, I talked about creating the image on the left. It was accomplished by hiding an Einstein E640 in the umbrella. However, in order to do that I couldn’t go over my camera’s normal flash sync speed: which is ad 1/200th. Instead, I needed a workaround to kill more of the ambient lighting–so I turned to older methods.
Using a variable ND filter, I was able to shoot at 1/200th of a second and still get rid of lots of the ambient lighting. But the effect added is that it also killed the flash output–so that needed to be cranked up in a equilateral amount to how many extra stops of light that I was killing. And then to get more out of the light, I could have either cranked the light output power up or opened the aperture a bit more–I sprung for the latter.
So why does this matter at all?
– Many strobists tend to go for cheaper, all manual flashes like the offerings from Yongnuo. These flashes don’t have High Speed Sync enabled–unless they’re TTL compatible. So if you try to shoot at a higher shutter speed, you’ll end up getting what is called clipping. This is when a section of your photo isn’t visible because of the way that a focal plane shutter works (the one in your DSLR).
– Many studio strobes can’t sync beyond 1/500th with a focal plane shutter camera (like your DSLR) unless you’re activating what is known in some strobes as Hypersync.
Here’s a quick video on how to do it.
Questions? Let us know!
Please Support The Phoblographer
We love to bring you guys the latest and greatest news and gear related stuff. However, we can’t keep doing that unless we have your continued support. If you would like to purchase any of the items mentioned, please do so by clicking our links first and then purchasing the items as we then get a small portion of the sale to help run the website.
Also, please follow us on Facebook, Flickr and Twitter.
Get rid of the ads!
Did you enjoy reading this article as much as we enjoyed writing it? There's a way to support us and our reporting, getting ad-free navigation and more as a bonus. Subscribe to us for less than a coffee per month —just $3.99— or take advantage of our yearly subscription with a hefty discount for only $25.- An ad-free experience
- A free mystery box for Lightroom or Capture One
- All the books in our store
- 20% discount on Capture One
- 30% discount on Imalume Photo Theft Protection
- 20% off Herbs and Kettle Tea Company.
- 20% off your order from MPIX printing services.
- 5% off Viltrox Products via their eCommerce store.
- 10% off all film developing, printing and scanning services from Blue Moon Camera and Machine
- 15% off 7Artisans products: The lens and accessory maker is offering a sweet discount for Phoblographer's readers.