")
Years and years ago, Kodak announced something that would endure for quite a while: Kodak Portra 400. Available in the 120, 35mm, and large formats, the film was and still is incredibly popular with photographers who like shooting portraits. It’s highly valued for its muted tones–which tends to go against much of what digital photography seems to offer straight out of the camera. However, Portra is in use for much more than just this. Lots of photographers use it as their every day film because they just like it. But this tends to be more the thought process of those that shoot 35mm. At 120, you’re getting far less shots per roll and often work to get the best photos you can in one single shot due to higher stakes–even more so than with 35mm.
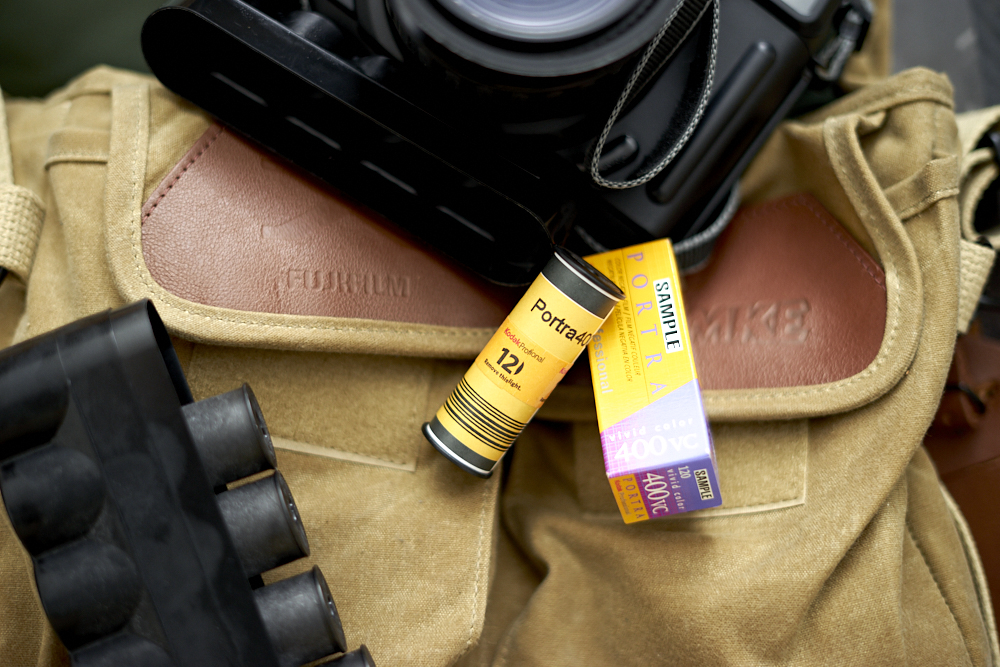
When Kodak introduced this film, they heavily branded and marketed it as being fantastic for scanning. Indeed, there probably isn’t a single time where I hated the scans I got from this film. Of course, scanning is a far more technical process and many of us who scan know this isn’t always so straightforward.
But no matter what, you should know that Kodak Portra 400 is also so popular because it is one of the most forgiving films on the market.
Tech Specs
Kodas has a wonderful PDF listing lots of the technical data.
Gear Used
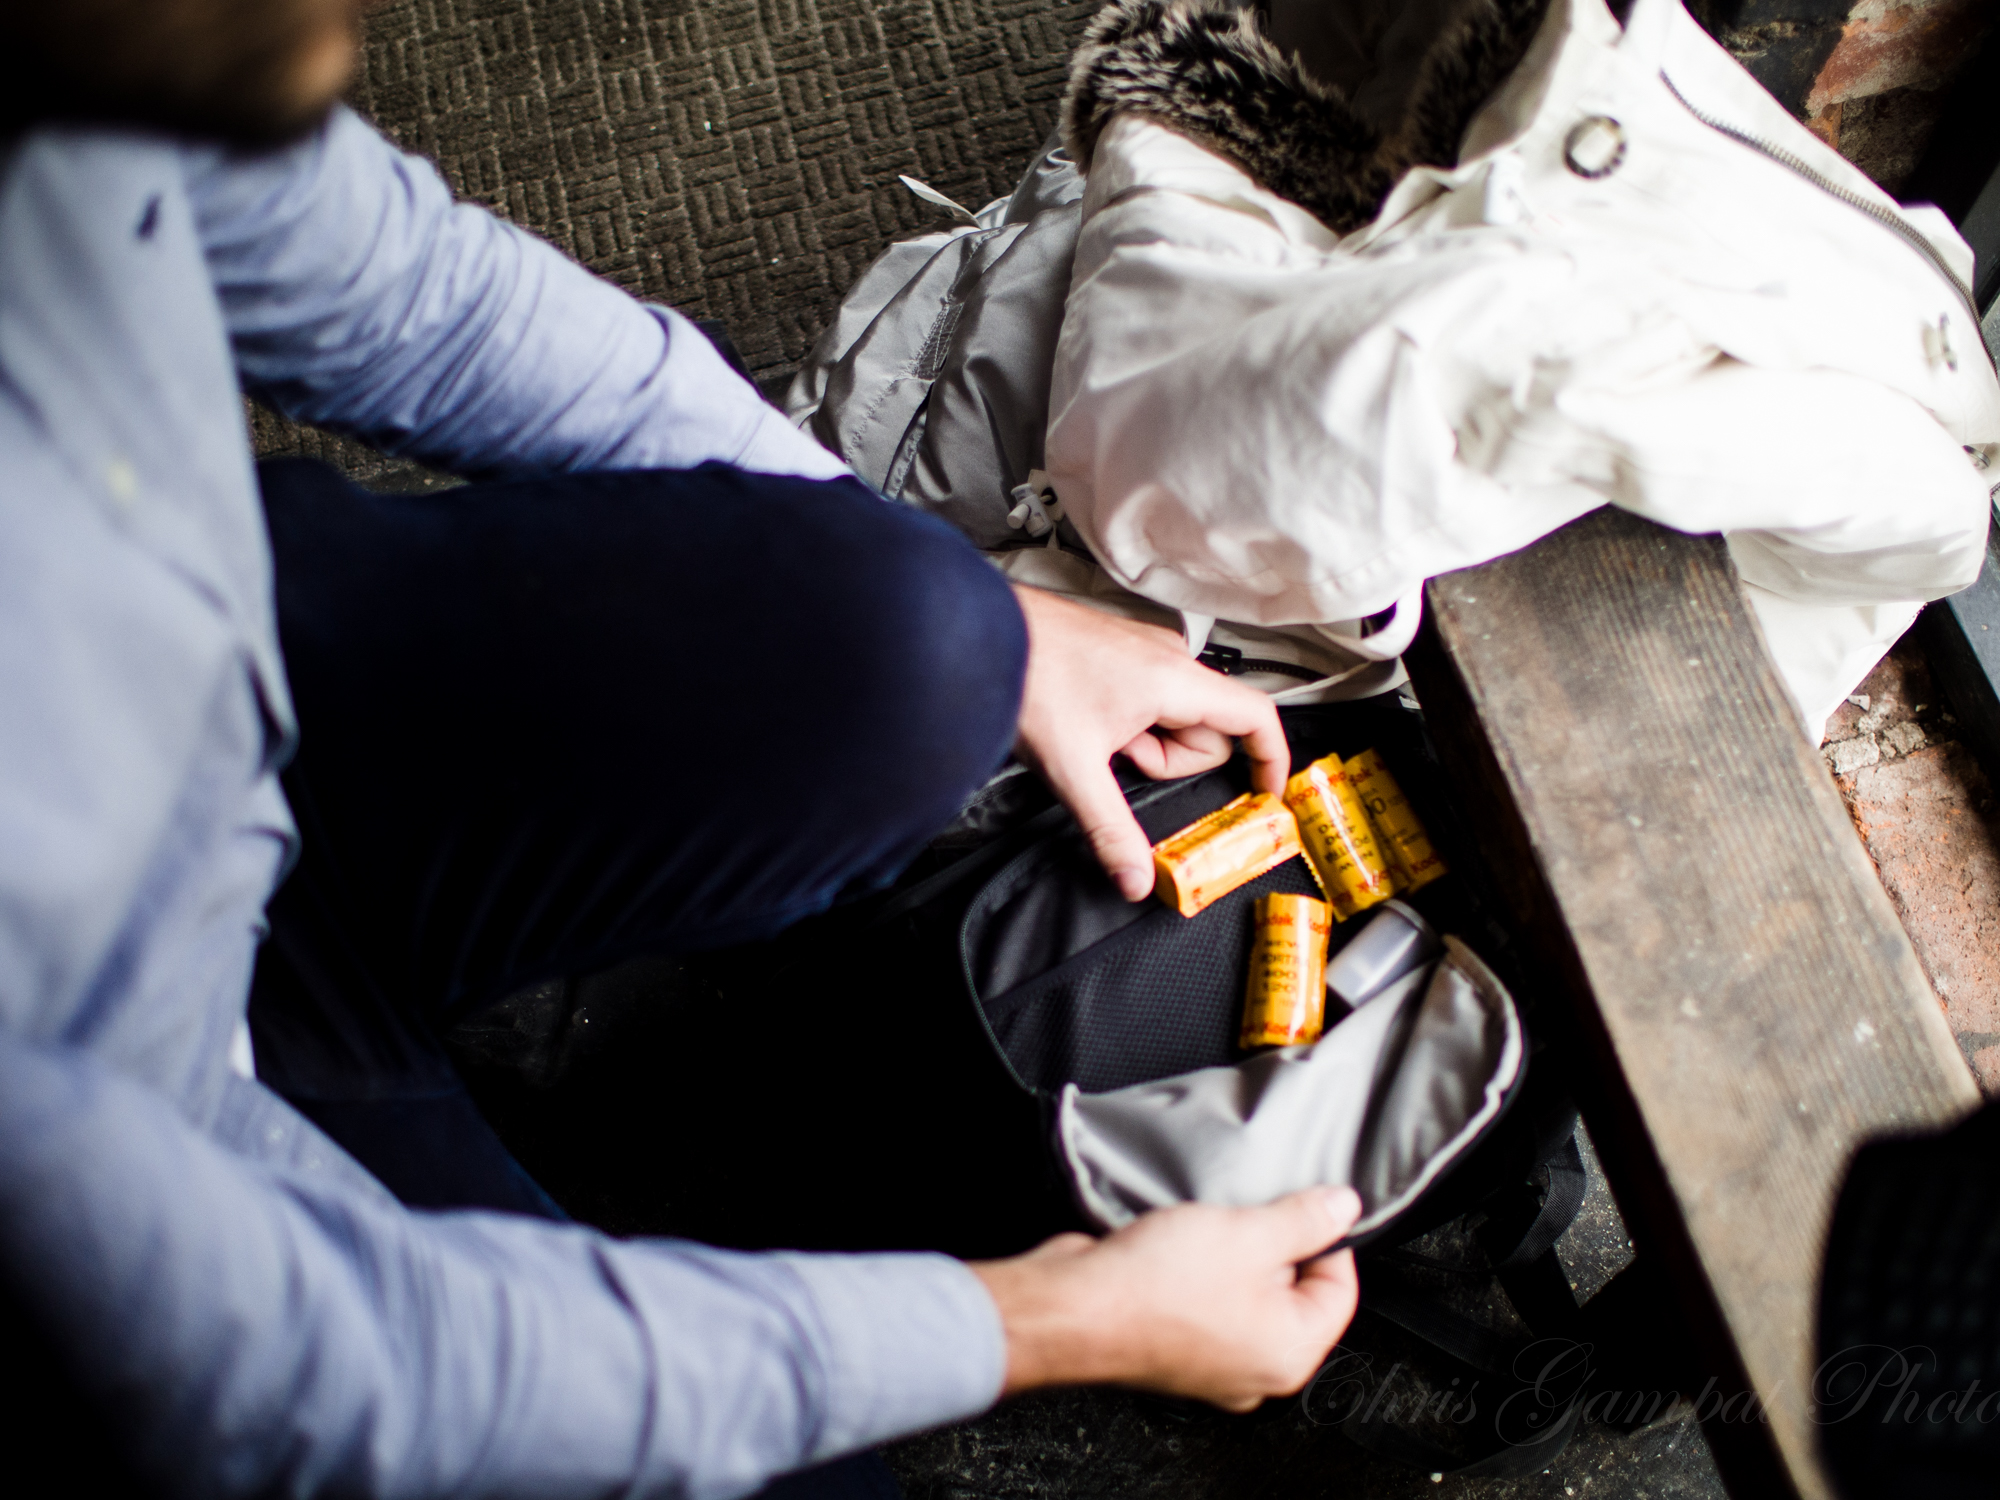
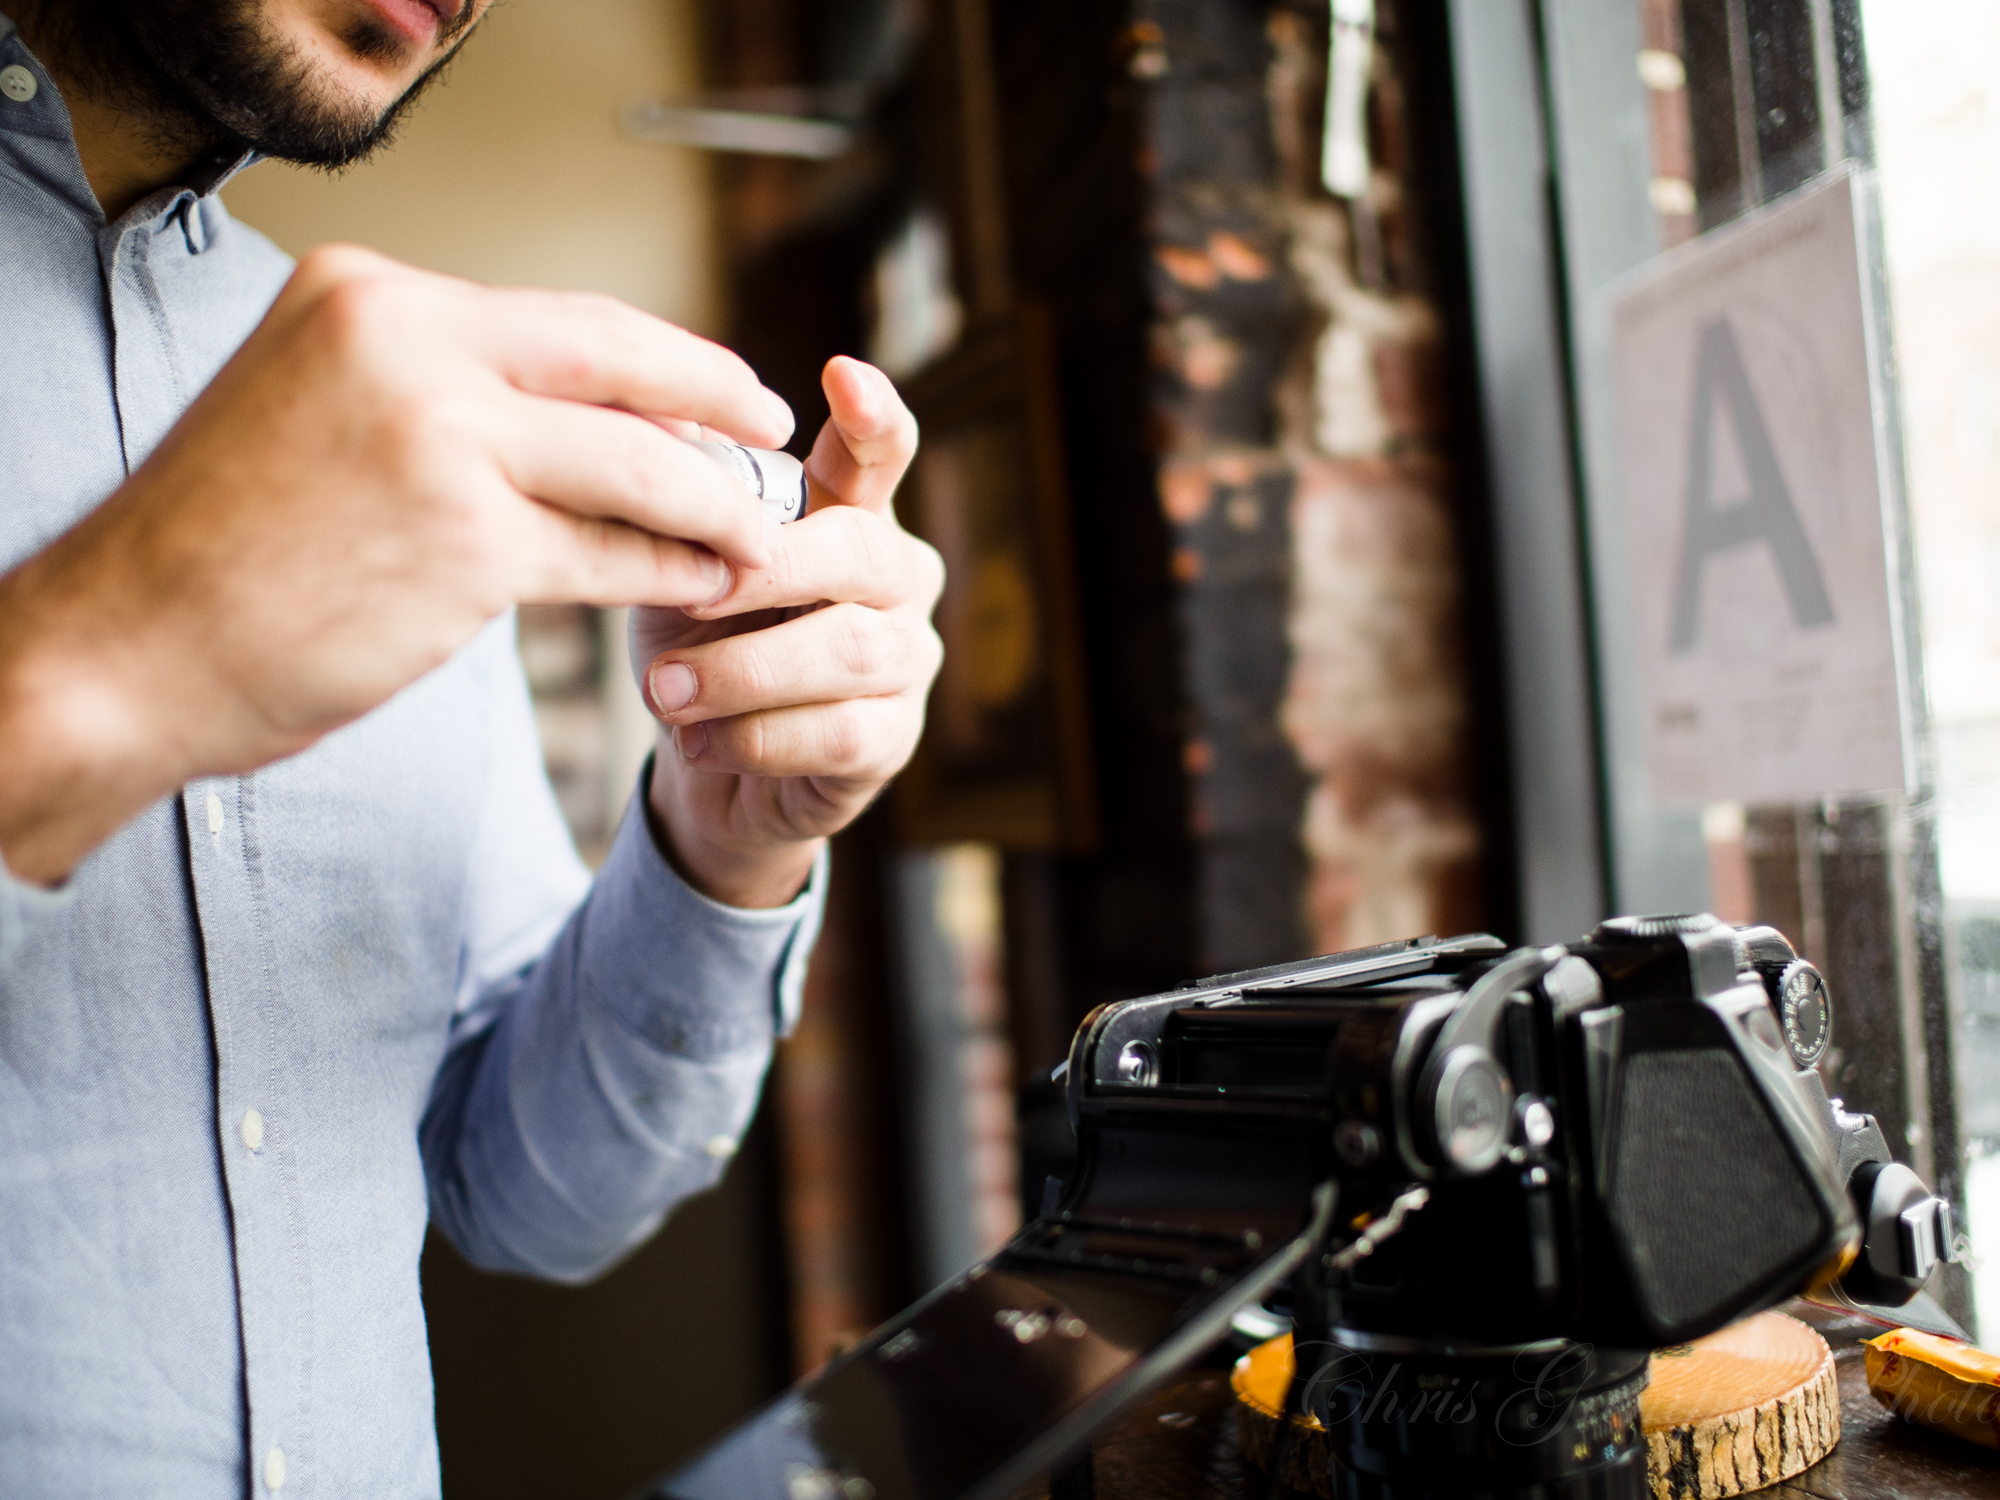
We’ve tested Kodak Portra 400 over the years with various cameras and lenses from Zeiss, Sigma, Canon, and Bronica. A favorite is the Bronica ETR-S with the 75mm f2.8 and a LightCraft Workshop Variable ND filter
Ease of Use
Kodak Portra is fairly simple to use and, in my personal opinion, is the single most forgiving negative film on the market. If you’ve got it at ISO 200 instead of 400, you’ll still be able to get a fantastic photo. For that reason, I also genuinely recommend it as a great beginner’s film once you’ve got a better understanding of exposures and how they work in a scene. Spot metering knowledge is also important here.
Granted, Kodak Portra 400 is expensive–so it will either make you quit analog film or make you learn super quick. Indeed, this is a much more careful process than working digitally unless you also know your way around the darkroom and various techniques like pushing and pulling. There are photographers who have pushed the film to ISO 1600 and have gotten fantastic results with their images.
Best Shooting Practices
Kodak Portra 400 is a Daylight balanced film. To associate this with something in the digital photography world, consider your camera’s Daylight white balance. If you go around the entire world shooting with your ISO locked in at ISO 400 and with Daylight White Balance, all you’ll get are very specific looks.
Because of this, you may want to carry warming or cooling filters for your lenses. Then you’ll need to adjust your exposure accordingly because the lenses also tend to cut out light in the scene.
But no matter what, your best bets are:
- Exposing this film at ISO 200 and developing for 320. This way it gets more light but not an excessive amount.
- Shooting in direct daylight; not the shade.
- Using Shoot through reflectors to diffuse harsh direct sunlight
- Using a flash: which is often balanced to daylight and can give your images extra pop
- Shooting indoors with a flash
- Shooting during the Golden Hour or Twilight/dusk
- Carefully balancing the ambient exposure to the flash
Kodak Portra works well with a wide variety of skin tones. If you’re shooting in the studio with a flash or monolight, this is perhaps the absolute best film that you can use and get your hands on.
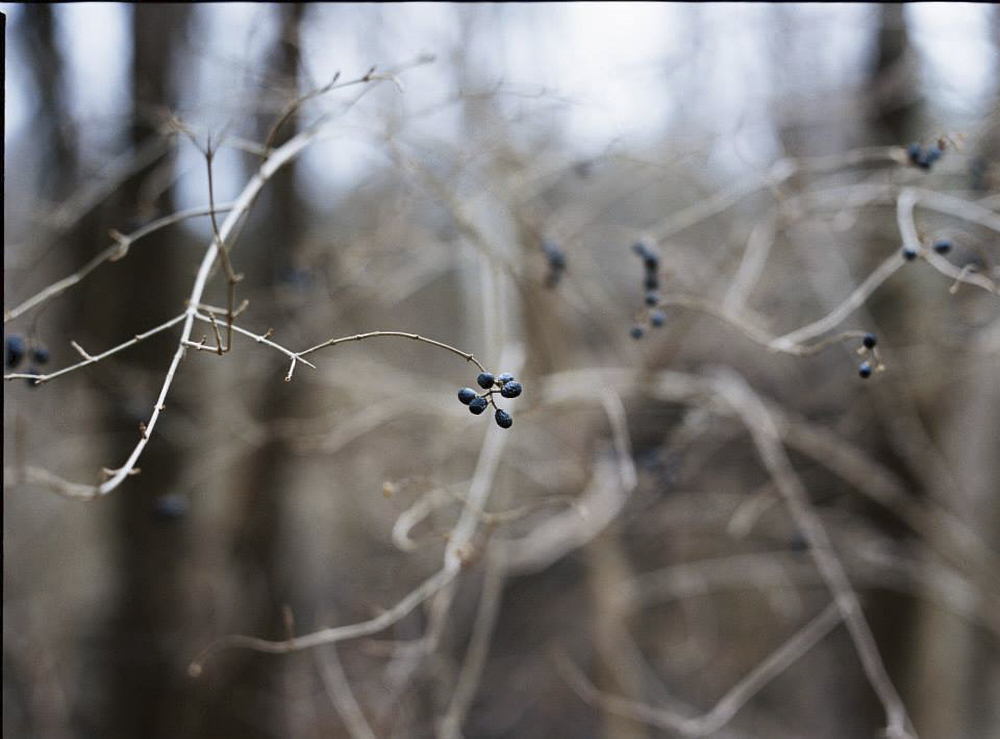
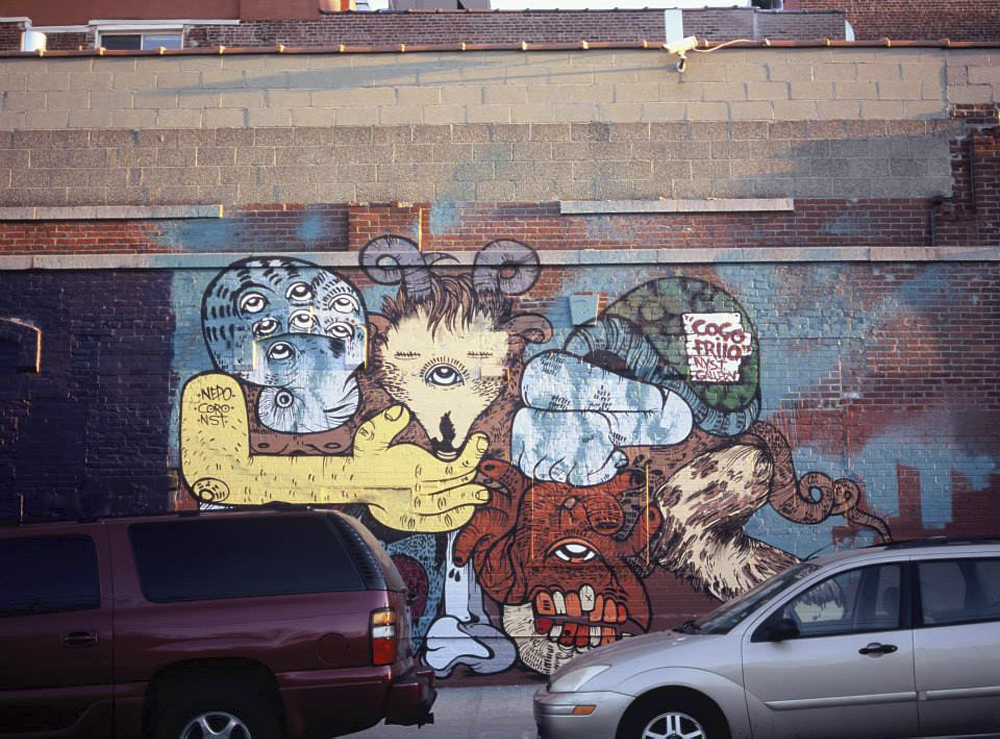
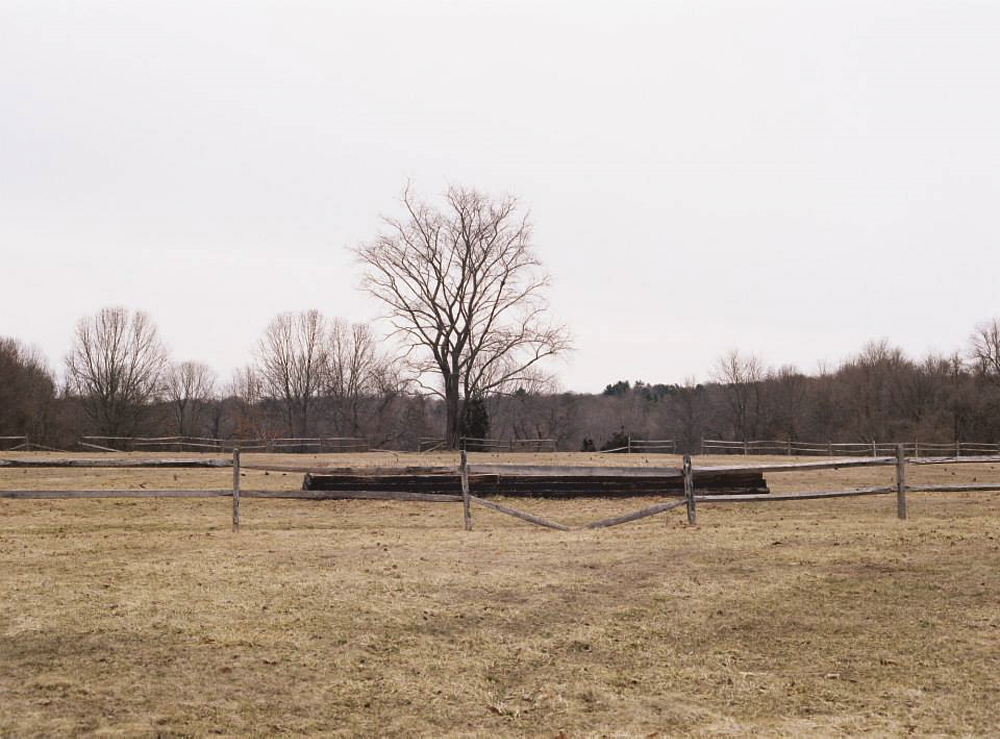
Image Quality
120 and large format look better due to more emulsive surface area. It’s the same idea with small point and shoot sensors, your phone sensor, etc. Additionally, there are other things that play a part with the optics here.
Think 35mm full frame digital sensors vs Micro Four Thirds.

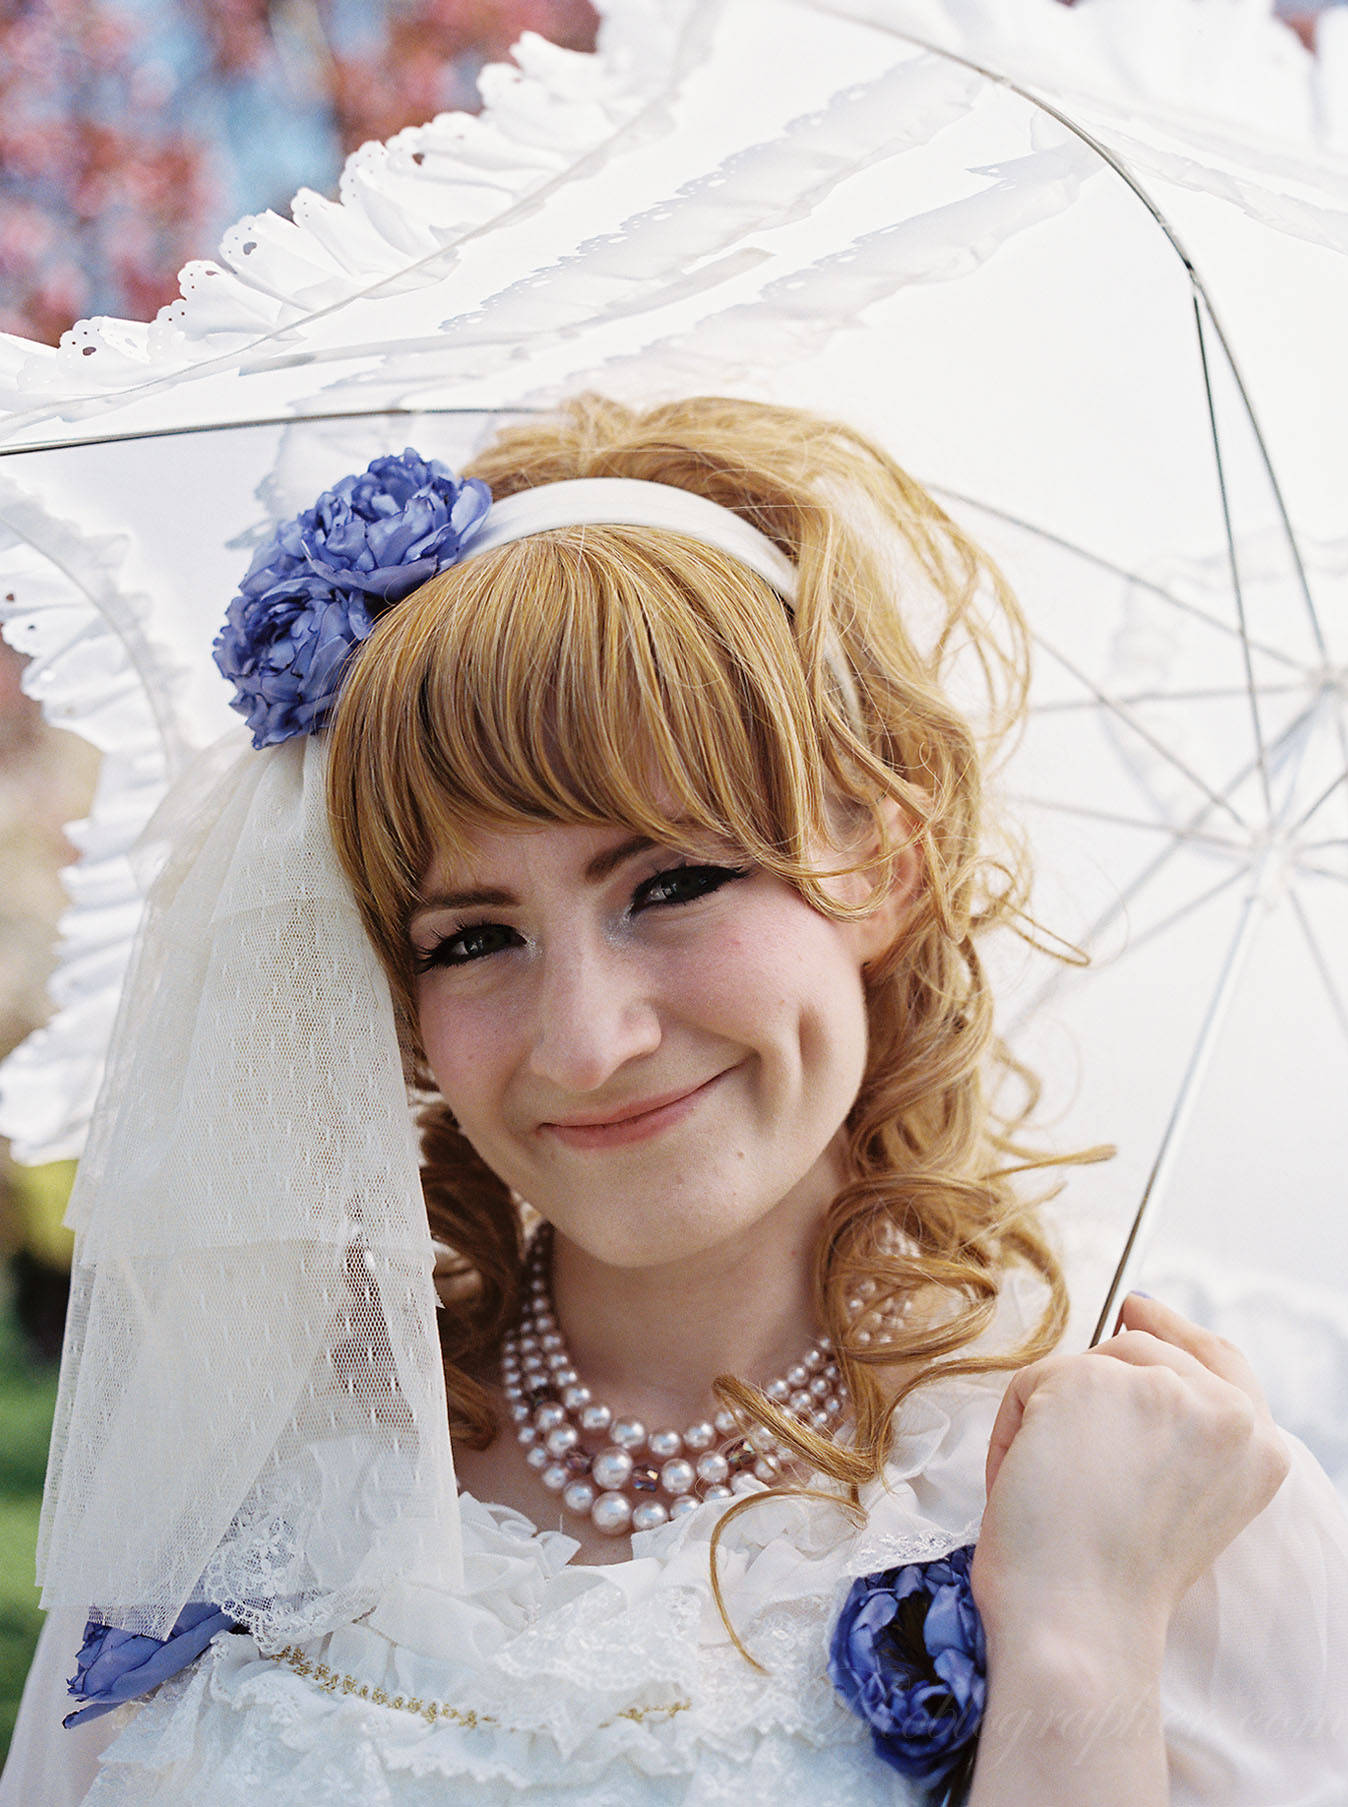
This set was done with the Bronica ETRs.
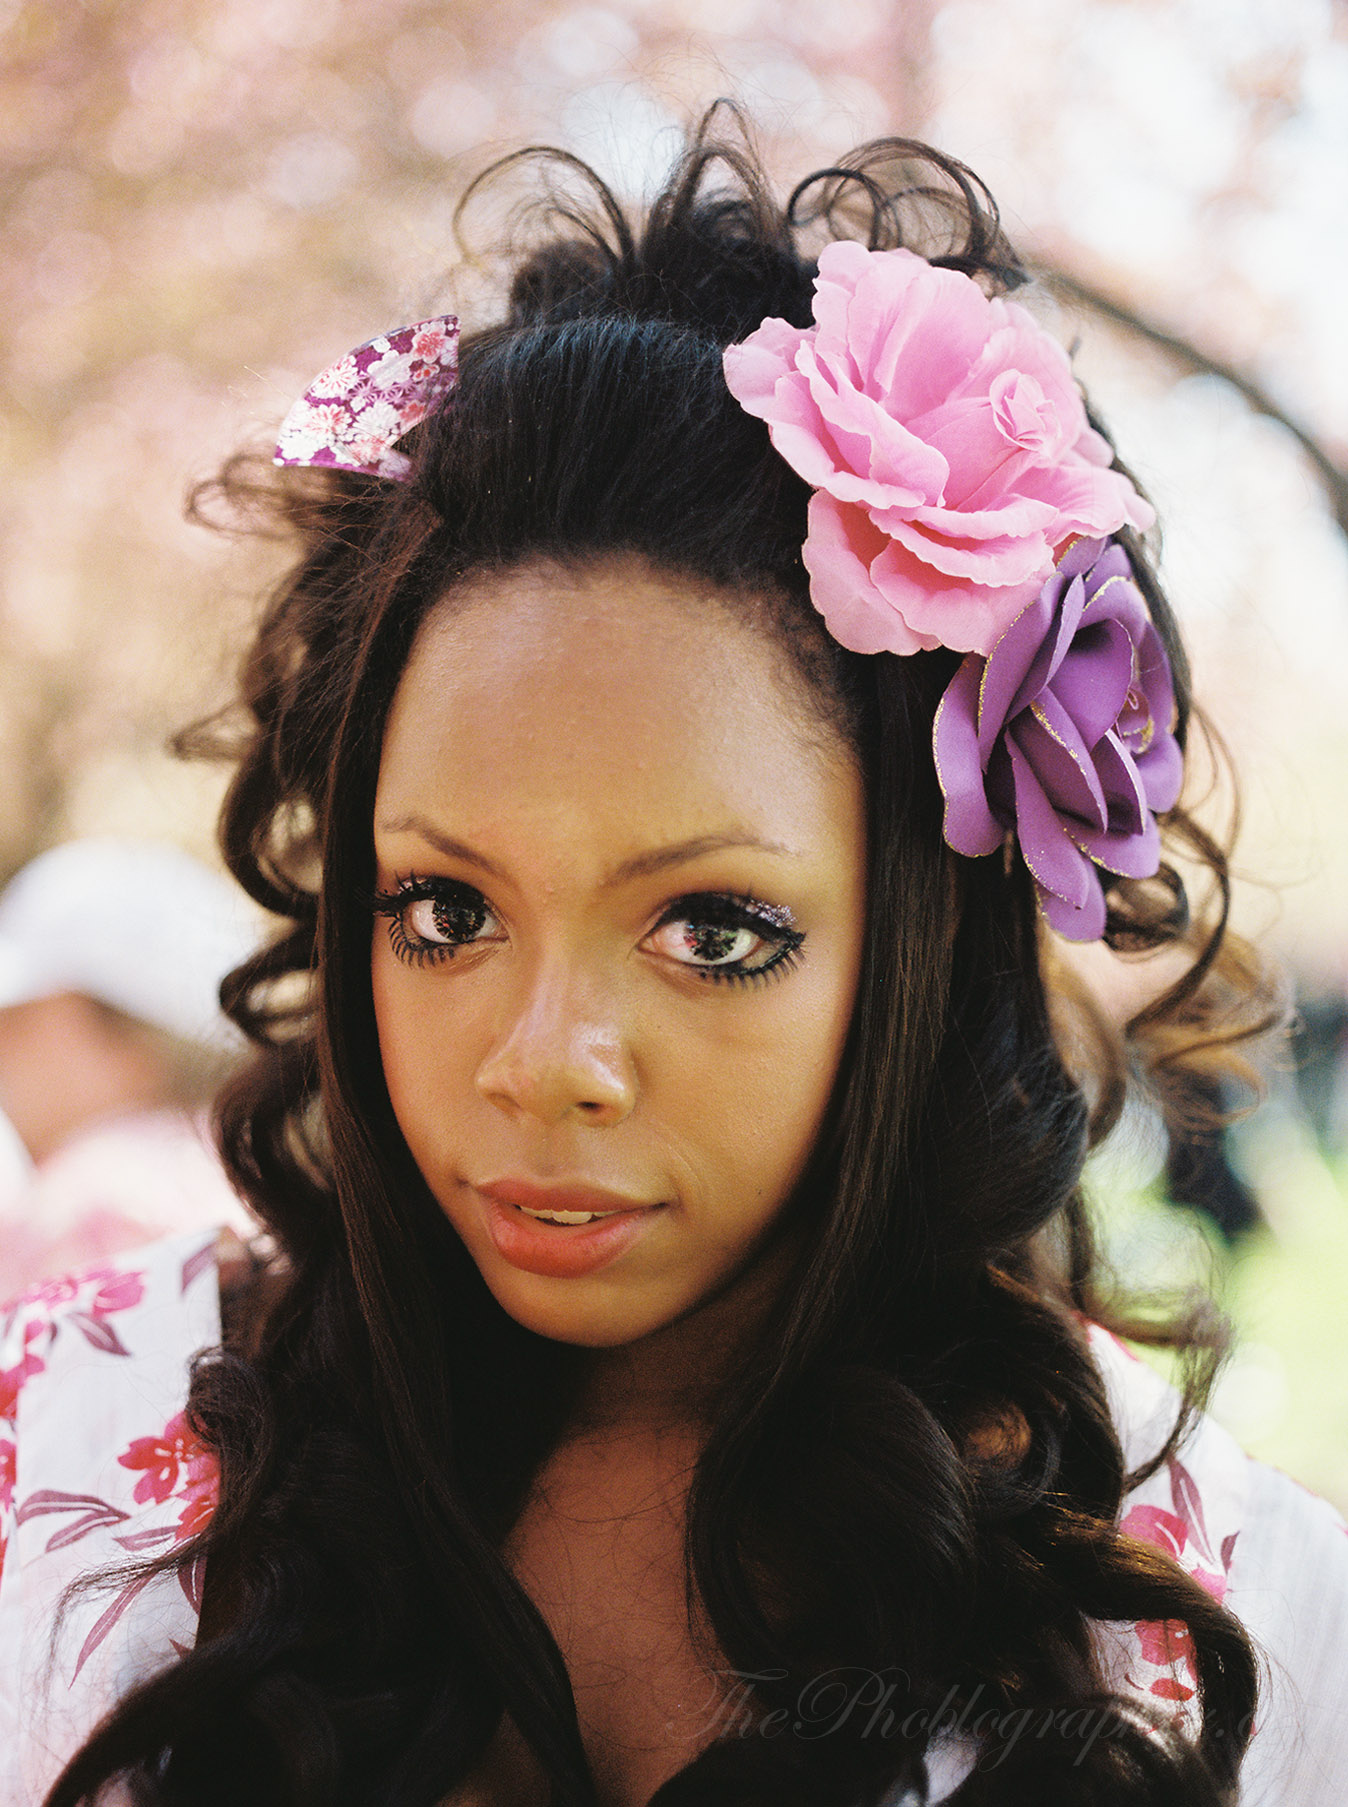
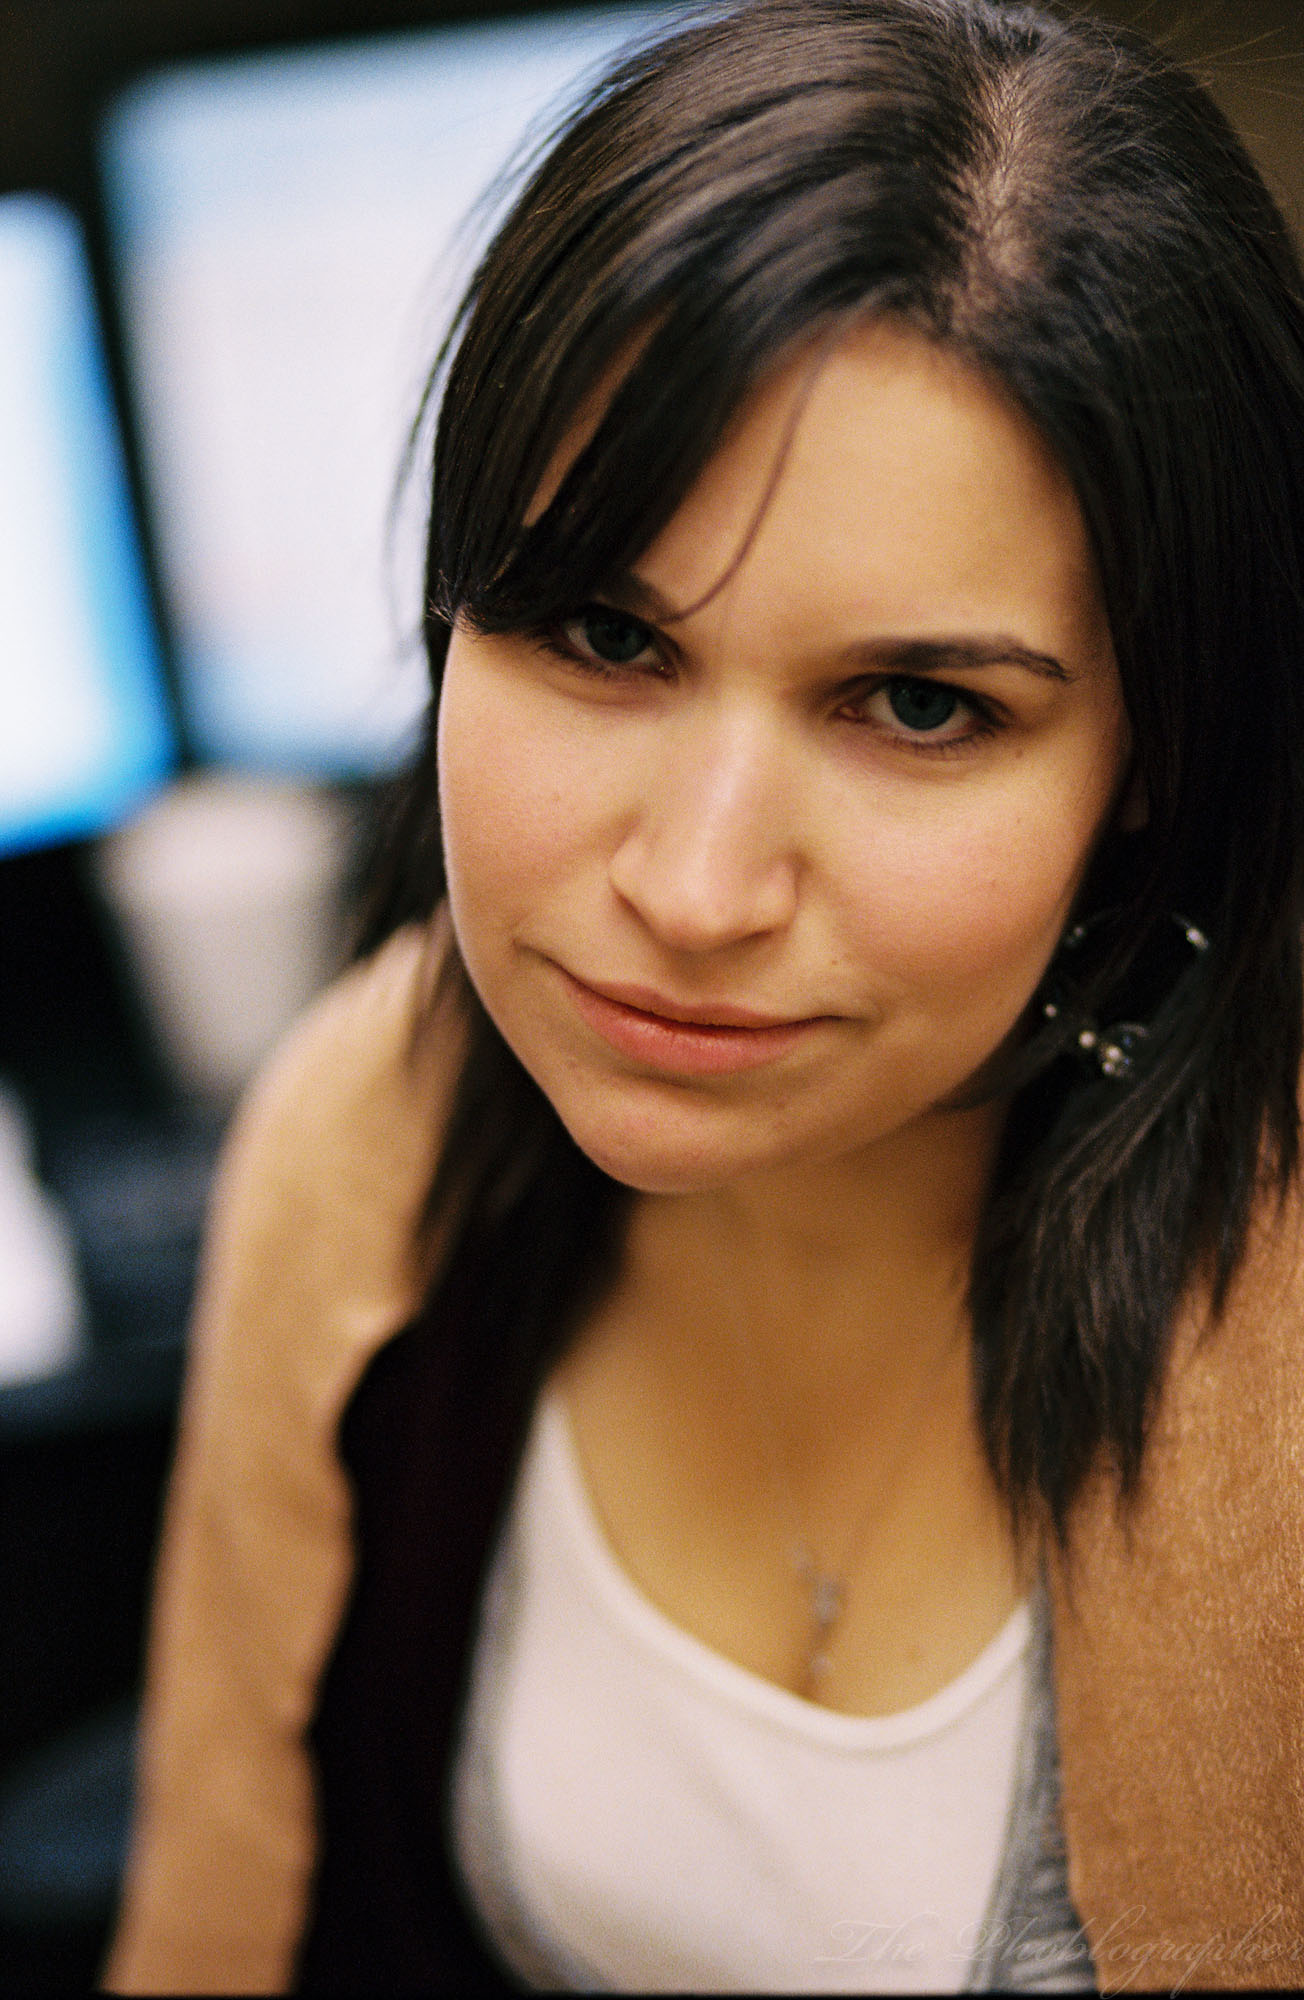
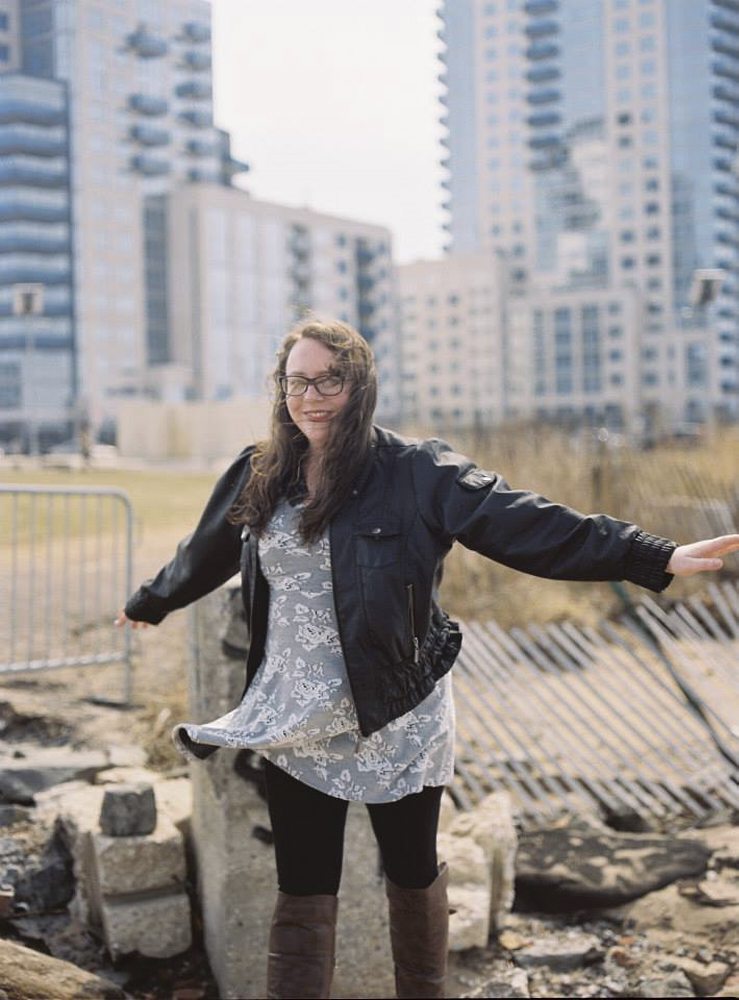
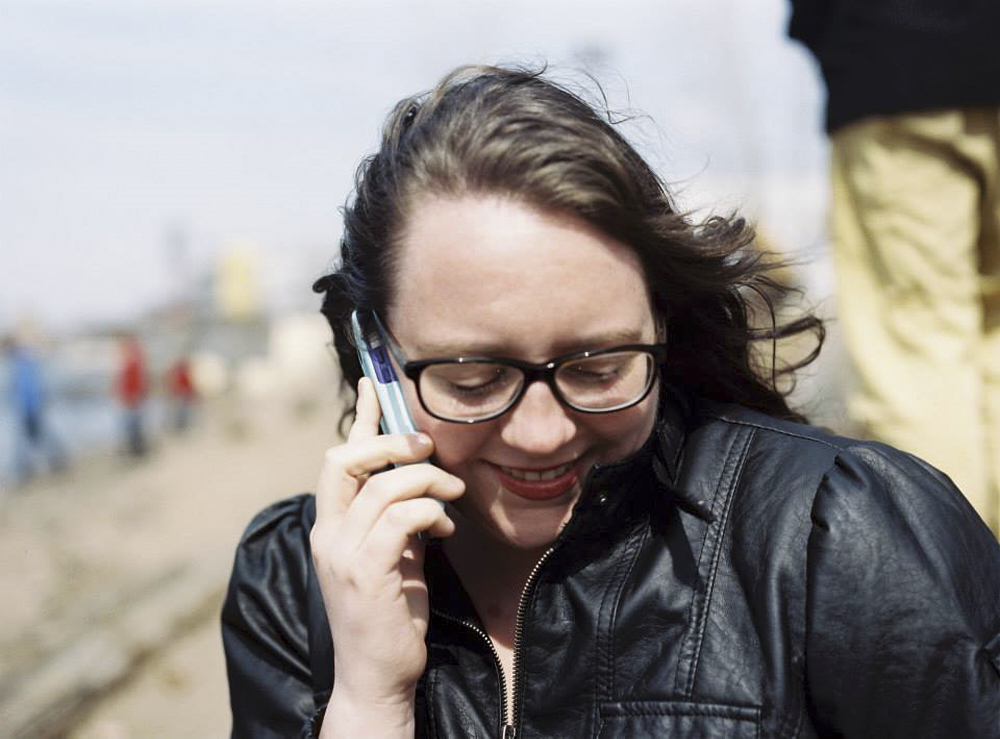
Here’s what the film looks like as the sun is starting to sort of set in Brooklyn, NY, and the clouds are rolling in. The colors are still nice and muted. But see how the sun gives a really nice rim light to Rory’s hair?
Some folks may call this the “Vintage look” but it’s actually just how Kodak Portra tends to work.
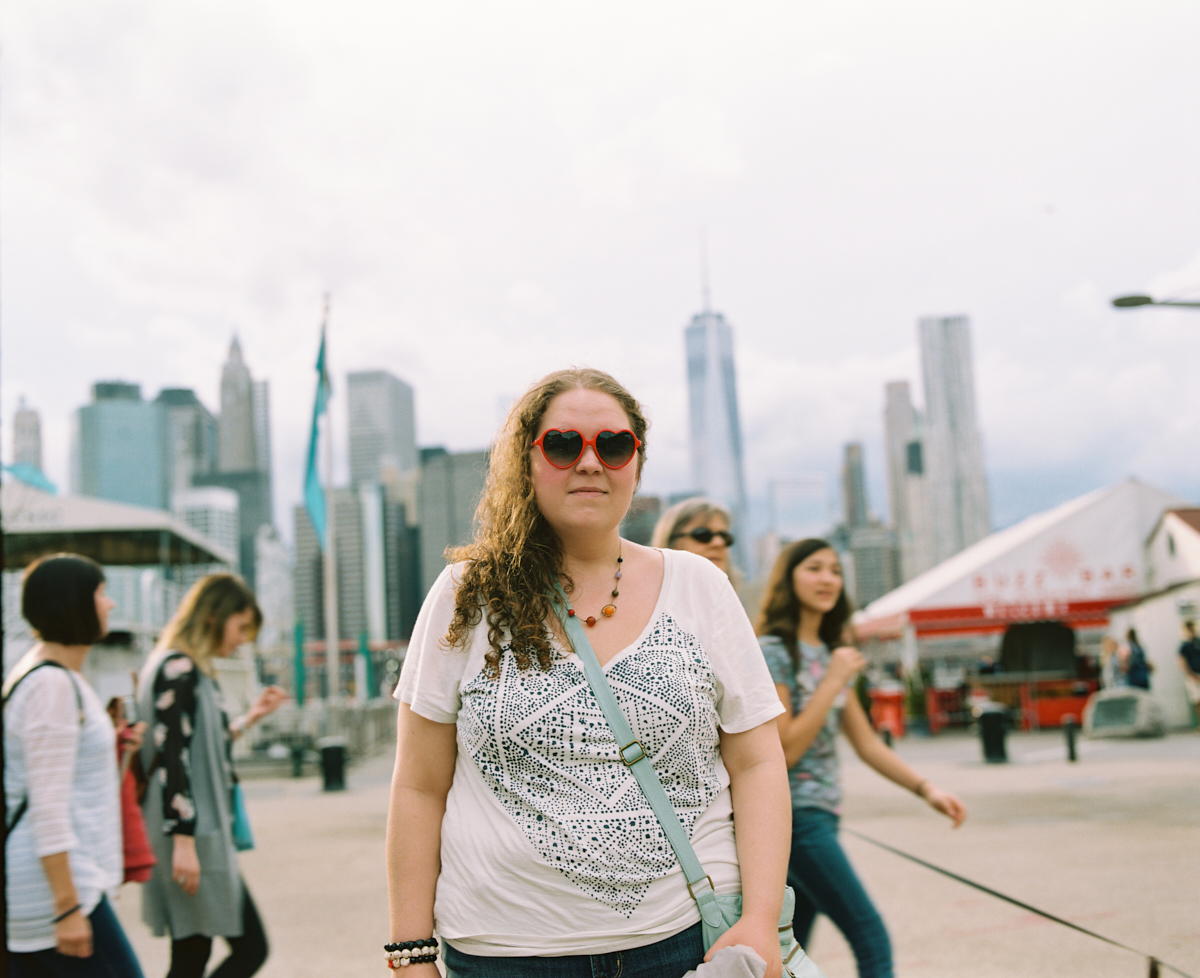
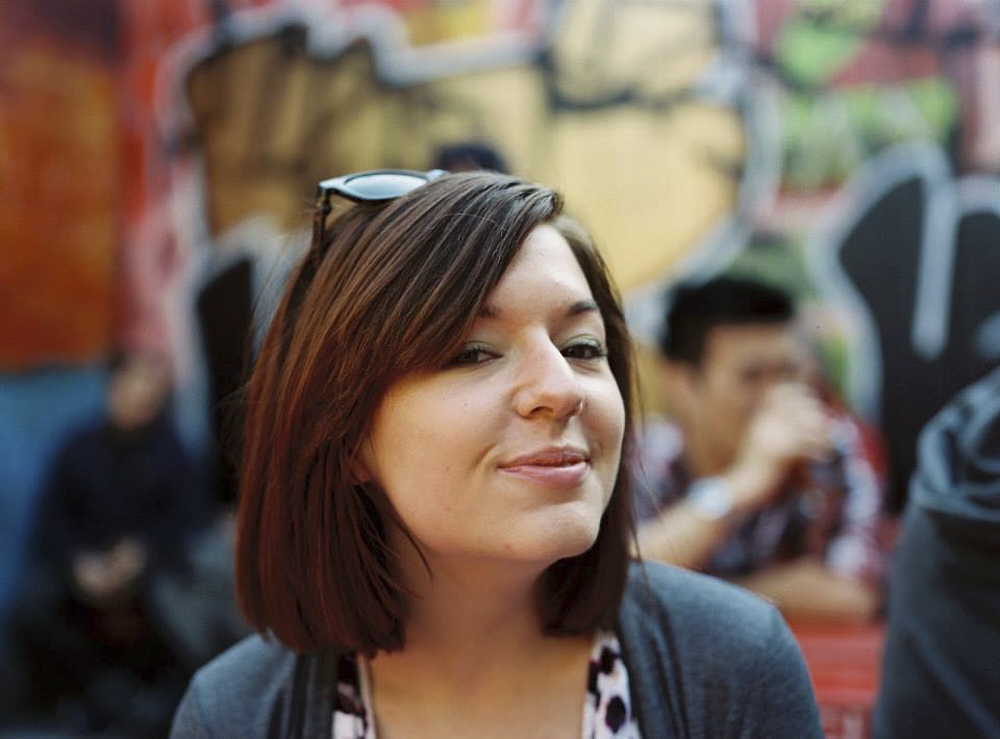
Notice how you’re still getting muted tones here but they could be better if there was just more light? I probably should have overexposed it but for this session. I was using a Mamiya RB67 Pro S.


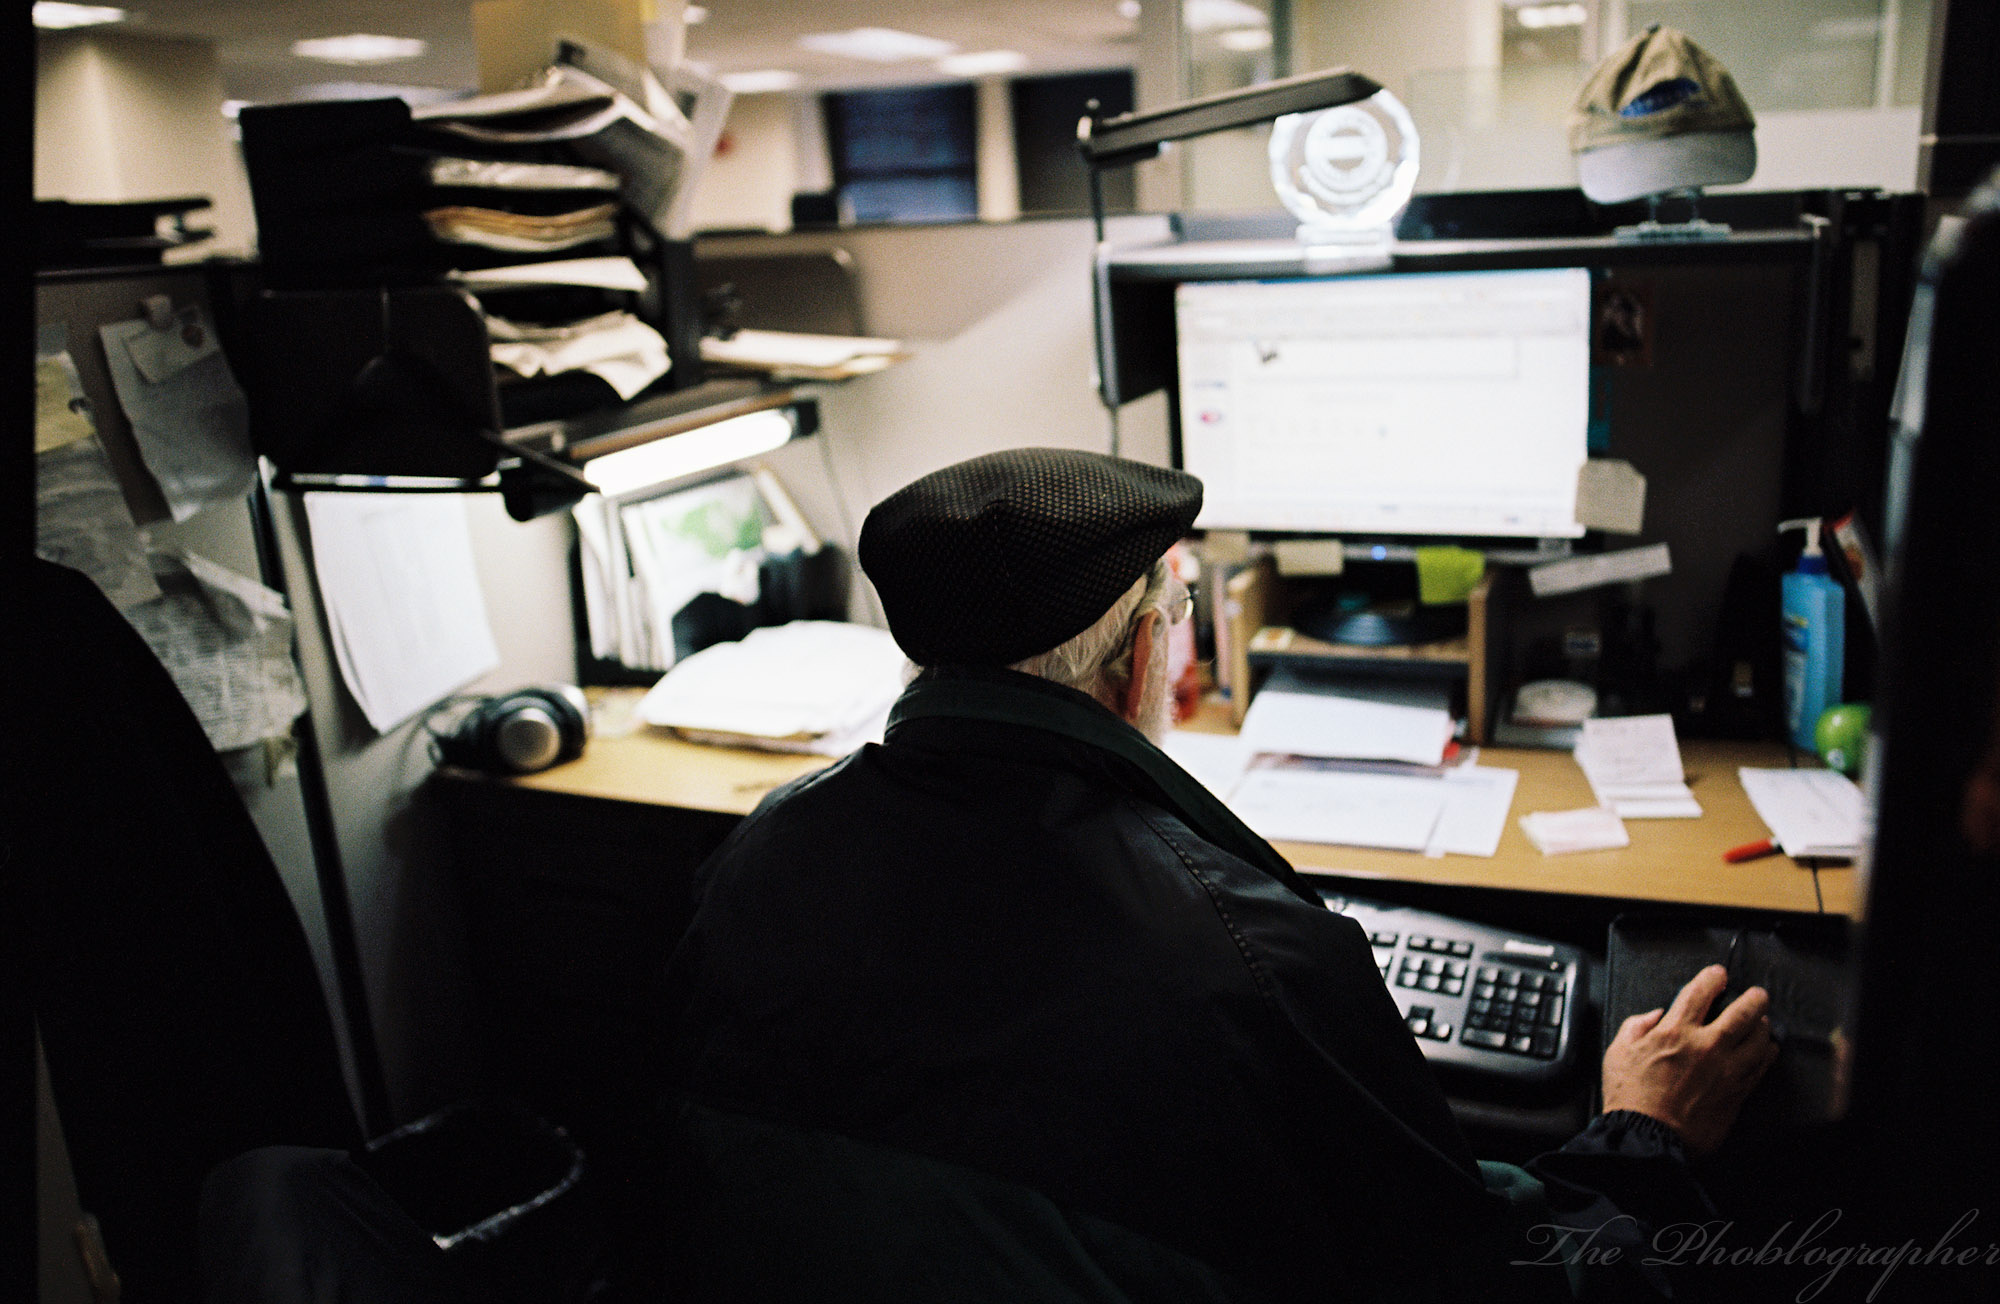
Now here it is with ceiling lights (typical offices) and a Zeiss 25mm f2 lens. Overexposing here really helped give the film more needed light in a situation like this.

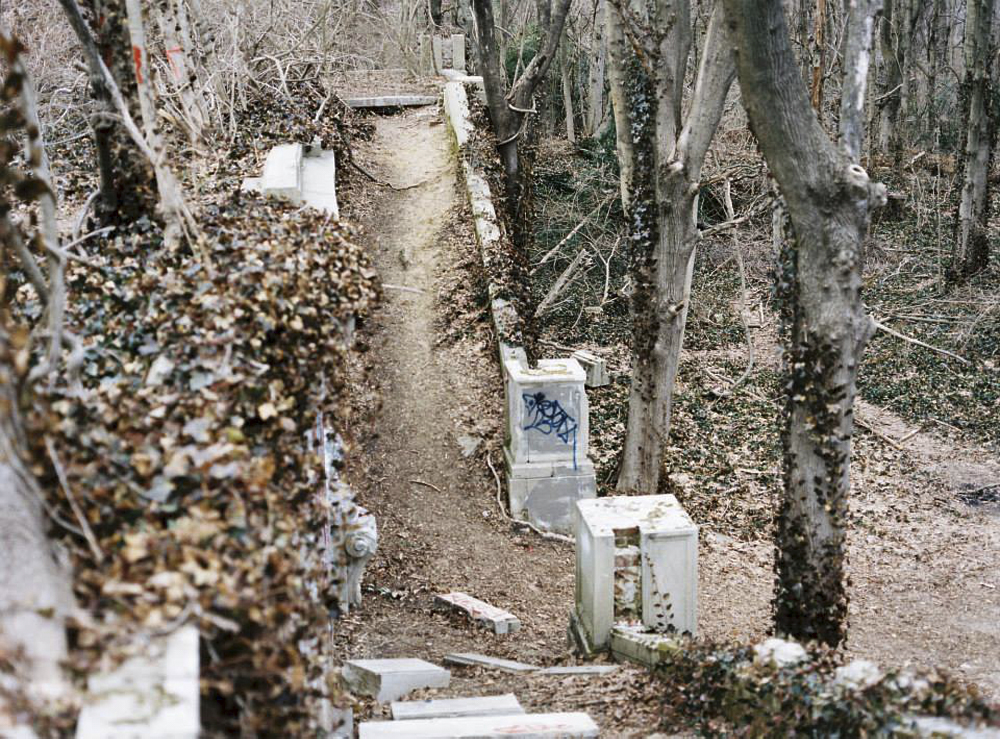
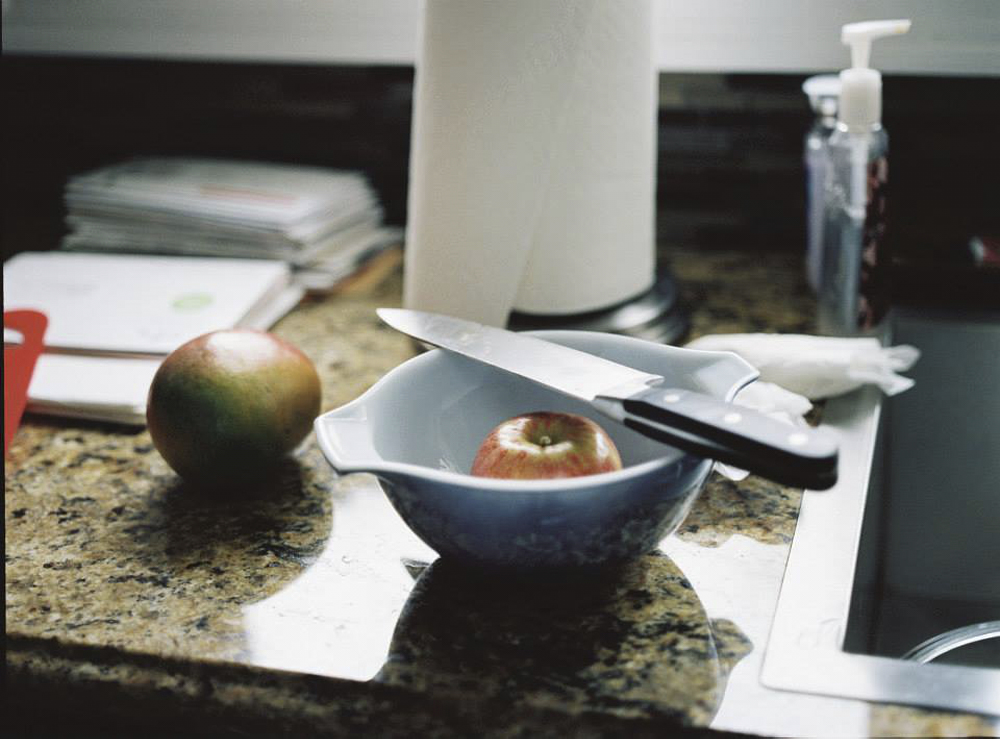
Extra Image Samples


Conclusions
Kodak Portra 400 is a film bound to not disappoint you–especially if you can know and understand what you’re going to be getting beforehand. To do that, I really recommend shooting with your digital camera at ISO 400 and with daylight white balance. Here’s a video we did with tips on how to make the most of it.
Even more importantly though, Kodak Portra 400 also has a very specific look to it that digital cameras have tried to mimic but can’t totally do. On top of that, the idea of working with film to begin with is that you sit at your computer less and you pay more attention to getting it all right in the camera in the first place.
It’s not about being lazy, it’s about the personal process between you and a subject. No chimping, nothing. It’s a beautiful and interpersonal experience.

Kodak Portra 400 wins 5 out of 5 stars in our book. Please check Amazon for a variety of prices and formats.
Get rid of the ads!
Did you enjoy reading this article as much as we enjoyed writing it? There's a way to support us and our reporting, getting ad-free navigation and more as a bonus. Subscribe to us for less than a coffee per month —just $3.99— or take advantage of our yearly subscription with a hefty discount for only $25.- An ad-free experience
- A free mystery box for Lightroom or Capture One
- All the books in our store
- 20% discount on Capture One
- 30% discount on Imalume Photo Theft Protection
- 20% off Herbs and Kettle Tea Company.
- 20% off your order from MPIX printing services.
- 5% off Viltrox Products via their eCommerce store.
- 10% off all film developing, printing and scanning services from Blue Moon Camera and Machine
- 15% off 7Artisans products: The lens and accessory maker is offering a sweet discount for Phoblographer's readers.