
Last Updated on 05/30/2020 by Mark Beckenbach
ND filters are powerful tools that allow us to capture landscape scenes that would otherwise escape us.
If you’re thinking about starting up landscape photography, you need to familiarize yourself with some tools that can help take your images from good to great. You’ve splashed the cash on a camera, you’ve picked up a sturdy tripod, an excellent lens, and even a bag to haul your gear around, but you may have overlooked ND filters. These ‘sunglasses’ for your lens are a must-have for landscape photographers, but they are often overlooked because they seem complicated. In this introduction to ND filters, we cover what these filters are, what they do, and how you can get the most out of them.
There are quite a few different types of filters on the market, and we know that the sheer amount of options can cause some confusion. That’s why we are putting this short introductory guide about ND filters together for you. We will show you that there is nothing to worry about when it comes to using filters, and just how easy it can be to create stunning images with them. Let’s jump right into it.
Table of Contents
What Is an ND filter?
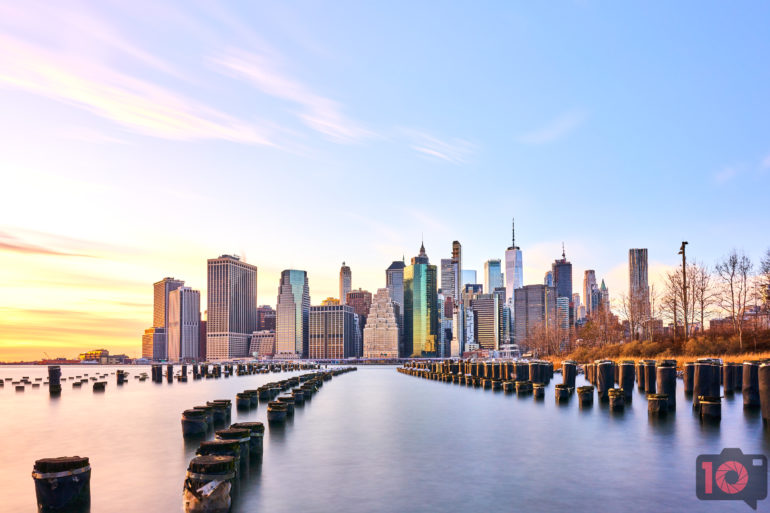
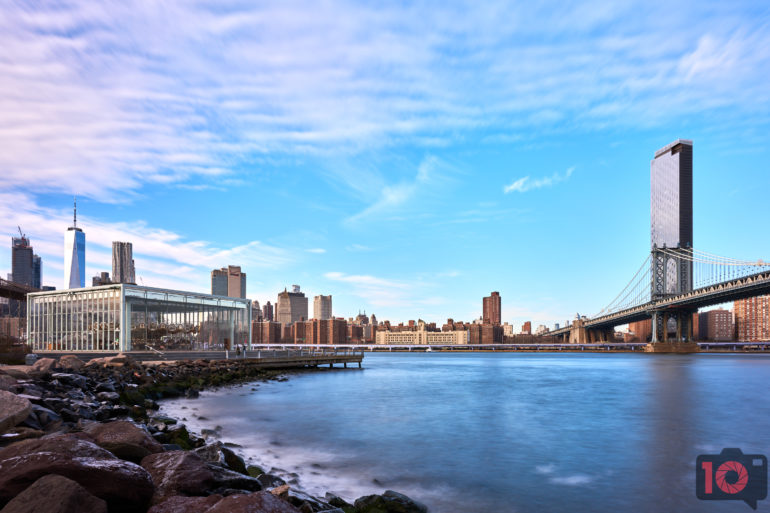
At the most basic level, an ND filter is nothing more than sunglasses for your lens. You wear sunglasses to prevent the bright light of the sun from hitting your eyes, and landscape photographers use ND filters to stop an insane amount of light from hitting our camera’s sensor. Yes, we know it sounds counter-intuitive as we usually want tons of light hitting the sensor. Still, if you have seen and want to create gorgeous landscape images where the clouds are streaking across the skies, or where waterfalls or flowing bodies of water are turned into silky smooth glass or foamy, fluffy water you’re going to need to slow down your shutter speed. To slow down your shutter speed during daylight hours, you need ND filters.
With less light hitting the sensor, you can turn your shutter speed down to as low as 30 seconds, 60 seconds, and minutes long in broad daylight (depending on the strength of the filter). This is where the magic of ND filters comes into play. ND filters will allow you to capture images that would otherwise be out of reach. And this is what makes them an essential tool in a landscape photographer’s camera bag.
Graduated ND Filters vs ND filters
As you’re doing your research, you will likely come across another type of ND filter called a graduated ND filter. These two filters both stop light from reaching the sensor inside your camera, but whereas an ND filter is just a solid dark piece of glass, a graduated filter is, as the name suggests, graduated. You will find that one end of the glass is dark, and as you look further down the filter, you will see it gets lighter and lighter. Graduated ND filters are great for when you only want to make a bright sky dark, and do not want to affect the lower portion of your scene.
As good as modern cameras are, they still don’t have enough dynamic range to properly expose a scene without the help of a filter. You can do heavy editing work in Capture One, Lightroom, or any other photo editing software by using graduated filter tools. Still, it is always best to get it right in-camera.
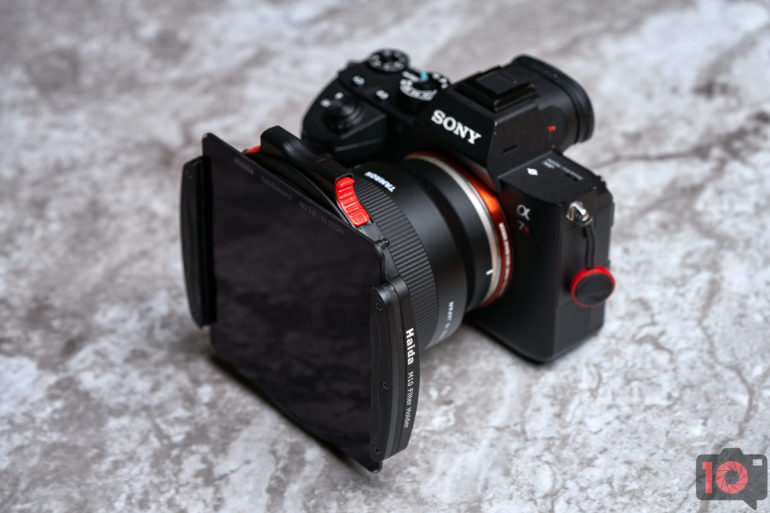
Circular Filters Vs. Square Filters
To make things even more confusing to those who are new to filters, you will find that there are both square filters that require a filter holder and circular filters which screw onto the end of your lens. Which type is best? That comes down to personal preference and the type of lens you are using.
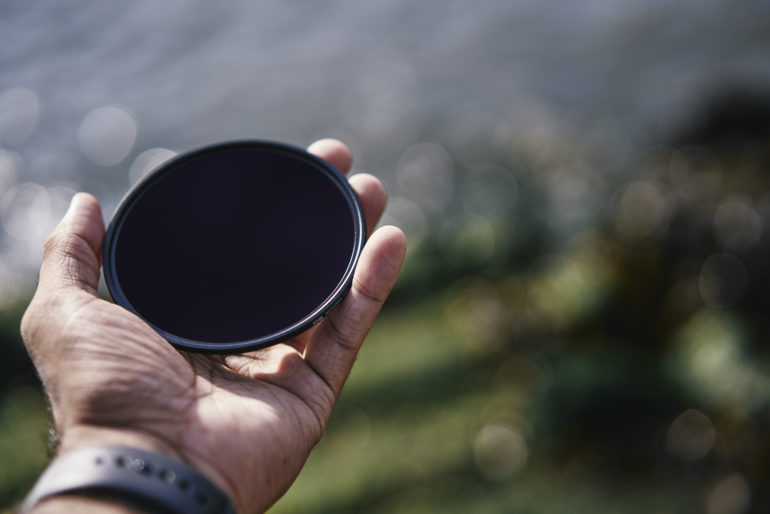
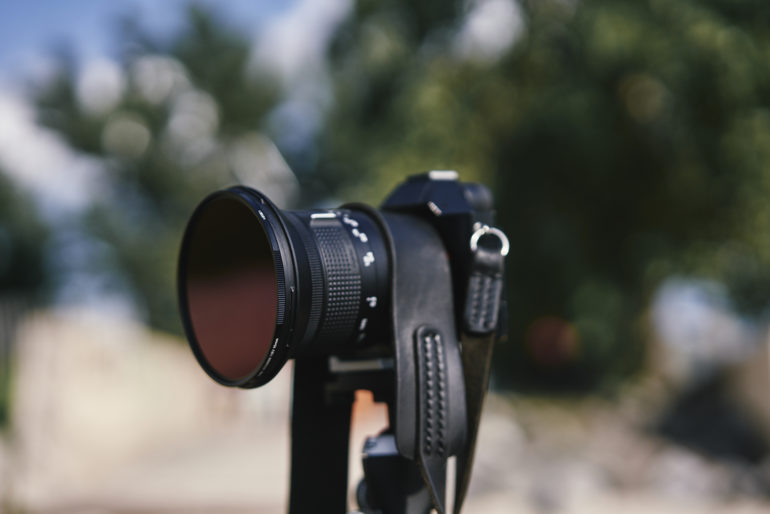
Circular filters are great for photographers who want a quick screw-in solution, and you’ll also find that you can get variable strength circular filters that allow you to adjust their power by simply rotating them while they are attached to your lens. Circular filters are quick to set up and are hassle-free (for the most part), though variable ND filters (where you can change its strength) are prone to an issue called the X-Effect. (As you reach the strongest setting of the filter, you may find that an X appears in your image.) You can get single strength circular ND filters too, but that does take away some of the convenience factors.
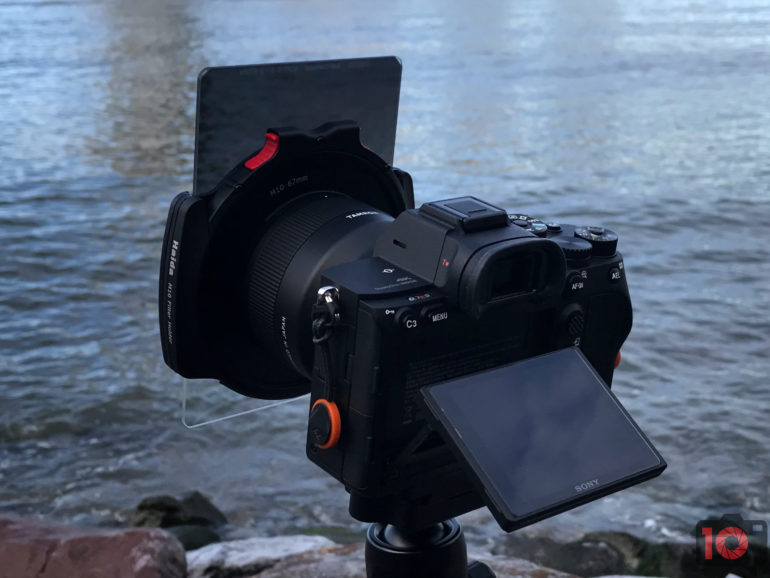
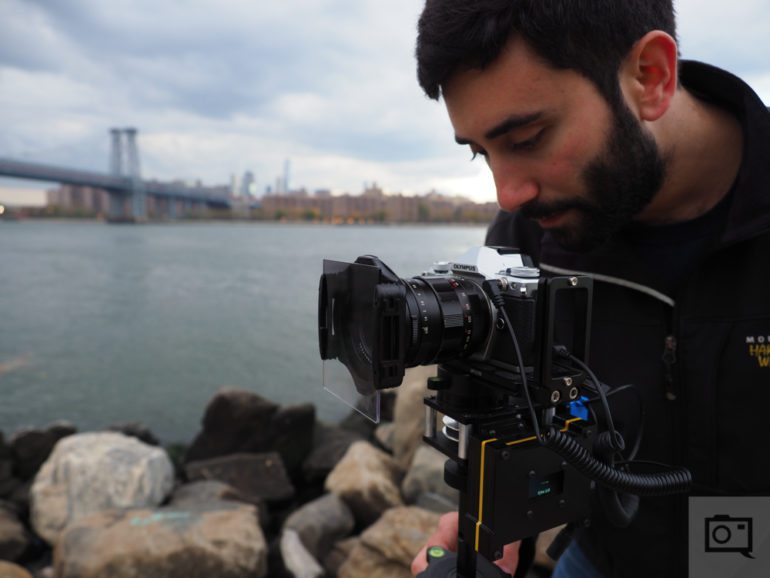
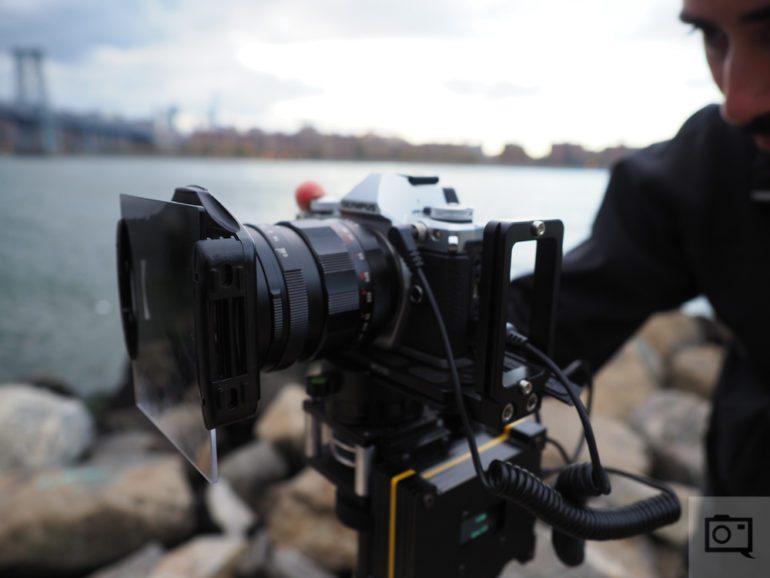
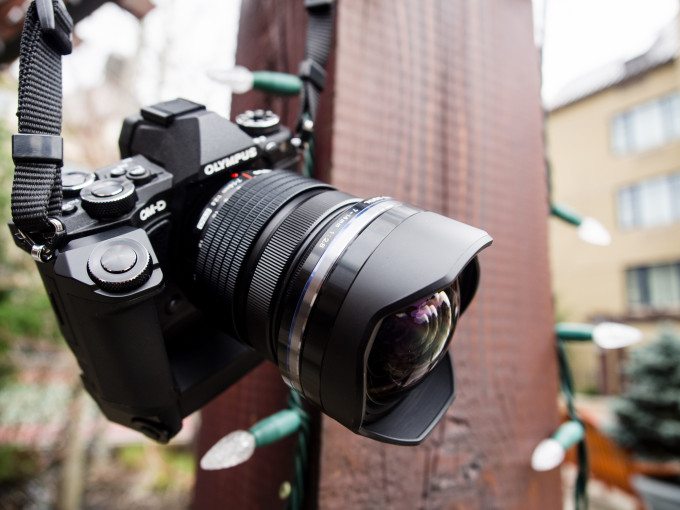
Square filters are a much bulkier system overall, but many photographers enjoy using these filters. Square filters are usually much more expensive than circular filters due to the extra amount of glass they have, and you also have to take into account that the mounting system is going to cost extra. Still, these filters are usually of very high quality, much higher than circular filters. Square filters are great for photographers who own lenses with bulbous front elements, like the Olympus 7-14mm f2.8 Pro.
Many wide lenses have front elements that protrude, and it’s simply not possible to screw filters in front of the glass. If you have a lens like this, you will need to use square filters.
The square filters will attach to a bracket which sits on the lens hood. The square filter will then slide down in front of the lens. Before you make a lens buying decision, check to see if the front element protrudes. If it does, price out a square filter system to see if it will fit your budget.
Filter Strength and Calculations
You’ve heard me mention filter strength a few times now, but what is it, and how is it measured? ND filters are measured in stops of light or darkness. Look around the web, and you will find a myriad of tables and charts that make no sense whatsoever. Manufacturers have not made it easy to convert the numbers that they use when describing their filters, so the number I always tell people to look for is stops of light reduction. The bigger the number for stops of light, the darker the filter, and the darker the filter, the longer you’ll be able to keep your shutter open.
When looking for ND filters, you will see listings that say 3-stops, 6-stops, 10-stops, 15-stops, and so on. The bigger the stop, the darker the filter. For every stop of light the ND filter cuts out, you cut in half the amount of light entering your camera, so to keep your exposure correct, you will need to double your exposure time to get a correctly exposed shot. It’s honestly these calculations that are the hardest to figure out, but a little trial and error will help you out immensely. Personally, I have never had a need to use more than a 10-stop filter, but your use case may be different. Take the numbers below into account before buying a filter.
If you use a 1-stop ND filter, and your original exposure time was 1 second, with the filter in place, your new exposure time would be 2 seconds. A 2-stop filter would increase your exposure time to 4 seconds, a 3-stop filter would mean an 8-second exposure, a 6-stop filter will require a 60-second exposure to keep the same exposure values of your 1 second shot without the filter in place. Depending on where, when, and what you shoot, your needs will vary from mine and other photographers out there. Be sure to figure out your calculations and then make a purchase. There is a great app from Nisi that can help you make these calculations.
Shooting is the Easy Part
Now that you have learned the difference between the square and circular ND filters, and have a better understanding of filter strengths and how to make shutter speed calculations, all that’s left to do it shoot. Once you either have your square filter attached in front of your lens via a holder, your circular filter screwed into place, and your calculations made, taking the shot is just the same as before.

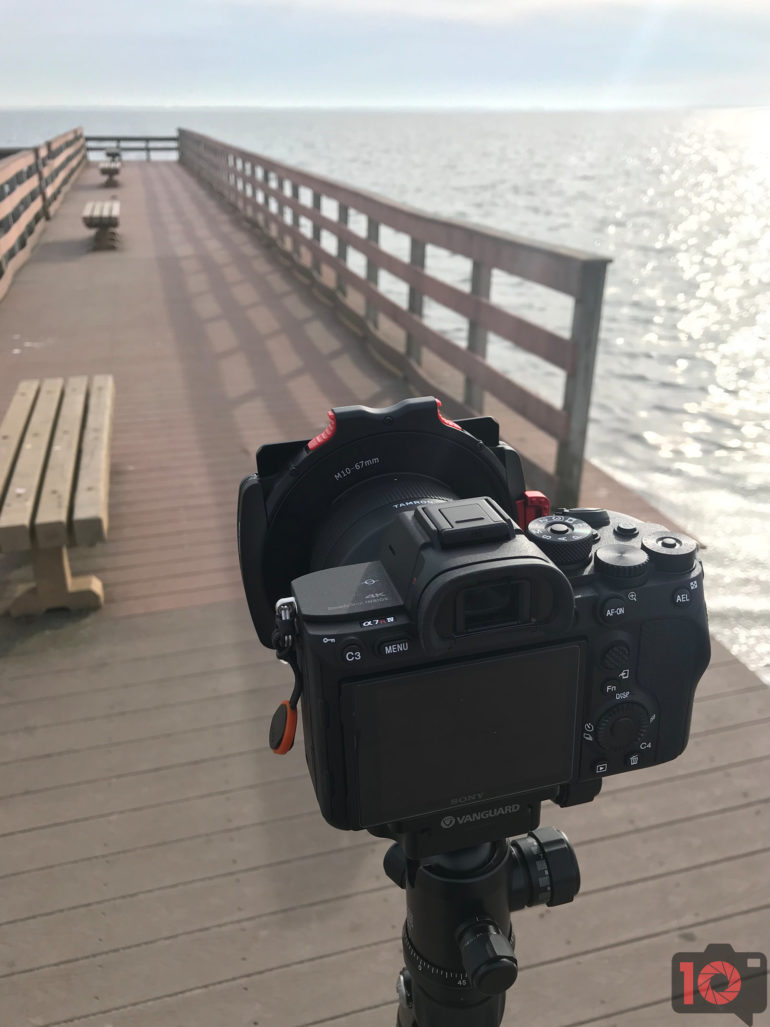
As with all landscape photography, we always recommend that you use a sturdy tripod so that you can really maximize the resolution of your sensor and so that you can ensure that your horizon is level. I always recommend using a two-second delay so that any vibrations from you pressing the shutter can dissipate before the image is snapped as well. If it’s a little breezy outside, consider using some sandbags to help weigh down your tripod as well.
If you’re completely new to landscape photography and you aren’t sure how to compose landscape images, check out this landscape composition cheat sheet. If you’d like to know which cameras we recommend for landscape photography, check out this excellent camera roundup, and if you’re not sure about lenses, this landscape lens roundup will help too.
There is really nothing to be afraid of when it comes to shooting with ND filters. Once you determine what kind of filter suits you best, and you can correctly calculate your exposure, you will be able to produce some breathtaking images. Don’t be afraid to experiment with the different types of filters, and play around with the various strengths as well. You’ll be amazed at the long exposure images you can create during the brightest parts of the day.
Recommended Reads
If you would like to learn more about techniques, or perhaps some ND filters we have reviewed, check out the links below:
- How to Avoid Common Lens Filter Issues
- Quick Neutral Density Filter Chart
- The Differences Between Graduated and ND filters
- How ND Filters Work
- How to Get Perfect Exposures with Solid ND Filters
- Irix Edge Neutral Density ND32000
- Neewer Colkin P Grand and ND filter Kit
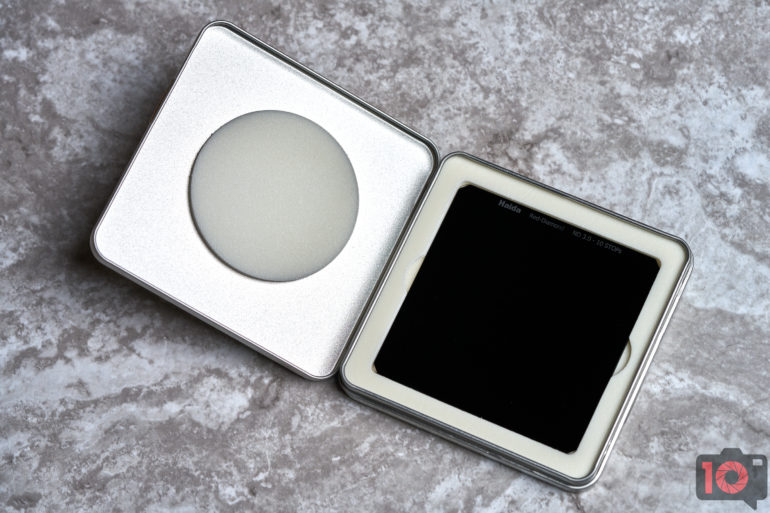
- Haida Red Diamond 10-Stop 100x100mm ND filter
- Haida Red-Diamond 3 Stop Soft-Edge Graduated ND Filter
- Haida M10 Filter System Holder
Get rid of the ads!
Did you enjoy reading this article as much as we enjoyed writing it? There's a way to support us and our reporting, getting ad-free navigation and more as a bonus. Subscribe to us for less than a coffee per month —just $3.99— or take advantage of our yearly subscription with a hefty discount for only $25.- An ad-free experience
- A free mystery box for Lightroom or Capture One
- All the books in our store
- 20% discount on Capture One
- 30% discount on Imalume Photo Theft Protection
- 20% off Herbs and Kettle Tea Company.
- 20% off your order from MPIX printing services.
- 5% off Viltrox Products via their eCommerce store.
- 10% off all film developing, printing and scanning services from Blue Moon Camera and Machine
- 15% off 7Artisans products: The lens and accessory maker is offering a sweet discount for Phoblographer's readers.