
Landscape photographers always have two major types of filters in their camera bags: and they’re both a type of ND filter (Neutral Density Filter.) Neutral Density filters basically cut out light in a scene and try to do so in a very specific way depending on what type you’re using. They’re essential parts of the process and have been since the film days–especially as lots of the magic of landscape photography comes out in the processing. But if you aren’t sure which filter does what, we’re here to help you out.
What is a Graduated ND Filter?
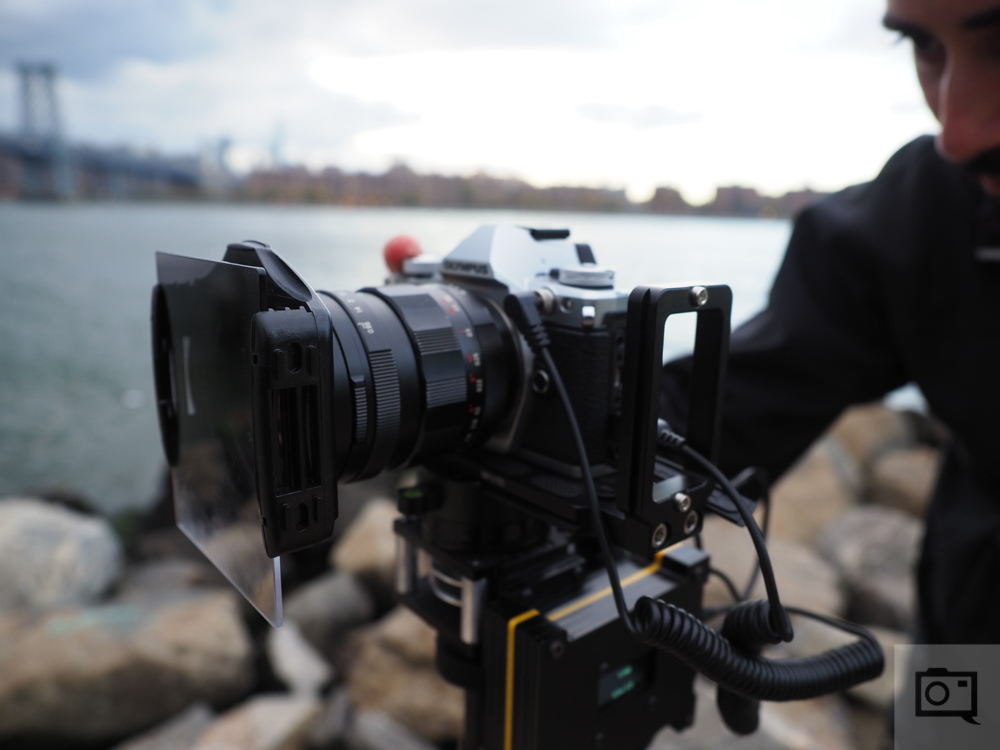
Graduated ND filters do a very specific job and it’s often a great idea to have a number of them available. These Neutral Density filters start out very dark at one side and then lighten as they go to the other end. If you work in Photoshop or Lightroom, think about a Gradient. Notice how one end ot the gradient is very strong while the other is pretty weak. That’s how it works with Graduated Neutral Density filters in real life too!
When Do I Use One?
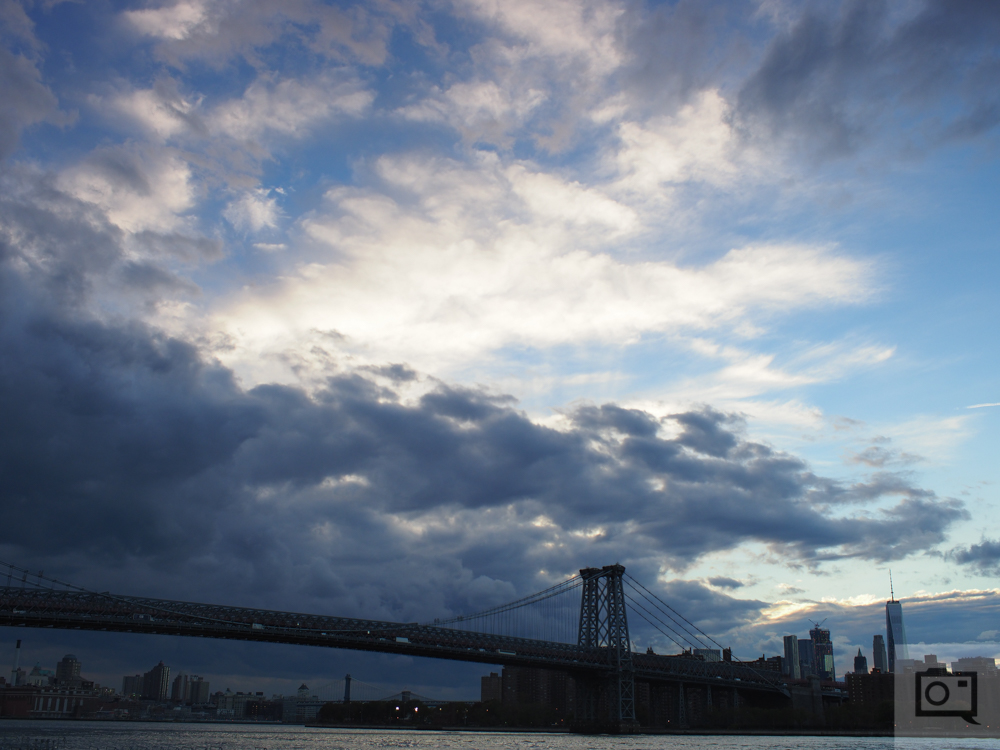
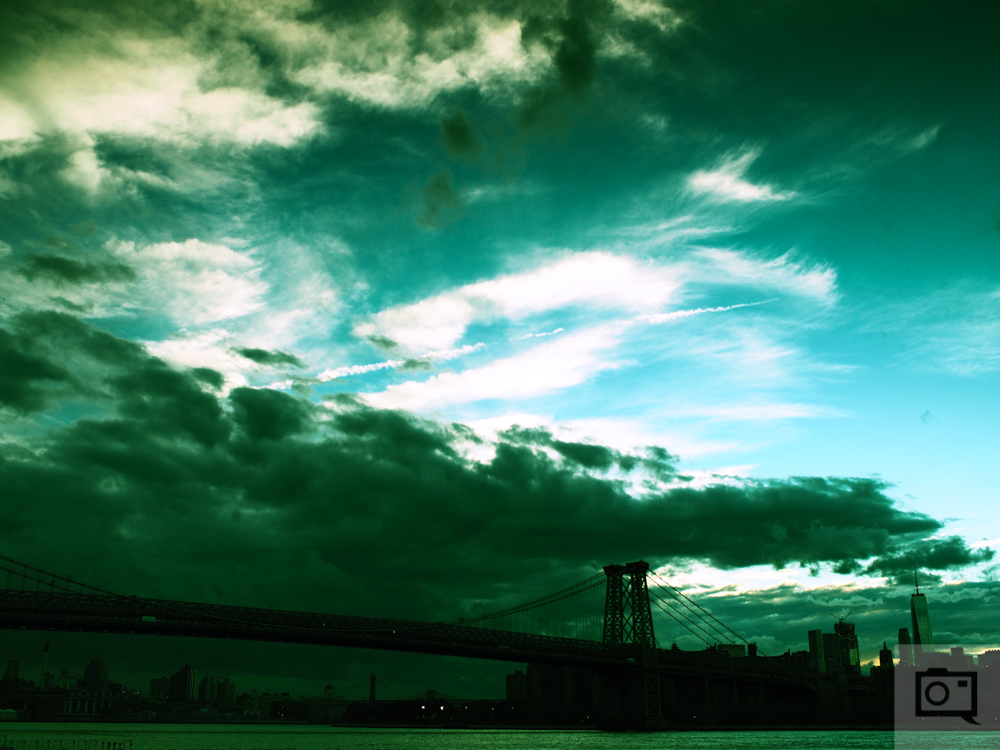
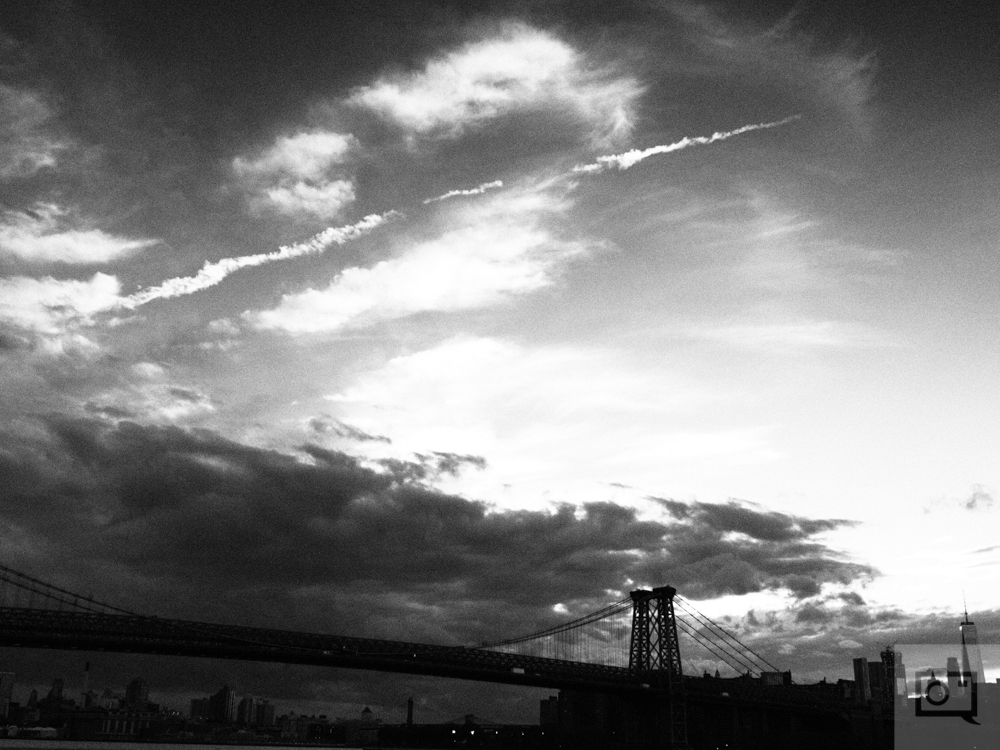
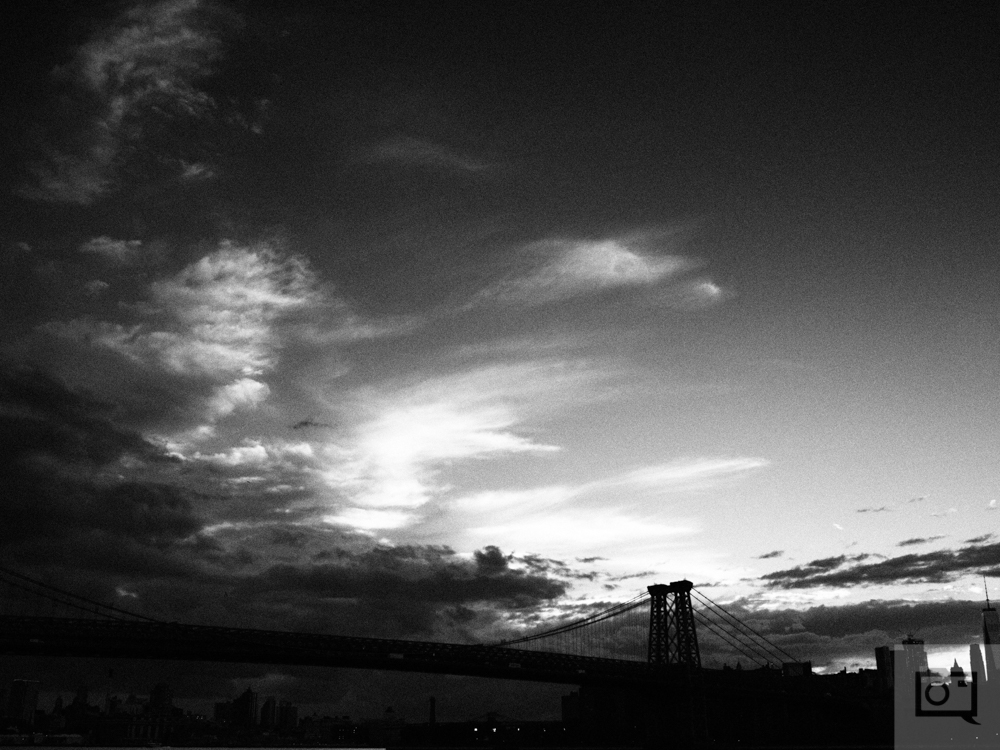
Place the darker edge of the graduated neutral density filter into the sky. Then adjust it along the front of your lens. The lighter part should be in the shadows. This will create less contrast in the scene overall like in these images.
What is a Variable ND Filter?
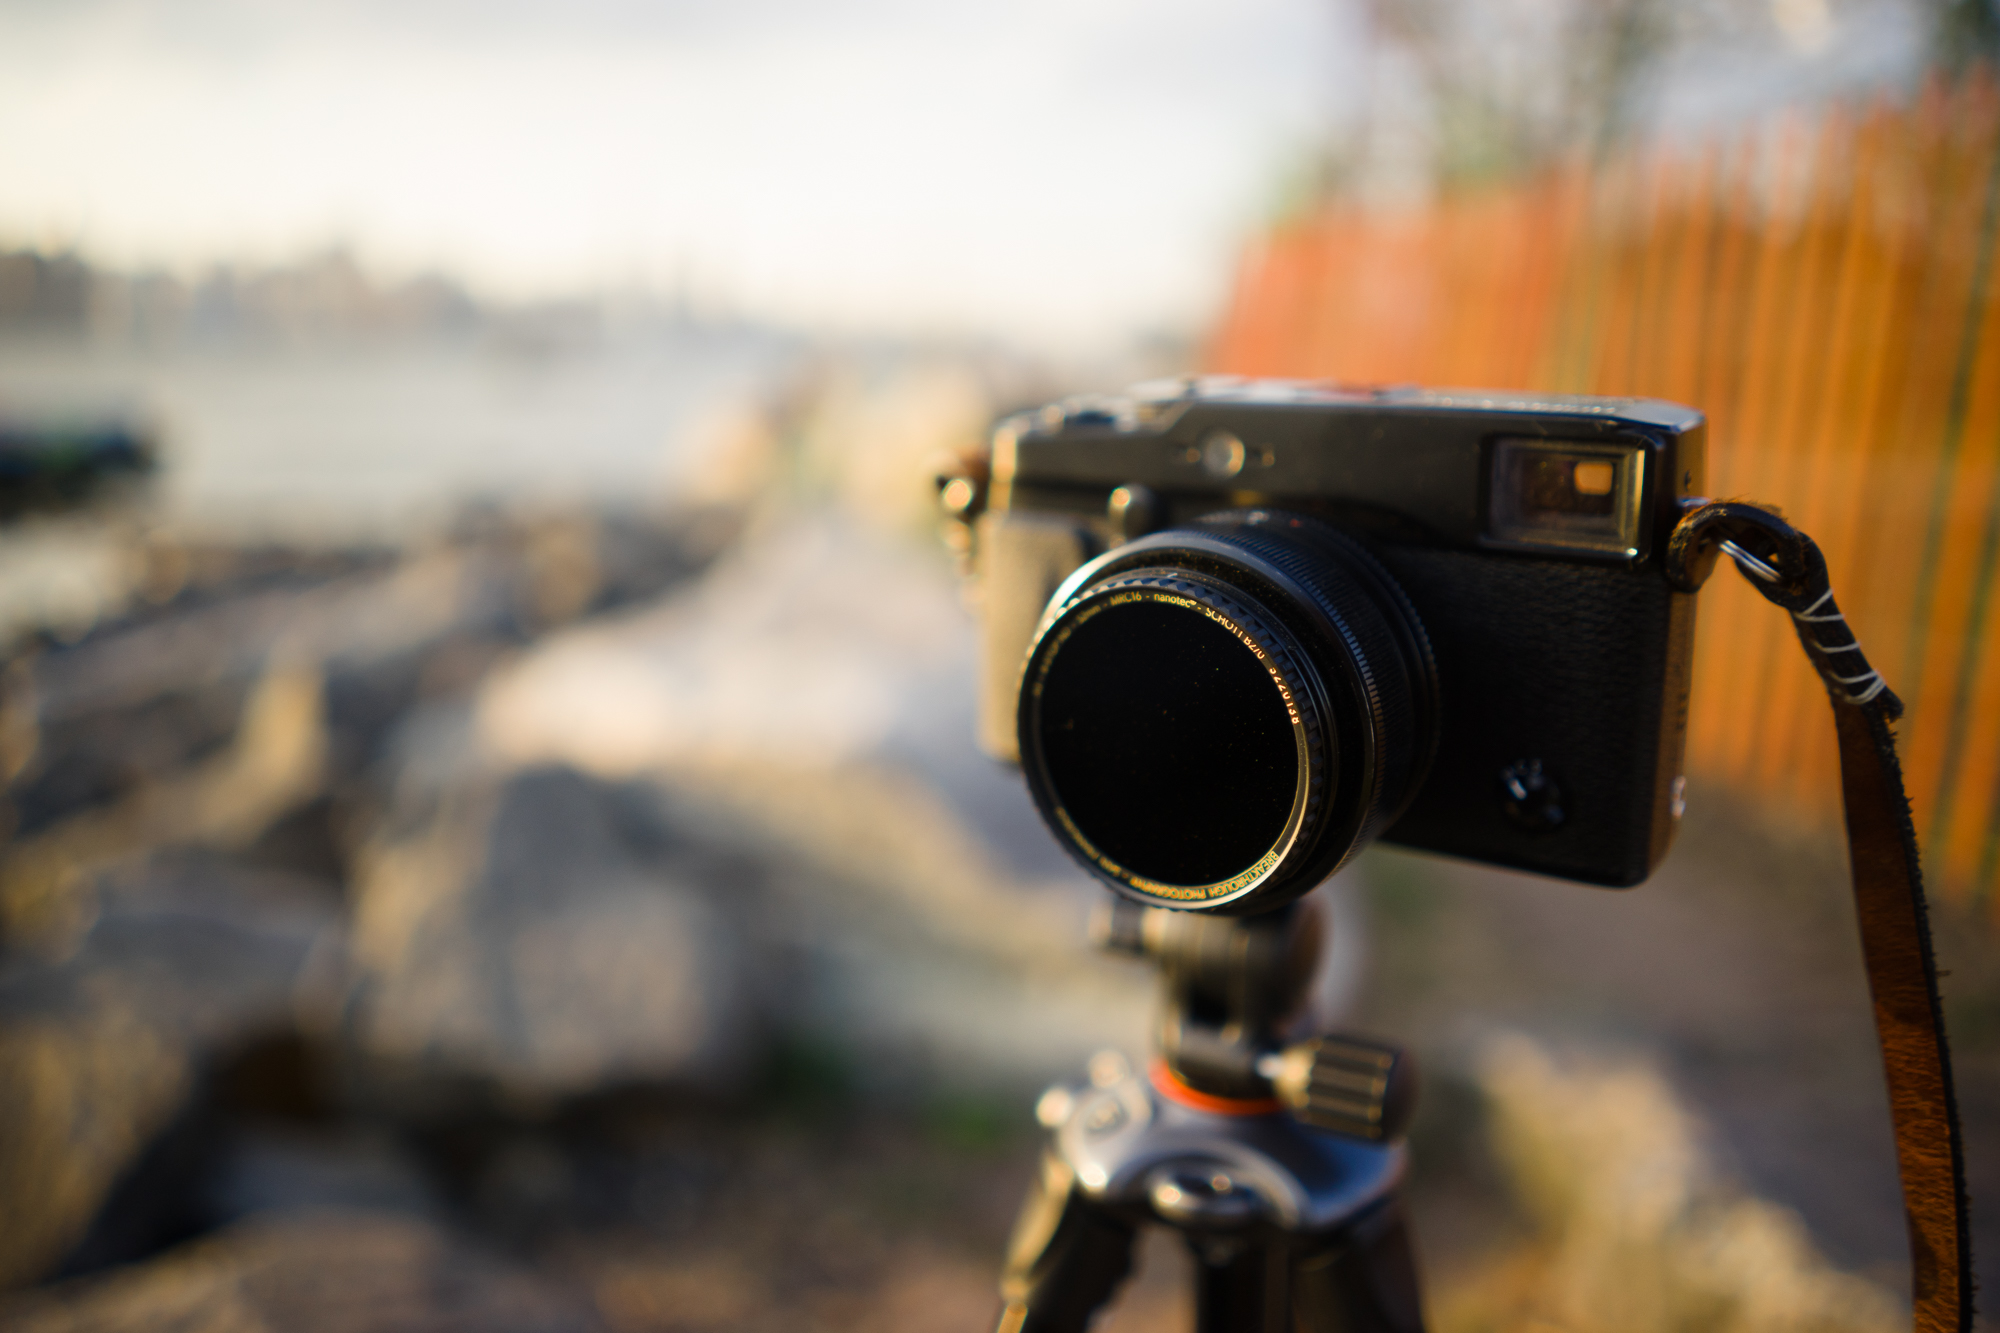
Graduated ND filters do a very specific job and so too do Variable Neutral Density filters. These filters allow the photographer to dial in very specific settings. Variable ND filters cut down on the overall amount of light in the scene. Think of them as an extra exposure parameter like your ISO. When you’re at the lowest ISO setting, you can cut down even more light.
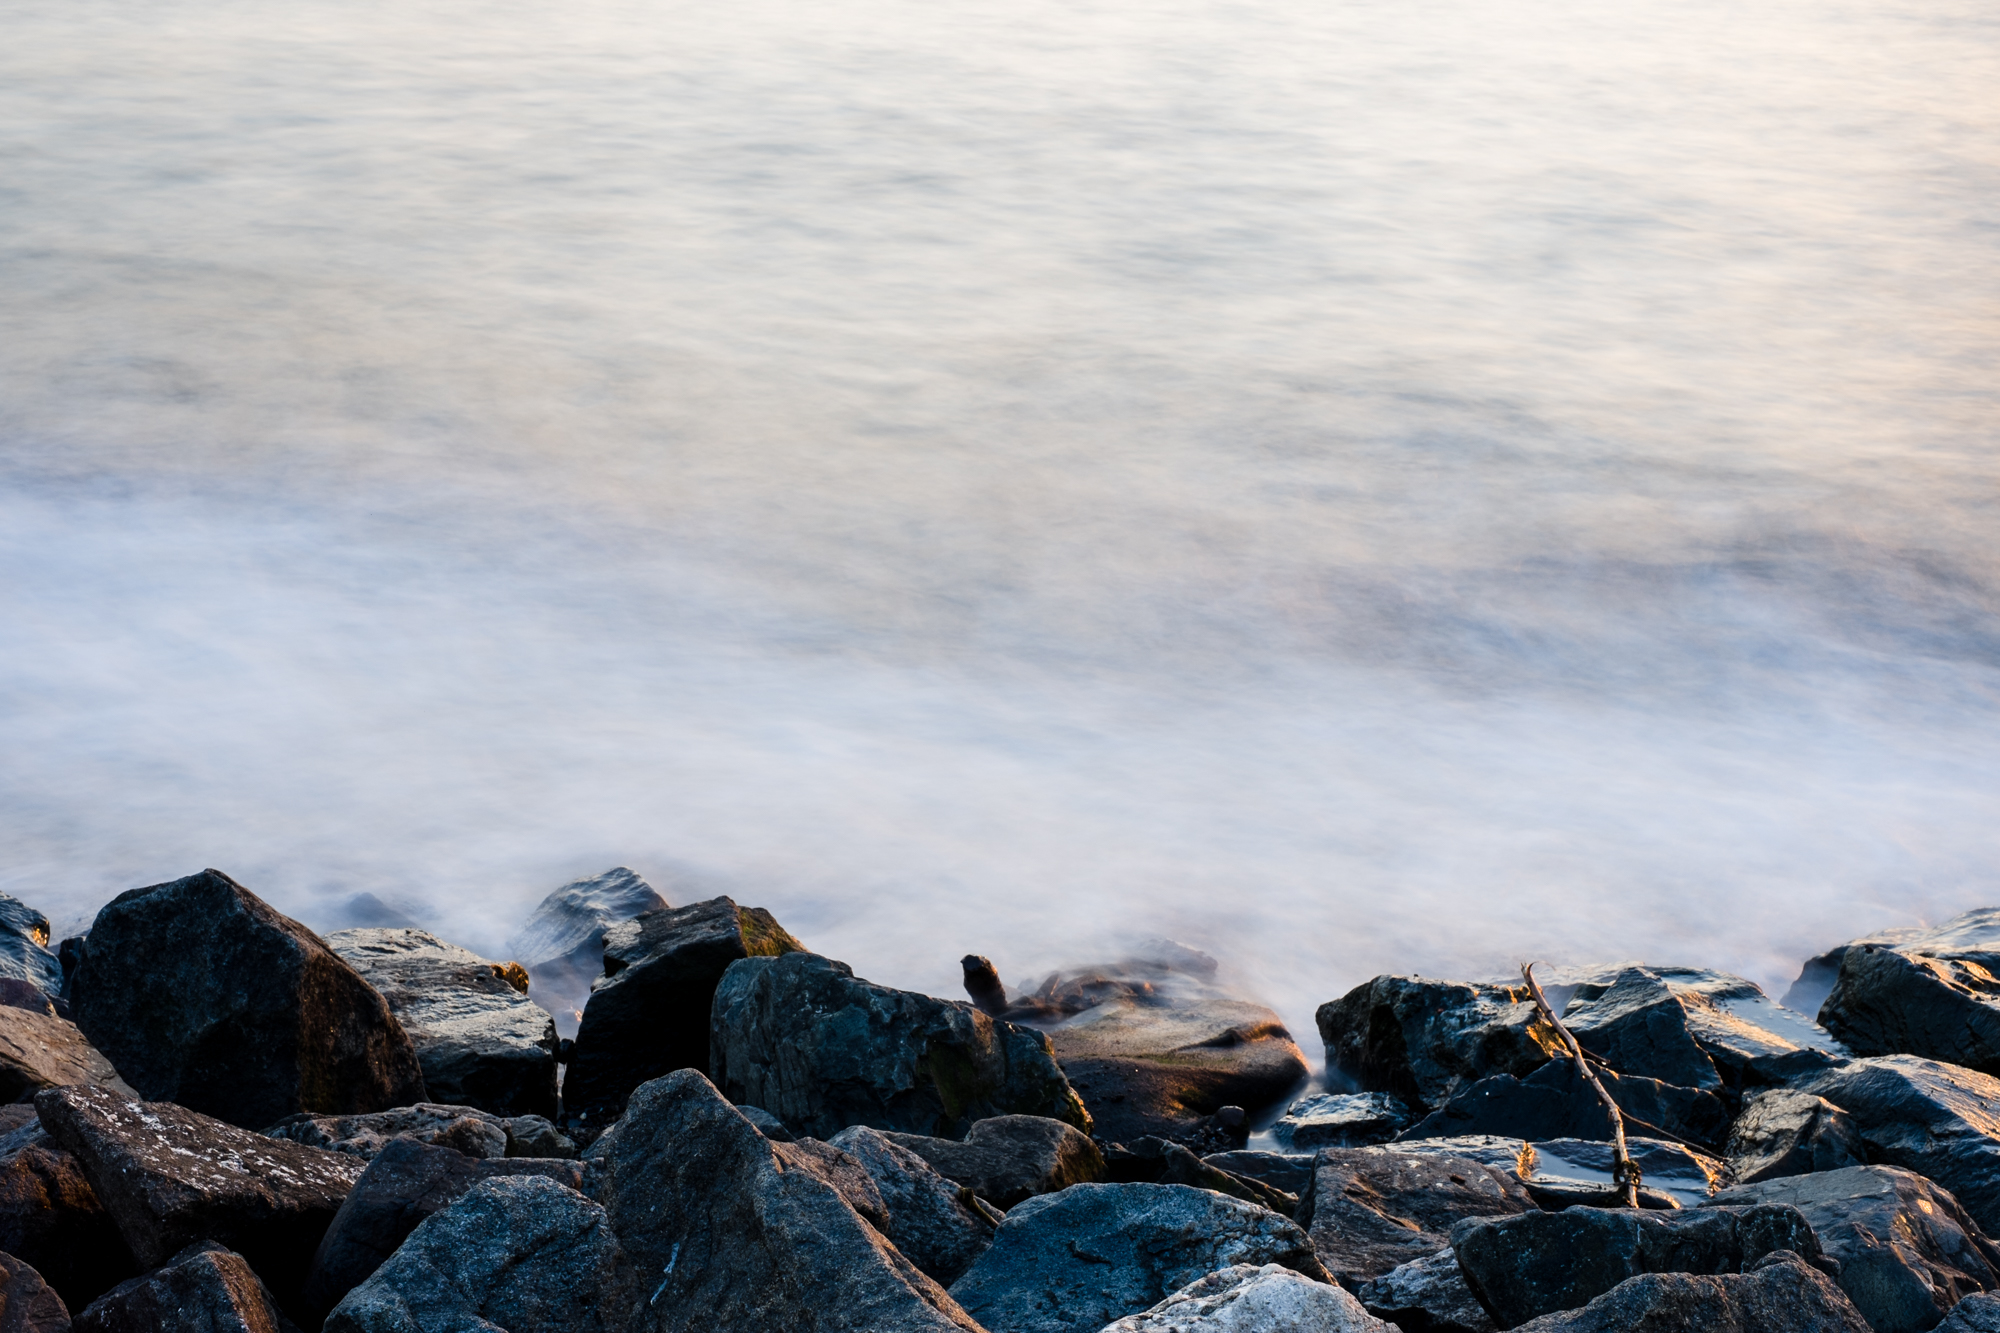
When Do I Use One?
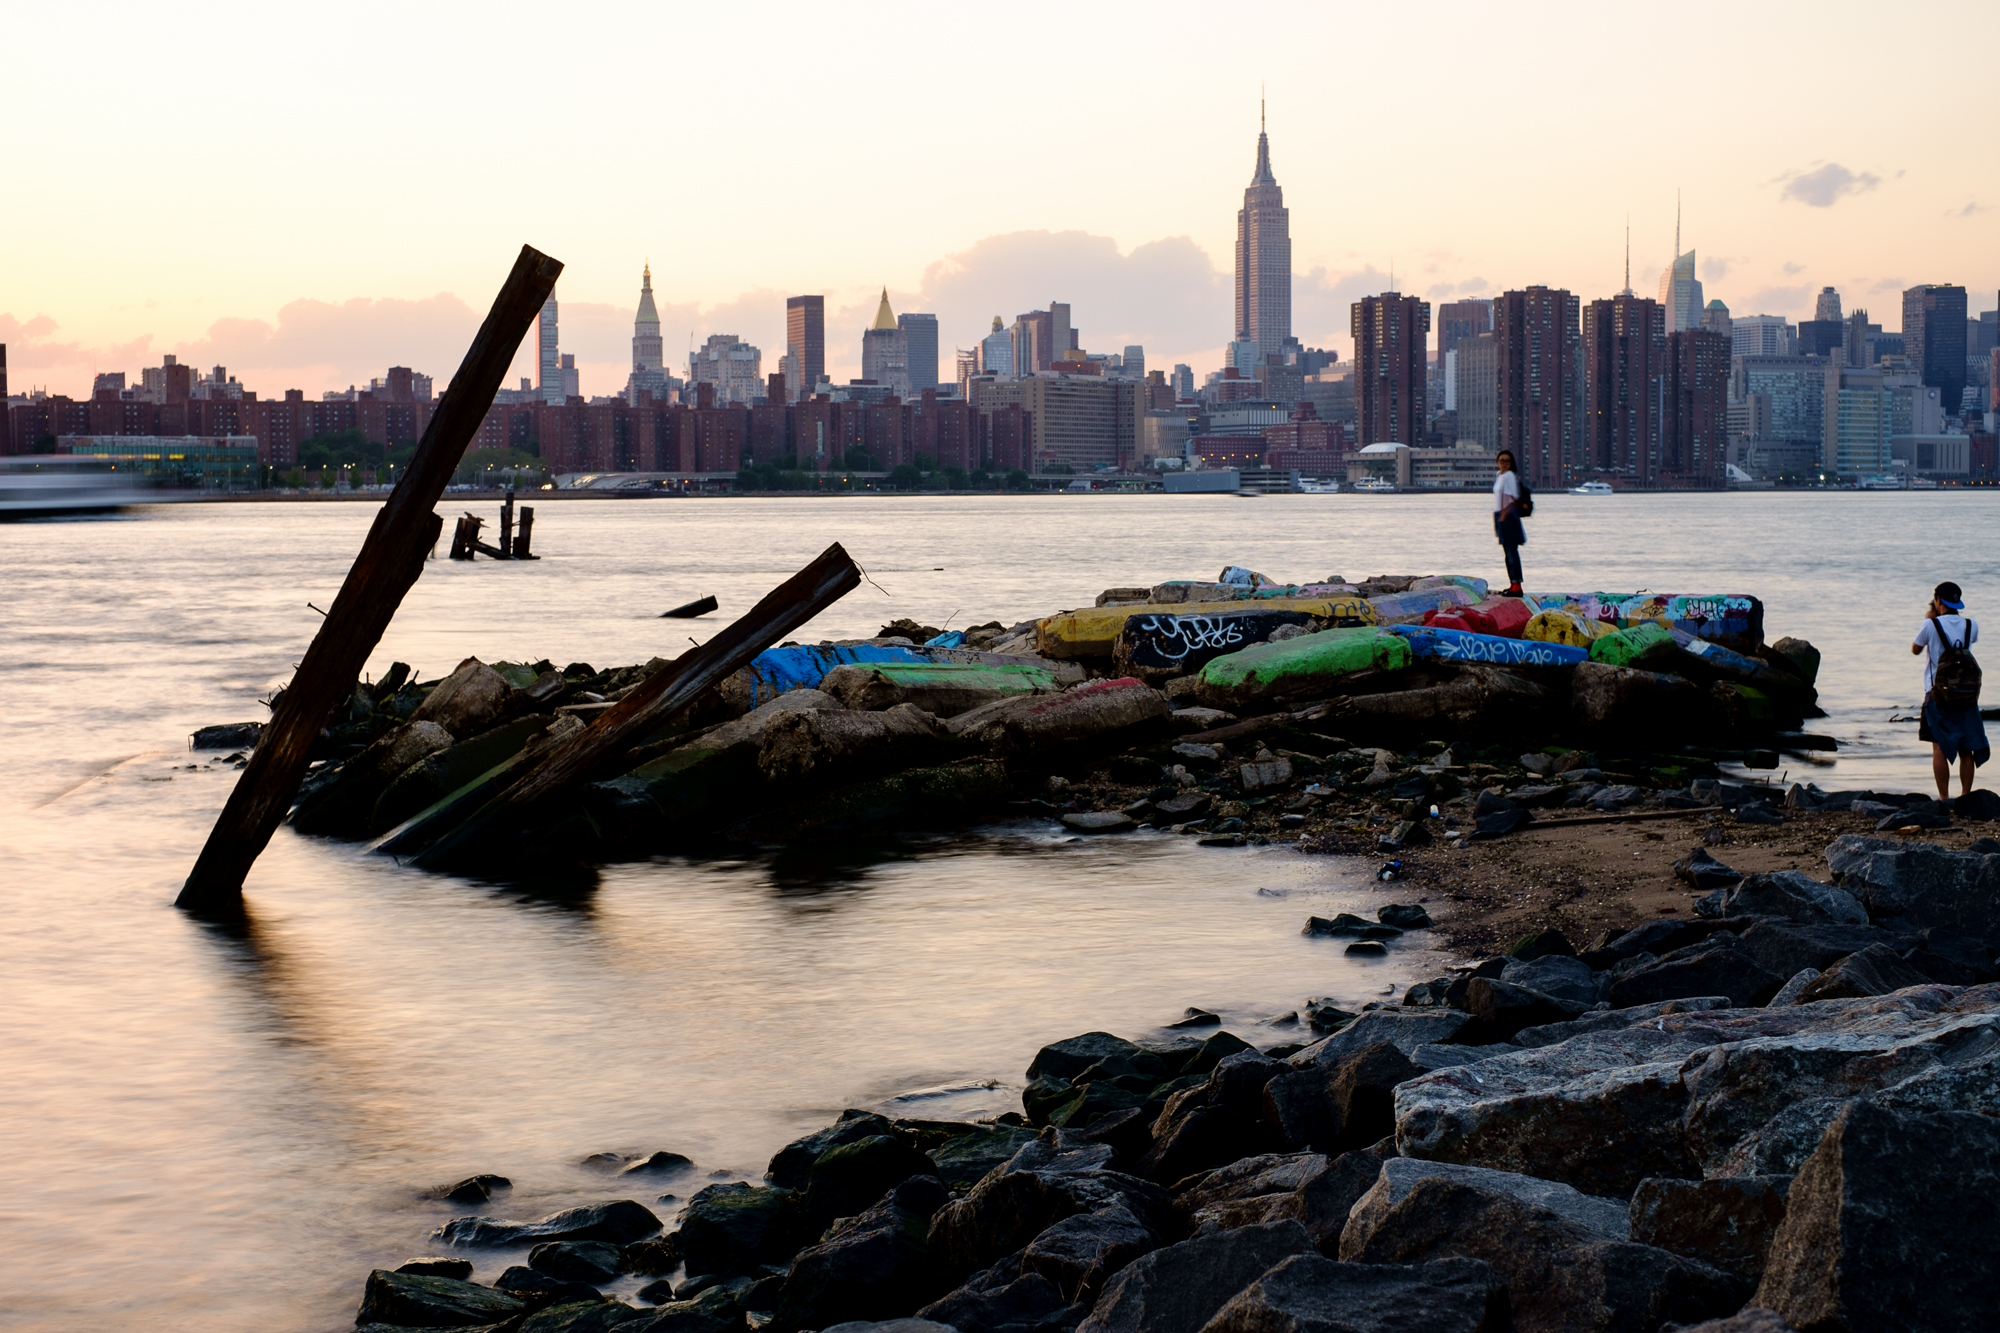
Most photographers use these filters in order to get a slower shutter speed to get a dreamier effect with water. But you can also use it so that you can utilize a narrower aperture setting with your lens. Sometimes F22 and ISO 100 won’t be enough if you want to shoot a 20 second long exposure during sunset.

Get rid of the ads!
Did you enjoy reading this article as much as we enjoyed writing it? There's a way to support us and our reporting, getting ad-free navigation and more as a bonus. Subscribe to us for less than a coffee per month —just $3.99— or take advantage of our yearly subscription with a hefty discount for only $25.- An ad-free experience
- A free mystery box for Lightroom or Capture One
- All the books in our store
- 20% discount on Capture One
- 30% discount on Imalume Photo Theft Protection
- 20% off Herbs and Kettle Tea Company.
- 20% off your order from MPIX printing services.
- 5% off Viltrox Products via their eCommerce store.
- 10% off all film developing, printing and scanning services from Blue Moon Camera and Machine
- 15% off 7Artisans products: The lens and accessory maker is offering a sweet discount for Phoblographer's readers.