")
Last Updated on 01/04/2018 by Chris Gampat
Luminar 2018 is a great photo editor but needs to mature
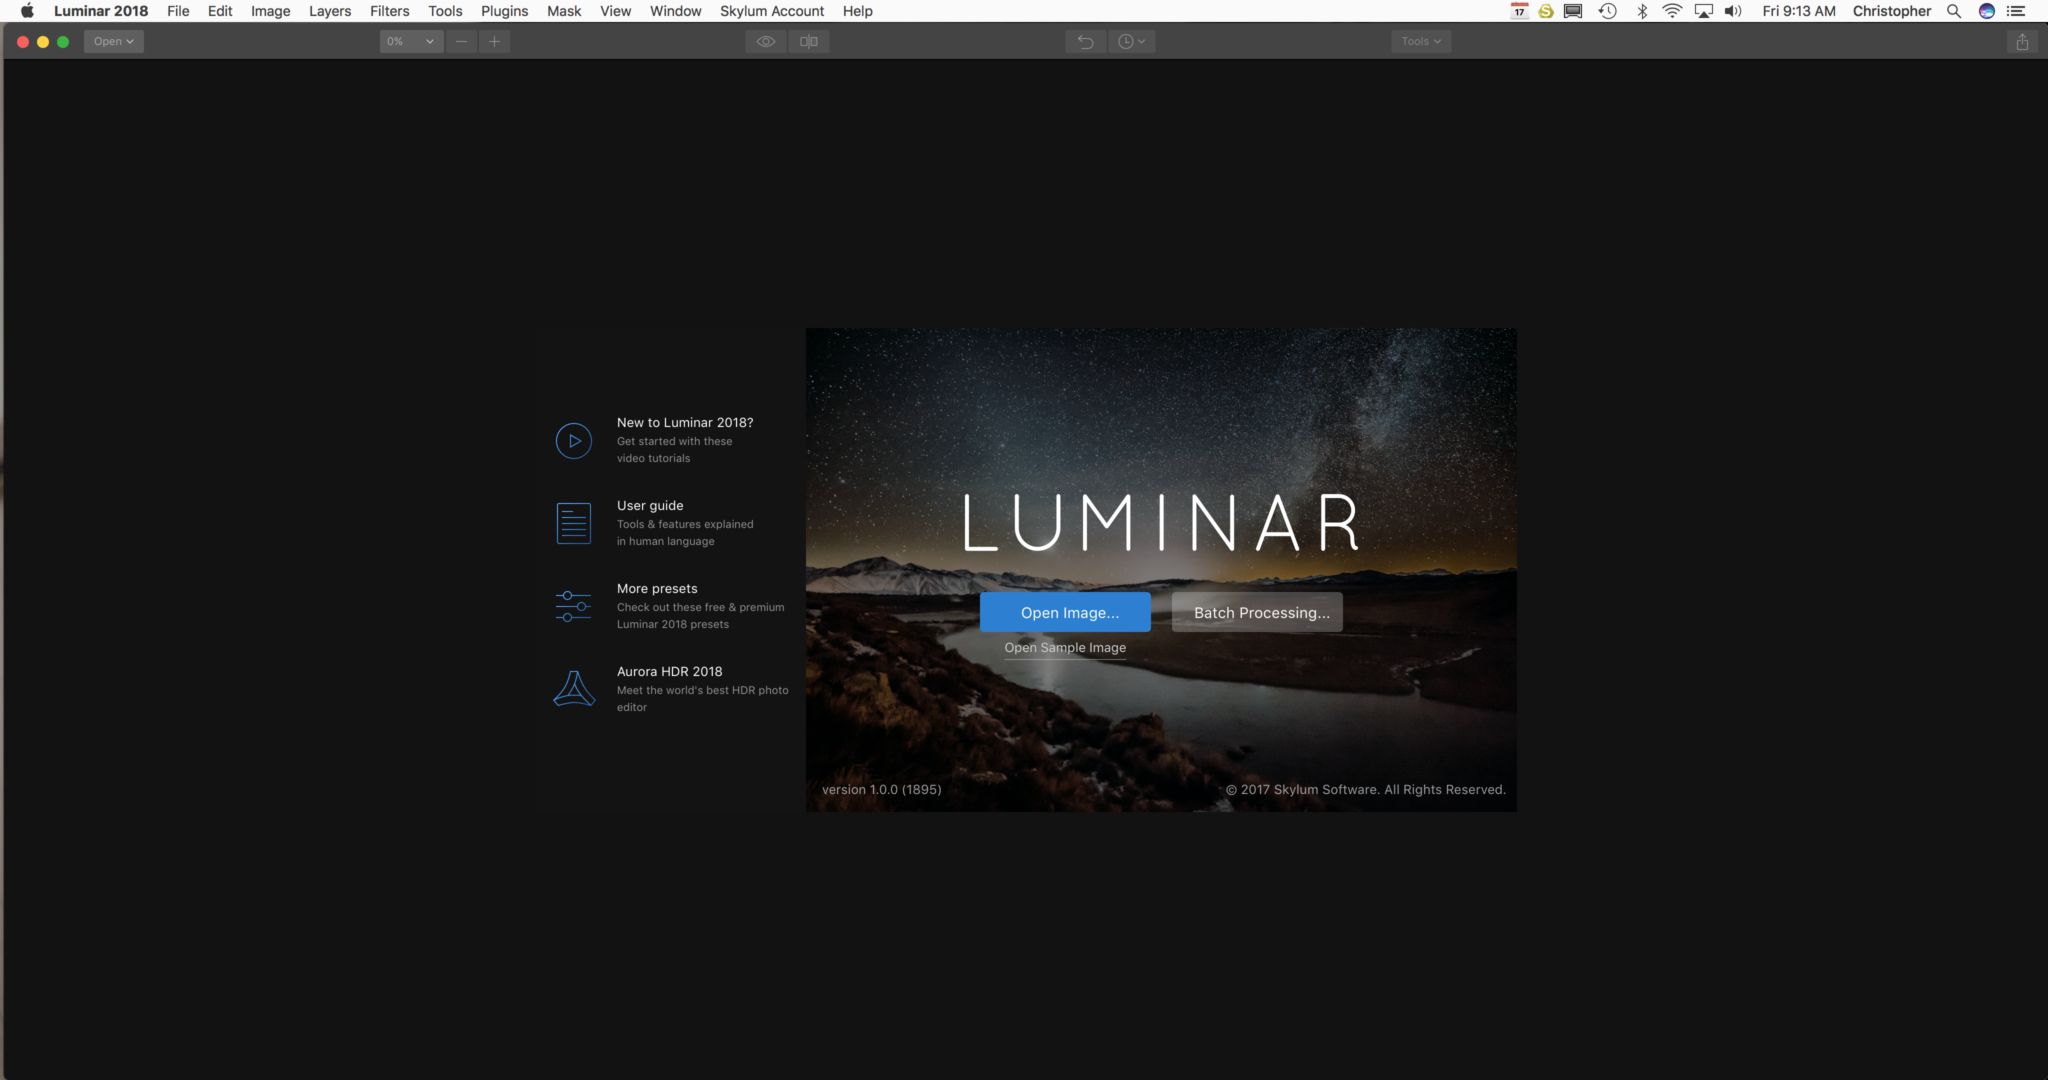
Luminar 2018 is the latest offering from MacPhun, now Skylum, for photographers who want a better editing solution for their images. Luminar, which has been around for a while, is the company’s flagship product in many ways and is not only available for the Mac, but also for Windows computers. While much of their marketing is targeted to consumers and hobbyists I can see how Luminar, with maturity, will be able to take on a lot of what Adobe is trying to do and how they’re trying to shift things. On a recent press trip, a number of photographers and photography-based journalists were introduced to Capture One; and a lot of them liked it vs Lightroom.
On a personal level, I don’t see myself switching yet, partially because of the way that Capture One makes photographers approach images. But if you’re coming from Lightroom and Photoshop dominating your workflow, then I can totally see how you’d want to switch to working with Luminar, once it matures a bit.
Pros and Cons
Pros
- Workspaces are nice
- It’s nice that it finds a way to convert RAW files and then edit them such as the case of the Sony a7r III
- Selective brush for each area is very nice
- Working in layers is a different way from working
- Perhaps best for photographers who edit in Photoshop and Lightroom for every photo
- Export options are nice
- Filters create your workspace
- Getting rid of the custom presets down below is pretty simple to do
Cons
- Needs a clone or heal brush Edit: I was mistaken. There is one.
- Batch editing isn’t that great
- I can’t just import an entire photo session, cull, edit, cull again, and then export
- No metadata management
Features
I want to equate Luminar, Capture One, and Lightroom to photographers in the same way that one may talk about and consider photography websites and the building tools. Luminar 2018 is a piece of software that in many ways reminds me of Tumblr if you’re a website designer. Let me explain.
Adobe Lightroom in many ways reminds me of Squarespace: It’s simple enough to use and gives you most of the features that you want. But it allows you to have very little real versatility and if you want more from your images you need to purchase Photoshop. Though for general editing, it’s the #1 option for very good reasons; mostly having to do with its history.
On the other hand, Capture One reminds me of Format. My personal website is run through Format and allows me to have client proofing–something that isn’t available with Squarespace and that I’m not sure that they’ll ever incorporate simply because they’re at the top of the game. But Format gives me that option for headshot and editorial customers. You get lots similarly from Capture One done in different ways and with a much different approach to image editing that in the end will give you a website with better functionality.
Luminar reminds me not only of Tumblr, but WordPress too in some ways. This website is run via WordPress but photographers who use Tumblr either use it for its simplicity or its otherwise incredibly robust ability to let the coder do pretty much whatever they want. And there is no in-between. With Luminar you can get either incredibly complicated or incredibly simple. There isn’t really an in-between at all.
Why is this you ask? Luminar is primarily designed around the editing of a single image; but instead of all the stuff that you can do to a photo like in Photoshop, you get the options that Lightroom gives you and a bit more. The naming conventions are more or less the same, but Luminar takes things even deeper and allows you more control than Lightroom and arguably more control than Capture One does in some situations. If you’re the person that wants to import an entire portrait or wedding session, cull in Luminar, edit, cull again, edit again and export; then you’re out of luck. You’ll need to cull using your computer’s finder or imagebrowser first. In many ways, it reminds me of the old Bridge to Photoshop editing workflow that in 2017 is fairly archaic; but some photographers still swear by it.
Ease of Use

Luminar 2018 is a really interesting program in that when you open it up, you’ve got the option to either edit a single image or a batch. With batch processing, you get the option to apply presets and filters to a bunch of photos, set the parameters, etc. It doesn’t let you do a whole lot otherwise. Arguably, some people may be alright with that if they’re just beginners. Lots of folks just like adding a bit of saturation and clarity to their photos and then just exporting them. For those photographers, that’s fine. This is a great option if you’re a photographer who typically shoots as if they’re shooting slide film; and that’s fine. I do that a lot. But unfortunately, I’m not always one of those photographers and there are lots out there that aren’t either. Sometimes I like to edit one image from a batch and apply those edits to everything else from the import. Now, I can theoretically do that in Luminar, but it requires editing the photo, saving the preset, closing the image, doing a batch export, applying the preset, etc. And quite frankly that’s annoying because maybe I want to apply the sync and do individual fine tune adjustments to each photo.
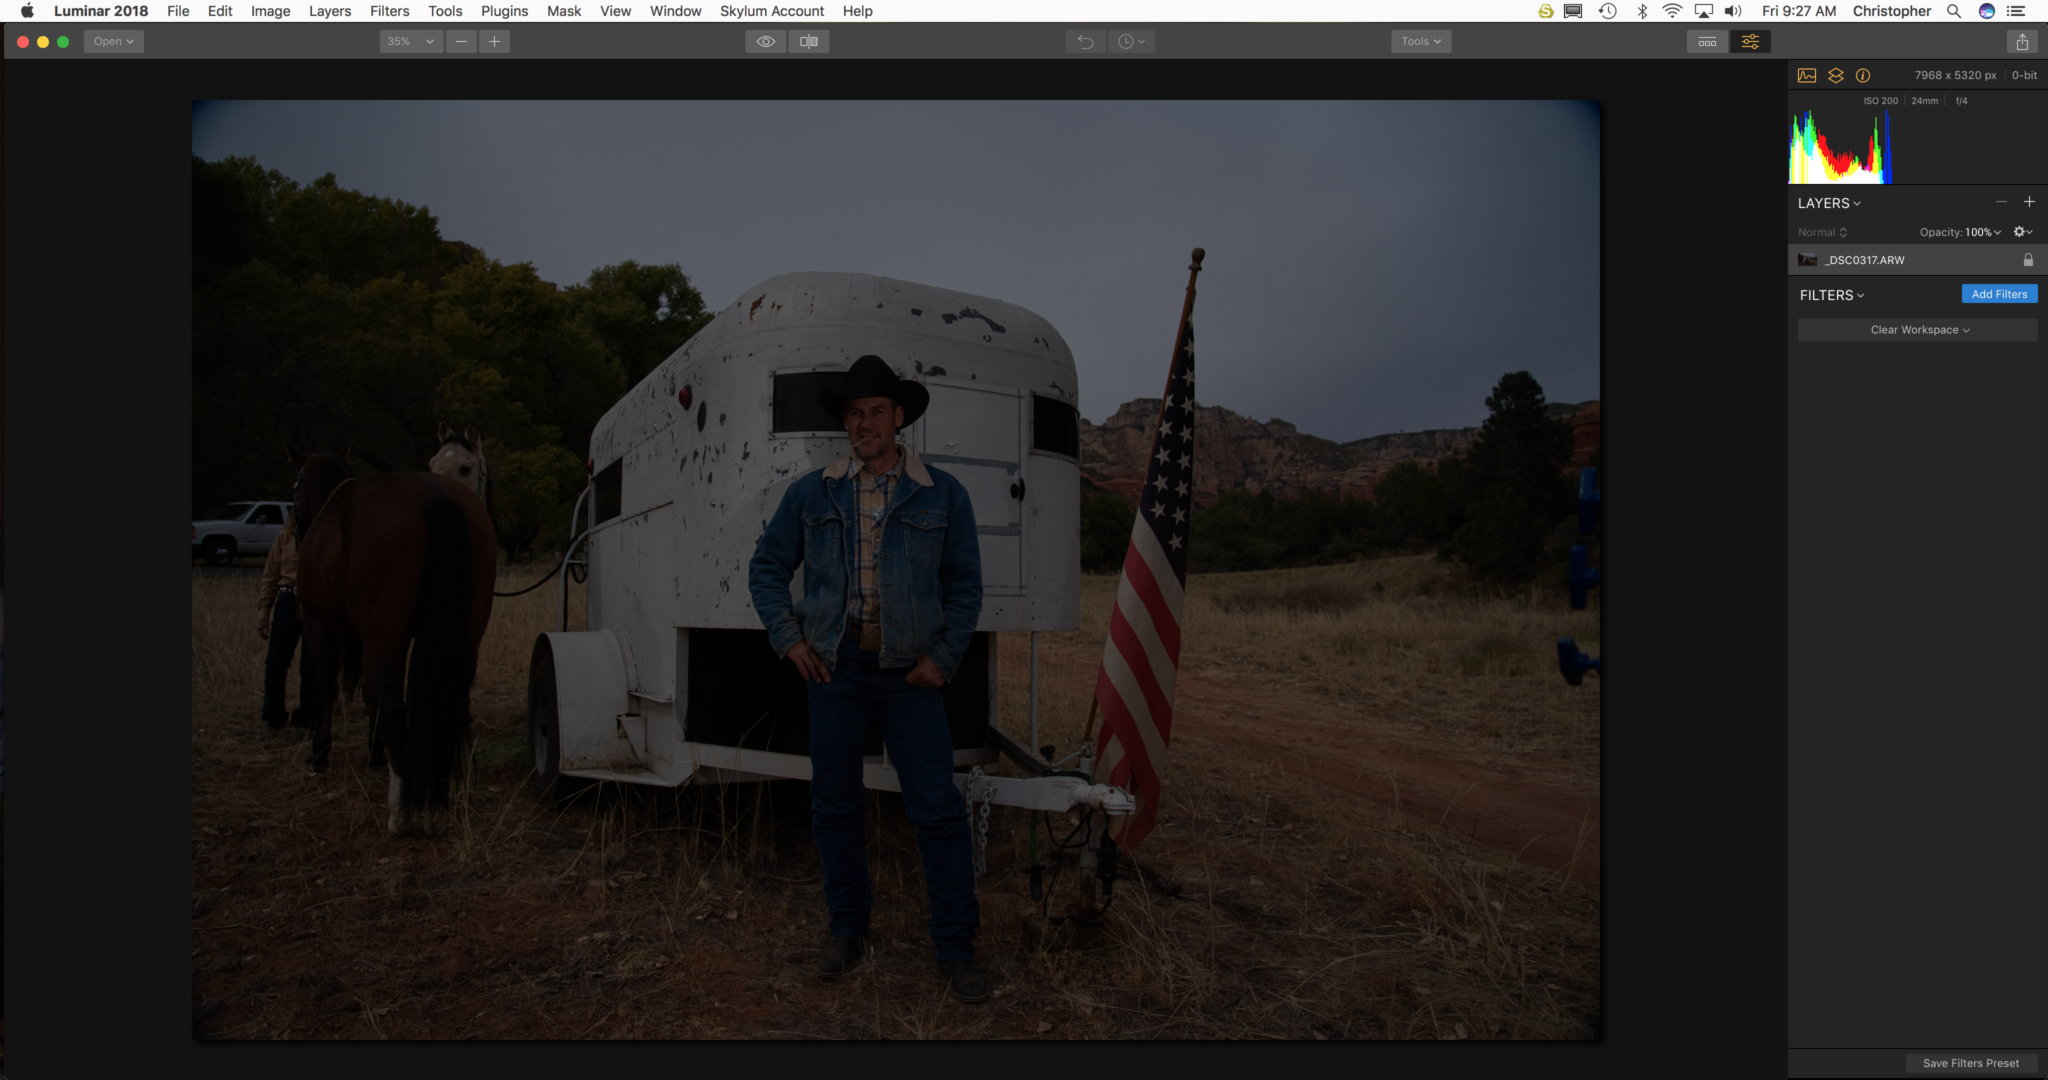
To edit an image in Luminar 2018 you have to familiarize yourself with three terms: workspace, filters, and presets.
- Presets are editing adjustments that are done and they work in the same way that Lightroom’s presets work and Capture One’s styles work.
- Filters are not at all to be confused with Instagram. Instead, these are what Lightroom may call adjustments. So clarity, HSL, sharpening, etc. are all called Filters
- Workspaces contain a number of filters. If you’re coming from Lightroom then consider the workspace to be the develop panel but with the ability to add or subtract sections completely from the develop panel. If you’re from the Capture One camp, then it’s like all the sections that you want in one single panel that you’ll need to meticulously arrange lest you end up scrolling up and down. It won’t put you in as much of a mindset of “okay, I’m done with the color editing and now I can move onto the exposure adjustments” as Capture One will though. All of these become layers and you just flatten them and export when you’re done.
Luminar 2018 gives users a number of preconfigured presets that you can edit with on the bottom of the layout. But for the most part, I got rid of them simply because I don’t necessarily care for them. If they teamed up with RNI films to use their presets though, then I’d be totally game for it. But otherwise, I don’t care much simply because the presets don’t give me what I want; though they can surely give you what you want. To each their own. Of course, you can clear these presets out and create your own workspace for your own editing applications and looks. I did just that and saved it so that each time I load up a photo, I just need to load up the workspace and then begin editing. Constantly needing to load up the workspace though gets annoying; and I’d much rather that it just stays there. However, I totally see how one may want to constantly change as some of the presets can be fun to work with.
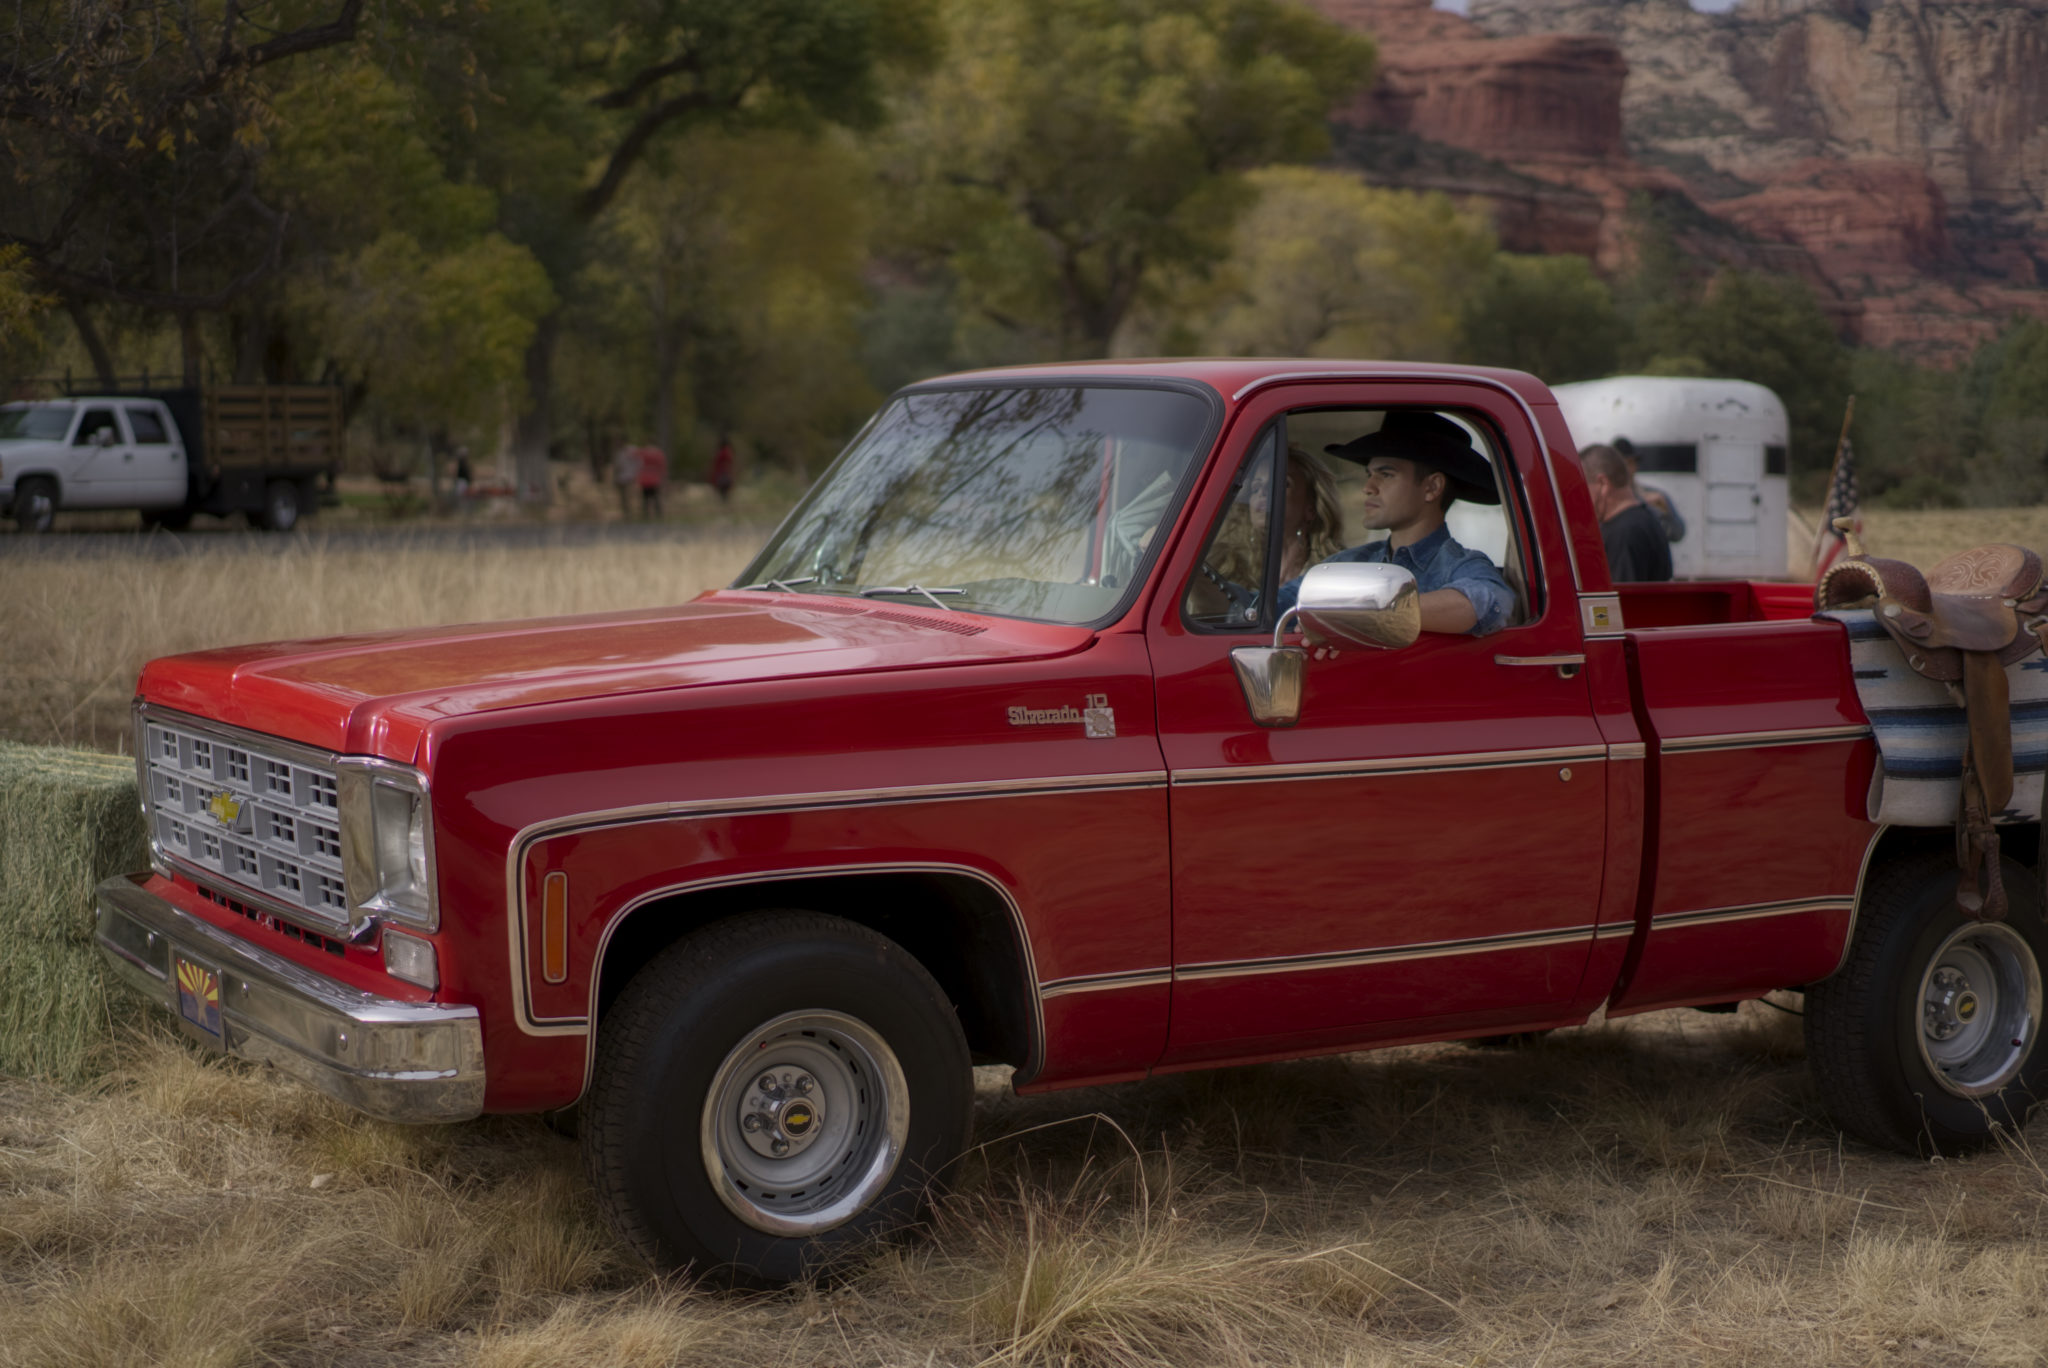
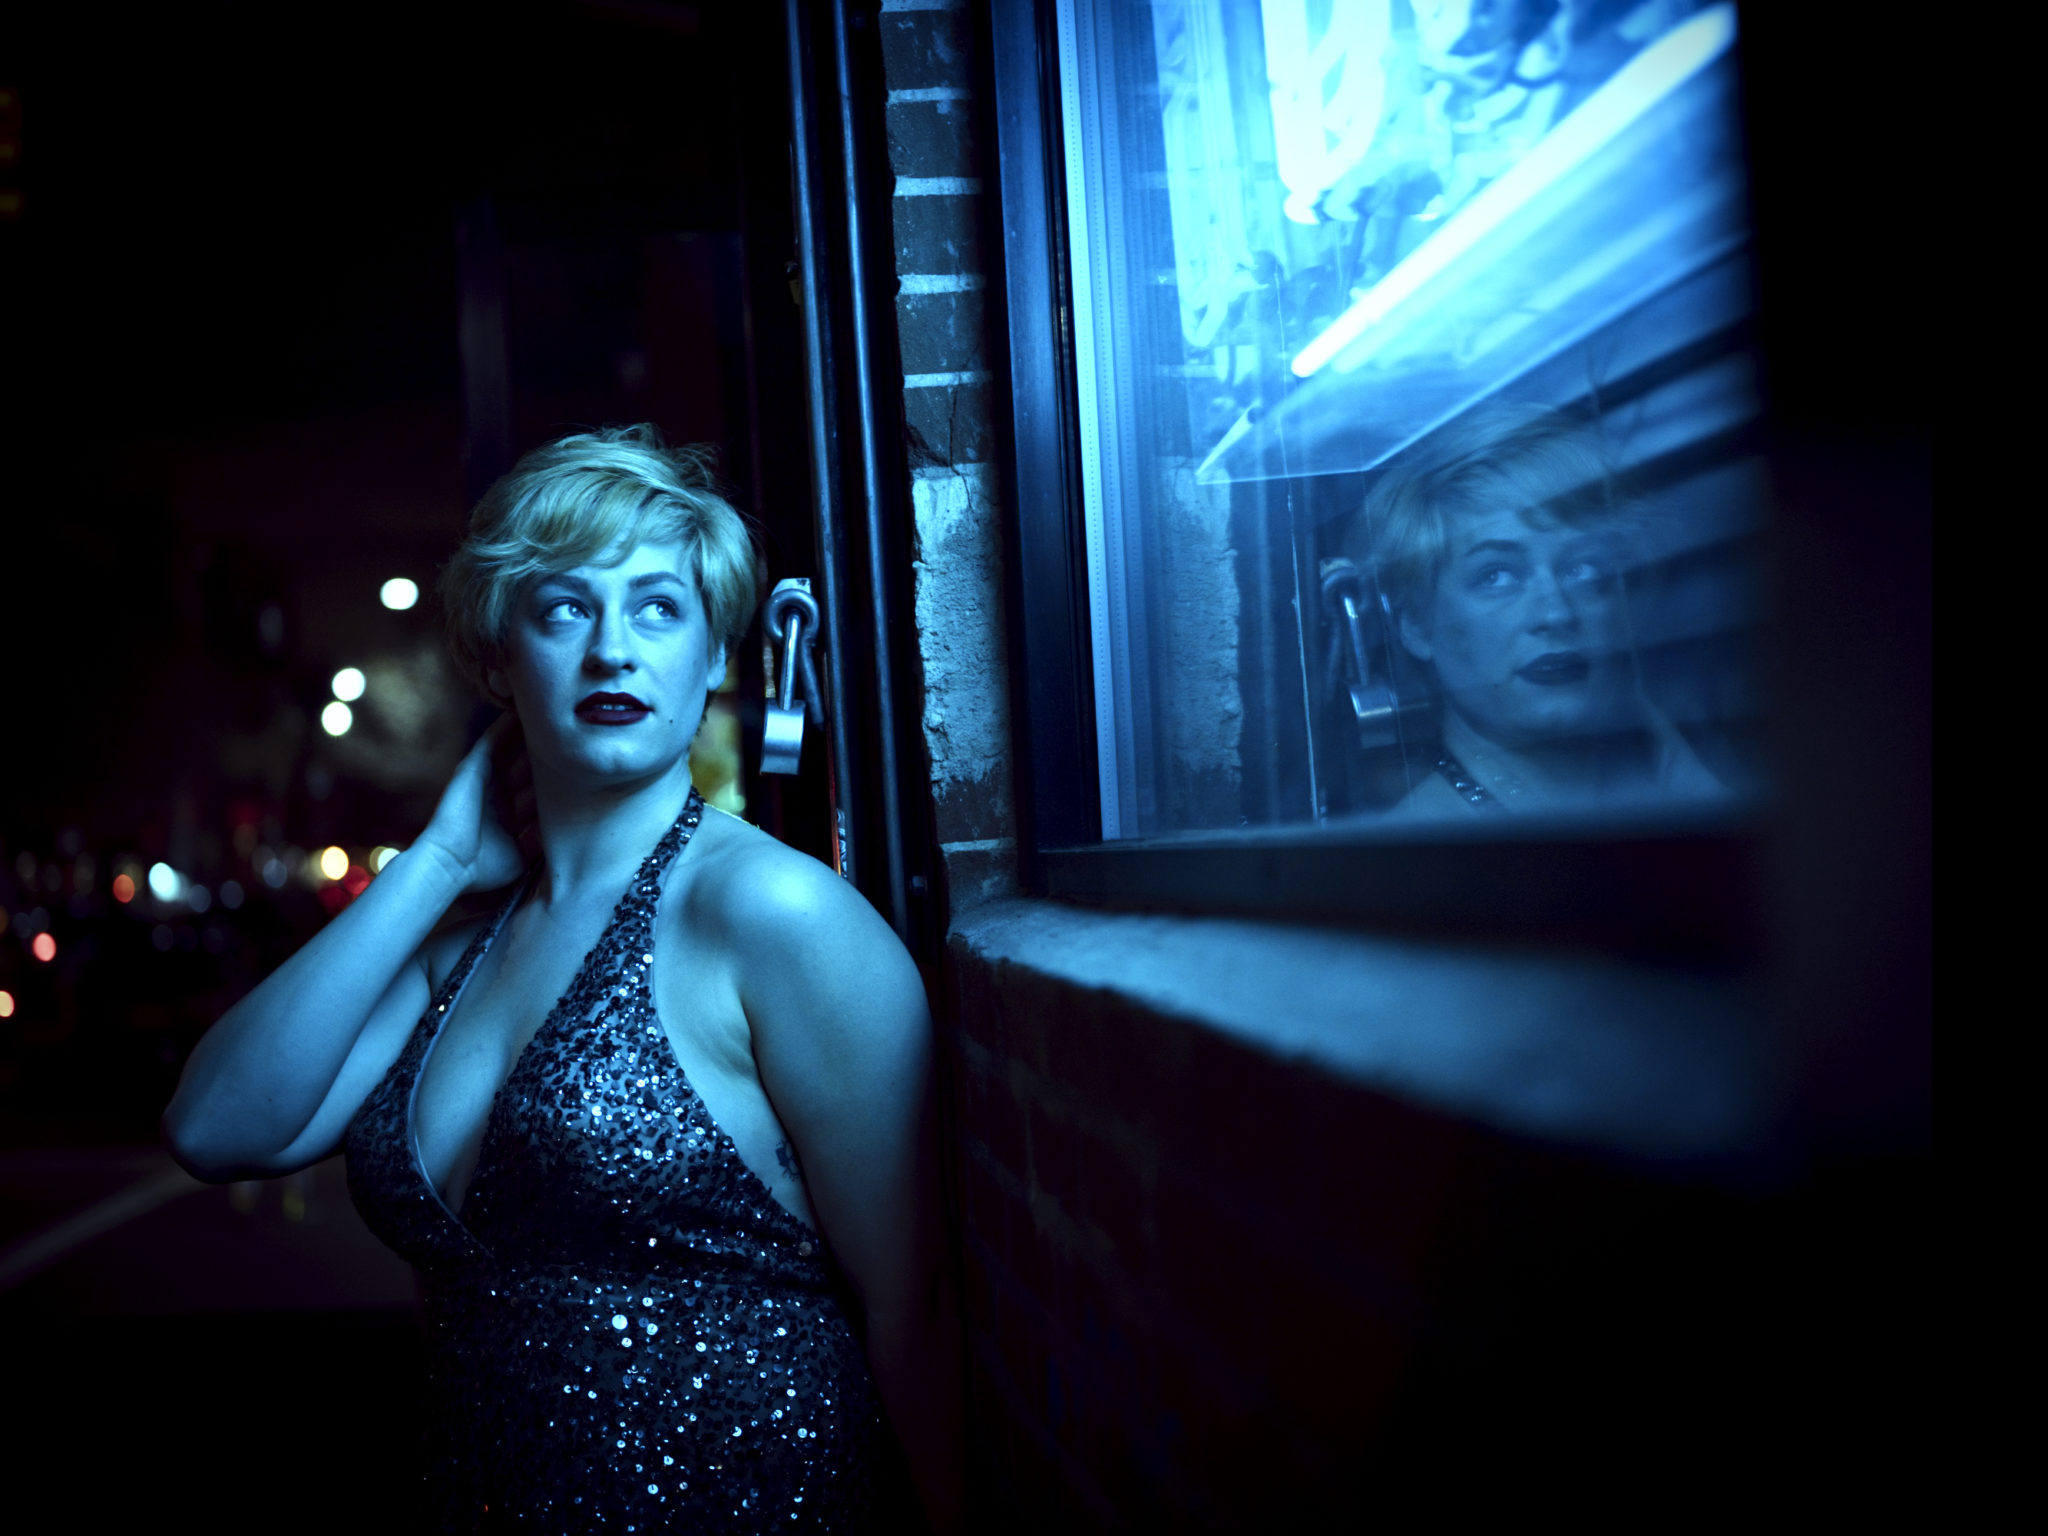
What I found amazing about Luminar 2018 is that it’s capable of editing almost any RAW file of any sort. Luminar 2018 can already edit Sony a7r III raw files; but I believe what’s going on is that it’s rendering it as a TIFF or DNG to edit. It also edits files from many other cameras very well. When I loaded up Fujifilm GFX 50S and Fujifilm XE3 raw files, it performed very well. Luminar’s RAW file engine is better, faster and more robust than Lightroom’s; but still not as good as Capture One Pro’s. This is evident in the way that it approaches color channels, luminance, saturation, etc. In Capture One, I have the ability to really fine tune a specific color channel but I can’t do that in either Lightroom or Luminar. This makes editing skin, for example tougher. The best way to approach this is to create multiple HSL filters and give them both individual masks to selectively edit a section of the photo–which is a fantastic addition. The fact that you have so much versatility when it comes to editing a very specific region of an image is very useful and again adheres to my belief that Luminar is a whole lot like Tumblr: you can either go incredibly complicated or very simple.
Image Quality

More often than not, Luminar 2018 ends up creating some fantastic images if you’re careful about your shooting and are very careful and methodical about your editing. It’s approach is great when it comes to dissecting a single image though does it in a way that’s somewhere in between Photoshop, Capture One, and Lightroom.


Conclusions
I genuinely like Luminar 2018, but there are a lot of reasons why I can’t use it for my daily editing routines. I’m big on metadata management, and so keywording images isn’t really possible here or at least it isn’t simple to do. I can’t go back to other edits that I’ve done with ease because there is no real catalog or sessions system. I can’t batch edit images for reviews and that will majorly slow down my ability to produce content for this website. But Capture One allows me to do all that much better than Lightroom does.
Where Luminar really excels though is in the actual editing process of an image. Though it’s RAW file editing engine isn’t as robust as Capture One’s, it arguably gives you a few better selections and options and blows Lightroom’s out of the water. But if you’re looking to clone things out or heal something, then you’re not going to get anywhere. Luminar 2018 feels like a young, introverted (in the respect of a single image or generalization for everything), straight out of college human being with major aspirations and a few accomplishments but with a number of social problems (in this case metadata.) And if you can put up with that and that’s the right choice for you, then Luminar 2018 is something that I’d strongly recommend.
 Luminar 2018 receives four out of five stars. When their Digital Asset Management system comes out to work with it, Luminar will surely have Adobe and Phase One looking at it with seriousness.
Get rid of the ads!
Did you enjoy reading this article as much as we enjoyed writing it? There's a way to support us and our reporting, getting ad-free navigation and more as a bonus. Subscribe to us for less than a coffee per month —just $3.99— or take advantage of our yearly subscription with a hefty discount for only $25.- An ad-free experience
- A free mystery box for Lightroom or Capture One
- All the books in our store
- 20% discount on Capture One
- 30% discount on Imalume Photo Theft Protection
- 20% off Herbs and Kettle Tea Company.
- 20% off your order from MPIX printing services.
- 5% off Viltrox Products via their eCommerce store.
- 10% off all film developing, printing and scanning services from Blue Moon Camera and Machine
- 15% off 7Artisans products: The lens and accessory maker is offering a sweet discount for Phoblographer's readers.