
Last Updated on 04/14/2013 by Chris Gampat
We’ve written before about the best budget lenses, the best accessories for HDSLR cameras, the right Canon lens for you and we even listed a bunch of autofocus lenses for DSLR videography. But what if you need to start shooting more video to help your business grow? Sure, you can spring for the autofocus lenses but they’re not always the most affordable and photographic lenses aren’t always the most ergonomical when it comes to shooting video. Instead, you may want to spring for some of these bad boys: providing that you have the right accessories too.
After having real-world and live testing, we bring you the guide to the best lenses for shooting video (and lots of other accessories too.)
With this said, always remember: vision comes first.
Lenses

Photo by Javier M-R from the Phoblographer Flickr Group
Olympus 50mm f1.4 Zuiko– The above photo was shot with the Olympus 50mm f1.4 Zuiko lens mounted onto a Canon 5D Mk II. As you can see, the color rendition, sharpness and bokeh are quite fantastic. Now imagine what could be done if you shot video like that with gorgeous lighting mixed in.
With a large focusing ring and aperture control on the lens, the 50mm f1.4 will provide you with a perspective that mimics what the human eye sees. In fact, many indie videographers only shoot with a 50mm lens or the equivalent.
Asahi Super-Takumar 50mm 1.4 on a Canon 5d Mk2 from Phil Tetu on Vimeo.
Pentax Takumar 50mm f1.4– Pentax has been known for years as being a wonderful producer of lenses. Indeed, that is one of the company’s strong points; and even indie videographers realize that. The Pentax Takumar 50mm f1.4 lens has some extremely smooth bokeh and quite a bit of micro-contrast: just like Zeiss lenses. Like Phil Tetu who produced the video above, it will become a companion lens of yours when shooting just for fun.
Rokinon 85mm f1.4– I reviewed the Rokinon 85mm f1.4 a while back and gave it some of my highest recommendations—providing you can get it accurately in focus. However, that statement applied to still photography as there are no versions of the lens currently produced with an AF confirmation chip for Canon users. For videographers though, all you’ll need is a stabilizer and a follow focus and you’ll be all set to go since you’ll be using the LCD screen to check your focus.
Rokinon glass is not only super affordable, but decently built, light, sharp, and offers the user some absolutely breath-taking image quality.
I actually highly consider these lenses to be the poor man’s Zeiss lenses. This applies to their very good 35mm f1.4 as well.
Nikon 35mm f2– This is a lens that I’ve seen adapted often onto a Canon 7D, T3i, and T2i vs the 5D Mk II. Indeed, it is perhaps one of the most popular lenses for Canon videographers to use due to the sharpness, color rendition, and overall ease of use. Couple that with the fact that it is super affordable and there are loads of them available out there and you’ve got yourself a winner.

Photo by Mr. D’A
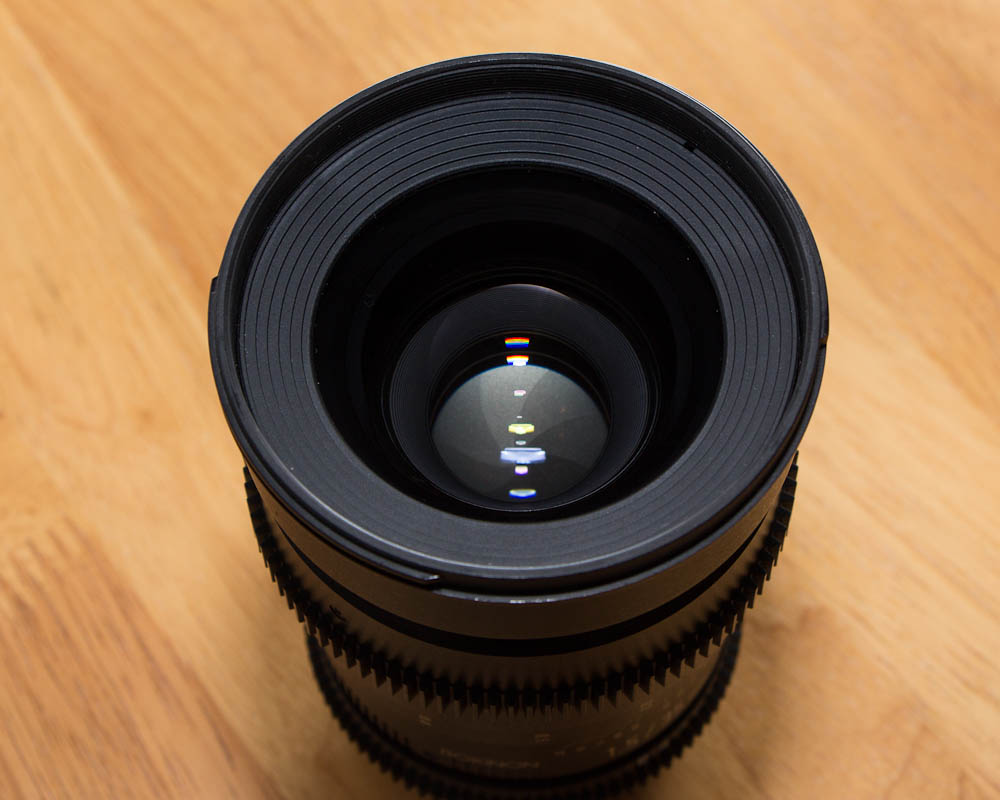
Rokinon 35mm T1.5 Cinema Lens– Besides this lens, the Helios 58mm f2 is also a very popular choice and a search on YouTube yields many videos shot with the lens.
Rokinon makes very affordable optics for cinematographers. In fact, the Cine 35 T1.5 is very affordable when put up against many of its other competitors. The barrel is made very solidly and there are tons of markings that are easily read by your focus puller when on set. To that end, the focusing is also very smooth and was simple to get used to. But if you’re a Canon cinematographer using a DSLR, we recommend sticking with Magic Lantern due to the focus peaking feature. This can help deliver the best results: otherwise this is an easy win for Sony!
But how are the optics? While understandably soft wide open, you’ll want to stop this lens down to T5.6 for the best effects.
A 35mm lens is an essential to any cinematographer after perhaps a 24mm lens. Take a look at what Thursten Kent did with ours in the review.
Get Yours: 35mm T1.5 Cine: B&H / Amazon
Filters
First off before we begin, let me start by saying that you ABSOLUTELY NEED filters when you shoot video. In photography, you can often adjust your shutter speed, aperture and ISO settings at will with no problem. However, when shooting video, you often want to keep your shutter speed at 1/60th (30p) or 1/50th (24p) and then adjust your aperture and ISO accordingly to whatever you need. You should not mess with your shutter speed at all. However, if you want to shoot with your lens wide open in bright sunlight and your ISO is already at its lowest point, then the only thing that can help you is a variable ND filter.
Additionally, filters help to give you much better color. You can learn lots more about filters here.
")
LCW Fader ND Mk II– This is the one filter that I’m positively addicted to. The Light Craft Workshop Fader ND Mk II is a Neutral Density filter that allows you to easily dial up or down the amount of light that hits the camera’s sensor. The one I have has a 77mm filter thread, but I often use it with a step down ring for many of my Canon and SLRMagic lenses. Having all I need in a portable and convenient package defeats the need to have many different filters and therefore keeps my bag much lighter.
Xume Lens Filter Mount System– The Xume Lens Filter system is incredibly brilliant in the design if you’re a user of multiple filters. The filters are magnetically attached to the front of the lens via a ring; which also means that swapping them out is quick and painless when you’re on a set and under lots of pressure.
Light Craft Workshop DigiPro HD– The Digipro HD is the upgrade to the Fader ND and has been revamped to include better optics. We did the ultimate test with it though–shooting stills and adding specular highlights to see how much sharpness loss there was. And in all honestly, we didn’t see much.
Stabilization
")
Kinotehnik LCDVF– The LCDVF isn’t really a stabilizer, but it can help to reduce camera shake quite a bit. What this item does is turns your LCD screen into a viewfinder by use of magnets to attach itself to the back of your camera. It is portable, small, well built and even though it isn’t adjustable you really can’t go wrong at this price point.
Myself, and lots of people I work with recommend them—and one is in my camera bag at every video shoot I’m on. The above video was shot handheld in a very uncomfortable position using the LCDVF. Man, am I glad I had it on me.
Ikan F3 Friction Follow Focus– Turning a lens’s focusing ring using your hand will often cause lots of unwanted camera shake if you need to pull focus while shooting. Instead, a follow focus’s complicated system of gears and wheels will not only make focusing smoother but also prevent that excessive shaking. This goes for whether you’re on a tripod or not: all of the slightest moves are picked up.
While I recommend and have used the F3 for a longer period of time, don’t count out the DFocus V2.
Manfrotto 679B and 128RC head- Though I’m not personally a monopod guy, Eric Reagan from Photography Bay used this combo with his 5D Mk II to film lots of the videos that he shot at Photo Plus. And he did a terrific job as this allowed him to keep his setup very light. The monopod comes in three sections and can also double as a boom pole if needed. Additionally, the head has an arm for panning if needed.
Eric was a mentor to me for a little while and in some ways, still is.
Audio
PAWS Web Radio Presents: Alex Simmons covers “Tribute” 4/10/08 from Chris Gampat on Vimeo.
Rode VideoMic– The Rode VideoMic is something that I’ve used for years: I literally purchased it as a junior in college and it is still by my side today. For the budget level user filming an interview, a short film indoors where subjects are close to the camera, or that overall just wants better sound than what their camera’s on-board microphones can deliver, I highly recommend the products that Rode produces. The above video was shot using the same microphone that I’ve had for years. There was very, very little editing done to that video.
Words of warning, cover your ears at 1:54. Alex screams quite loud. Also as a sidenote: man did I suck at video back then. I would have done so much differently today.
Zoom H4n– The H4n has becomes the standard for most videographers. It allows you to record your audio seperately if you want to sync it in post-production later on. Plus you can hook other microphones up to it, but the on-board microphones are already quite good.
If you’re shooting in a windy situation or in a building with echoing hallways, the H4n will allow you to control the audio that you get with greater ease. Be warned though: I highly recommend that you bring an audiophile and good headphones with you.
Please Support the Phoblographer
We love to bring you guys the latest and greatest news and gear related stuff. However, we can’t keep doing that unless we have your continued support. If you would like to purchase any of the items mentioned, please do so by clicking our link and then purchasing the items as we then get a small portion of the sale to help run the website.
Get rid of the ads!
Did you enjoy reading this article as much as we enjoyed writing it? There's a way to support us and our reporting, getting ad-free navigation and more as a bonus. Subscribe to us for less than a coffee per month —just $3.99— or take advantage of our yearly subscription with a hefty discount for only $25.- An ad-free experience
- A free mystery box for Lightroom or Capture One
- All the books in our store
- 20% discount on Capture One
- 30% discount on Imalume Photo Theft Protection
- 20% off Herbs and Kettle Tea Company.
- 20% off your order from MPIX printing services.