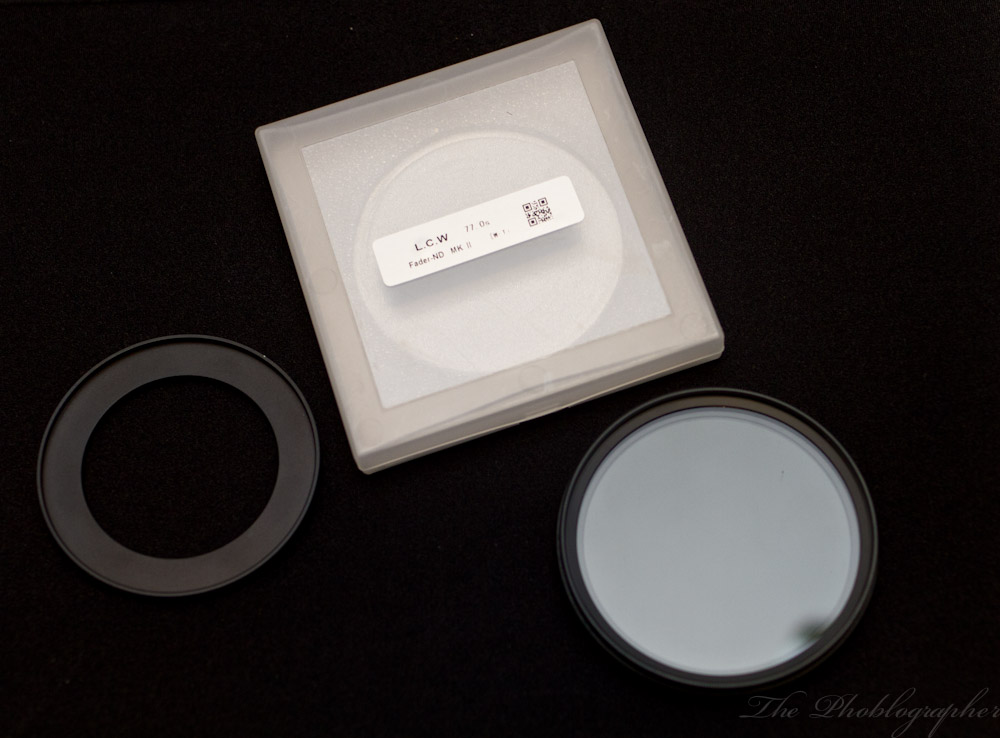
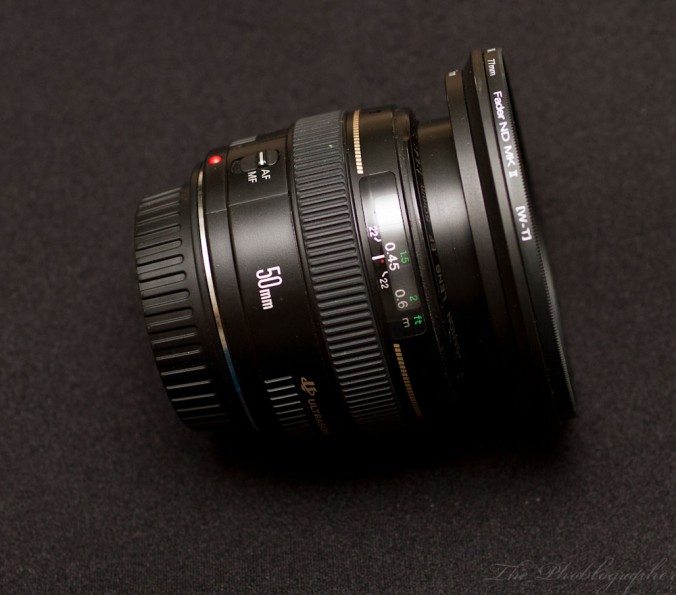
We’ve talked about using filters before in photography, but if you want to get into videography, you’ll learn that filters take a much bigger role. For example, what if you want to shoot video with your lens wide open? For continuity purposes, you’ll need to keep a steady shutter speed and sometimes your ISO being on the lowest setting won’t work well enough in extra bright situations. For problems like this, consider the Light Craft Workshop Fader ND Mk II: a filter with 10 stops of light reduction.
Gear Used
Tech Specs
Borrowed from the B&H Photo listing of the product
| Type | Fader ND Mark II Filter |
| Size | 77mm |
| Grade | Not Applicable |
| Filter Factor | Depends on the degree of neutral density dialed |
| Multi-Coated | Not Applicable |
| Rotating | Yes |
| Effect |
|
| Application | Outdoor, nature and scenic photography |
| Color Temperature | Not Applicable |
| Construction | Glass |
| Front Filter Thread Size | 82mm |
| Front Lens Cap Size | 82mm |
Ergonomics
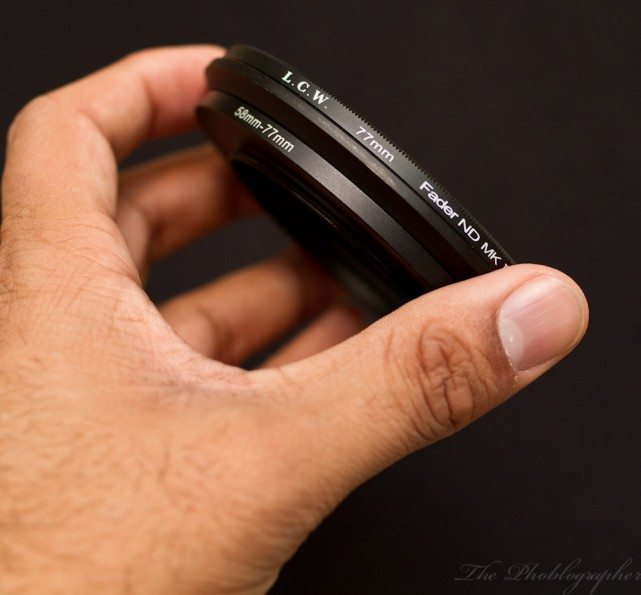
First off, I received the 77mm version of the Light Craft Workshop Fader ND Mk II and the company was kind enough to also send me a step down ring to 58mm. That way I could use it with the SLRMagic 12mm f1.6 and my Canon 50mm f1.4. Sadly, the footage from my Olympus EP2 and EPM1 are causing both Final Cut and iMovie (11 and HD) to go a bit bonkers as of late. Footage from the EPM1 isn’t even supported in iMovie.
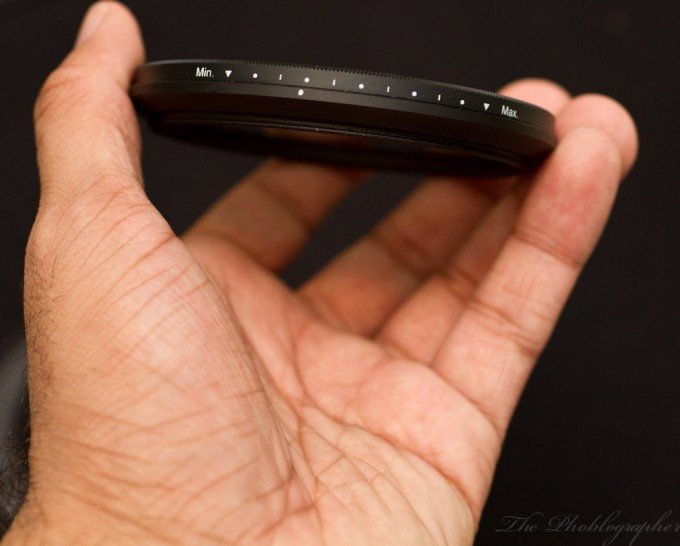
The Fader ND Mk II works by affixing it to the front of your lens and then twisting the front ring to adjust the light stoppage ability accordingly. A problem though is that is doesn’t stop at the minimum or maximum marks. Instead, the ring just continues to spin freely. When screwing it into the filter thread of your lens, pay attention to where the markings lie. Sometimes when you’re rotating the front ring you may be adjusting the filter in a way that you may not intend.
As stated earlier, the company sent me a filter with the step down ring.
Using the ring, it can be used with the very popular Canon 50mm f1.4.
Ease of Use
The Fader ND Mk II is actually very easy to use. First off:
– Set your shutter speed. If your camera is shooting at 24p, set it to 1/50th. If you’re setting is 30p, set it to 1/60th. Lastly, if you’re working with 60p footage, 1/150th is a safe bet.
– Set your aperture setting to have only as much in focus and you really want to achieve your cinematic effect.
– Adjust your ISO accordingly.
If your camera’s meter reads the scene as too bright, attach the Fader ND Mk II. Then adjust it accordingly to cut out the extra light. This way you don’t need to stop the lens down at all if you’re shooting at a wider aperture setting.
Here are some situations in which you might want to use it:
– Filming at a wider aperture during your kid’s birthday party outside
– Shooting a scene that requires you to go from outdoors to indoors when filming your final project to pass a class
– When needing moving around during a wedding or event
– When filming landscape views
– When filming videos of flowers in bright sunlight
– When filming scenes with water and sunlight. The sun can bounce off of the water, therefore increasing the effective light.
– When filming random street scenes. It’s much easier to turn the dial on an ND filter than it is to adjust the aperture setting on your lens. Additionally, your depth of field stays at a constant depending on where you are focusing.
Practicality
I’ve used the Fader ND Mk II on many occasions.
In the video above, I used it to have a shallow depth of field while filming and cutting down excessive light.
During my interview with David, I used it to boost some of the colors in-camera and easily allow for adjustment of the exposure while filming due to having to record a screen as well.
Conclusion
Honestly, I’ve never been a champion of filters at all and only have UV filters on my lenses for protection. However, once you step into the world of video, you start to realize that they have an even bigger use. Back in college, we often used barn doors or pulled gain levels to compensate for too bright an image. We also closed the aperture. With the Fader ND Mk II, you don’t need to close the aperture and once the gain is pulled down to the max, you can still use the filter to get a more balanced image.
Because of the ease of use that the Fader ND provides, I highly recommend it for nearly anyone. I’m more of a run and gun type of videographer and like to shoot handheld because I do a lot of reporting. But even in college, I preferred the look of slightly shaky footage; kind of like what one would see on that show The Office.
Combined with the right lens, and the Cowboy Studios LCDVF, a user can get some excellent footage. Plus, the Fader ND seems to give the output a bit of a nice color boost. I highly recommend the Fader and it will be used in future videos from this site.
Please Support the Phoblographer
We love to bring you guys the latest and greatest news and gear related stuff. However, we can’t keep doing that unless we have your continued support. If you would like to purchase any of the items mentioned, please do so by clicking our link and then purchasing the items as we then get a small portion of the sale to help run the website.


