
To be part of the Phoblographer’s review team, journalists must demonstrate that they can handhold an exposure for longer than a second and get a blur-free image. This is just part of how we select our team, and so we know quite a bit about shooting handheld with slower shutter speeds. But many newer photographers don’t know because they were never taught the old-school methods. So here are some tips on how to shoot at a slow shutter speed handheld.
This blog post is presented in partnership with Panasonic. The Panasonic S5 II and GH6 have effective image stabilization that combines well with their various lenses. Check them out!
The Trend of a Little Bit of Blur
Before we dive in further, you should know there’s a trend right now of having a little camera shake and blur. It comes from Gen Z’s affinity with vintage digital cameras. These cameras didn’t have image stabilization, and their autofocus wasn’t that great.
So if you want to get this look, try using the Real Time LUT feature with Panasonic’s cameras. We like using it to emulate the look of film.
And if you want a bit of camera shake, we recommend shooting at a lower ISO and a slower shutter speed. But you’ll also find that slower shutter speeds are well-corrected by Panasonic’s IBIS and lens system. Let’s discuss more.
It’s Easier With Wider Angles
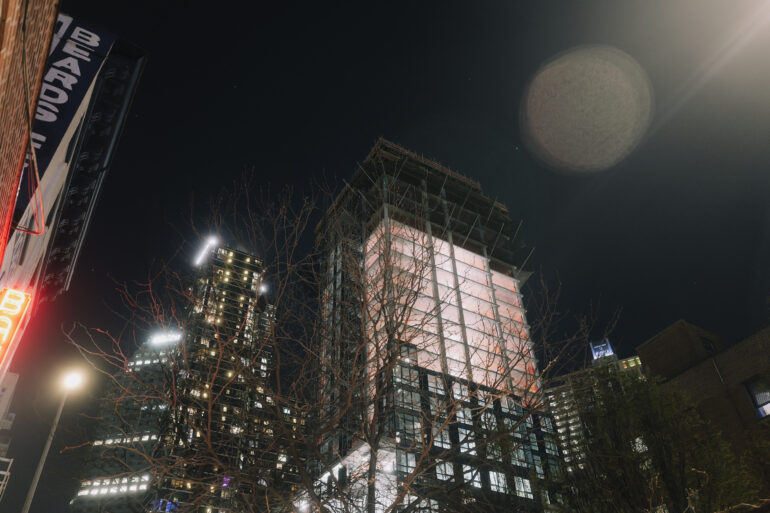
First, shooting handheld with slower shutter speeds is much easier with wider angles. This is because of the reciprocal rule of shutter speeds. The law states that whatever shutter speed you’re using must be the reciprocal of your focal length equivalency to get a blur-free shot. So if you’re using Panasonic’s 20-60mm lens on the S5 II, you can theoretically shoot at 1/25th and get a blur-free shot at the widest angle. But then you also have to consider Panasonic’s image stabilization. We’ve used it to shoot as slow as longer than a second.

This gets much more complicated when you’re shooting at longer focal lengths like 50mm and beyond. Of course, it’s not impossible. But this has to be done within reason. It’s nearly impossible to shoot with Panasonic’s 70-300mm lens at slower than one second and all the way at 300mm.
Turn on Lens Image Stabilization
Panasonic’s zoom lenses have image stabilization built into them, that’s very effective with their newer cameras. So when you’re shooting, ensure the image stabilization is activated on the lens. Otherwise, you’re not giving yourself every advantage you can have. Sometimes, a switch might get deactivated when taking a lens out of a camera bag. It doesn’t hurt to double-check.
When the lens stabilization is activated, you can get up to 6.5 stops of dual IS. Without lens stabilization, you get up to 5 stops from the camera body. So what does that translate to?
- With a Panasonic 50mm f1.8, you might be able to shoot at below 1/4th.
- With a Panasonic 85mm f1.8, you might be able to shoot at below 1/6th.
- With a Panasonic 35mm f1.8, you might be able to shoot slower than a second
We’re frankly giving conservative estimates here as our staff is well-trained in testing these cameras. Either way, it’s nice to know that you can do this. Panasonic’s cameras and lenses are already very lightweight, making the process easier.
Use the Viewfinder, Not the LCD Screen
When the viewfinder is up against your face, you’ve got the most stable shooting position. If you’re shooting with an LCD screen and your arms are outstretched, they aren’t stable. We can equate this with going to the gym and holding a heavy weight. If you hold it straight in front of you with your arm outstretched, your elbow might lock in place to keep the weight steady. But when it’s closer to your body, you’re much more stable.
To think about this even more practically, consider lifting up a couch. To do that, you will grip it and bring it closer to your body for stability. If you try to move a sofa with your arms outstretched, you’ll be in a lot of pain, which will be very difficult. The same thing applies to cameras, despite them being so much lighter.
Tuck Your Elbows In
When photographers bring cameras to their faces, they tend to let their elbows flail out. But to get more stable photos, you should tuck them into your center. When you bring the camera to your face, tuck your elbows in, and bring your shoulders back, you give your camera much more stability.
Besides being practical, it’s also a lot more polite if you’re photographing an event. Someone might bump your elbow and ruin your shot if you’re in a pit with other photographers. If you photograph a wedding, the same thing might happen at the reception hall. Combining good etiquette with the power image stabilization in these cameras will do you wonders!
Breath Stability with Slower Shutter Speeds
Now here is the big one: breathing. Some photographers find that when they fully exhale that they’re most stable. Other photographers find that they’re the most stable when they fully inhale. Yet other photographers do something in between. Everyone is different, and there’s a good reason why one will work for someone else but not for you.
If you have heart issues, holding your breath can make your body panic a bit. In turn, you can be shaky. When you’re trembling, you’re not giving your camera a better chance at taking photos without camera shake.
For other photographers, holding their breath out might make the body want more air.
I’ve had heart issues before, but I started working out more intensely and have mostly eliminated them. Right now, I’m in a place where I’ll inhale air, exhale very slightly so that my diaphragm has a bit of air, and then press the shutter. This is where I find myself the most stable.
When I was younger, I fully inhaled and only fired at the top of my breath. You’ll need to try this out for yourself. When you combine it with the image stabilization that Panasonic’s cameras give you, you’re bound to be able to photograph the night sky with little camera shake and the Slower Shutter Speeds you need!
Get rid of the ads!
Did you enjoy reading this article as much as we enjoyed writing it? There's a way to support us and our reporting, getting ad-free navigation and more as a bonus. Subscribe to us for less than a coffee per month —just $3.99— or take advantage of our yearly subscription with a hefty discount for only $25.- An ad-free experience
- A free mystery box for Lightroom or Capture One
- All the books in our store
- 20% discount on Capture One
- 30% discount on Imalume Photo Theft Protection
- 20% off Herbs and Kettle Tea Company.
- 20% off your order from MPIX printing services.
- 5% off Viltrox Products via their eCommerce store.
- 10% off all film developing, printing and scanning services from Blue Moon Camera and Machine
- 15% off 7Artisans products: The lens and accessory maker is offering a sweet discount for Phoblographer's readers.