
Your phone is incredibly capable as a device overall. But the camera in it just won’t replace what a dedicated camera can do. We’re all aware that zoom lenses are one of the biggest and best reasons to get a dedicated camera. In fact, this is also one of the best ways to go about getting better bird photos. And in this post, we’ll talk about why your phone can’t cut it.
This piece is presented in partnership with OM SYSTEM. We’ve independently and ethically reviewed all the products in this post already without sponsorship. And we worked with them to recommend a few key gems to you.
Why Can’t Your Phone Do This
Modern smartphones have a few tricks that make them more versatile. Some have an extra set of lenses that let you believe you’re zooming in. But, at times, you’re actually not. Instead, you’re artificially cropping unless you’re using one of the dedicated lenses on the camera. This is digital zoom, and all it’s actually doing is cropping the image, which is the same as zooming in on your screen.
If you’ve ever watched CSI, you’ll see lots of scenes where they’re on an investigation and saying things like “enhance.” That’s using digital manipulations, and while it’s good for record gathering, it’s not good for aesthetics and sharing images on social media. To get something that’s good enough to present online, you’ll need to actually have a lens that zooms in. Think of it like a magnifying glass for your camera’s sensor. Unfortunately, most camera phones don’t have those capabilities.
That’s where a physical zoom lens comes in. And that’s the secret to getting better bird photos.
What You Need
To get these photos, we’re recommending:
This lens will provide you with a decent amount of zoom range you can use to get photos of birds at fairly close ranges.
How to Capture Better Bird Photos
With the OM-D E-M5 Mark III, we’re recommending the following settings for folks who are brand new to photography:

- C-AF: this is continuous autofocus. It helps keep a subject in focus at all times.
- Center focusing point: it’s often just easier to use the center point and keep it locked over the bird. With 20 megapixels in the E-M5 Mark III, you can easily crop later. Or, if you use C-AF + Tracking, you can focus using the center point, and recompose by moving the camera around to position the bird on the left or right side of the frame. As you become more advanced, you’ll learn some other cool things this camera can do, but let’s focus on getting the shot first.
- Adjusting the diopter: this will help you see through the viewfinder easier. They work similarly to the way eyeglasses do.
- Pro Capture Mode: this setting lets you capture better bird photos you’d otherwise miss. A famous photographer once said that if you see the moment in your viewfinder, then it’s gone. This prevents that from happening. The standard mode also keeps the focus continuous.
- Aperture Priority: this makes it easier for beginners because you control the aperture of the lens, which controls depth of field and light gathering. As you become more advanced, you can learn about stuff like shutter priority.
- ISO 1600 through ISO 6400: capturing birds means you need to have fast shutter speeds. And having the E-M5 Mark II set to these ISOs will ensure that the camera keeps them there.
- S-OVF: the simulated optical viewfinder setting will always make it easier to clearly see the scene and focus your attention on it. However, it won’t give you a preview of what the final photo will look like.
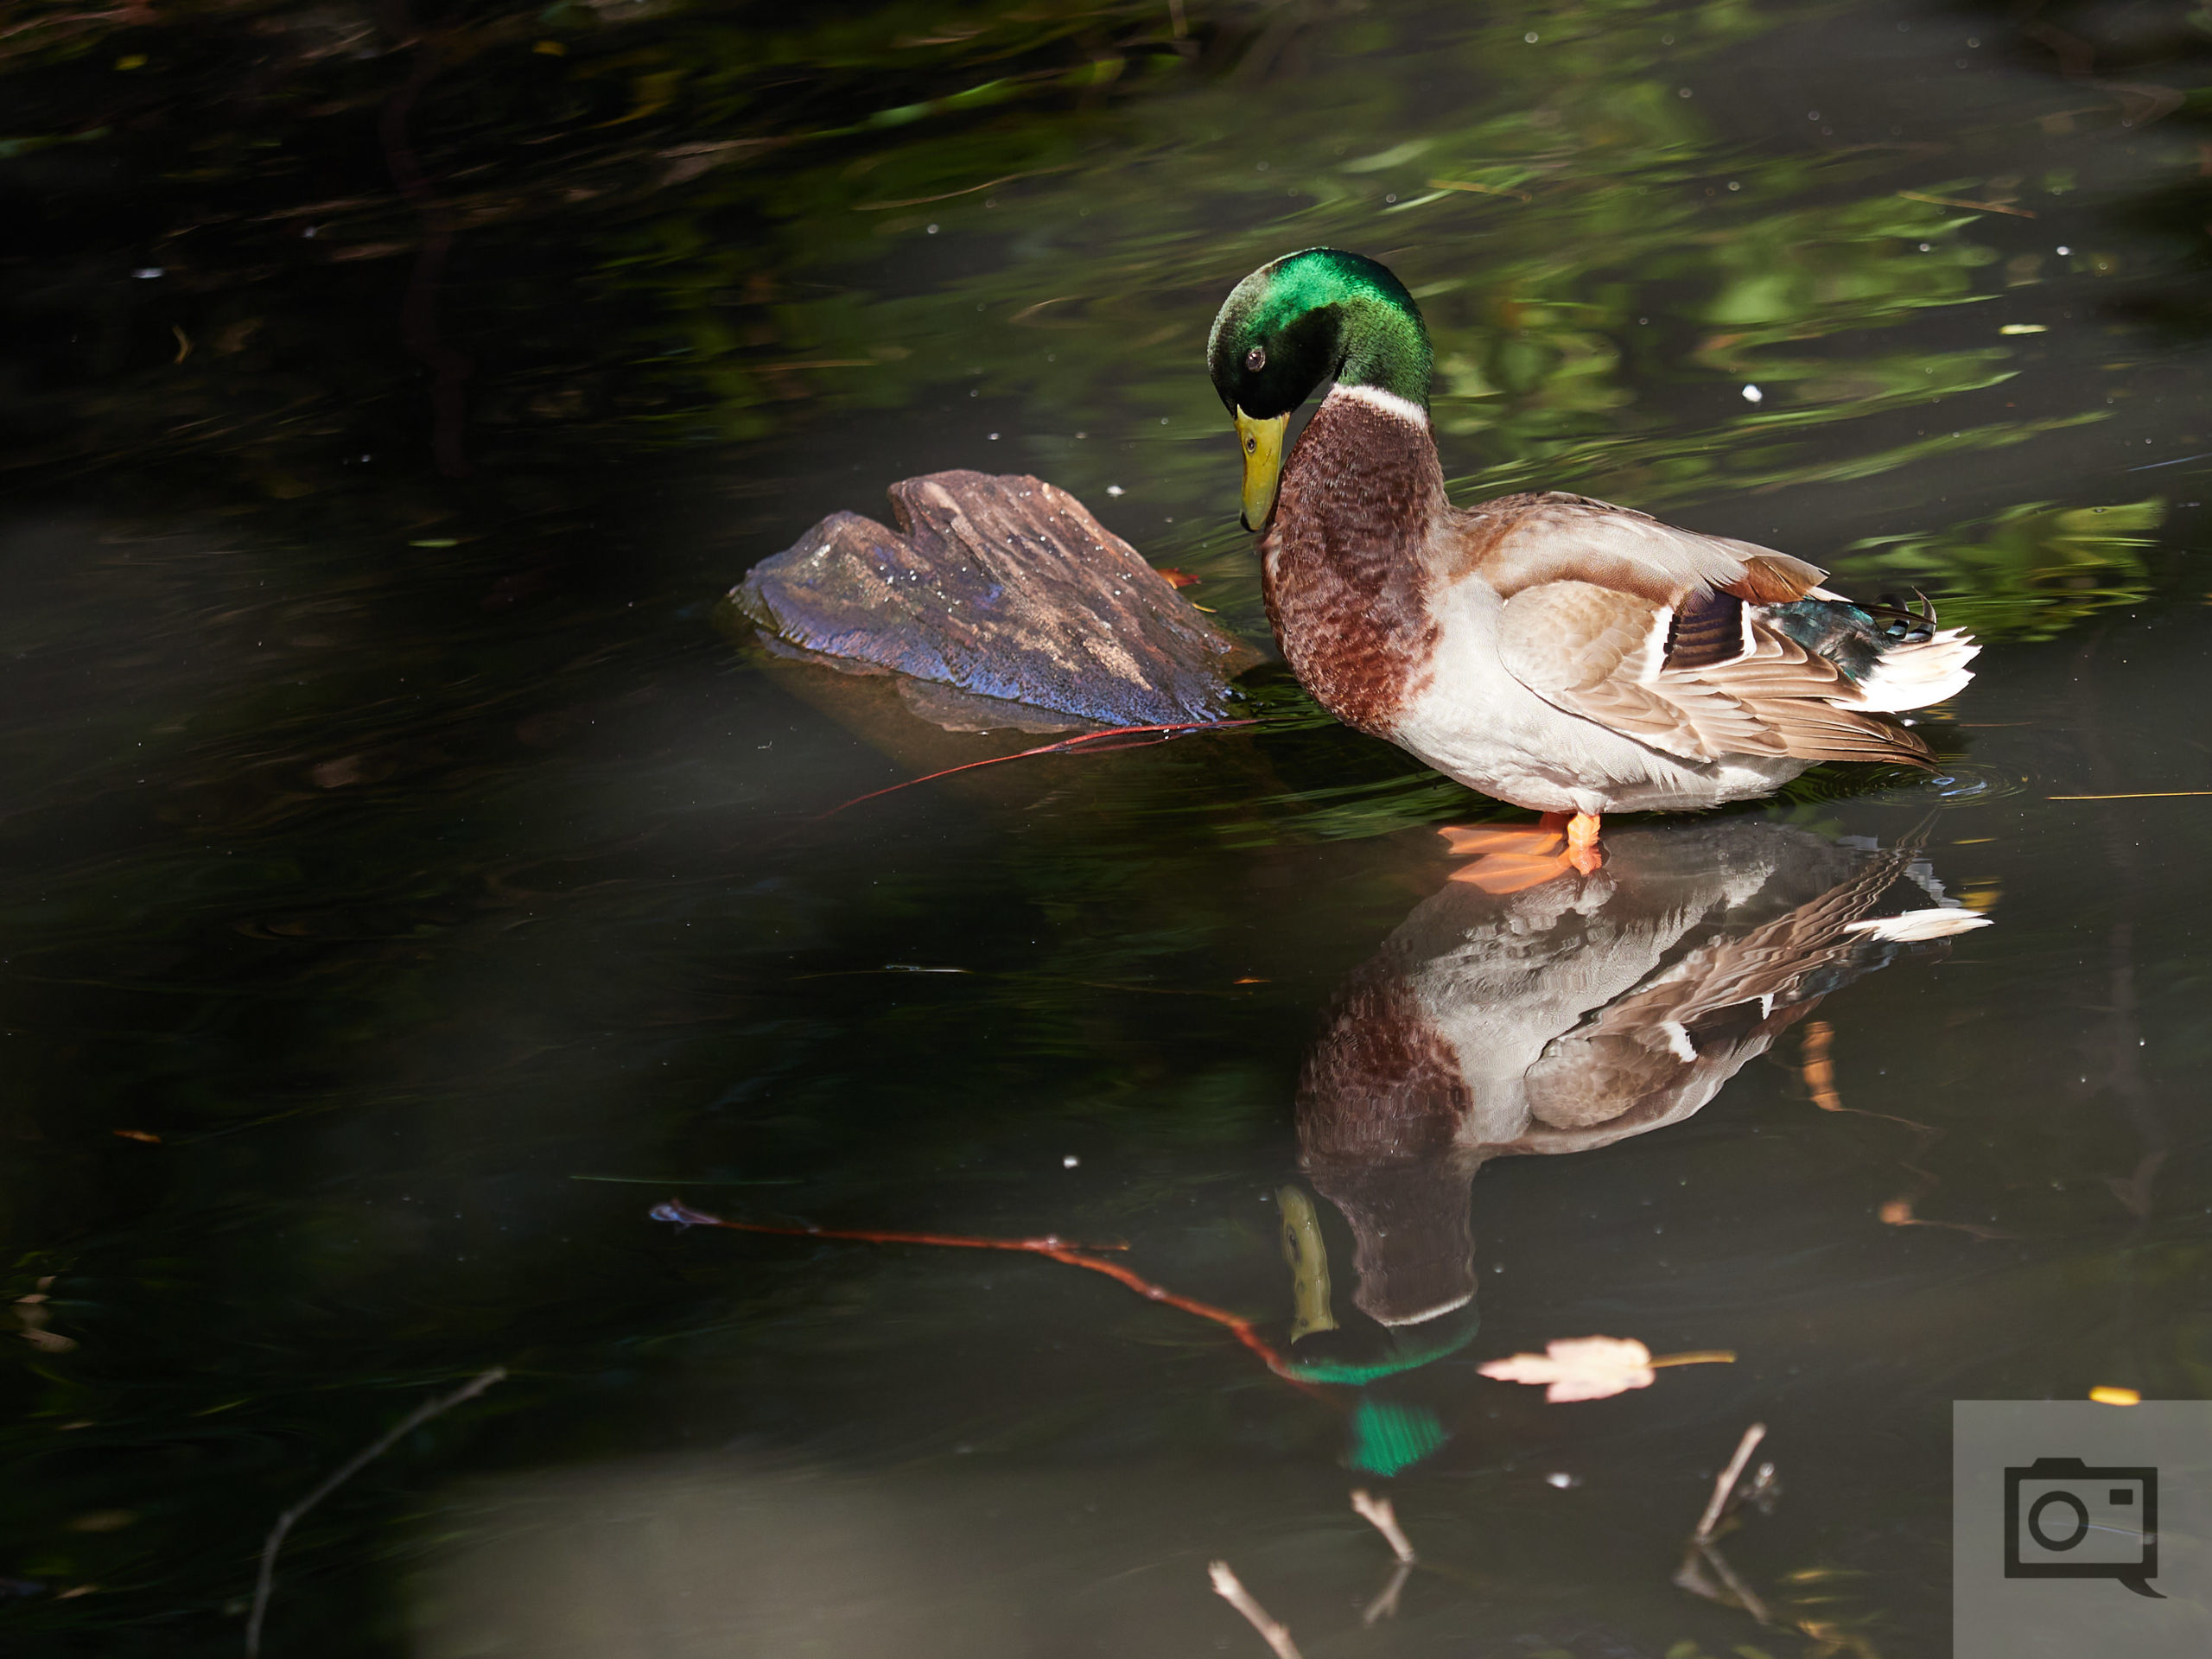
Here are some characteristics of better bird photos:
- A bird sitting on a tree branch with only the bird in focus and not much else
- A bird eating or having something in its beak like flies or berries
- A bird with its babies
- A bird in flight
- Birds fighting one another at your local bird feeder
Try looking for one of these five things, and you’ll be on your way to getting better bird photos.
Your Phone’s Camera Can’t is budding a series on The Phoblographer dedicated to educating people on how to step up from their smartphone.
Get rid of the ads!
Did you enjoy reading this article as much as we enjoyed writing it? There's a way to support us and our reporting, getting ad-free navigation and more as a bonus. Subscribe to us for less than a coffee per month —just $3.99— or take advantage of our yearly subscription with a hefty discount for only $25.- An ad-free experience
- A free mystery box for Lightroom or Capture One
- All the books in our store
- 20% discount on Capture One
- 30% discount on Imalume Photo Theft Protection
- 20% off Herbs and Kettle Tea Company.
- 20% off your order from MPIX printing services.
- 5% off Viltrox Products via their eCommerce store.
- 10% off all film developing, printing and scanning services from Blue Moon Camera and Machine
- 15% off 7Artisans products: The lens and accessory maker is offering a sweet discount for Phoblographer's readers.