
Long exposures can be incredibly rewarding, and this technique can help you create some stunning images.
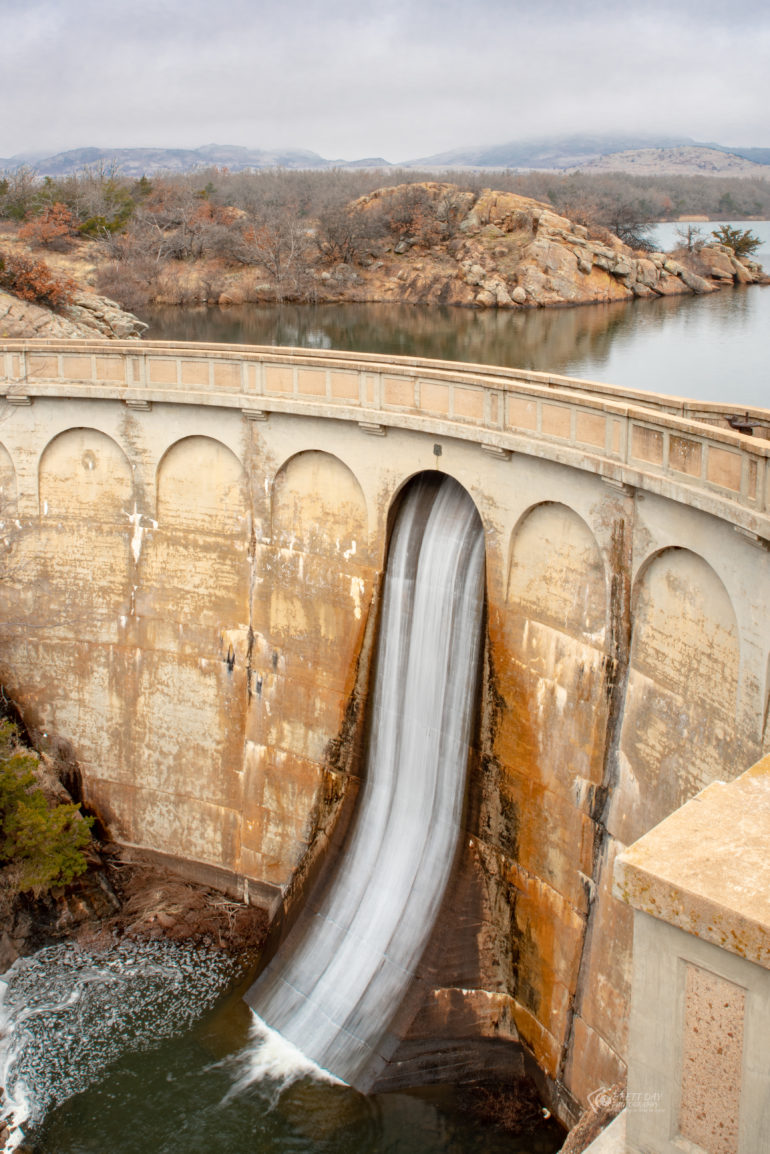
Have you ever seen an image that looks like a dream before? Imagine beautiful smooth water coming down a mighty waterfall, or clouds streaking across the sky in a landscape image. Perhaps you have seen pictures of light trails going through city streets before and have no clue how they were made. If you have never played around with long exposures before, you are in for a treat when you do. We believe photographers should have at least a basic understanding of common concepts and styles of photography, so if you have never played with long exposures, this quick guide is for you. We will keep it light and easy to follow so that you can practice and create some surreal images yourself. Let’s dive into it after the break.
I love making long exposures. The images that can be created just by slowing the shutter speed on your camera and placing it on a steady surface can be quite unreal. When I first started in photography many, many moons ago, long exposure photography was intimidating to me, and I thought it was way too complex. I am sure there are many of you who are just starting a journey with your camera, and you probably have the same thought. However, I am here to tell you that creating long exposures it not difficult at all. You just need a little time, a few tools, and a little patience. With these things, you’ll soon be making stunning images that will wow you and your viewers.
What Are Long Exposures?
So, what are long exposures? Simply put, long exposures are nothing more than images that have been made with long shutter speeds between the ranges of 1 second and multiple hours. Usually, when we are out and about taking pictures, we like to shoot with fast shutter speeds to freeze motion and get a sharp image, but with long exposures, you do the exact opposite. By slowing down the shutter, you can capture light over a longer time, and if that light (or object) is moving, it will streak through the image. If you’re photographing clouds, long shutter speeds will capture their movement as they soar through the sky. It may sound a little complicated, but trust me, it’s not.
“…long exposures are nothing more than images that have been made with long shutter speeds between the ranges of 1 to 30 seconds and sometimes, minutes to hours.”
The Definition of a Long Exposure
What Gear Will I Need?
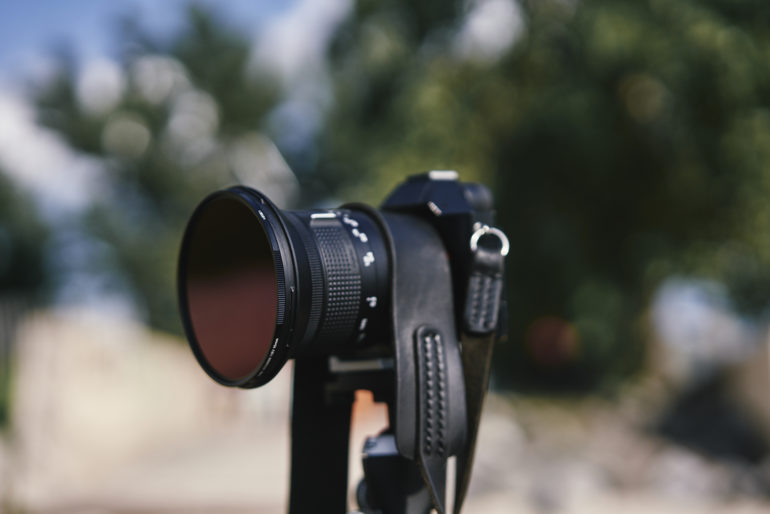
The great thing about long exposure photography is that it can be performed with any camera: as long as it has a manual settings mode, you are good to go. There is very little else you need to be able to capture your first long exposure shot. You will need a tripod or a stable surface to place your camera.
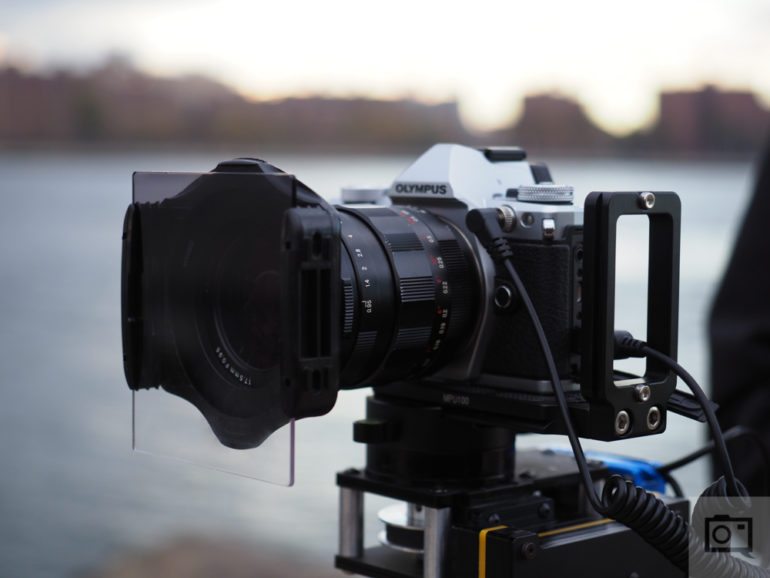
If you want to do long exposures during the day, you will need some ND filters like the ones pictured above (by the way, they are a bargain at just under $26, read our review), or you can get a circular ND filter which will be lens-specific (based on lens thread size). If you aren’t sure what thread size thread your lens has, take a look at the front of it (around the front element) and look for the Φ symbol. Next to the symbol will be a number (like 67mm, for example). Whatever number is listed, that’s the thread size you need to look for when buying filters. All lenses are different, so check and double-check.

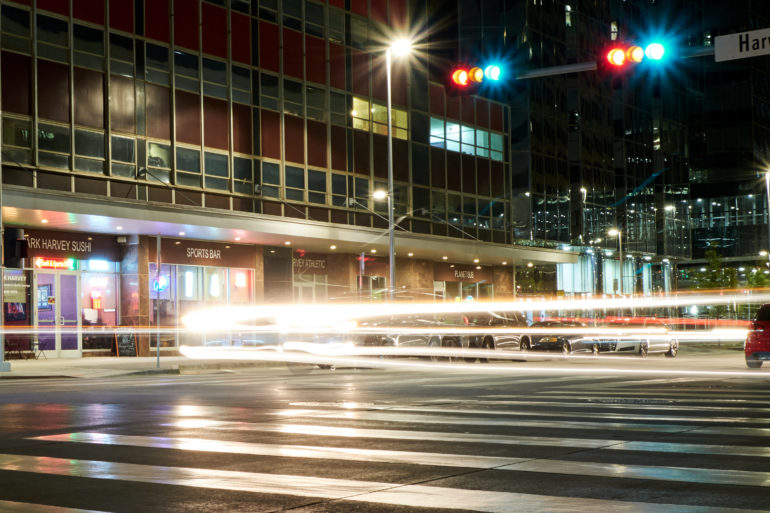
Did you know you can even perform long exposures on many modern phones? It’s true. As long as you have a tripod for your phone, you can create images like the one above. I captured this image of a streetcar zooming through an intersection on the Samsung Galaxy Note 10+. As we said before, you can do this with any camera. As you start out, though, keep it simple; grab a tripod at a minimum and go from there.
What Settings Need to Be Used?

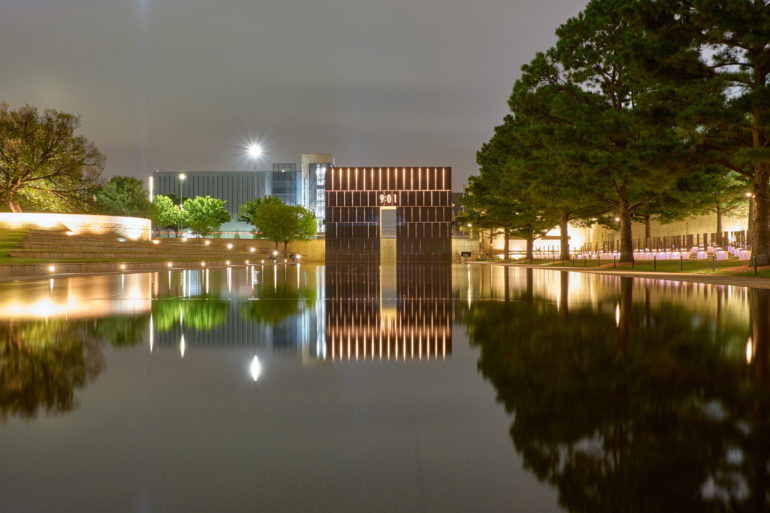
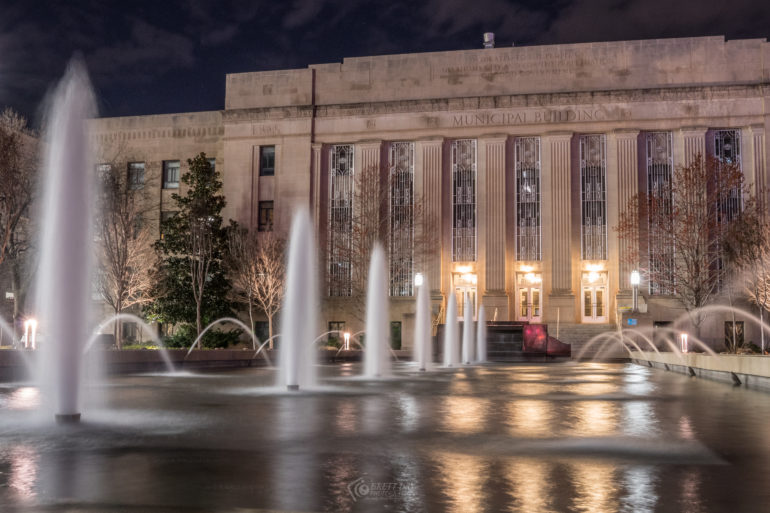
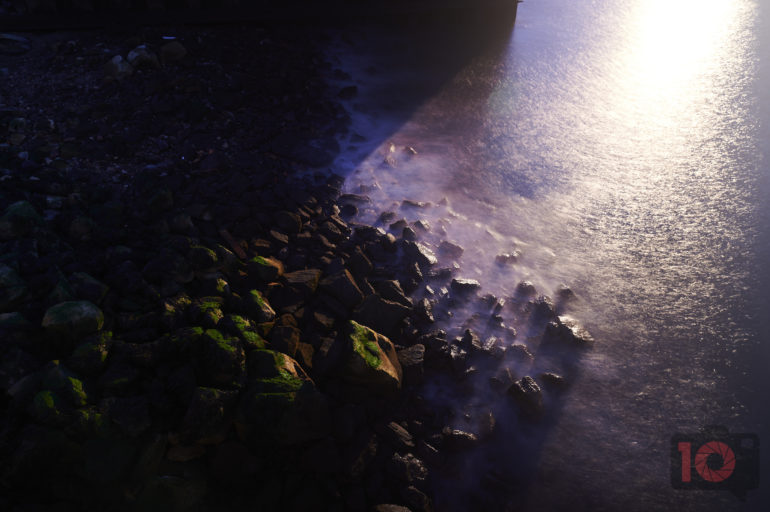
There’s slightly more to long exposures than just slowing down the shutter speed. If you hadn’t already noticed, the images shared so far have been taken during the night. Creating long exposures at night is easier than during the day because longer shutter speeds let in more light. If you tried to do long exposures in the daytime with no special filters like the ND filters mentioned above, you would end up with a completely washed out image.
Long exposures will require the right balance between shutter length and aperture. I always shoot long exposures at ISO 100 (or whatever my camera’s lowest native ISO setting is), and I usually shoot with an aperture of between f10 and f18, depending on the ambient light. If I need things to be darker so that I can have a longer shutter, I will use a smaller aperture, etc. I also want to ensure that more of the scene is in focus. All you need to do then is adjust the shutter speed to get the correct exposure.
Modern Mirrorless cameras make creating long exposures far easier than DSLR’s as the EVF and LCD screens will give you a great indication of how the image will look before you hit the shutter. You can use live view mode on DSLR’s too, but you’ll find you’ll need to experiment a bit more with shutter speeds on them, so don’t be afraid to take test shots.
Your shutter speed will vary based on what it is you are trying to achieve. If you want to stop the flow of water, you can use three or four-second shutter speeds. If you want glassy water, 10 seconds and up will do the trick, and this can be applied to clouds moving across the sky as well. Capturing light trails from cars can be done using shutter speeds of 5 to 10 seconds as well, perhaps a bit longer if the vehicles are slow-moving. Astrophotography can range anywhere from 10 seconds to hours. The best thing to do is to experiment with settings to see what you like. There is no right or wrong here; just let your creative juices flow.
How to Shoot Long Exposures
Now that you have a basic understanding of what long exposures are, and the gear you will need, we can talk about how to shoot your first batch of long exposures. The first thing I would suggest is to scout out some locations that you think will work in your local area. Perhaps an intersection where you can be safe, but still get a great shot of traffic, a landscape where you know there are great options for pics that include foreground elements, or waterfalls. If you are going to shoot astrophotography (check out our guide here), and use websites like Dark Site so that you can find an area that is good for that type of photography.
In short, do the leg work and be prepared: it will make your images that much better. Also, be sure to check the weather before you head out as you will want to do this on a calm day with no wind (or just a very light breeze at max). When it comes to taking your shots, this is all you need to do:
- Mount your camera onto your tripod, or place it on a flat, stable surface.
- Attach any filters if you are using them, and then set your lens to manual focusing mode, find focus, and compose your shot.
- Set your ISO to its lowest native setting (usually 100), set your aperture between f10 and f18, and then adjust your shutter speed to get the desired effect. Take several test shots to get it right. For astrophotography where you want star trails, you will need to use bulb mode. Bulb mode keeps the shutter open until you close it.
- Take your shot. Instead of just hitting the shutter button, though, put your camera on a two-second delay or use a cable or remote release so that you do not shake the camera. Any movement will ruin the shot.
- Take a look at the image and then make any adjustments you need to make.
- Edit and then post the picture on Instagram or any social media site and express to the world that you are so happy because you can now shoot long exposures.

You can get more creative than this as well. If you want, you can add your own light to the scene by light painting with a flashlight, a sparkler, steel wool (that you light on fire), an RGB wand, or even the screen of your phone. You can get out there and paint your name in the sky with the light. If you do this, just wear dark clothing and get it all done before the shutter closes. Setting up the camera is one thing: what will make your images unique is just how creative you can be. If you can think it, you can do it.
There is nothing to it when it comes to technical know-how and long exposures. If you have a camera and a tripod, and you know how to manipulate the settings of your camera, you’re halfway there. All you need is to be creative. The sky is the limit. Of course, practice makes perfect, so keep mind the basic settings, and get out there and experiment. You’ll be surprised just how easy long exposures are to make.
Get rid of the ads!
Did you enjoy reading this article as much as we enjoyed writing it? There's a way to support us and our reporting, getting ad-free navigation and more as a bonus. Subscribe to us for less than a coffee per month —just $3.99— or take advantage of our yearly subscription with a hefty discount for only $25.- An ad-free experience
- A free mystery box for Lightroom or Capture One
- All the books in our store
- 20% discount on Capture One
- 30% discount on Imalume Photo Theft Protection
- 20% off Herbs and Kettle Tea Company.
- 20% off your order from MPIX printing services.
- 5% off Viltrox Products via their eCommerce store.
- 10% off all film developing, printing and scanning services from Blue Moon Camera and Machine
- 15% off 7Artisans products: The lens and accessory maker is offering a sweet discount for Phoblographer's readers.