
For the photographers who come alive when the sun goes down, shooting better portraits at night is a great skill to have.
We get it: you want to photograph a moment just the way you see it! Many photographers who shoot portraits at night eventually begin to understand how lighting works once they get enough experience. During the nighttime, most of the light we know and see is absent, except for the little bit that is provided artificially. So, until you know how to work with strobes, we recommend that you learn how to make the most of available light at night.
Before we even begin this piece, the first thing we’re going to tell you is that we recommend you use a flash when possible and blend it with ambient light.
Fair Warning: You’re Going to Have a Lot of Contrast
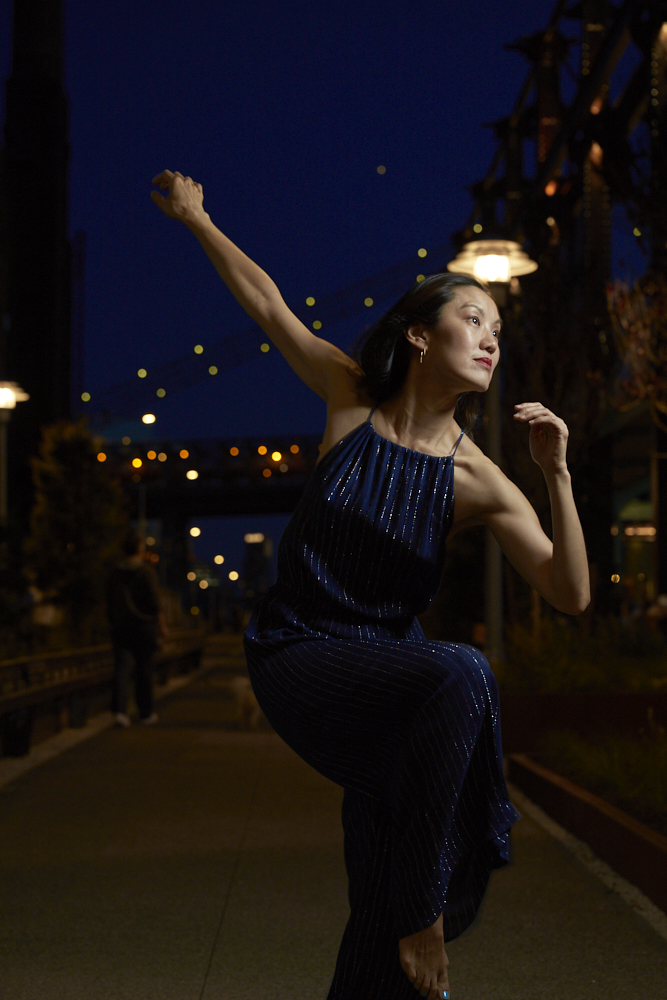
Generally speaking, when shooting portraits outdoors in ambient lighting, you’re going to have a ton of contrast. This means you’ll have photos with the brightest brights and the darkest darks in the scene. This is because one of your light sources is already quite diminished. You won’t really be able to fight the contrast if you’re looking for that nighttime look. And so this will go holistically through your shoot.
Some things to think about:
- Wardrobe: can you make your subject’s attire stand out with the ambient lighting?
- What is your idea for this shoot?
- Does the lighting work for the mood you’re trying to create?
- Why should you shoot this photo?
- Are you wasting your model’s time?
- No really, are you wasting time?
Think about all this before you even pick up the camera.
You Need a Fast Aperture Lens
When you’re shooting with ambient lighting you’ll need a fast aperture lens. The reason for this is because you need to find a way to get the camera sensor to soak up as much light as possible. One way to think about this is like a sink drain and understanding how flow works. Clogged drains can be equated to slower lenses, but clear drains allow water and liquid to pass through them quickly and efficiently.
Generally speaking, go for anything f1.8 or faster.
Don’t Be Afraid to Raise Your ISO
If you’ve been shooting for years, you’re probably programmed to rarely raising your ISO. But in the case of shooting night images, lots of cameras create images that are printable up to 17×22 inches at ISO 6400. You won’t get much noise in the photo and the image will look very good. So, in this case, raise the ISO. High ISO output has really improved over the years. I wouldn’t venture above ISO 6400 just to be safe, though in some cases 12,800 is acceptable.
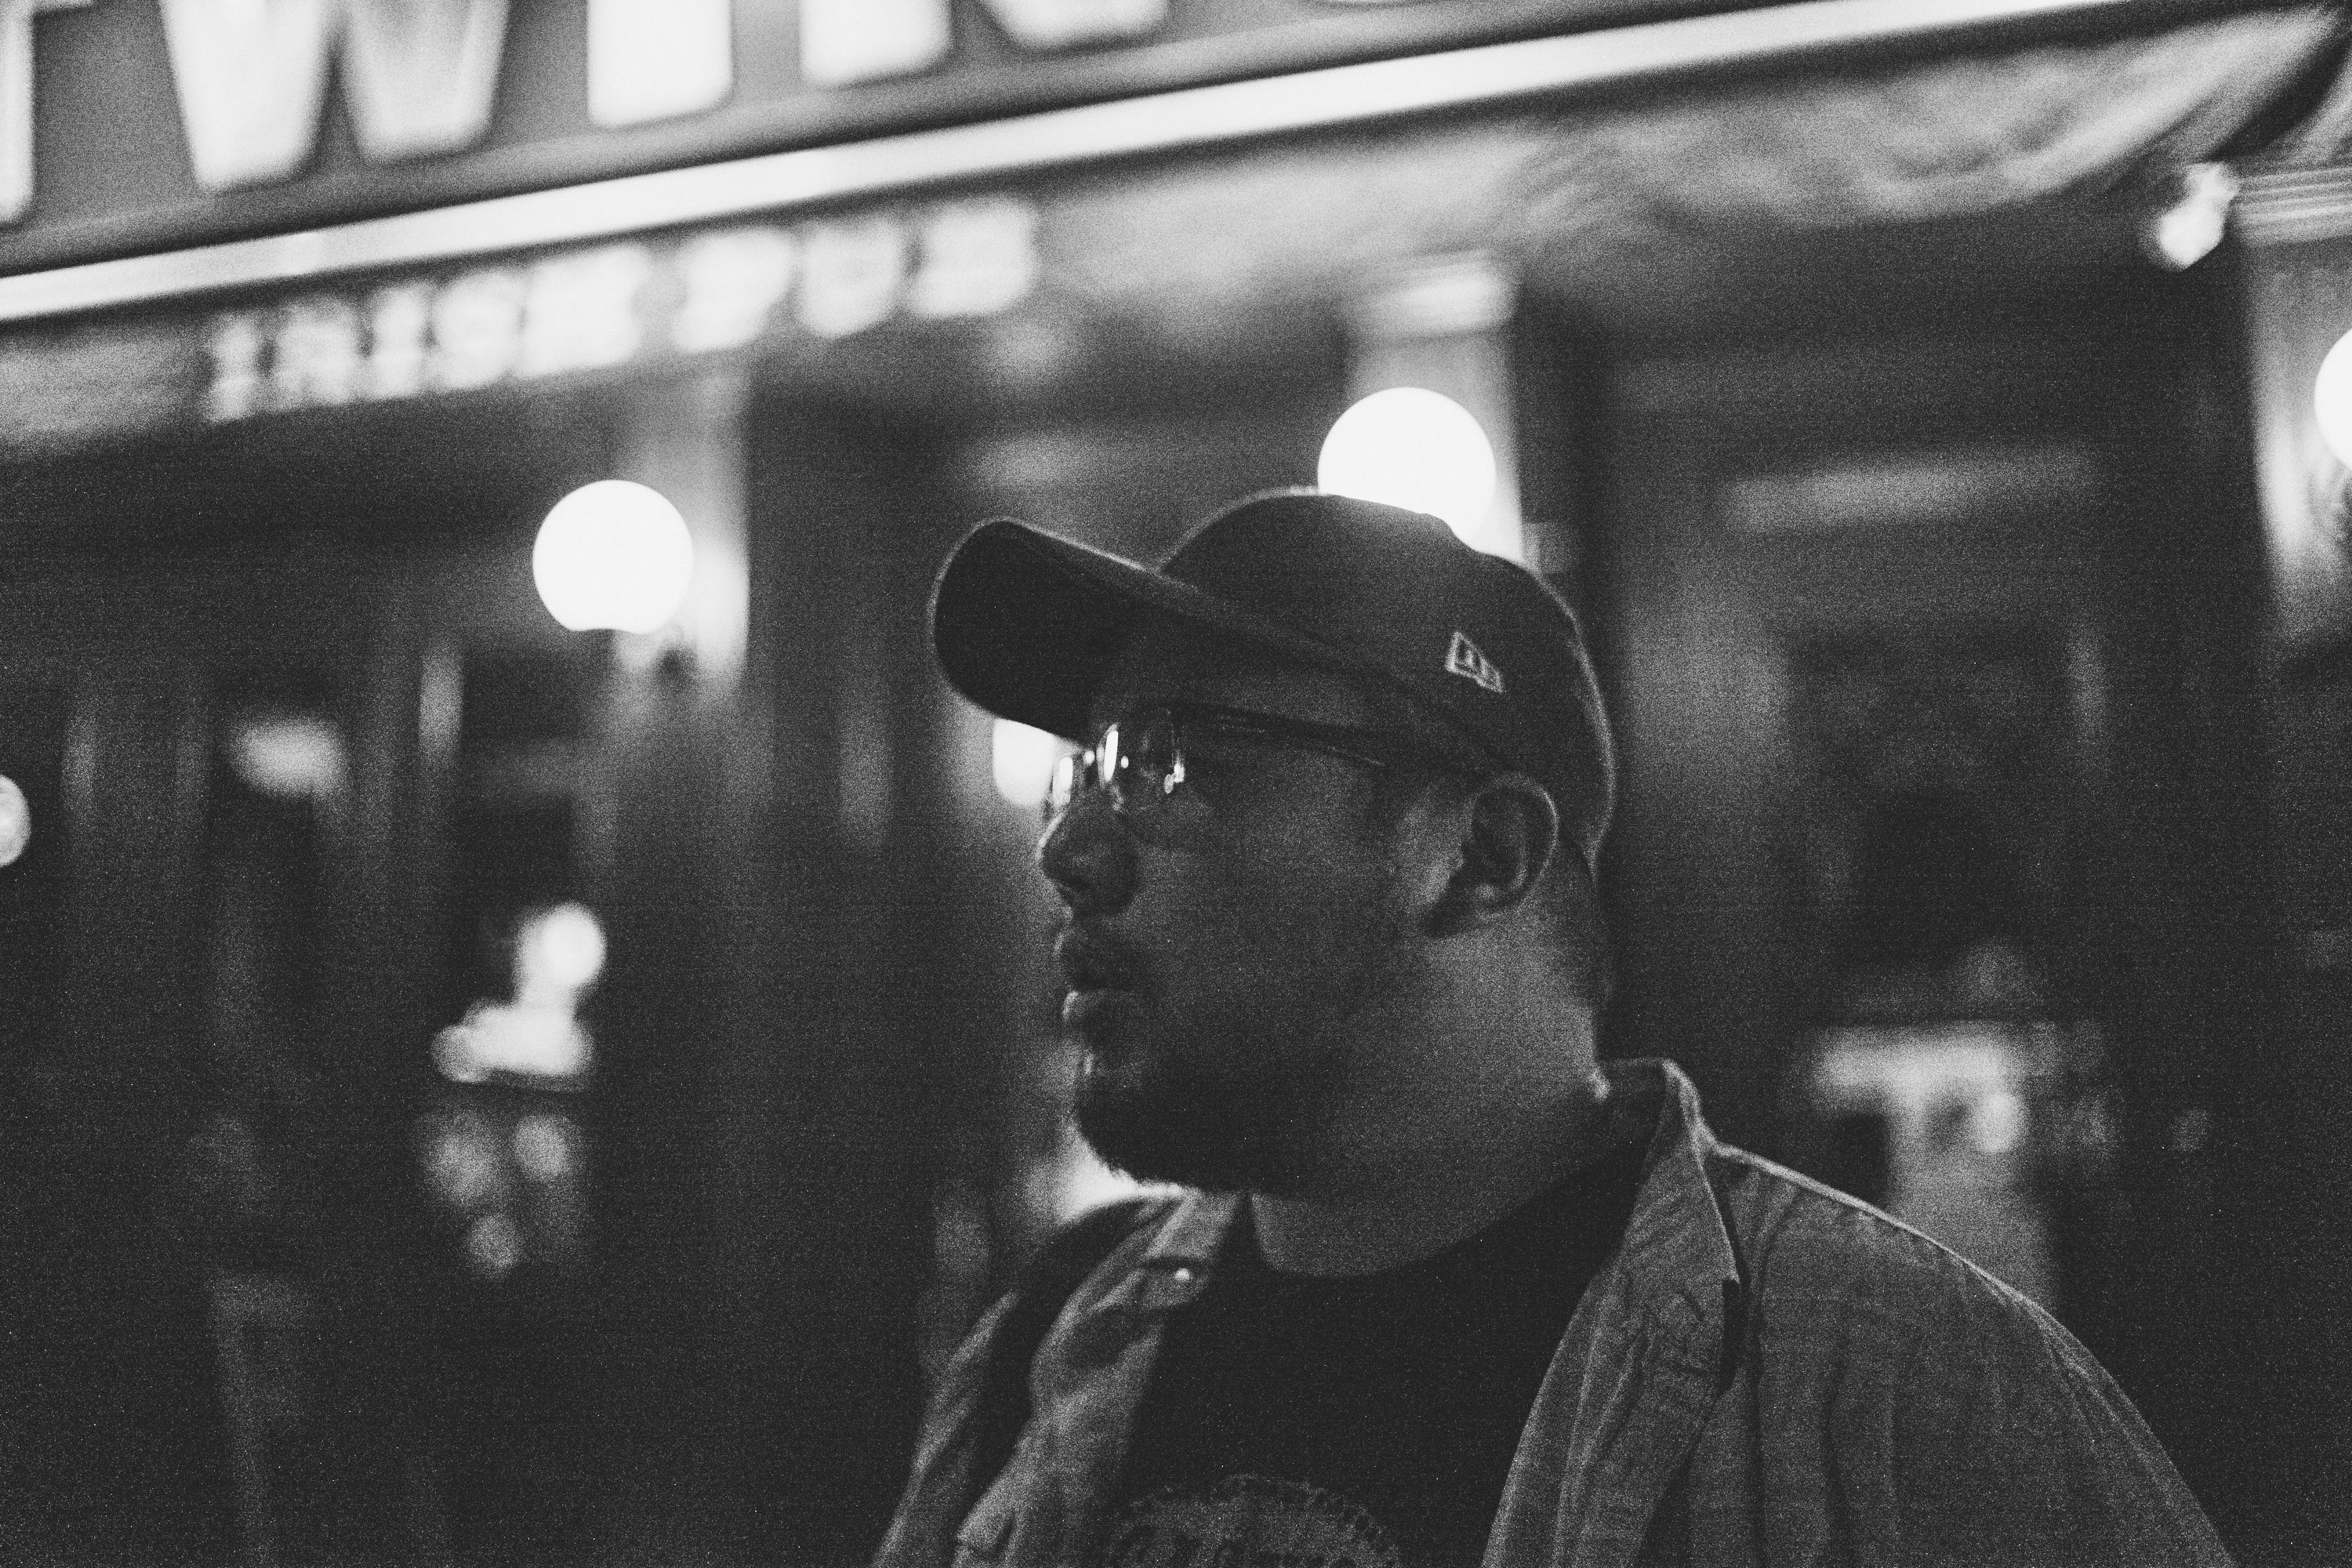
Oh, and there is always the black and white option. Many photographers think that this either negates the colors you’re trying to get at night or you’re just being lazy. The truth is that it’s a better means to an end.
Lock Your White Balance So You Don’t Lose Motivation
Here’s something you probably didn’t know: in auto ISO your camera sets the color balance to what it thinks you want. What this can result in is colors and looks that aren’t visually pleasing and can sap your motivation to shoot the scene.
Solution: Generally, locking your white balance to daylight (5500k) or tungsten (3200K) can fix this and also provide a look that you prefer in the scene. This solution also makes skin tones look great. The inspiration for this comes from the way that film works.
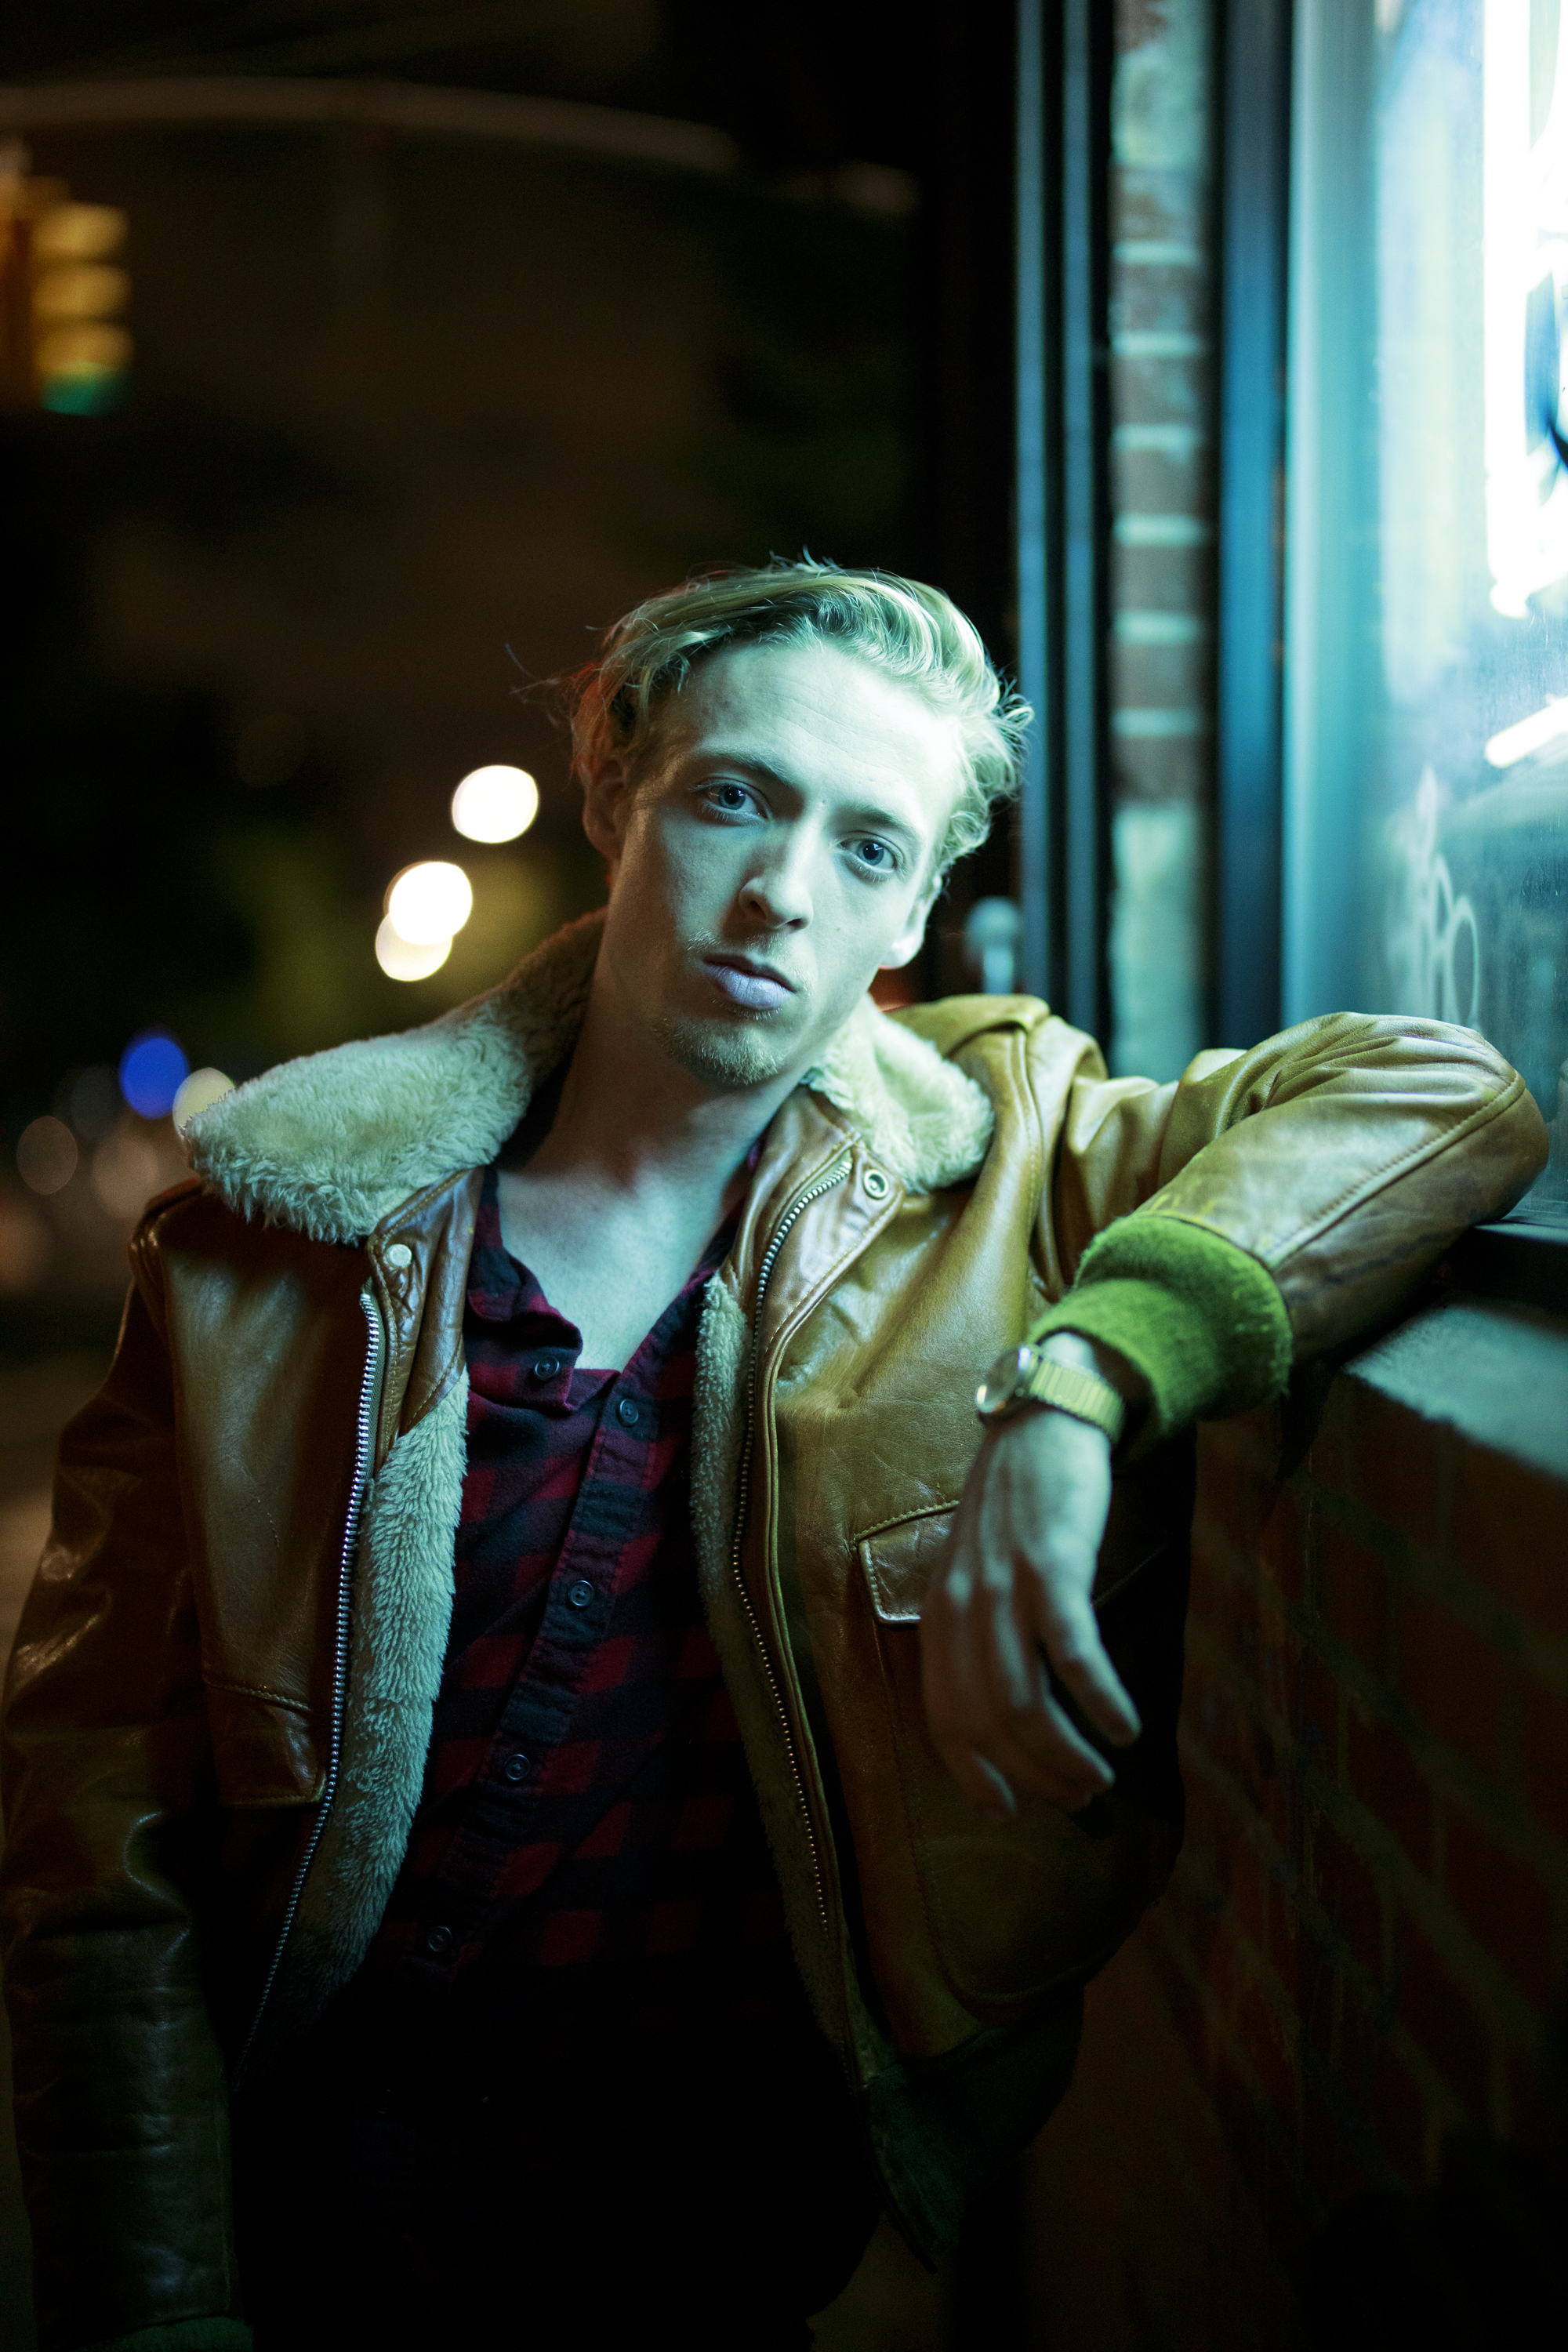
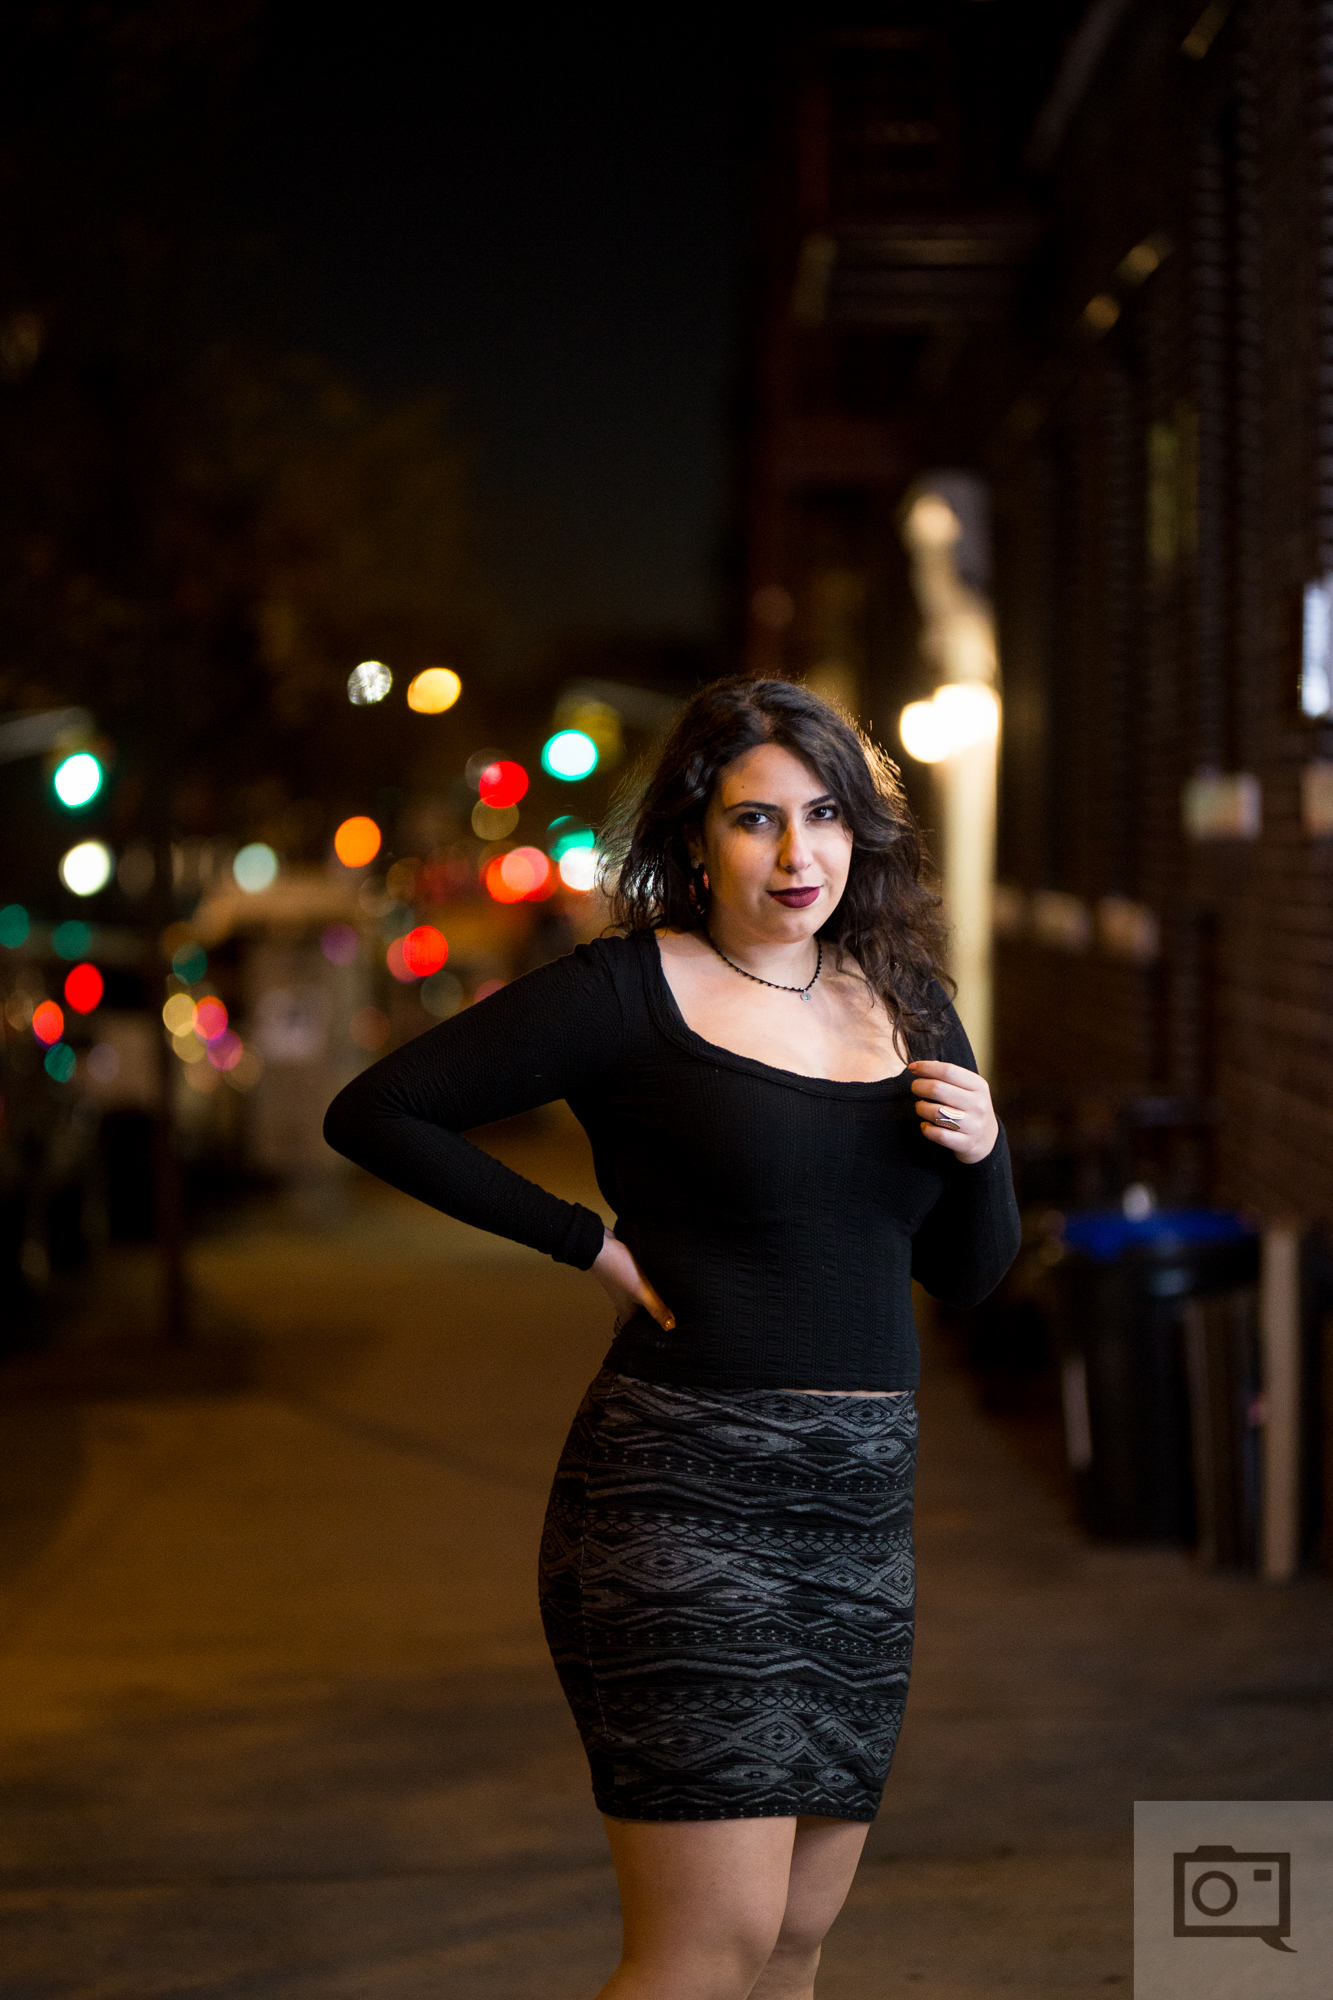
Find Light That Is Higher Than Your Subject
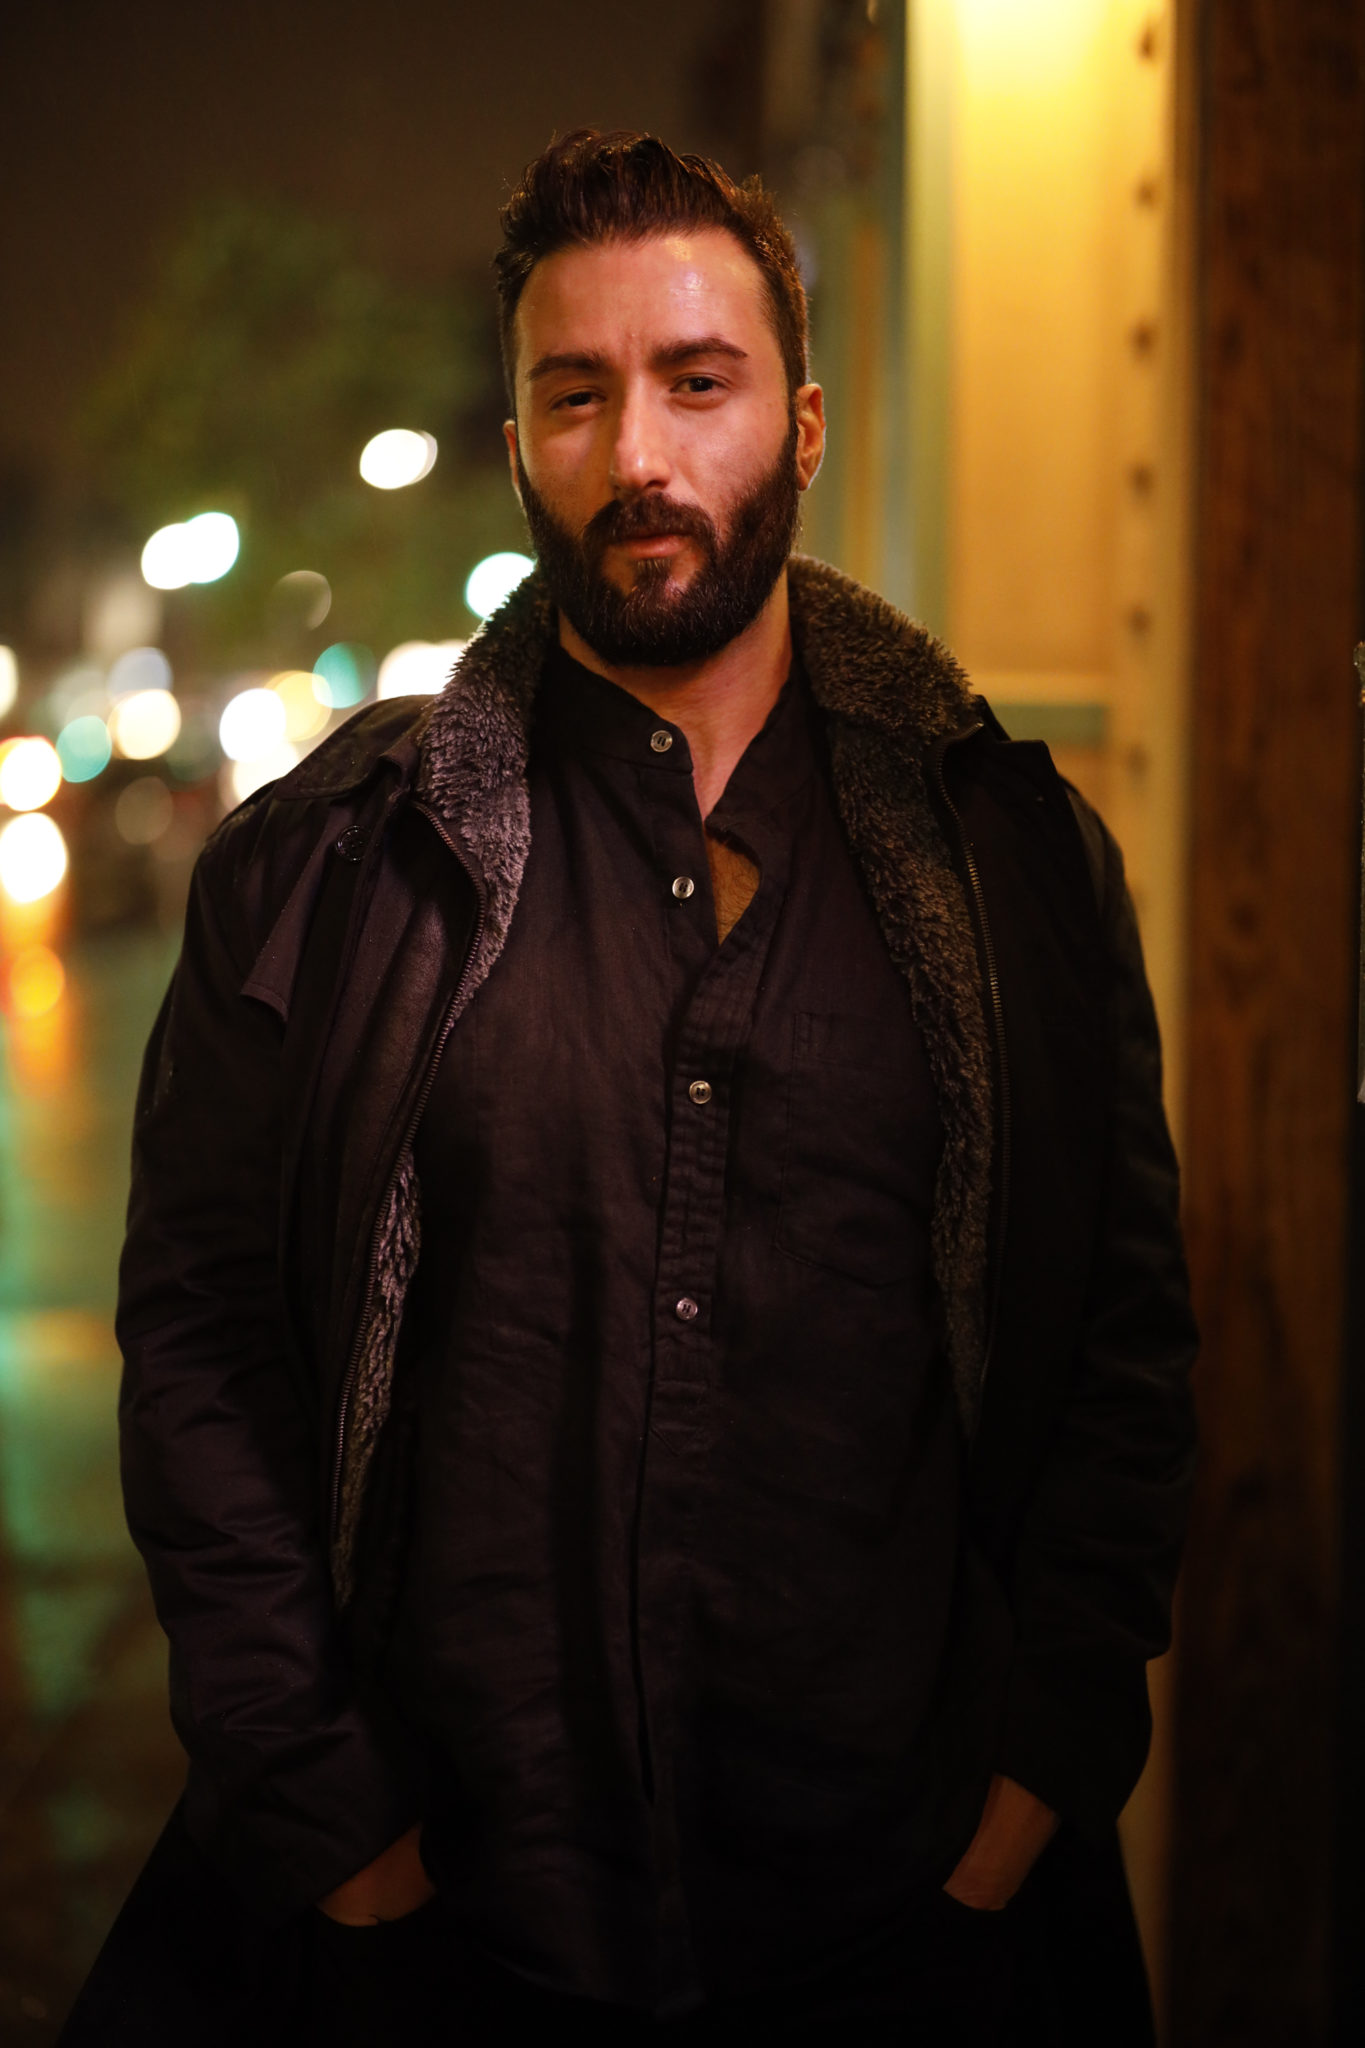
The most flattering light sources are those that are above and slightly angled on our subjects. Think about it: it’s just natural. Most of light outside is coming from above us. And most of the light indoors is coming from a ceiling. When you take that lighting and angle it to the side and above your subject you’re getting a better and more naturally pleasing look in the scene.
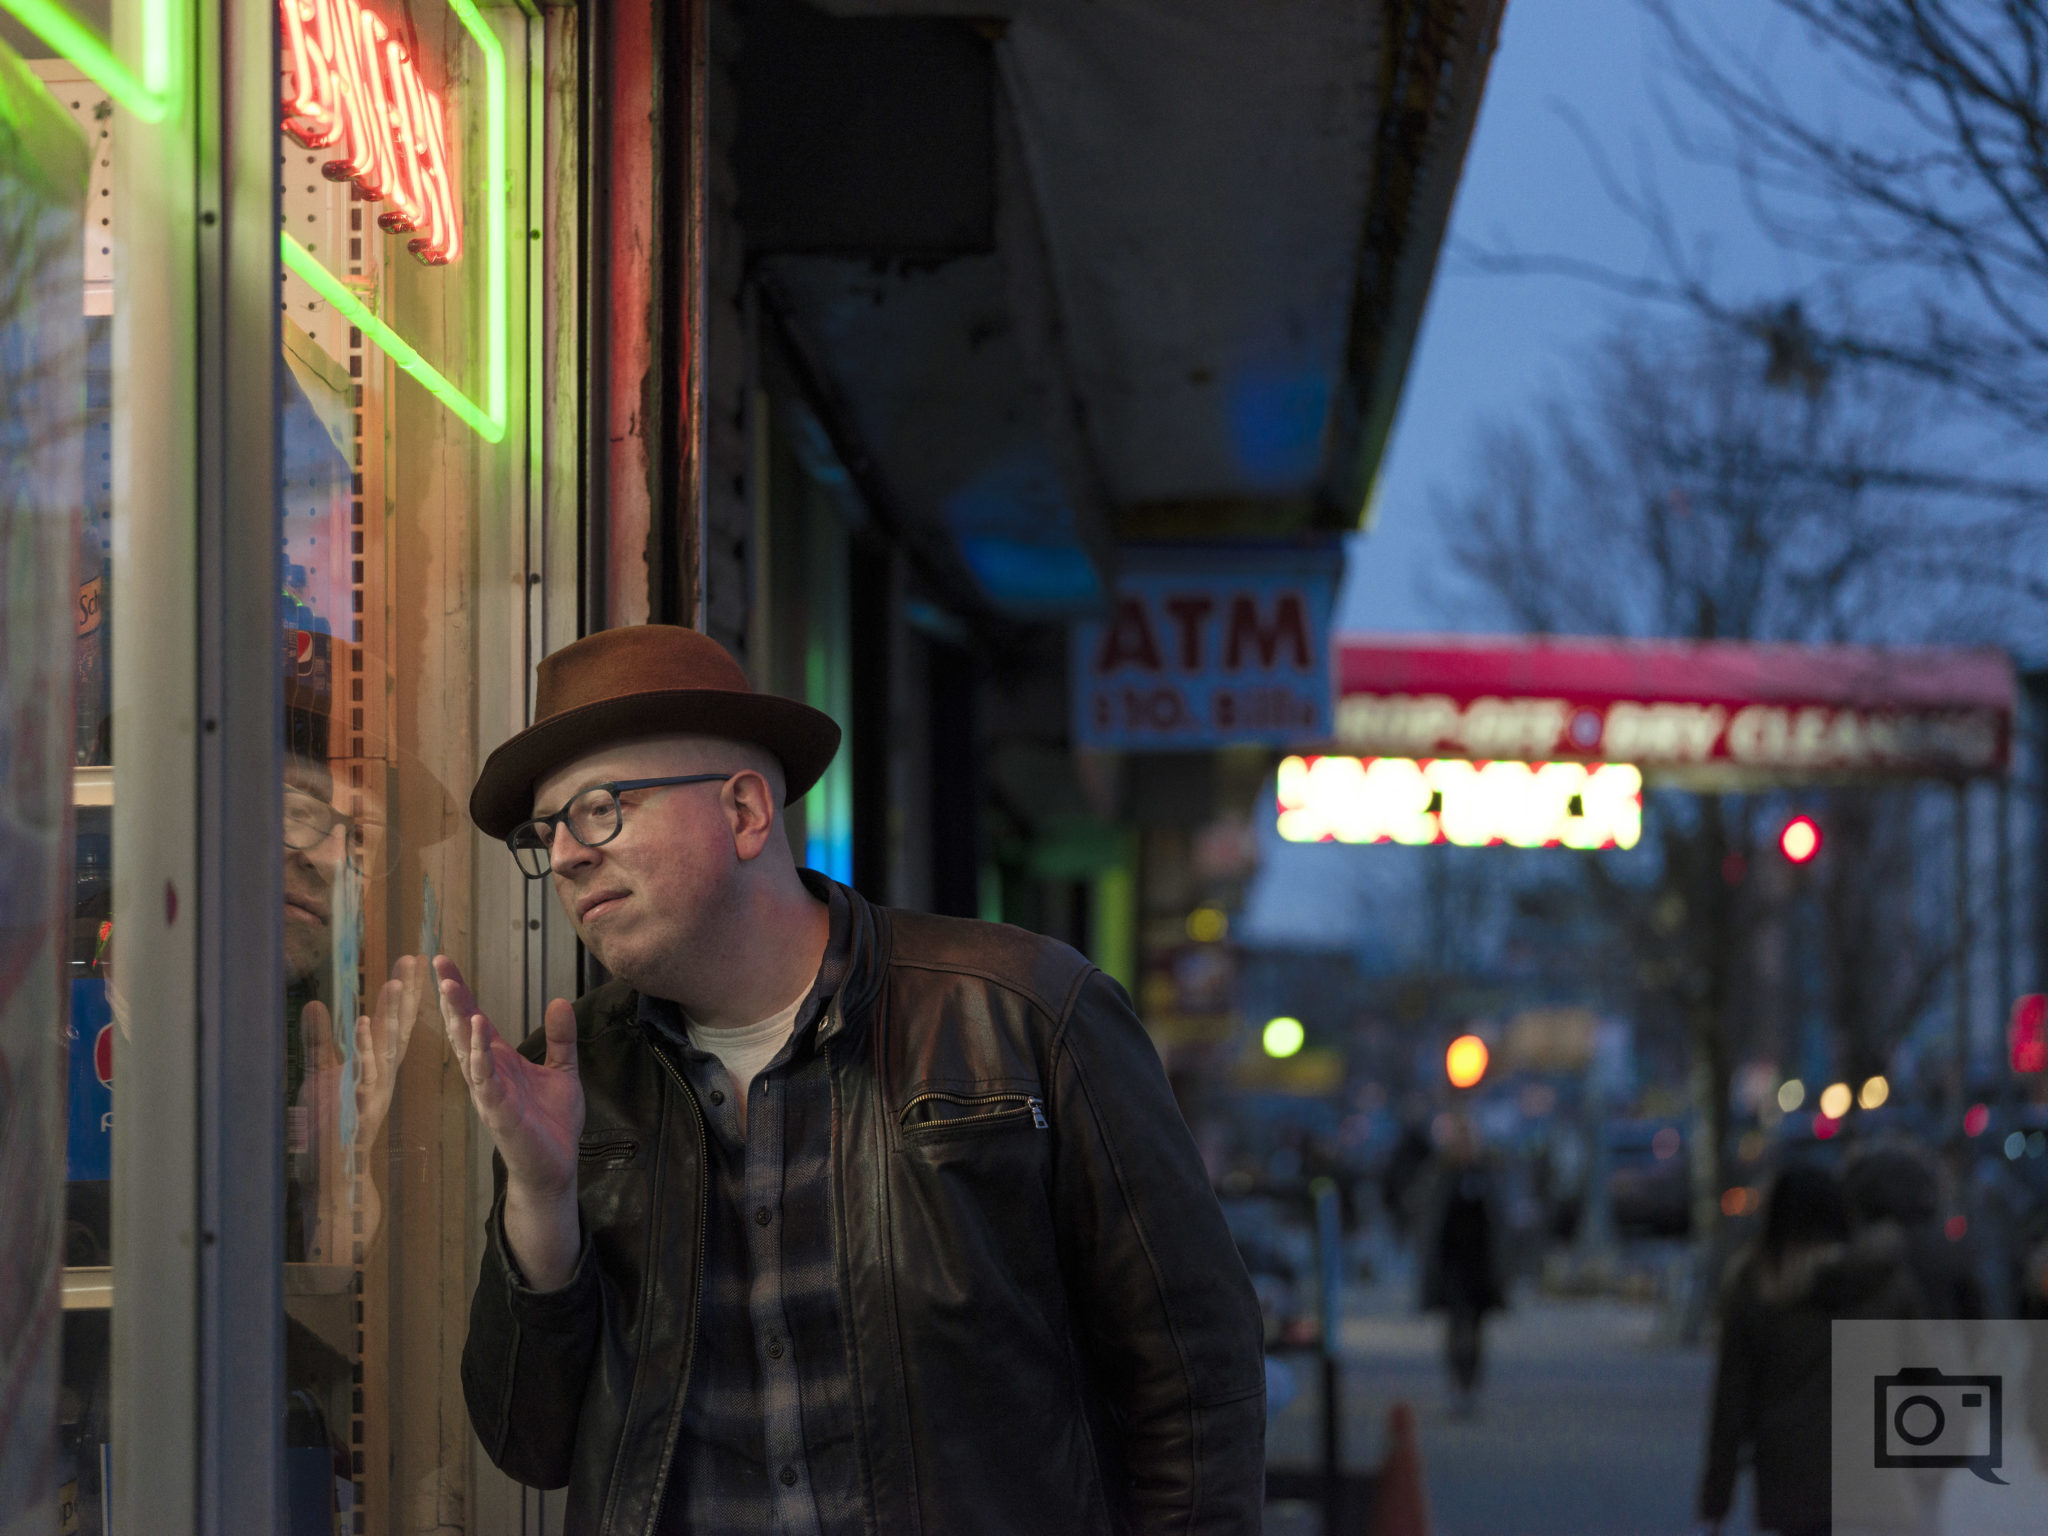
BONUS: Not Everything Needs to Be Inspired by Christmas Lights and Neon
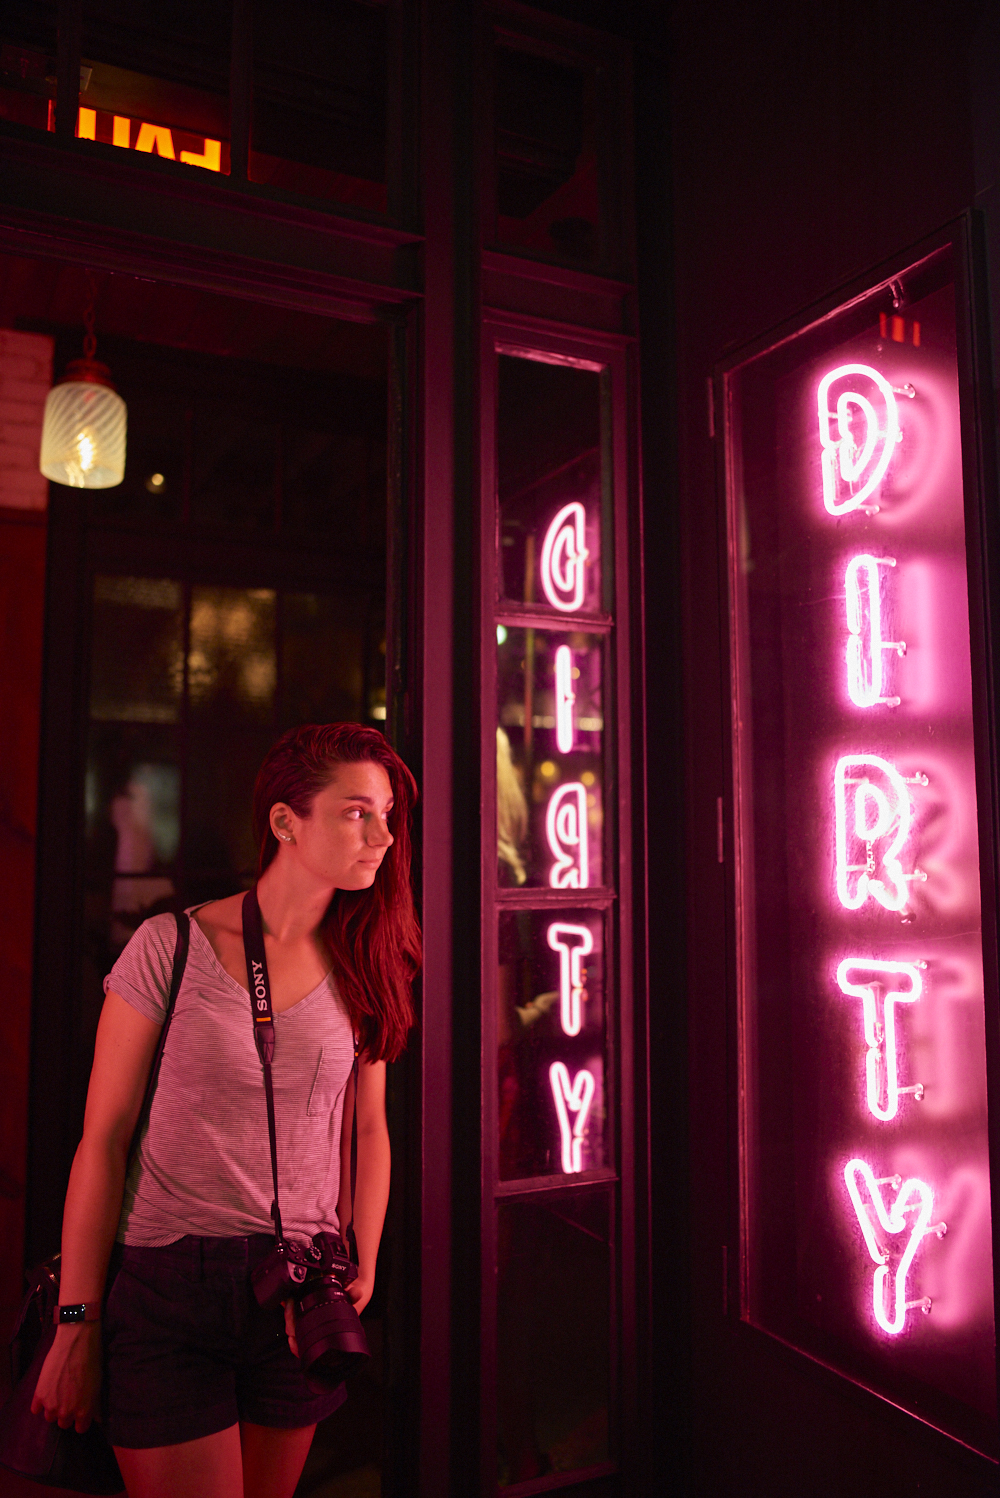
We’re just going to leave this one here…
Get rid of the ads!
Did you enjoy reading this article as much as we enjoyed writing it? There's a way to support us and our reporting, getting ad-free navigation and more as a bonus. Subscribe to us for less than a coffee per month —just $3.99— or take advantage of our yearly subscription with a hefty discount for only $25.- An ad-free experience
- A free mystery box for Lightroom or Capture One
- All the books in our store
- 20% discount on Capture One
- 30% discount on Imalume Photo Theft Protection
- 20% off Herbs and Kettle Tea Company.