Last Updated on 09/16/2017 by Chris Gampat
One of the reasons I use specific white balances like Daylight when shooting photos is because it tends to take the guesswork out of editing and colors. Daylight white balance is balanced to be fairly warm and to counteract the already very cool light that daylight is. Though many times there are situations where you’d rather have warm skin tones in the scene. For the most part, what people tend to do is just work with the white balance to make the skin warmer but then in the process just make the whole scene warmer.
This happens a whole lot when working during the blue hour, in overcast weather etc.
https://www.youtube.com/watch?v=9nLt1xqAeeY&feature=youtu.be
So then the question becomes how exactly do you get those skin tones right? The answer: it’s the hues and saturation.
Part of making the skin tones and your subject stand out more from the scene has to do with working with the individual color channels in the scene. Working with the hues makes the tones get tinted, warmer, cooler, etc depending on the direction you go in. But also changing things like the luminance can make skin and a subject stand out more from a scene.

The idea behind this stems from the teachings of famous portrait photographers; and in this case we’re going to take Steve McCurry. Steve takes portraits based on three things: the skin tones, the background and the wardrobe. He tries to ensure they don’t blend into one another and instead that they stand out from one another. And photographers for years have been trying to do that as well.
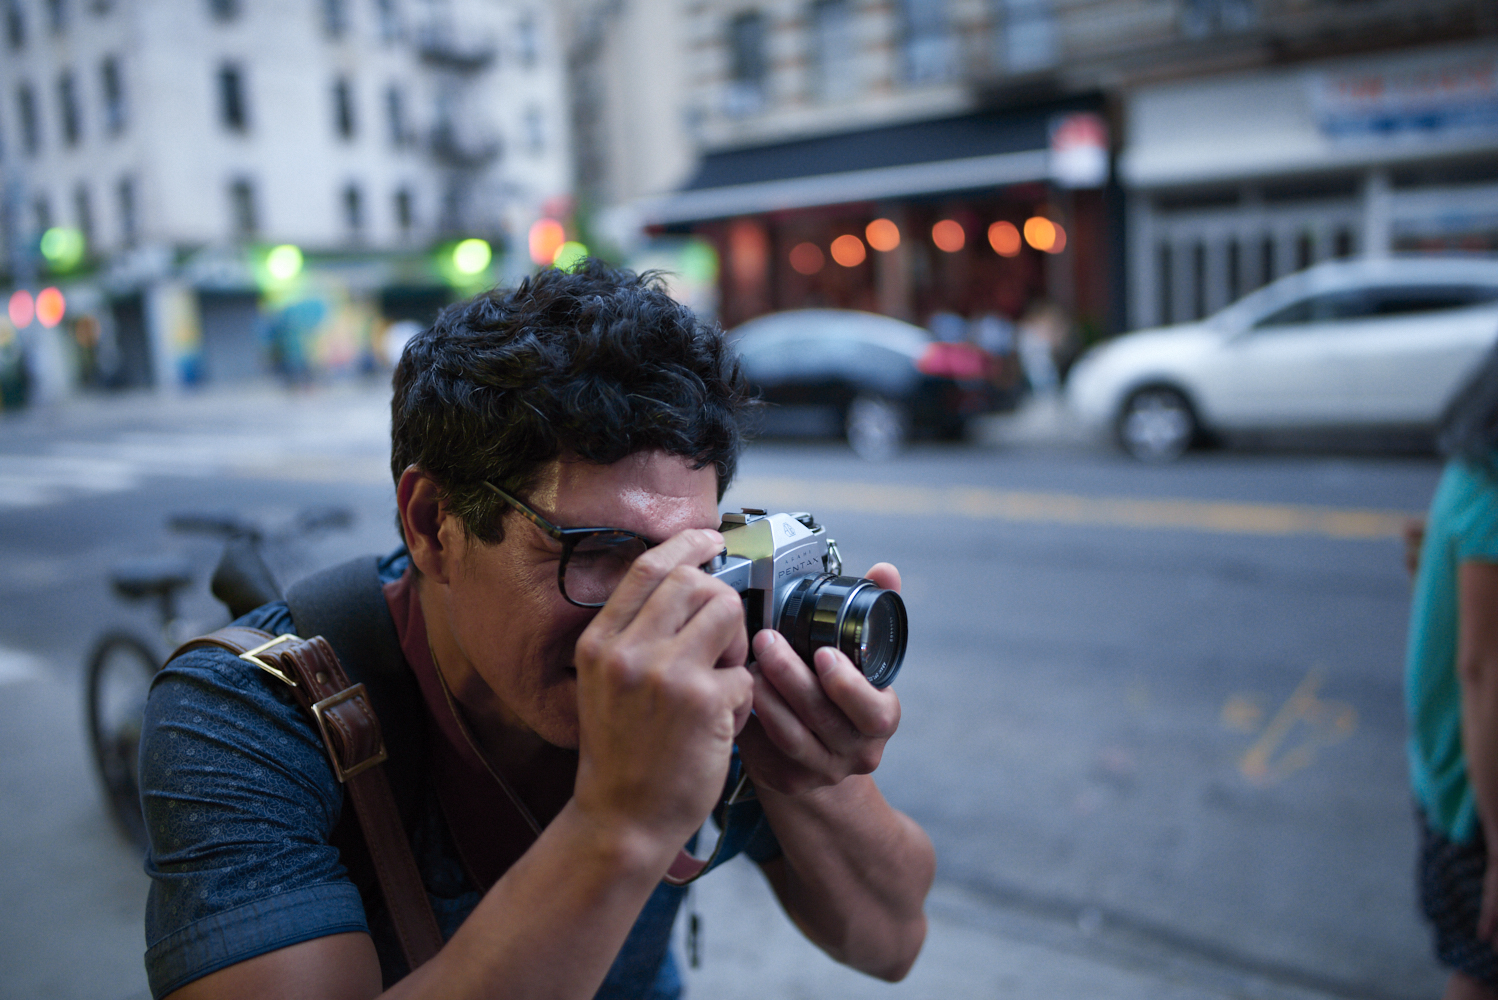
So in this tutorial, what I ended up doing was working with the skin tones and the overall tones of the scene to make Erwin stand out more. The main colors here are purple, orange and blue. They all tend to affect one another in some way so adjusting each to get to the right point is all that you need to do.
For even more tutorials, be sure to subscribe to our YouTube channel.
Get rid of the ads!
Did you enjoy reading this article as much as we enjoyed writing it? There's a way to support us and our reporting, getting ad-free navigation and more as a bonus. Subscribe to us for less than a coffee per month —just $3.99— or take advantage of our yearly subscription with a hefty discount for only $25.- An ad-free experience
- A free mystery box for Lightroom or Capture One
- All the books in our store
- 20% discount on Capture One
- 30% discount on Imalume Photo Theft Protection
- 20% off Herbs and Kettle Tea Company.
- 20% off your order from MPIX printing services.
- 5% off Viltrox Products via their eCommerce store.
- 10% off all film developing, printing and scanning services from Blue Moon Camera and Machine
- 15% off 7Artisans products: The lens and accessory maker is offering a sweet discount for Phoblographer's readers.