
There is absolutely no reason why you shouldn’t care about white balance in the same way that you care about manual control over the exposure of the image. The way that color is rendered in a photo can completely change the way that it appears and in order to get the absolute best color, you should use manual control over your white balance in the same way that you manually control the ISO, aperture and shutter speeds. While manufacturers sit there and try in vain to get better high ISO results and more dynamic range, they’re not giving us what can possibly provide for even more creative freedom: better color control. The majority of cameras don’t provide incredibly accurate color control or gradation from their sensors. Film arguably does a better job of this in the right situations but digital cameras are capable of getting pretty darned close to real results.
Why Not Just Fix it In Post?

Now here’s the big question: why not just fix this in post? Well, there’s a lot of reasons. To give you one of the most important reasons, your eyes will never be able to adapt to perfectly seeing the color in a scene and your image unless you edit, step away for a bit, edit, step away, repeat. That means that you can spend a long amount of time on a single image. While both Lightroom and Capture One have tools that allow you to find middle grey and edit based on that, those results probably aren’t the results that you want.
Getting your colors right in camera also means that editing is easier. For example if you move your white balance in Lightroom or Capture One to a cooler point, then go to edit the blue channel, you’ll more or less affect every single color channel in the scene. So getting the best and accurate white balance that you can in camera means that you’ll spend a whole lot less time on this step.
So far from what I’ve explained, you’re spending time getting the middle grey point of the scene then editing the overall balance, leaving, repeating, leaving, repeating, then going to edit the color channels. That’s a whole lot of time already. But the thing is that when you set your camera to auto white balance, it does exactly what you’re telling it to do: make the decisions. Therefore, it’s going to do what the engineers told it to do in a particular instance and they’re doing what they think you want. But engineers aren’t mind readers. They can’t tell you just how warm you want the skin tones or that you want warm skin tones but the rest of the scene to be fairly color neutral.
Then consider that your display may not be calibrated to look and act the same way that someone else’s does. And before you even begin to edit, has your display been warmed up for 30 minutes at a minimum? And has it been calibrated?
If this is confusing to you, then I’m going to explain all this in pretty layman’s terms. Don’t worry.
How Does White Balance Work?
Let’s first dive into how white balance works. Basically when a camera sensor is recording information it looks at the scene and determines what kind of light is coming from the source. Then the camera finds a color temperature point that it can add into the scene to deliver a sort of opposite effect. This makes the scene ideally as neutral as possible without skewing more towards the warm side or the cool side. Nikon does this absolutely perfectly. Fujifilm is more or less the manufacturer that does too with variance based on the settings used. Canon tends to go warmer. Sony skews more purple and warm. And Olympus skews more towards the warm side of things unless you directly go into the camera and turn that setting off. For years, Olympus had what was known as Olympus blue.
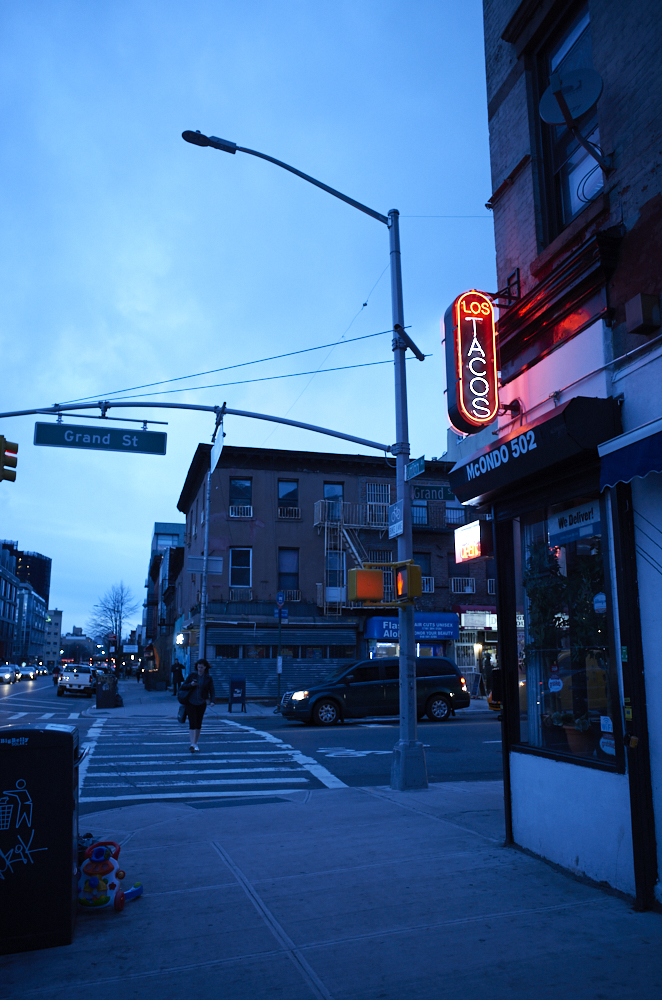
Let’s build a hypothetical situation here: you walk into a room and there is a whole lot of orange tungsten light. That will make the entire scene more orange. Think about most street lamps for example. But if you take a daylight colored light (think about the light that is in your ceiling) then you’ll get a cooler look. Now to neutralize that light, take the daylight bulb and put it near the tungsten bulb. They’re more or less cancel one another out.
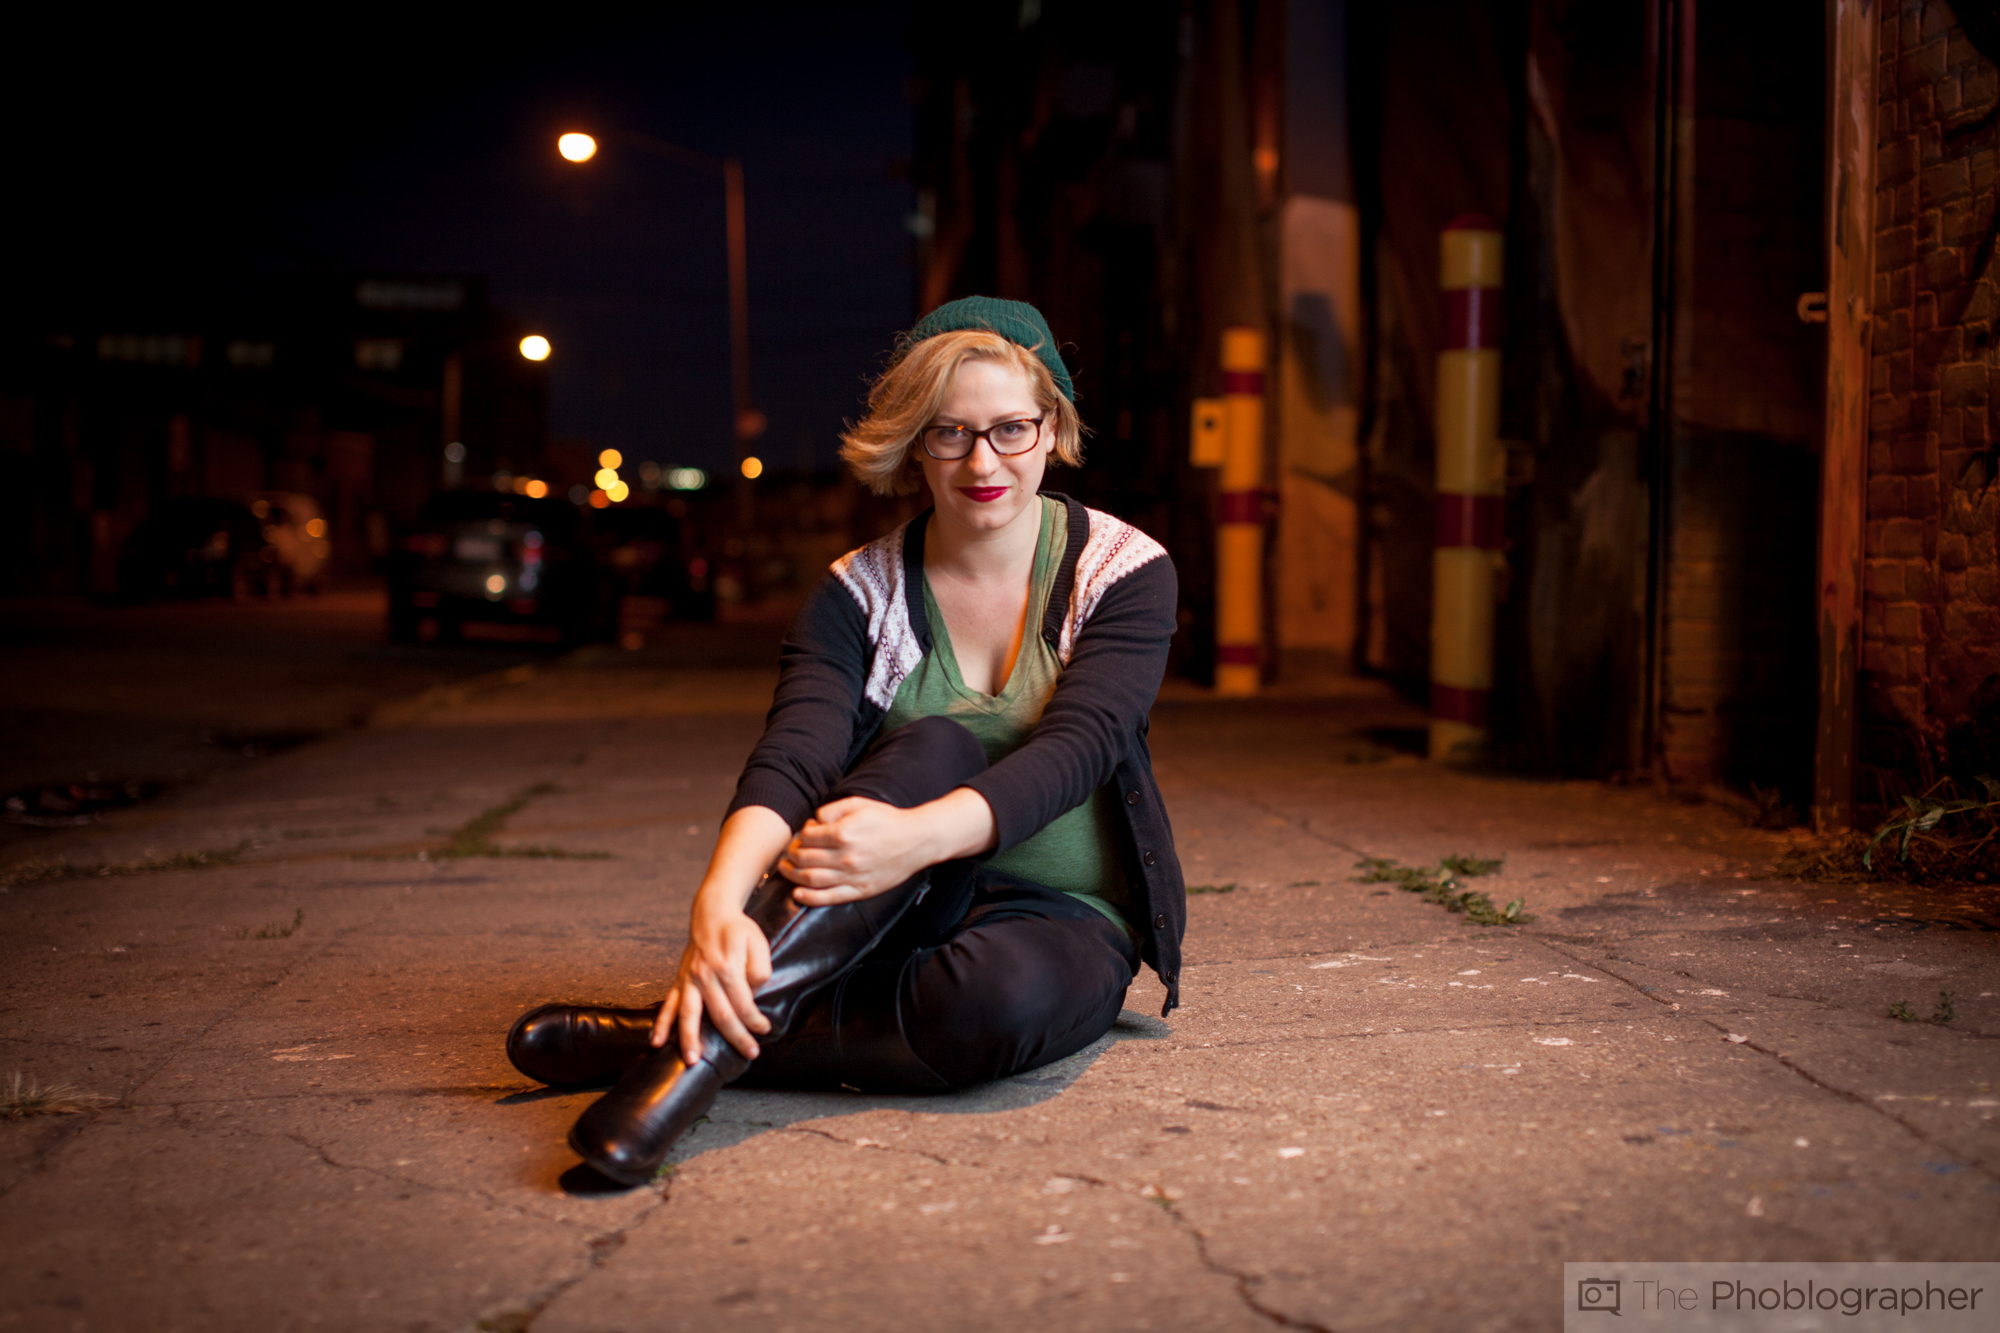
The image above was shot with pretty much just tungsten street lights. But the image below took that street light, put a flash right up against it and created a more color neutral image that negated just that light’s output.
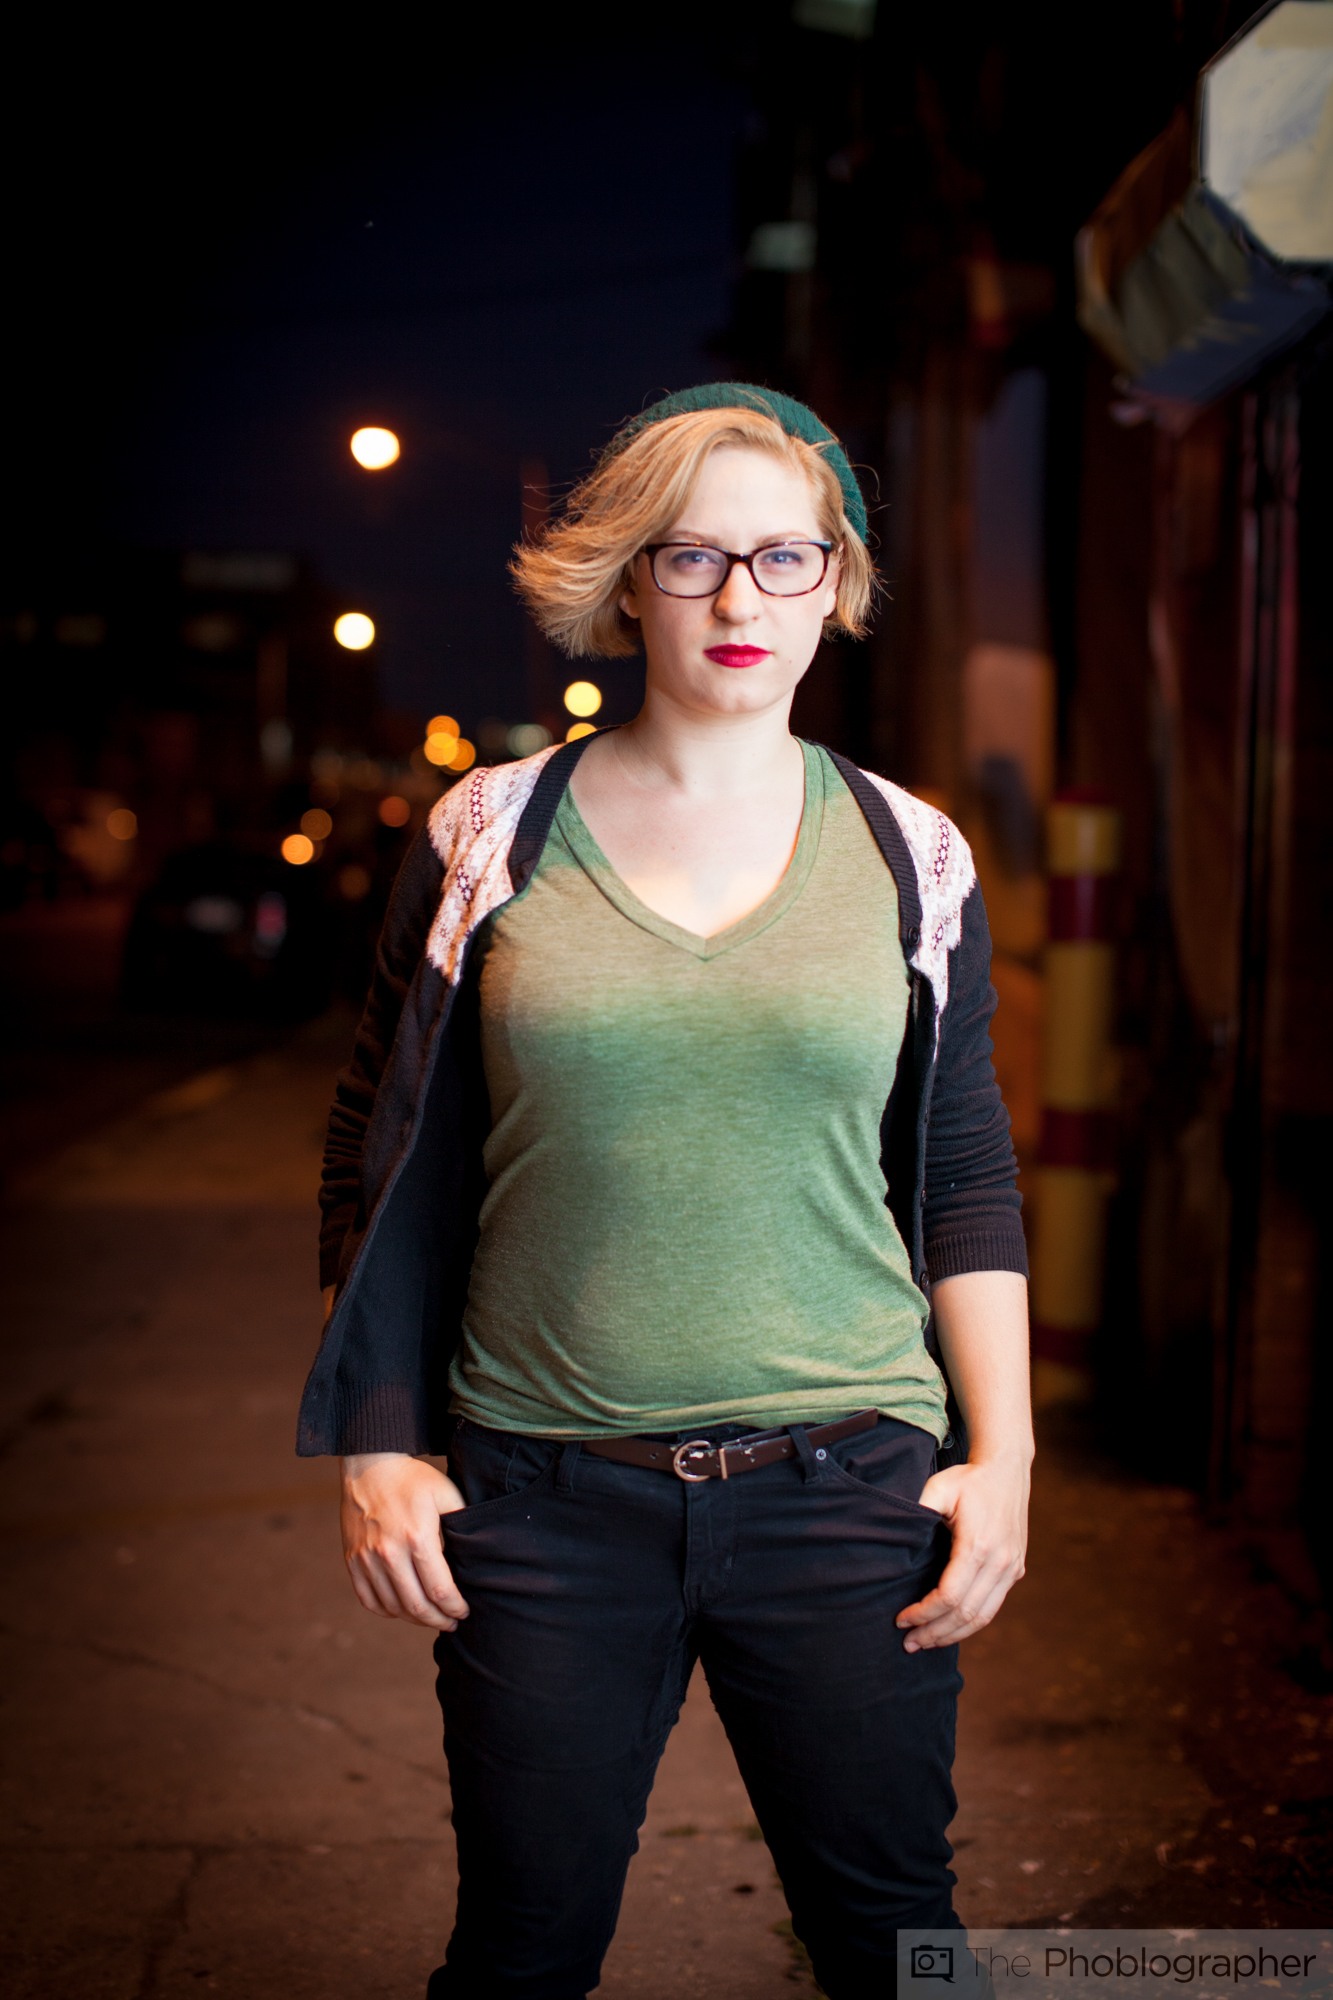
See how different it is? Amanda alone is warm in color but not too warm. The rest of the scene is warm though. How did I figure this out? It’s a major problem that lots of photographers deal with when working with mixed lighting situations.
Auto White Balance
Auto white balance for the past year or so has become my biggest pet peeves. It gives you a color that it thinks you want. And folks have more or less just gone along with it not really understanding what’s possible and how creative you can get with colors until they experiment with them more.
Set White Balance: Not What You Think
If you’re a photographer that chooses white balances semi-manually then you can easily expect one thing but actually get another. For example, if you set your camera to daylight white balance, your camera will then operate within a certain range perhaps between 4400K and 5700K. Crazy,right? If you used film then you’re typically aware that you’re shooting at 5500K white balance.
These semi-manual white balance make even more sense when working with tungsten/incandescent light settings. But this setting can work really well if you’re alright working within a given range–and most photographers generally are. If you’re shooting a scene during the daytime with bright sunlight, you probably don’t want to shoot in tungsten mode because you won’t get accurate colors. But again, that’s up to you.
Film: It’s Fixed
On the other hand, film has a fixed white balance. It’s often set to 5500K with daylight film and 3200K with tungsten film. That’s part of what makes it easier to predict what you’ll get.
Manual White Balance and Custom Temperature Settings
Manual white balance on the other hand is when you hold up a white card in front of the camera and the camera balances based off that and the light source. But if you manually select the color temperature instead, then those settings will be hard copied into the image until you choose to change them later on.
Get rid of the ads!
Did you enjoy reading this article as much as we enjoyed writing it? There's a way to support us and our reporting, getting ad-free navigation and more as a bonus. Subscribe to us for less than a coffee per month —just $3.99— or take advantage of our yearly subscription with a hefty discount for only $25.- An ad-free experience
- A free mystery box for Lightroom or Capture One
- All the books in our store
- 20% discount on Capture One
- 30% discount on Imalume Photo Theft Protection
- 20% off Herbs and Kettle Tea Company.
- 20% off your order from MPIX printing services.
- 5% off Viltrox Products via their eCommerce store.
- 10% off all film developing, printing and scanning services from Blue Moon Camera and Machine
- 15% off 7Artisans products: The lens and accessory maker is offering a sweet discount for Phoblographer's readers.