
Last Updated on 03/08/2017 by Chris Gampat
Shooting in a studio or studio style with film changes a lot more of the photography game than you’d think. You see, there’s no taking a photo, chimping, and saying you like the image or not. You have to get it right the first time around. There’s also a major difference in what can be done with color correction and a lot more. But the biggest thing is the fact that you and your subject will have a much greater sense of connection due to how you need to communicate a whole lot more.
In this post, we’re going to focus a bit more on the technical details.
Flash for Daylight White Balance
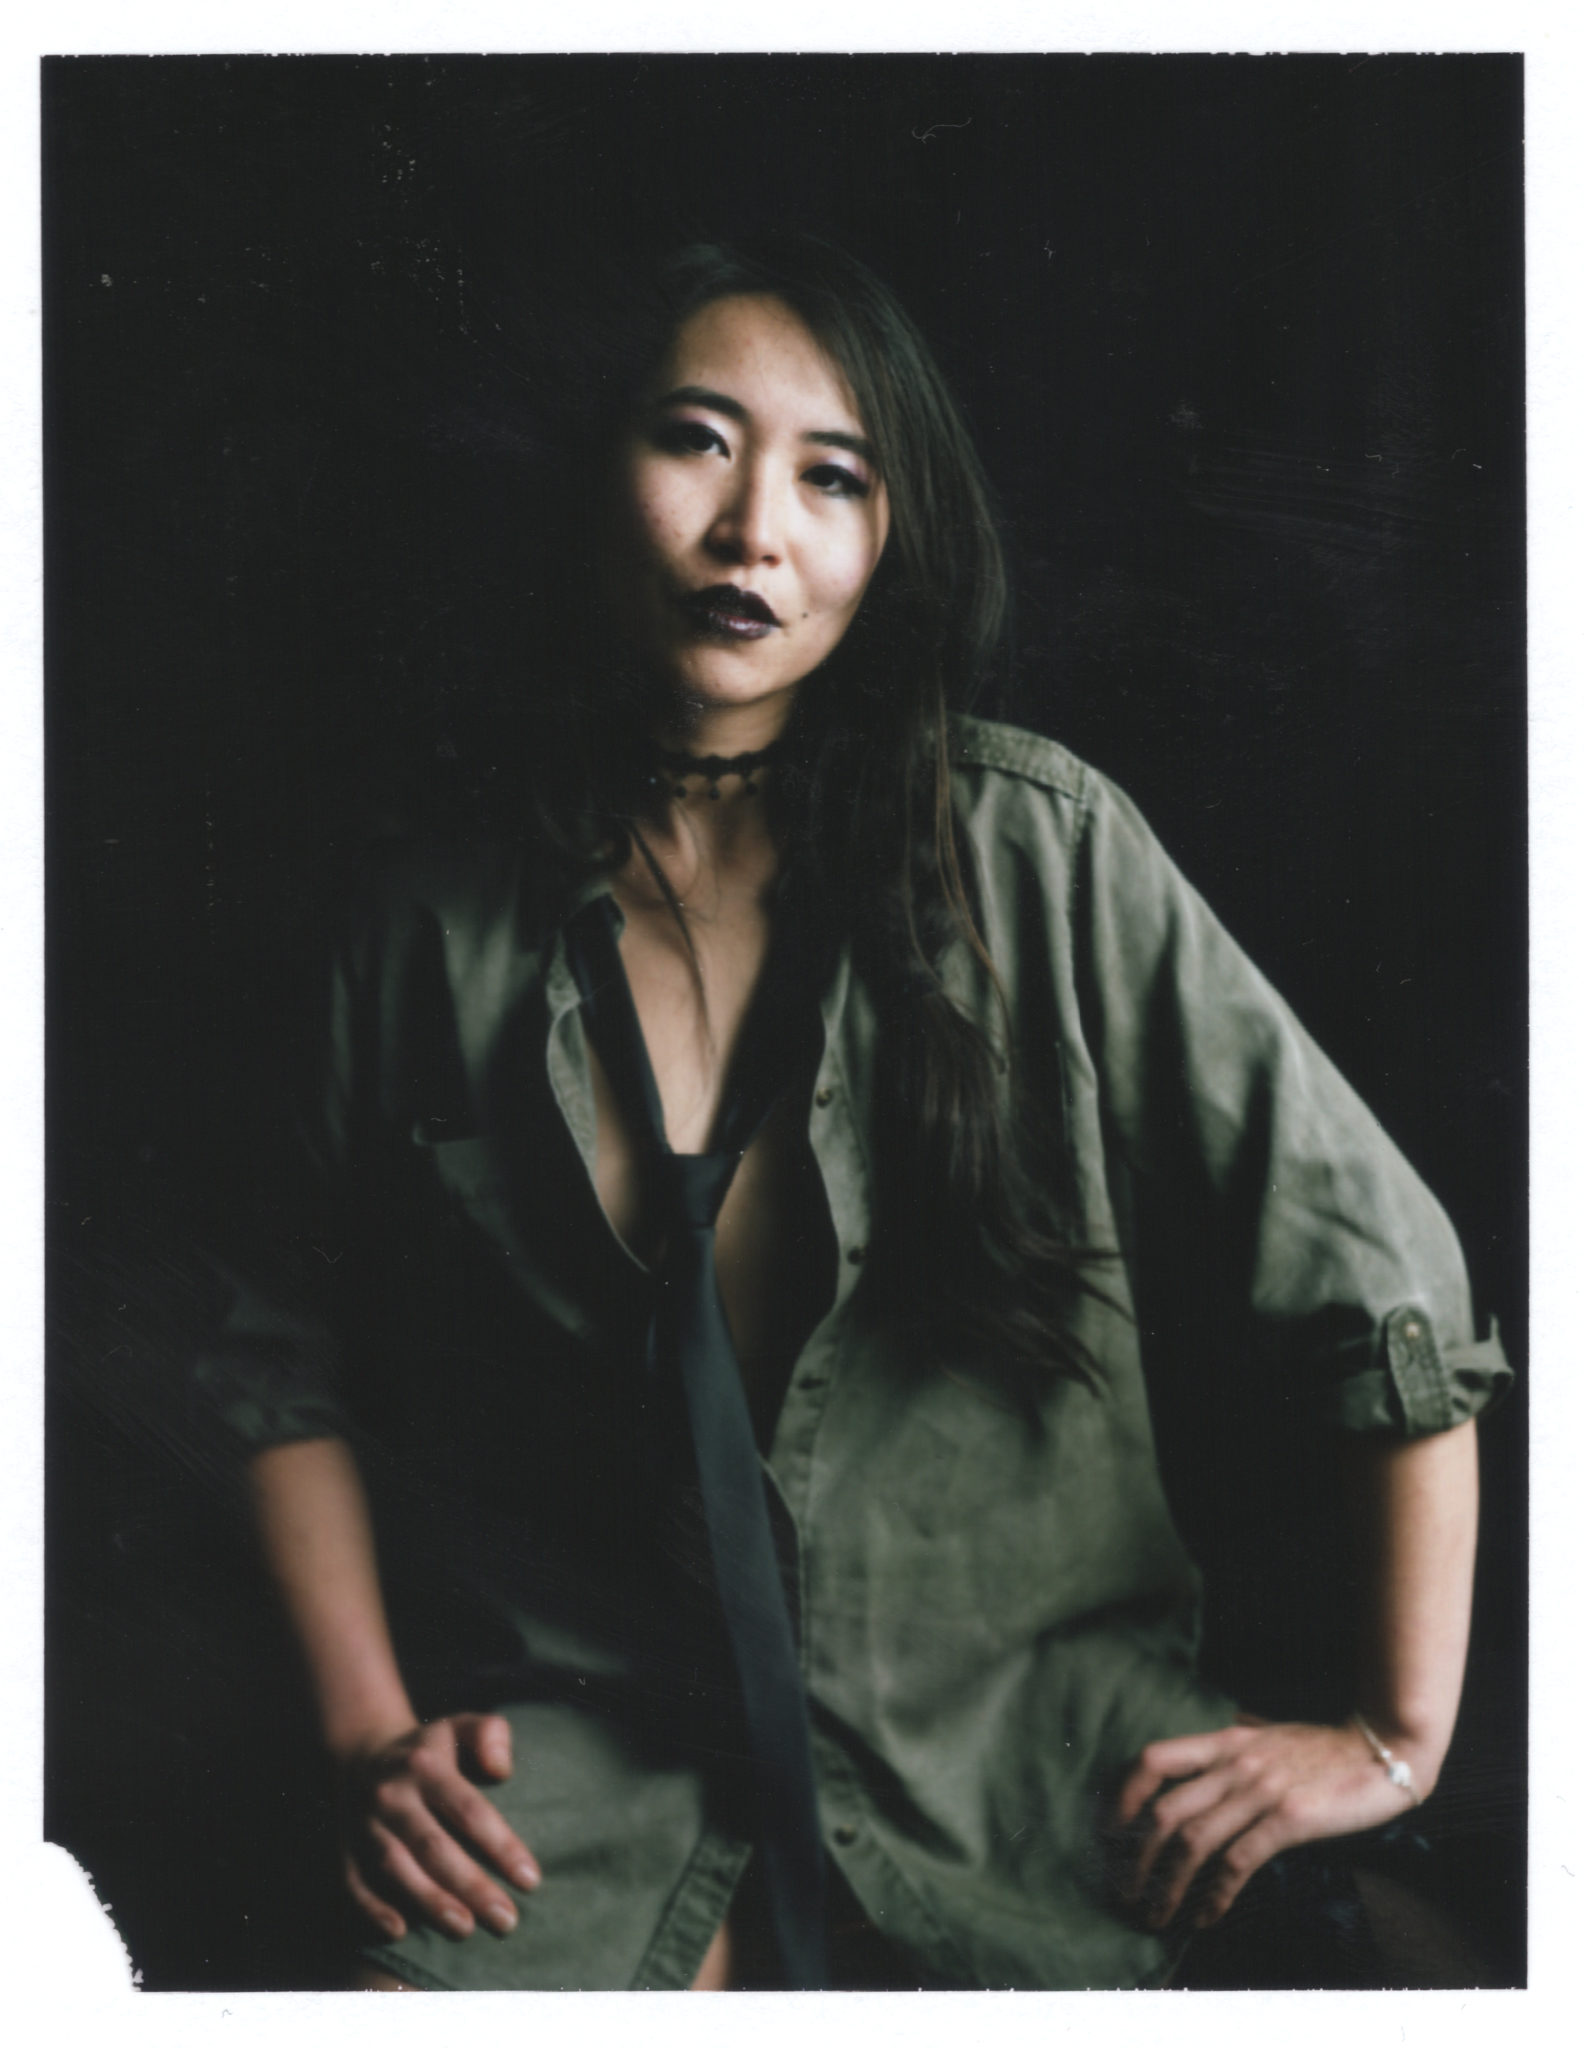
The majority of film out there is daylight white balance. This is 5500 kelvin and is typically what your digital camera will balance itself to most of the time. That means there isn’t any sort of shade white balance, indoors, cloudy, etc. So in order to get the best colors, shooting with a flash is essential. The reason why is because flash is balanced to daylight; so when you don’t have daylight around, you’re going to get it from a monolight or a flash.
Put it into a white light modifier to get the most from it.
Trust me: natural light simply coming through a window doesn’t always work because that light can be bounced off of a wall with red brick which taints the color.
Kill Other Sources of Ambient Light Unless You Want Mixed Lighting

One of the best ways to get better colors in your film photos is to find a way to eliminate most other sources of light when they’re different colors. This can mean everything from table lamps to phones. To do this you’ll need to learn how to see colors in a scene and pay careful attention to them.
But to make this easier, finding a way to use black flags to block that light or to just cover up those other light sources except for your main source is the best way to go about doing this.
More Ambient Light Means Slower Shutter Speeds
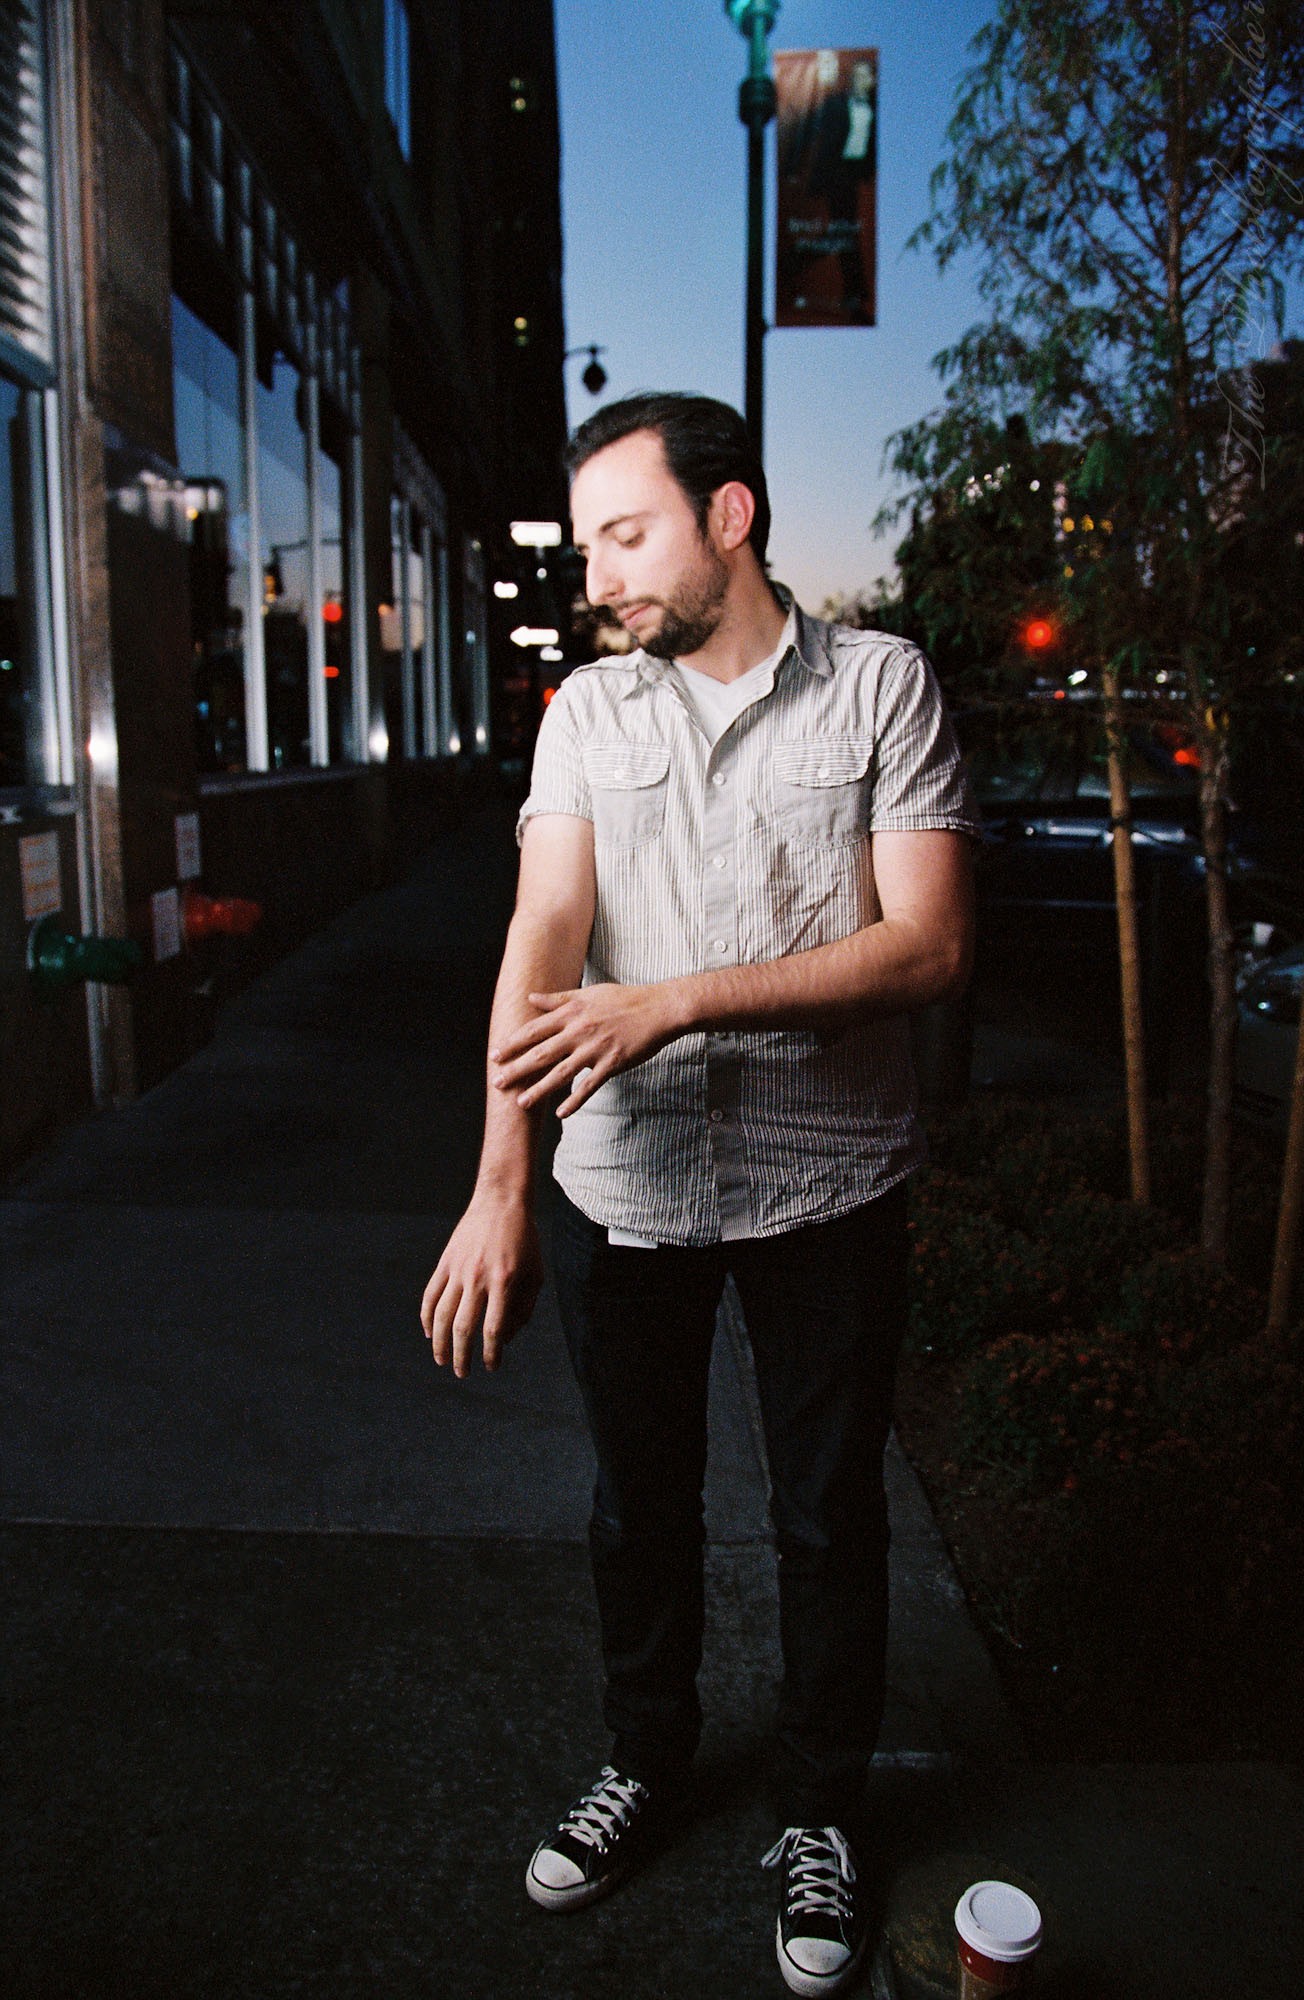
When a flash and its output is added to a scene, something special happens with the exposure settings:
- Ambient light output gets controlled by the shutter speeds
- Aperture controls depth of field and flash output in the scene (this gets complicated)
- ISO controls overall sensitivity
So if you want more of the ambient light in a scene to leak into the photo, you’ll need to slow down your shutter speed. This way you can balance the two out. If you want to “kill the ambient” just shoot at a faster shutter speed that is supported with your camera’s flash sync.
Carefully Observing How Light is Spreading Through the Scene Both From the Flash and Ambient Lights
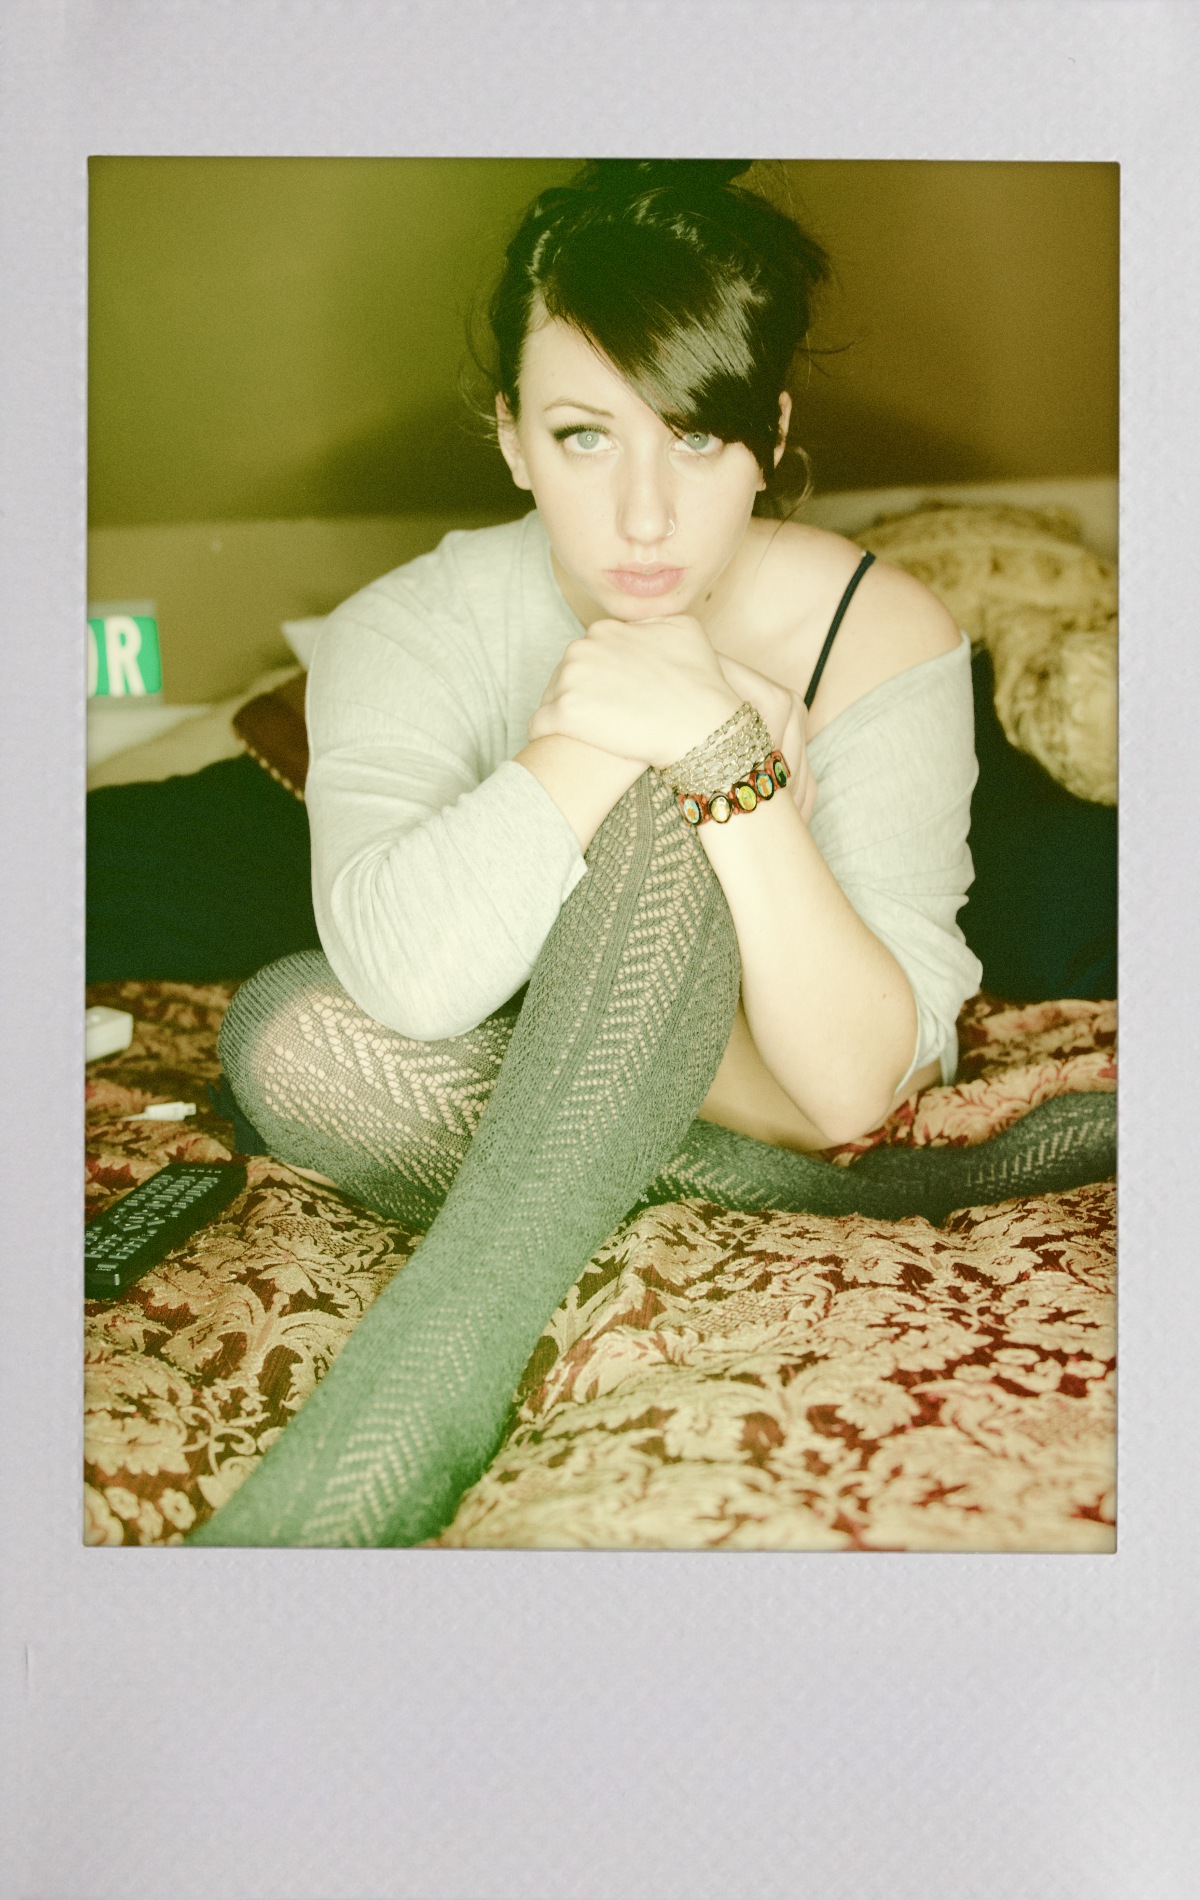
See how weird the lighting looks in this scene? The reason for it has to do with slight expiration of the Polaroid in addition to other lighting effects coming into the scene. When the light was bouncing off of the walls, it took on their color. Hence, that color of the walls leaked into the scene.
This is why so many photographers try to work with neutral scenes of some sort. Typically they don’t want a look like this.
Communicate with Your Subject About the Framing

Sometimes, especially with babies you can’t communicate with your subject about framing. But when you get the chance to, you can tell them basically what you’re seeing through the camera. If you walk up to them and basically draw an imaginary box of some sort so that they can see what kind of framing the can move within, then they end up helping you make your job easier.
A great shoot for this: headshots. Obviously most headshots are tighter but you don’t always know what someone wants. Communicating this to them will save you a potential headache later on.
Get rid of the ads!
Did you enjoy reading this article as much as we enjoyed writing it? There's a way to support us and our reporting, getting ad-free navigation and more as a bonus. Subscribe to us for less than a coffee per month —just $3.99— or take advantage of our yearly subscription with a hefty discount for only $25.- An ad-free experience
- A free mystery box for Lightroom or Capture One
- All the books in our store
- 20% discount on Capture One
- 30% discount on Imalume Photo Theft Protection
- 20% off Herbs and Kettle Tea Company.
- 20% off your order from MPIX printing services.
- 5% off Viltrox Products via their eCommerce store.
- 10% off all film developing, printing and scanning services from Blue Moon Camera and Machine
- 15% off 7Artisans products: The lens and accessory maker is offering a sweet discount for Phoblographer's readers.