
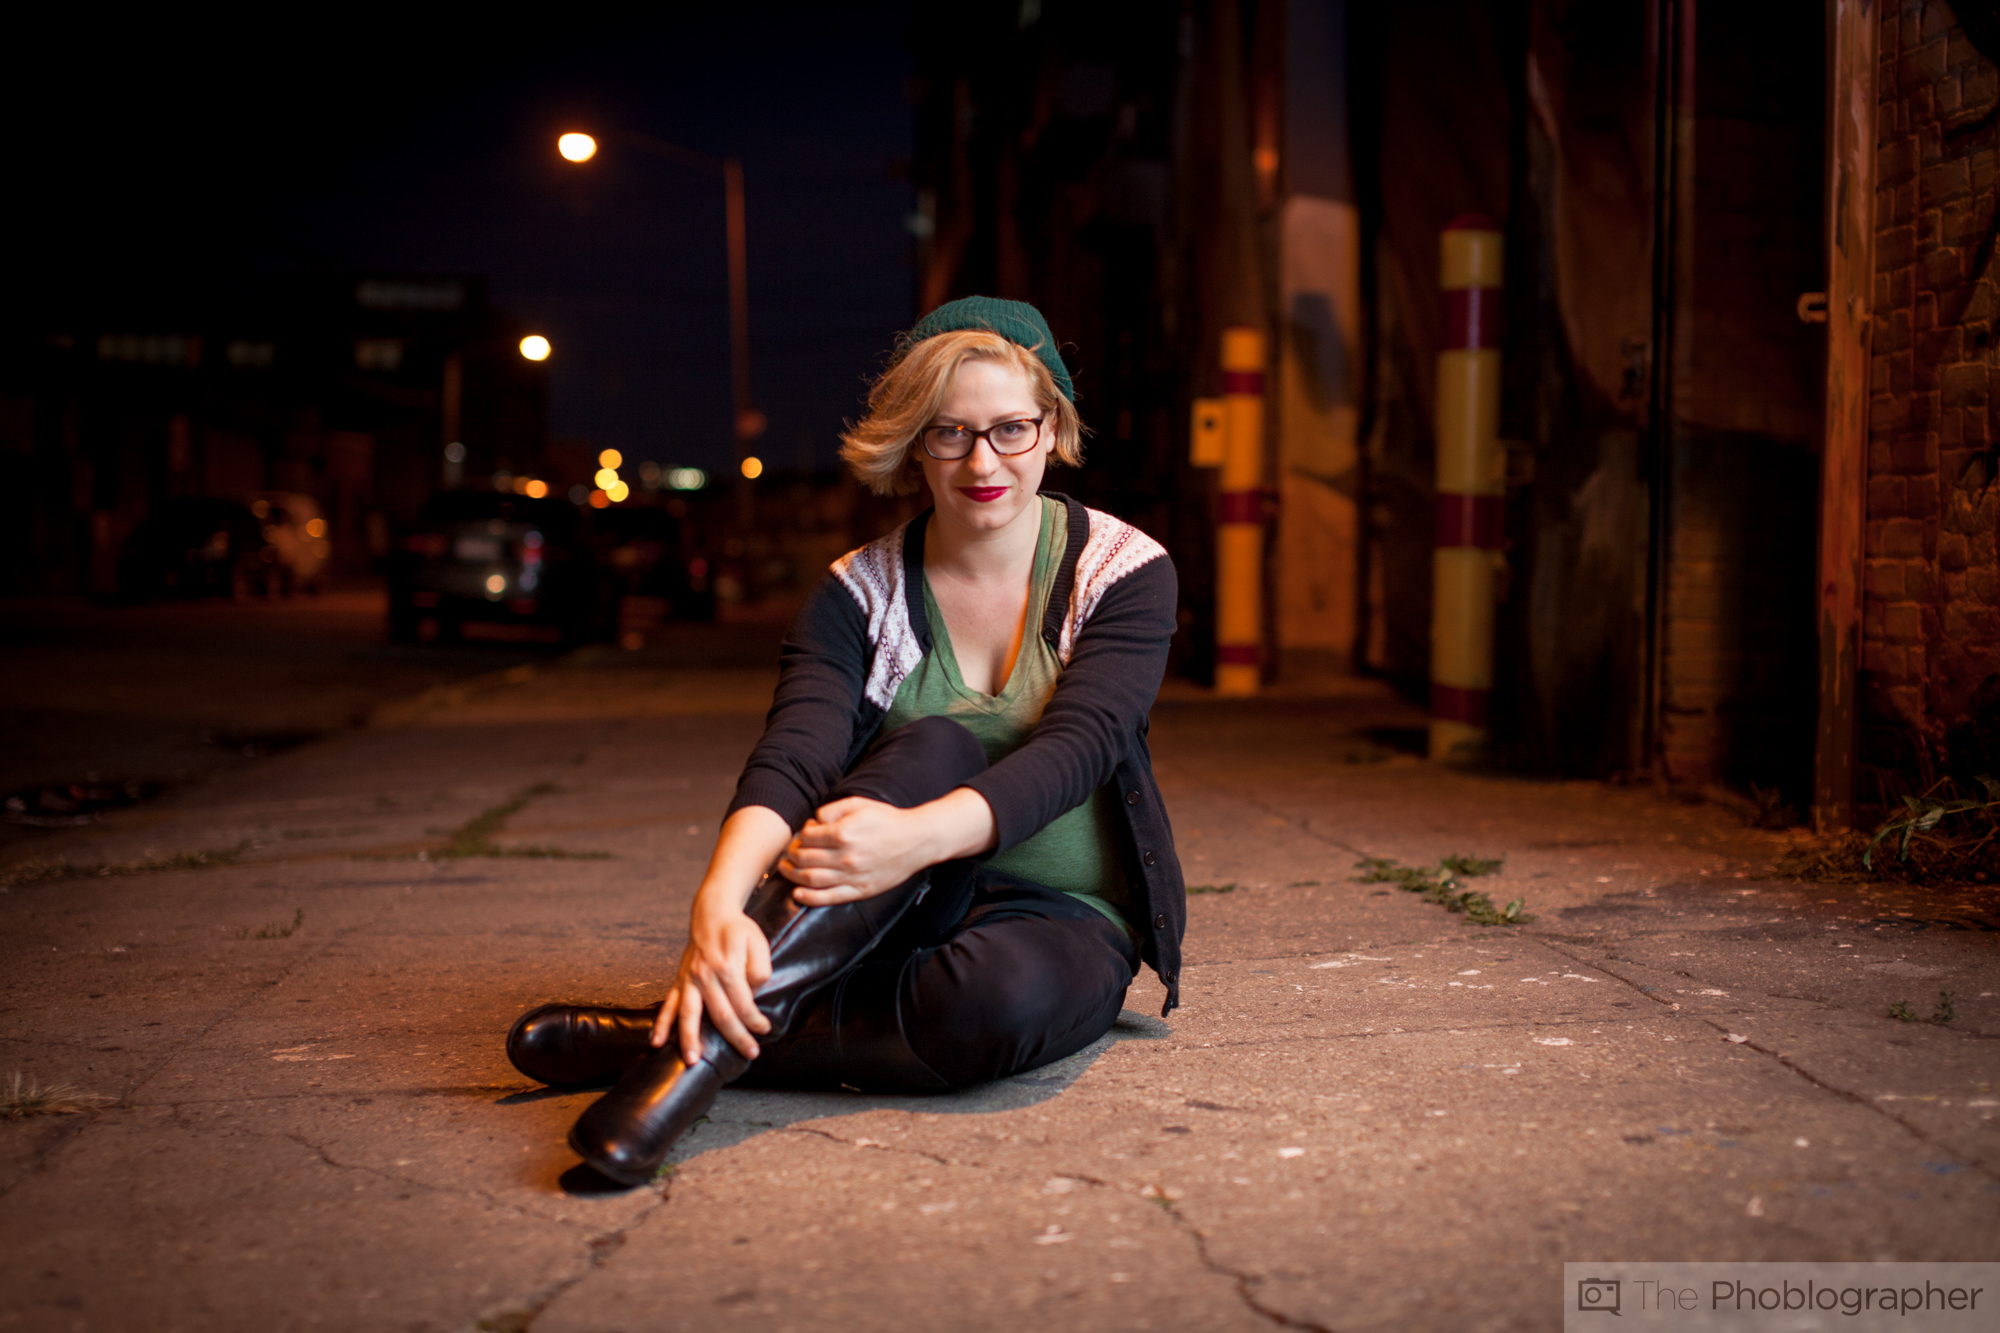
While the guides to shooting portraits with a 50mm and a 35mm lens did very well, there is something that I think is a million times more important than your focal length: and that’s light. Photography is nothing without light and while natural light can be beautiful it won’t give your subject that extra pop in a scene that makes someone immediately pay attention to them.
The better part: you don’t need a majorly complicated flash to do this. In fact, I almost never use monolights anymore and I mostly work with a combination of natural light and a single flash. What’s possible with just one extra source of light is immense.
You Create the Light: Size of the Output

Ever walk by a window with a shade/blinds over it and notice just how soft the lighting is? Then when you pull the shades up the window lighting becomes much harder? That’s because when the shades are up, the light source is often direct, further and smaller in relation to the object (the sun, in this case.)
In the same situation, when the blinds are down, the blinds theoretically become the source of light. They’re closer to the subject, larger in relation to the space, and still pretty direct. To that end, they give off softer light.
The rule of lighting is this: the larger and closer the light source is, the softer the light will be. The further and smaller the light source is, the harder it will be.
The difference between hard and soft light has to do with the shadow quality and how easy it is to see details in them with the human eye.
So how do you create larger light sources?
- Bouncing the flash output off of a wall or surface
- Using a light modifier like a softbox, umbrella, octabank, etc. Essentially, some sort of GoBo: something to go between the light and subject
- Setting the zoom head of the flash to its widest setting
And that leads us to the next section.
The Zoom Head
The zoom head on your flash is colloquially designed to work with lens focal lengths. Shooting at a 50mm equivalent? Then the head will zoom in or out to that focal length to cover the surface area there. But the zoom head can also be used in a different way.
Say, for example, that you’re shooting with an 85mm lens. You won’t zoom the flash head to 85m, 70mm or 100mm. Instead, zooming it to 24mm makes it cover a larger surface area and by combining this with the wide angle diffuser, you can create pretty soft lighting. The idea here is that the flash head is making the light source theoretically larger and cover more surface area.
What also counts here is the distance from the subject combined with the power output and some of your exposure settings.
Power Output and Exposures
So now that you know all this about how to use light, combine it with the knowledge of using the power output and exposures. Lots of people shoot with a TTL flash, but I generally recommend that you don’t. Why? The flash system, camera and metering system with will work together to give you what it thinks you want. Just like with computer programming, you need to specifically tell the camera and flash what you want in order to get the image that you have in mind.
Think of it this way: you’re shooting in all manual anyway, right? Why not just take it one step further?

Generally, what I recommend is start at ISO 200, f2.8, 1/125th and set the flash output to 1/4 with the zoom head set to its widest angle. From there you’ve got a number of variables to play with.
This is how exposures work when a flash is used:
- Shutter speeds control the ambient lighting
- Apertures control depth of field and the amount of flash power that affects the scene (flash exposure even though the flash will always give off the same power when it is manually set)
- ISO controls overall sensitivity to the scene
- Flash output is, well, flash output.
Change one and you’ll probably need to change the rest in an equal way.
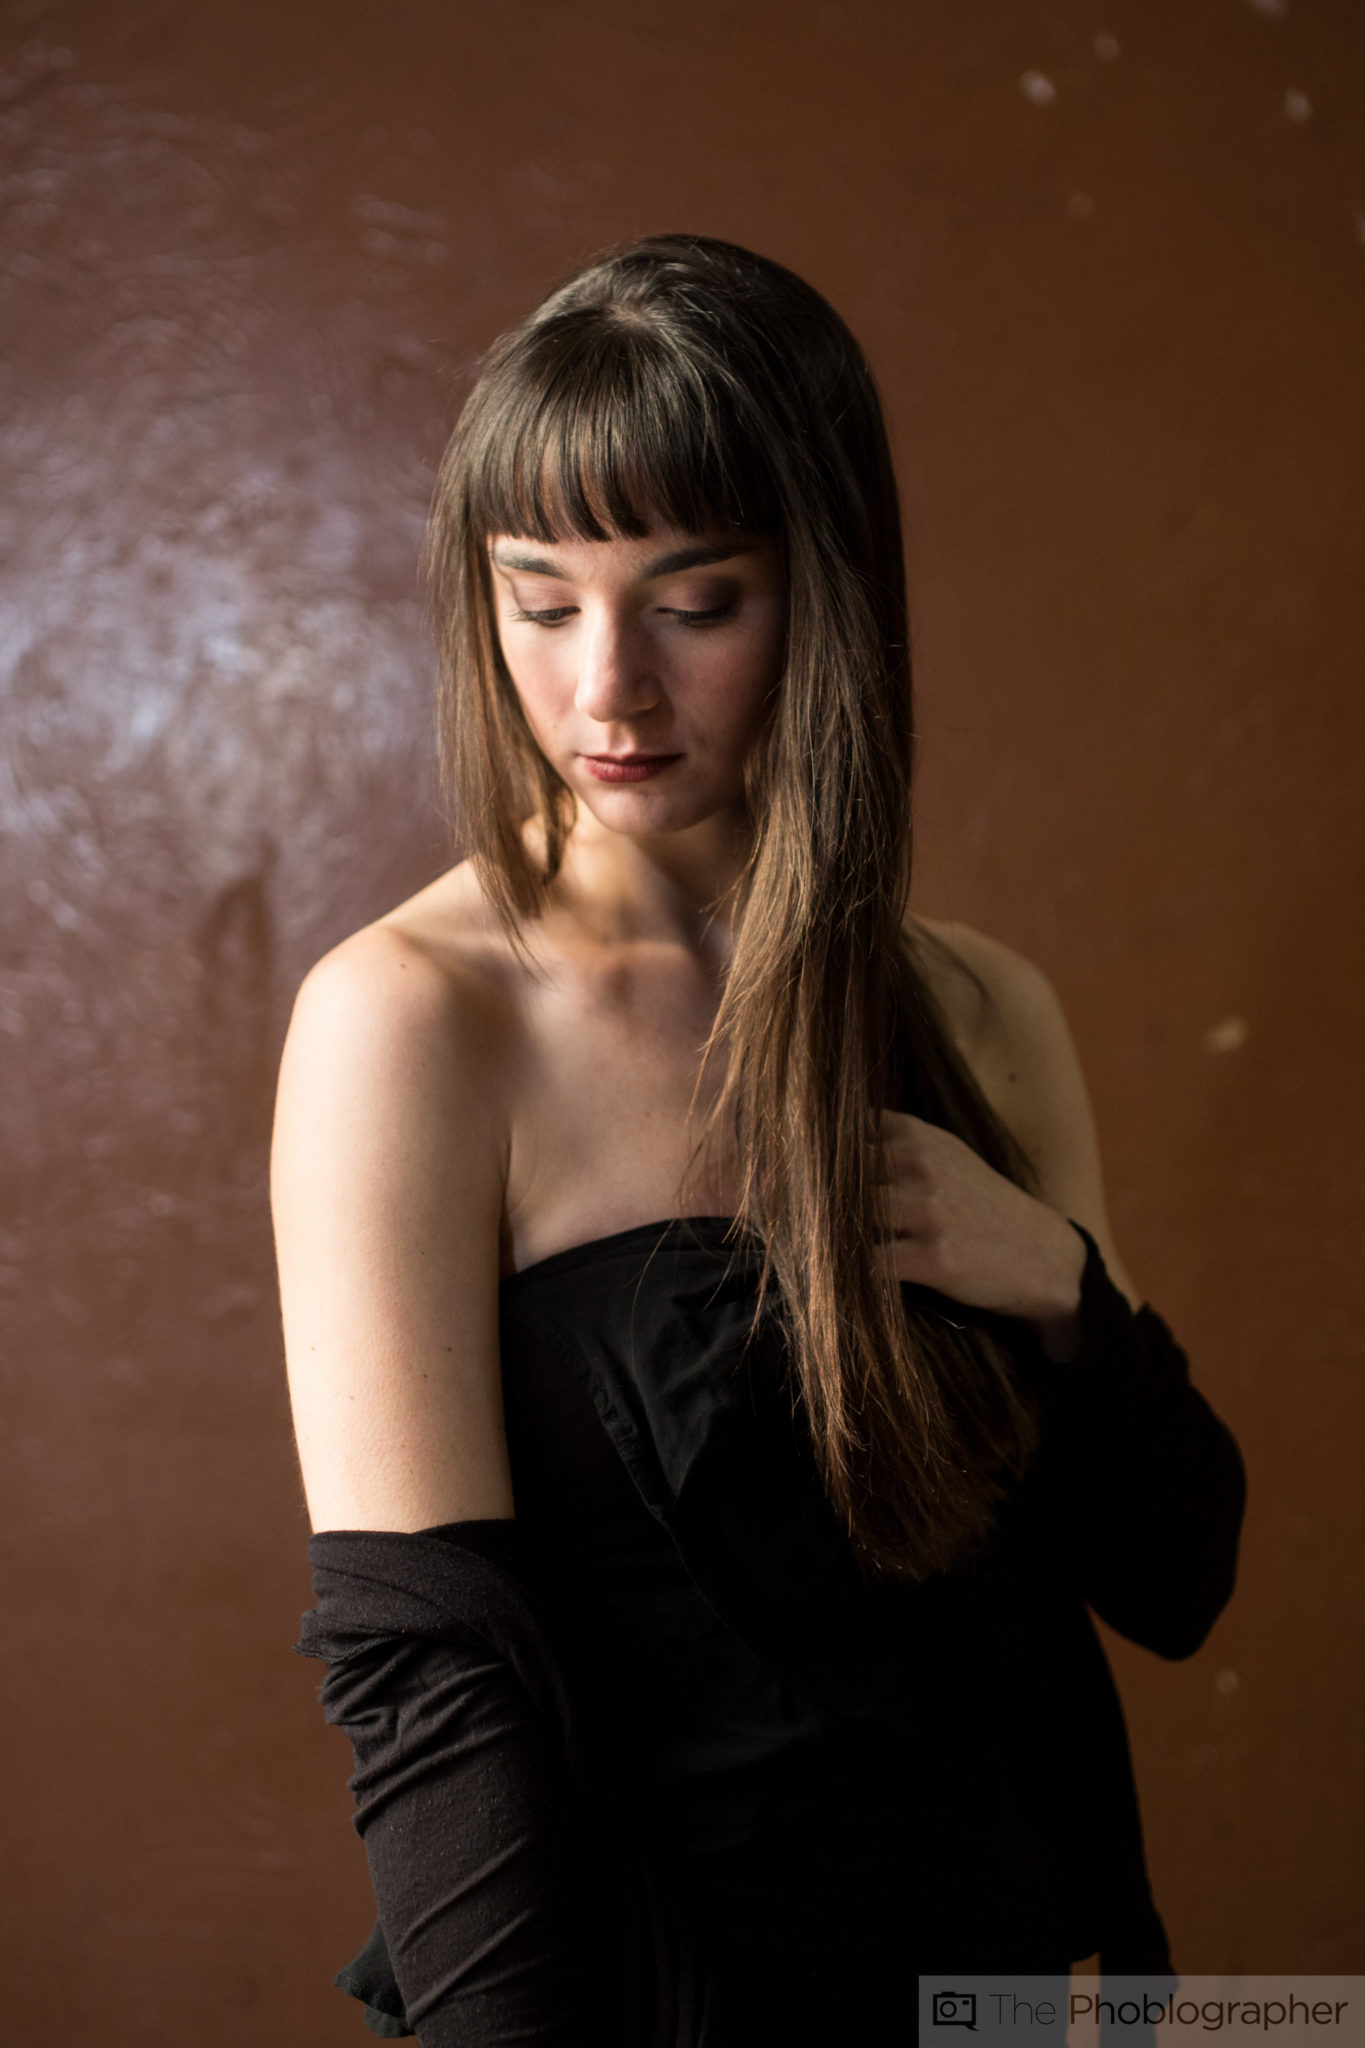
Creating Flattering Light
The secret to creating flattering light has to do with creating a large enough source of light in relation to your subject and combined with the positioning of them. That’s really all that there is to it and there is no need to make it anymore complicated than that.
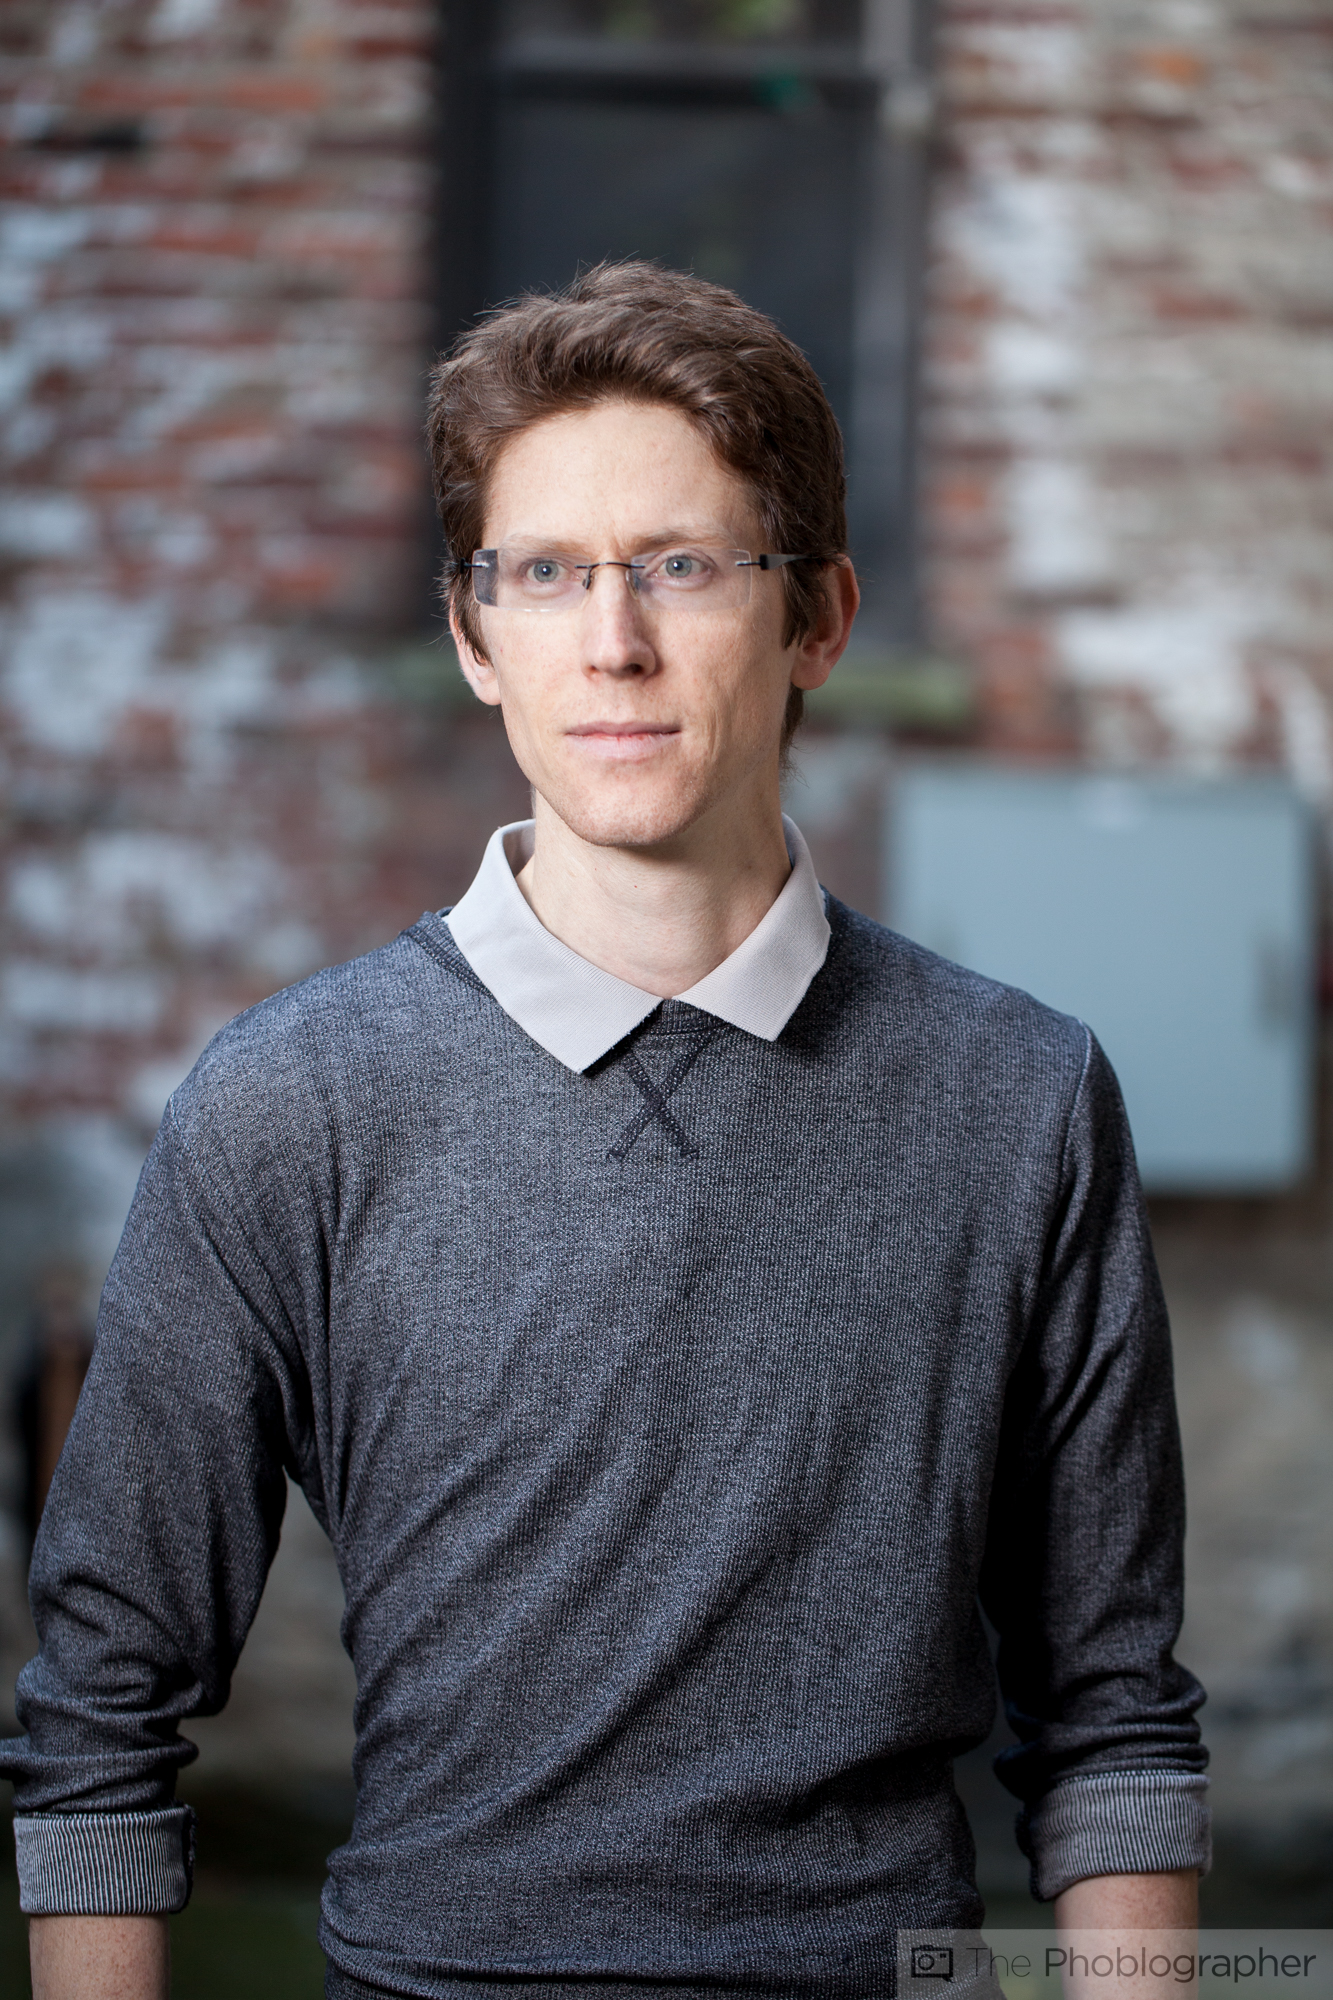
As an extra hint, light that tends to wrap around a subject rather than just come from one direction is best. In the image above of Simon, the light from the flash hits him from camera left and to his front. Ambient lighting is giving rim light around him combined with effective use of depth of field.
Important Areas to Emphasize
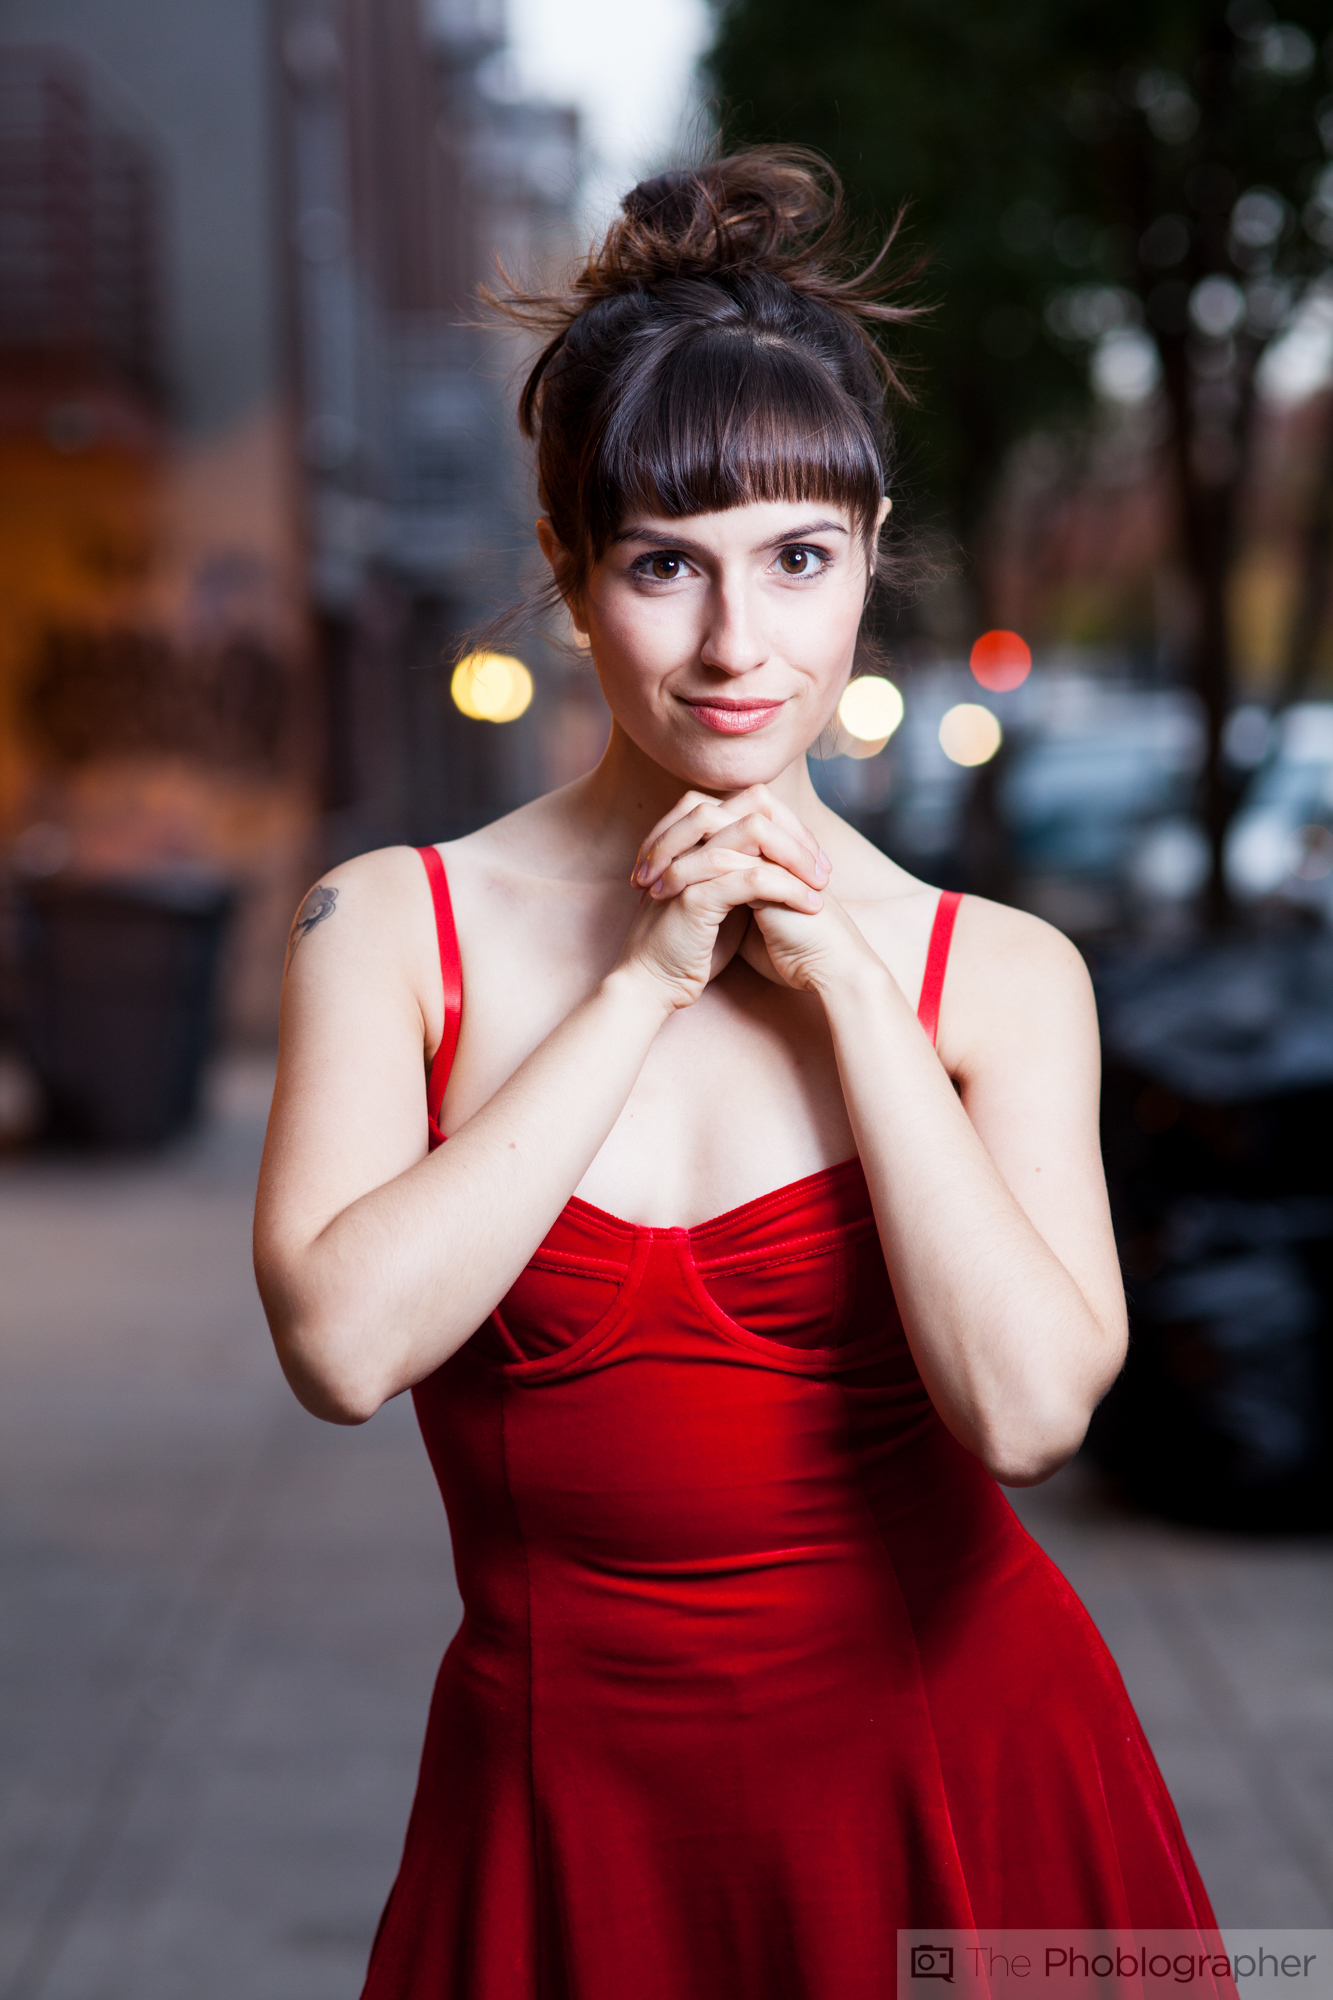
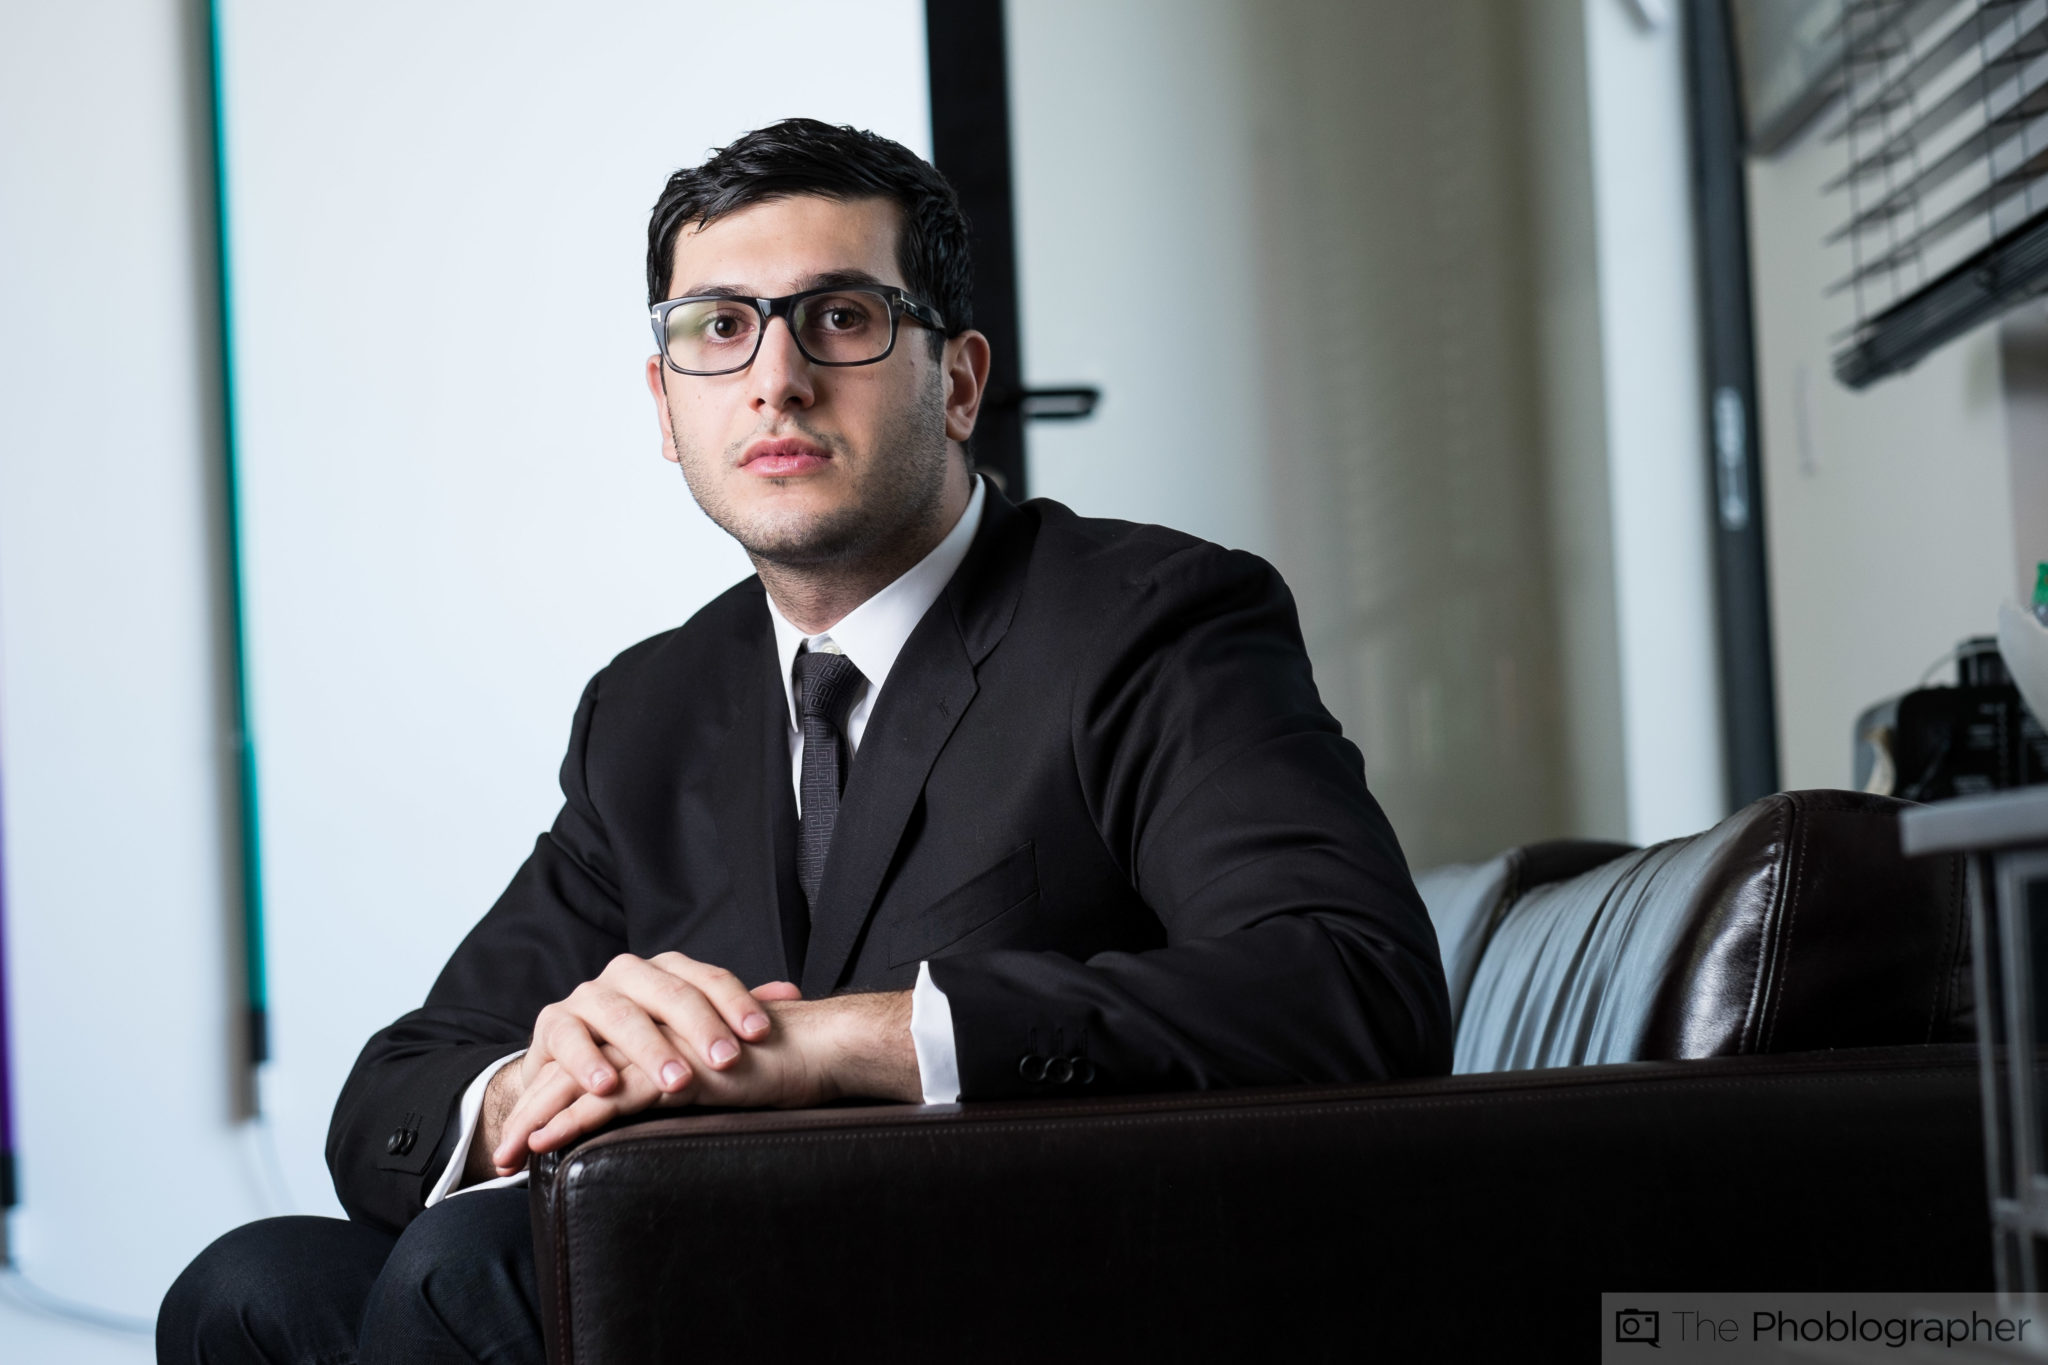
Creating better portraits with a single flash is really all that this entire article talks about, but the article so far hasn’t talked about the one big thing that many photographers really want to emphasize: the eyes. To emphasize the eyes it’s best to face the subject towards the light with the chin up just a bit. The eyes will catch reflections from the light: which are called catchlights.
And that’s it: it’s incredibly simple to do as long as you just get out there and do it instead of being afraid of it.
Go try it out!
Get rid of the ads!
Did you enjoy reading this article as much as we enjoyed writing it? There's a way to support us and our reporting, getting ad-free navigation and more as a bonus. Subscribe to us for less than a coffee per month —just $3.99— or take advantage of our yearly subscription with a hefty discount for only $25.- An ad-free experience
- A free mystery box for Lightroom or Capture One
- All the books in our store
- 20% discount on Capture One
- 30% discount on Imalume Photo Theft Protection
- 20% off Herbs and Kettle Tea Company.