Last Updated on 03/24/2016 by Chris Gampat
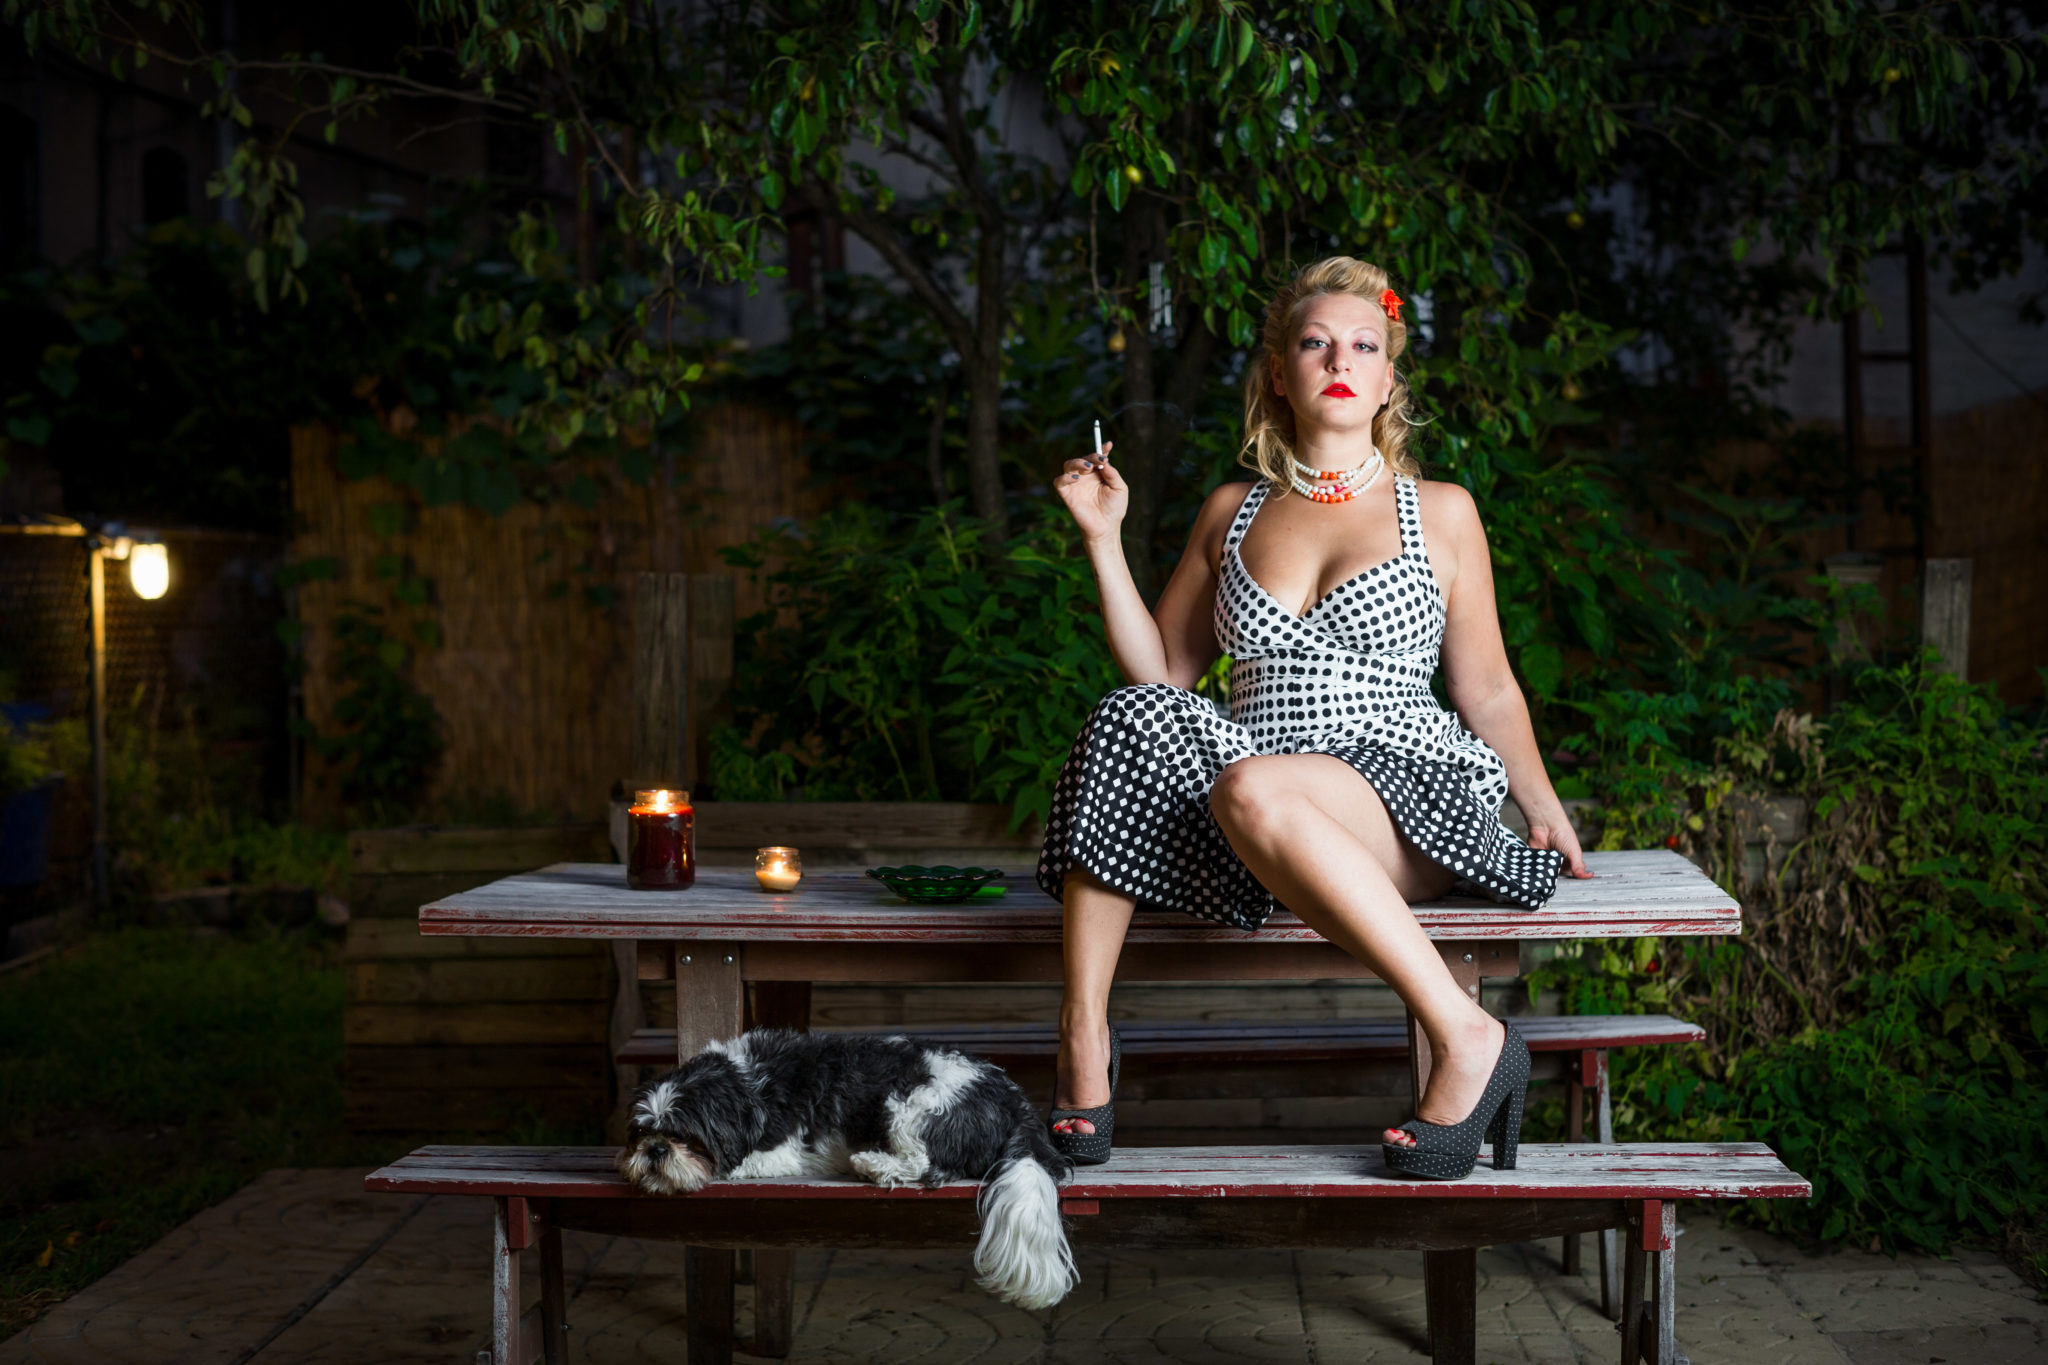
On the success of the site’s guide to working with the 35mm focal length for portraits, here’s The Phoblographer’s guide to working with 50mm lenses.
Before I go on, know that this article is specifically targeted towards working with both a 50mm focal length (and a bit longer) and a 50mm field of view. Working with a cropped sensor is a bit different.
The Best Areas of the Lens


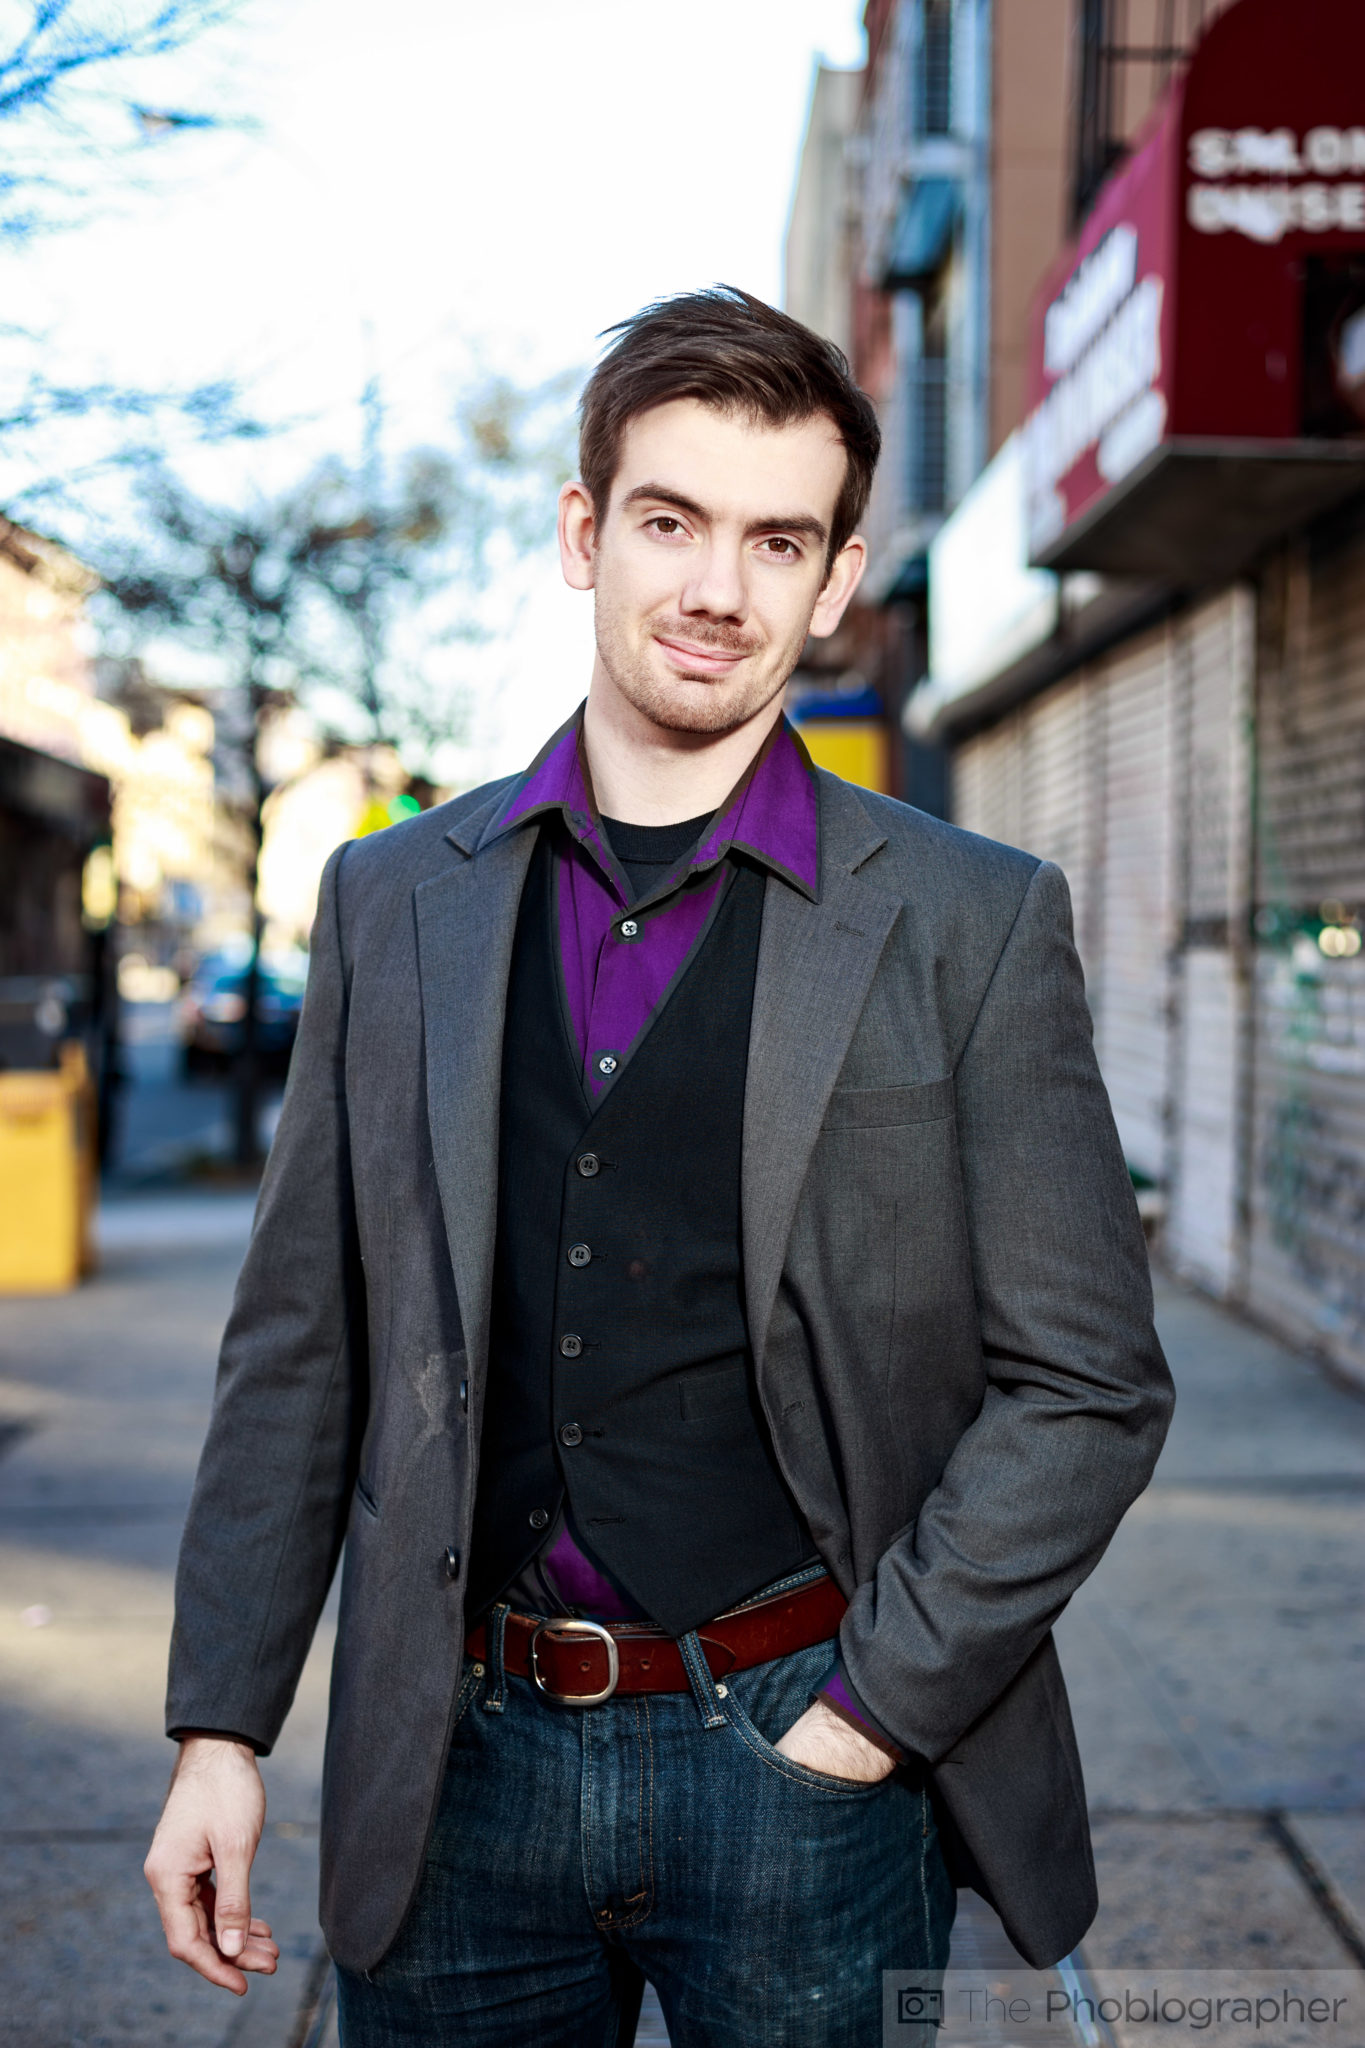
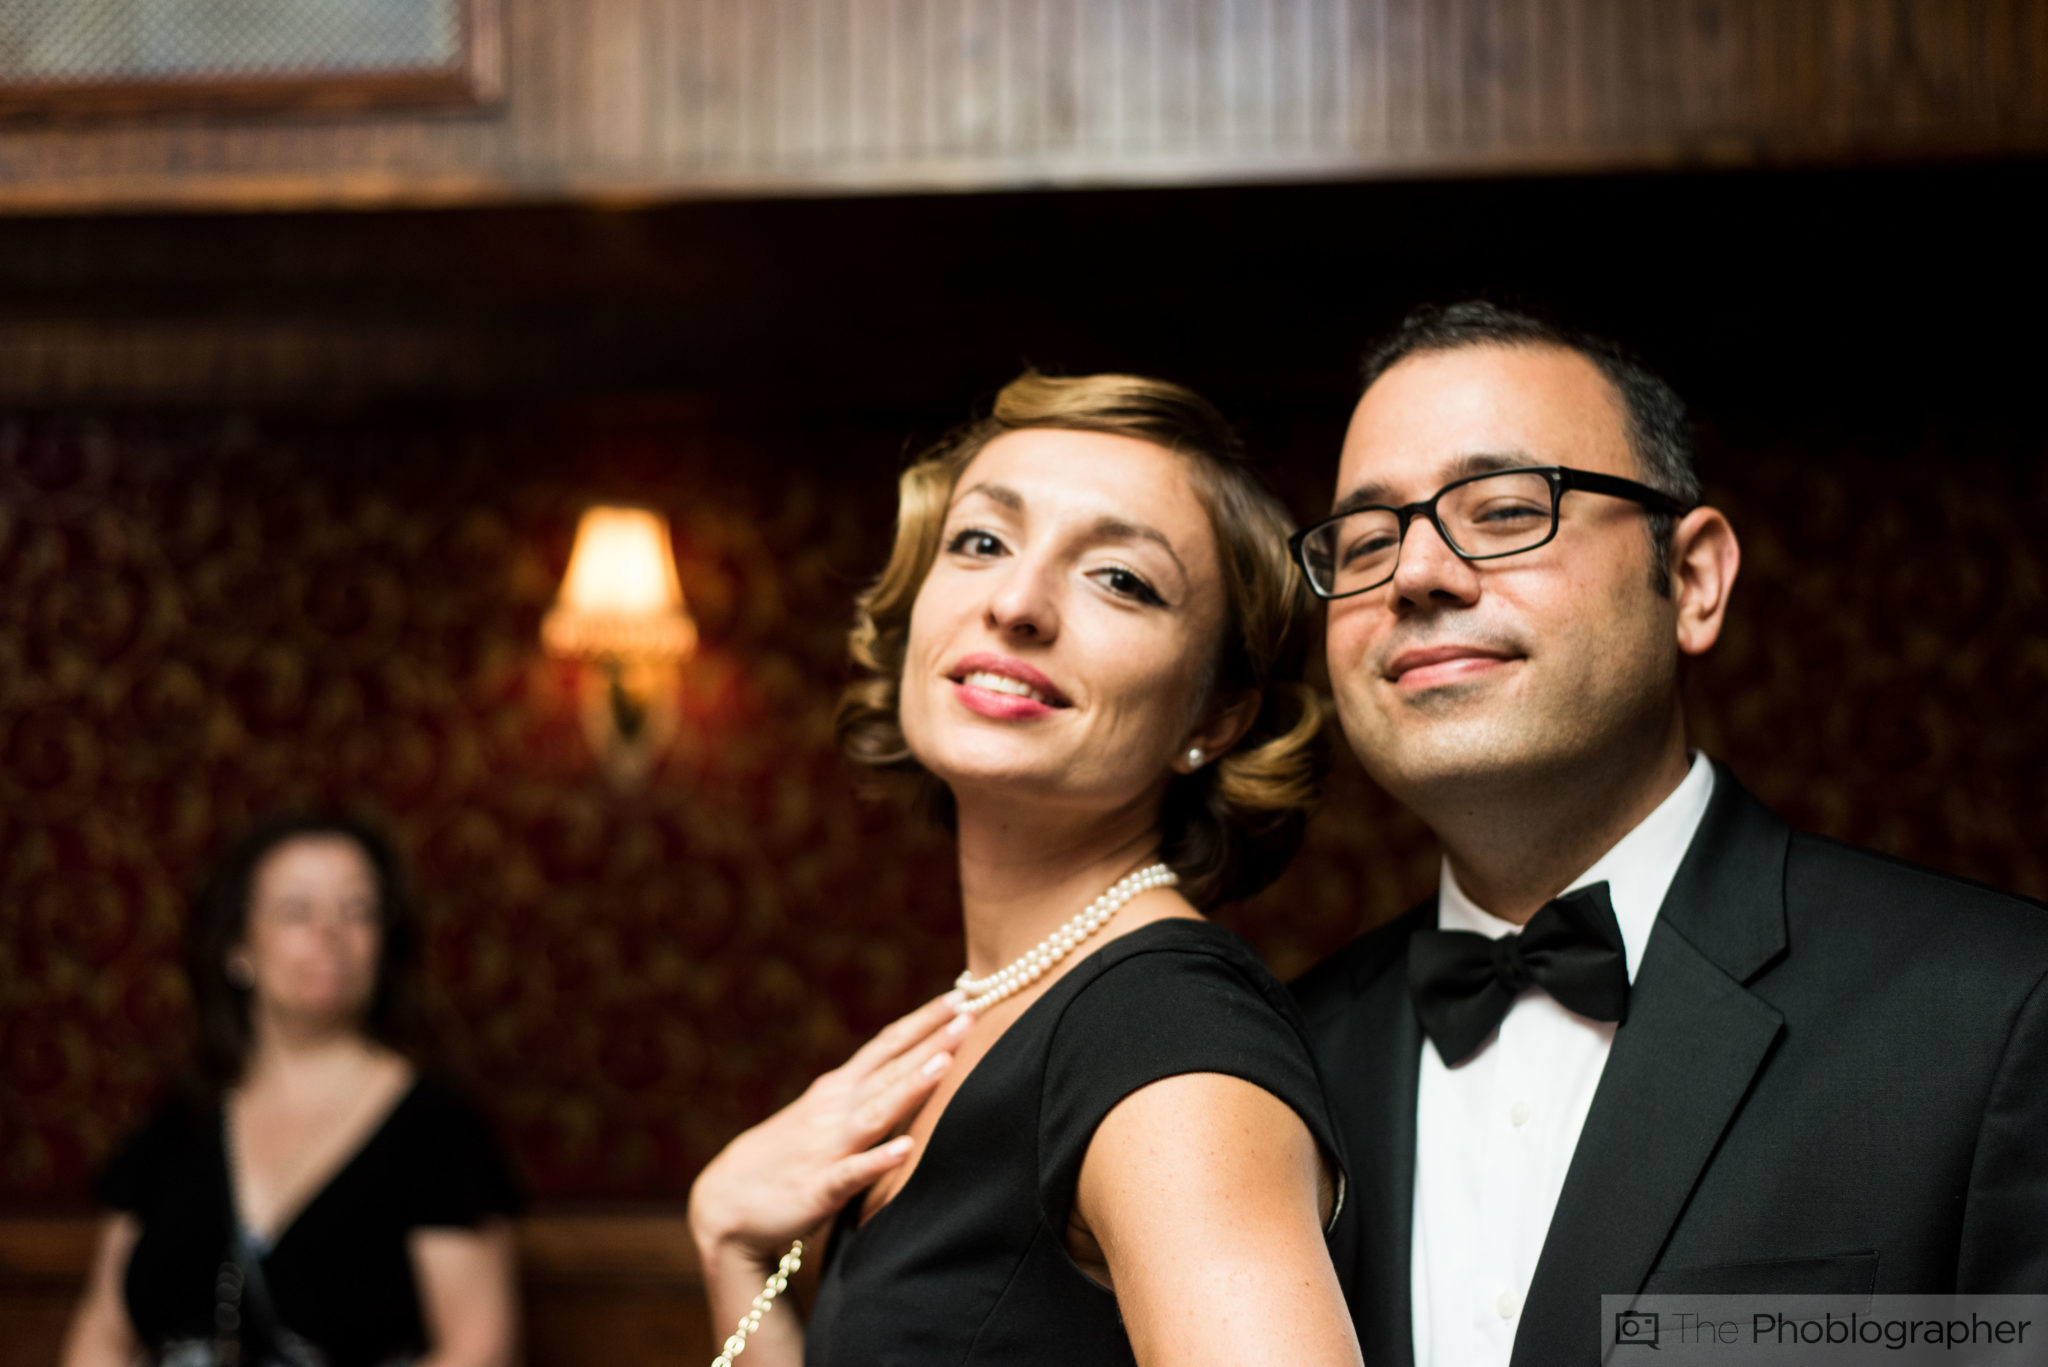
So with such a large gamut of factors, the general best areas to photograph within for a 50mm lens are nearer towards the center. See the image that this section opens up with? If Andrew were moved more towards the center of the lens then there would be less pronounced distortion on his closer shoulder. My alternative was to move back: and again more will be spoken about later.
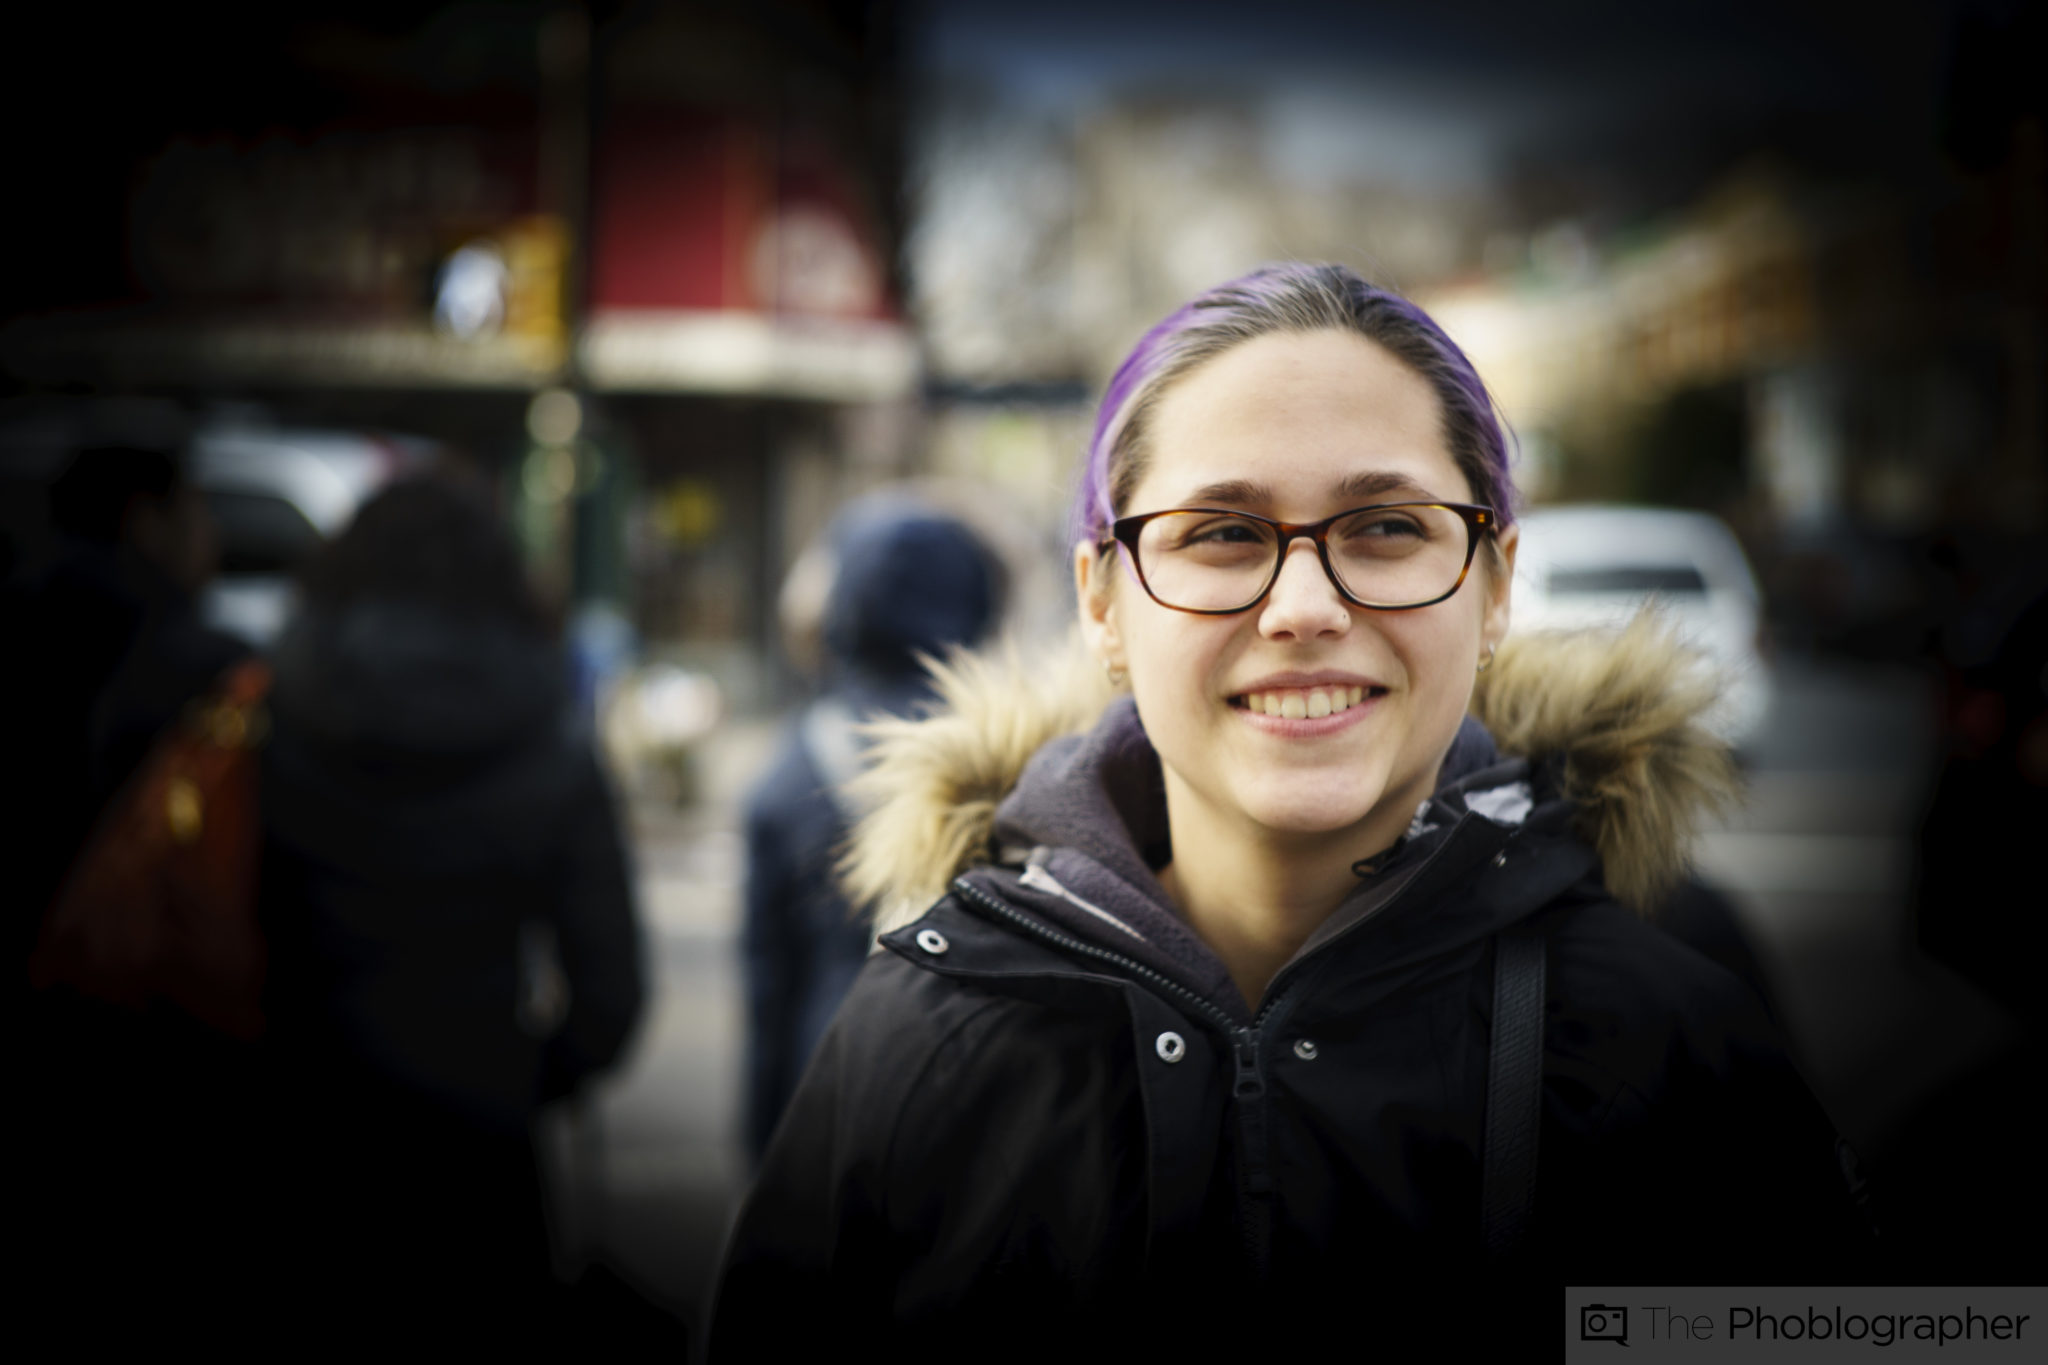
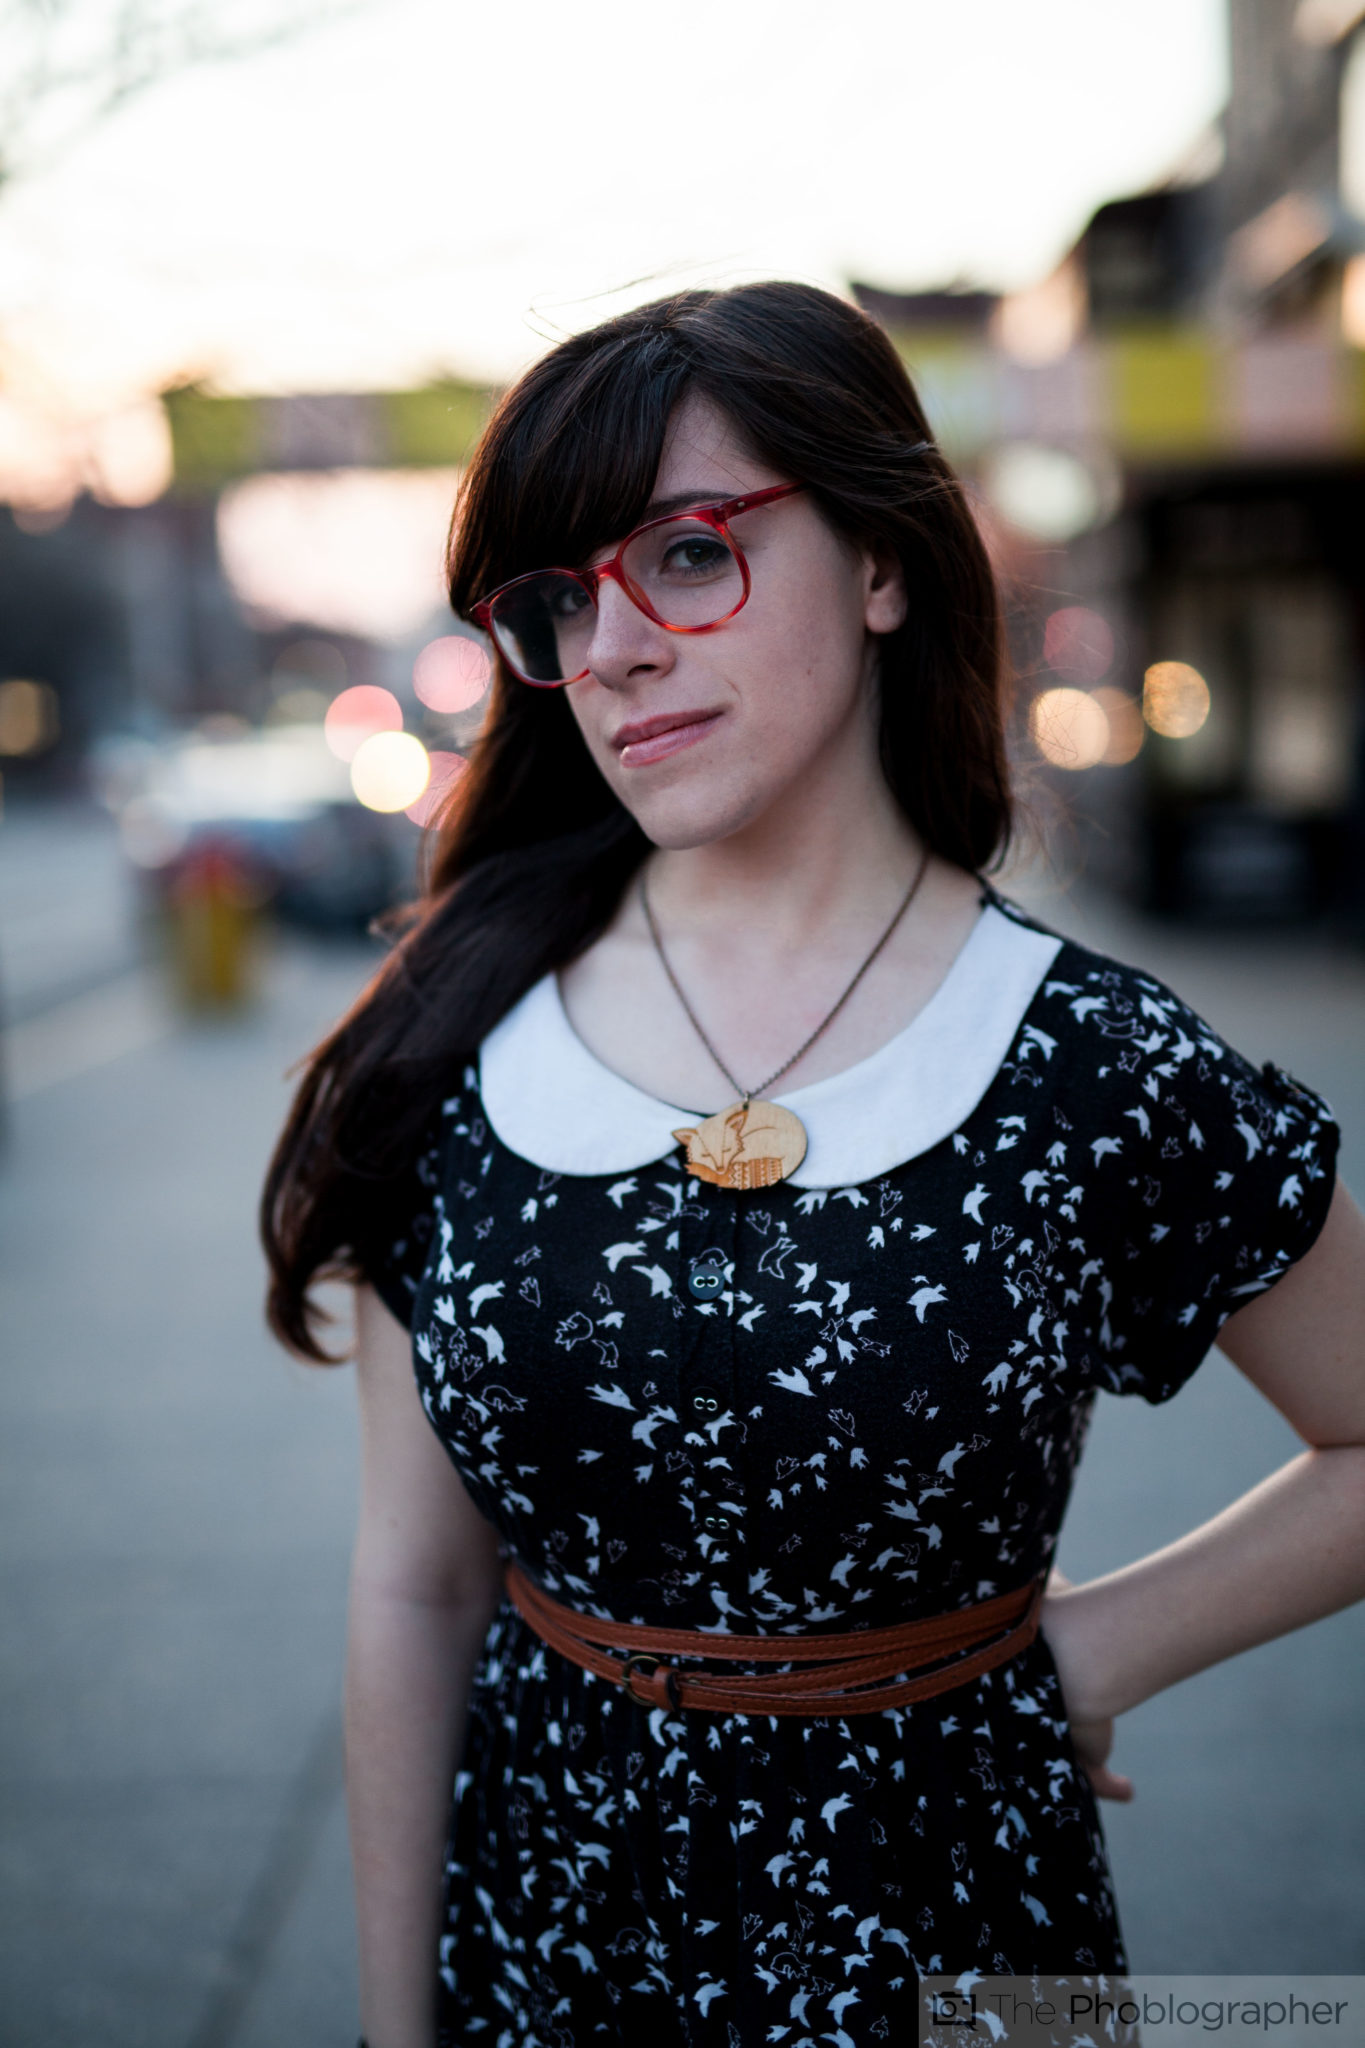
Alternatively, take a look at the image on the left. Everything is very centered and so to that end there is less distortion with the exception of the arm. However, it’s very slight and even considered acceptable.
The secret: a good practice is to try to neglect the outer edges of the lens as with very focal length. But to be more specific, I try to stray away from the outer oval area.
Now with all this in mind I surely do need to remind you that this post is being written in 2016 and modern software is incredibly good at automatically fixing this for you but it also gives you the power to edit it yourself with some tweaking. But of course, it also means that you need to do it yourself.
Think of it this way, you’re shooting in manual probably, right? Why not just embrace that philosophy even deeper.
Body Types And the Specifics of Posing

Don’t let that discourage you, let it become an obsession instead.
This requires you to look at various factors that can affect the way that an image looks. The most key areas to pay attention to are:
- Forehead shape
- How deeply set the eyes are
- Chin structure
- The higher shoulder (everyone has one with the exception of three people I’ve photographed)
- Chest shape
- Stomach shape
- Hips
- Arm length
Now to create the best photo that you can, you’ll need to learn how to see like the lens does. To do that, you need to have a specific creative vision for your portrait, and idea of the lighting you want to use. Once you’ve got settled, be harsh on yourself. It’s really the only way to become better.
Position the person in such a way that they’ll be rendered on camera very flat. Below is a video on how I used to do this. My techniques have become more advanced and I’m working on a workshop series exploring exactly how I pose people. But ask anyone that’s been posed by me and they probably won’t complain about the results.
Distances
The last and one of the most important parts of portraiture with a 50mm lens has to do with distances. Take everything I said right now consider the following: the further back you move from a subject and the more centered they are, the less distortion will be at play.
But at the same time, this is a portrait and it should have some sort of intimacy. In general, I don’t recommend getting all up in a person’s face, but a 1/4 portrait with a 50mm lens is more than acceptable depending on your intent with the image.
I generally don’t want to get too close up: I’d save that for a 135mm lens or an 85mm lens. But to that end, a 50mm lens is quite good for headshots, street fashion, etc. When combined with specific care being given to the the body shapes and careful composition, you can create really fantastic portraits with a 50mm lens.
My rule of thumb having to do with distances also incorporates your height into play. Generally, getting on eye-level with a subject is ideal but you don’t always have access to a ladder. If you do that then you’ve got less to worry about. But your distance and height will also determine major factors like the placement of the chin for example. Beyond this, being on eye-level can sometimes give the viewer a better sense of perspective. Try having your subject sit down if possible or if there are stairs available try using them to get yourself to a higher position.
As always, keep in mind the areas of the lens that you’re shooting in and major body parts that could end up looking like they’re bulging out at you.
Tough to do? Not really. All of it eventually becomes muscle memory.
Recommended Lenses

Canon 50mm f1.8 STM: A super impressive lens for the price.
Nikon 50mm f1.8 G: You can’t beat this option for the price.
Sony Zeiss 50mm f1.4 Alpha Mount: close to giving the Sigma lens a run for its money.
Sigma 50mm f1.4 Art: Arguably the best 50mm lens on the market.
Zeiss 55mm f1.4 Otus: Super expensive, but hard to beat.
Lensbaby 56mm f1.6: Soft wide open, but when stopped down it’s hard to deny how good it is.
Get rid of the ads!
Did you enjoy reading this article as much as we enjoyed writing it? There's a way to support us and our reporting, getting ad-free navigation and more as a bonus. Subscribe to us for less than a coffee per month —just $3.99— or take advantage of our yearly subscription with a hefty discount for only $25.- An ad-free experience
- A free mystery box for Lightroom or Capture One
- All the books in our store
- 20% discount on Capture One
- 30% discount on Imalume Photo Theft Protection
- 20% off Herbs and Kettle Tea Company.
- 20% off your order from MPIX printing services.
- 5% off Viltrox Products via their eCommerce store.
- 10% off all film developing, printing and scanning services from Blue Moon Camera and Machine
- 15% off 7Artisans products: The lens and accessory maker is offering a sweet discount for Phoblographer's readers.