Last Updated on 12/30/2013 by Felix Esser
“Do whatever you need to,” was the response given to me by the other editors of the Phoblographer when asking about budget for the review of the Zeiss 55mm f1.4 Otus lens. When we were calling it for review, it was also decided that I’d handle it–afterall, this is probably the single most important lens that anyone has created this year (with Sigma’s 18-35mm f1.8 being a close contender.) Then you add in the fact that we only had this lens for 10 days (we usually test a lens for an entire month before publishing a review) and you’ve got one of the most challenging reviews that we’ve ever done.
When Zeiss created this lens, they decided that it shouldn’t have a single compromise on the image quality. It was also designed for high megapixel DSLRs. The image quality is reflected in the price tag–which is just under $4,000. Indeed, it isn’t a lens that we believe everyone will go out and buy.
And while our thoughts on the lens are overwhelmingly positive, we encountered a couple of situational problems that made the lens’s functionality somewhat tough at times.
Pros and Cons
Pros
– Sharpest image quality we’ve seen with any lens at any aperture. Zeiss really has made one of the best lenses ever.
– Cinematic looking bokeh makes every single image look like a dream.
– Great feel in the hand.
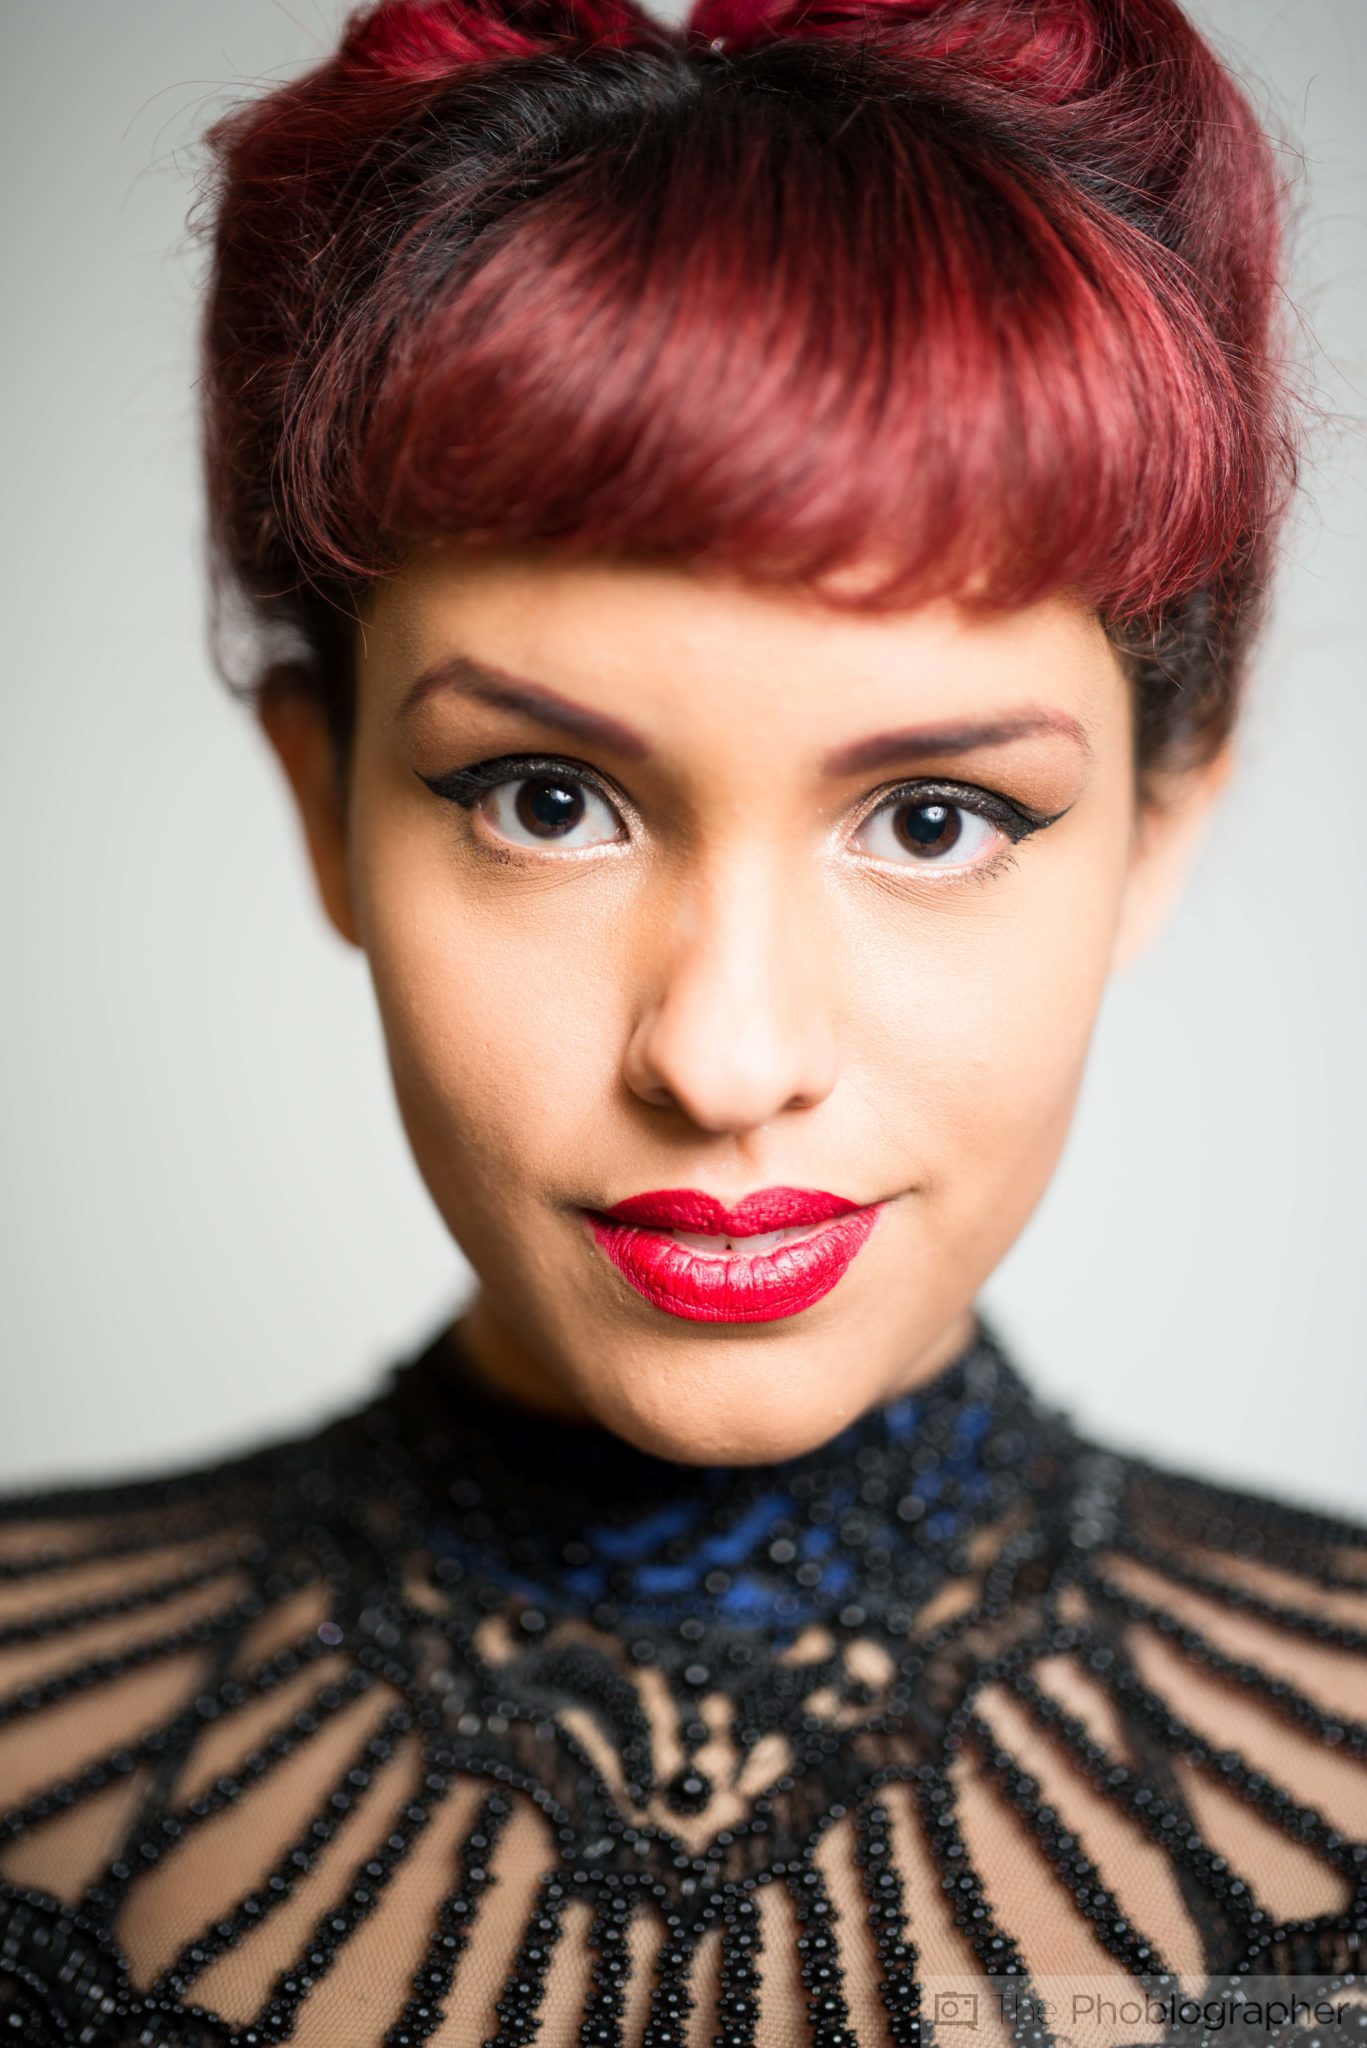
– Handles skin tones very well
– Pretty damned accurate depth of field scale–which is awesome for landscape and architectural photography.
– Not the typical Zeiss color rendering. Instead, it just takes everything from real life and saturates it just a tad.
Cons
– Heavy, and when combined with the Nikon D800 it is pretty much as heavy as a medium format outfit
– At this price point, Zeiss should have put in weather sealing and autofocus abilities. Though we understand why they didn’t for the latter.
– Focusing in low light is incredibly tough–even with Nikon’s excellent focusing system
– The yellow text on the lens is something that you kind of need to get used to.
Gear Used
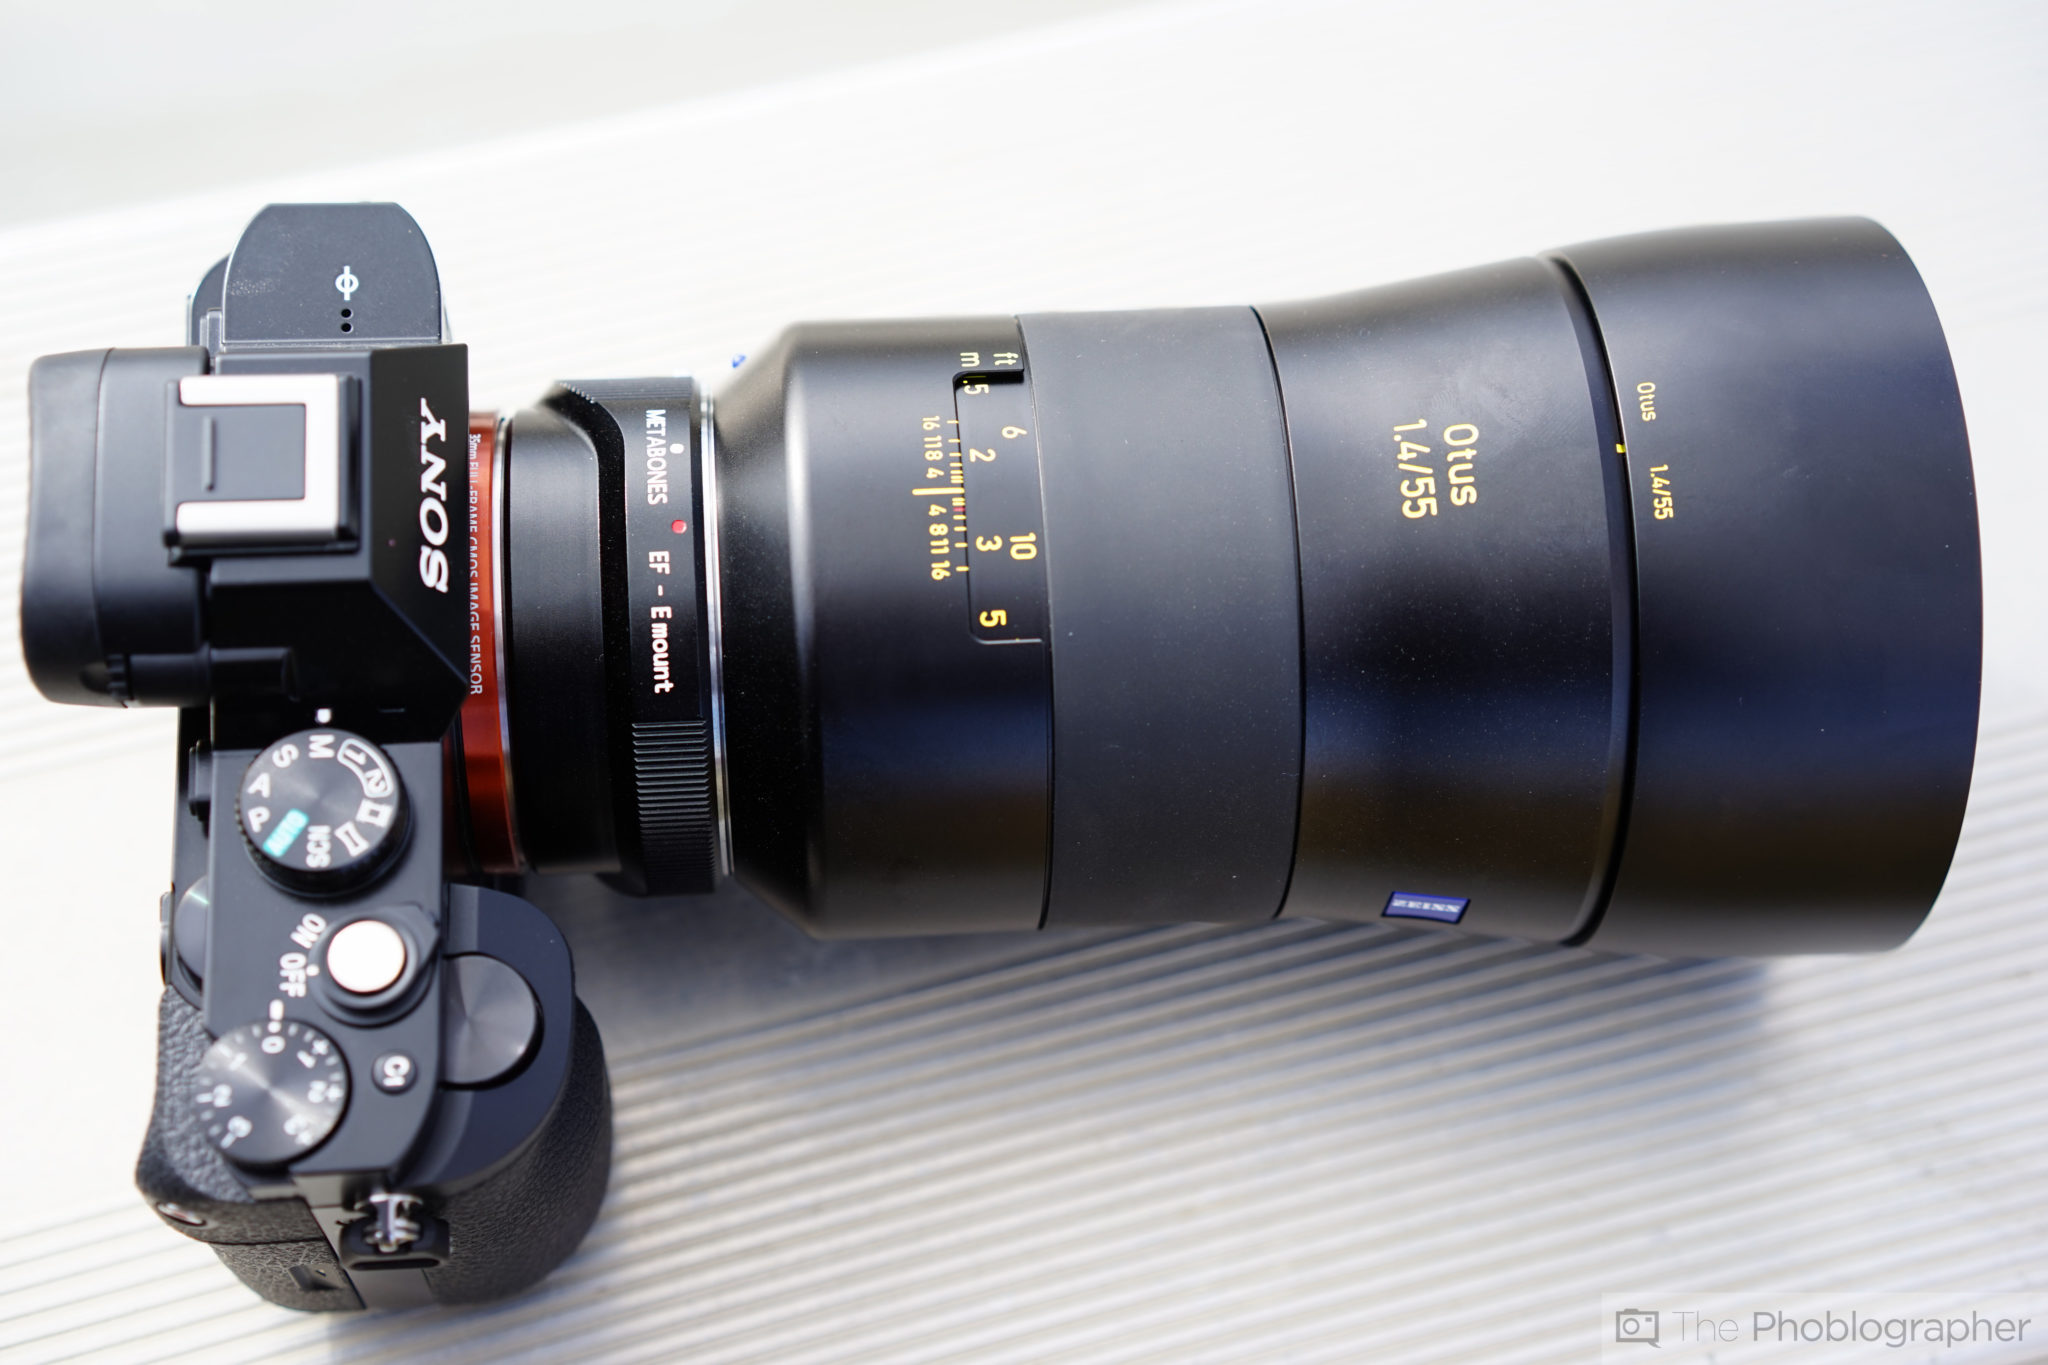
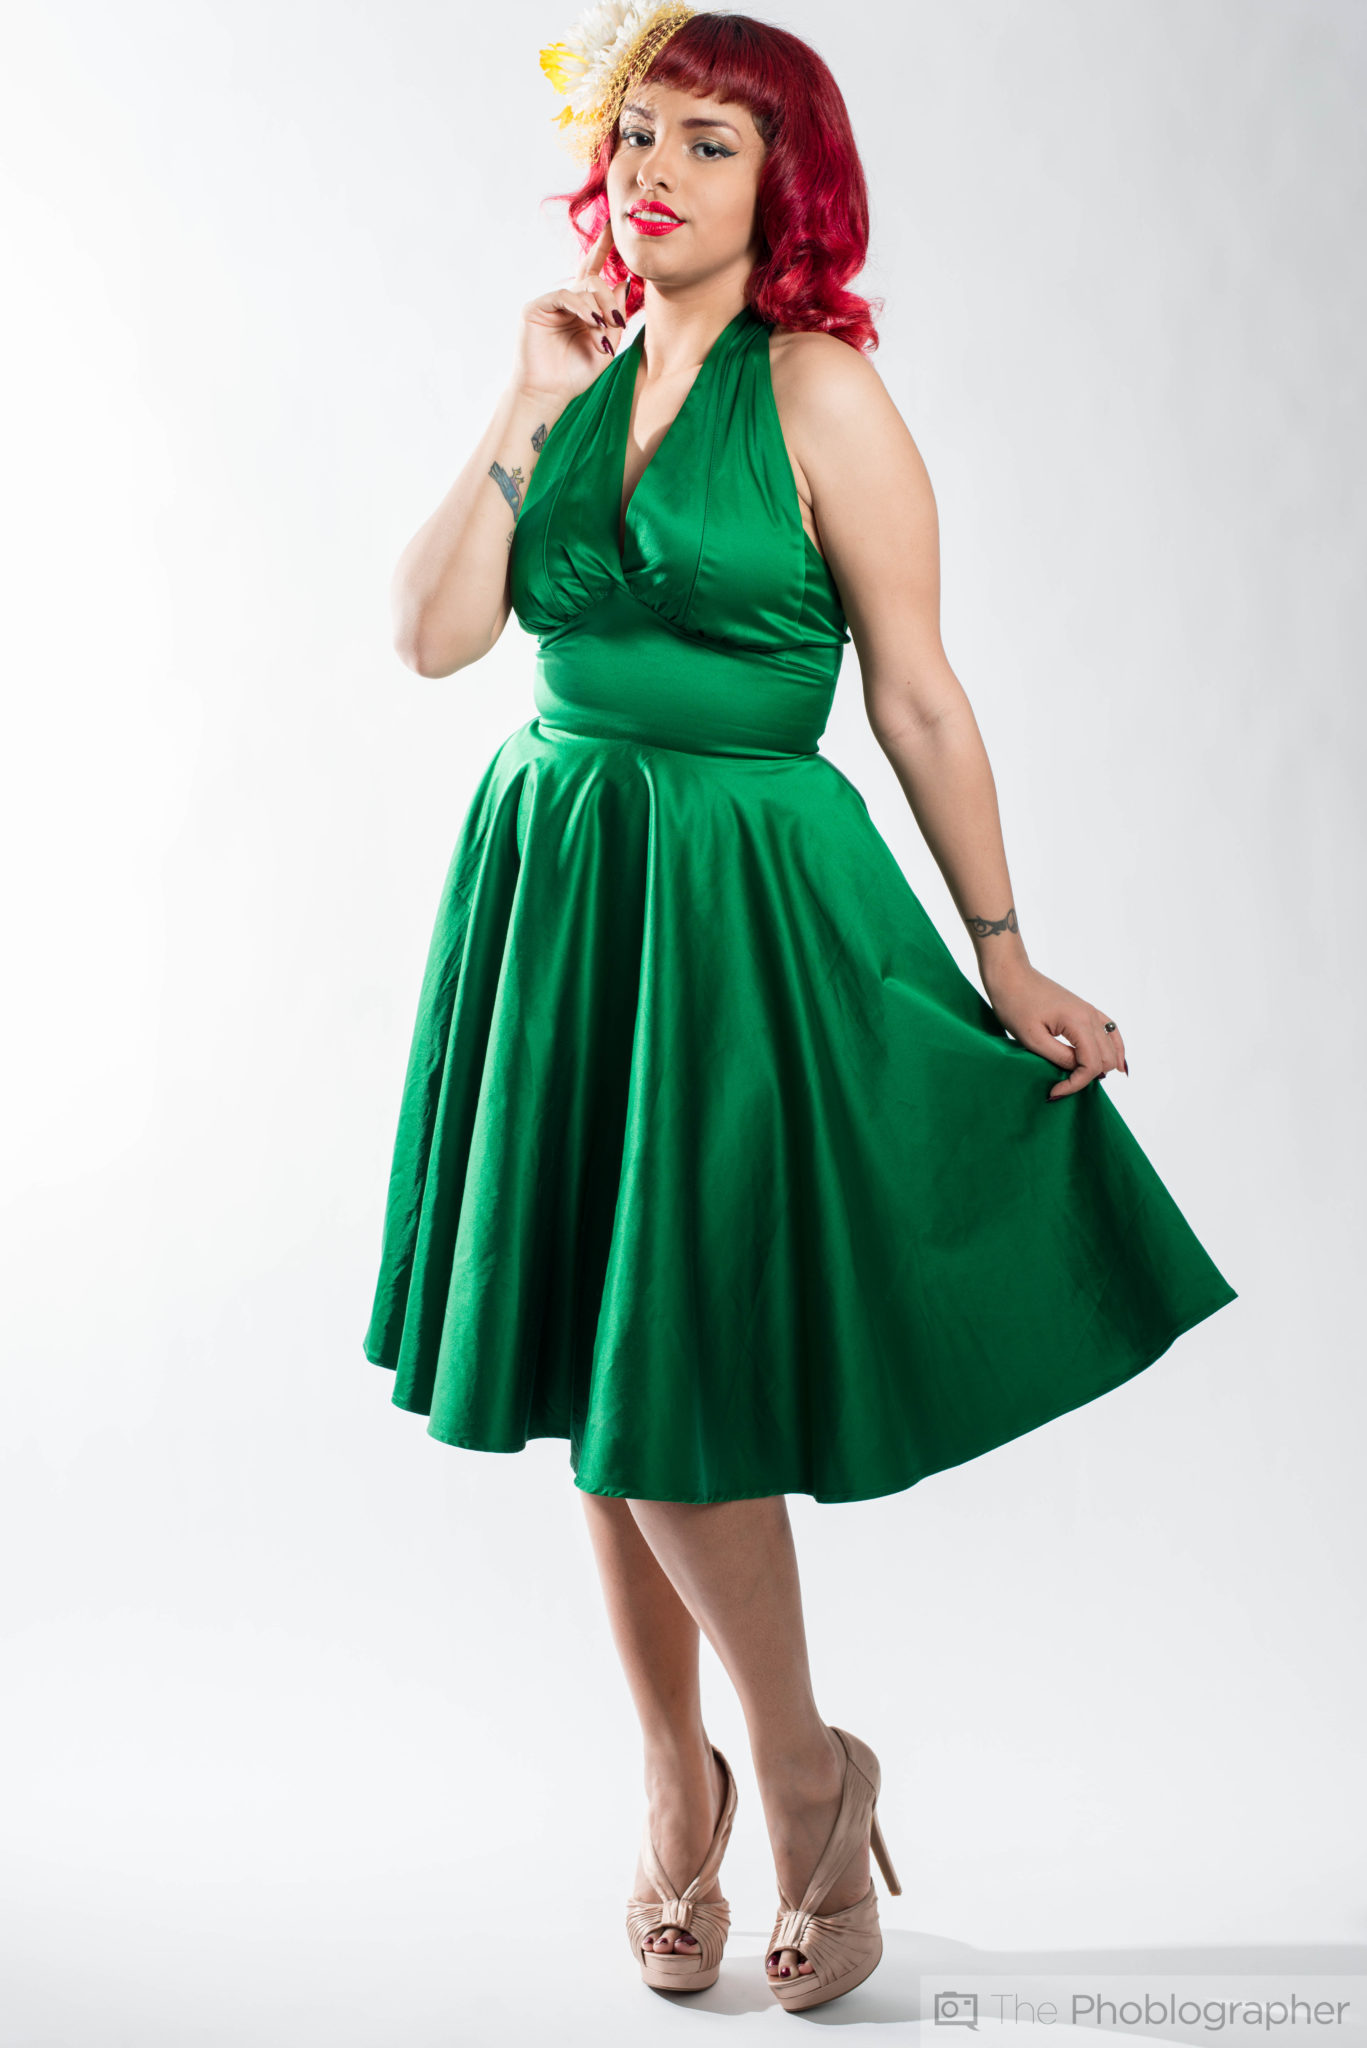
For this review, we tested the Zeiss 55mm f1.4 Otus lens with the Nikon D800 (The E wasn’t chosen because I am primarily a portrait shooter that uses studio lights), Profoto Deep and Standard XL Umbrellas, Paul C Buff Einstein E640, PocketWizard Plus III transmitters, Lumopro LP-180, Vanguard Auctus Plus 383 tripod with Pistol Grip head.
Earlier on in the year, we also used the lens with the Sony A7r.
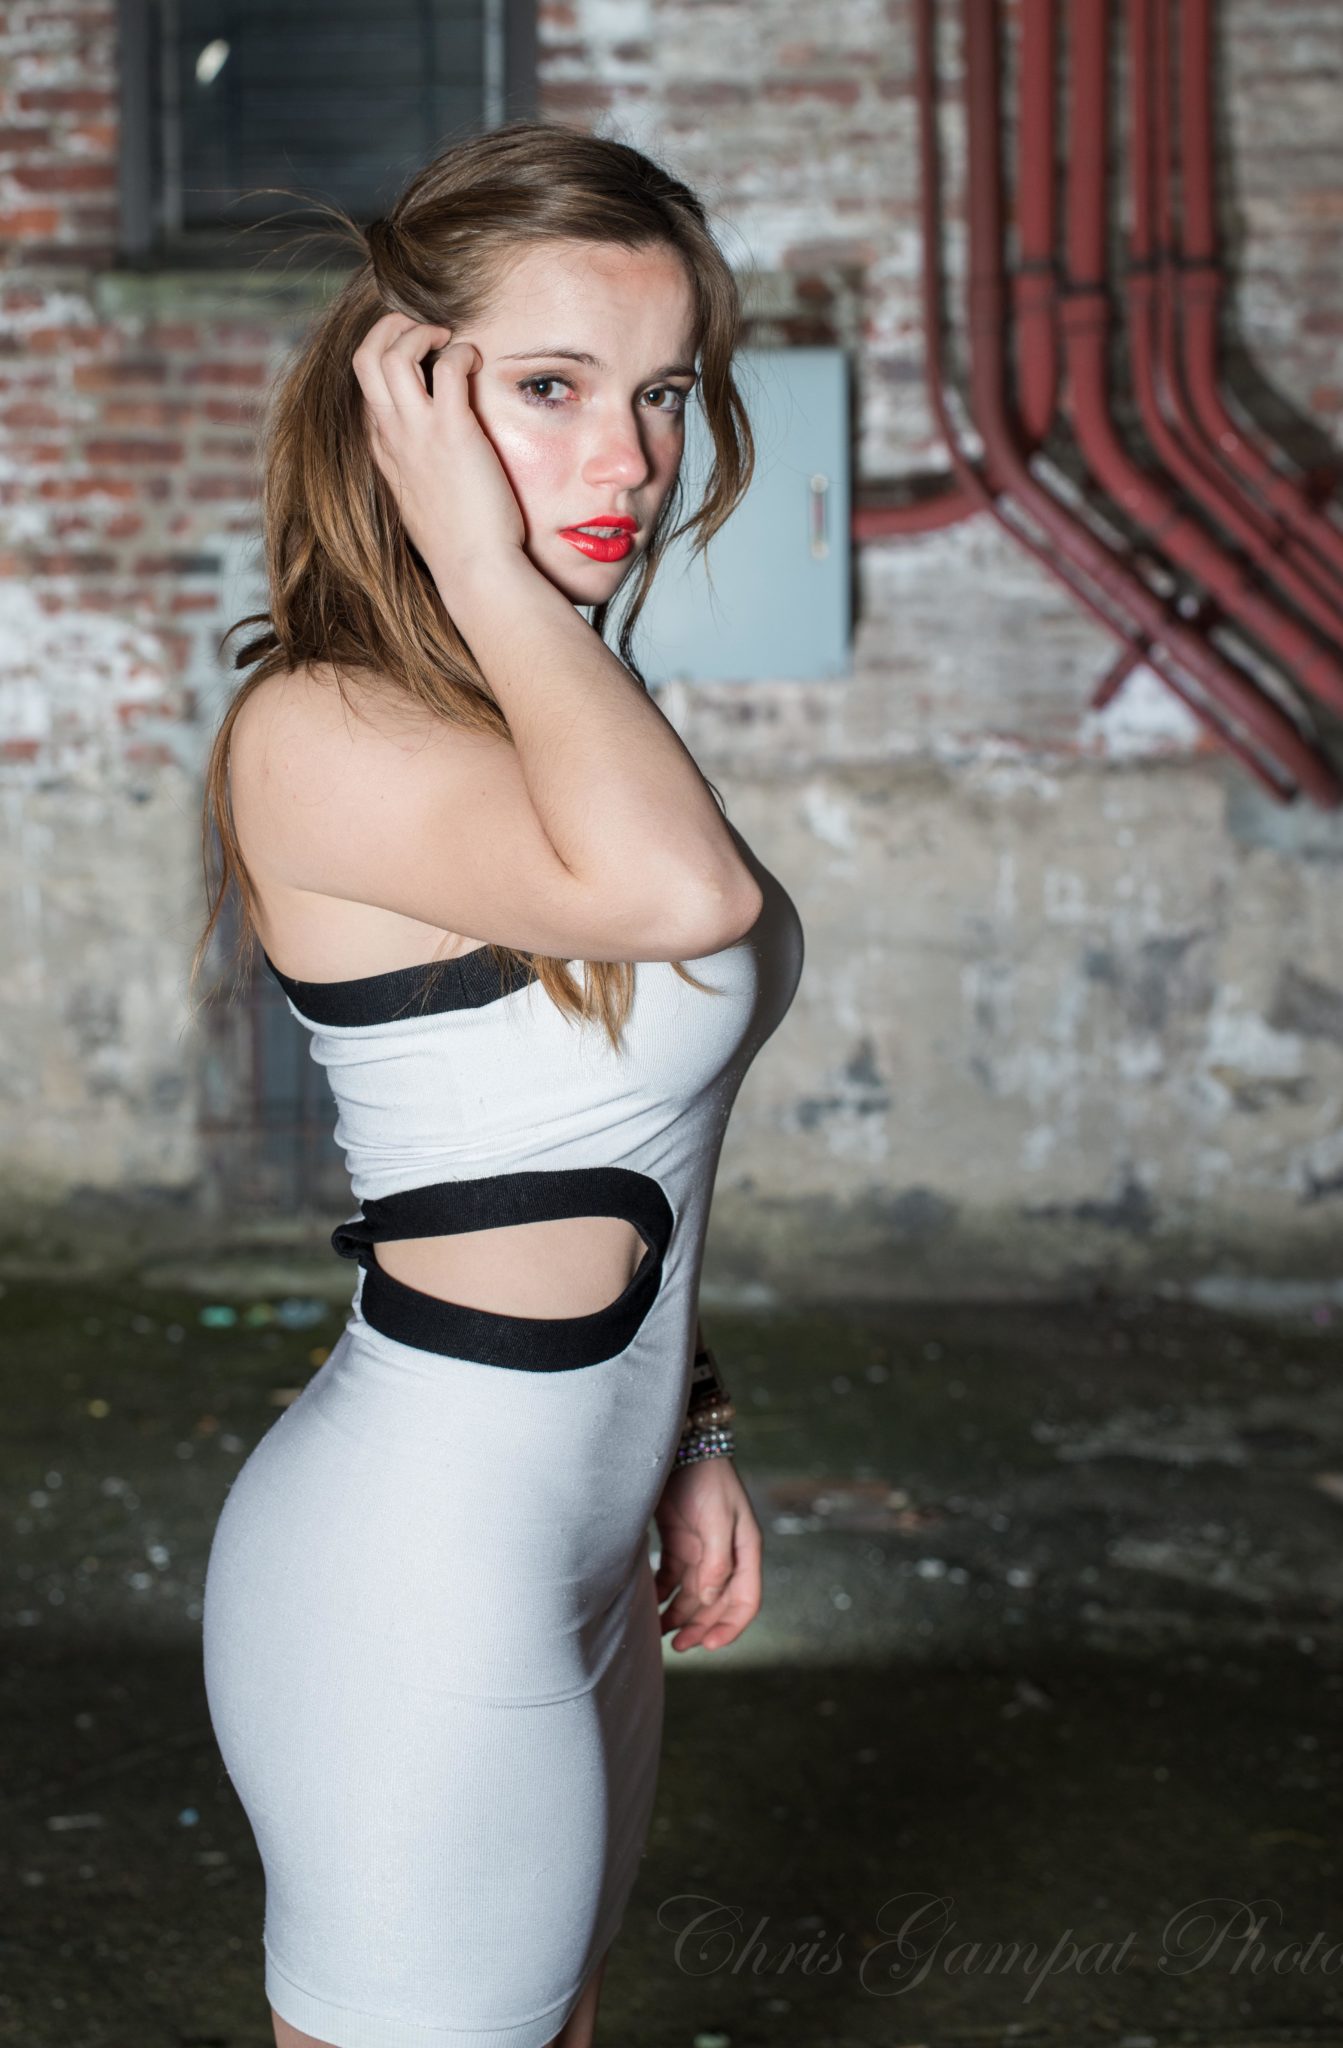
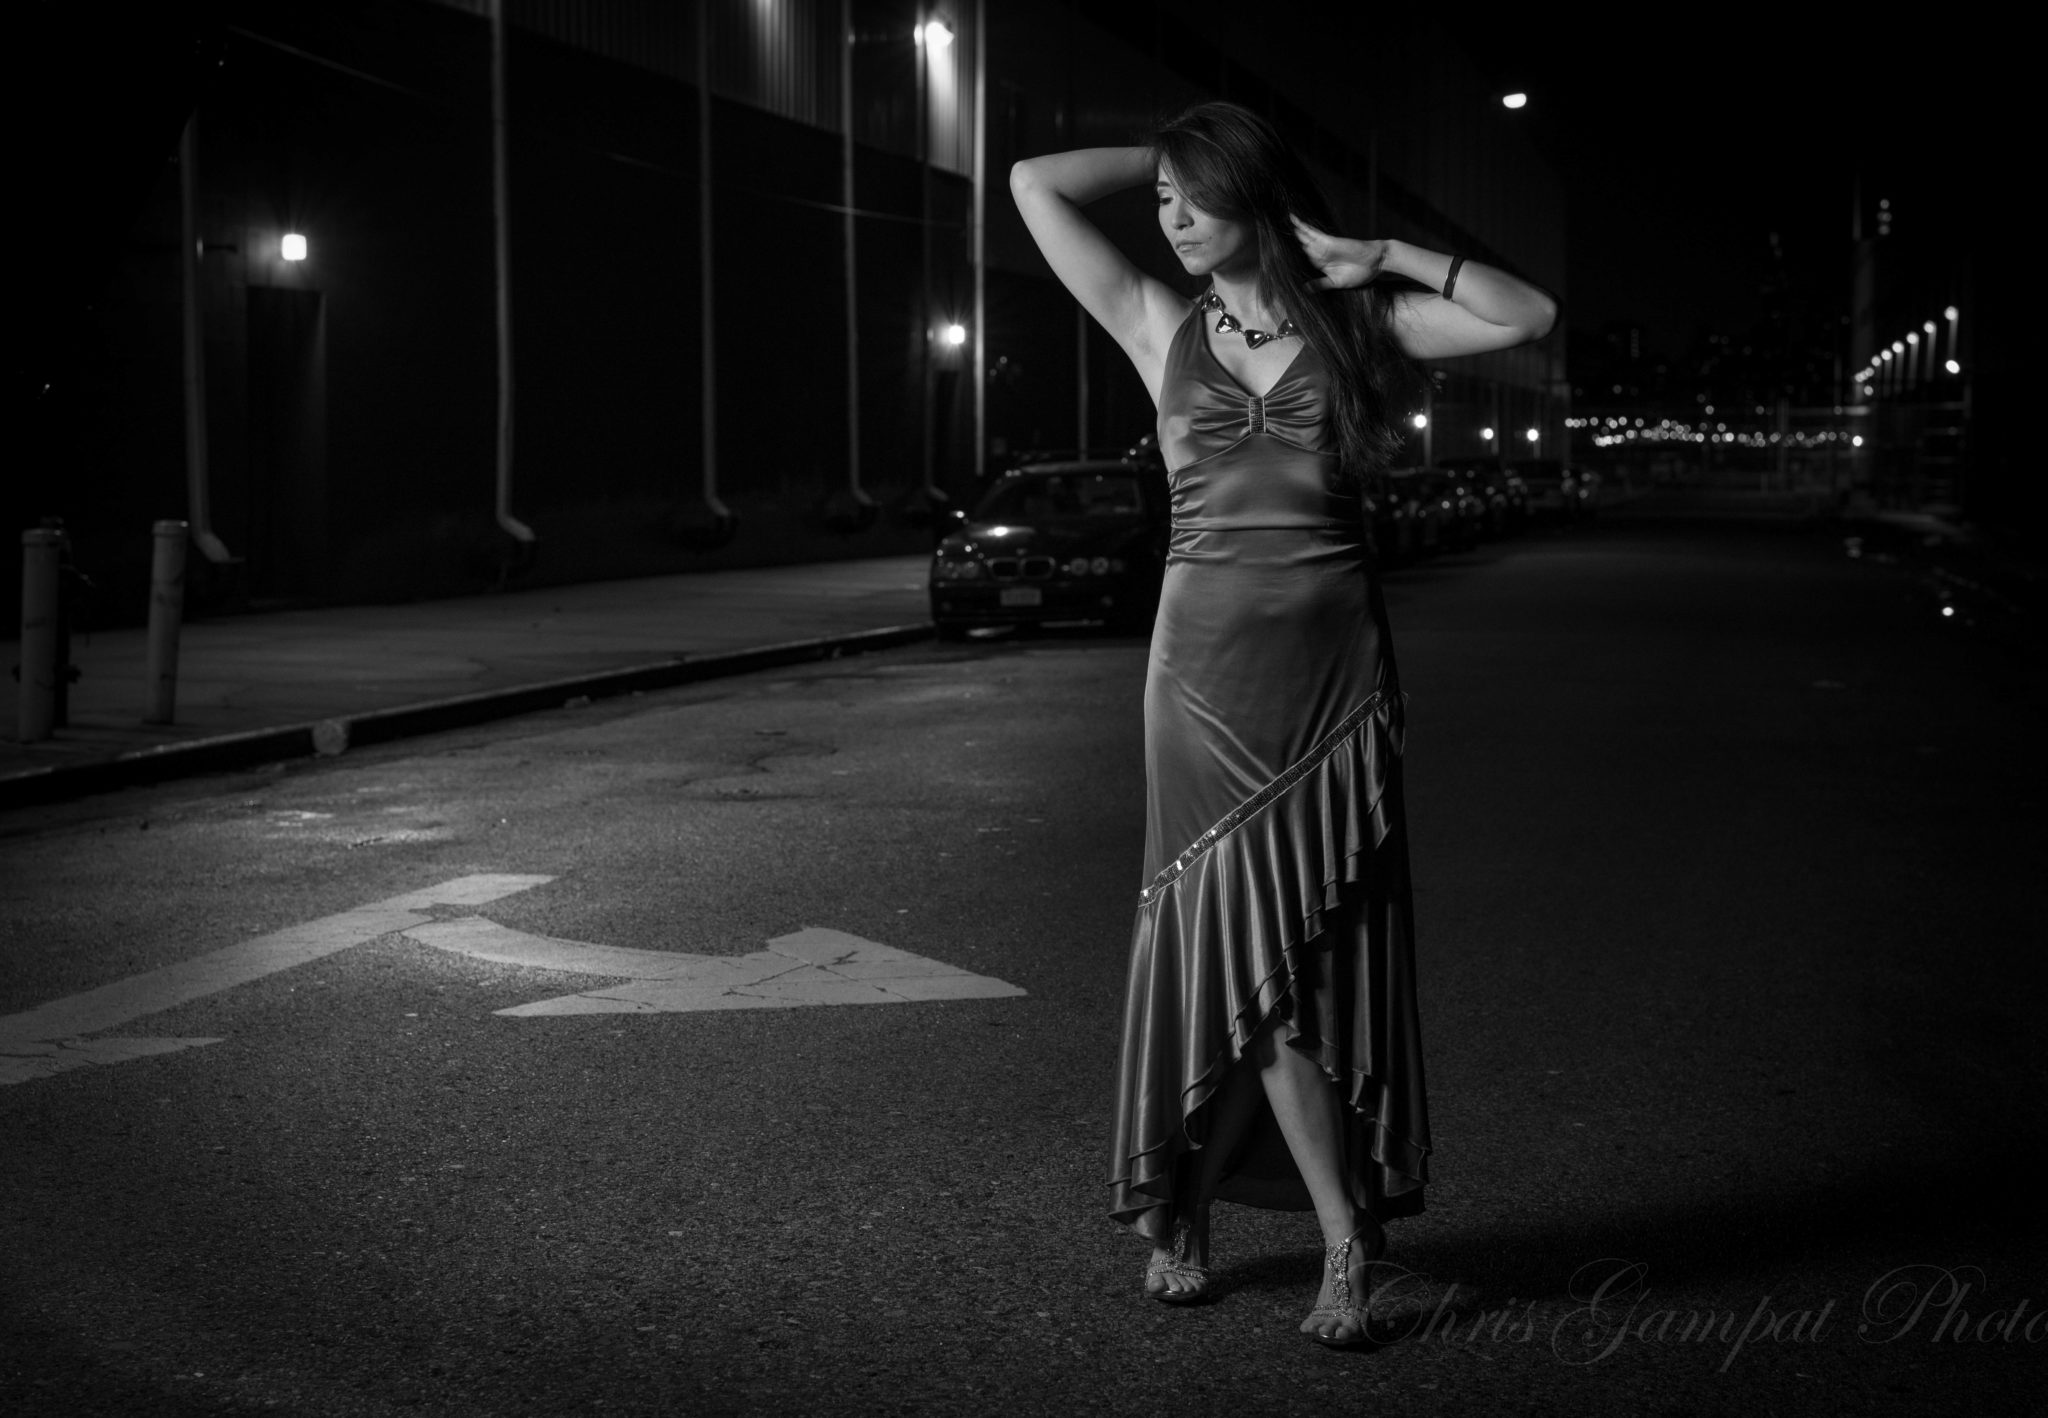
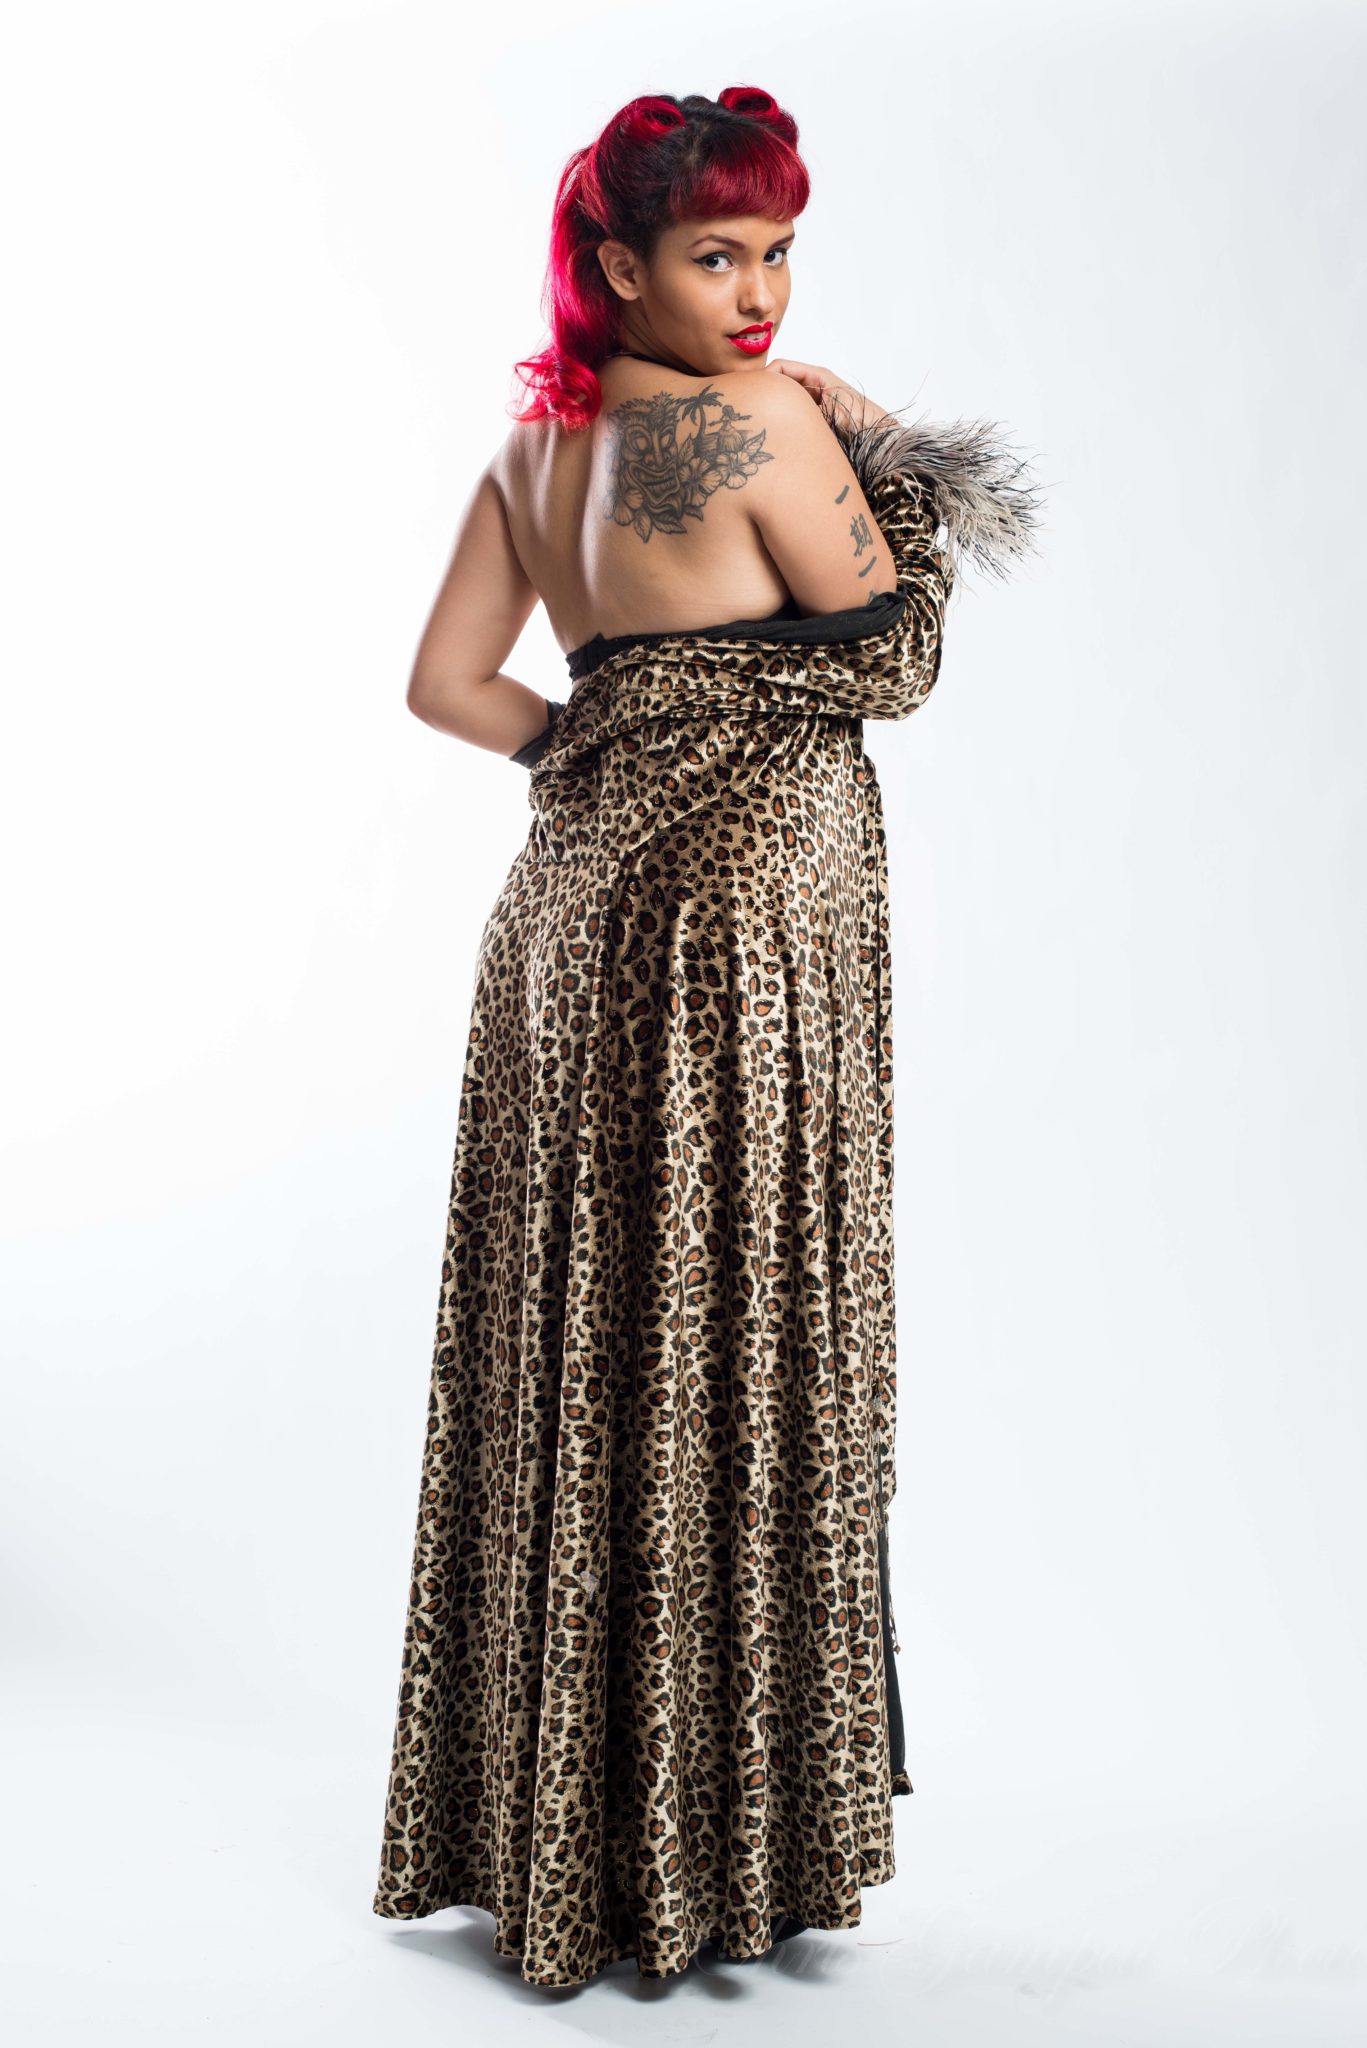
Make up for Lulu Geng’s shoot done by Elizabeth Knight.
Tech Specs
Specs taken from the B&H Photo listing of the lens
| Features | |
|---|---|
| Image Stabilization | None |
| Autofocus | None |
| Tripod Collar | No |
| Environmental | |
|---|---|
| Operating/Storage Temperature | Not Specified By Manufacturer |
| Physical | |
|---|---|
| Filter Thread | 77 mm |
| Dimensions (DxL) | Approx. 3.64 x 5.55″ (9.25 x 14.10 cm) |
| Weight | 2.13 lb (970 g) |
Ergonomics

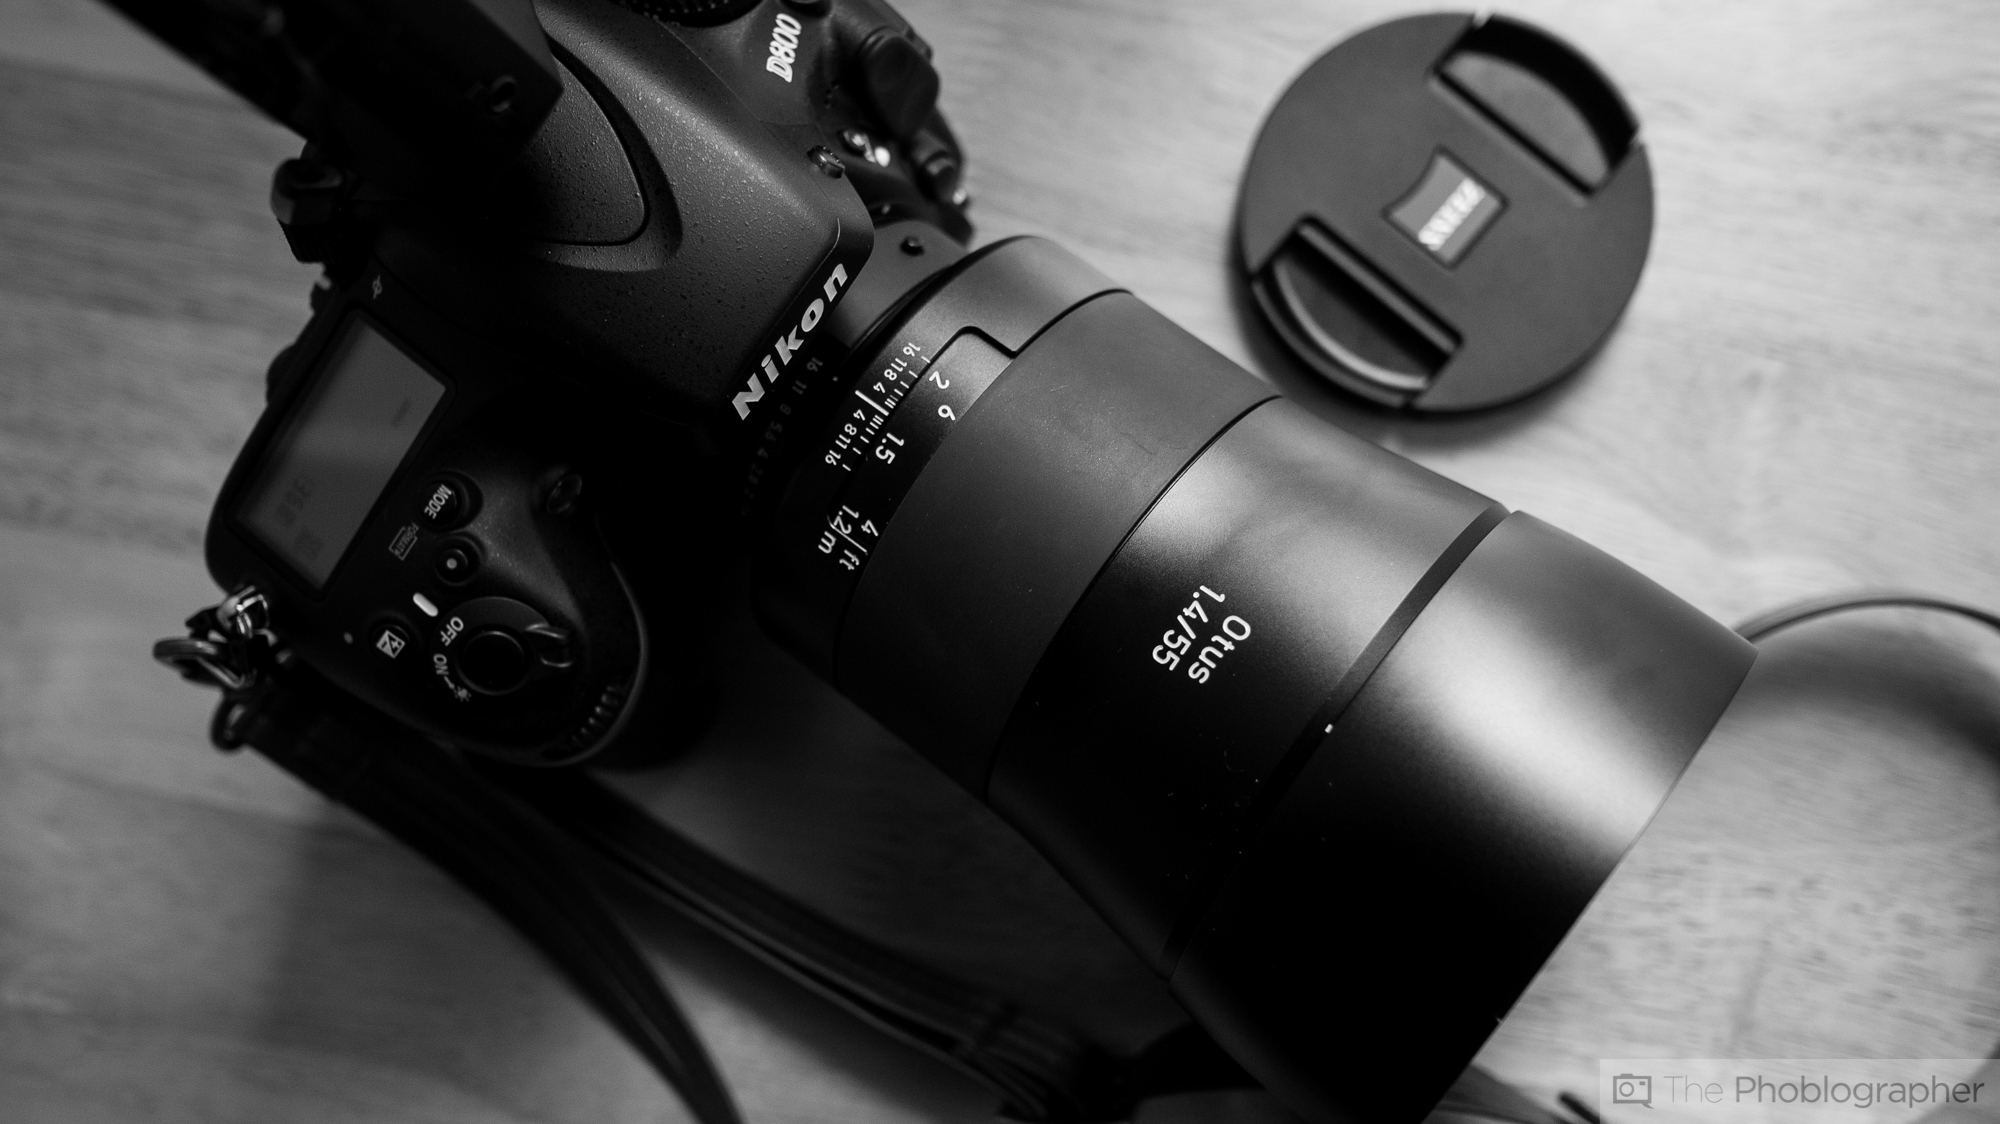
The Zeiss 55mm f1.4 Otus lens’s build and design is very standard for a Zeiss lens–on the outside at least. The body is comprised of mostly metal, but the company took a design cue from their Touit lenses by giving the focusing ring a rubber exterior. Zeiss cites former customer complaints about the focusing rings being too cold to focus in chilly weather. For better or worse, we got used to it quite quickly.
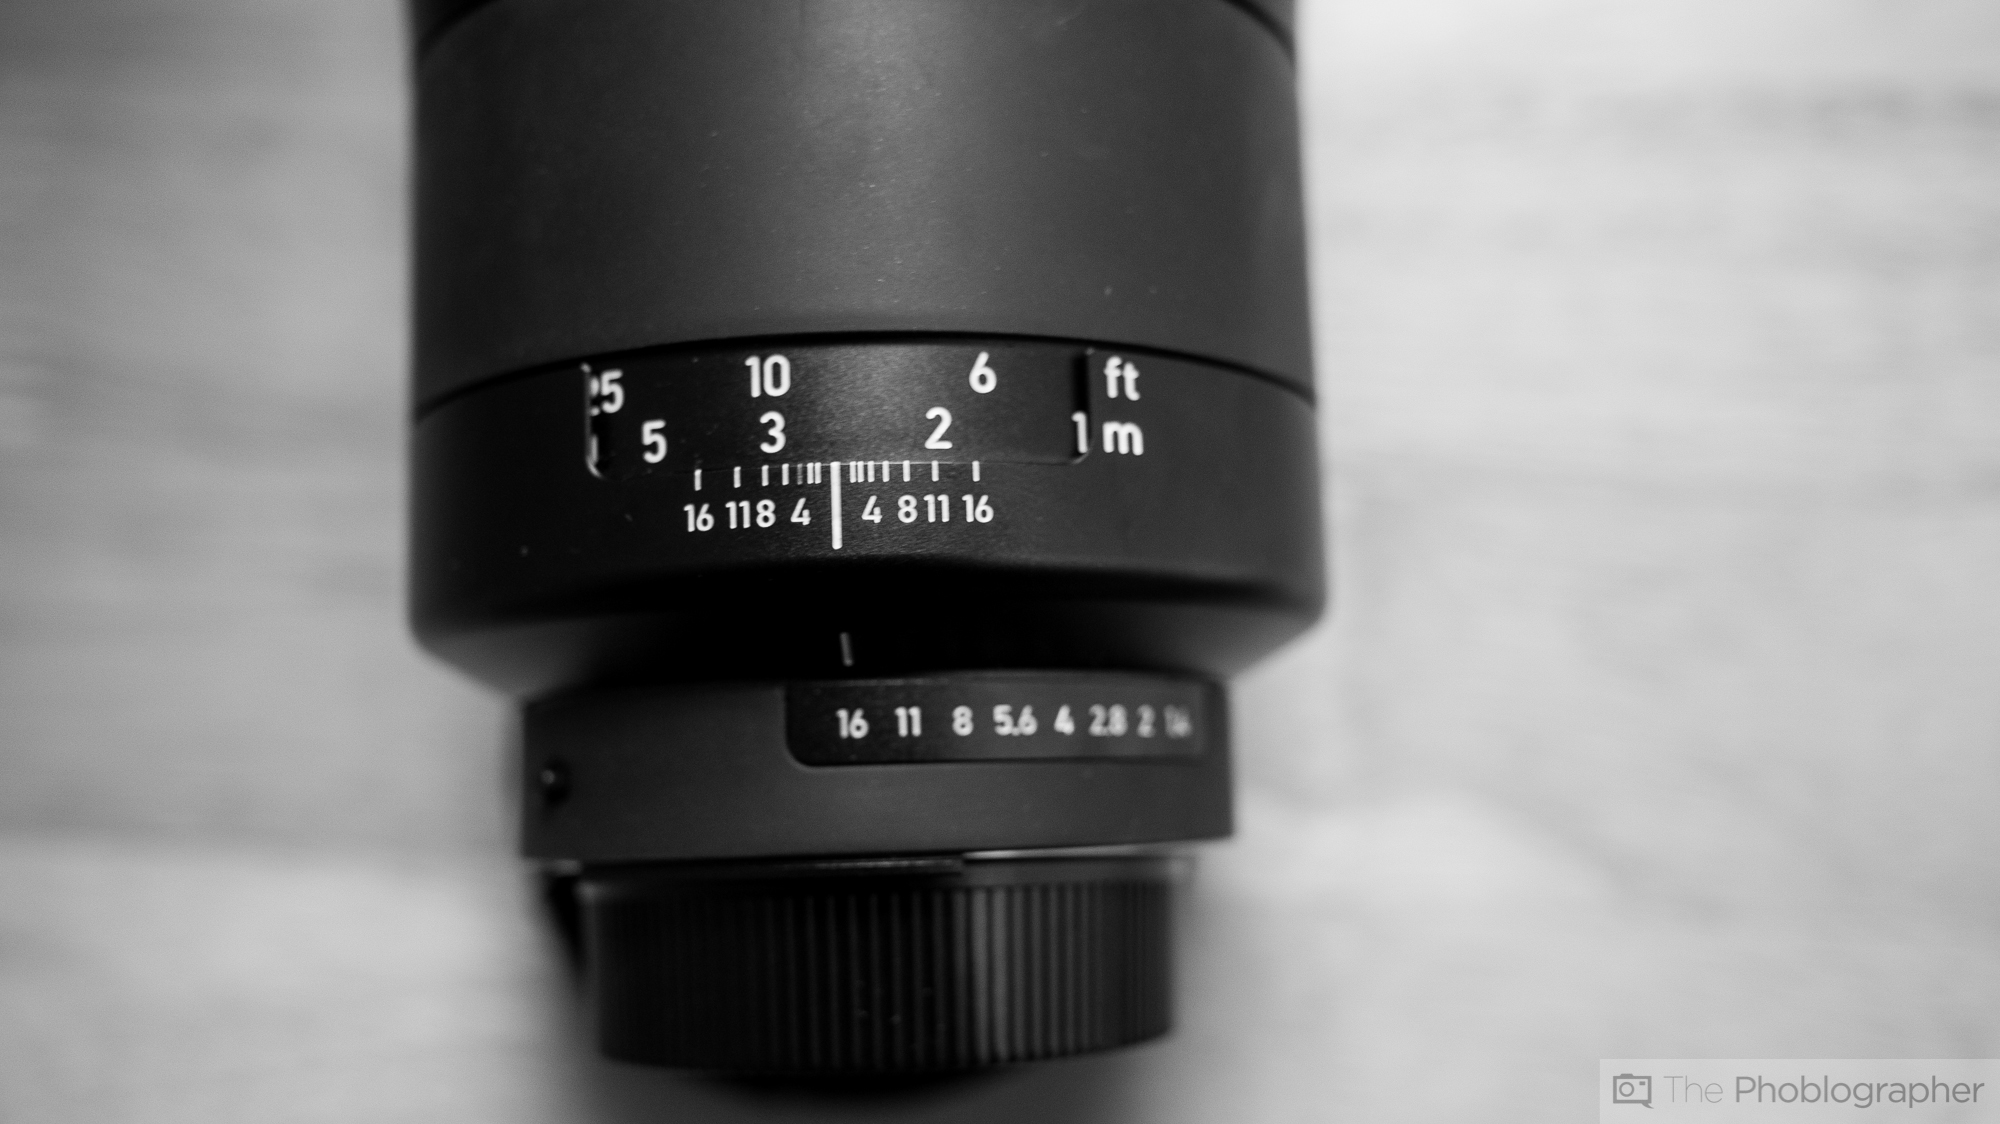
This lens (the Nikon version) has both an aperture ring and a depth of field scale that works in coordination with the focusing distance scale. All of these are towards the back of the lens.
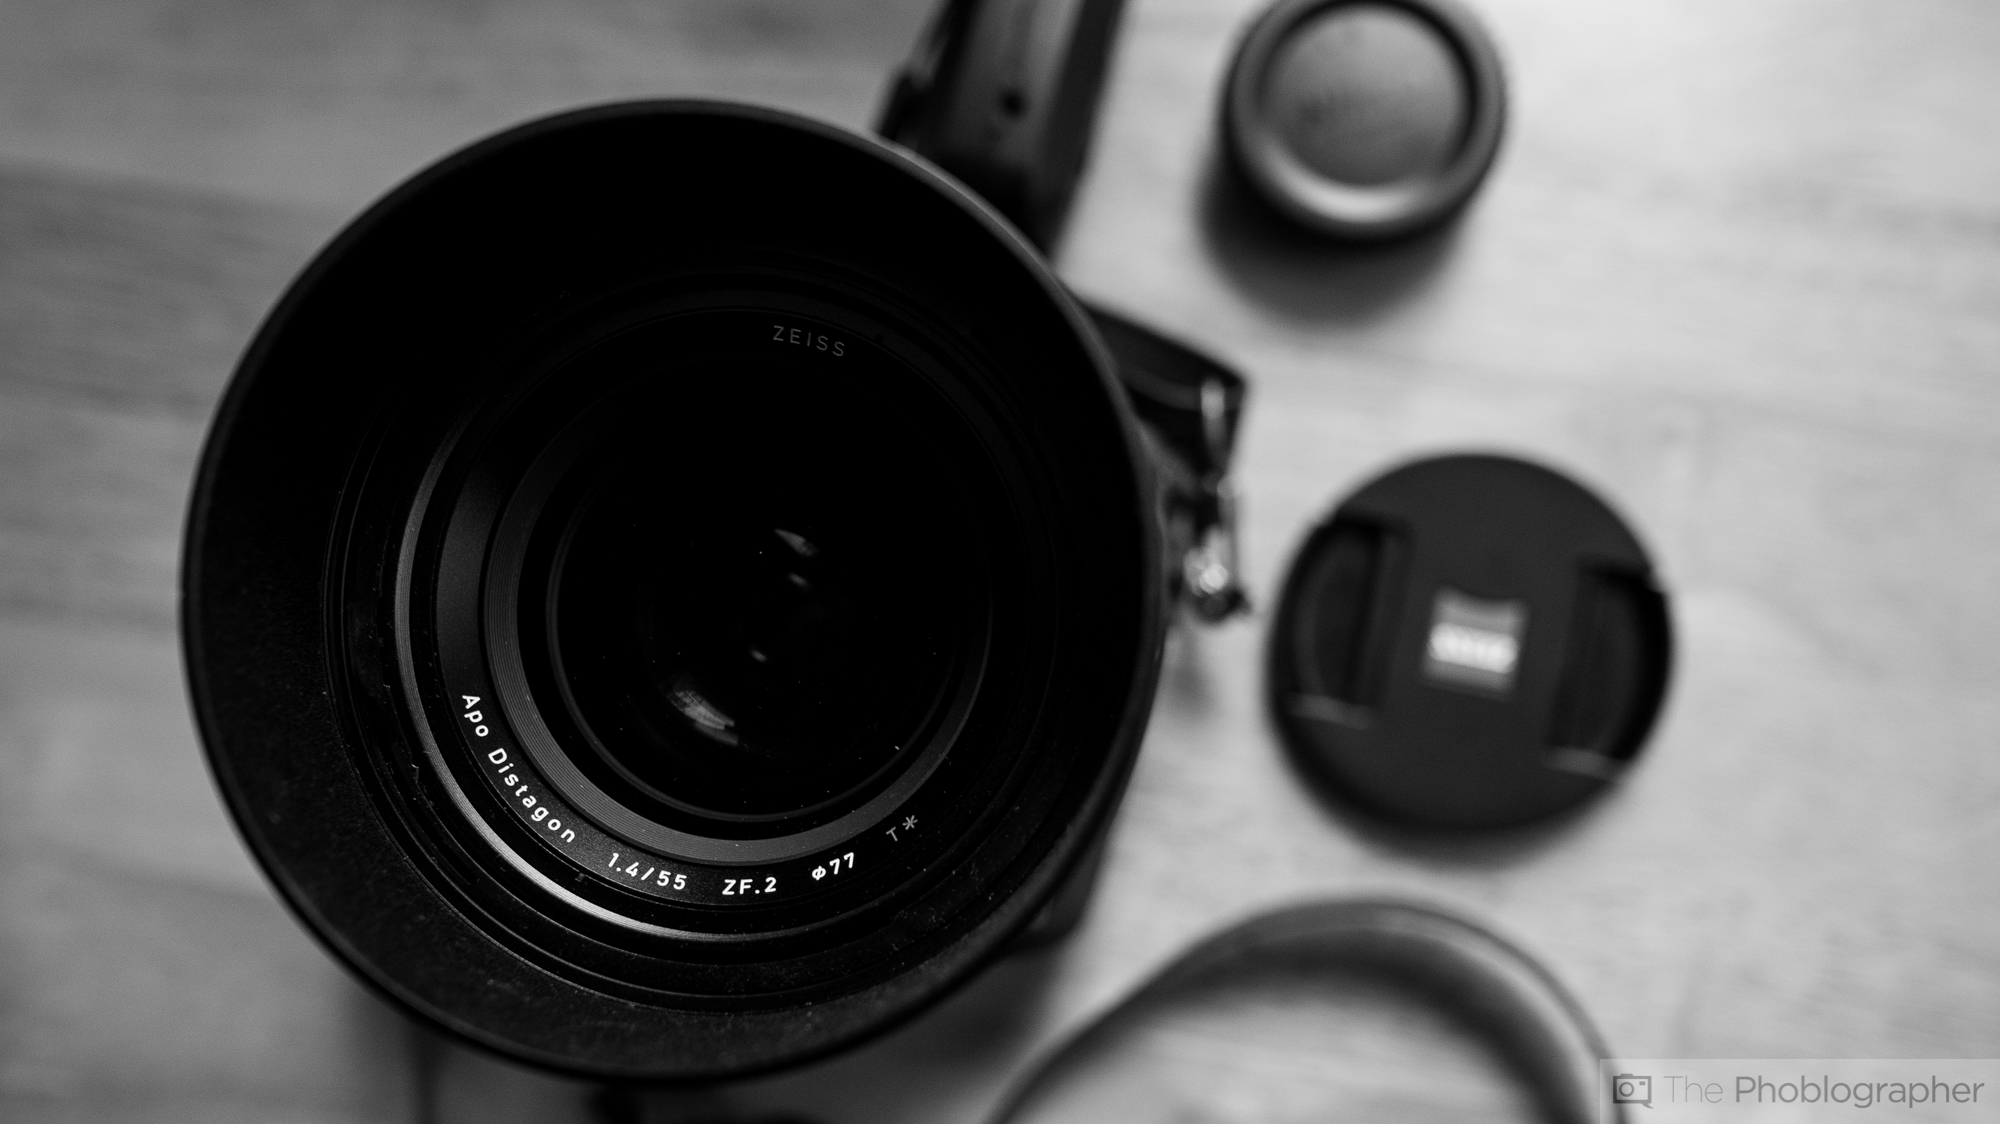
And of course, no Zeiss lens would be a Zeiss lens without Zeiss branding on the front area. On top of this, the lens hood also doesn’t jut out too much from the lens body–keeping the package fairly compact. Overall though, this is a very large lens.
Build Quality
If you’re purchasing a $4,000 lens you would expect no compromise on the build quality. And indeed, the build is pretty damned wonderful. However, we’re scratching our heads as to why the company didn’t incorporate weather sealing. We believe that there are some high end landscape and location shooters that would love to use this lens. But a lack of weather sealing presents a problem.
Additionally, chatting with other companies and trying to incorporate an autofocus system while also delivering stellar image quality can be tough. We would have loved to have seen autofocusing, but instead this lens is an all manual one. Not that that’s a bad thing, it forced us to shoot less and put more thought into each and every single composition.
Focusing
Focusing the lens is done by turning the massive focusing ring. It is smooth, but not too smooth–which works out well in real life use. With both Canon and Nikon DSLRs, though, you’ll need to ensure that your lens is in focus for every photo that you shoot. This is quite an obvious statement, but it is even more critical when you’re working with a model in a studio that changes up their poses after each shot.
We talked to Zeiss about why they didn’t add autofocus to the lens. National Sales Manager Richard Schleuning stated, “The reason is quite simple, we do not have licensing permission from the SLR camera manufacturers. In the case of the Touit lenses, we have permission from both Sony and Fujifilm. With our ZE and ZF.2 SLR lenses, it is a different situation…”
Ease of Use
For this review, we decided to use the Zeiss 55mm f1.4 Otus lens for both landscape/architecture and studio portrait style shooting. And our experiences were different for each.
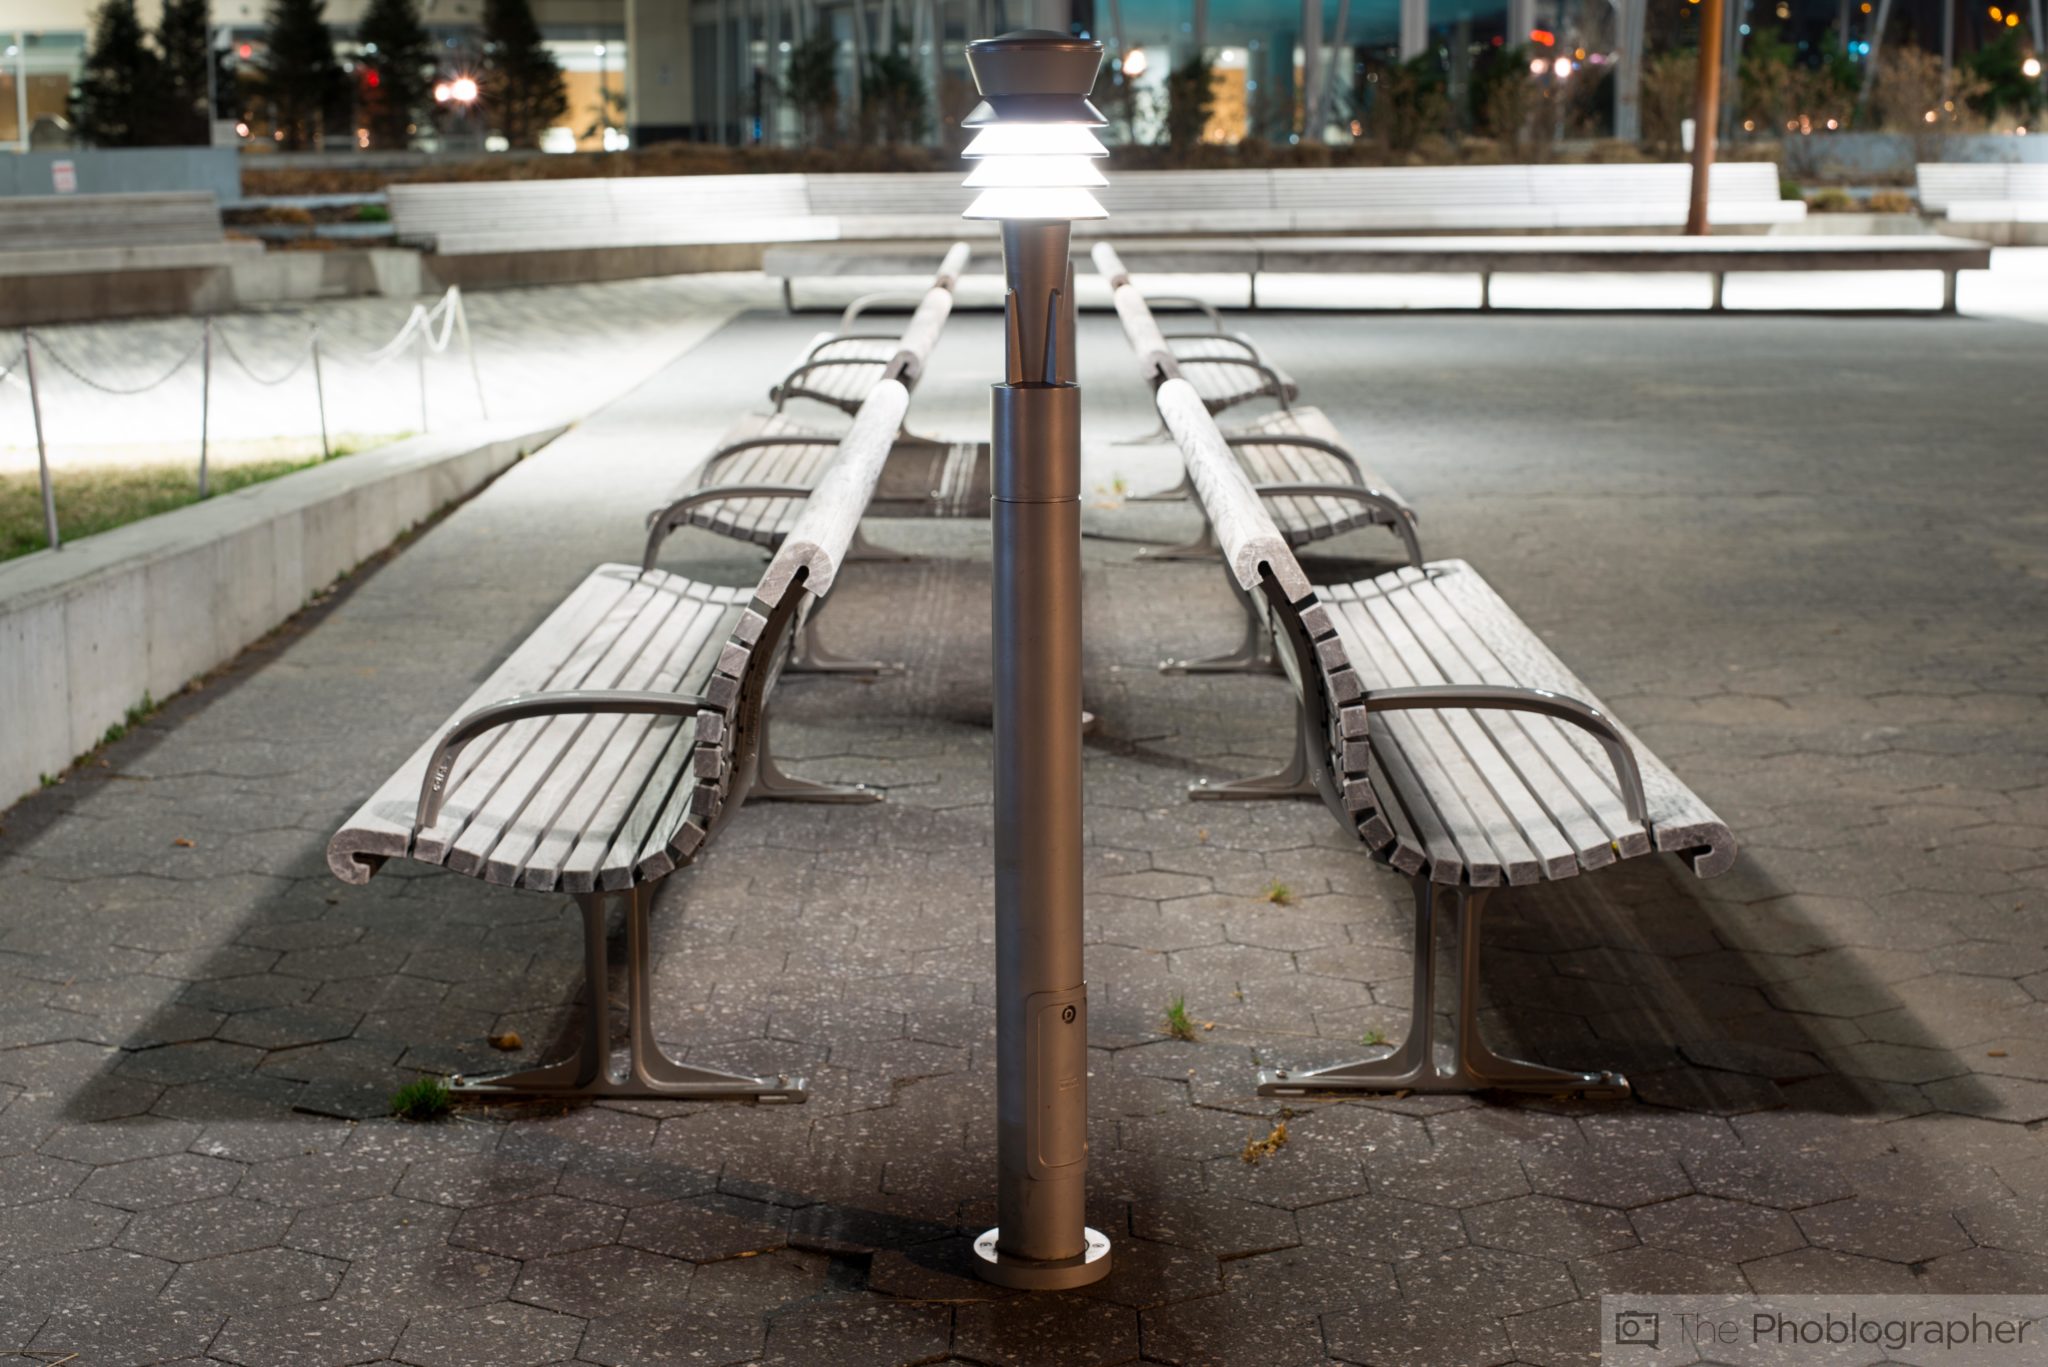
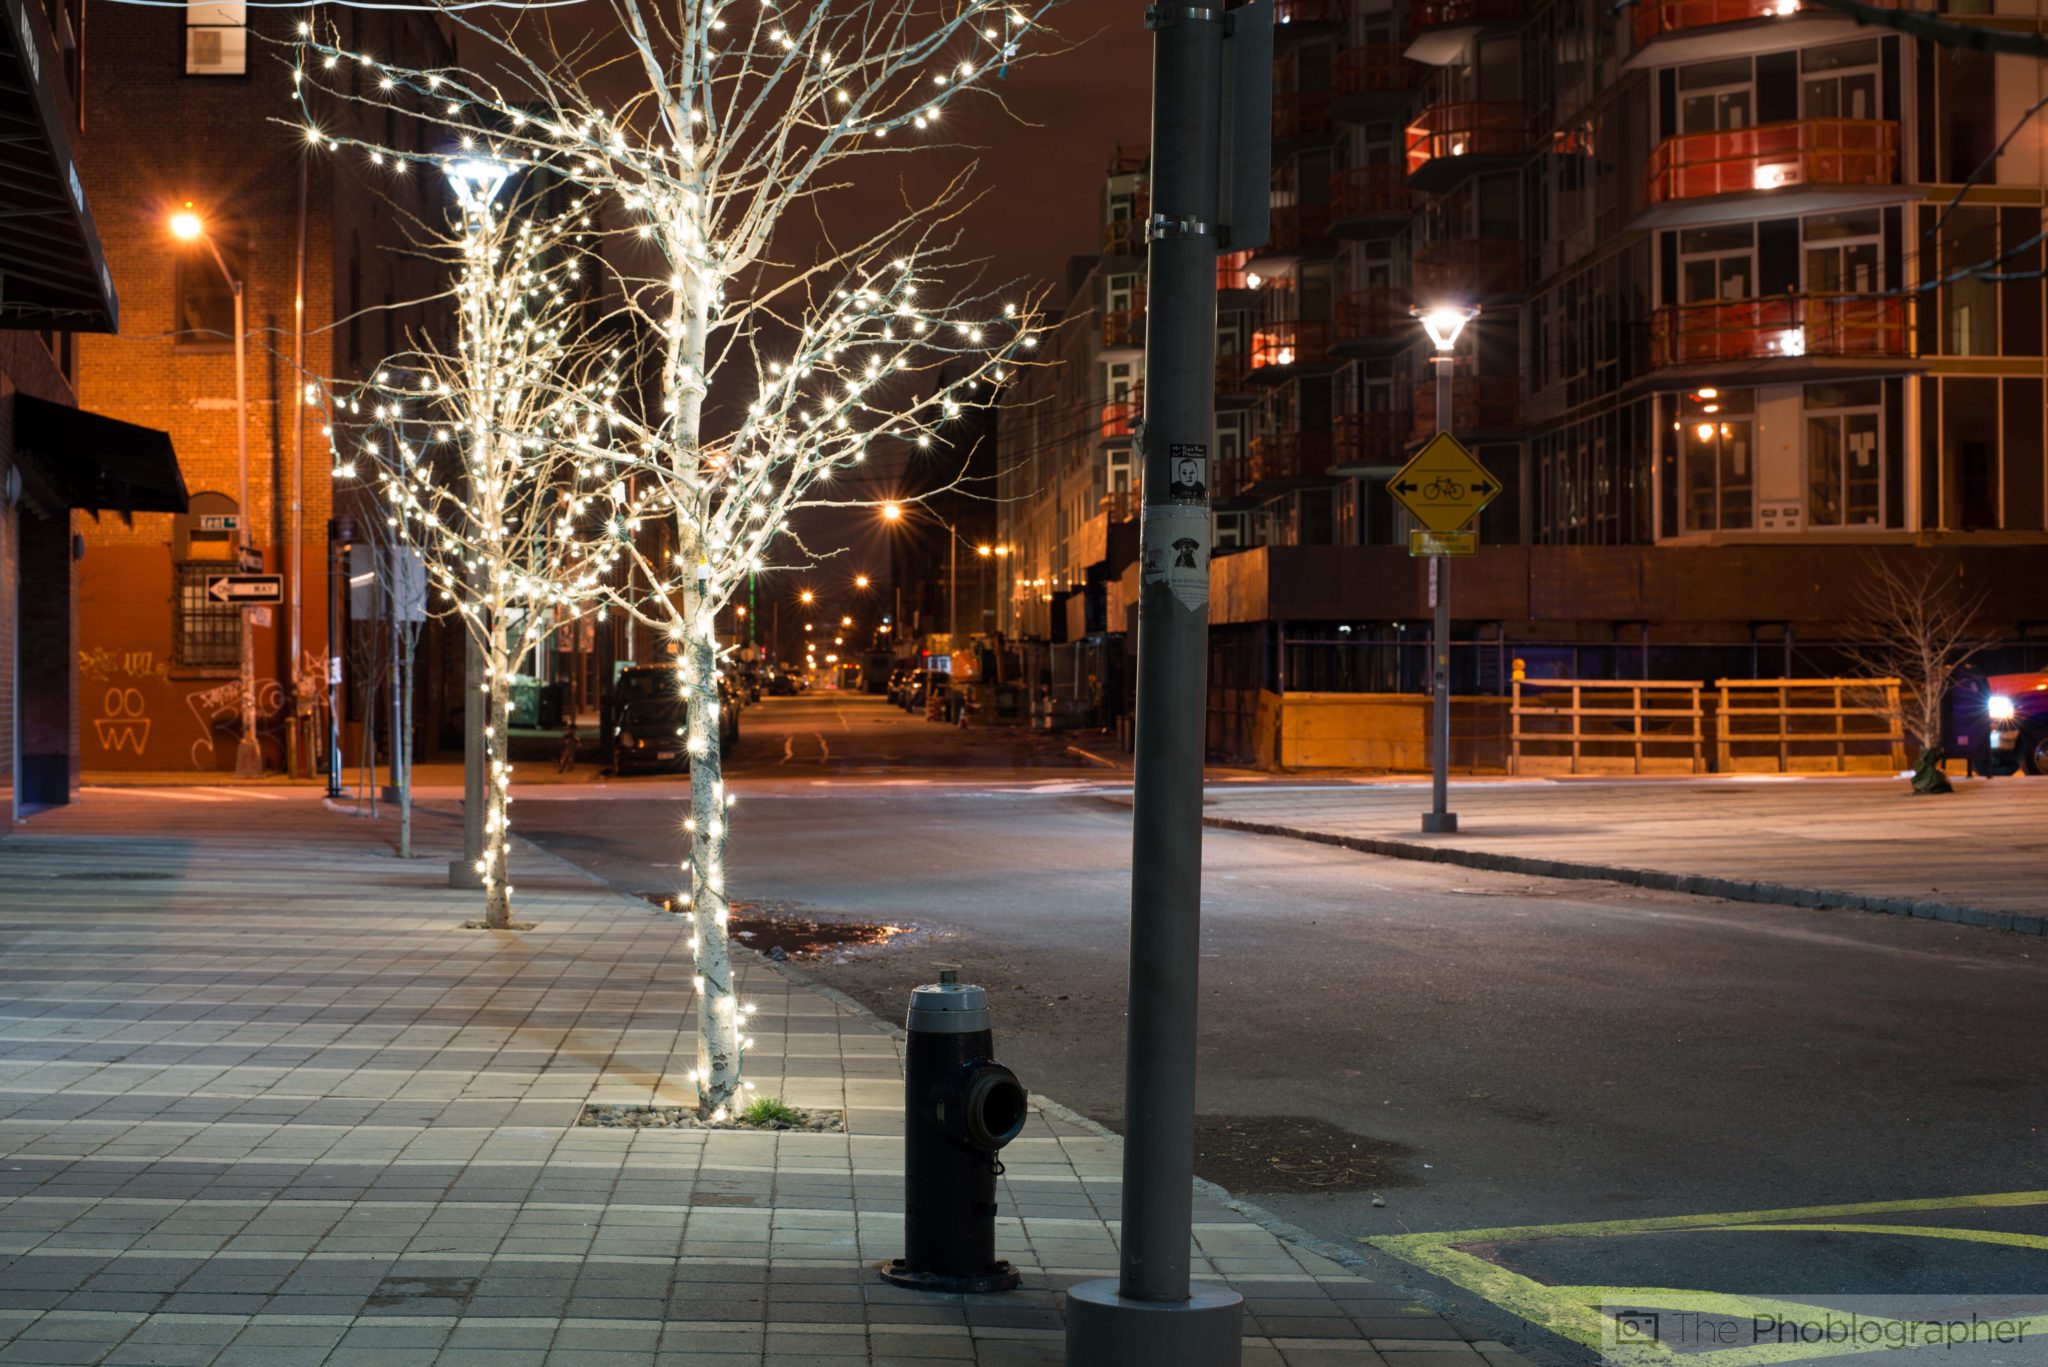
Architecture/Landscape
Like any other non-Touit lens, you slap it onto your camera, focus, shoot, and admire. When we used it for landscape shooting, we found it generally easier to set it on a tripod and use the depth of field scale coupled with the camera’s Live View mode. When shooting like this, you can ensure that you’re perfectly in focus with no issues.
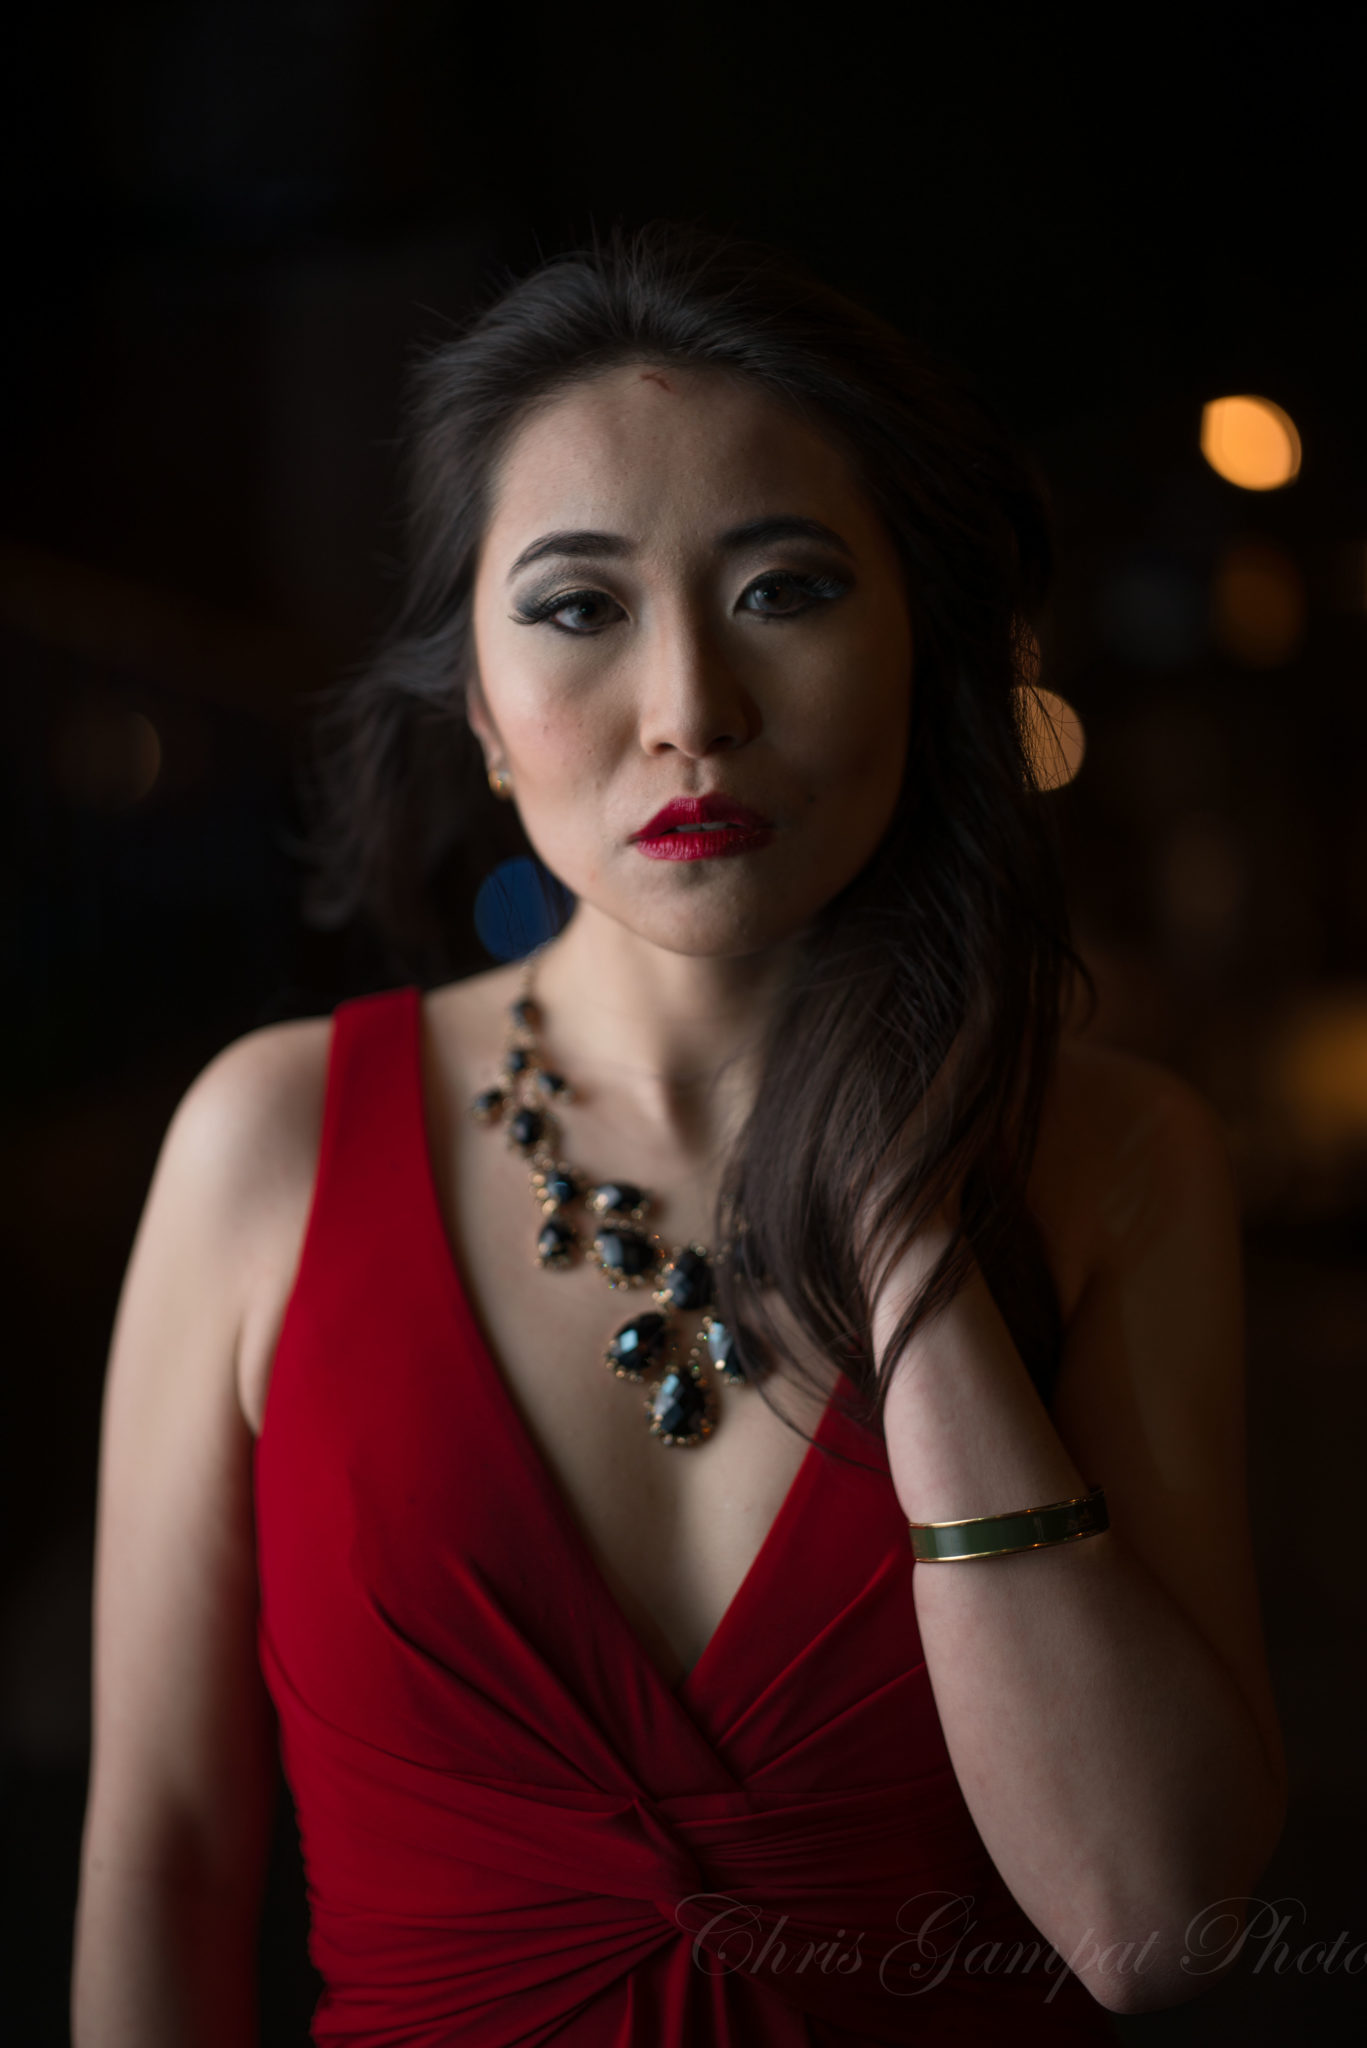
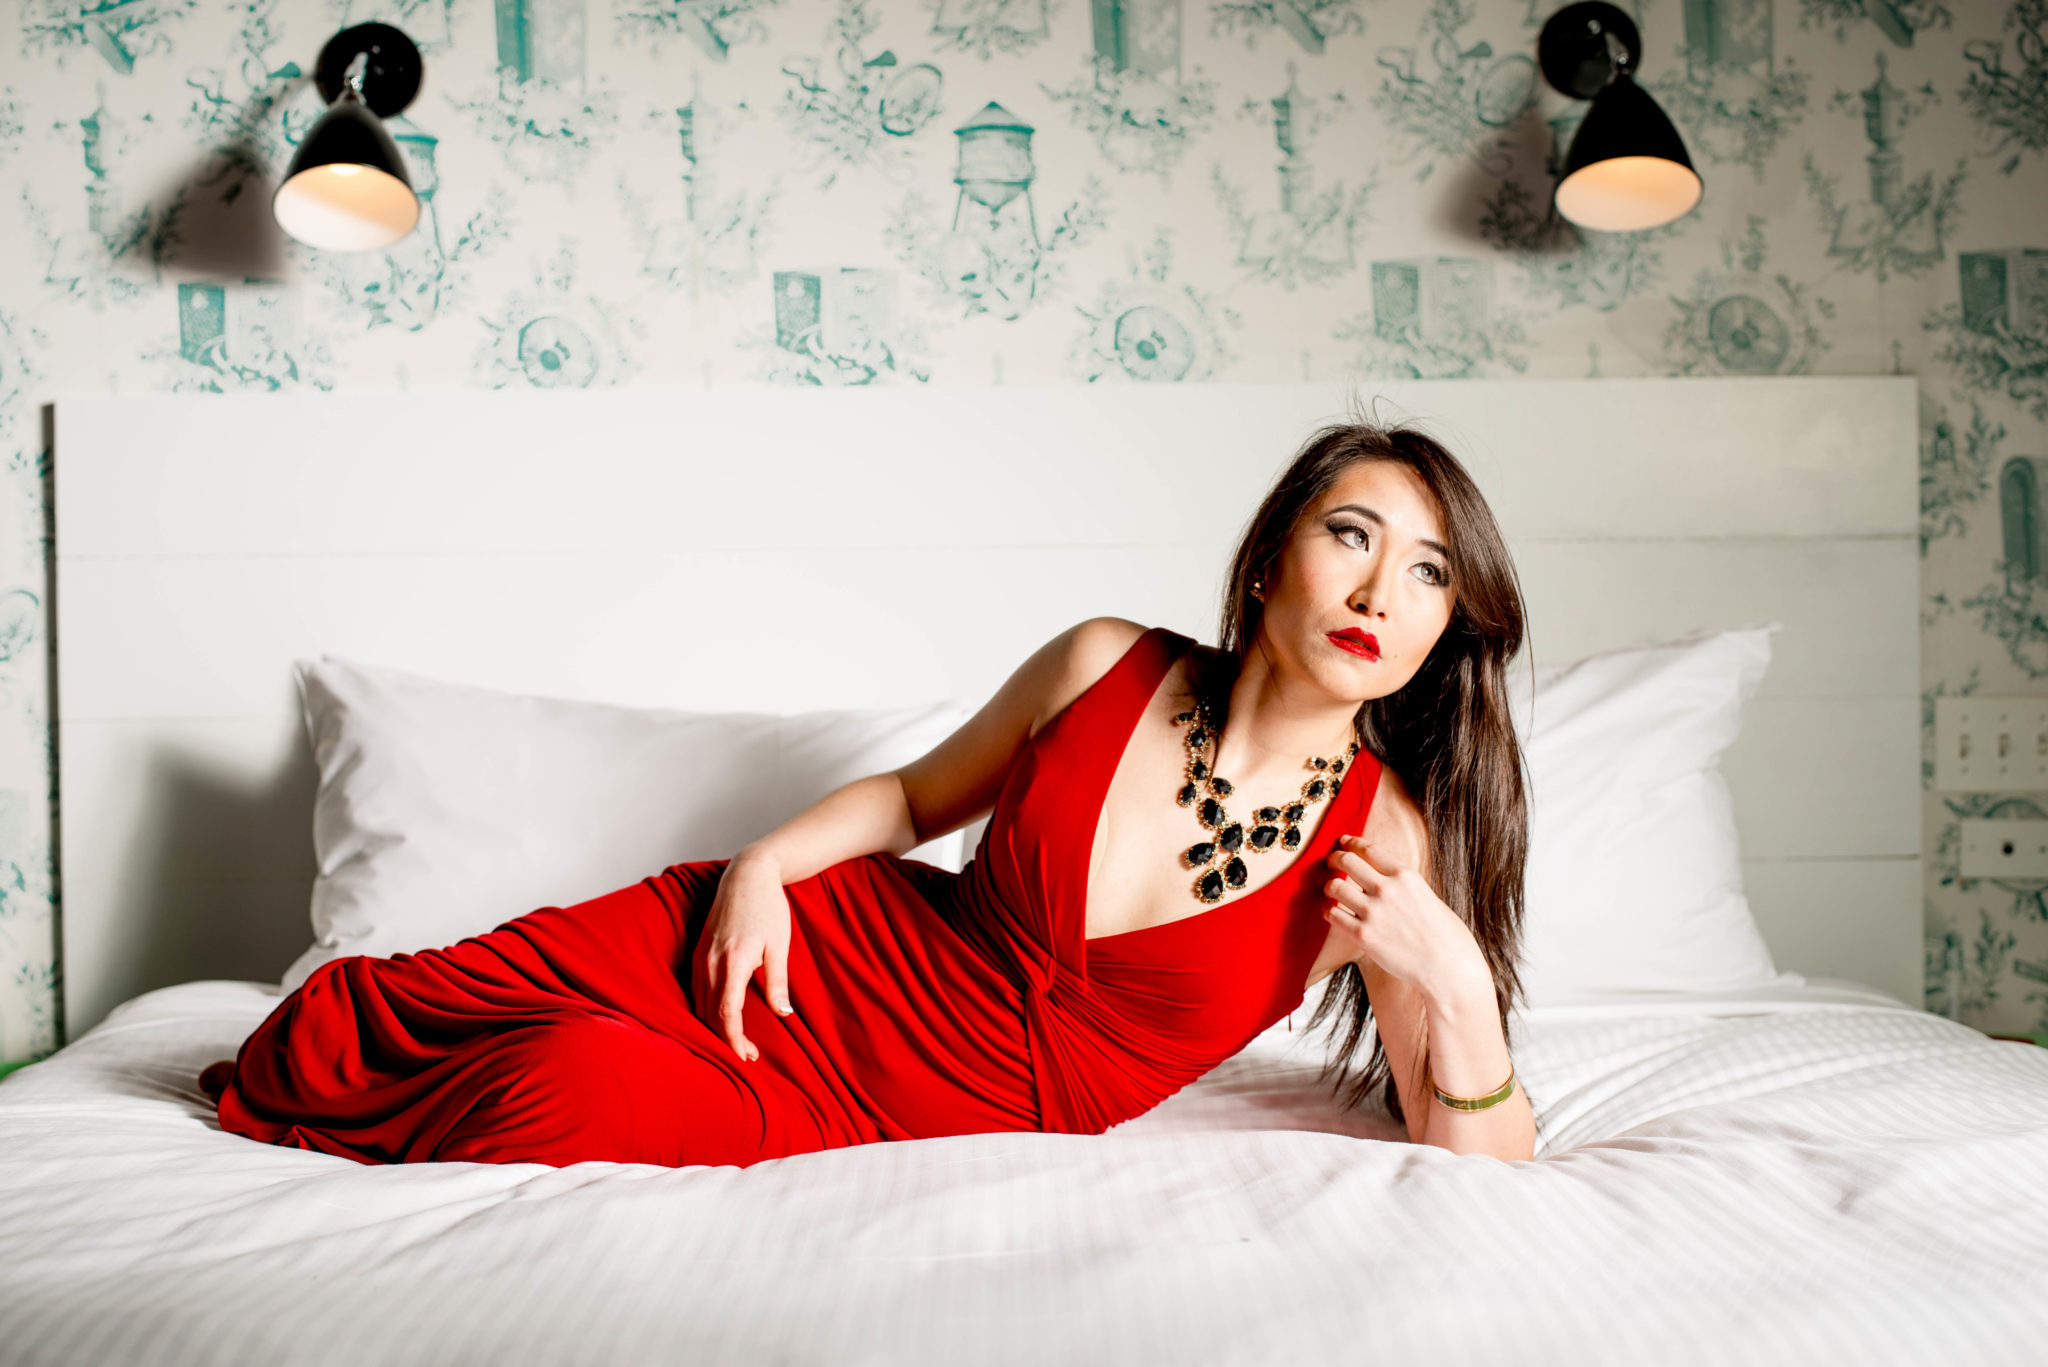
Studio Portraits
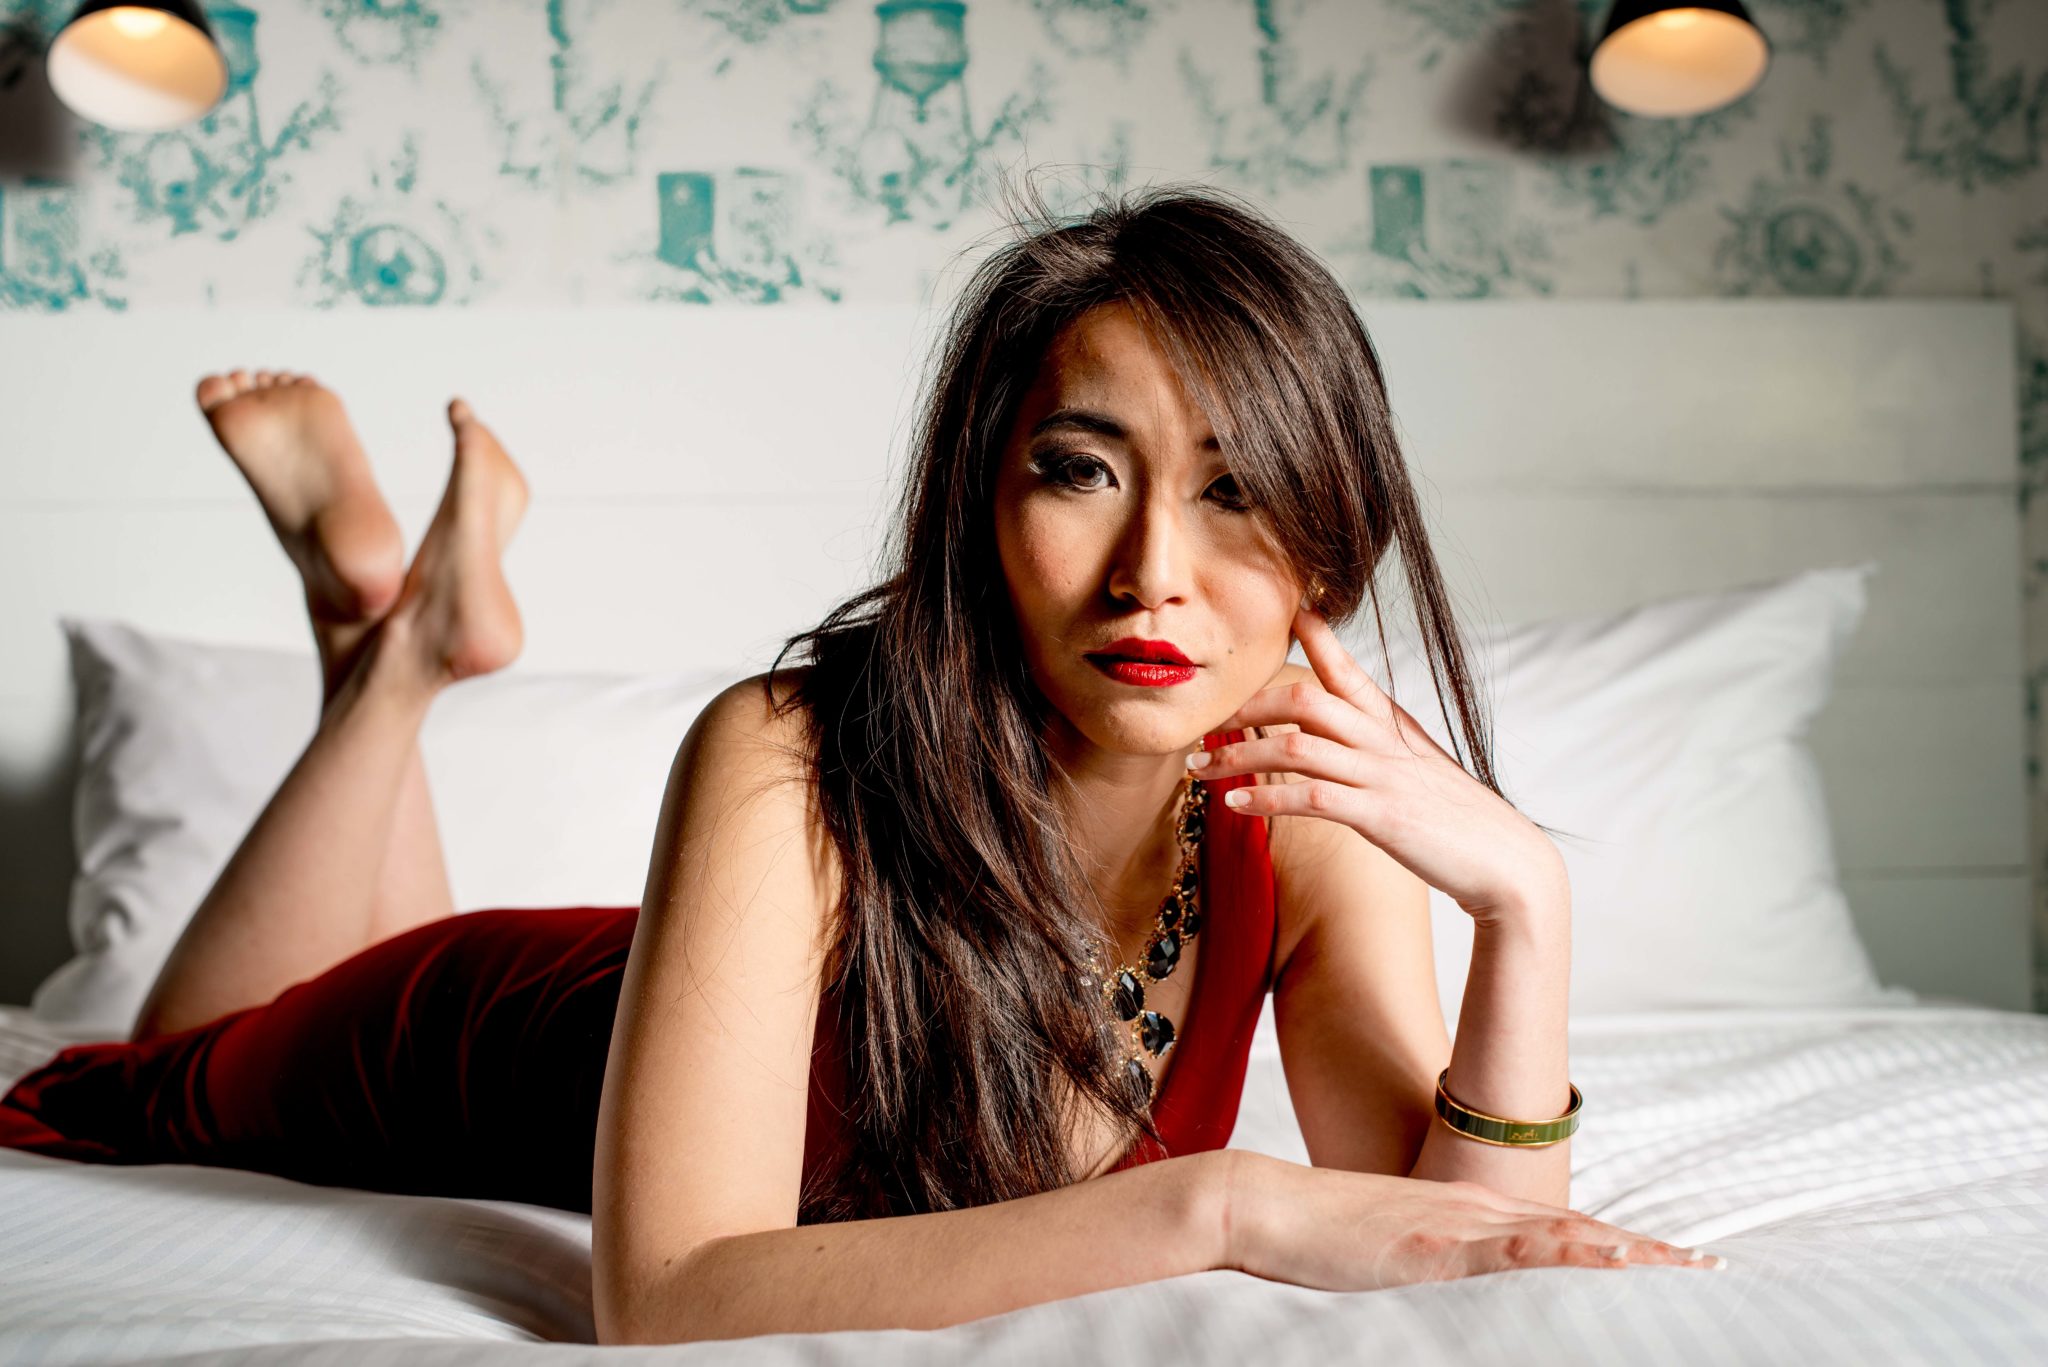
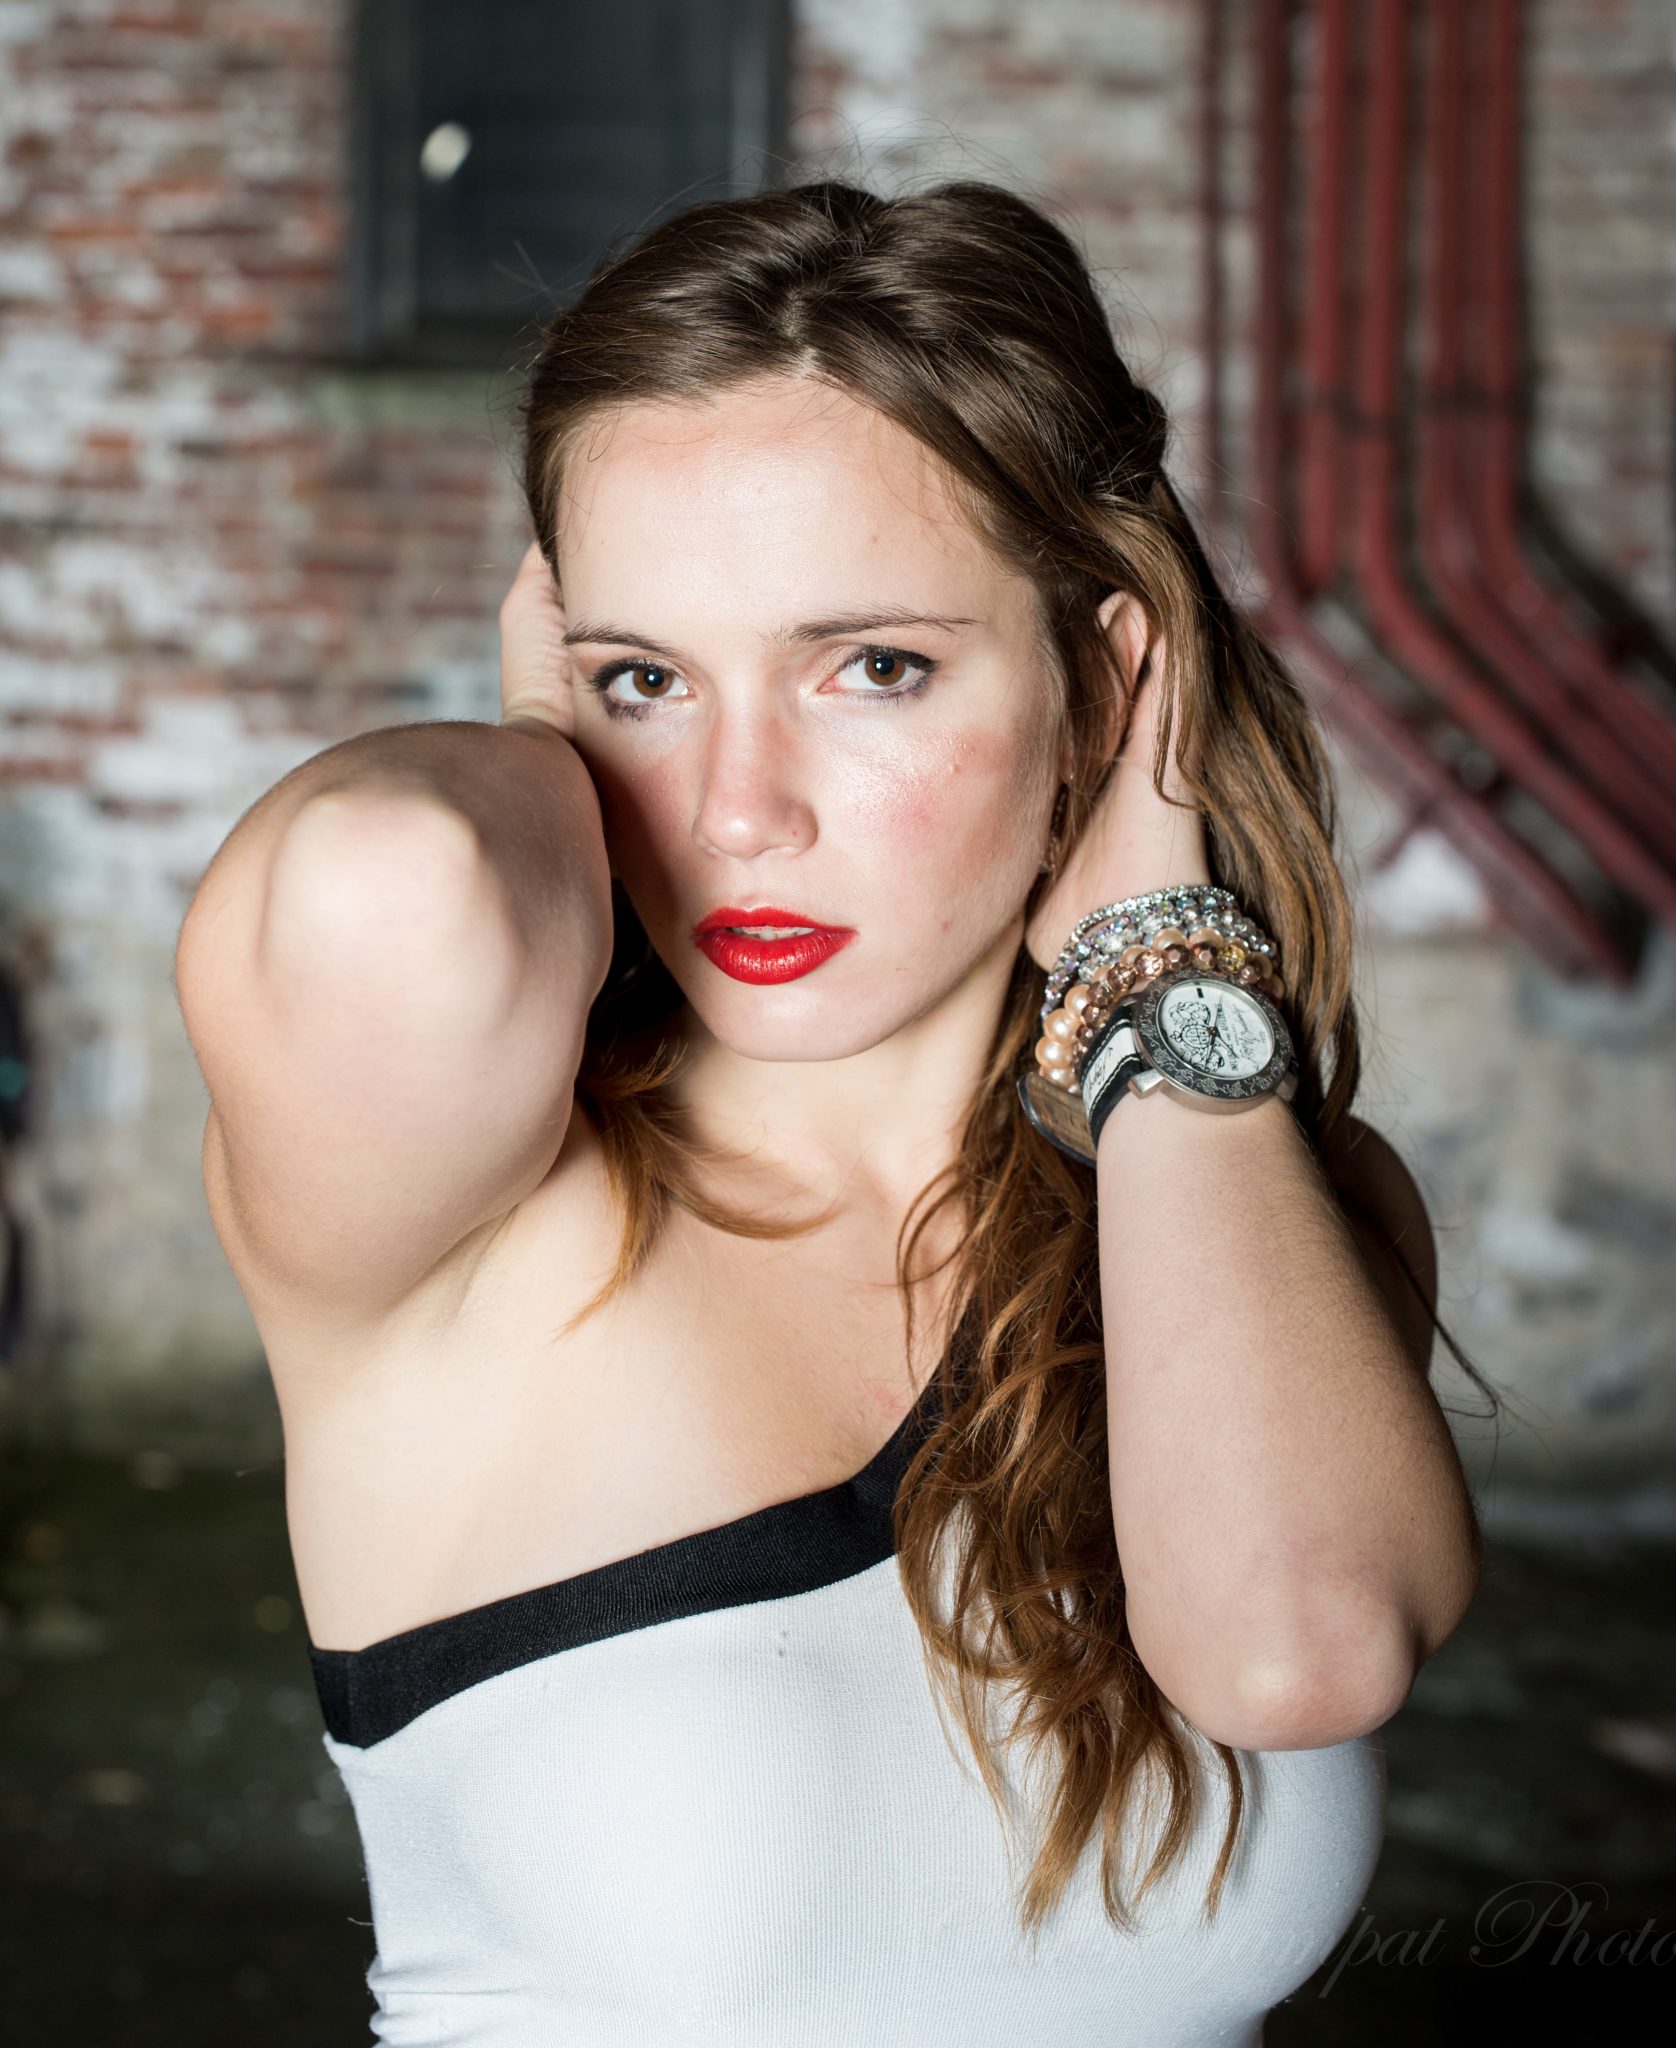
When we took the lens into the studio or on location to shoot, we relied heavily on using the viewfinder of the Nikon D800. For what it’s worth, no OVF can come close to modern day EVFs when it comes to ensuring that something is in focus or not. Nikon’s rangefinder system did an excellent job trying to focus on a subject except when I was in very low light. While on location, I often needed to pop the modeling light on my strobe–which many manufacturers don’t recommended when you’re plugged into a battery pack. The focusing in a portrait is significantly more critical than with landscape shooting. However, with the images that we got, we wouldn’t be too worried with the focusing being just a tad off with the way that typical presentation of images on the web and in prints usually work. You don’t really sit there pixel peeping a print–but instead looking at it as a whole. You also really shouldn’t be pixel peeping an image but instead looking at it as a whole. But if you’re renting or purchasing this lens and if your clients are demanding the utmost in the image quality then you should try to nail it–and it indeed can be challenging.
In reality though, most clients don’t know what they want and don’t know a thing about real image quality.
Image Quality
By far, this is the lens that should be taking home awards left and right. When we were able to nail the focusing, we found the image quality to be incredible. In fact, we’re not sure that the English language has a word for just how good it is except for maybe God-like. The sharpness at any aperture is almost unreal and unlike anything that we’ve ever seen. At the same time, we’re positive that you’ll either be making a retoucher’s life a living hell or that much easier. The more pixels there are and the more resolution there is, the more there can be to retouch. And sometimes masques and gaussian blur just doesn’t cut it.
But here at the Phoblographer, we understand that image quality is about a hell of a lot more than just sharpness. Indeed, you can use modern day software to pull out even more sharpness from an image that can look excellent with the right lighting. But you can’t change certain things like out of camera color rendition and the bokeh. And both of those are really, really good. We found that when the lens was mated to Nikon’s D800 or Sony’s A7r, it tended to render the warmer colors a bit more mute than we’d like–specifically reds and oranges. When we worked with these images in Lightroom, these were the two color channels that we consistently turned to in order to manipulate the saturation and luminance.
With all this said, we need to get one big statement out there: you will still need to do post-production with this lens. No camera and lens combination in the world will rid your subjects of skin blemishes and when you can always get just a tad more sharpness out of an image, you always should providing that that is in your final vision. For no reason at all though would we purchase or work with this lens and then apply something like VSCO’s presets to them to intentionally make the images look vintage and softer.
No, that would just be silly.
Sharpness

In our tests with the 55mm F1.4 Otus lens, we found the optic to be incredibly sharp. We’ve never seen this much detail with studio lights and at f8–ever. F8 and f7.3 is where we found the lens to be its sharpest. Indeed, we sat there while shooting and often felt very challenged. The reason for this is because f1.4 is also extremely sharp, and we couldn’t sometimes decide if we liked the sharpness better or the lens being a bit less sharp at f1.4 (and we really mean a bit) and we would instead get some of the most beautiful bokeh that we’ve seen.
From f1.8-f6.3, we saw some improvements in the image quality, but the most drastic change happens at f8 for sure.
No matter who you are, you’re bound to agree that the sharpness is top notch–and that’s important if you’re dropping this kind of money.
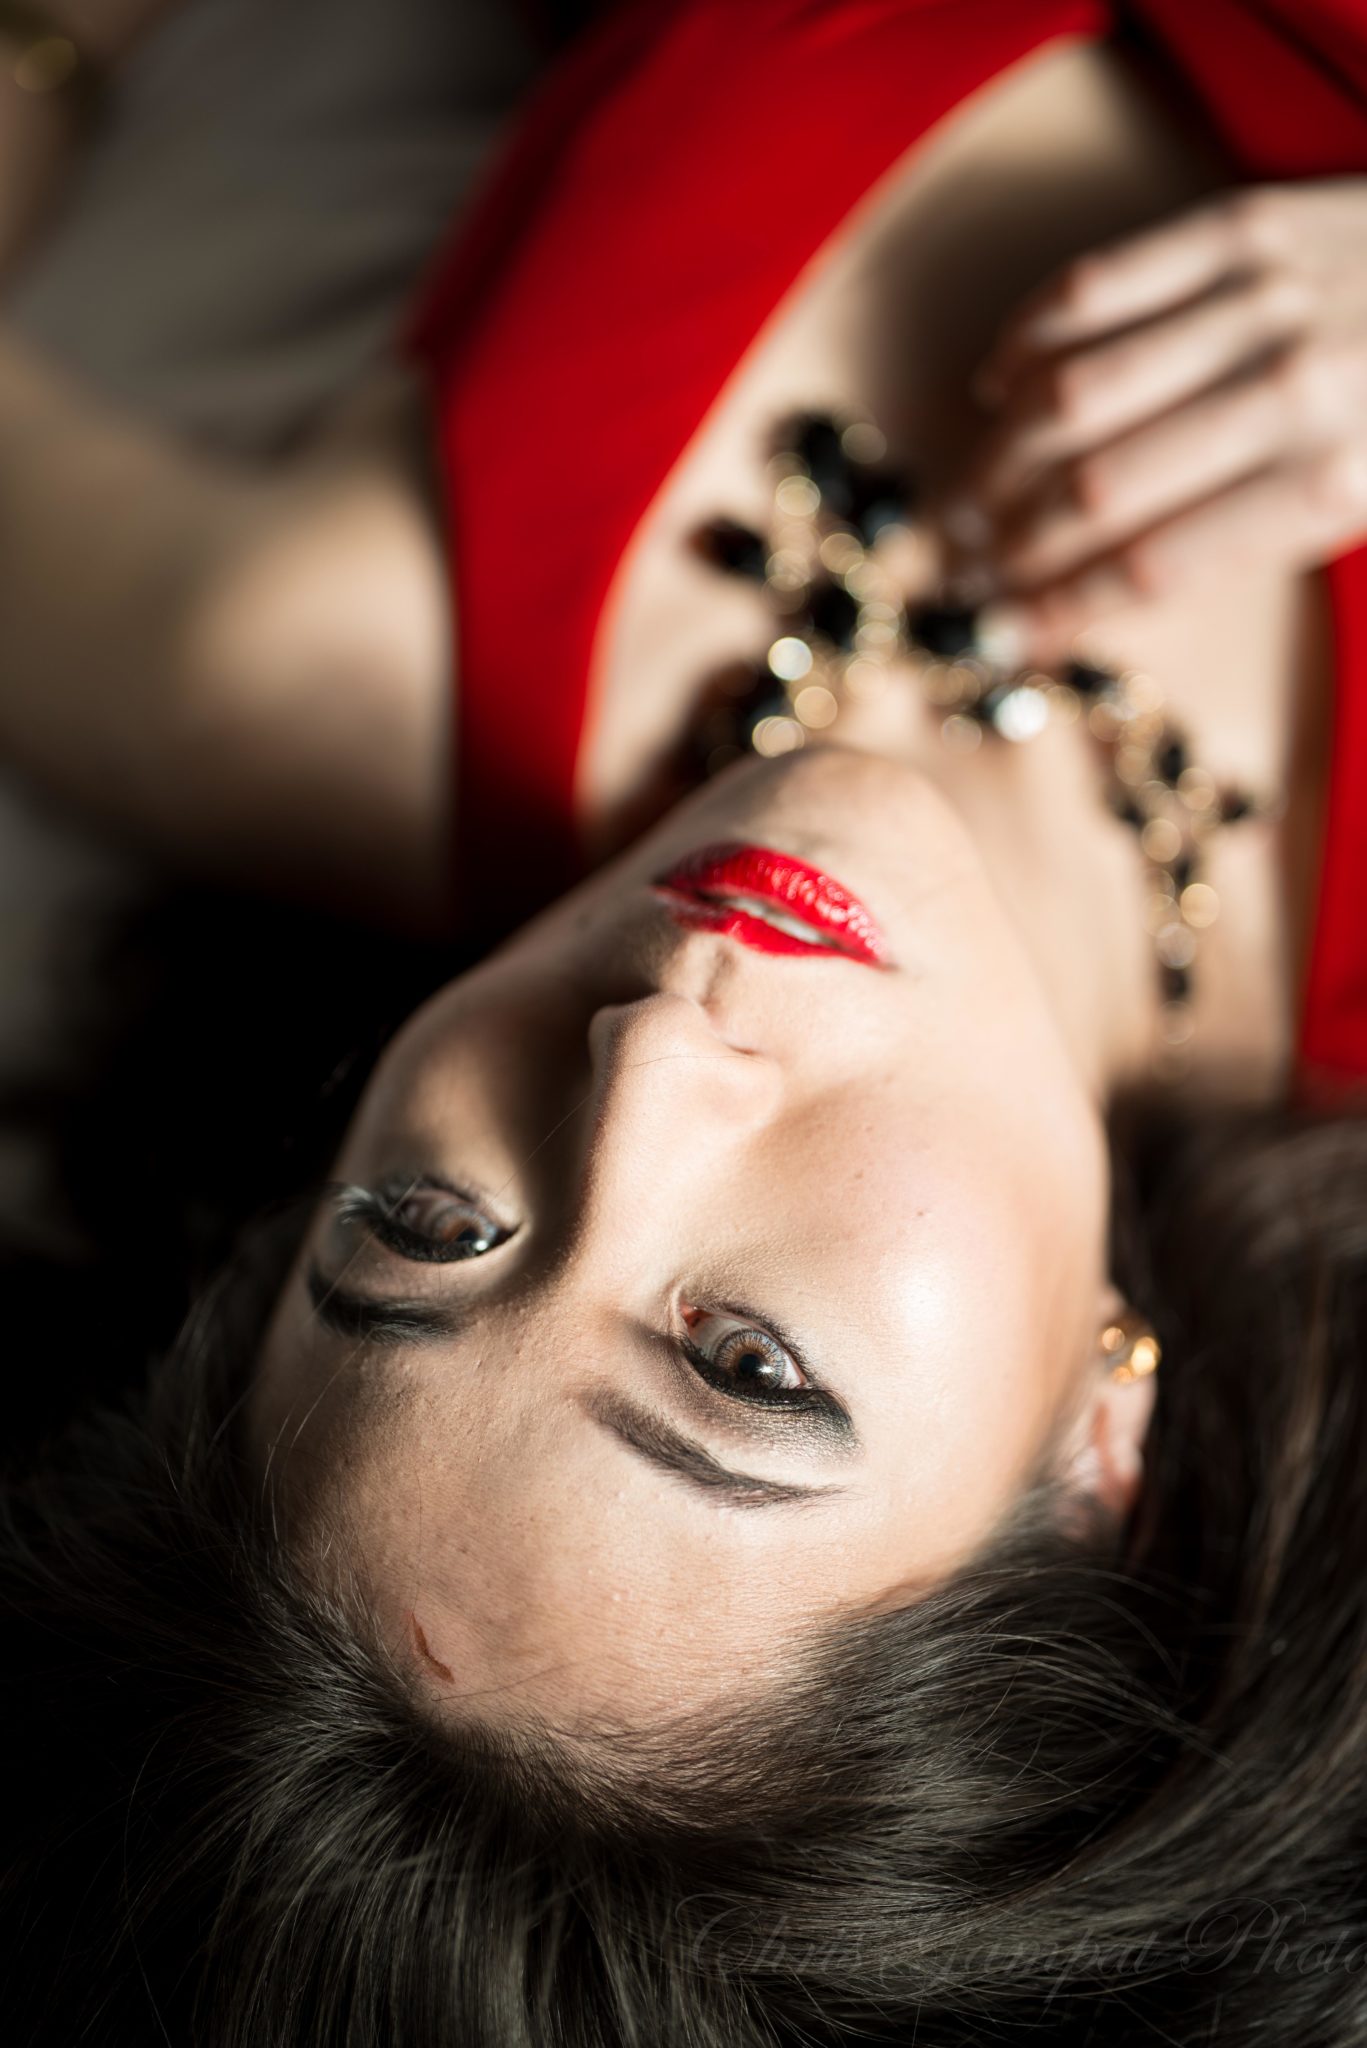
Bokeh
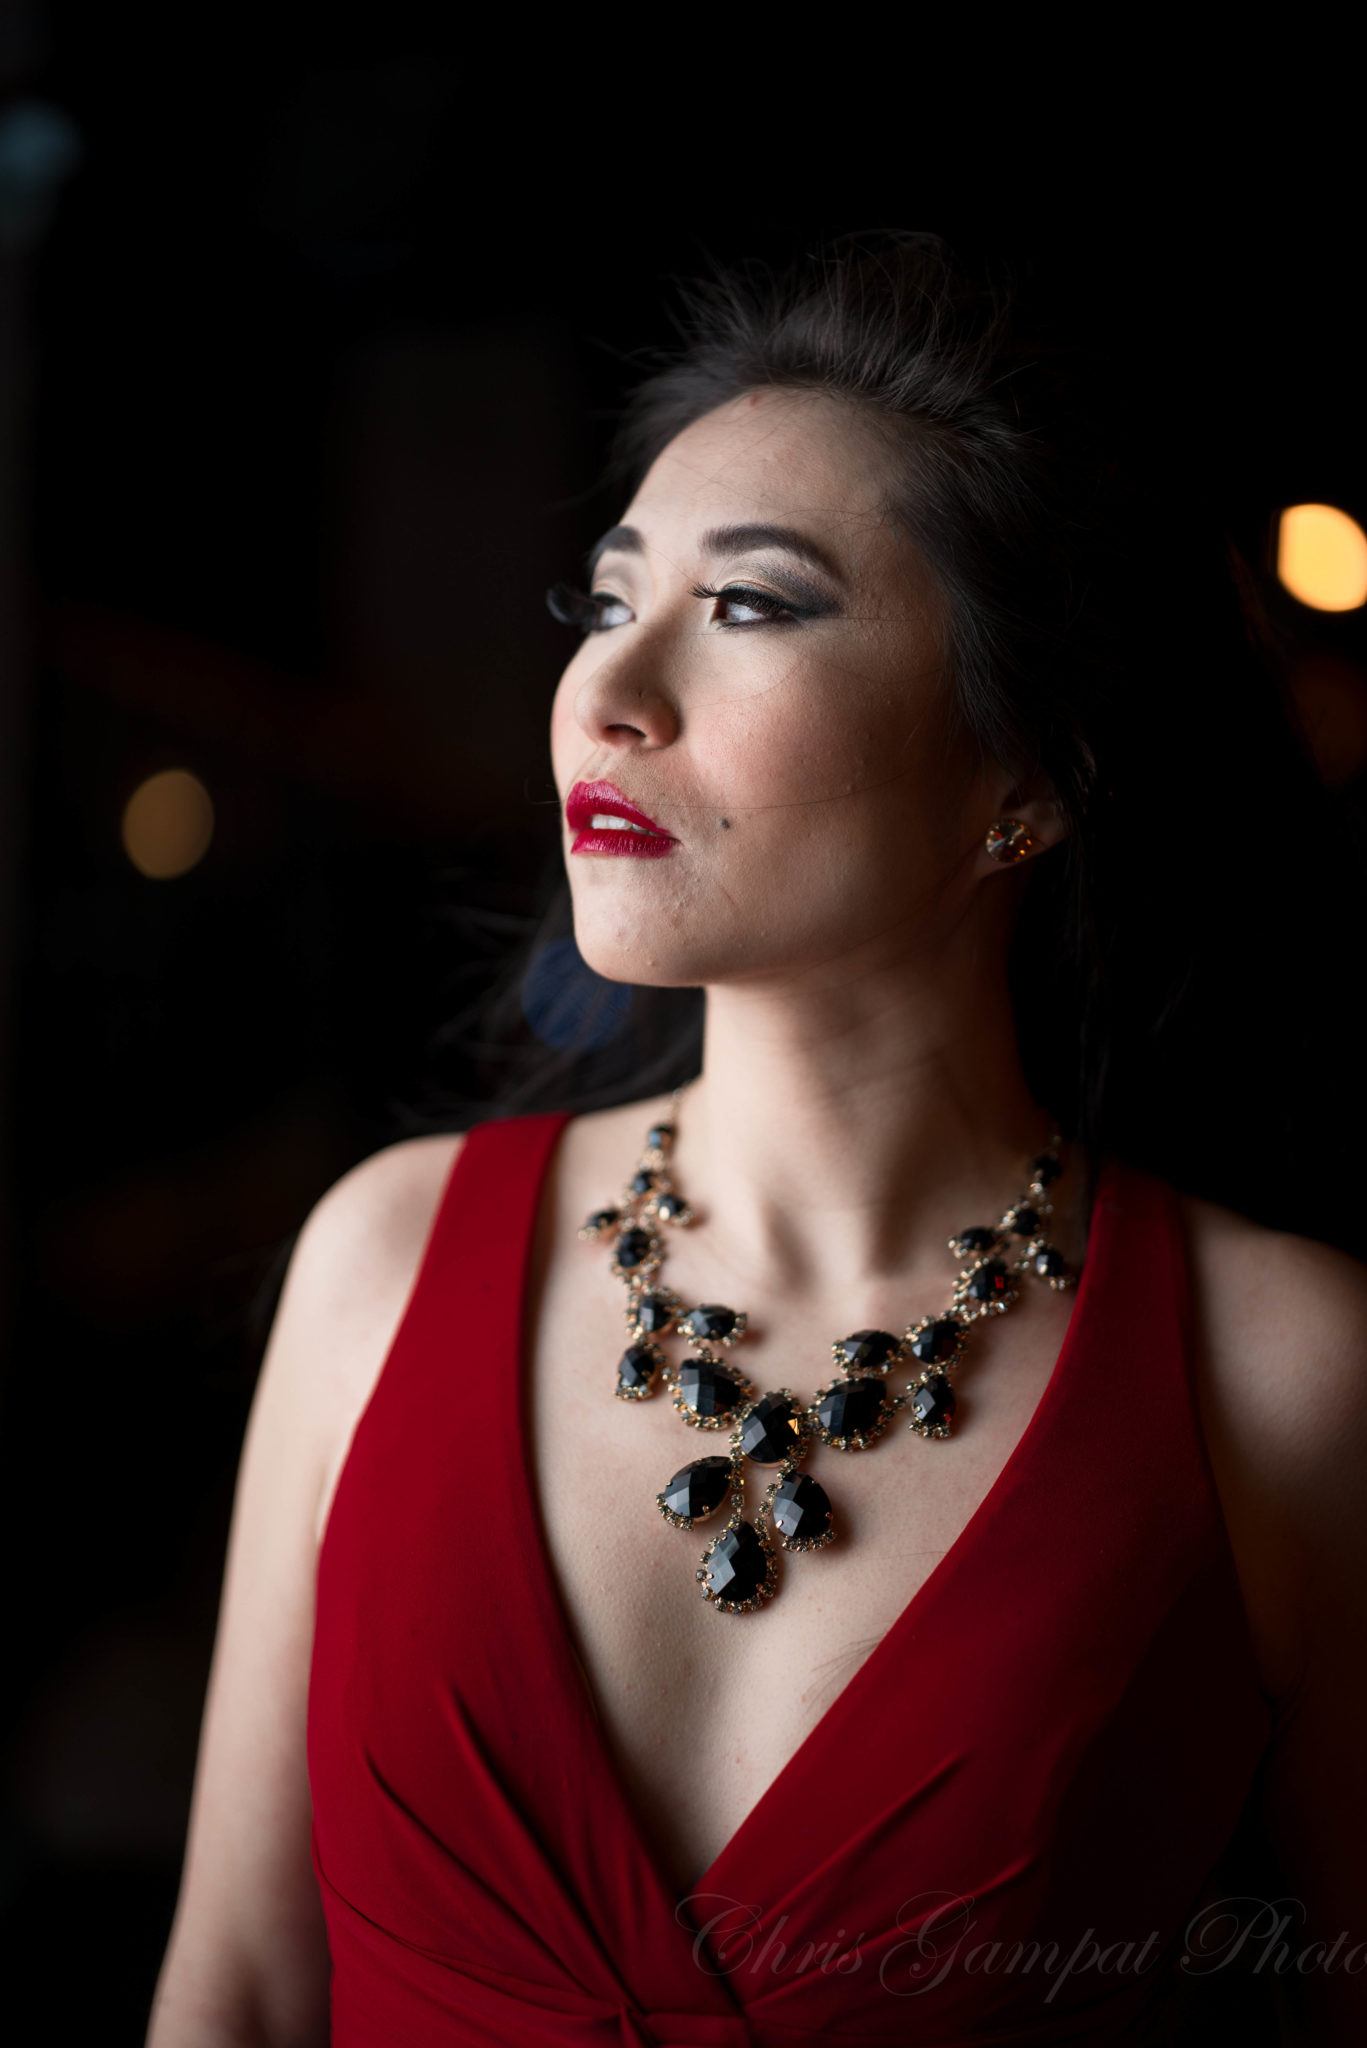
Oh man! It’s beautiful.
For the image above, we shot at f1.4 and found that the focus falloff is quite gorgeous while keeping the specific area extremely sharp. By far, this lens also has the best bokeh that we’ve seen–easily blowing the Canon 50mm f1.2 out of the water. Additionally, we also find that it beats Leica’s 50mm f0.95 Noctilux. Zeiss put a ton of engineering into this lens to get the image quality perfect, and it can surely be seen.
We find that for the person that will spring for this lens, bokeh will be most important for portraits vs. landscapes.
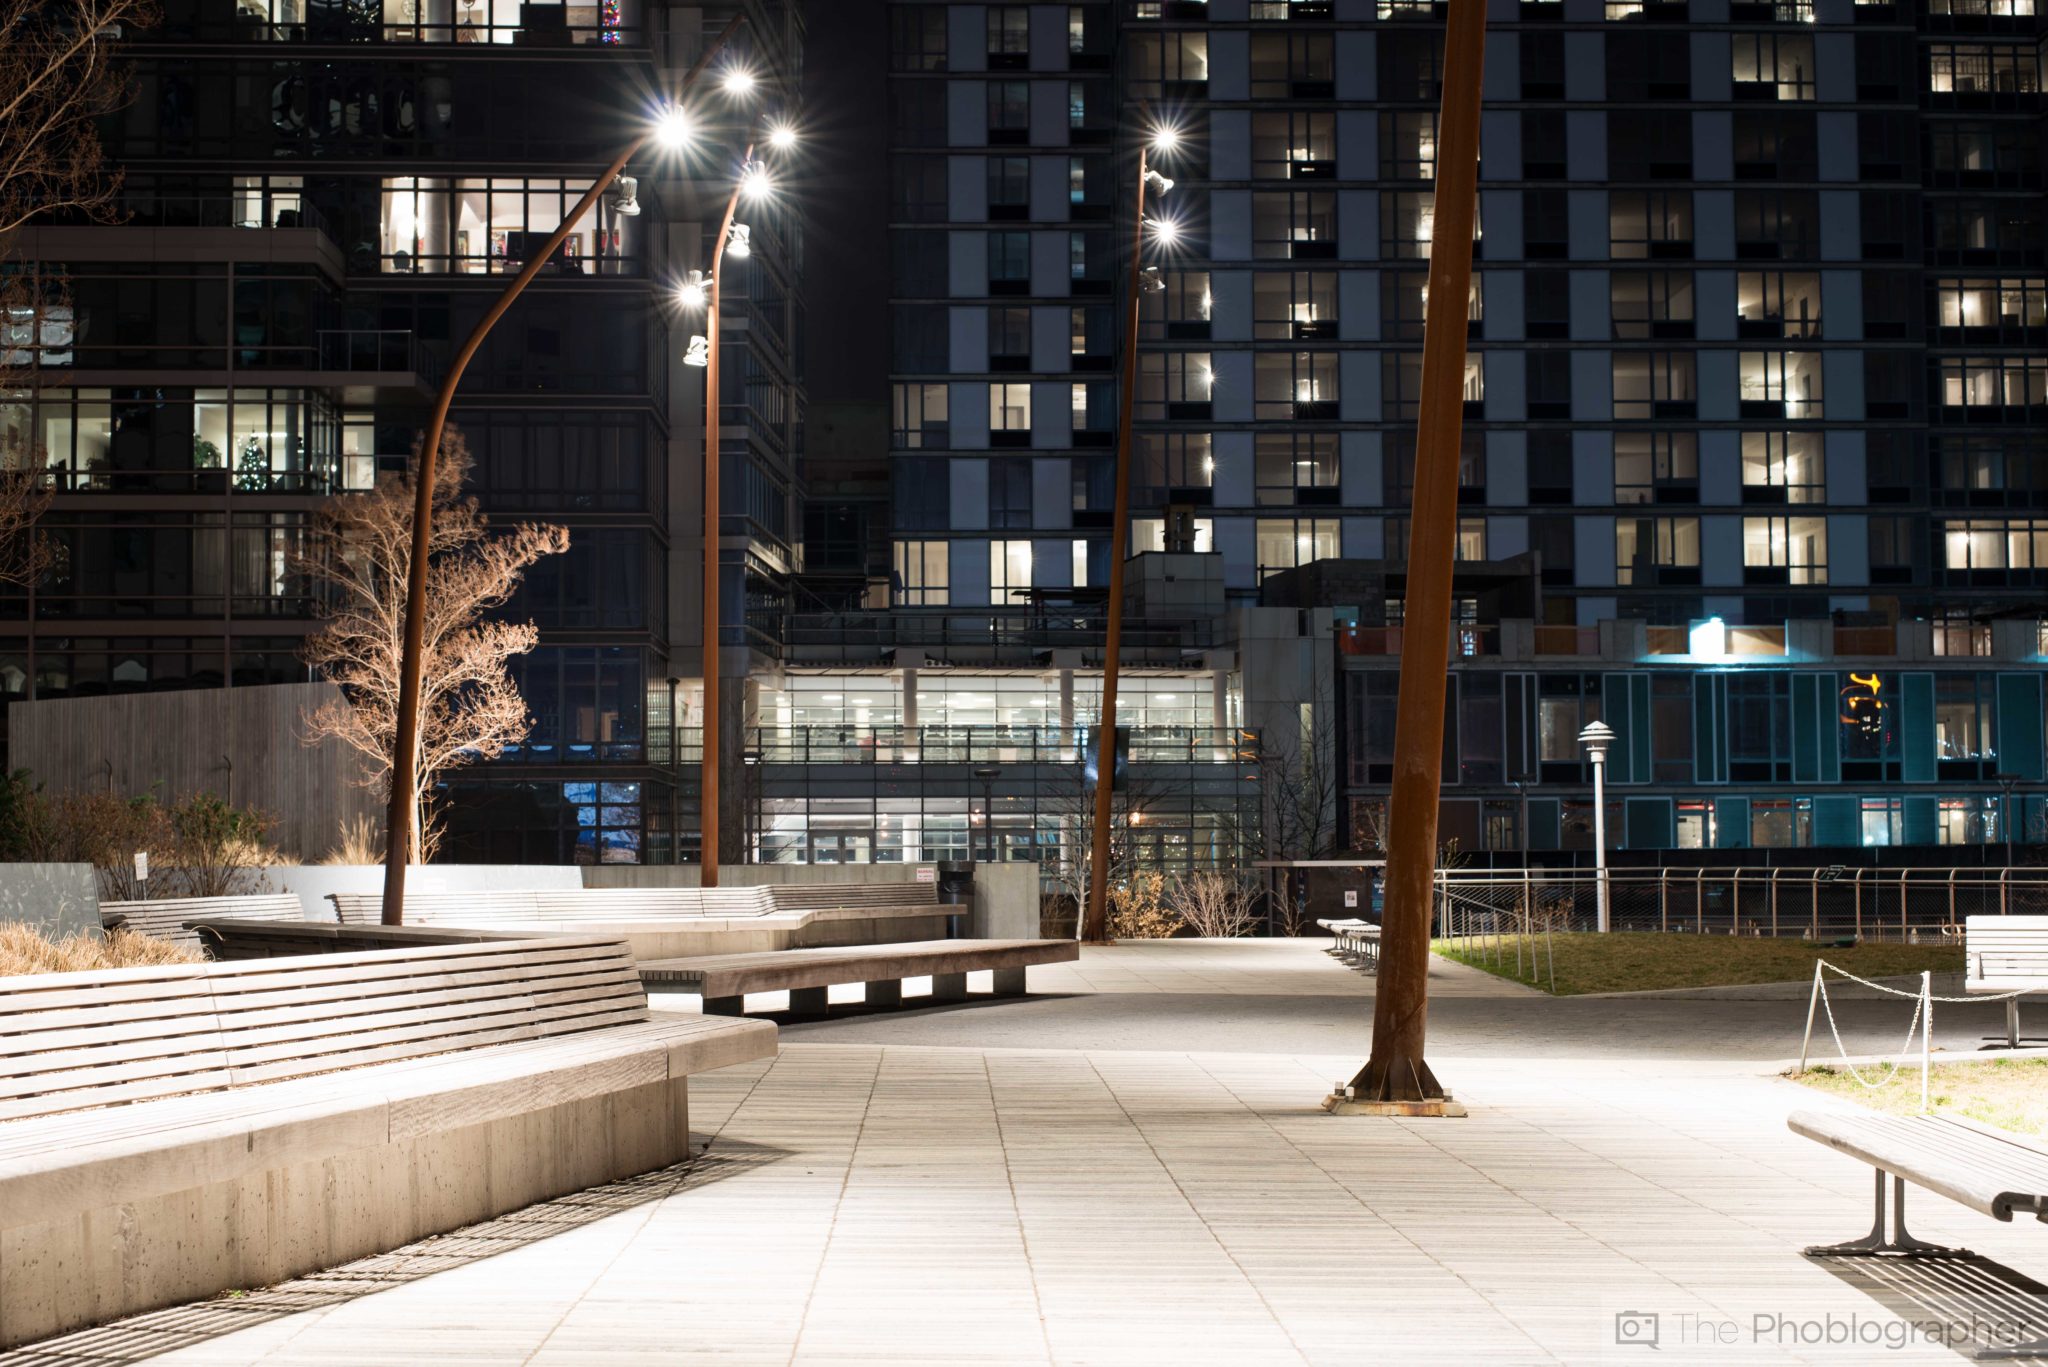
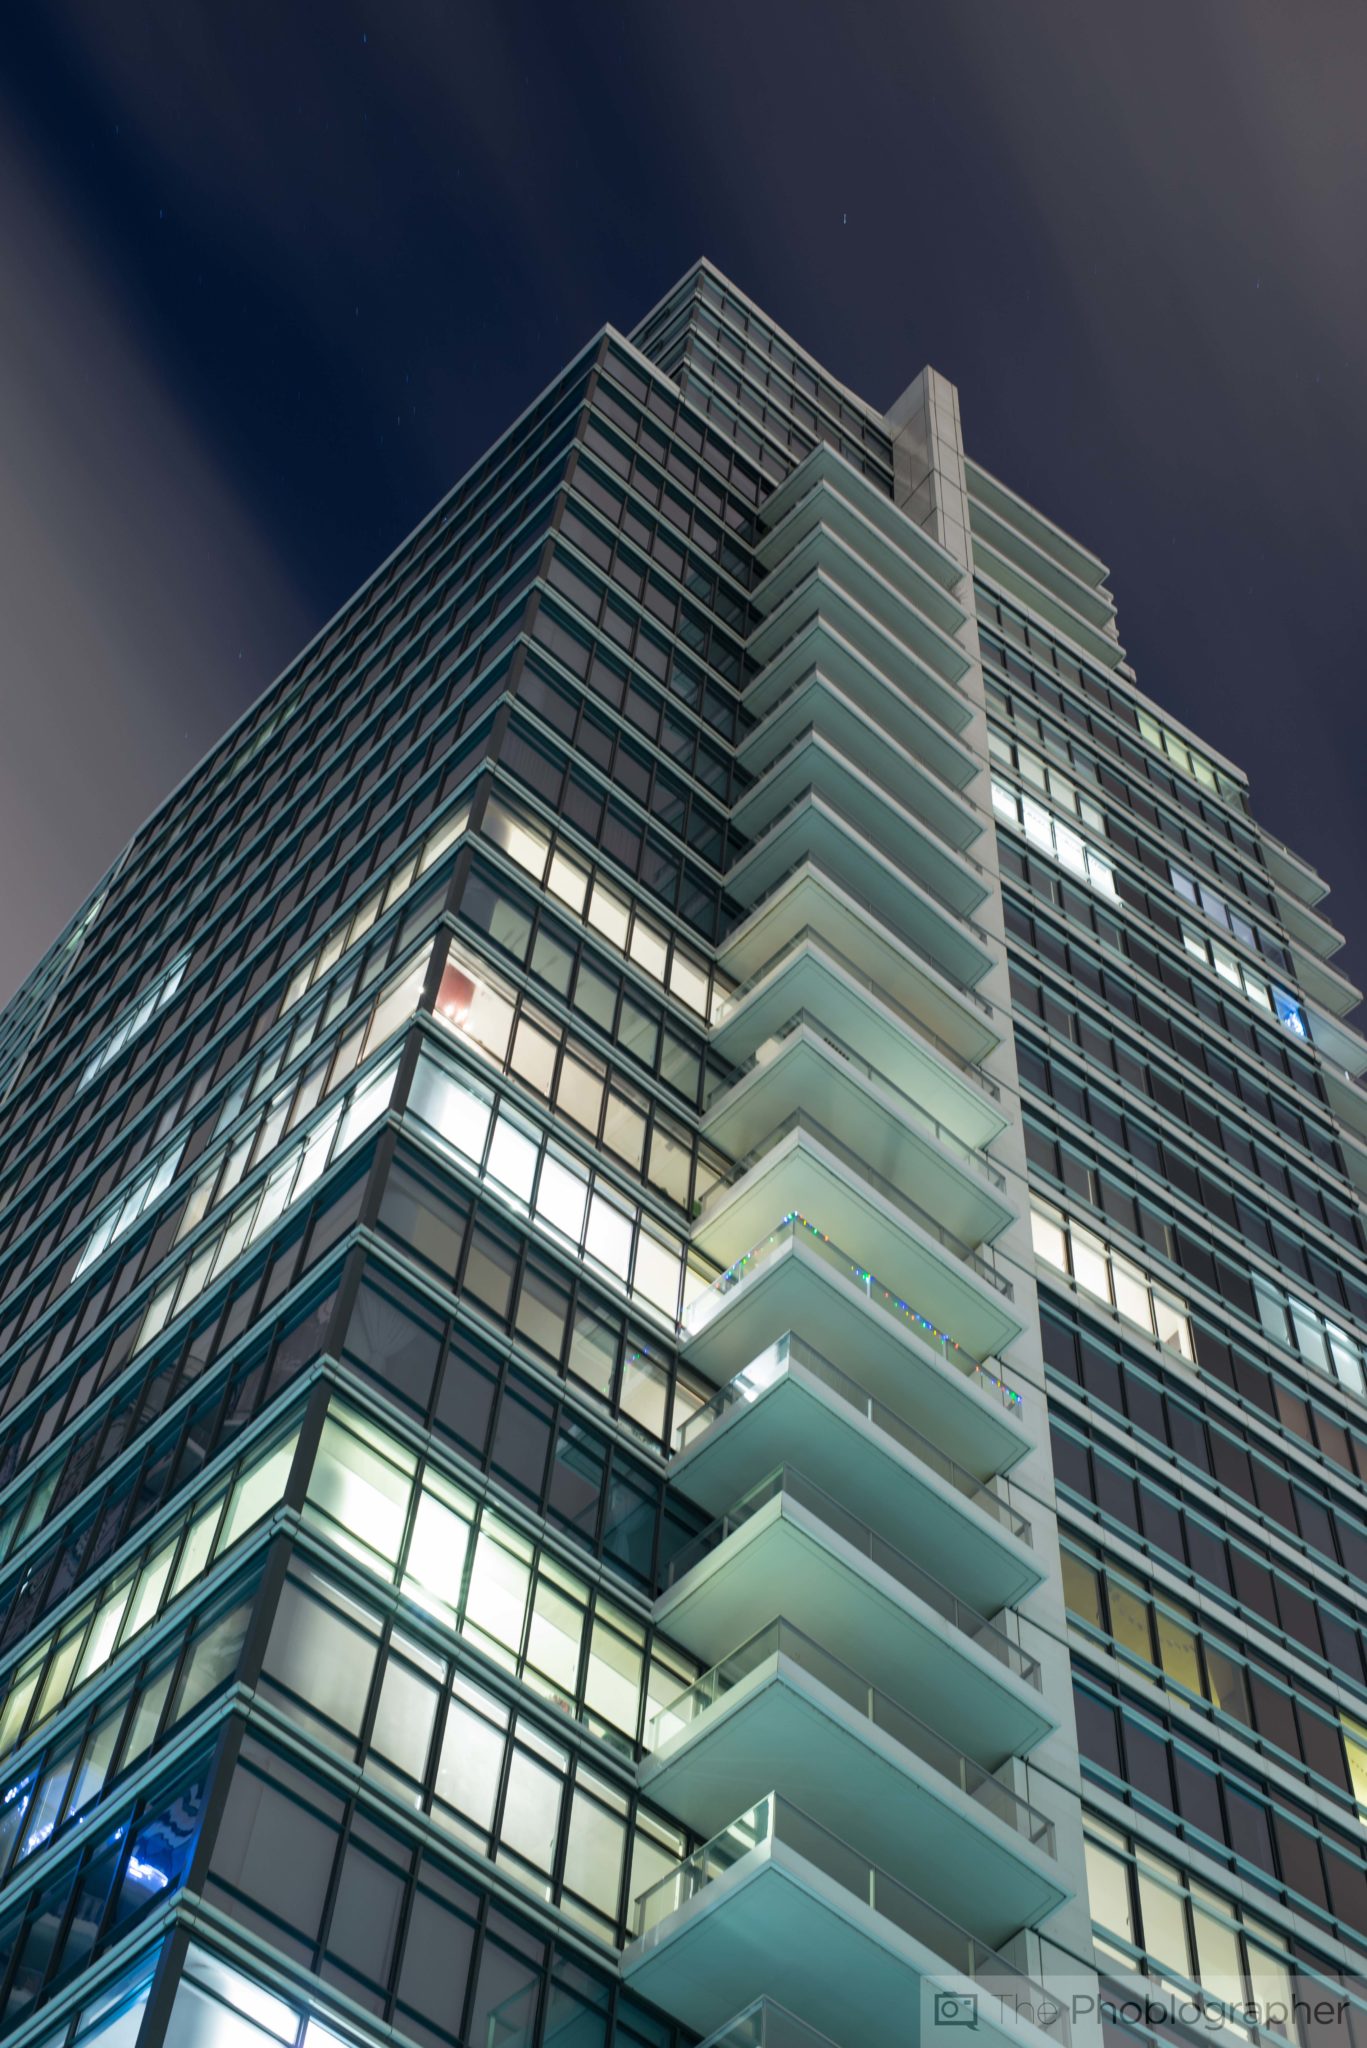
Color Rendition

The color rendition from this lens is completely accurate–and we actually feel like it’s the most true to life that we’ve seen sans the bit of saturation that it seems to add. Zeiss’s 55mm f1.4 Otus does a great job with greens and blues, but also tends to lack a bit on the warmer side.
FYI: the Empire State Building doesn’t have color fringing, it really was that color on Christmas Eve when we shot this image.
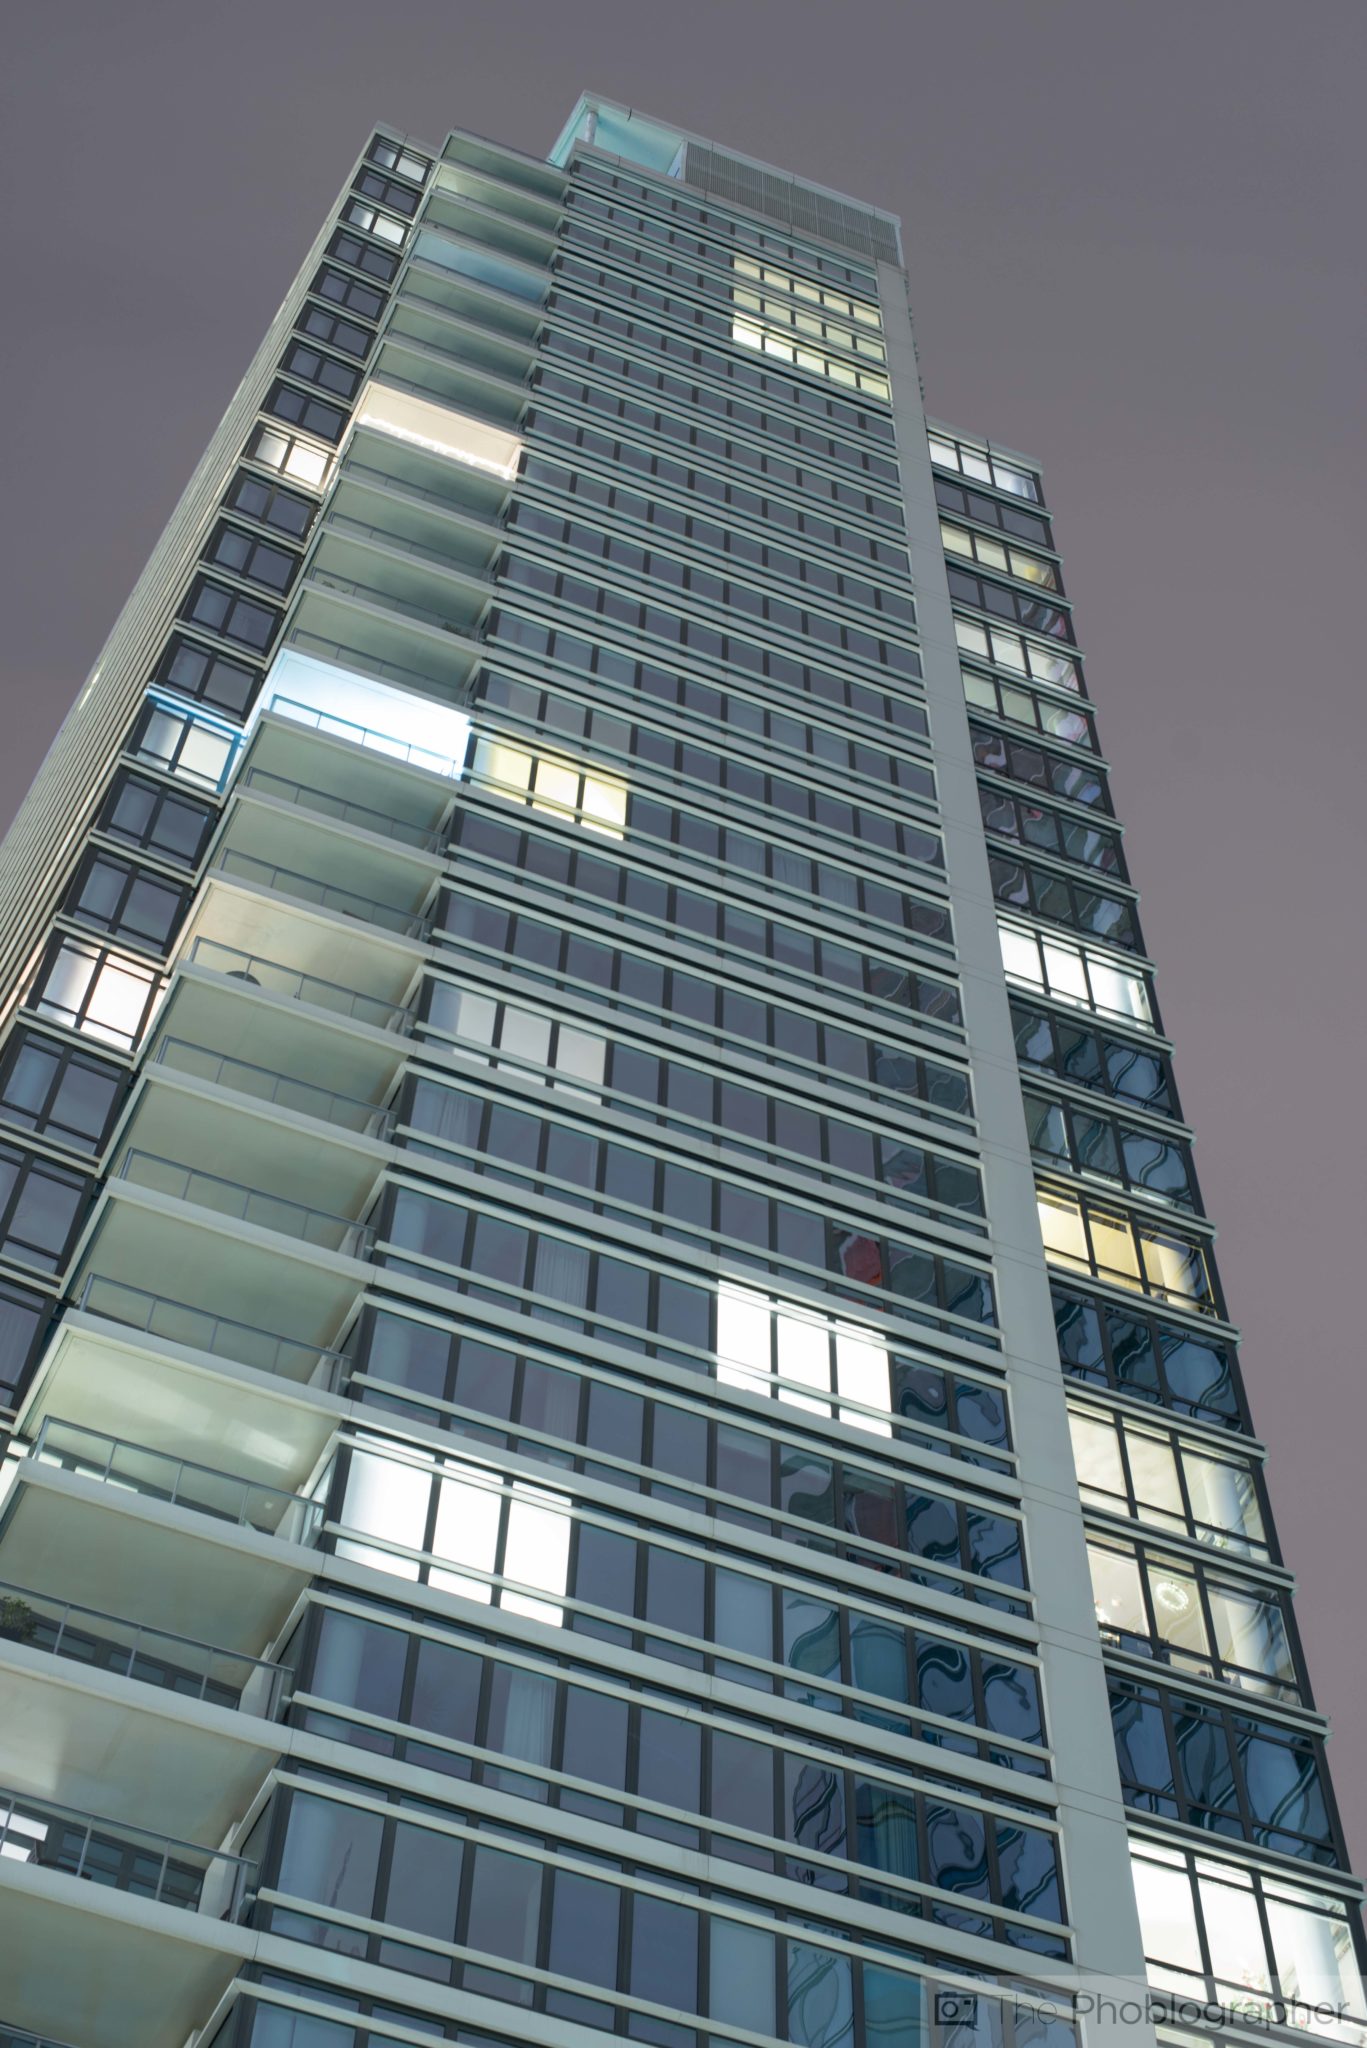
Color Fringing

If you’re purchasing a $4,000 lens then one would expect absolutely no color fringing out of the camera. During our studio tests and long exposures, we didn’t see any. However, when we were processing our images in Lightroom, moving the contrast slider 10 degrees too much would result in fringing. But in all honesty, this is totally unavoidable by the laws of science.
Extra Image Samples


Conclusions
![]()
Could you really expect anything less of a lens like this?
Zeiss’s 55mm f1.4 Otus lens is a beauty. The lens exhibits the best image quality that we’ve seen by far from any lens. Indeed, it is pretty much flawless when it comes to this parameter. But then there are other things that make a lens, such as build quality. Though the build is solid, we still wonder why it doesn’t have weather sealing. Additionally, we really wish that this lens had autofocusing. But if you can work with manual focusing or if you adapt to it a camera with an EVF, then you’ll have no issues at all.
Once again though, we need to hammer home the price. If you absolutely need no compromise on image quality, then this is your lens. But be sure that you can get the work to make a profit from the purchase.
And always remember: it’s the photographer that creates the images–not your lens or your camera.
Recommended Accessories and Cameras
Nikon D800/D800E- These are the two highest megapixel cameras at the moment of publishing. And they will take the most advantage of the imaging circle.
Sony A7r: Sony’a top of the line full frame mirrorless camera will help you deliver stunning images with this lens. We like the EVF on it better than most other EVFs.
Please Support The Phoblographer
We love to bring you guys the latest and greatest news and gear related stuff. However, we can’t keep doing that unless we have your continued support. If you would like to purchase any of the items mentioned, please do so by clicking our links first and then purchasing the items as we then get a small portion of the sale to help run the website.
Also, please follow us on Facebook, Google+, Flickr and Twitter.
Get rid of the ads!
Did you enjoy reading this article as much as we enjoyed writing it? There's a way to support us and our reporting, getting ad-free navigation and more as a bonus. Subscribe to us for less than a coffee per month —just $3.99— or take advantage of our yearly subscription with a hefty discount for only $25.- An ad-free experience
- A free mystery box for Lightroom or Capture One
- All the books in our store
- 20% discount on Capture One
- 30% discount on Imalume Photo Theft Protection
- 20% off Herbs and Kettle Tea Company.
- 20% off your order from MPIX printing services.
- 5% off Viltrox Products via their eCommerce store.
- 10% off all film developing, printing and scanning services from Blue Moon Camera and Machine
- 15% off 7Artisans products: The lens and accessory maker is offering a sweet discount for Phoblographer's readers.