
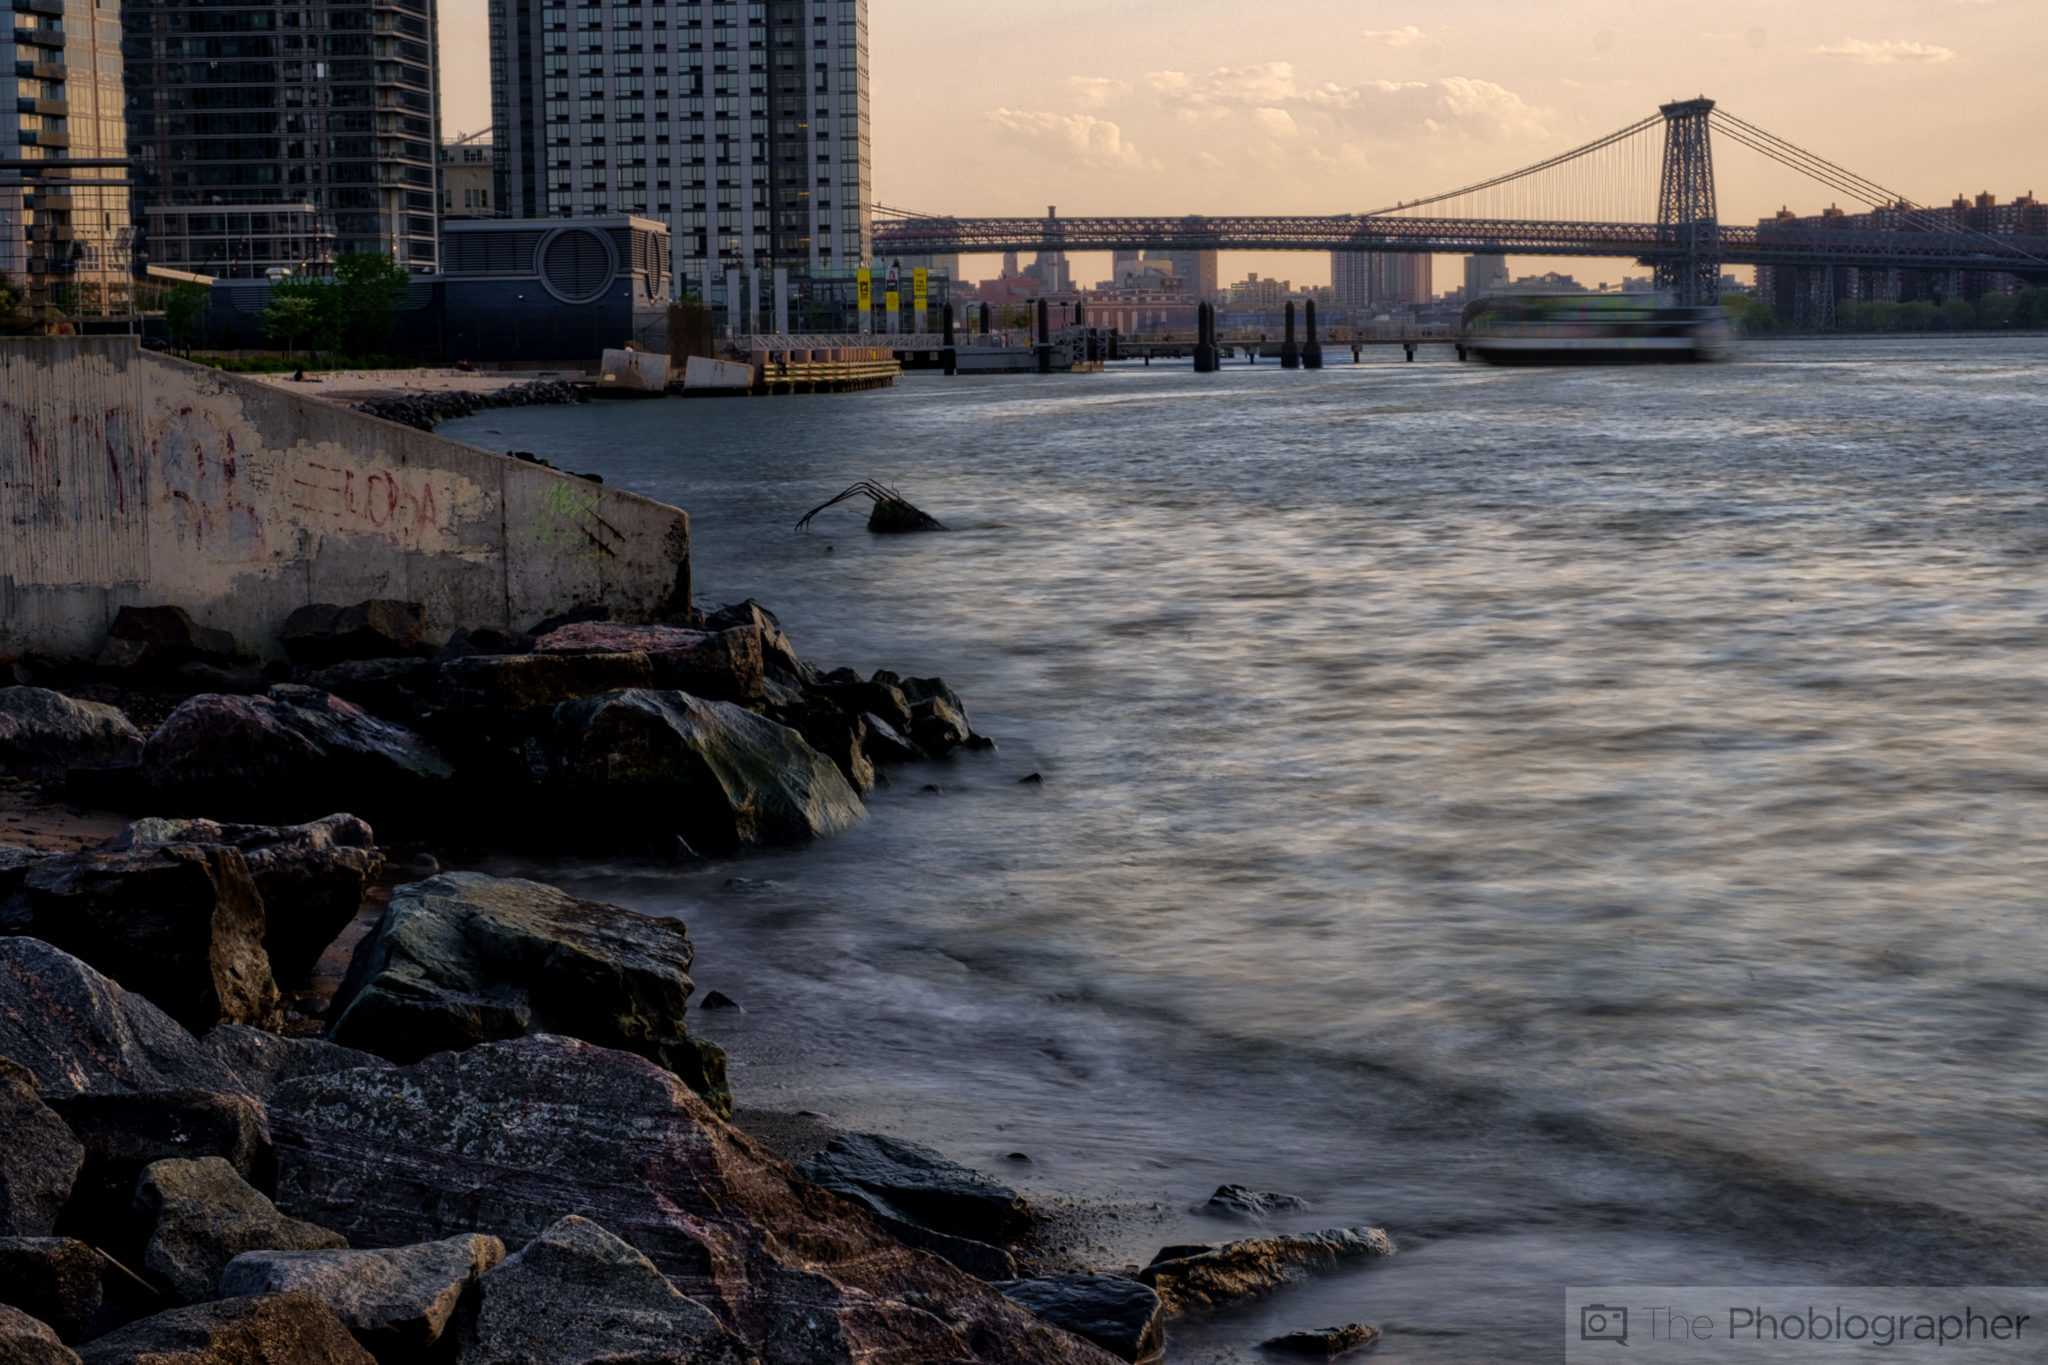
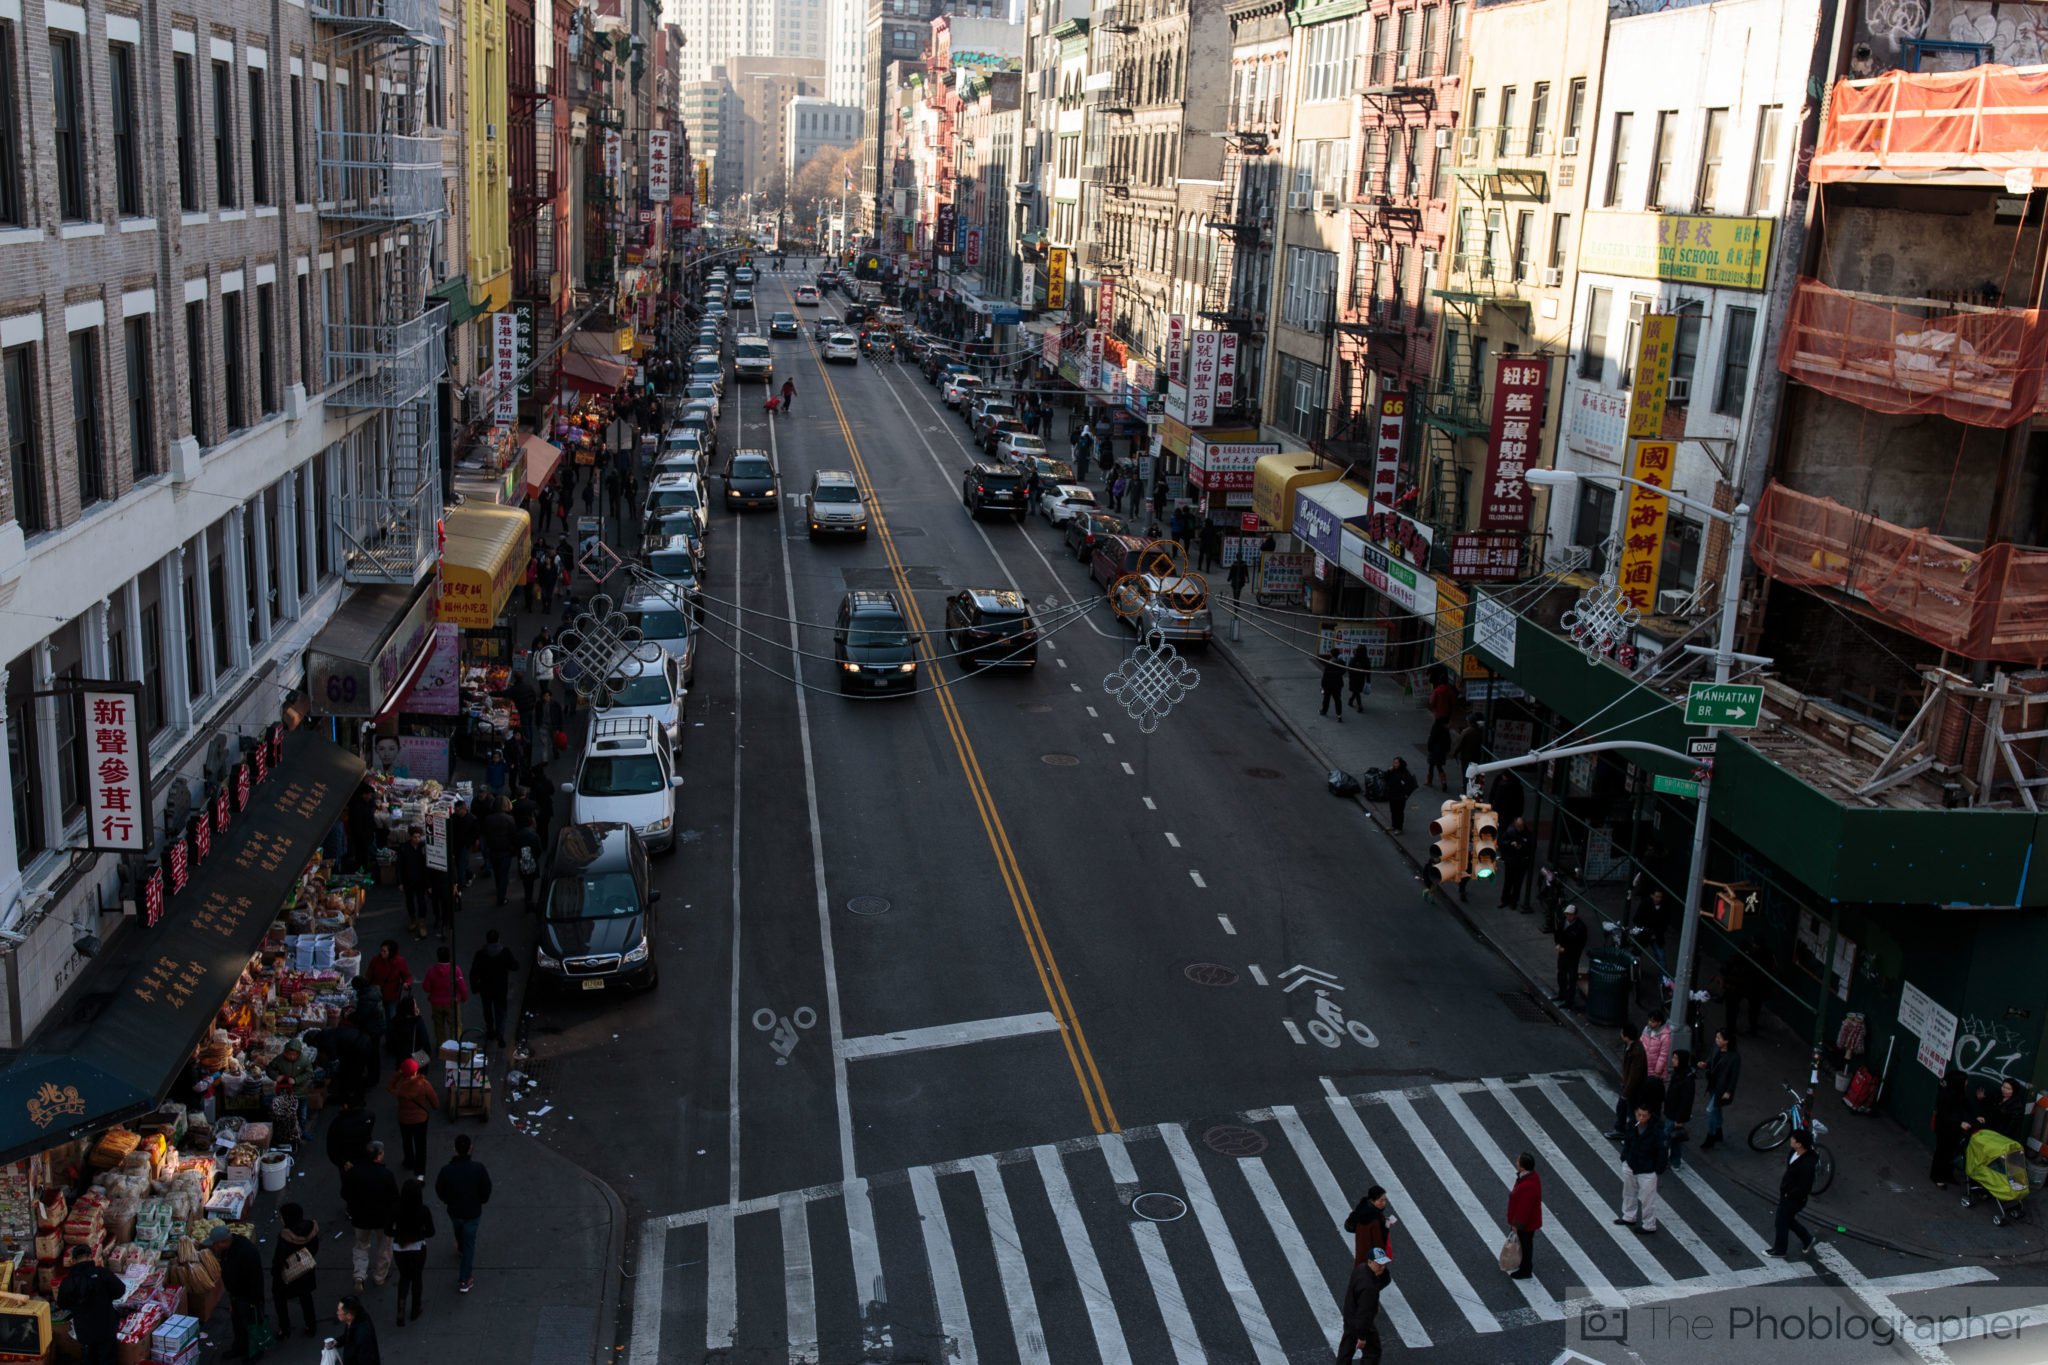
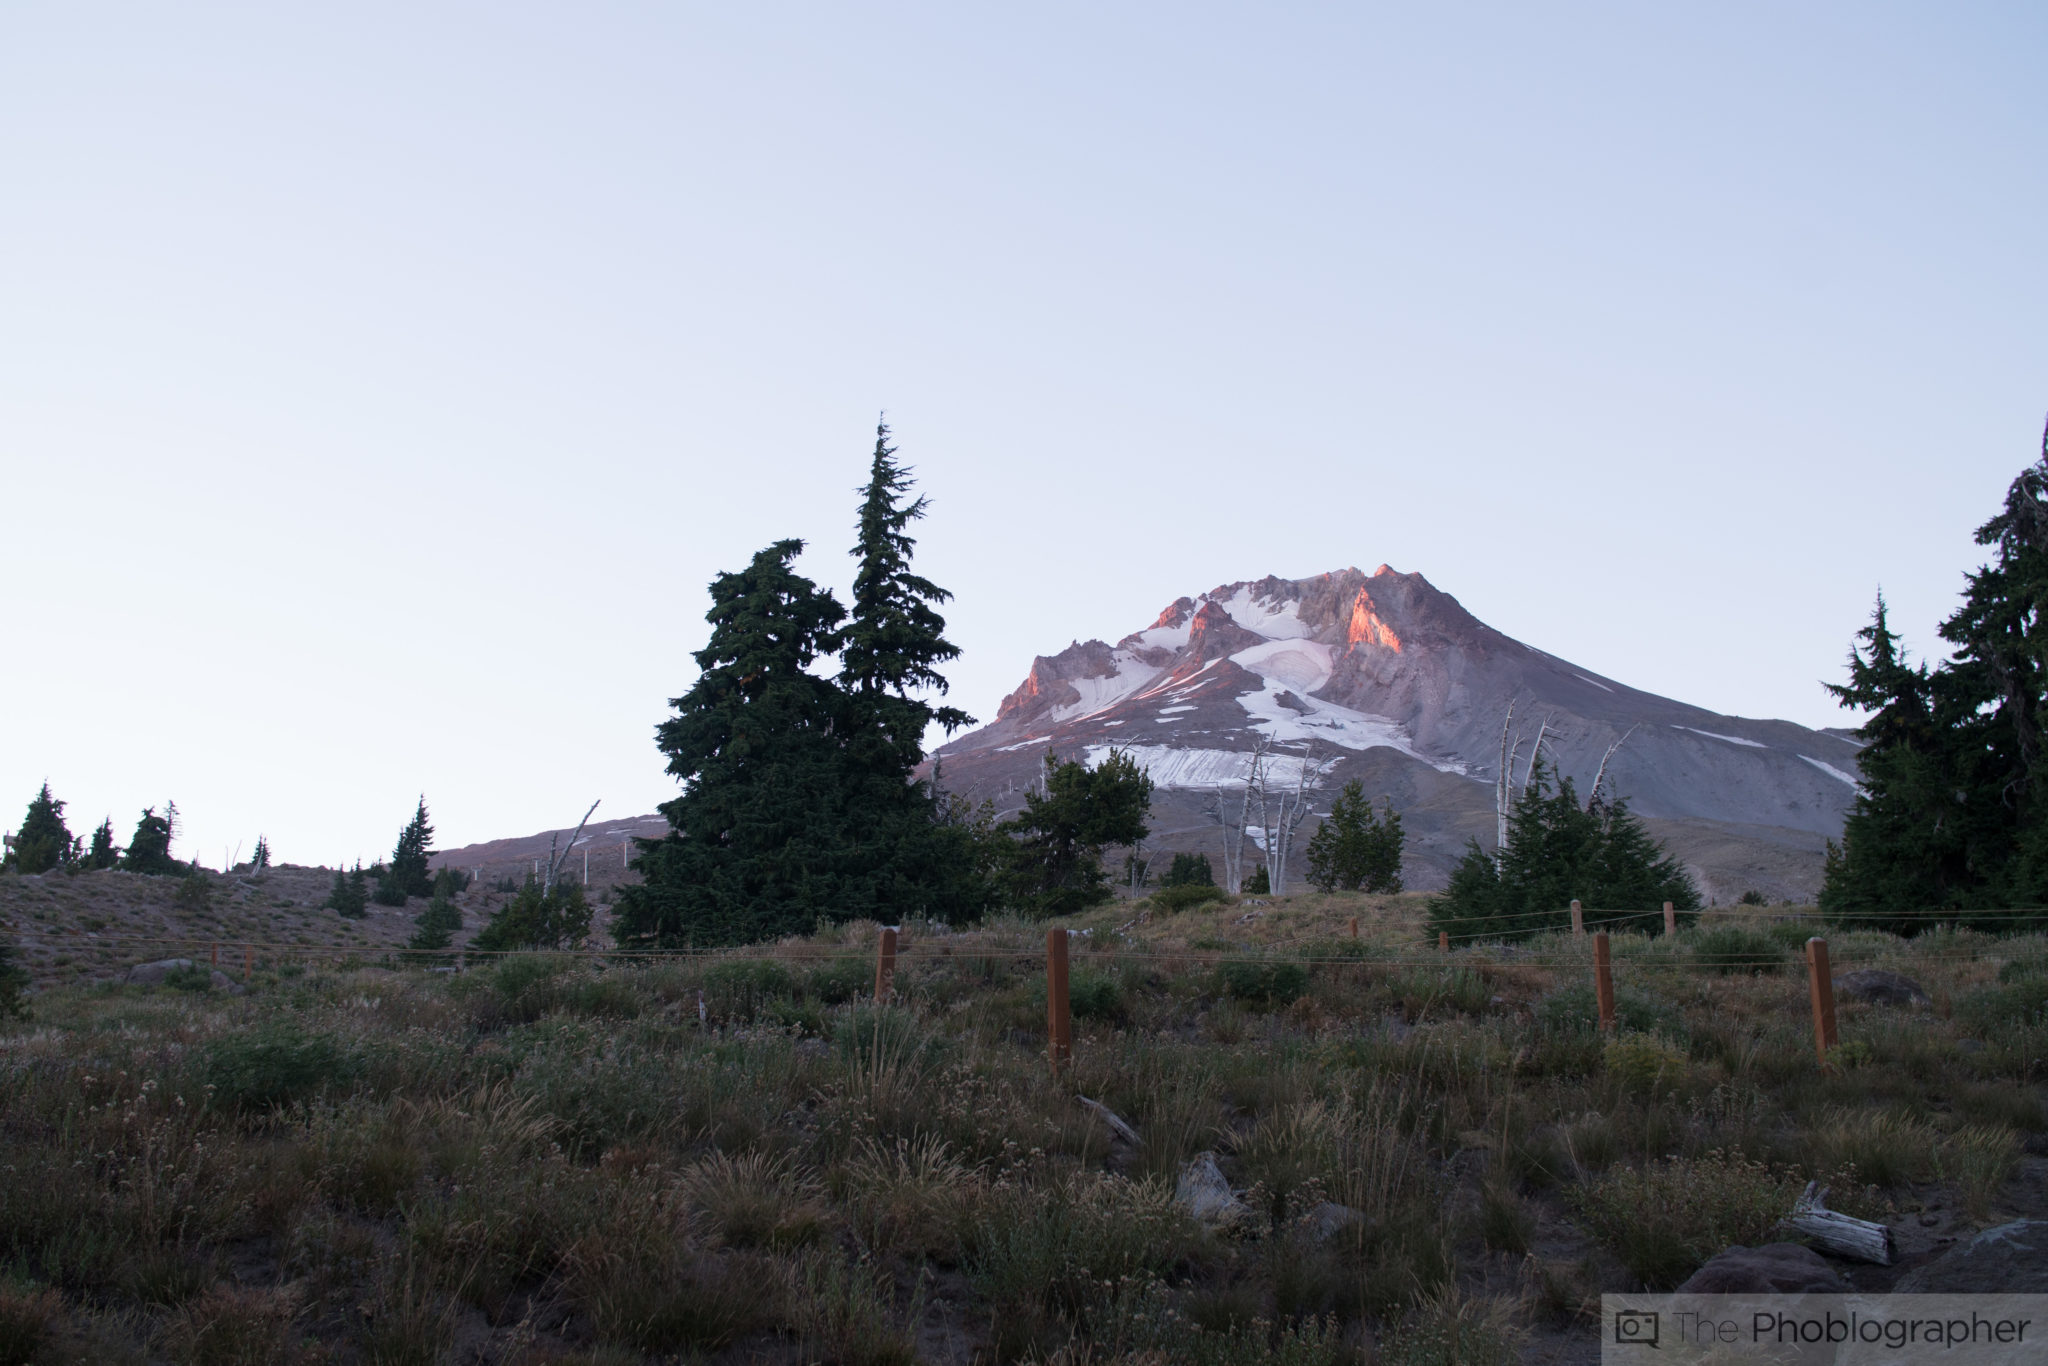
Landscape photos traditionally have lots of depth of field and much of the scene well in focus. Creative vision, composition, and finding a balance between the negative and positive space is what helps artistically; but technically speaking creating landscape and architecture images that are sharp for both a great print and online viewing can be tough for many. No, the secret isn’t to raise the sharpness slider in Adobe Lightroom all the way up; but instead it’s a mixture of many the right processes tweaked just enough.
Stop The Lens Down
Before we even get to editing the photo; a good image begins in camera. Start off by stopping the lens down to around the maximum sharpness point. For 35mm sized sensors, it’s f11. For smaller sensors, it all depends. Stopping the lens down gets more of the scene in focus and also makes the scene sharper in general. However, as most folks know, you don’t need to stop down all the way. The reason for this is that is creates diffraction problems with the lens and sensor.
Oh right–and shoot RAW!
Focus Near the Middle Are of the Depth in the Frame
Most photographers will focus out to infinity and call it a day when it comes to shooting landscapes. For really wide angles lenses, that can work. However, you’ll get the best results when focusing near the middle but more toward the farther distance of the image. Combine this with stopping the lens down and you’ll see how that works.
Part of this has to do with the zone focusing system–it’s something that photographers have been using for years.
Camera Color Profile Application
If you’re very satisfied with the way that the JPEG preview looked on the back of the camera, know that you can get something close to that with your RAW file. Under the camera profile setting, you can select whatever profile your camera gave the JPEG like Vivid, Landscape, Velvia, etc. This is the start to getting the image to be closer to the way that you want it to be.
Of course, if none of them match what you ultimately want, then move on without it. However, never underestimate how powerful this feature is.
Sharpening and Lens Correction

After you’ve made your camera profile selection, apply the lens corrections. With Adobe Lightroom, it’s easy to do with with a click of a button. But if the camera didn’t detect what lens was used, then you just need to go through the lens profiles and manually select one.
Be sure to also sharpen the image by amount and detail. With modern lenses, a little bit goes a long way.
If you’re using older lenses, you may also want to try Adobe’s new Dehaze feature.
White Balance Adjustments
When you’re done with the sharpening and tweaking, then move onto the white balance adjustments. The camera profile that you applied earlier will probably have changed the white balance; and you may not want that. But if you change it now, then you’re also cumulatively reaching the point where we need to be with your image.
Exposure Adjustments
At this point, you’ll adjust the overall exposure to the best and closest that you can possibly get it to. Adjust the exposure to a level where you know that you get enough detail from the shadows and highlights individually but that you know you can pull the details.
Clarity
The Clarity slider in Adobe Lightroom adjusts the midtones. Typically, you’ll boost it just a bit and you’ll find extra details coming from both the shadows and the highlights. Each individual image varies because of quite literally what your own creative vision is but it also depends on whether you’ve calibrated your monitor or not and just how much of the color gamut is covered by your screen. Again, that one really varies.
Selective Adjustment of Color Channels
Take a look at the scene and identify the dominant colors. Then go to the color adjustment panel and tweak the luminance and the saturation. The saturation is how vivid or wet the color looks in the scene and the luminance is how bright it appears. Each of these can be tweaked individually to deliver the results that you really want to have in the end.
Highlights, Shadows, Blacks, Whites
Finally, we’re at the last step. Start off by tweaking the white and black levels. The deeper your blacks are, the sharper the image will be perceived by people looking at it. Adobe Lightroom also has multiple controls for highlights and shadows. Those in the basic panel are more universal and should be tweaked conservatively. In the Tonal Curve panel, you can make fine tuned adjustments.
Get rid of the ads!
Did you enjoy reading this article as much as we enjoyed writing it? There's a way to support us and our reporting, getting ad-free navigation and more as a bonus. Subscribe to us for less than a coffee per month —just $3.99— or take advantage of our yearly subscription with a hefty discount for only $25.- An ad-free experience
- A free mystery box for Lightroom or Capture One
- All the books in our store
- 20% discount on Capture One
- 30% discount on Imalume Photo Theft Protection
- 20% off Herbs and Kettle Tea Company.
- 20% off your order from MPIX printing services.
- 5% off Viltrox Products via their eCommerce store.
- 10% off all film developing, printing and scanning services from Blue Moon Camera and Machine
- 15% off 7Artisans products: The lens and accessory maker is offering a sweet discount for Phoblographer's readers.