Last Updated on 12/03/2015 by Chris Gampat
The classic portrait lens, what is it? This is a term that many photographers who are just getting started tend to flock to. It’s often a term associated with beautiful bokeh, sharp focus on a portrait subject, and overall great colors. The classic portrait lens term is one that overall has to do with the results that can come from it. But like anything and everything in photography, it isn’t really about the gear. Instead, you should be very well aware that the classic portrait lens can take as equally classic and crappy photos as it can classic and beautiful images.
What you’ll need to get the most from your classic portrait lens is knowledge of how to use its strengths.
The Classic Portrait Lens

So what exactly is the classic portrait lens? When someone thinks about or references the classic portrait lens, they’re typically speaking about a focal length anywhere in between the 50mm to 135mm equivalency in the 35mm sensor/format size. It’s most commonly associated with 85mm, though there are photographers that love using 105mm or 135mm too.
Beyond focal lengths though, these lenses have what are called fast apertures, or F Stops. That means that they can let in lots of light and have an aperture of anywhere from f1.4 to maybe f2. Once again of course, I’m talking about 35mm format equivalency. If you’re working with medium format, then you’re probably getting a lens that is f2-f4.5. Large format is an even smaller aperture because of the fact that you’re working with a significantly larger surface area.
That’s really all that there is to a classic portrait lens as far as defining parameter. Pretty simple, right? Well that simplicity can deliver incredible image results in the right hands.
Understanding Depth of Field
What the more advanced photographers have known for a long time now has to do with depth of field. When you’re dealing with a portrait lens you should know the following big rule:
- The closer a subject is at a given aperture, the less will be in focus.
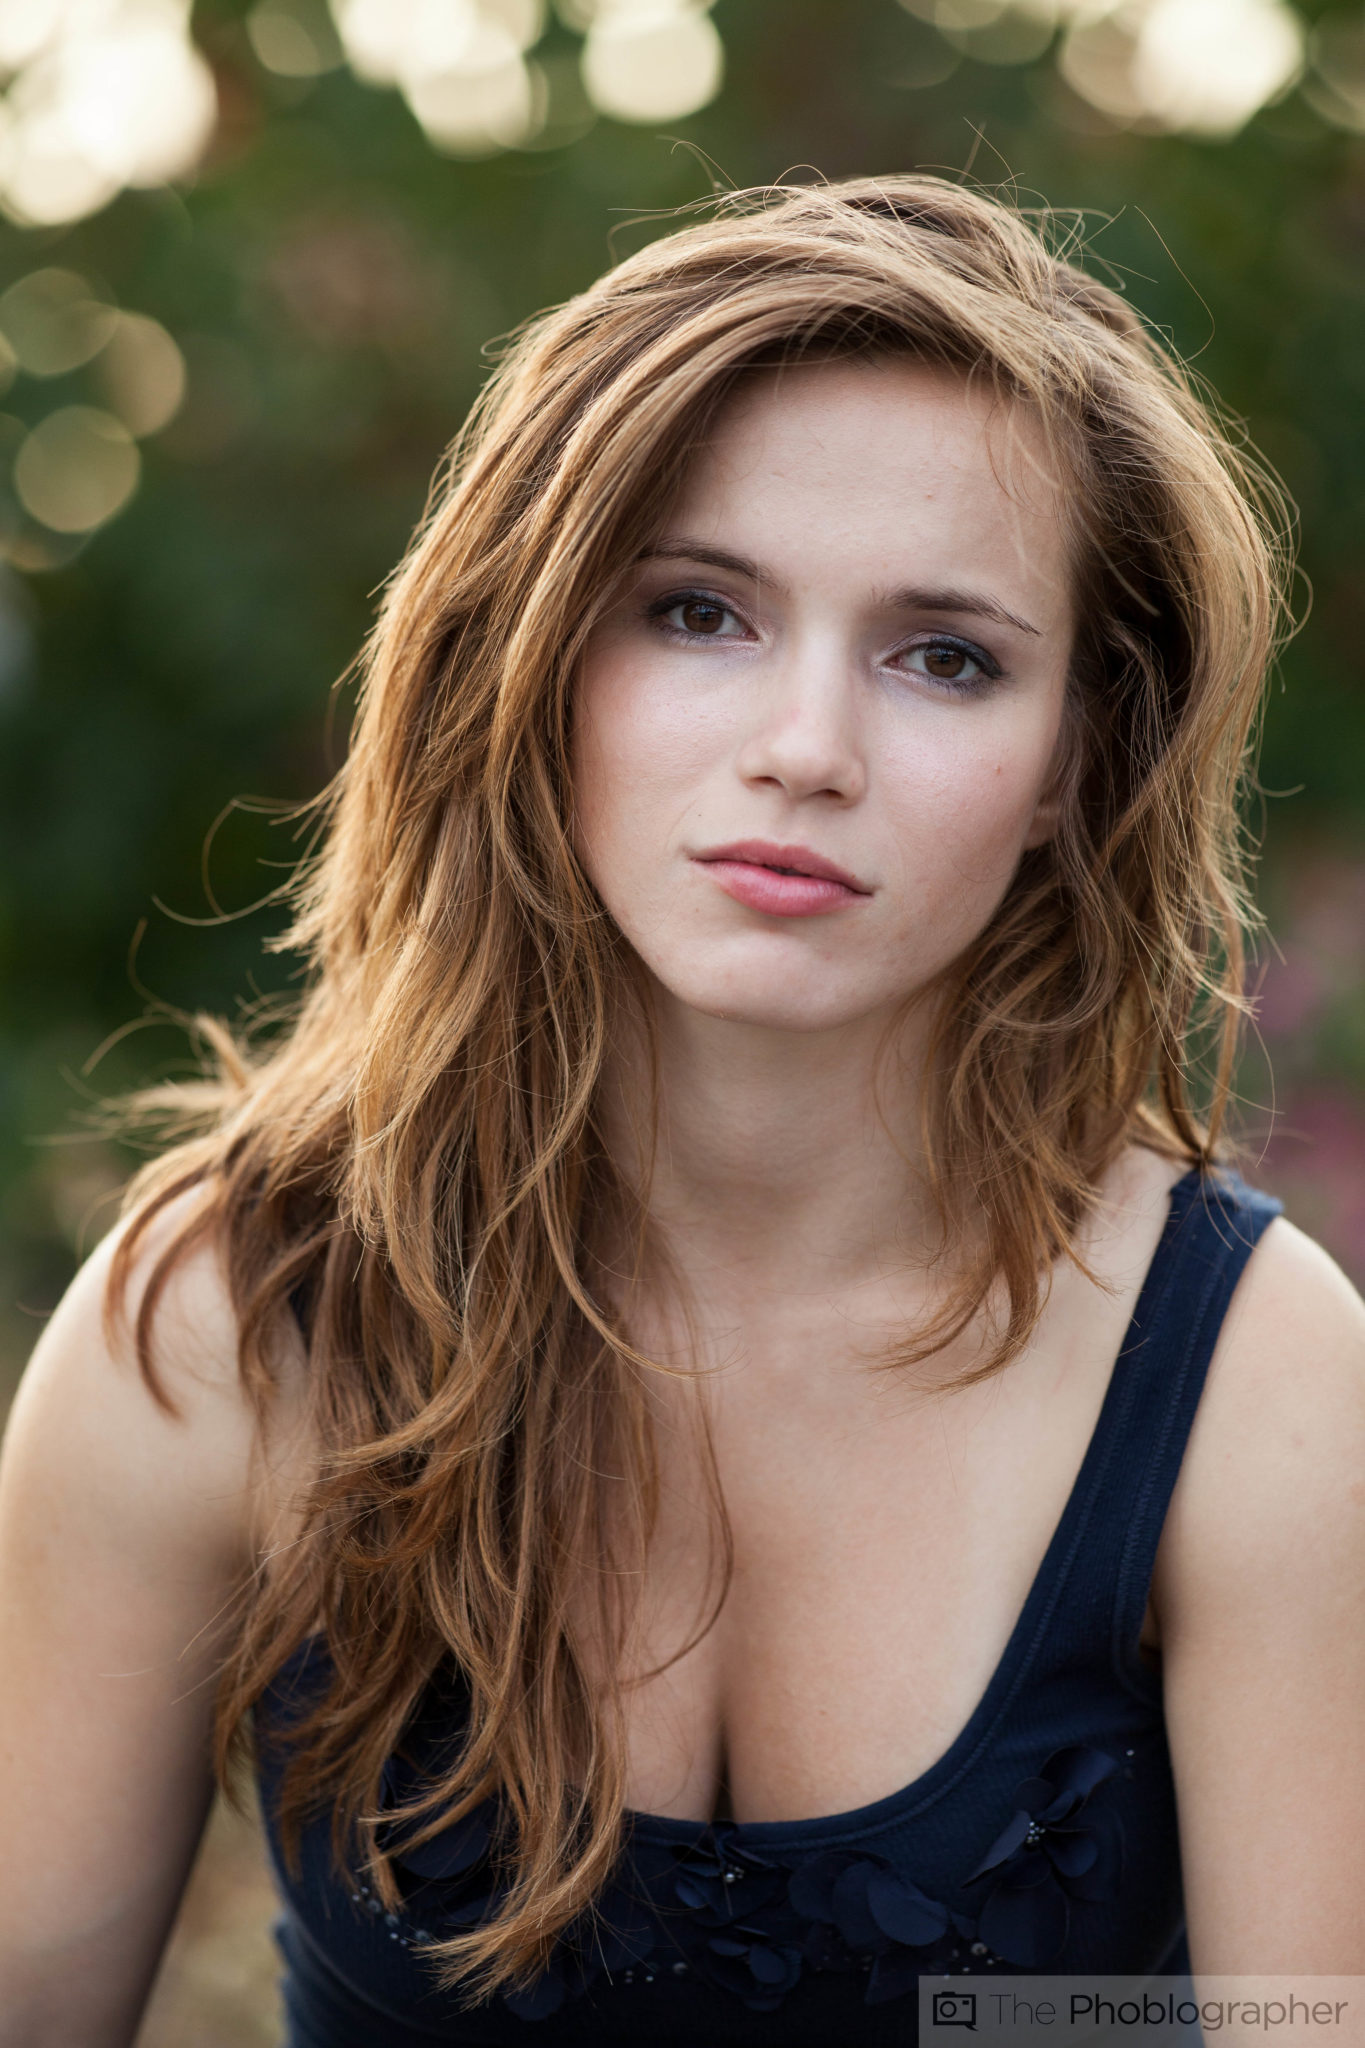
So what does that mean in practice. The image above was shot with a Sigma 85mm f1.4 at f2. Notice the super blurry background? That out of focus area was created not only by shooting at a fairly close distance, but also because of the very shallow aperture setting. If I were closer to Megan physically while shooting this image, even less would have been in focus. If I were further, more of her would be in focus.

However, for my own creative vision, what I wanted was a top 1/4 portrait, and so f2 was narrow enough to blur the background into oblivion and capture pretty much all of her sharp enough in focus without pixel peeping.
Now here is the big part about this: this was my creative vision. I highly discourage anyone and everyone to sit there and just fall in love with bokeh all the time. Use it as a creative story telling device. To that end, don’t use bokeh and a shallow depth of field to create a mesmerizing image. Instead, focus on trying to create a mesmerizing image.
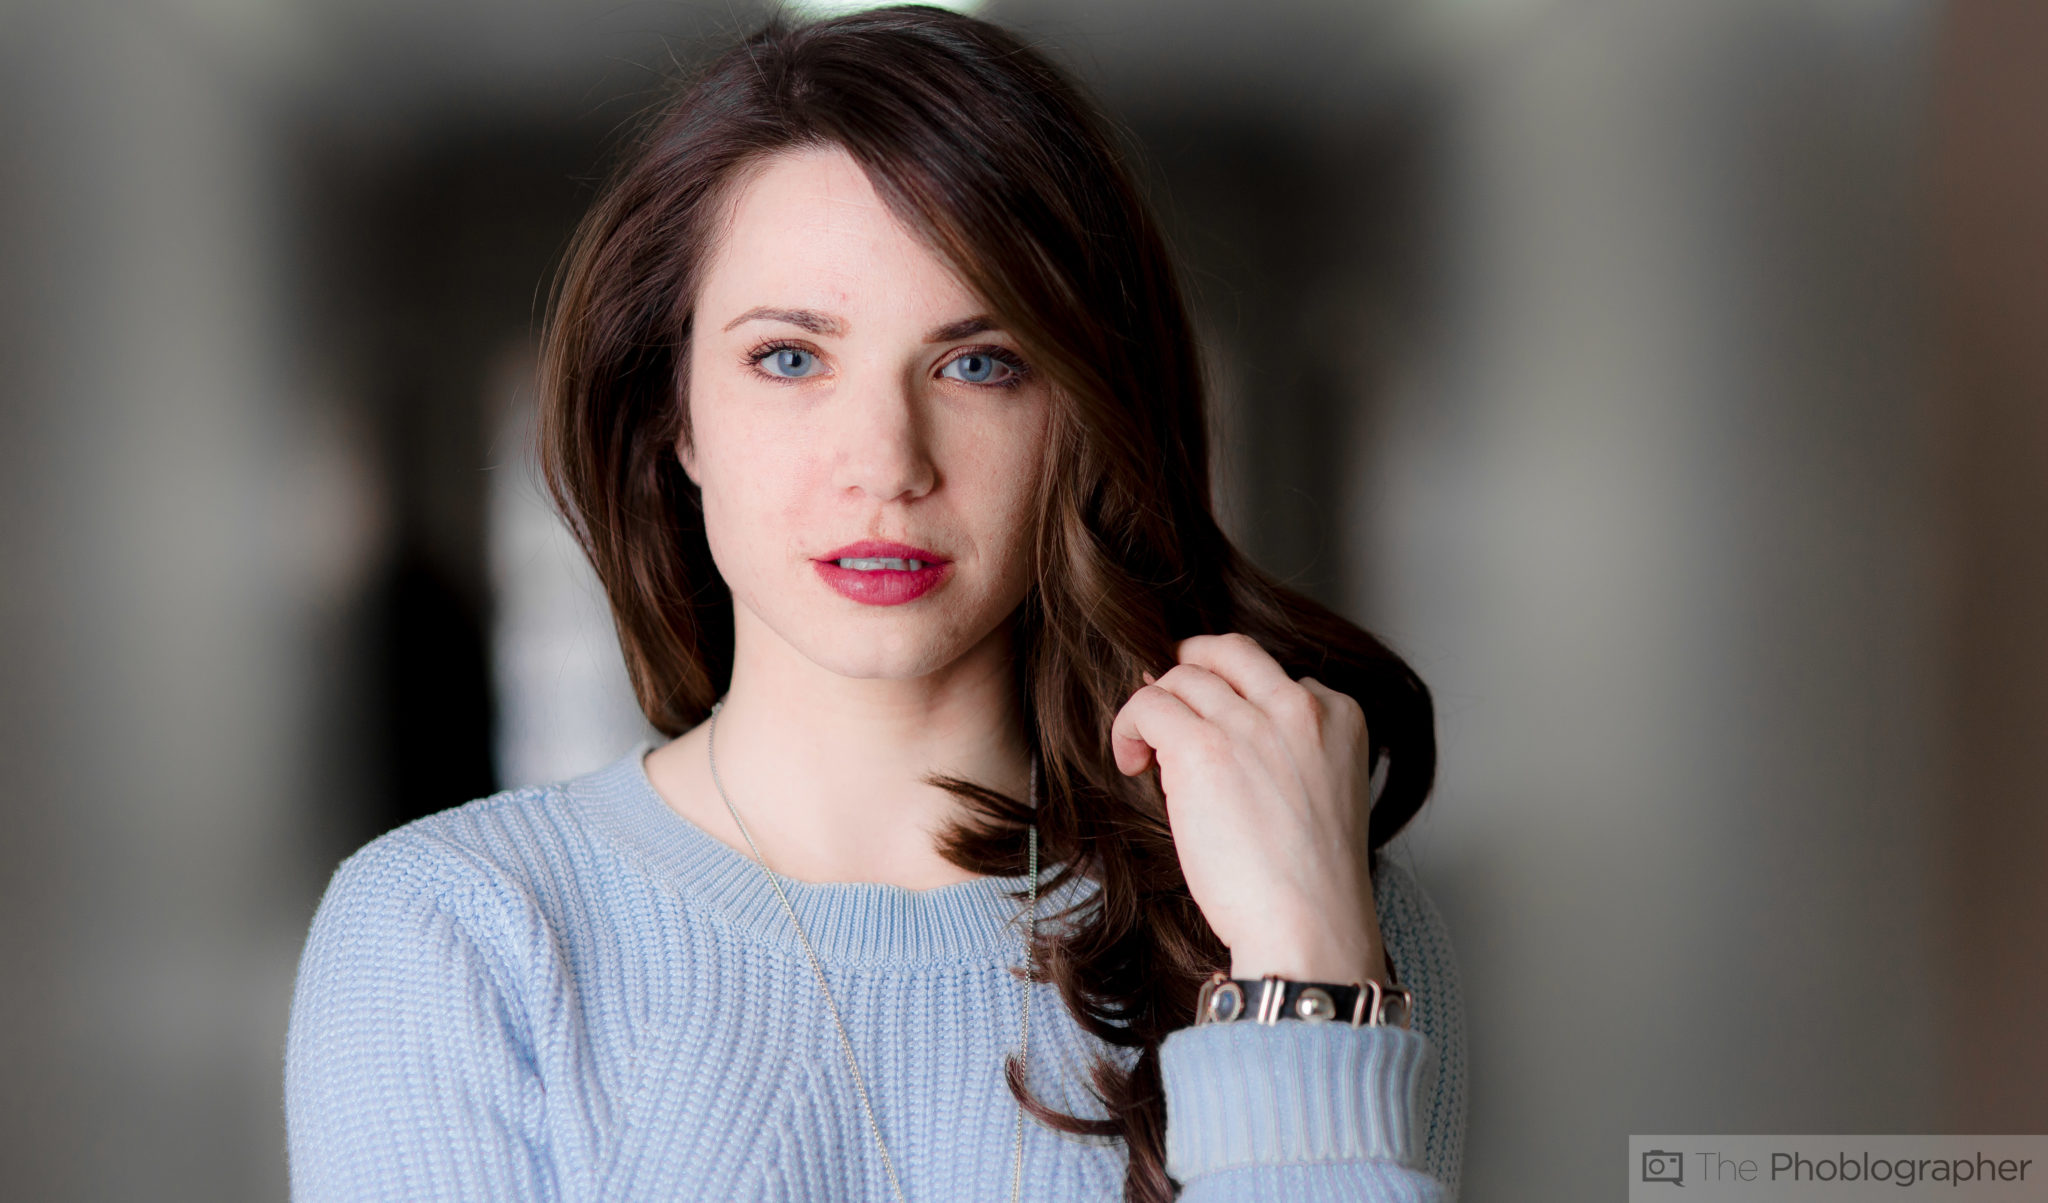
In the image above, I’m using a 50mm f2 lens stopped down to f8; see how much is in focus? Quite a bit more. Again though, this was a creative choice to tell a different story. The look of Justin’s suit and the environment is important to the image–much more so than the previous photo with Megan.
The key to getting the most from your classic portrait lens’ depth of field abilities generally has to do with lots of different determining factors.
- Size of the sensor/film plane
- Focal length of the lens
- Apertures
The larger your sensor/film plane is, the less will be in focus at a given aperture. Here’s what that looks like in practice, and to make that work more effectively for you, you should try to shoot around the middle of the focusing range of your lens edging a bit more to the closer side. Of course, that’s only a rule for getting more pleasing bokeh while balancing the portrait subject. And with that said, you’re more than inclined to do whatever you want with your own lens; so please only take it as a starting point/rule.
It’s All About Using Light
As I will always say about photography from a technical standpoint, your lenses are more important than your camera and your lighting is significantly more important than both your lenses and your camera.

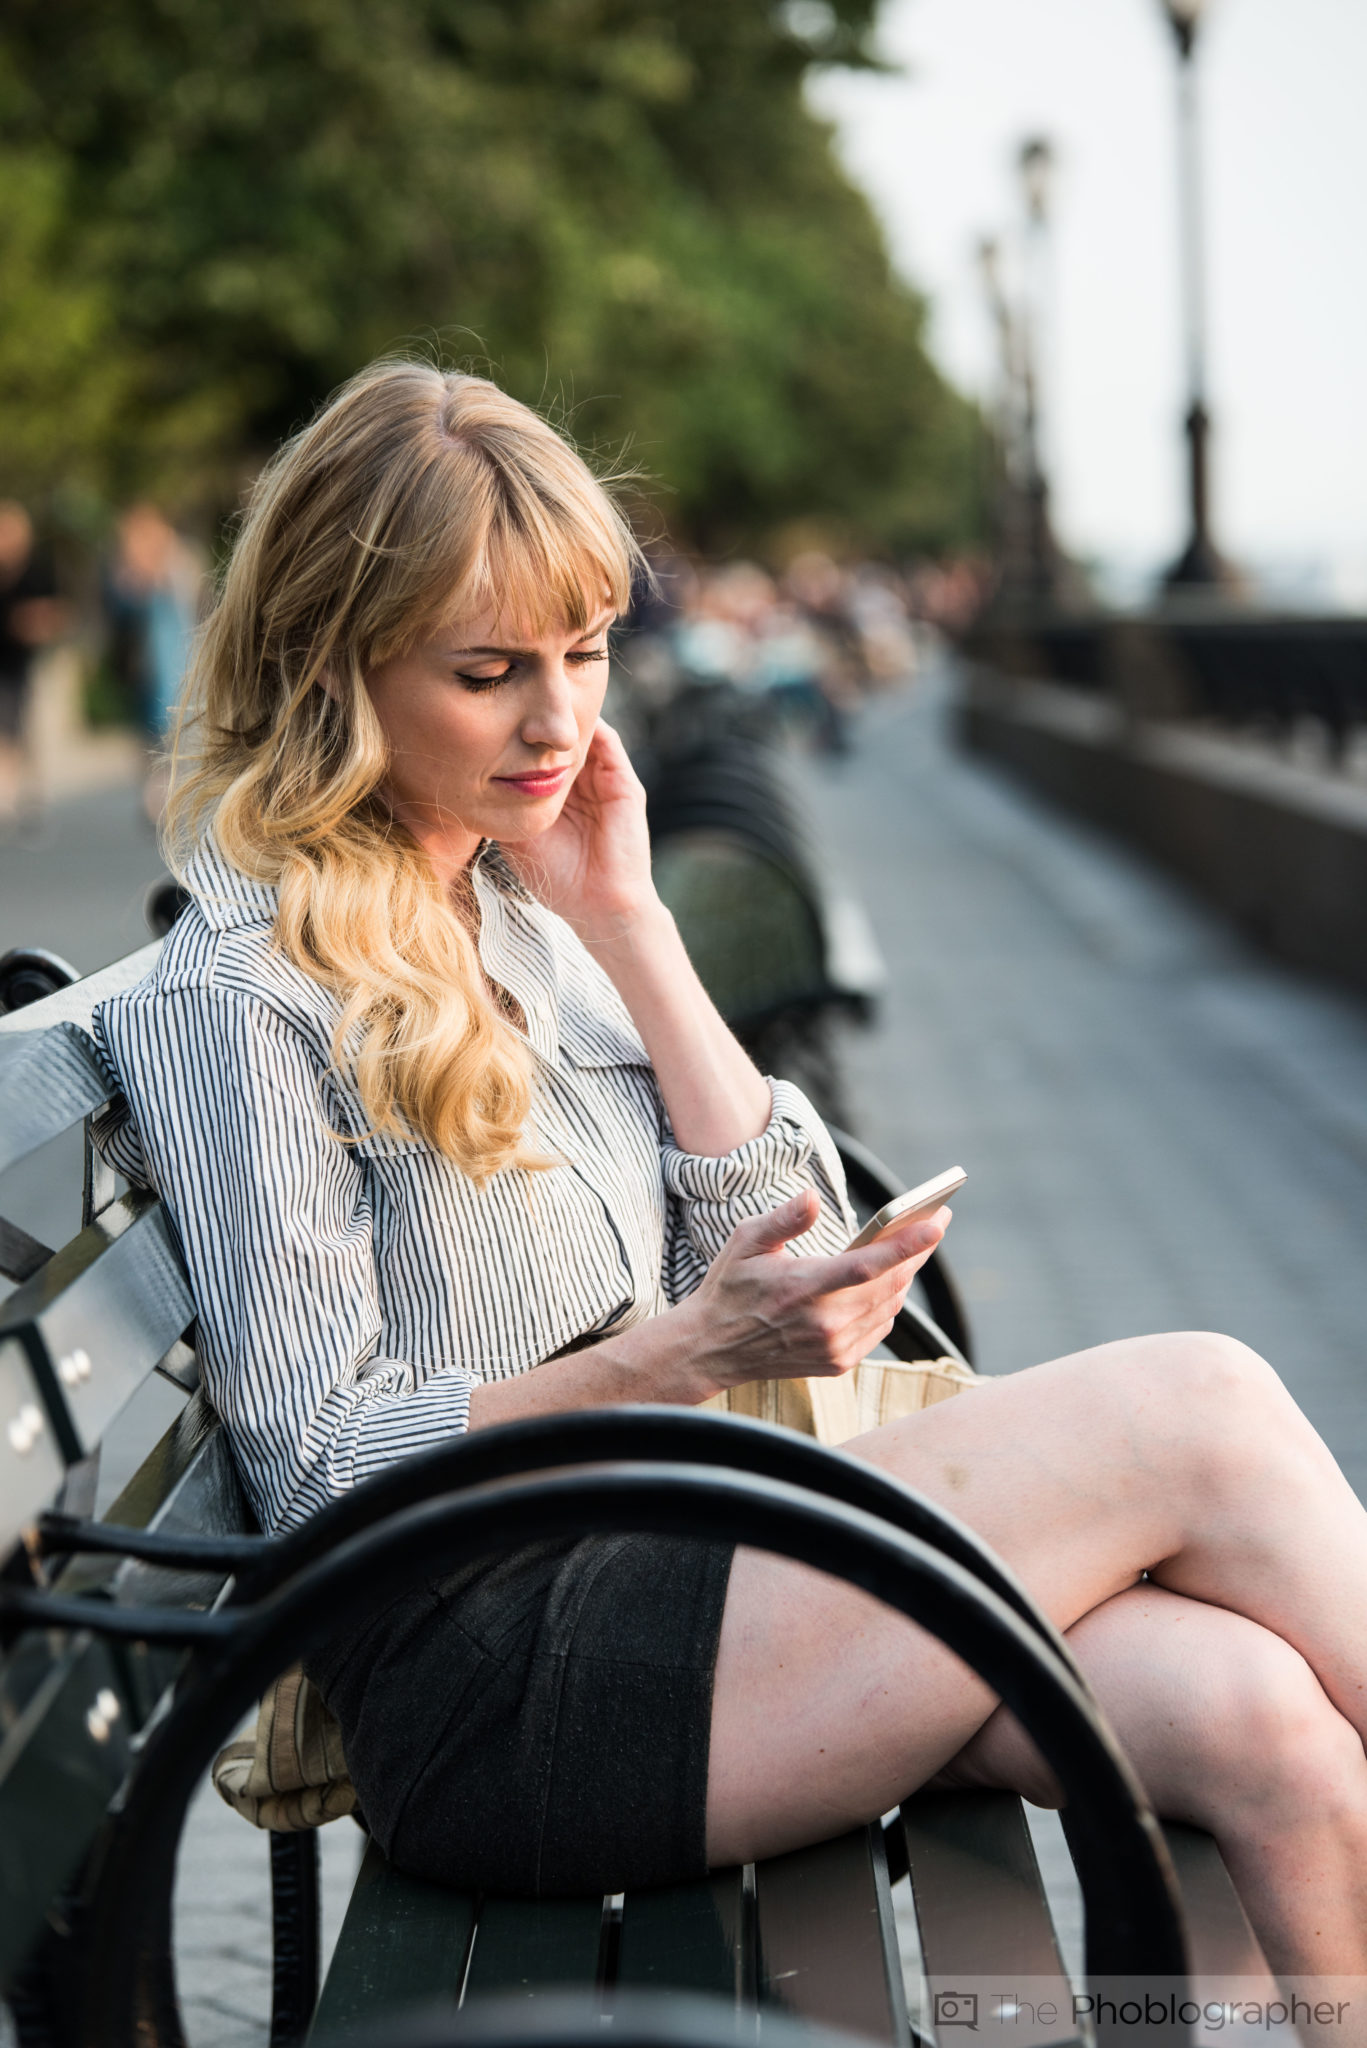
The reasons why the images above are popping so much is because of effective lighting. So what do I mean by effective lighting? Effective lighting has two major traits when it comes to working with a classic portrait lens:
- Specularity: tending to bring out details that you can’t see on a subject otherwise without the addition of a flash
- Creative story telling abilities: Lighting sets moods and tones for an image’s overall feeling

Generally, I tell everyone to work with off-camera lighting (IE flashes and studio lights with modifiers and reflectors) to get the absolute best bang for your buck, and then later on work with natural lighting. Why? Once you understand and master working with your own self-made light sources in a photo, you learn how to work with external ones and pay specific and keep attention to them.
Without lighting knowledge, the chances are significantly greater that you’ll just deliver images that are rather basic. If you learn how to use lighting more effectively, that all changes.
Recommended Lenses
If you’re looking for lens recommendations, then that’s pretty simple. Here are a handful well loved lenses for each common system:

- Canon and Nikon: Sigma 85mm f1.4, Rokinon 85mm f1.4, Zeiss 85mm f1.4 Milvus, Sigma 50mm f1.4 Art
- Sony A: Sigma 85mm f1.4, Sony 85mm f1.4, Sony 135mm f1.8, Sigma 50mm f1.4
- Sony E and FE: Zeiss Batis 85mm f1.8. Sony 50mm f1.8 OSS
- Fujifilm: Rokinon 50mm f1.2, Fujifilm 90mm f2, Fujifilm 56mm f1.2
- Micro Four Thirds: Olympus 45mm f1.8, Panasonic 42.5mm f1.2
Get rid of the ads!
Did you enjoy reading this article as much as we enjoyed writing it? There's a way to support us and our reporting, getting ad-free navigation and more as a bonus. Subscribe to us for less than a coffee per month —just $3.99— or take advantage of our yearly subscription with a hefty discount for only $25.- An ad-free experience
- A free mystery box for Lightroom or Capture One
- All the books in our store
- 20% discount on Capture One
- 30% discount on Imalume Photo Theft Protection
- 20% off Herbs and Kettle Tea Company.
- 20% off your order from MPIX printing services.
- 5% off Viltrox Products via their eCommerce store.
- 10% off all film developing, printing and scanning services from Blue Moon Camera and Machine
- 15% off 7Artisans products: The lens and accessory maker is offering a sweet discount for Phoblographer's readers.