Last Updated on 06/10/2013 by Chris Gampat
Adobe has today announced Lightroom 5–the latest version of their software that has become the bread and butter of many photographers. We’ve been testing both the Beta software and the full release for a while now and putting it through its paces in both the normal workflow for our standard testing for this site and professional work. The new Lightroom 5 incorporates some interesting changes such as an advanced healing brush to help users accomplish minor retouching for portraits or object removal, a radial gradient filter that helps to emphasize some areas of an image more than others, and the upright tool to help landscape and wide angle photographers. There are more changes, but for the sake of what this site’s audience might mostly do, we didn’t really spend too much in-depth time with them.
So is Lightroom 5 worth the upgrade for you?
Editor’s Note: Adobe Lightroom 5 can be (pre)ordered now
Pros and Cons
Pros
– Much faster responsiveness than Lightroom 4
– Advanced healing brush is a godsend for portrait photographers
– Upright tool works pretty darned well, but can deliver some weird results in total auto mode
– Radial filter is a nice creative tool if you can figure out a way to use it
Cons
– Photoshop’s Camera Shake Reduction feature would have been a nice addition, as would smart upsampling.
All the Technical Mumbo Jumbo
What’s New
Lightroom 5 offers photographers and enthusiasts many new features including:
- Advanced Healing Brush allows customers to heal imperfections and remove distracting elements
- Upright tool analyzes an image to automatically level horizons and straighten objects like buildings to correct a keystone effect
- Radial Gradient tool creates off-center or multiple vignette effects
- Smart Previews allow customers to edit images without needing the original raw file
- Video slideshow enables customers to combine still images, video clips and music in a creative HD slideshow
- Upgrades to the Book module enhancing the ability to create, customize and order elegant photo books using a variety of tailored templates
Features
Edit
- • LAB color readout
- • Keyboard shortcut to toggle between clone andheal modes
- • Duplicate local adjustments
- • Duplicate linear gradients
- • Aspect slider added to Manual Lens Corrections
- • Persistent clipping indicators between Lightroomsessions
- • Crop overlay aspect ratios
Share
- • Behance Publish Plugin
- • Visual indicator of Favorite book pages
- • Improved visualization of select book elements
- • Transparent buttons for improved Text creationin Books
- • More page text metadata options

Manage
- • PNG file support
- • True full Screen Mode
- • Configurable grid overlays
- • Windows HiDPI
- • Additional criteria for filters and smart collection
- • Lock zoom position preference settings
- • Keyboard shortcut to trigger tethered capture
- • Direction field in the EXIF metadata panel.
- • Persistent place in Collections
- • “Set as Target Collection” checkbox in CreateCollection dialogue
- • Drag photo directly to a Saved Location in theMap Module
- • Drag Saved Location to a photo in the MapModule
- • Integrity verification of DNG Files
Minimum Specs
Apple
- Multicore Intel® processor with 64-bit support
- Mac OS X v10.7 (Lion) or v10.8 (Mountain Lion)
- 2GB of RAM (4GB recommended)
- 2GB of available hard-disk space
- 1024×768 display
- DVD-ROM drive
- Internet connection required for Internet-based services
Windows
- Intel® Pentium® or AMD® Athlon® with 64-bit support
- Microsoft® Windows 7 with Service Pack 1 or Windows 8
- 2GB of RAM (4GB recommended)
- 2GB of available hard-disk space
- 1024×768 display
- DVD-ROM drive
- Internet connection required for Internet-based services
Major Interface Changes
Lightroom veterans will be happy to know that the only major interface changes that most of us should care about are in the develop panel. These new changes are the Upright tool later on in the adjustments panel, advanced healing brush (which hasn’t really changed in look but is a new functionality) and the addition of radial filter to the panel with red-eye reduction, adjustment brush, and all.
When transitioning from Lightroom 3 to 4, there were changes in the way that the adjustment panel worked and the actions that one was used to previously suddenly functioned a totally different way. Clarity, Highlights, Shadows, Whites and Blacks were mostly subjected to this–but Adobe decided to keep this consistent to the way that Lightroom 4 worked.
Personally, I’ve never used the book, print or web interfaces–and have always preferred to do that stuff manually for better results. However, they can surely speed up a pro’s workflow.
Ease of Use
If you’re a veteran Lightroom user, Lightroom 5 will be a piece of cake. The Beta version had some bugs for sure, but the final version is spick-and-span. Using the new features such as the heal brush and the radial filter will just require you to pay attention to particular areas of the adjustment panel. When you get to the Upright section, then you’ll realize that you’ll need to spend some more time getting acquainted with it. Instinct tells you to click the Auto function and if it doesn’t give you the result that you want to reanalyze the image. But it doesn’t always give you the result you want so you’ll need to work accordingly with the vertical and horizontal settings–or just manually work with in in the lens correction slider panel.
For the person just getting into Lightroom, we have to warn you that you’ll have a learning curve, but it isn’t as bad as the one you’ll need with Capture One.
Practicality
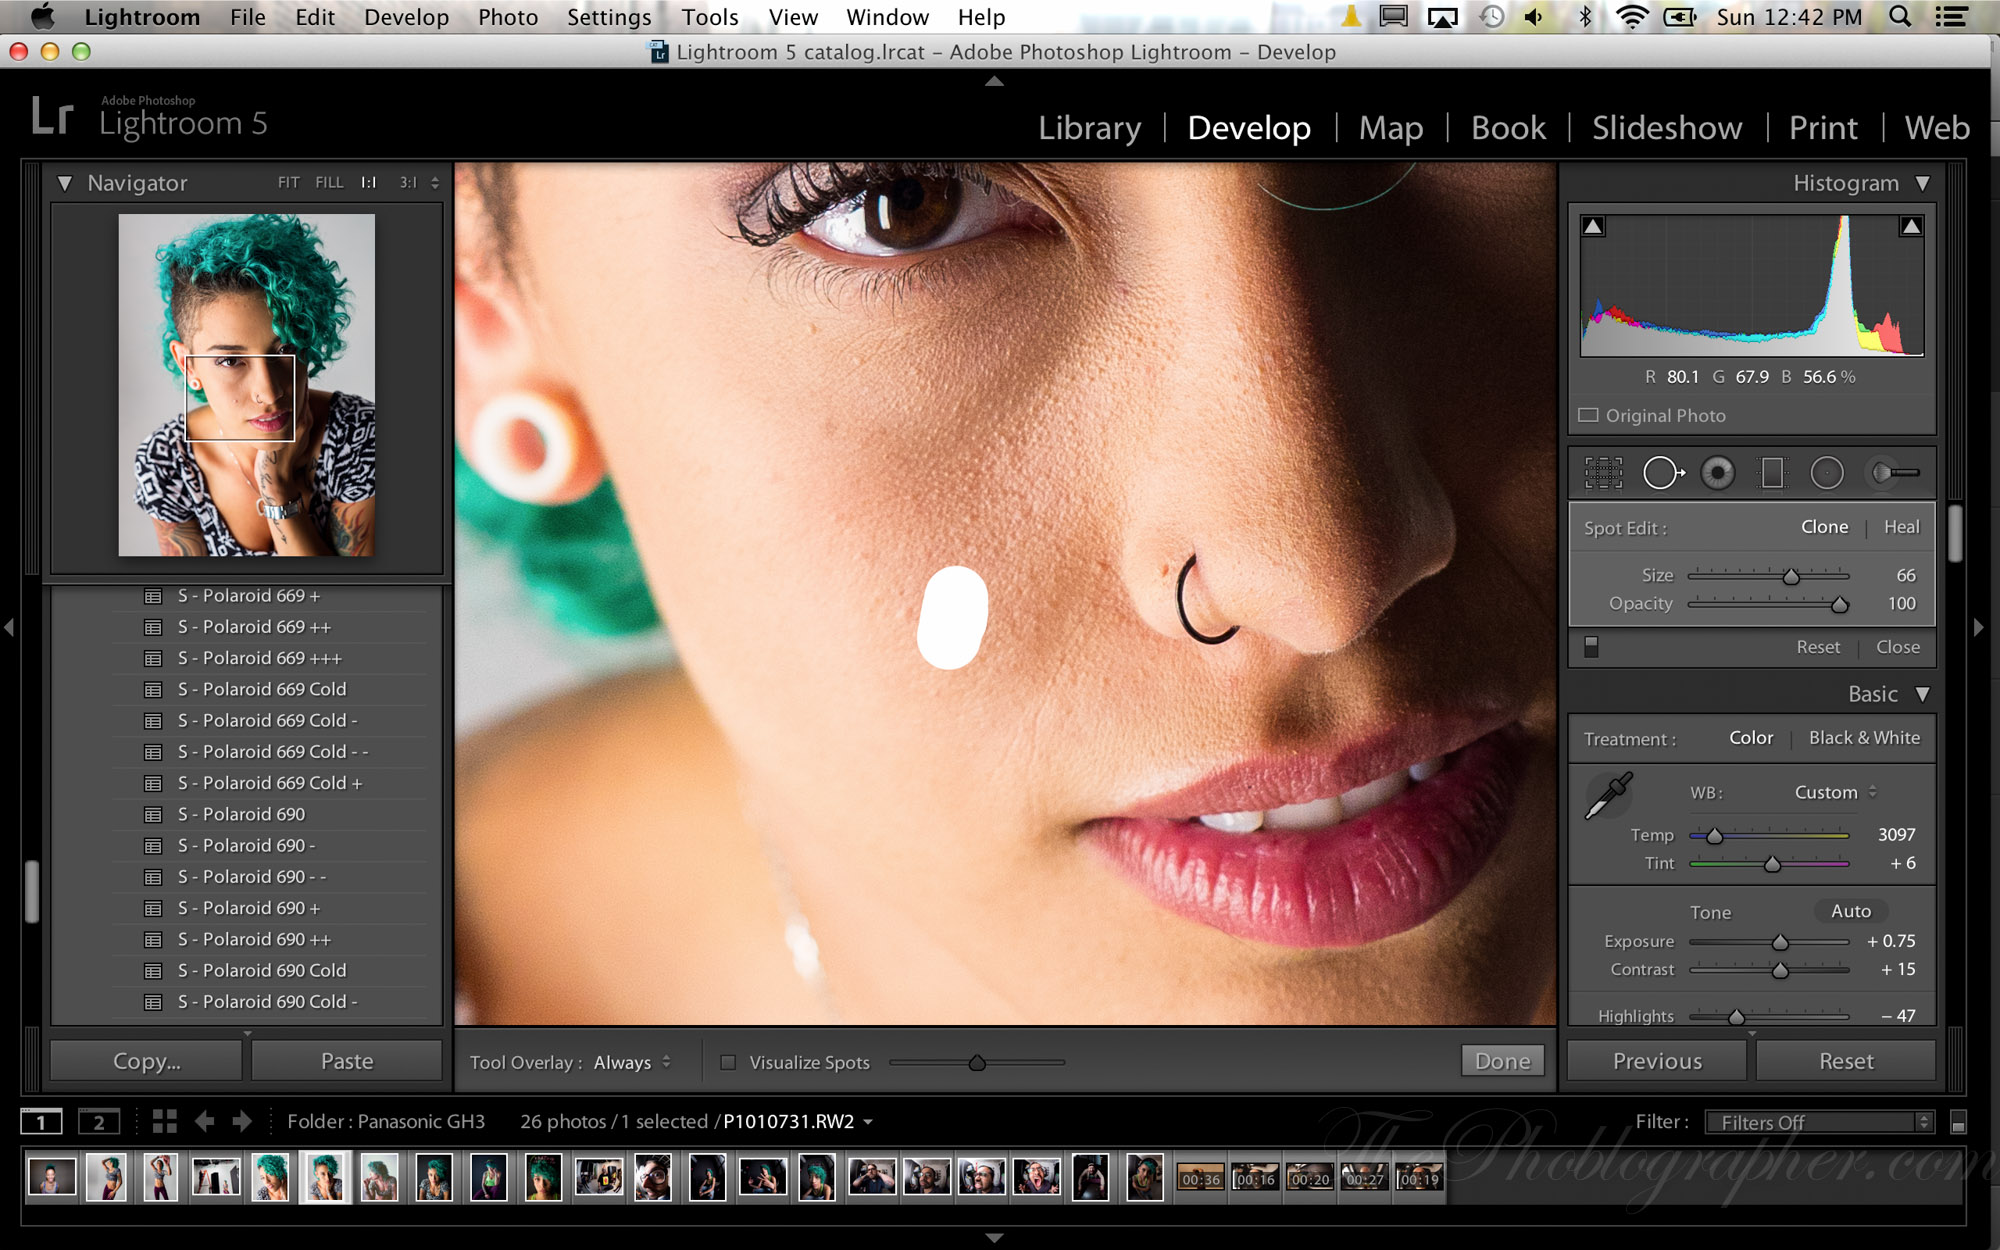
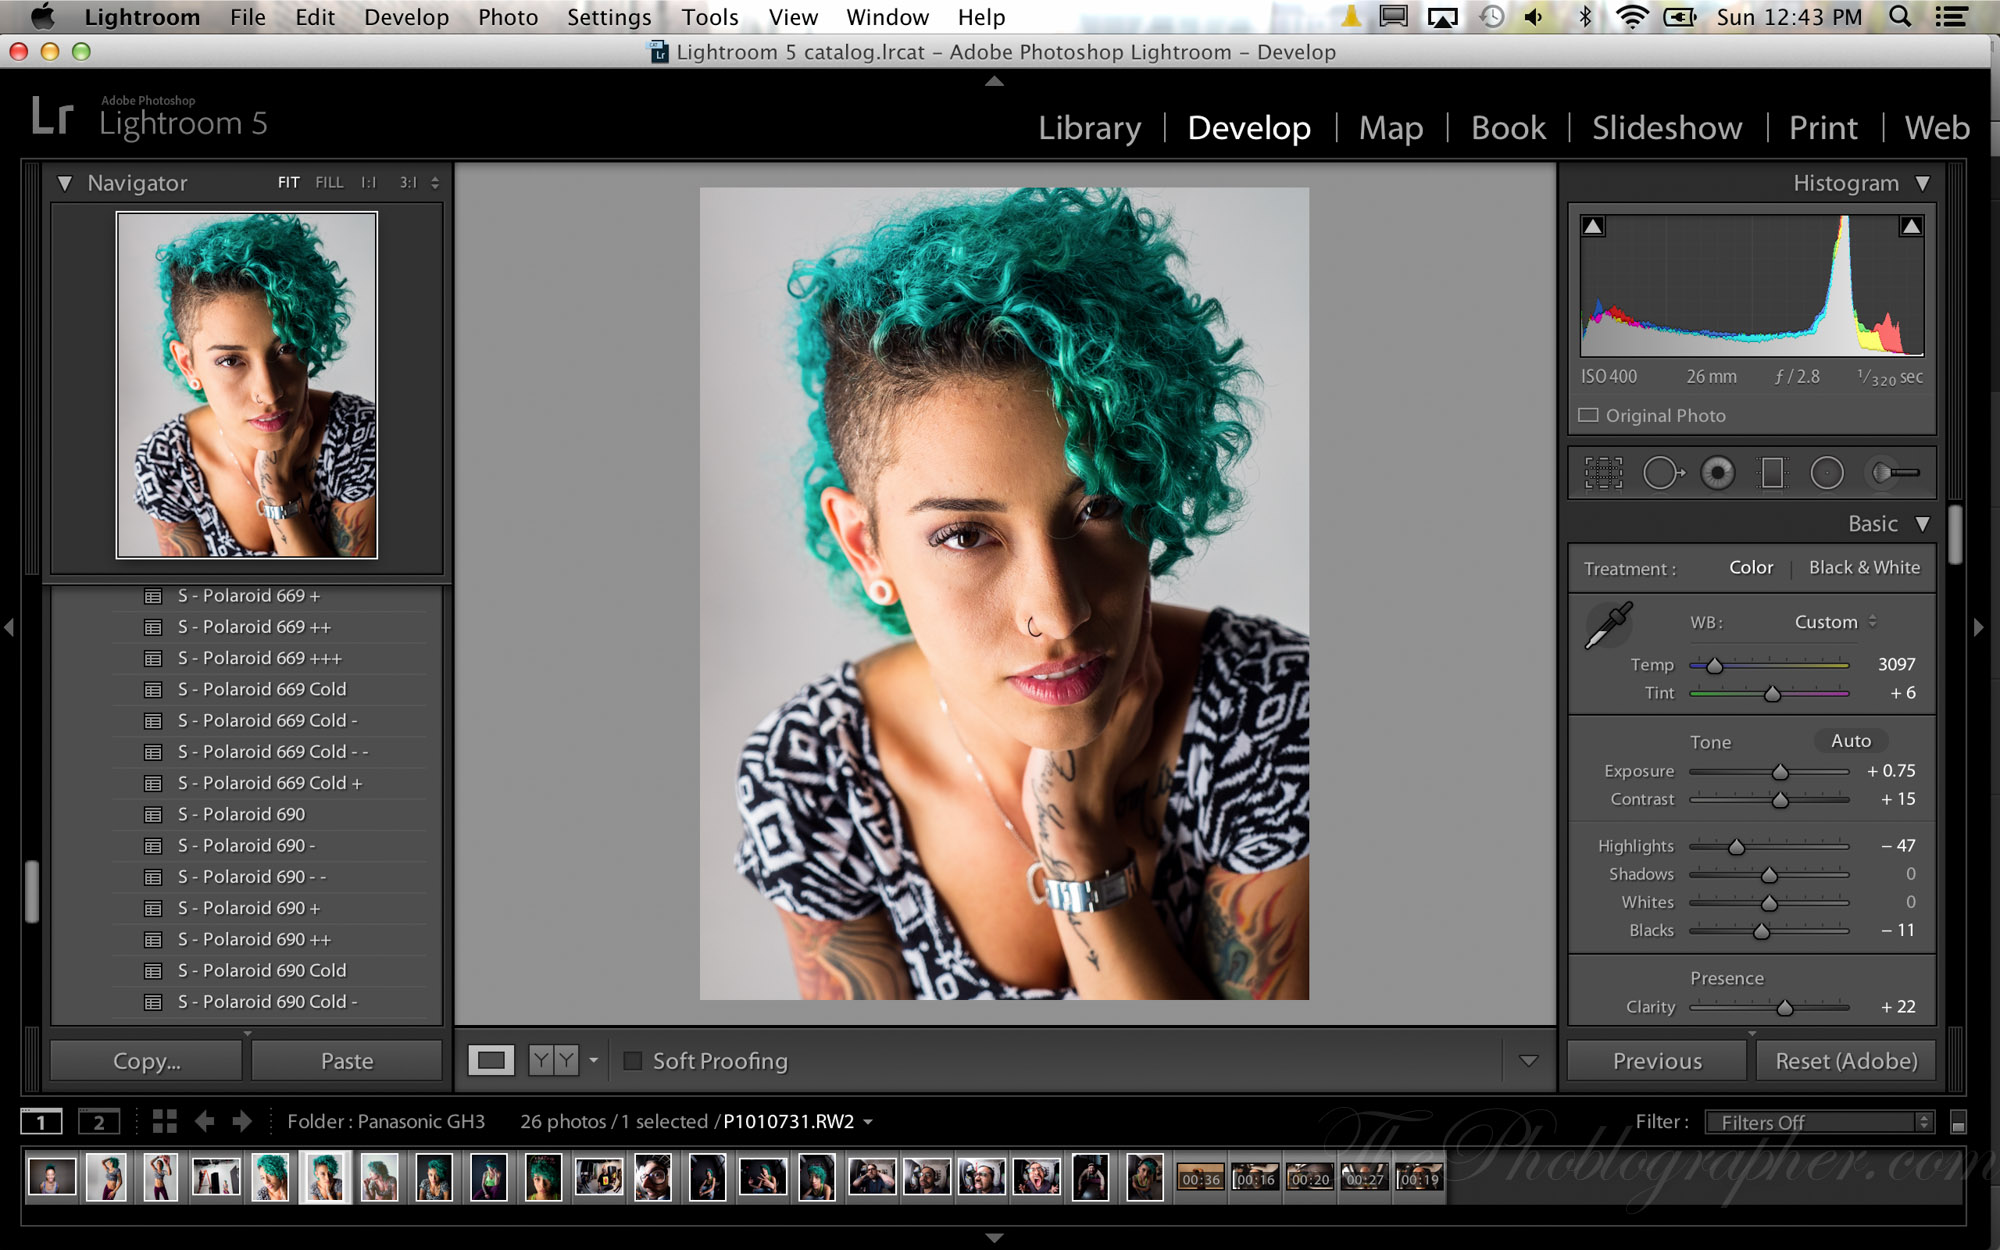
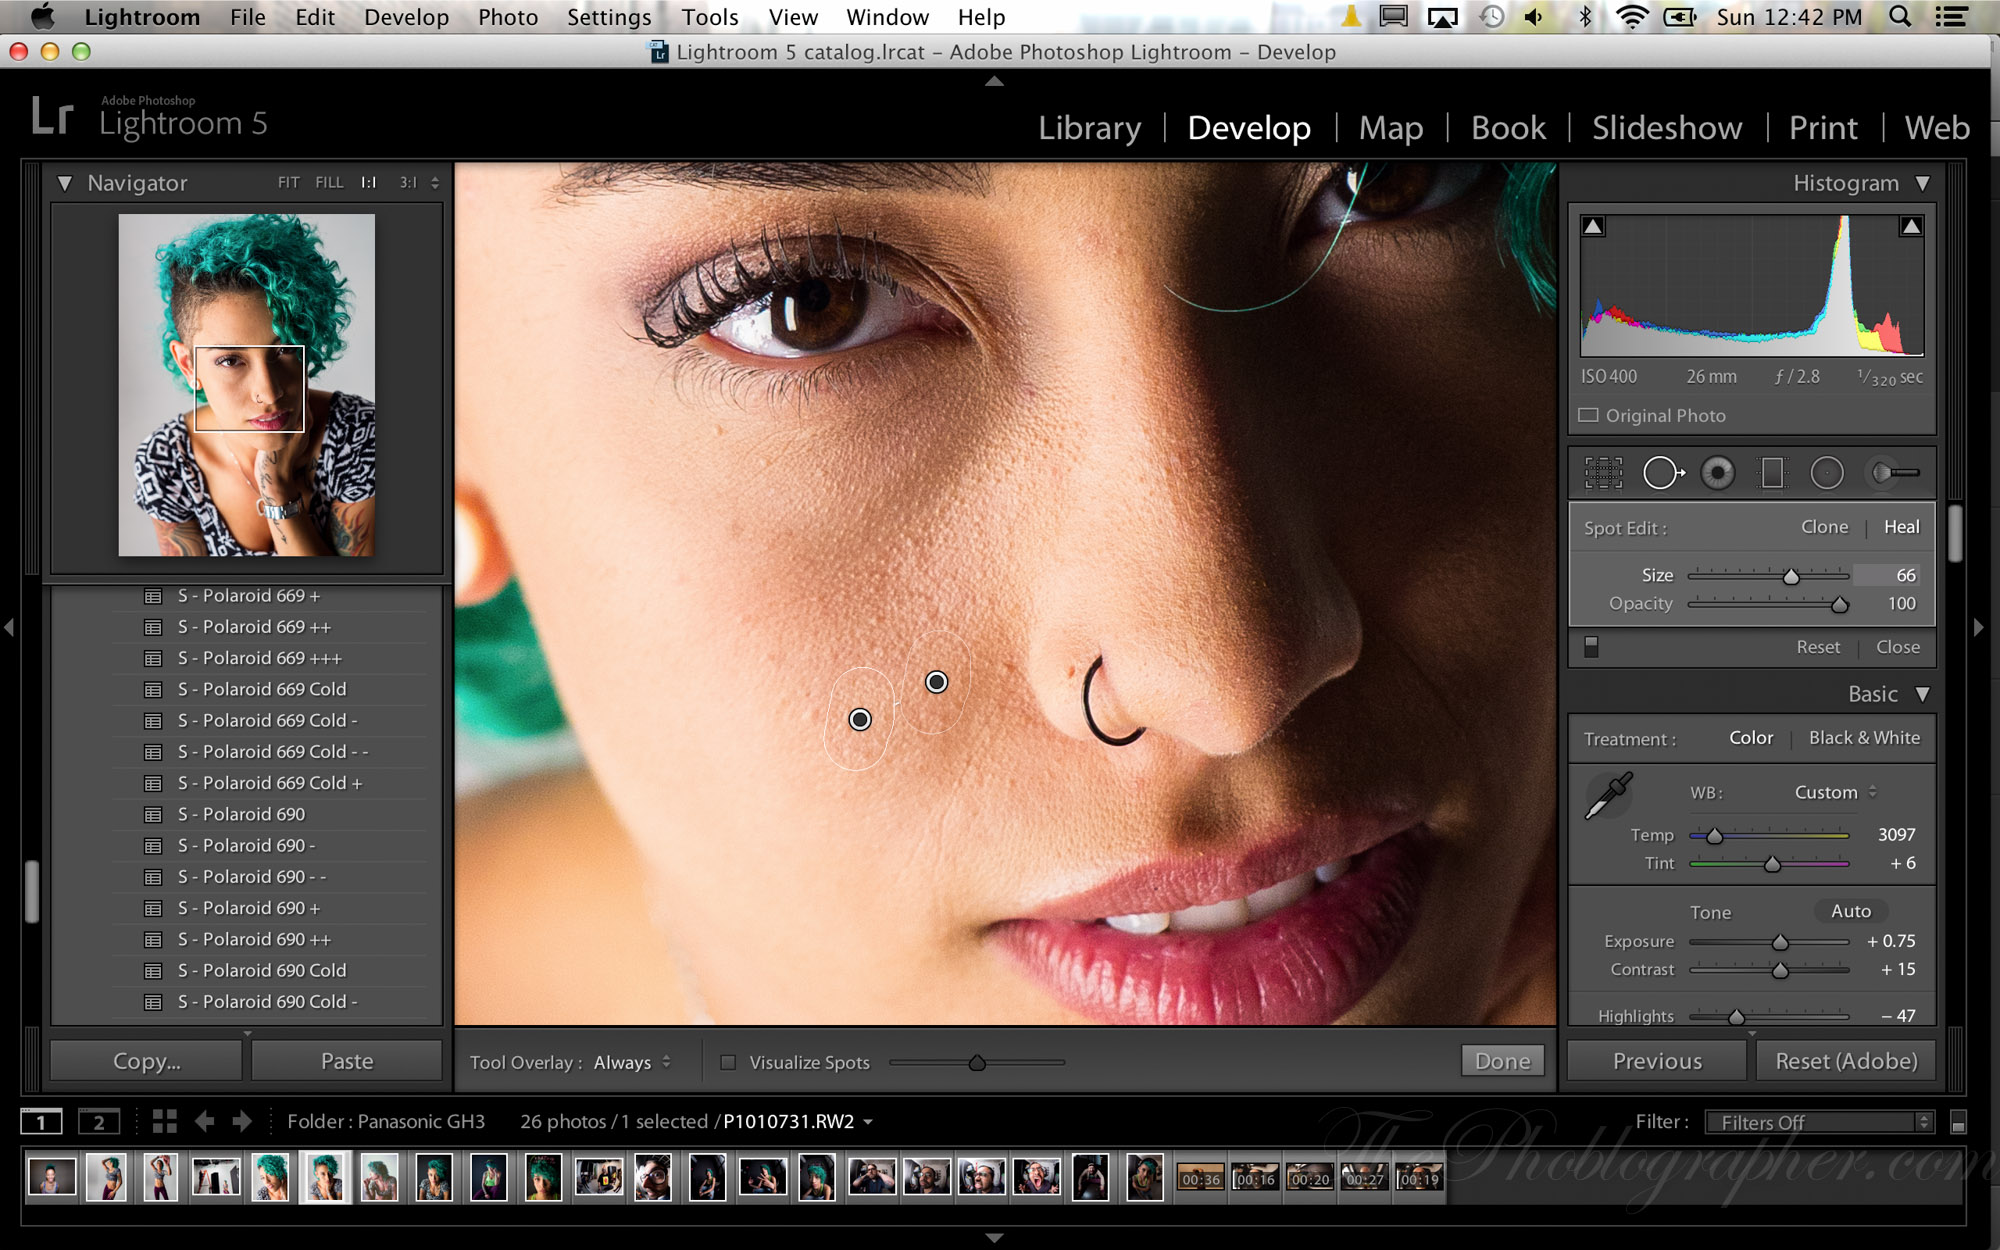
Advanced Healing Brush
Retouching in Lightroom has always previously been a pain. In version three and four, the user needed to either export the image into either Photoshop or Photoshop Elements or do loads of spot healing and cloning. Then if you want an even better job done in regards to skin softening, the best bet was to export using Athentech’s Perfectly Clear software–which does a pretty darn good job but not an amazing one compared to what manual, professional retouching can give you.
When Adobe announced the Advanced Healing Brush in our meeting, I exclaimed, “Finally.” Indeed, the brush works like a charm and makes minor retouching significantly simpler. Granted, you’ll still need to soften the skin with Photoshop, Elements or Perfectly Clear, but it is overall a major step forward in speeding up your workflow. Other aspects of retouching will need to be done by hand by you–but for most applications you won’t have much of a problem.
Of all the features of Lightroom 5, this is perhaps my favorite.
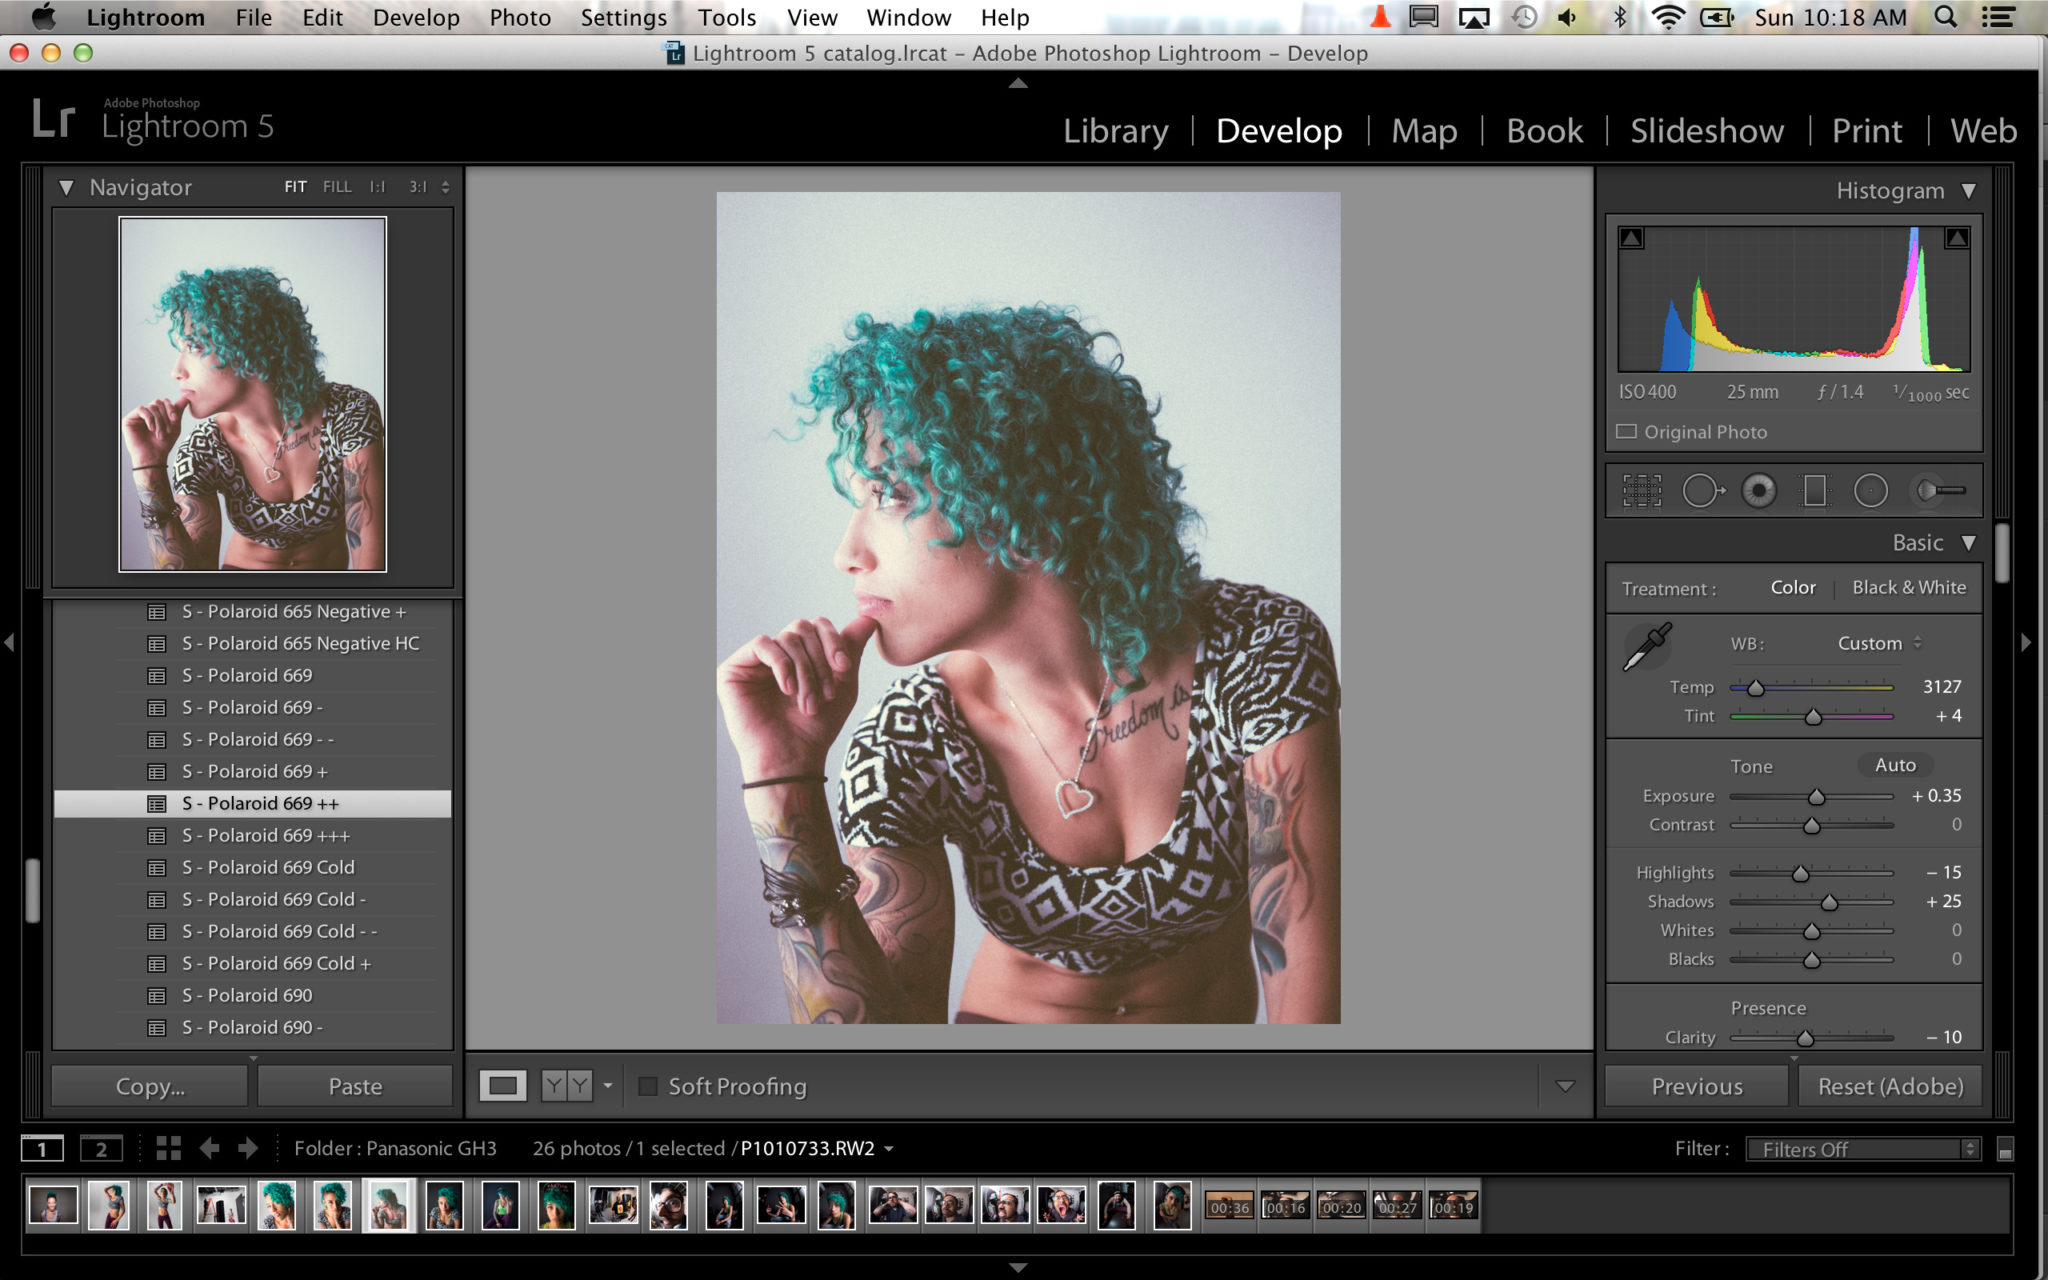
Radial Gradient
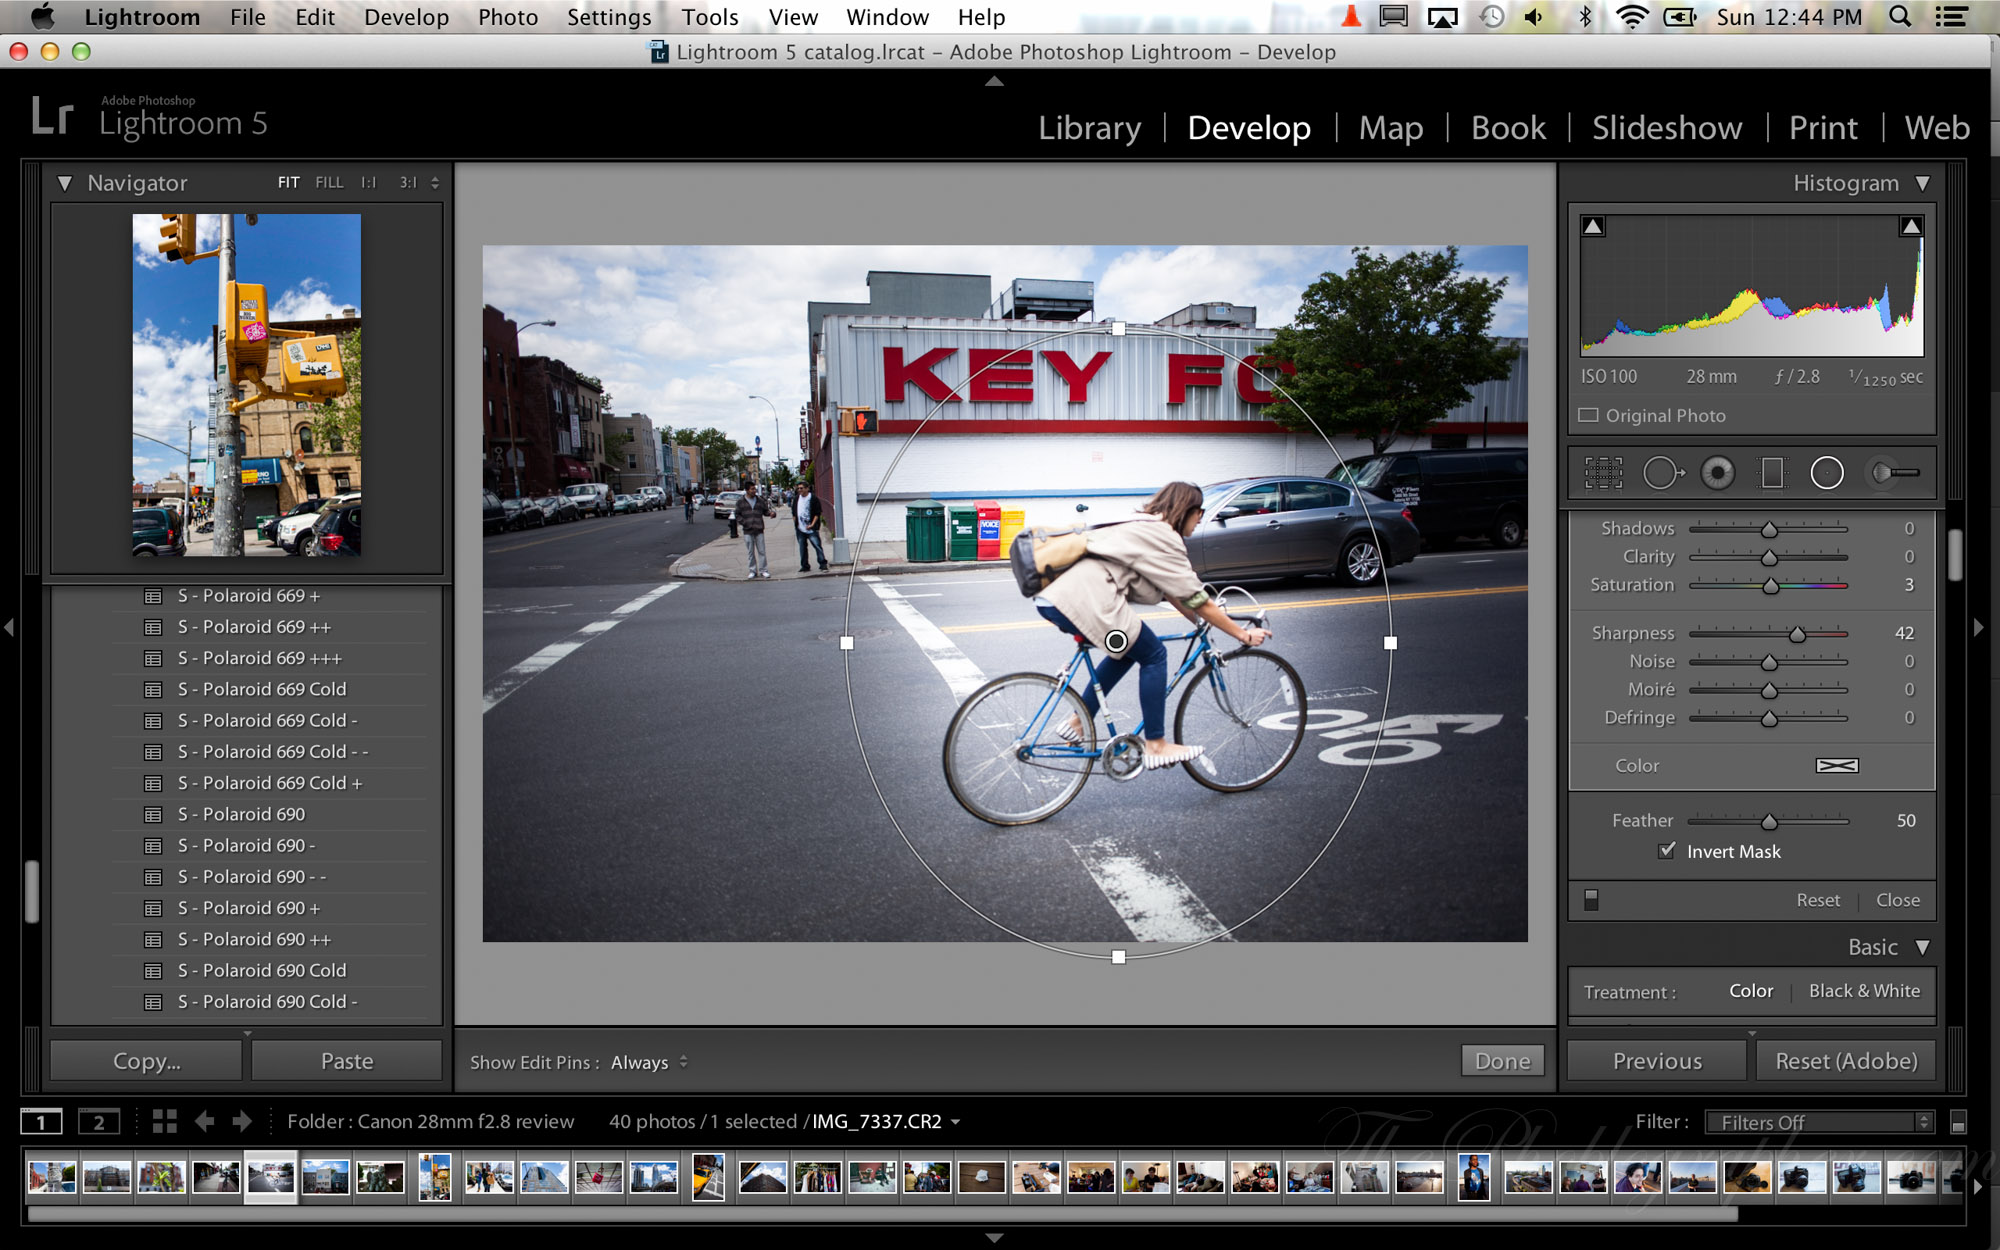
Of all the features that we played with, we couldn’t totally wrap our heads around Radial Gradient. We can totally see where someone might want to use it creatively, but in all honesty we see real photographers adding more emphasis to a subject in the camera by means of either composition or exposure. However, the creative effects that Radial Gradient can give you are fun nonetheless. In the end though, we can personally do without it.
Upright

Upright is one of those features that is honestly quite a godsend, but can be buggy at times. In certain situations and compositions, it works flawlessly while in others it can make you scratch your head.
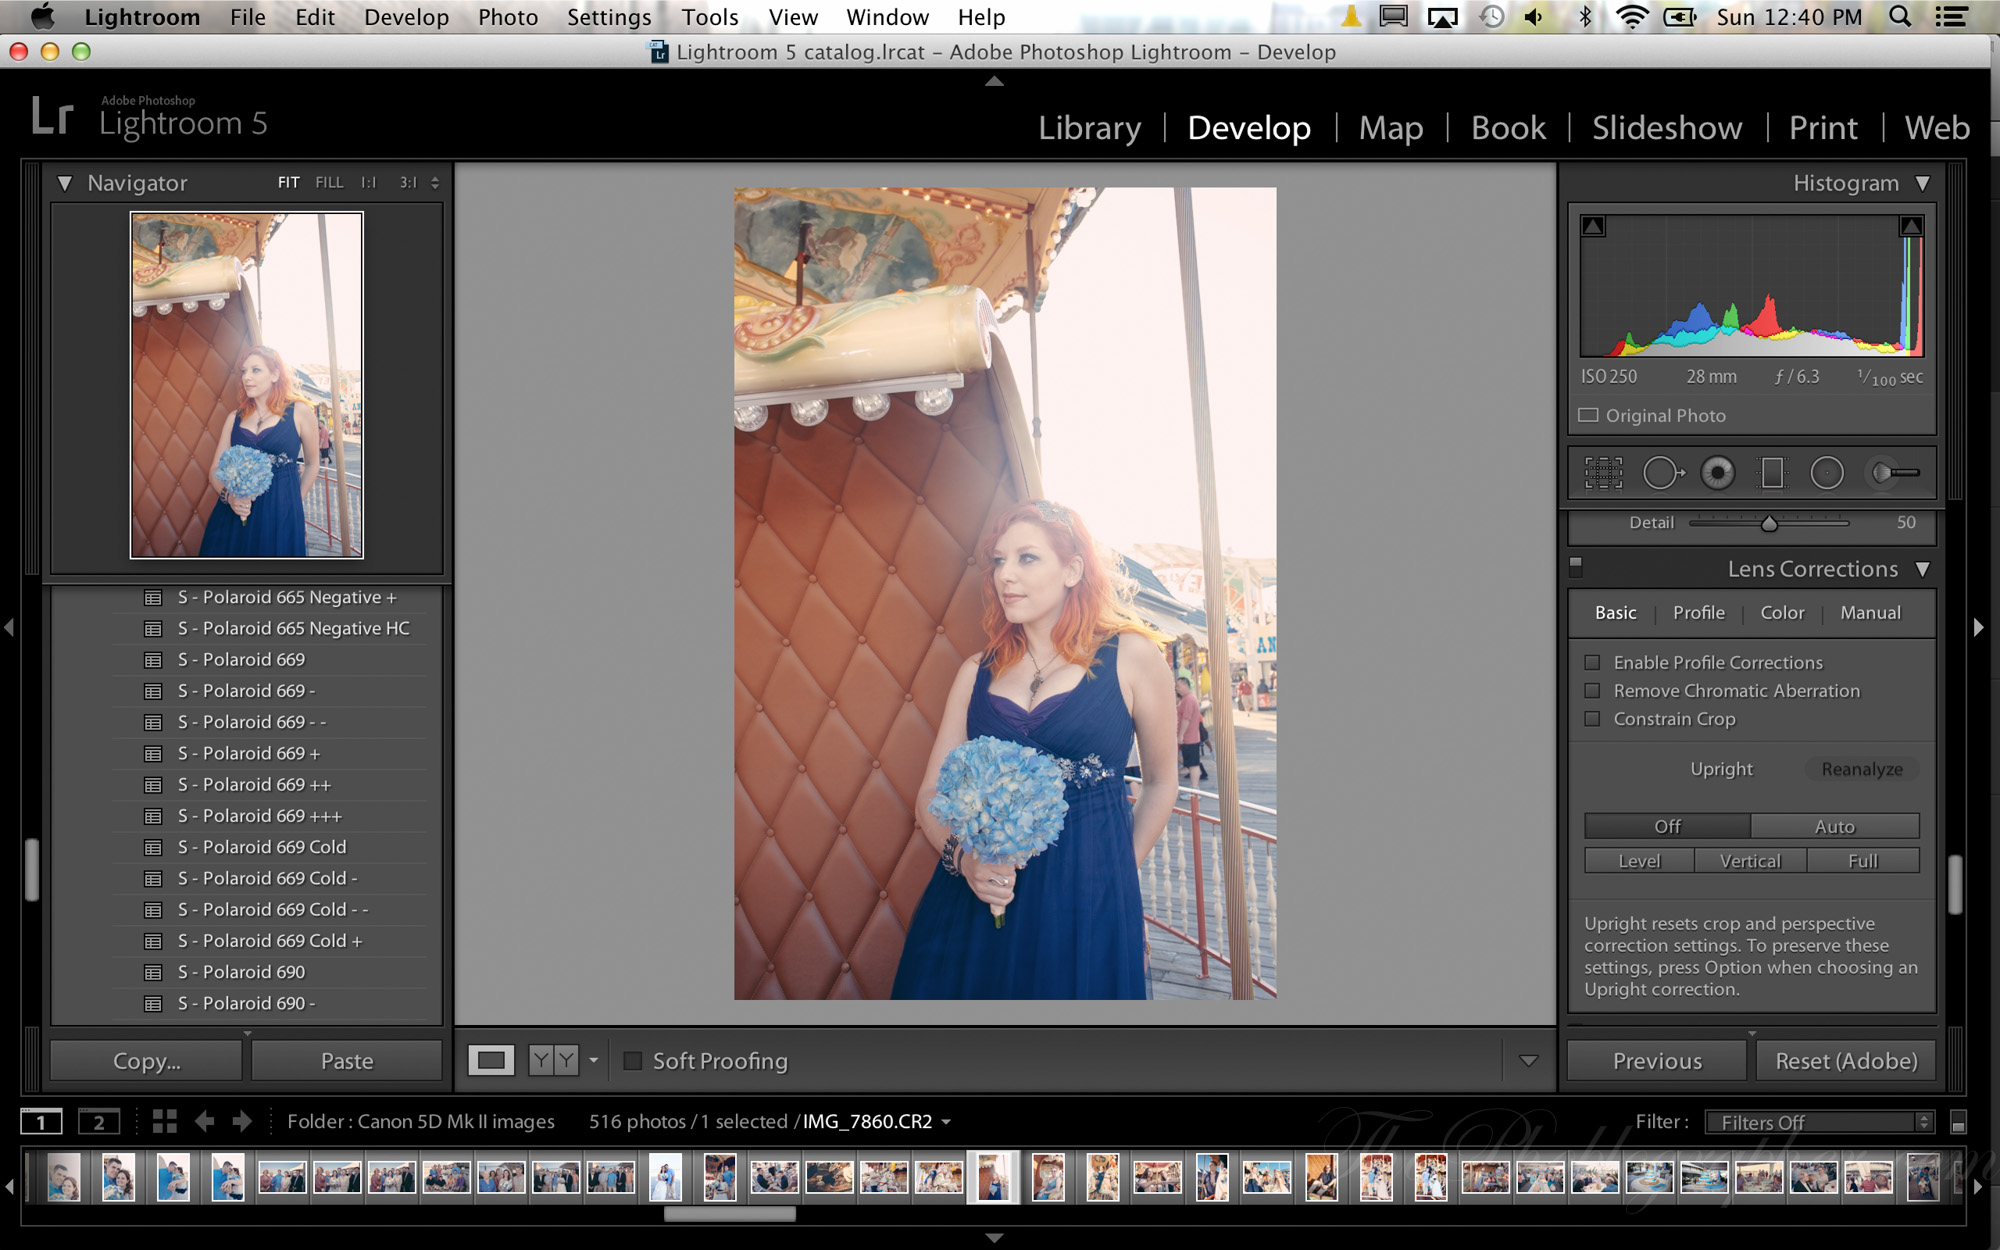
Here are two examples that had us shaking our heads.
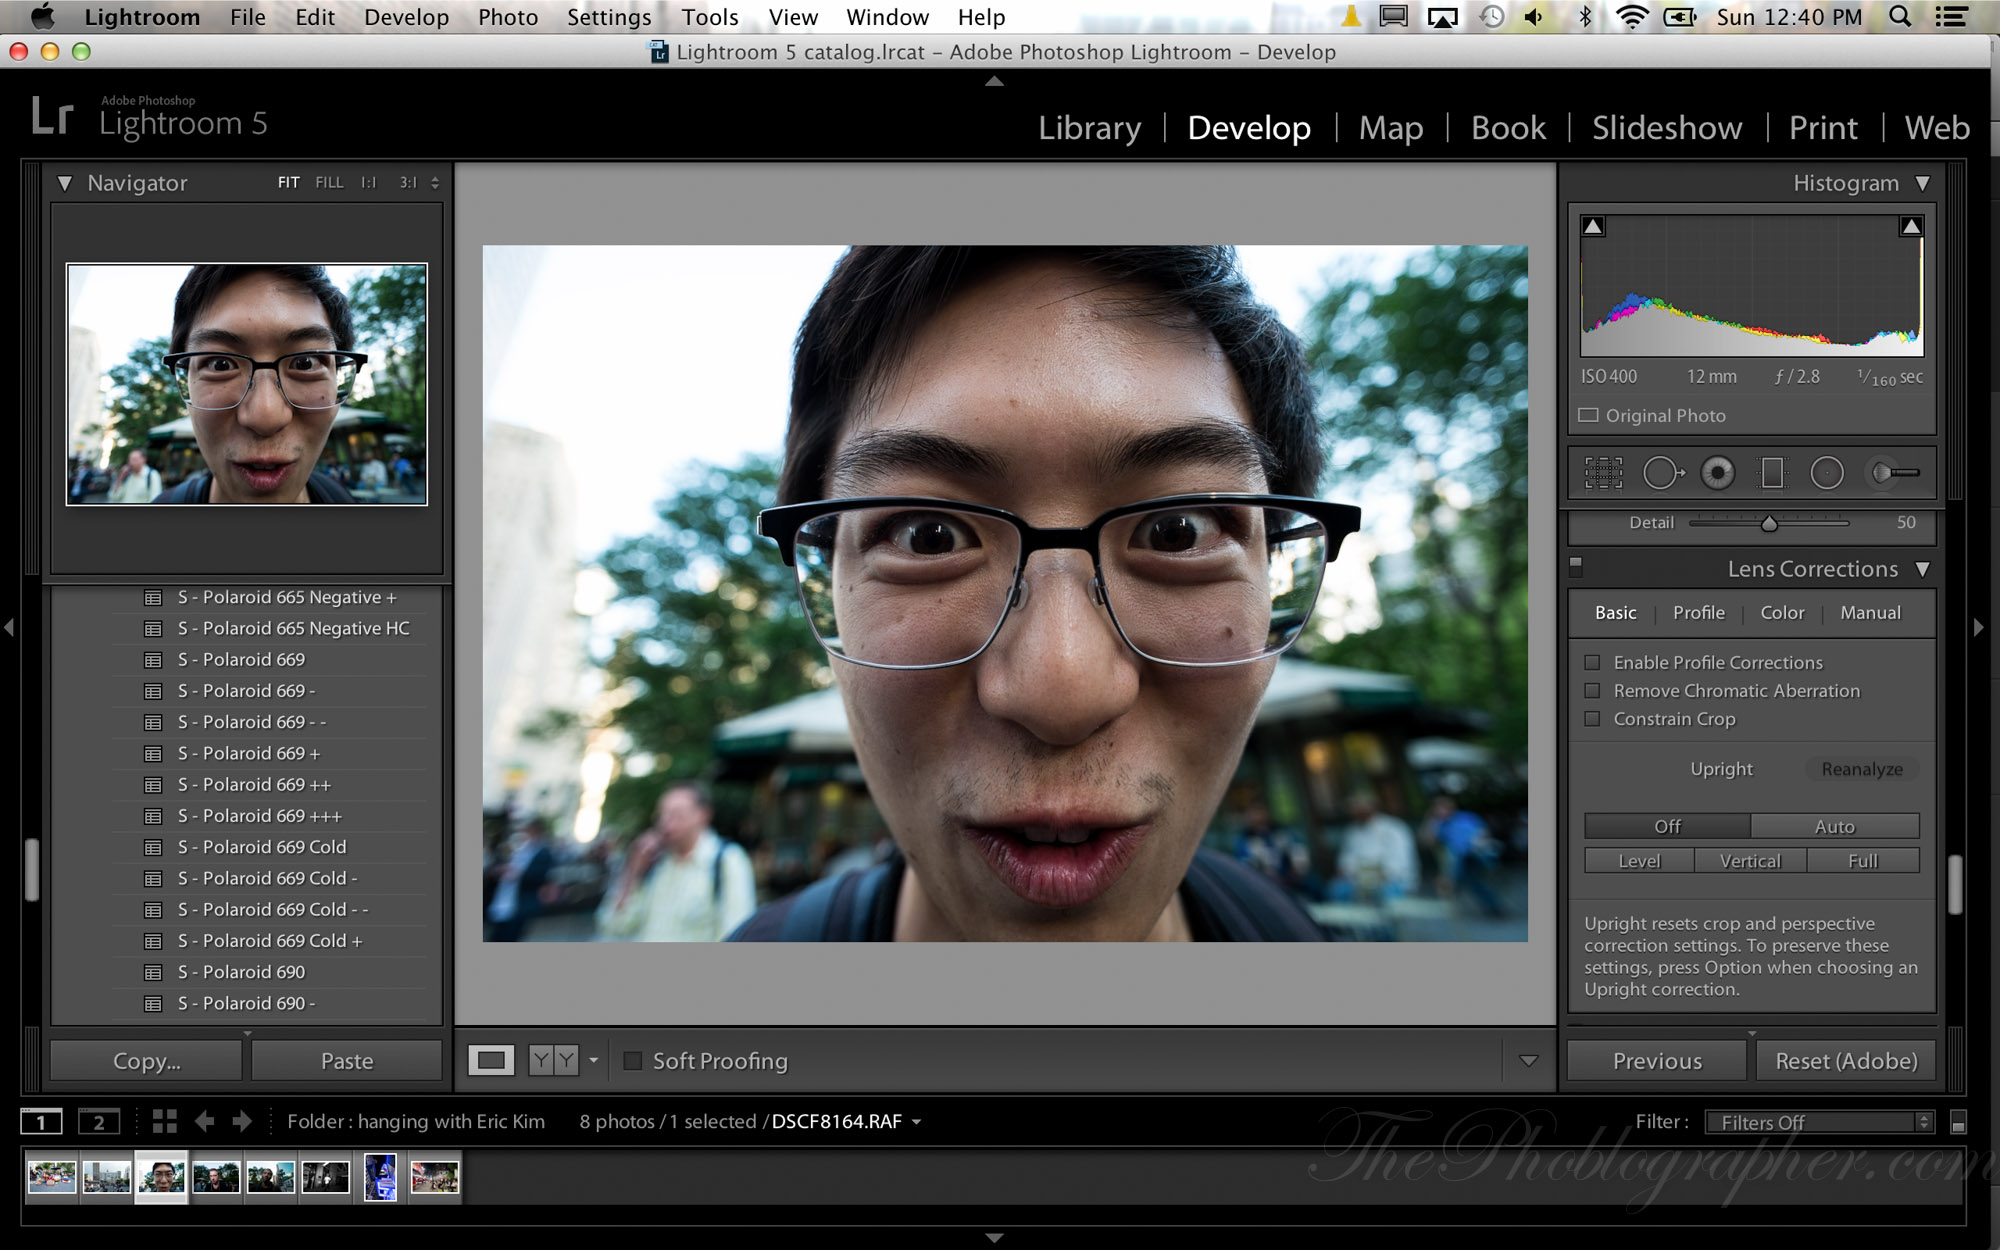
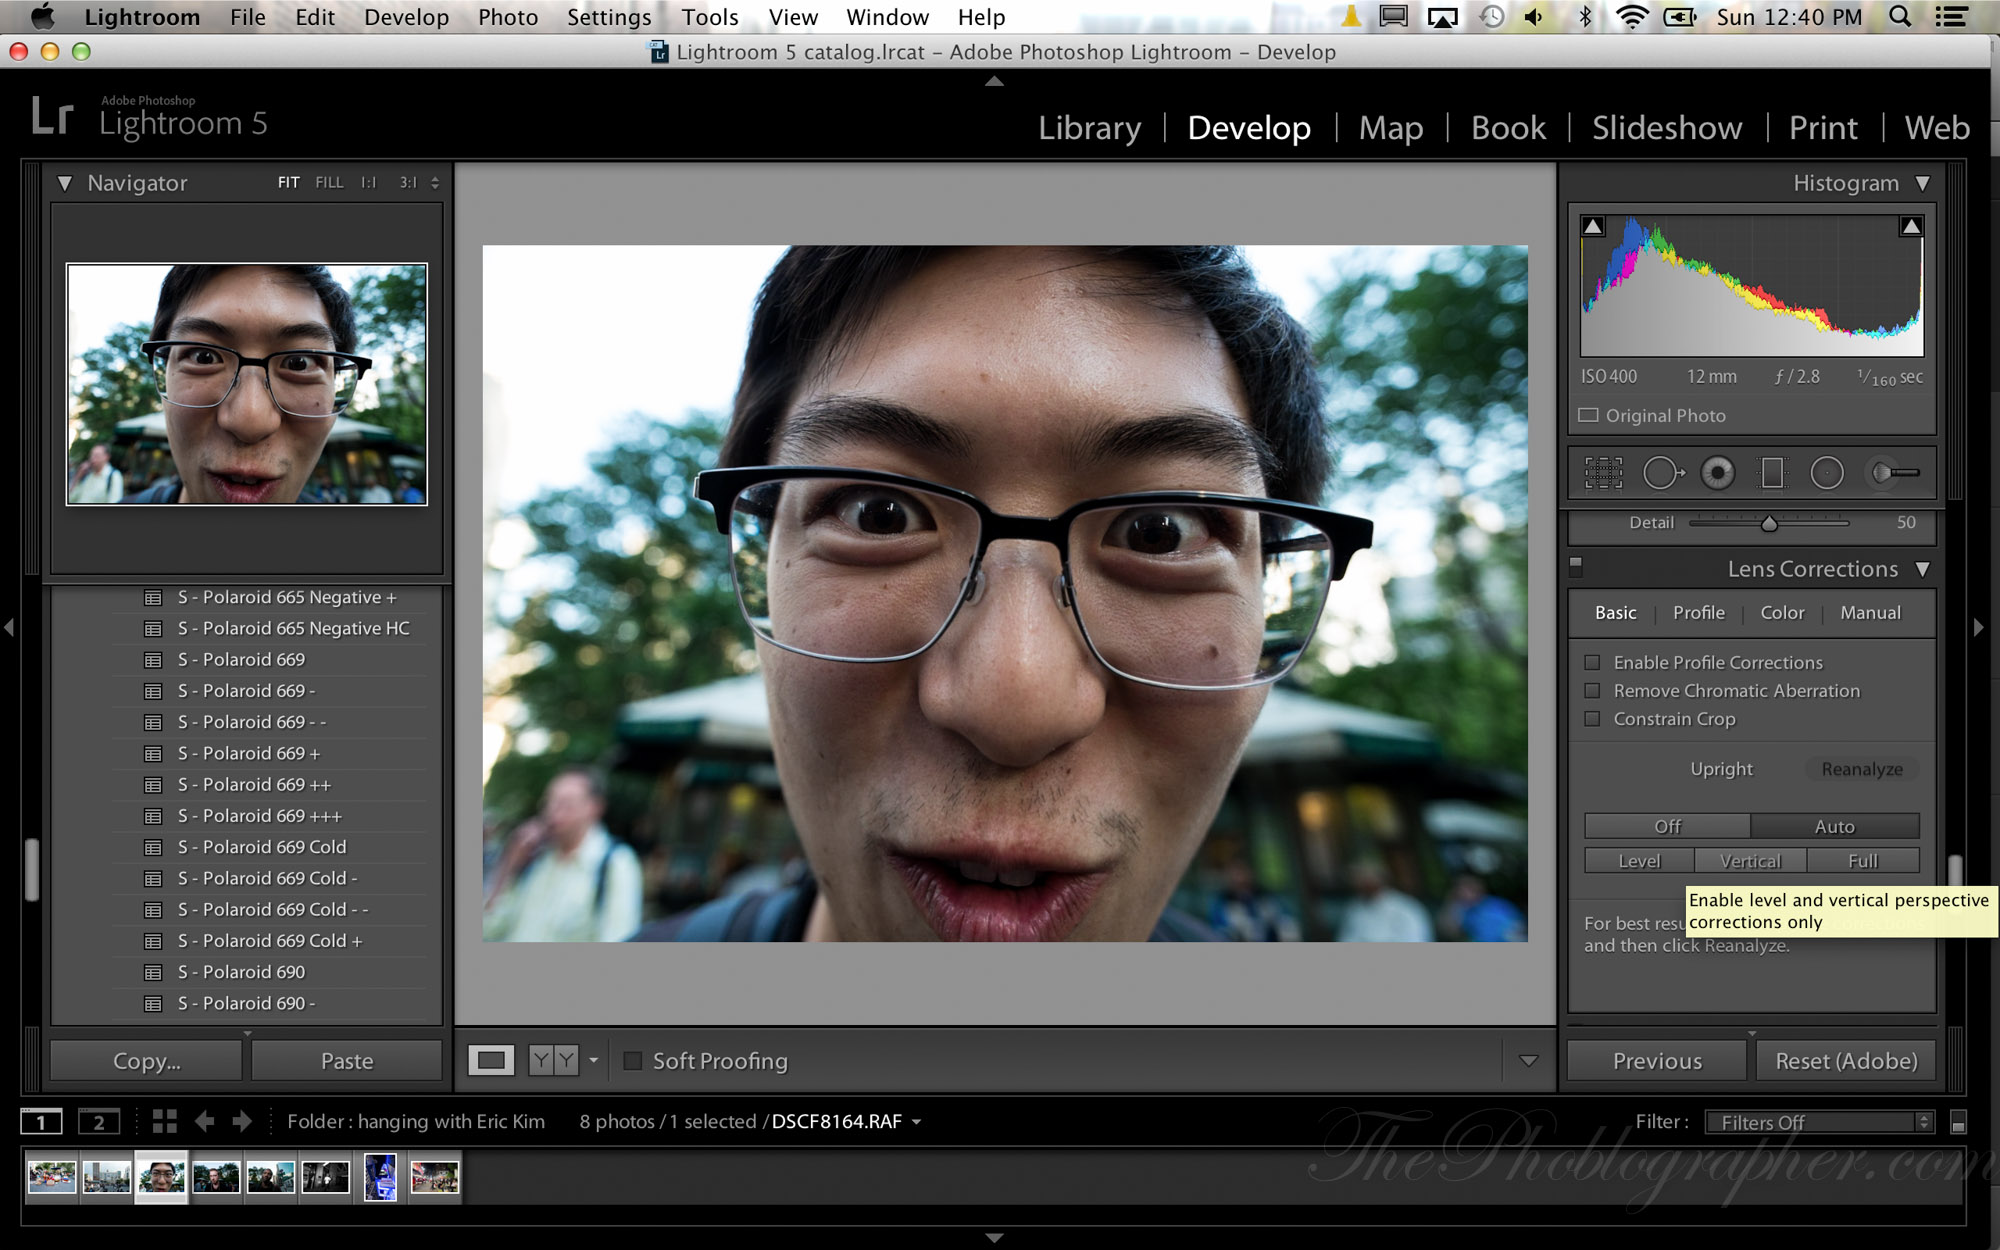
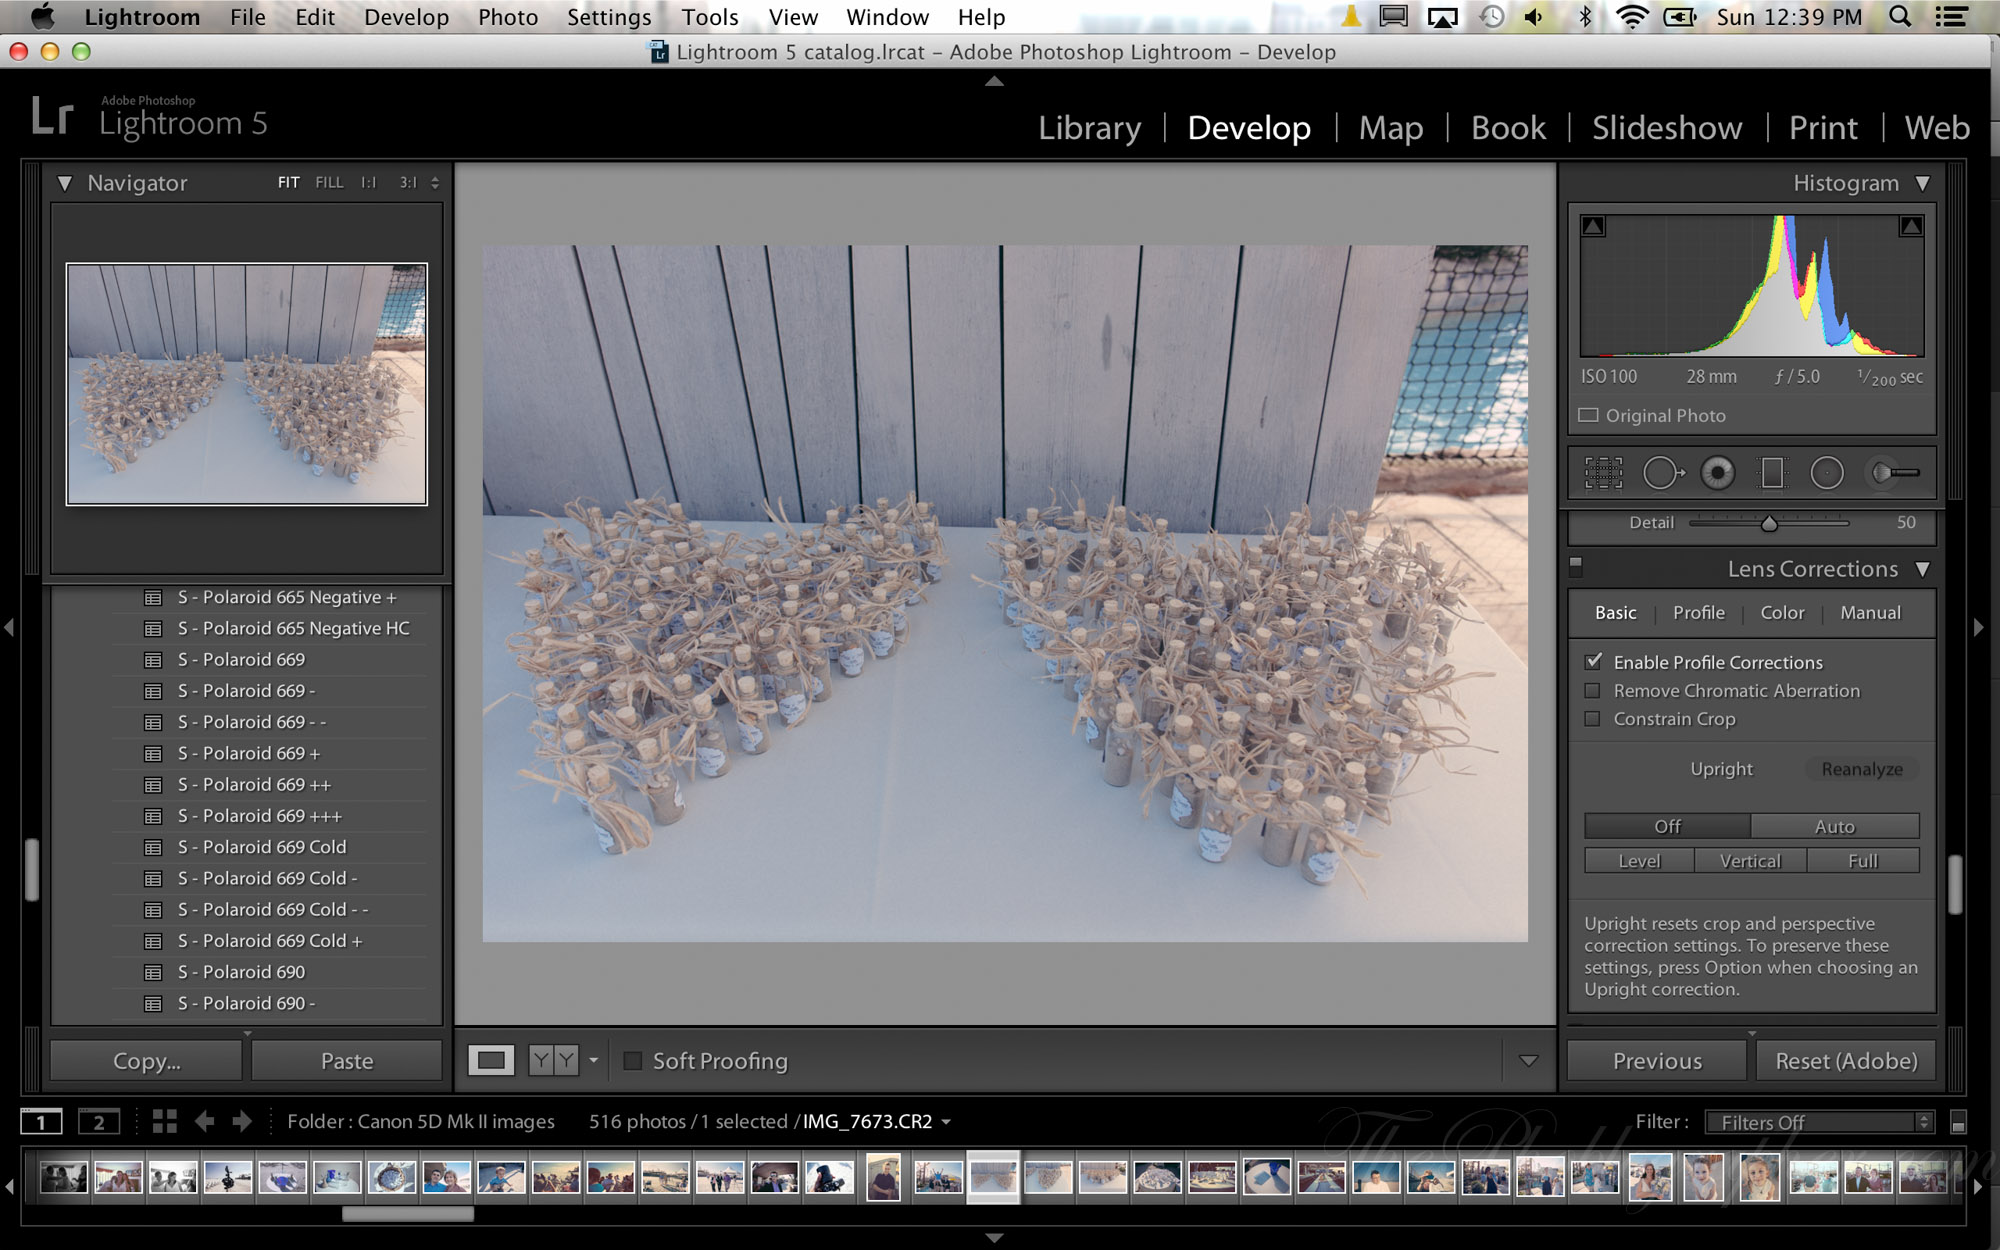
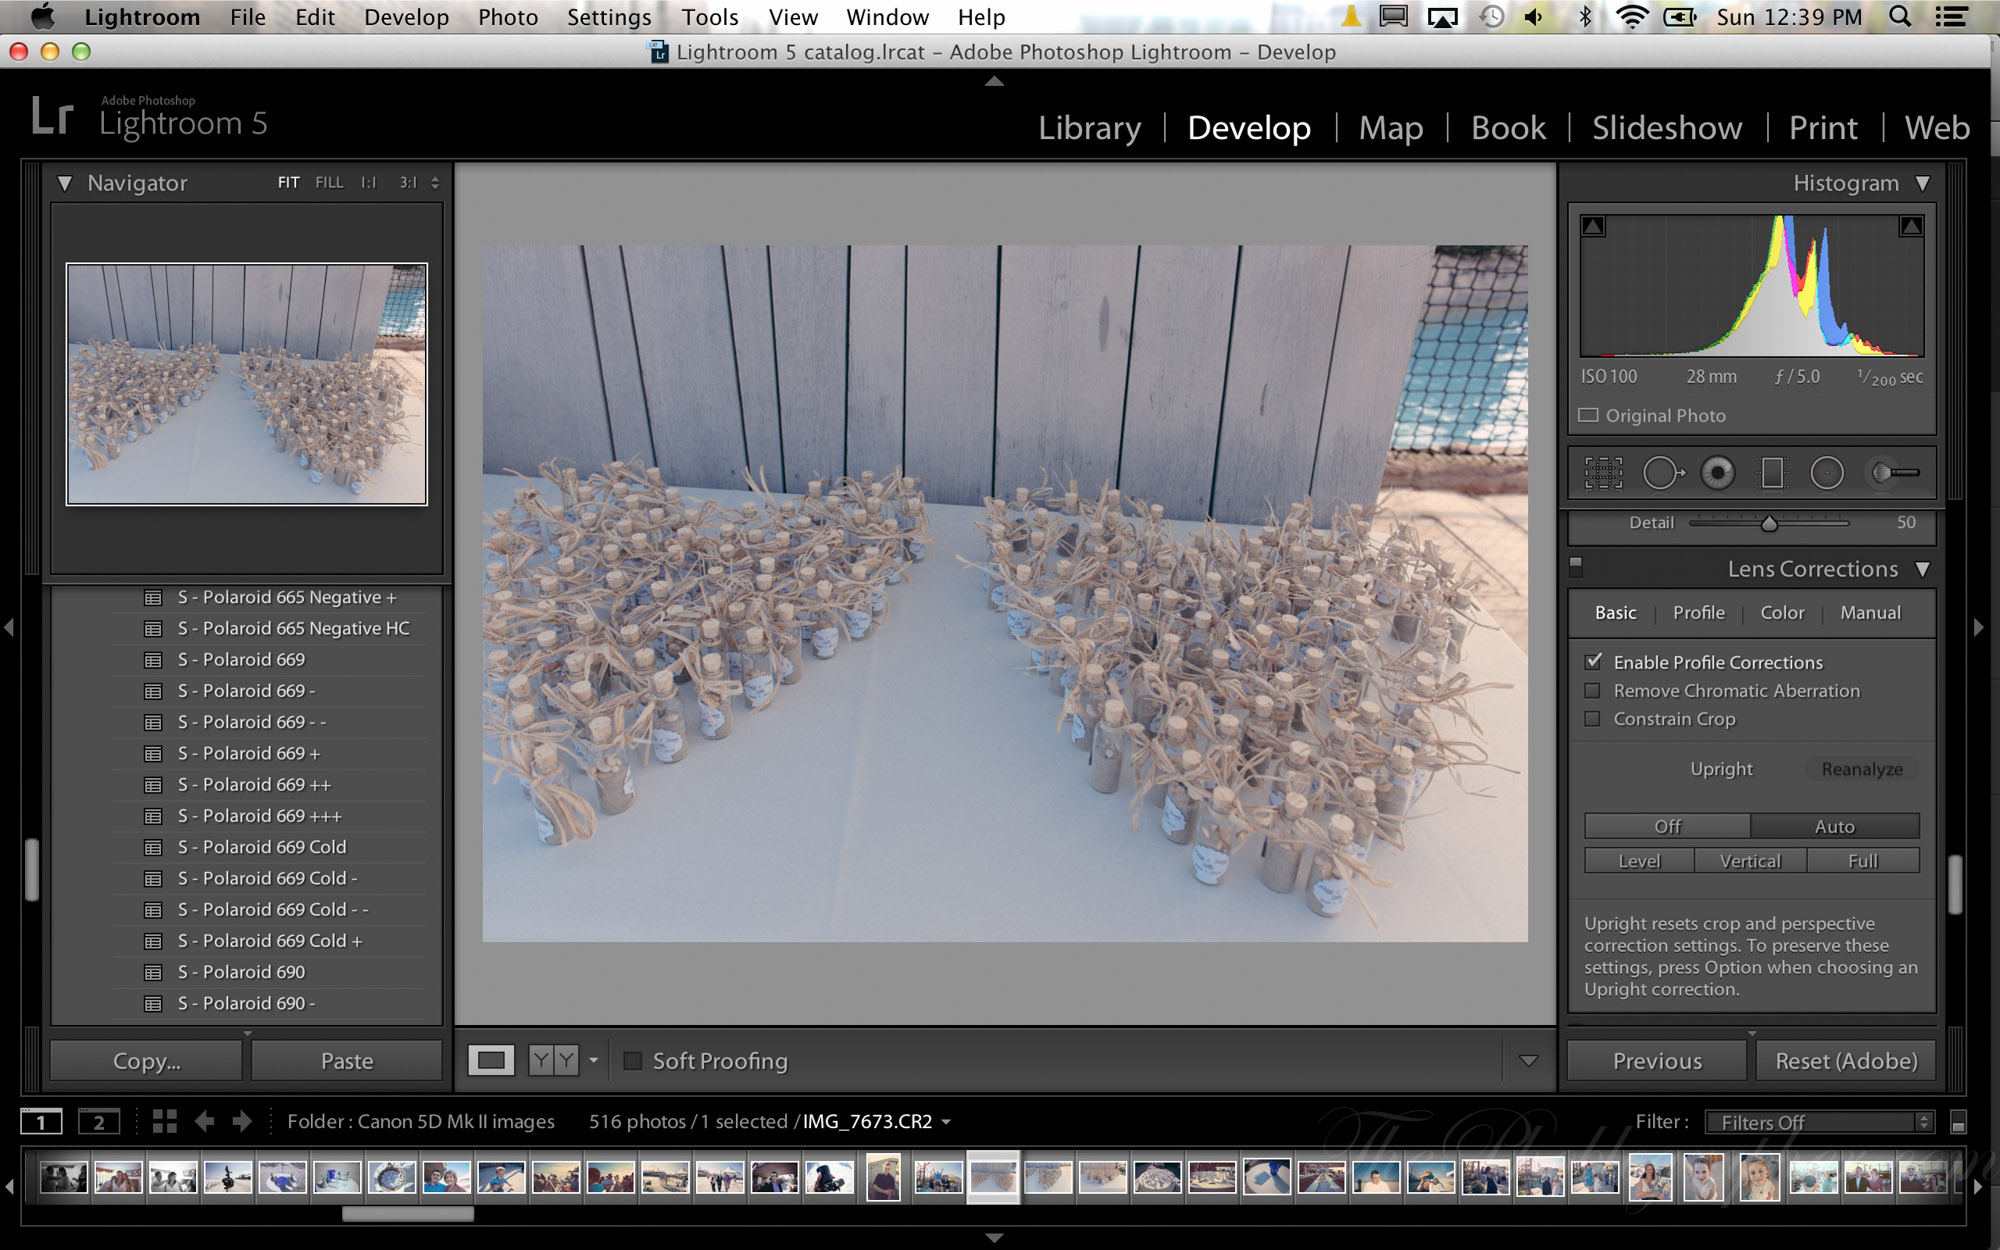
To be fair, though, many photographers will use this feature for landscape photography, and for that it works really quite well.

Though Upright could be better, we’re generally happy with its performance. However, Adobe could surely improve on Upright in future updates to Lightroom 5.
Conclusions
Lightroom 5 is packed with quite a bit of major features and some minor improvements, such as PNG editing. But Lightroom 4 was already really good to begin with and we’re not quite sure that every photographer will need the upgrade. Personally, I’m going to need it in order to test and review the latest cameras properly, but most folks don’t use Lightroom the way that I do. If I were back to being a full-time working pro, I’d have full Photoshop (I currently still have Elements and do a fine job with it) and also work with Lightoom. I also wouldn’t be upgrading or changing cameras very often. As it is, most of my work is still done with my 5D Mk II and any other camera purchases that I make is done so that the staff and I can review products in more systems.
Lightroom 5’s killer features are Upright and the Advanced Heal Brush, and considering the meager price of the upgrade, it’s very much worth it if you feel that it can make your life easier and your workflow faster. But as it is, Lightroom is very affordable, and we have to totally recommend it if you want to take your photography seriously.
Please Support The Phoblographer
We love to bring you guys the latest and greatest news and gear related stuff. However, we can’t keep doing that unless we have your continued support. If you would like to purchase any of the items mentioned, please do so by clicking our links first and then purchasing the items as we then get a small portion of the sale to help run the website.
Also, please follow us on Facebook, Flickr and Twitter.
Get rid of the ads!
Did you enjoy reading this article as much as we enjoyed writing it? There's a way to support us and our reporting, getting ad-free navigation and more as a bonus. Subscribe to us for less than a coffee per month —just $3.99— or take advantage of our yearly subscription with a hefty discount for only $25.- An ad-free experience
- A free mystery box for Lightroom or Capture One
- All the books in our store
- 20% discount on Capture One
- 30% discount on Imalume Photo Theft Protection
- 20% off Herbs and Kettle Tea Company.
- 20% off your order from MPIX printing services.
- 5% off Viltrox Products via their eCommerce store.
- 10% off all film developing, printing and scanning services from Blue Moon Camera and Machine
- 15% off 7Artisans products: The lens and accessory maker is offering a sweet discount for Phoblographer's readers.