Today, Adobe is announcing the Lightroom 5 Beta–which is obviously hinting at a newer version of the highly loved program. The new version incorporates a bunch of changes but the biggest ones are the addition of a spot heal/clone brush (no longer just a tool), radial gradients, smart previews that will sync with an external hard drive when hooked up later, a new tool called upright which dramatically fixes perspectives, and much more.
We’ve been testing the program for a couple of days now, and here are our first impressions.
What’s New
Lightroom 5 beta offers photographers and enthusiasts many new features including:
- Advanced Healing Brush allows customers to heal imperfections and remove distracting elements
- Upright tool analyzes an image to automatically level horizons and straighten objects like buildings to correct a keystone effect
- Radial Gradient tool creates off-center or multiple vignette effects
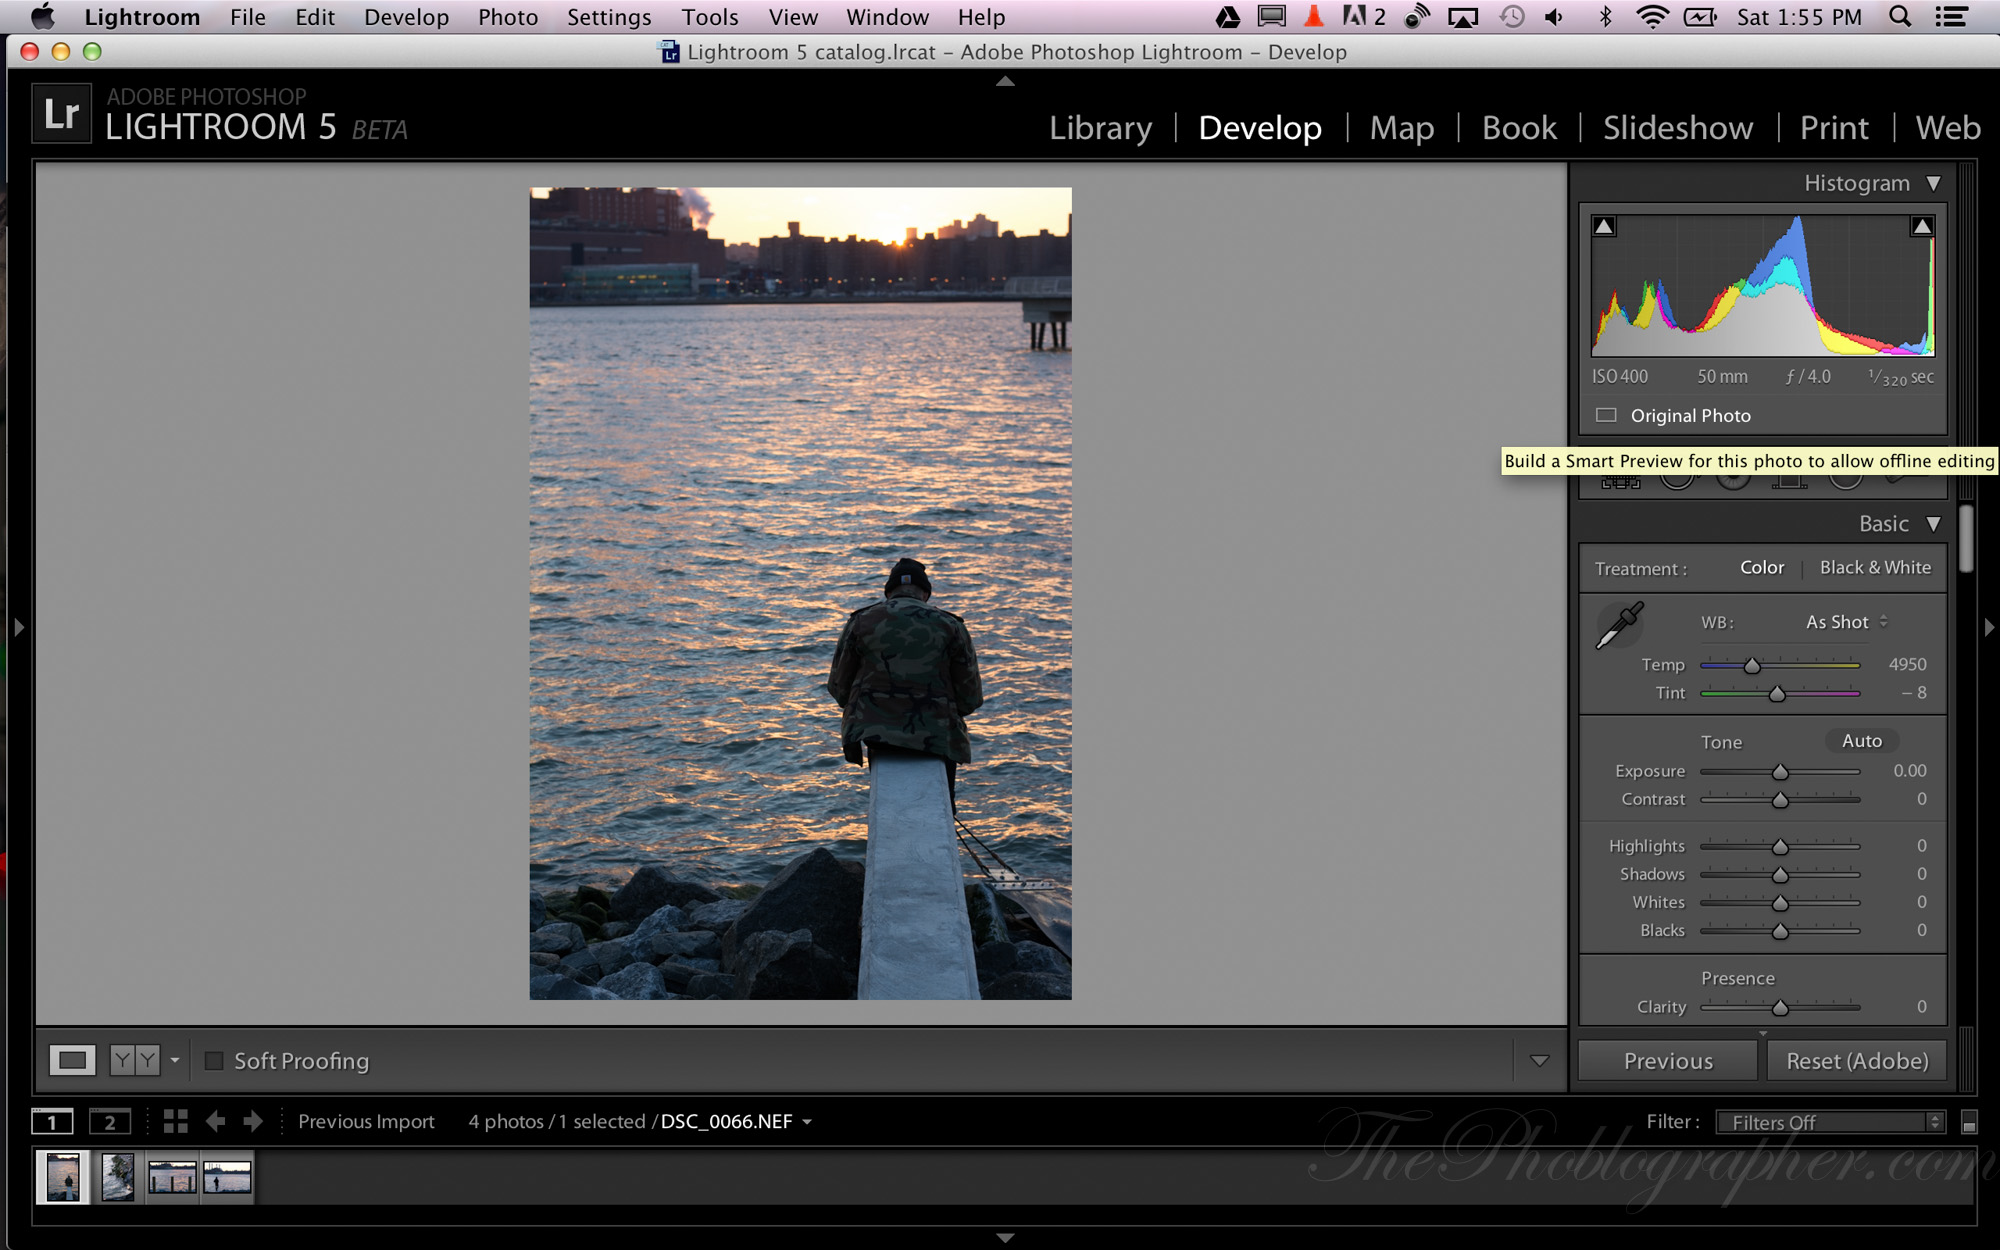
- Smart Previews allow customers to edit images without needing the original raw file
- Video slideshow enables customers to combine still images, video clips and music in a creative HD slideshow
- Upgrades to the Book module enhancing the ability to create, customize and order elegant photo books using a variety of tailored templates
Testing
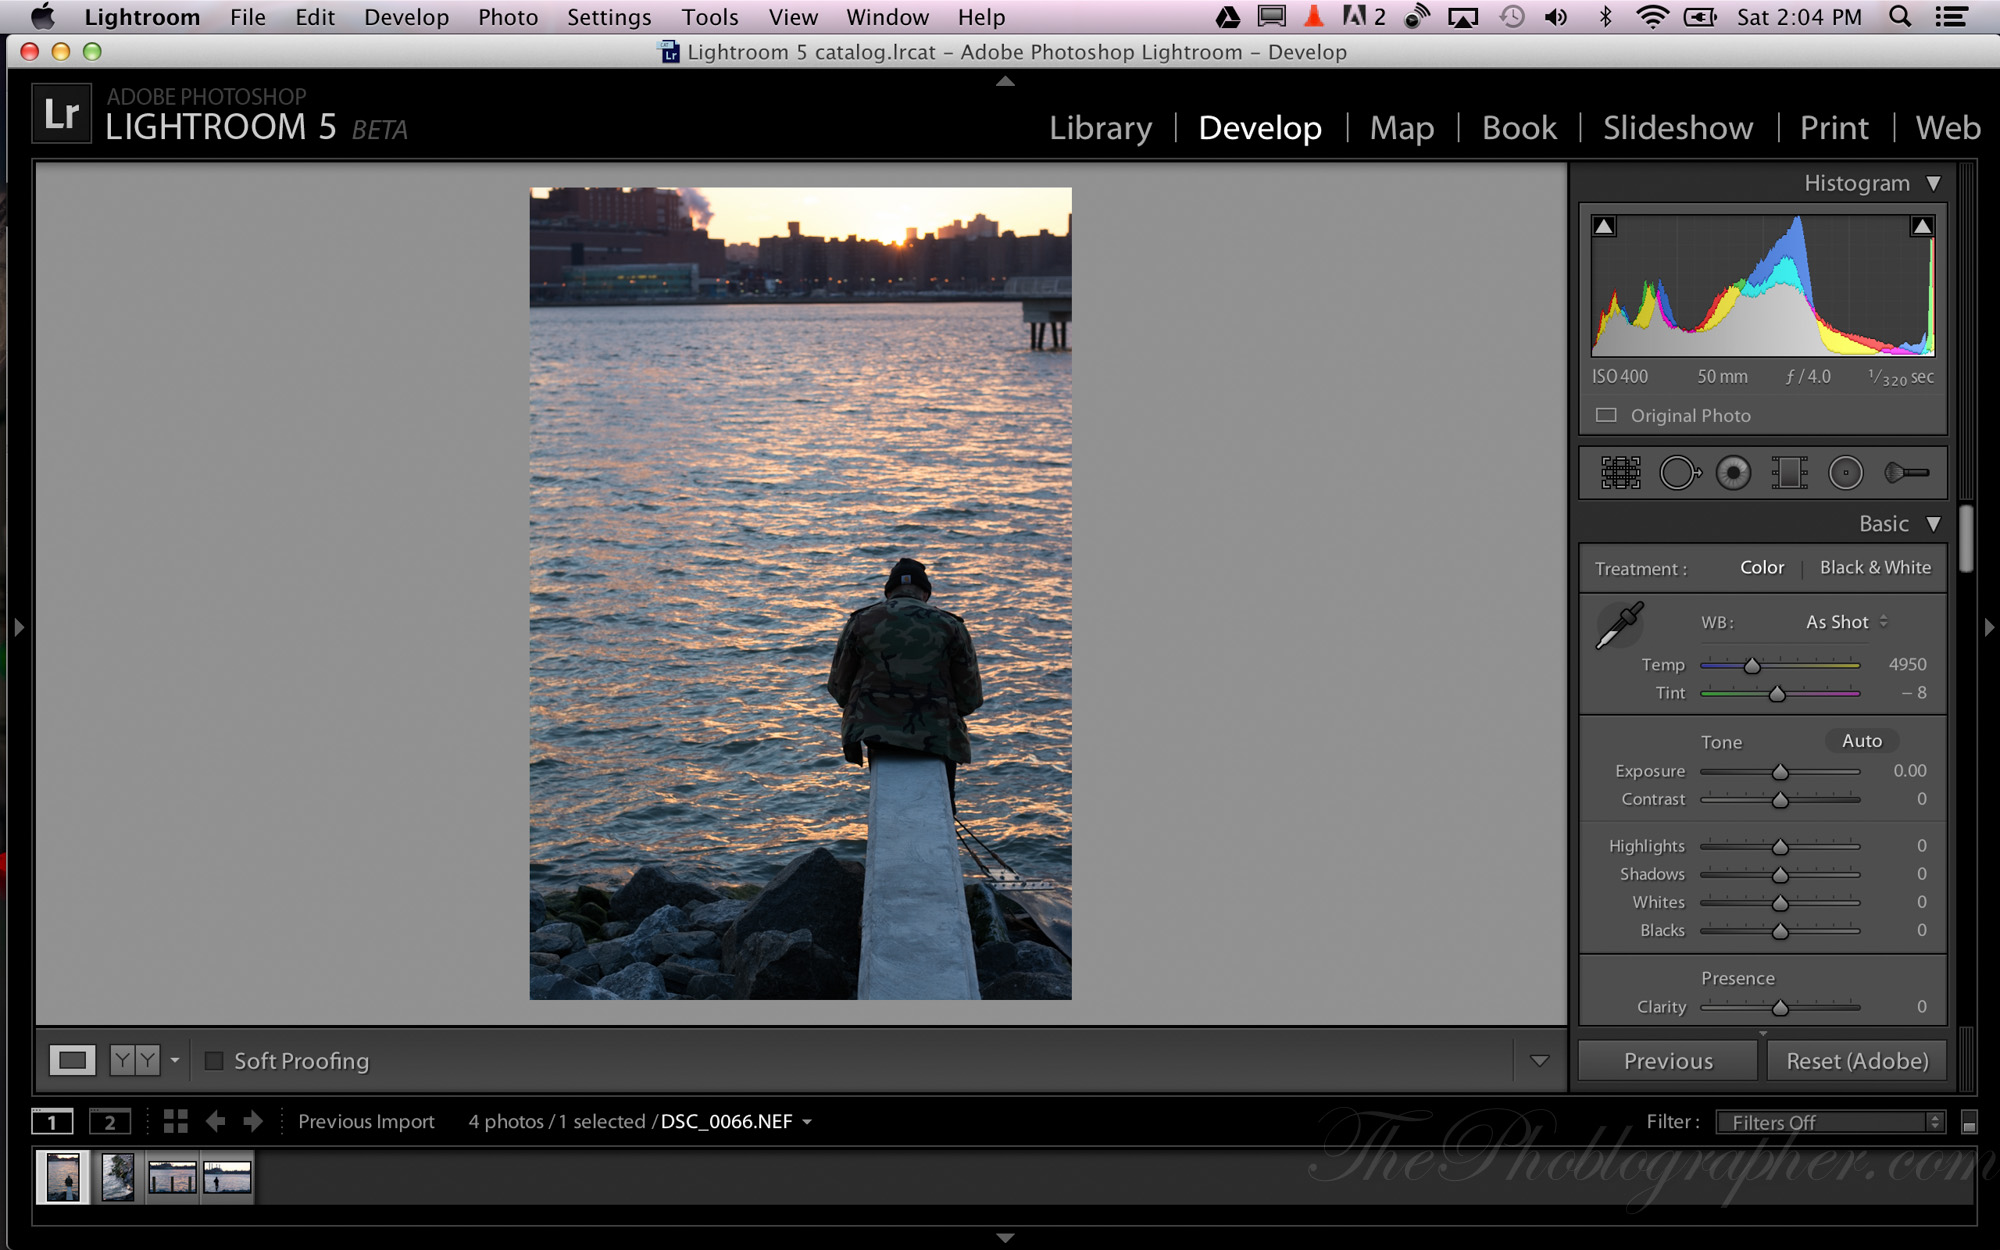
To preview some of the new features in the new beta software, we tested them on a couple of images that we’ve been working with for the Nikon D7100 review.
Advanced Healing Brush
First off, to find the new advanced healing brush, you’ll need to go to the same spot heal/clone area that you’d be familiar with if you were a Lightroom user before. To refresh, Adobe revamped this feature to not just do spot healing or cloning but to instead be a full brush. And it works just like it would in Photoshop and Lightroom before where you’d need to press the Alt button to control what area the brush is cloning from.
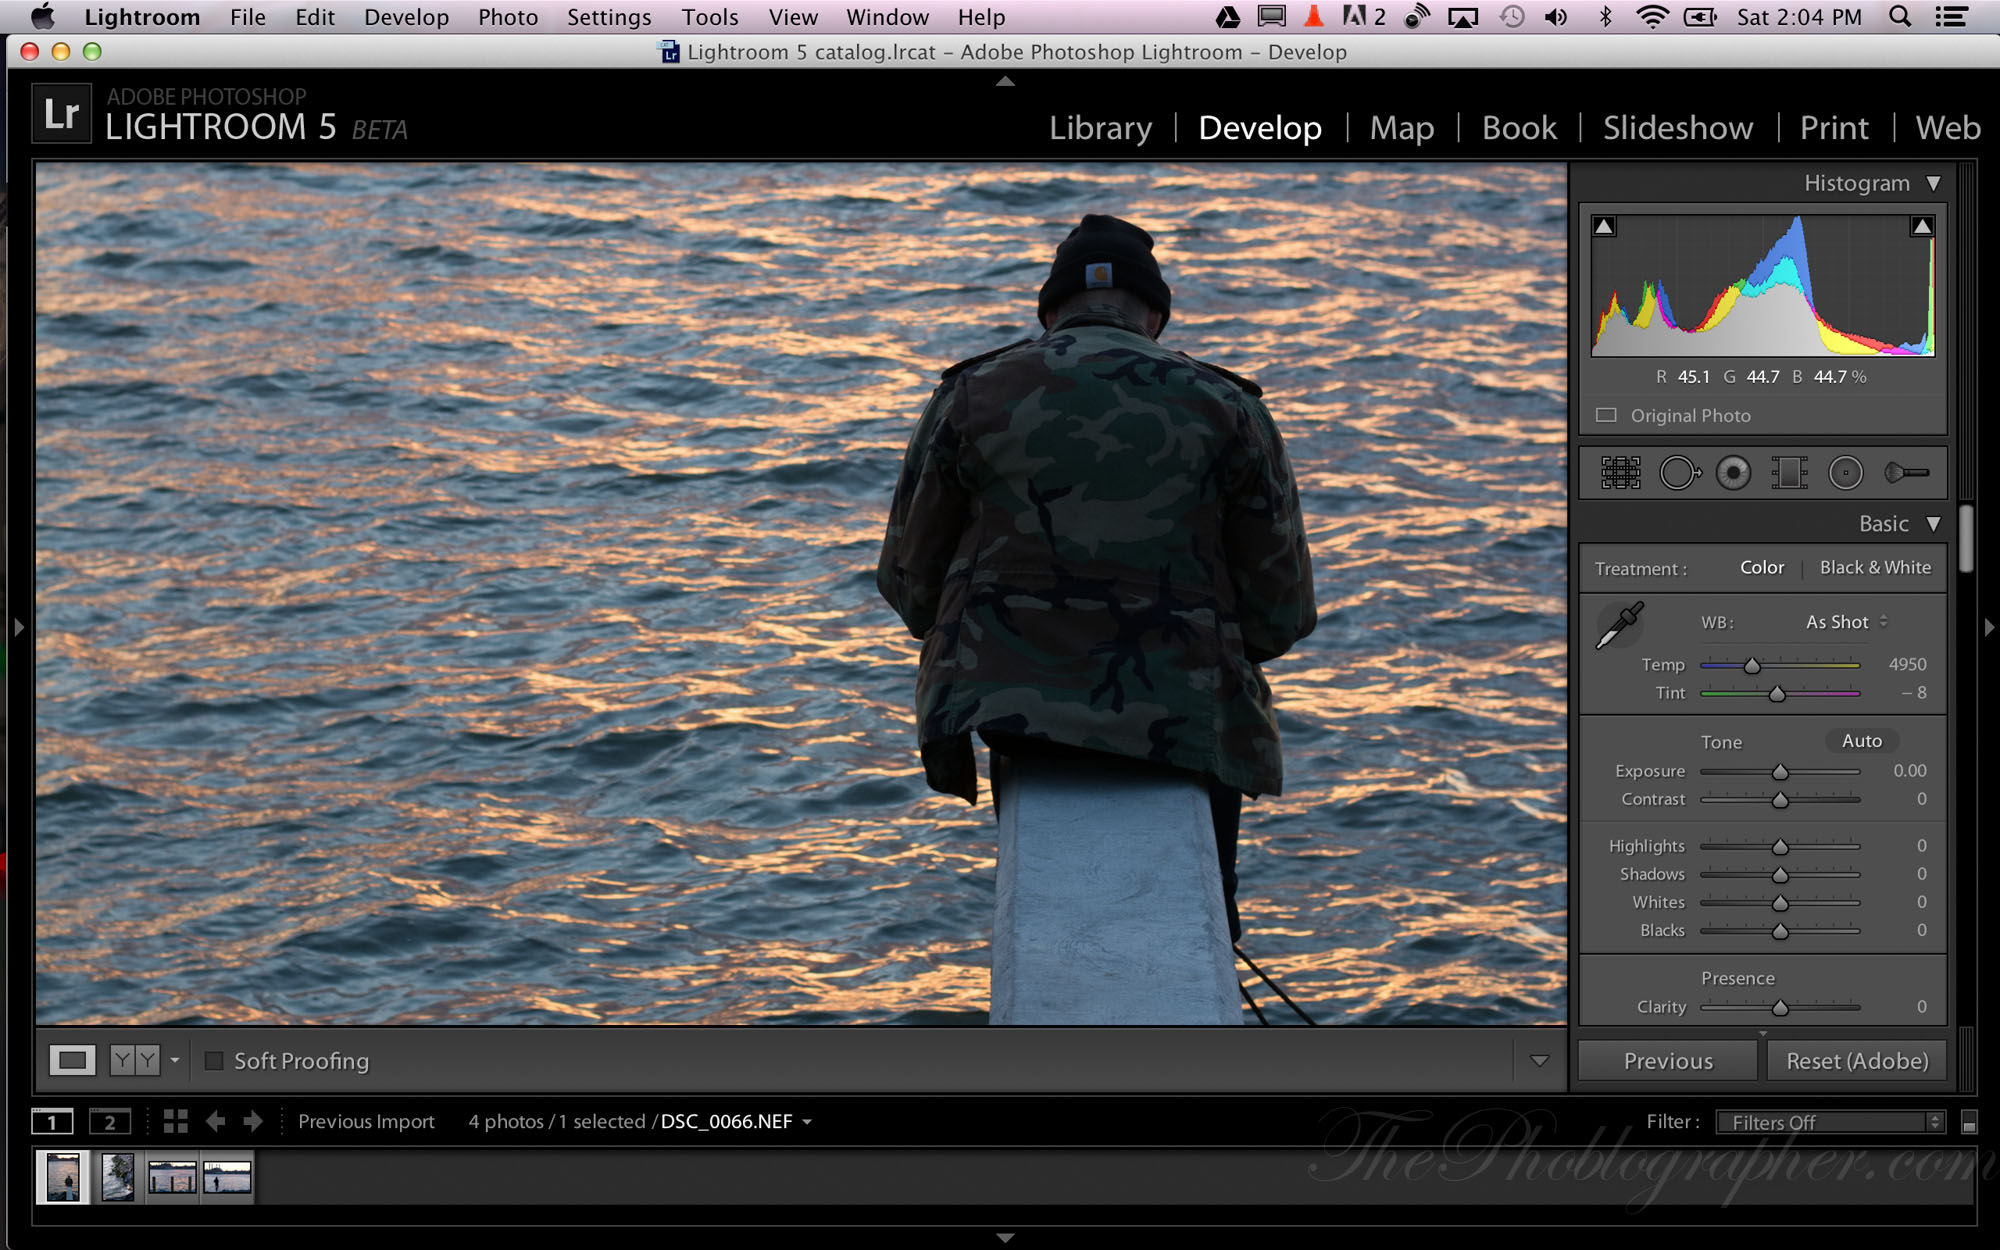
In our practices we’ve often found it better to zoom into a particular area of an image and work strictly with it. The brush seems to work mostly seamlessly in conjunction with Adobe’s Content Aware Fill feature and engine. So in order to use the brush, you’ll need to select. I wanted to get rid of the dude on the edge of the pier here for this test.
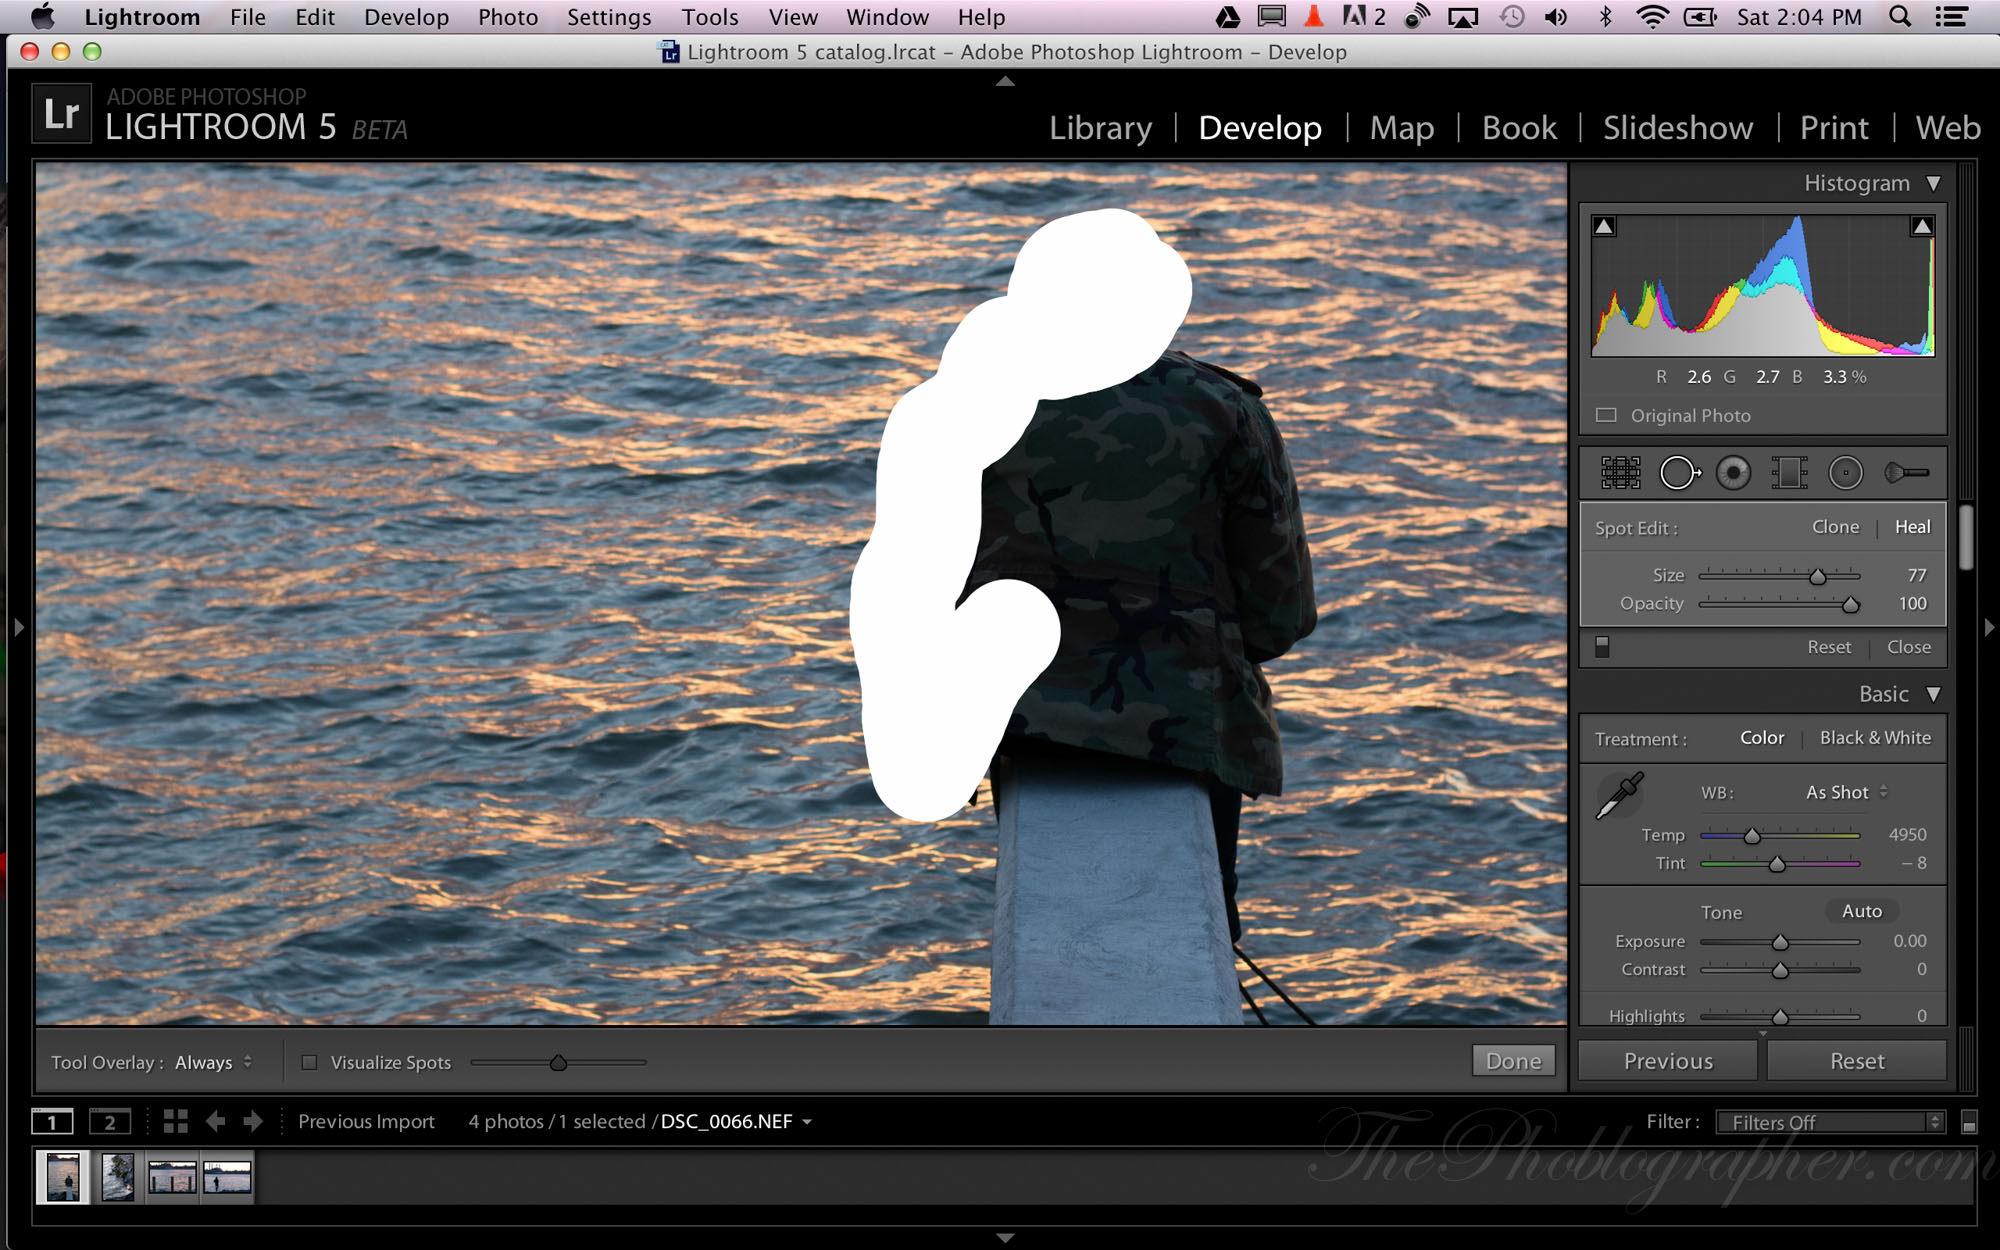
After selecting the brush, you’ll need to paint over your subject and in this case, it’s the guy. Afterwards, the computer will render the healing process.
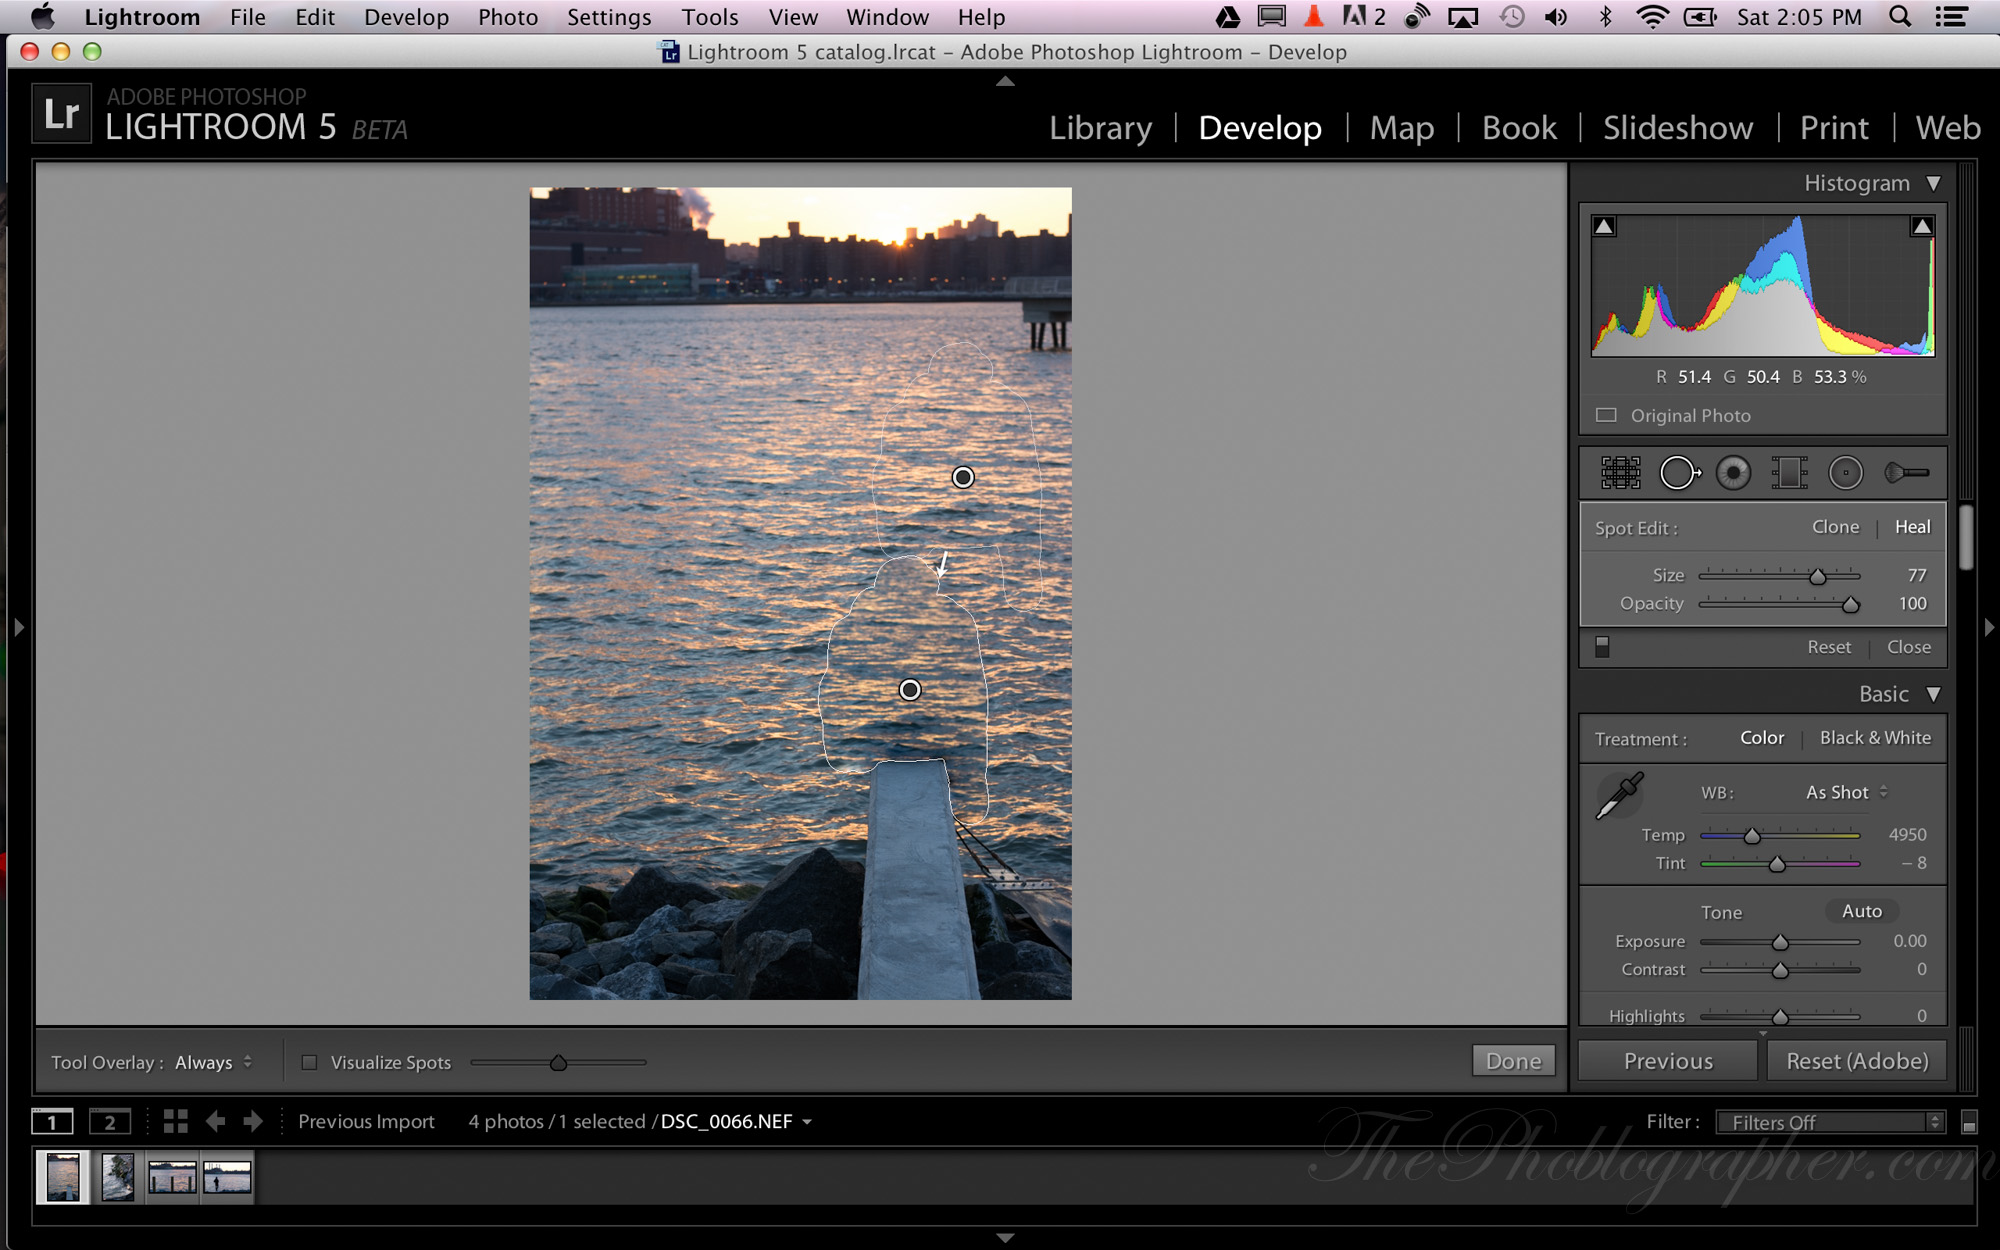
Afterward, it will give you a similar shape elsewhere in the image where it will heal/clone from. You’ll need to move this around to find th best matching area for the edit to be successful.

Now, I’m aware that I still need to do some quick touchups–but for the most part I’m quite impressed and extremely excited about this feature. I’ve been asking for this for a very long time and it will help so many portrait and wedding photographers with retouching.
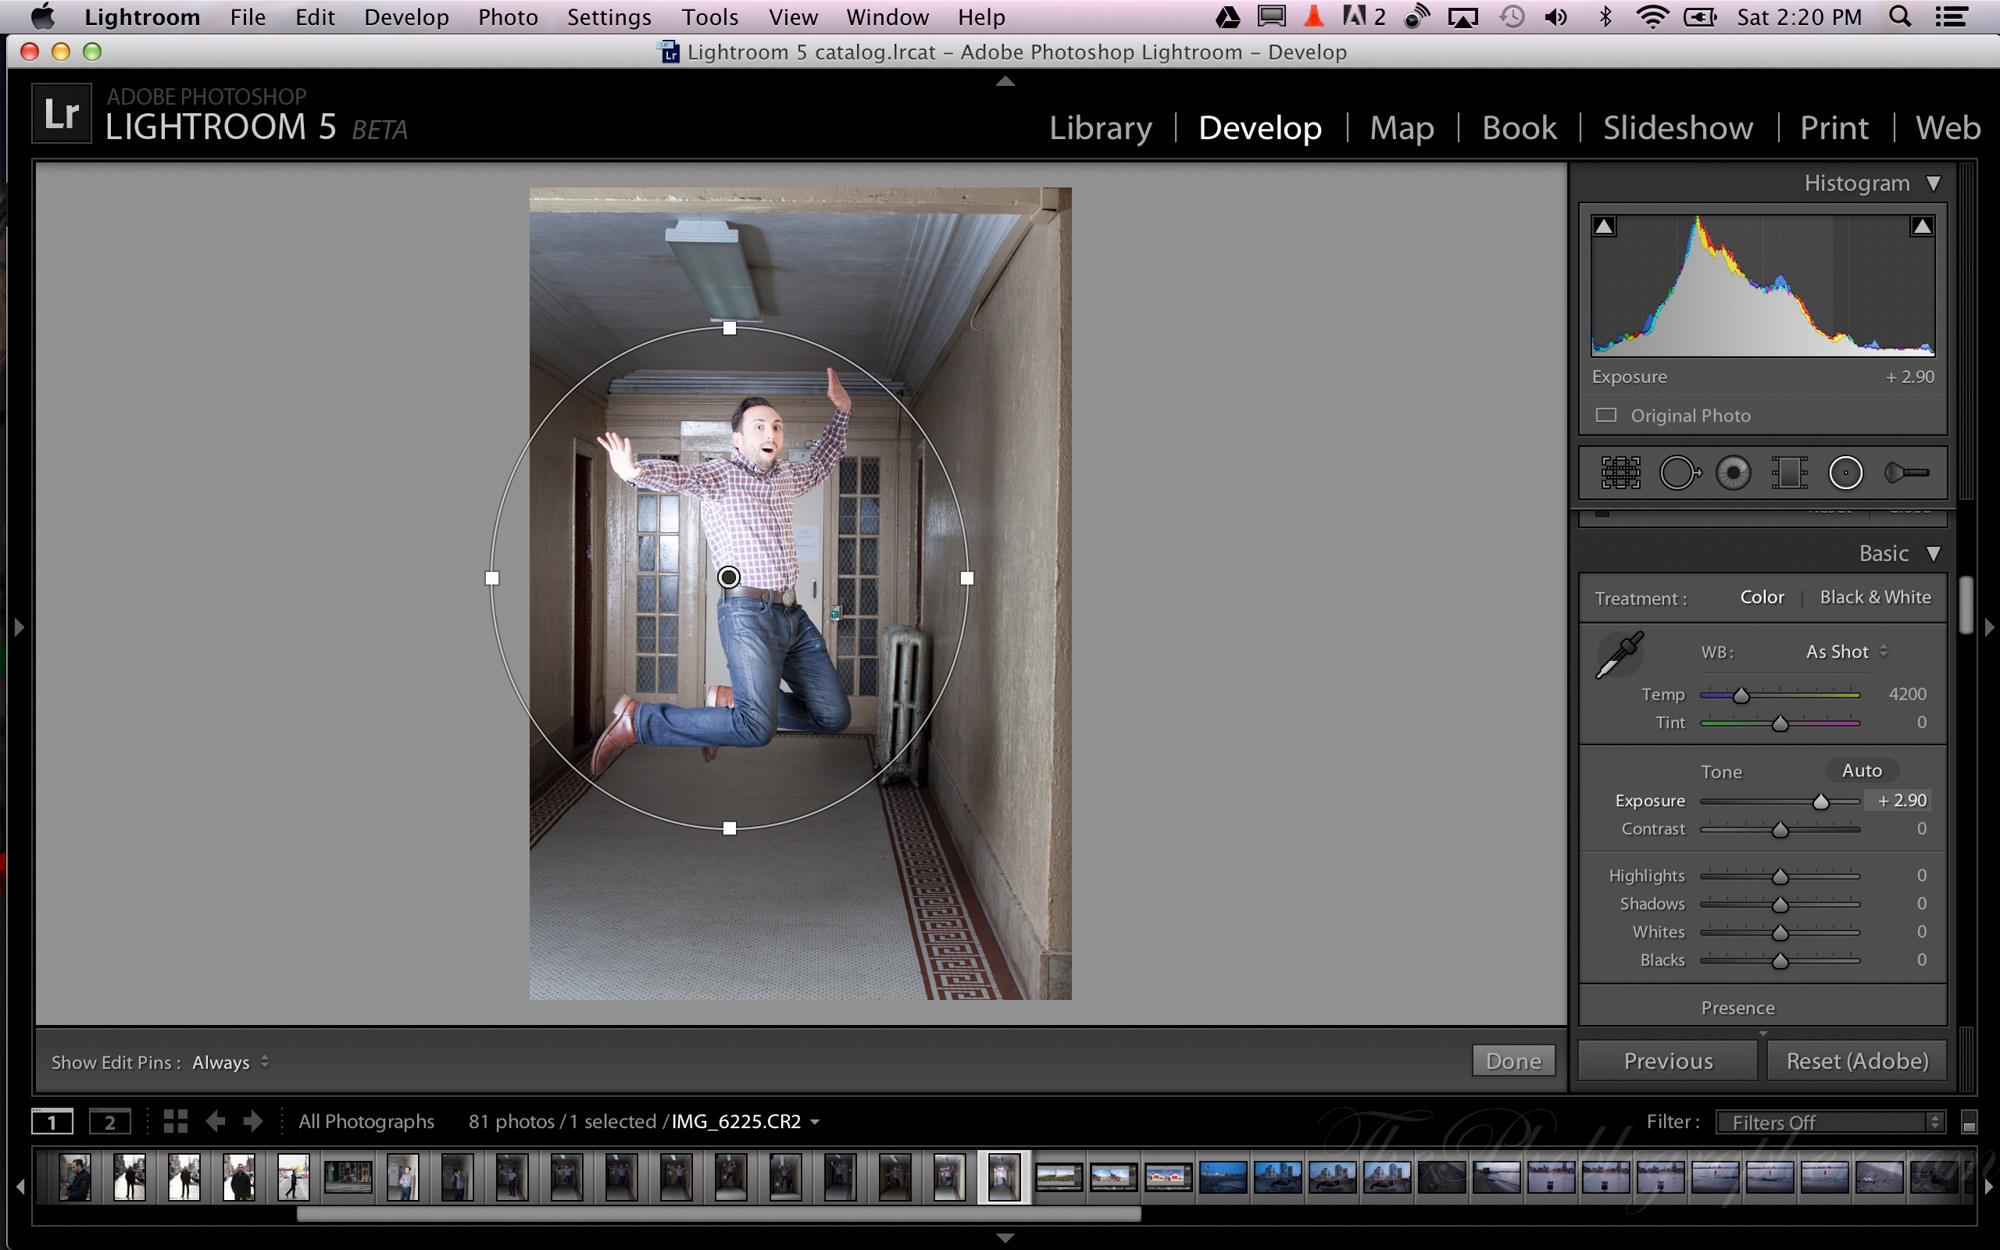
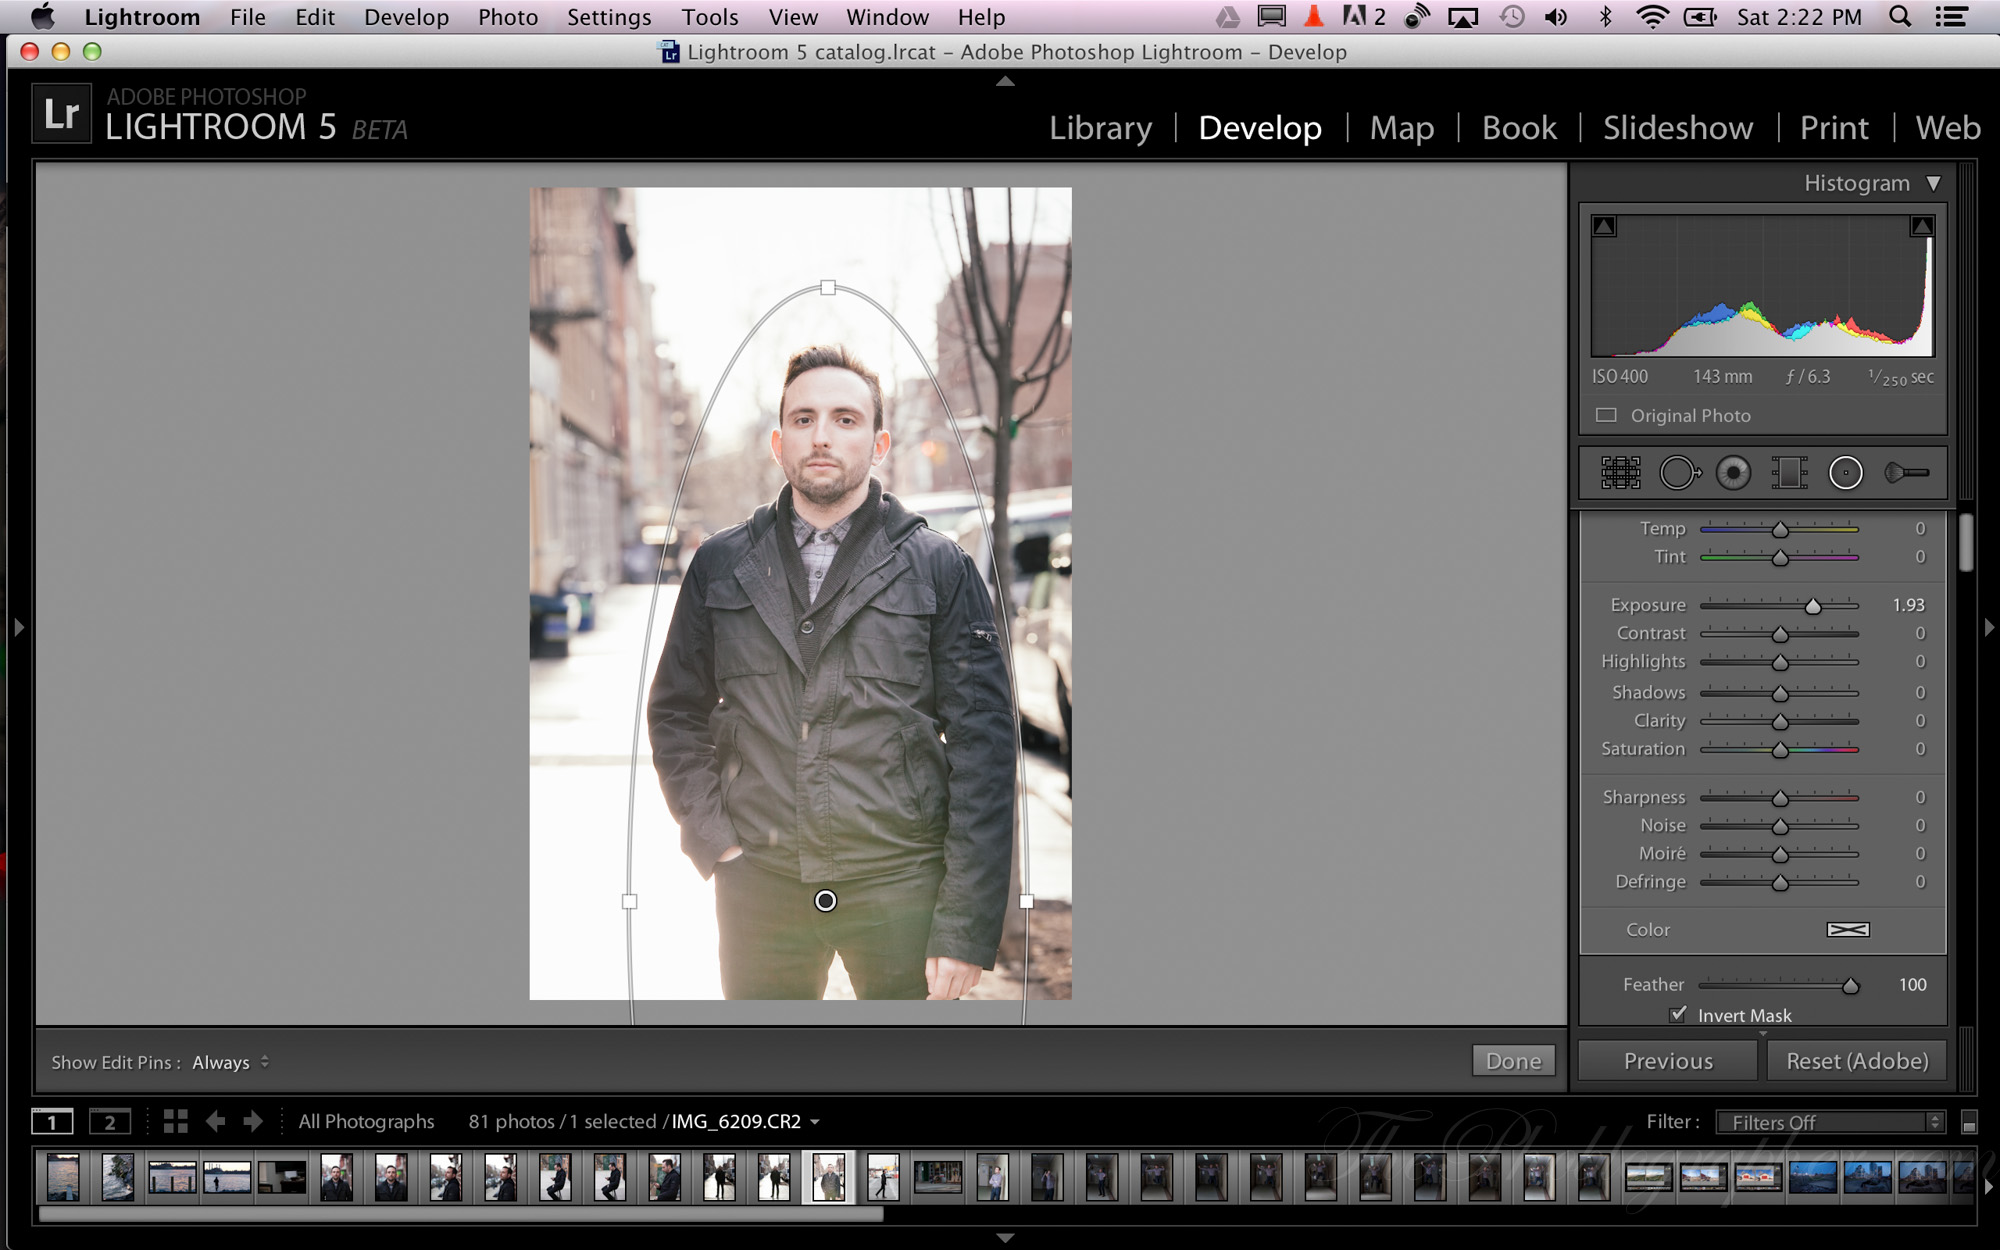
Radial Filter
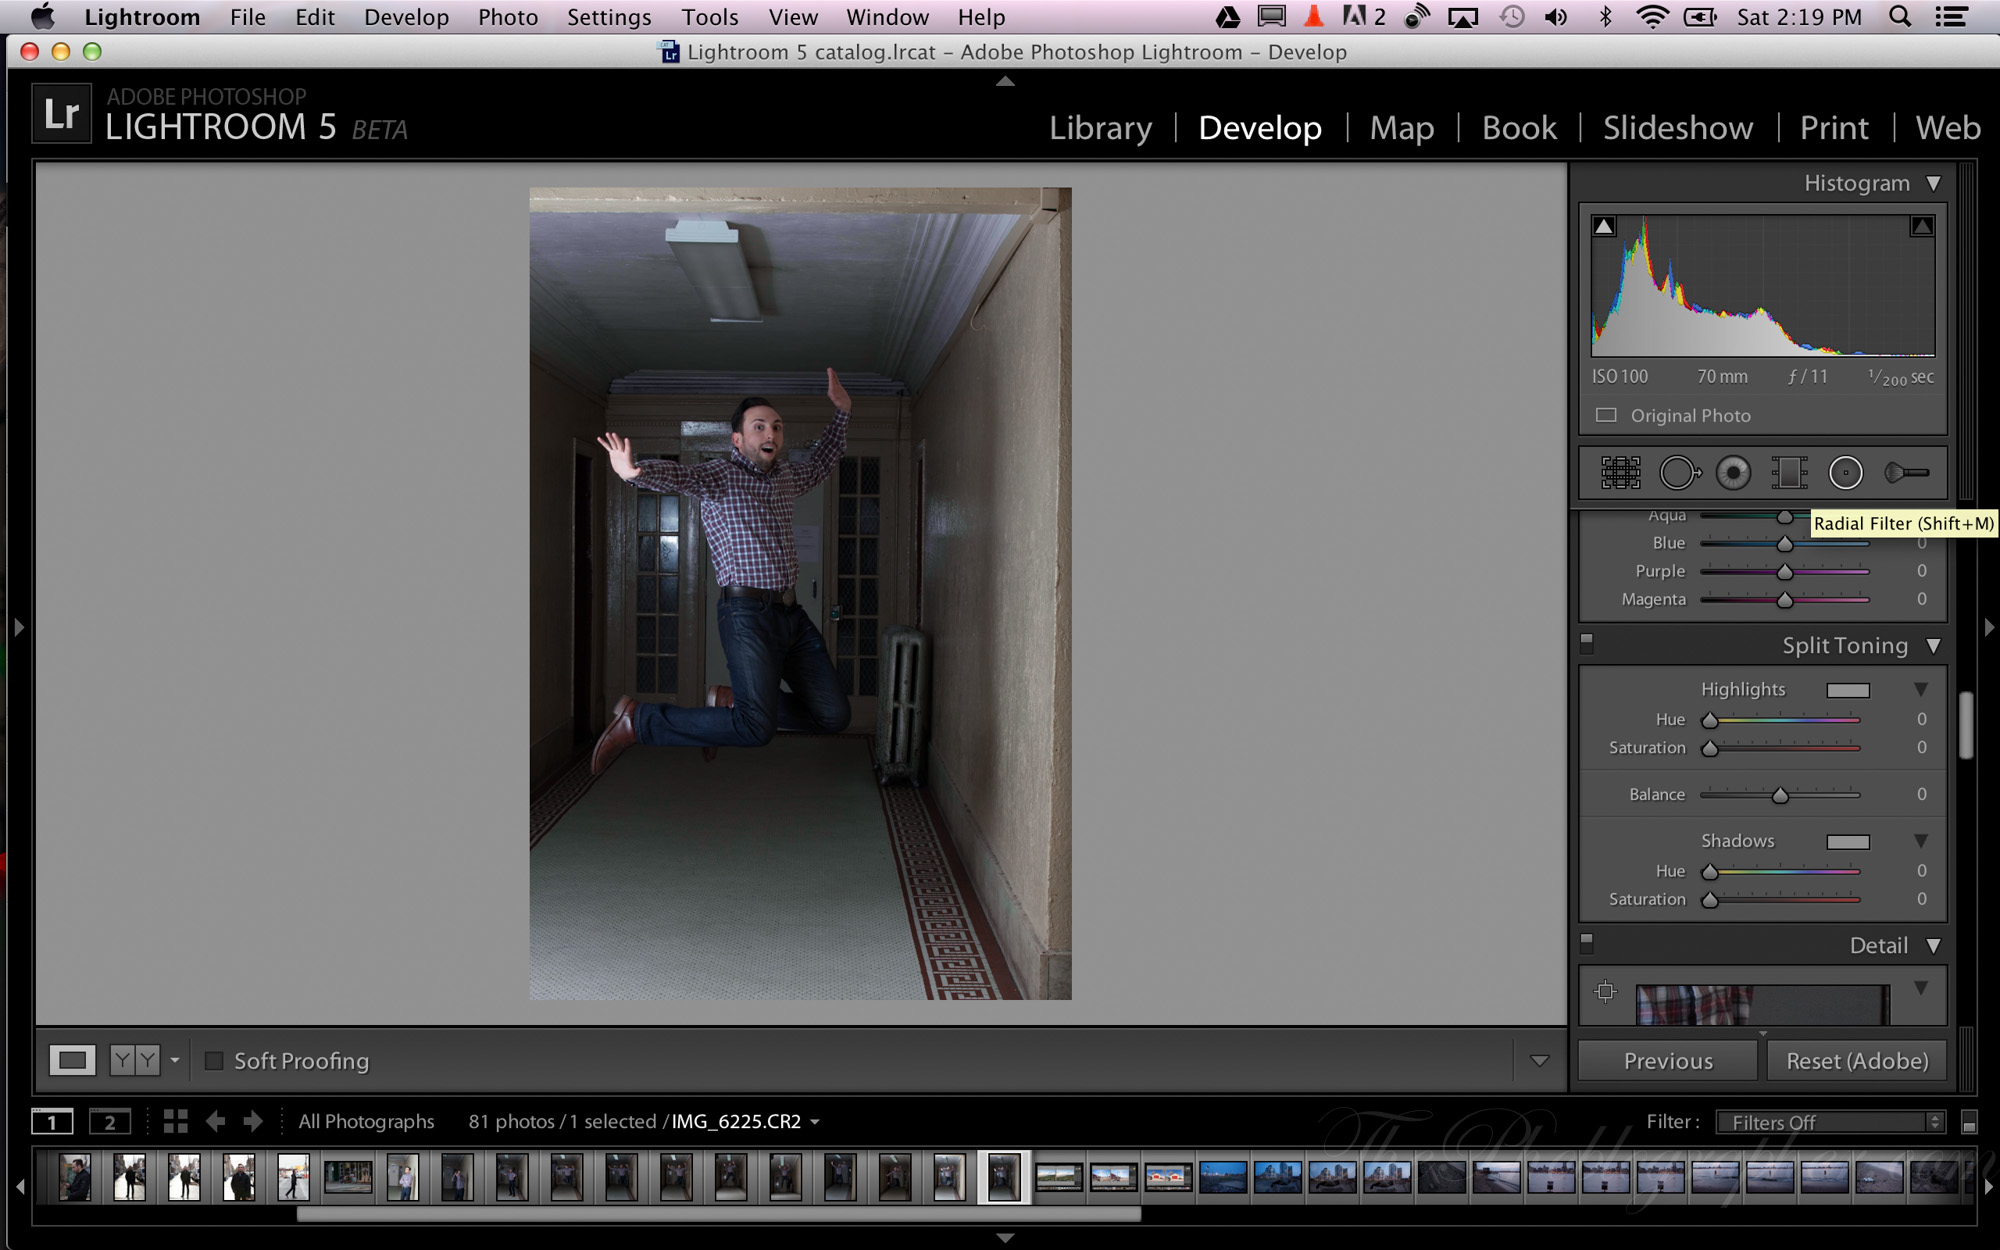
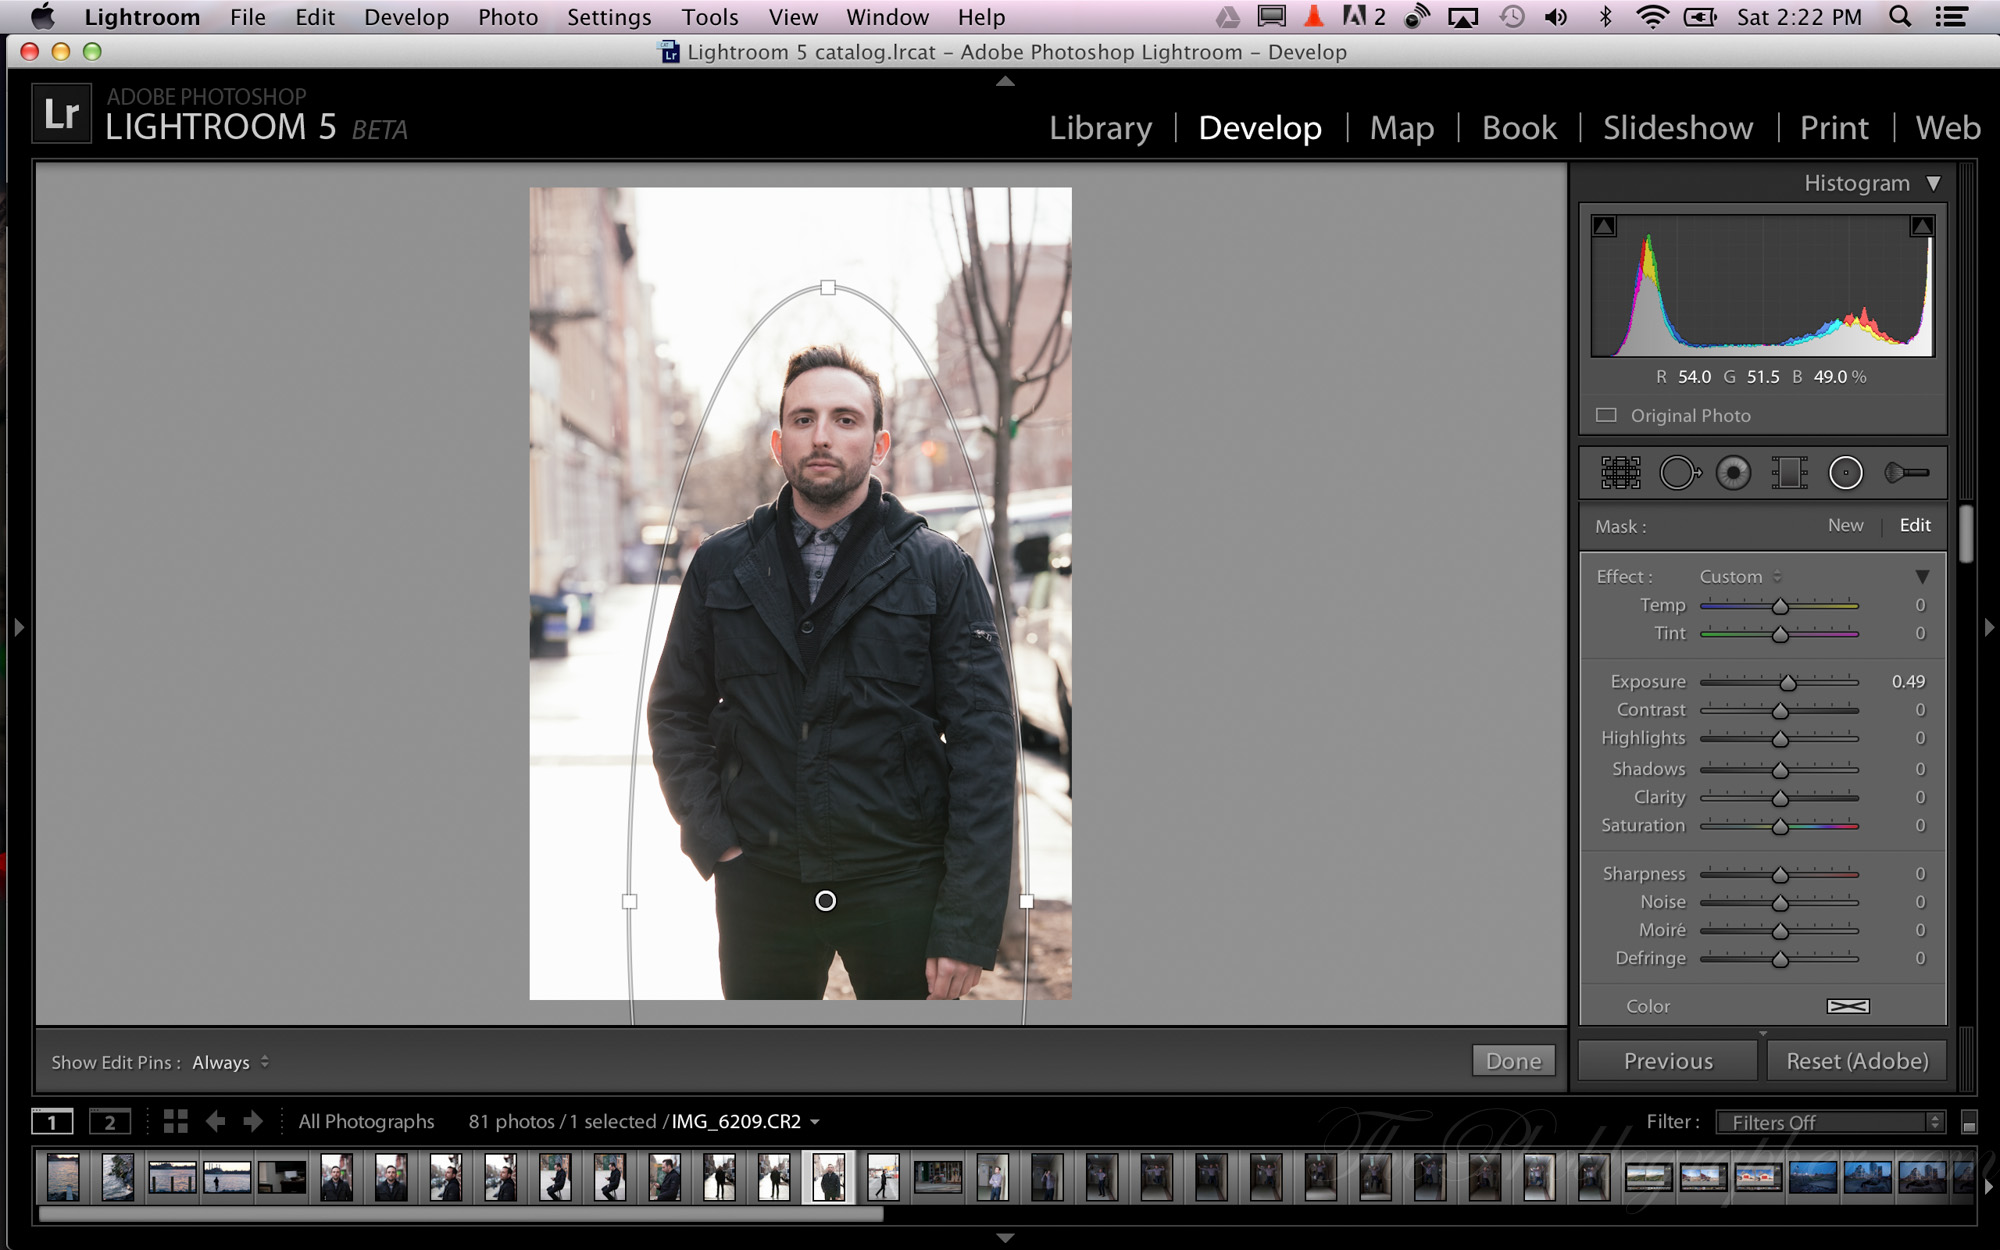
In my demonstration meeting, Adobe demoed their new Radial Filter which lets you create an oval or circle around a subject and them make adjustments to either that specific area’s inner contents or those outside of it. Additionally, you can have unlimited radial filters on an image.
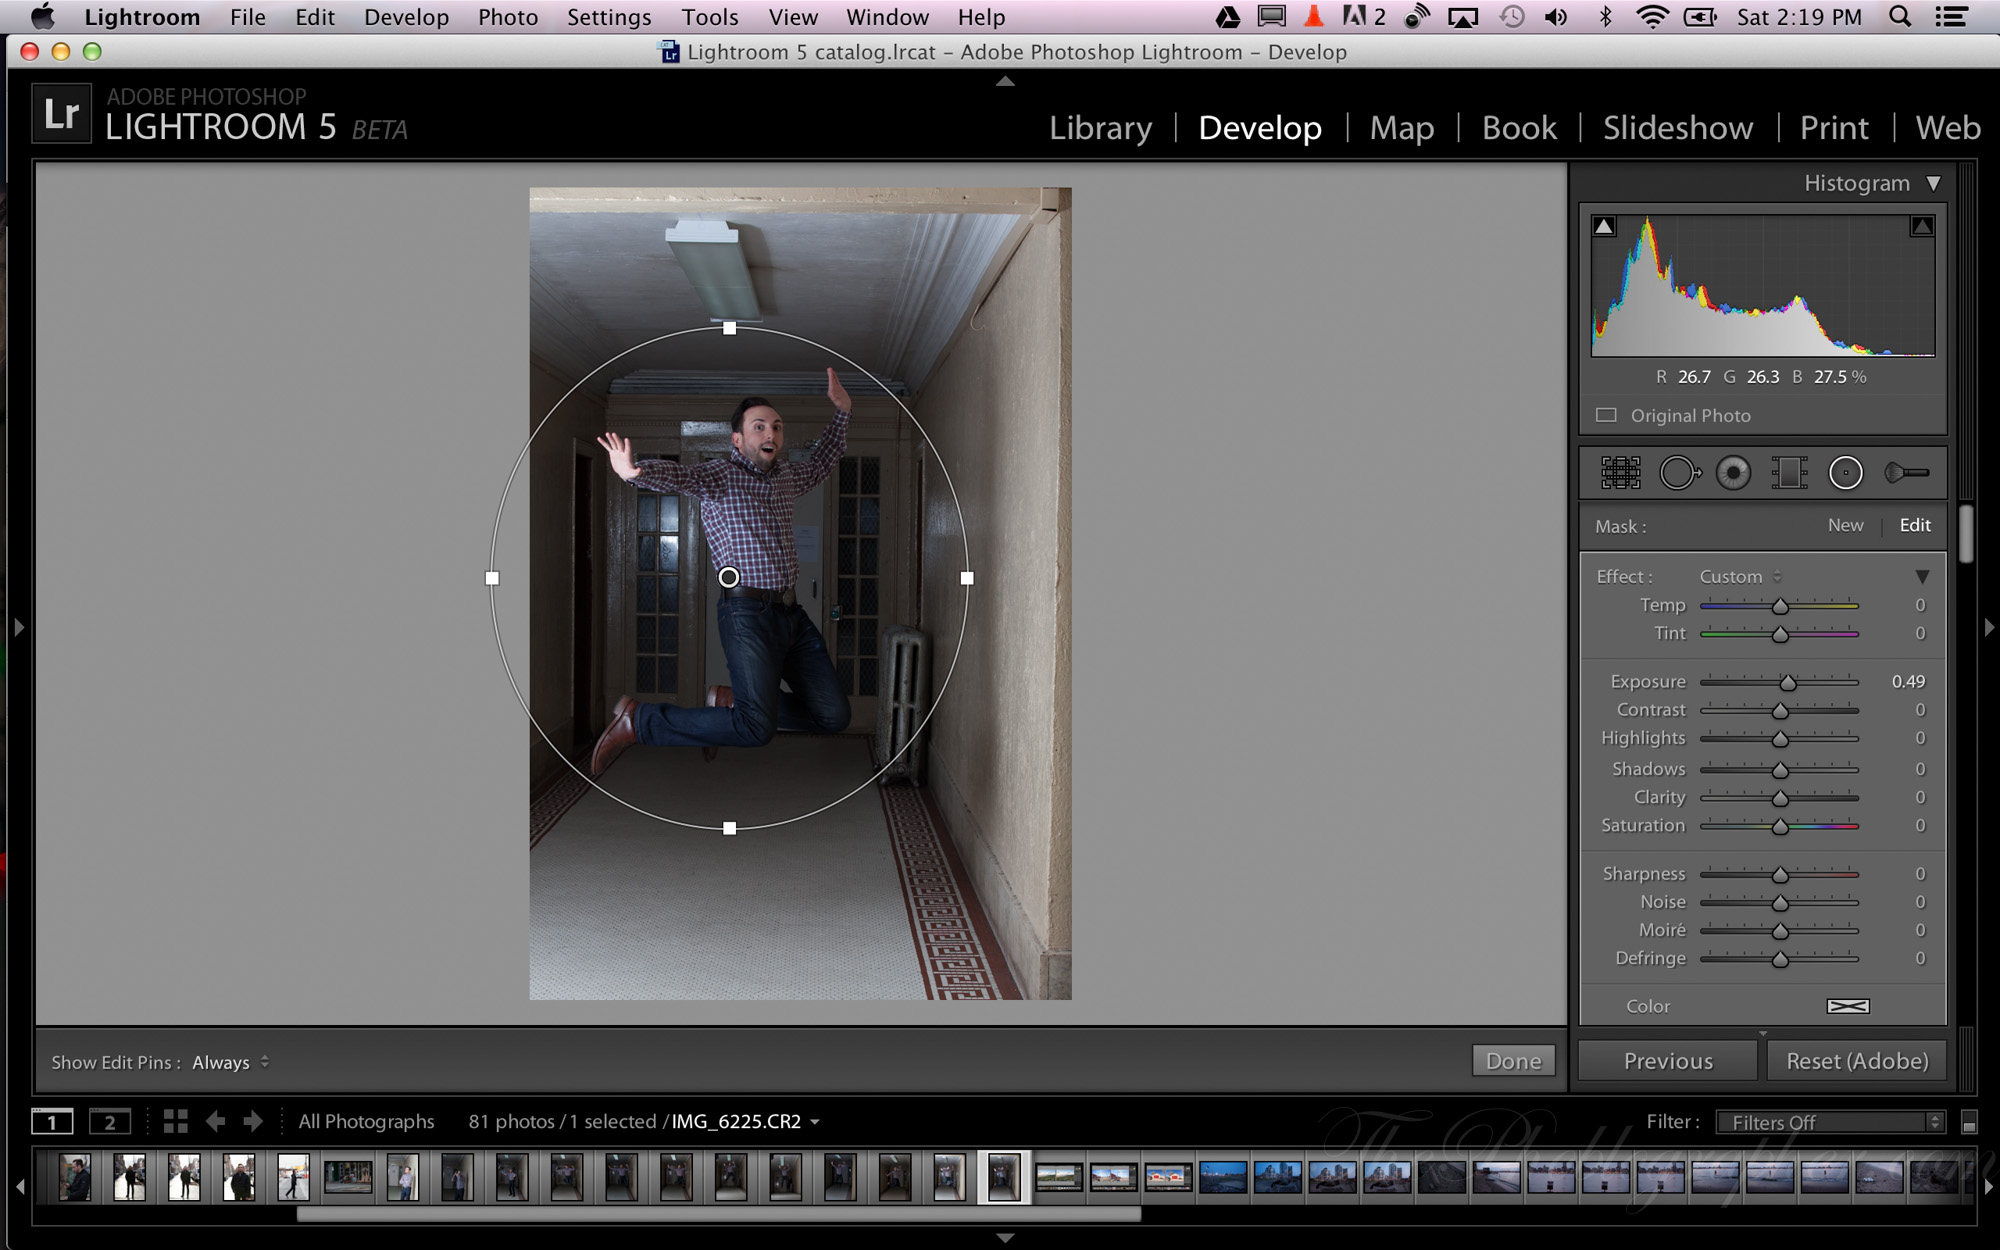
As stated, you’ll need to select the tool and then draw it around the subject.

Once you do this, the tool allows you to make the basic adjustments to whatever is inside or outside of the radial depending on how you switch it. When you work in the normal adjustments panel though, the adjustments are applied to the entire image.
Unfortunately, you can’t apply presets to just this radial area–and we tried. This would have been a very nice addition.
The best way to go about using this filter in real life workflows would perhaps be to apply these last. We gave them another shot with the preset applied first. VSCO Film version 3 is currently also being reviewed by us, so we decided to have some fun with it.
Then we worked with the radial filter and were able to create some interesting effects.
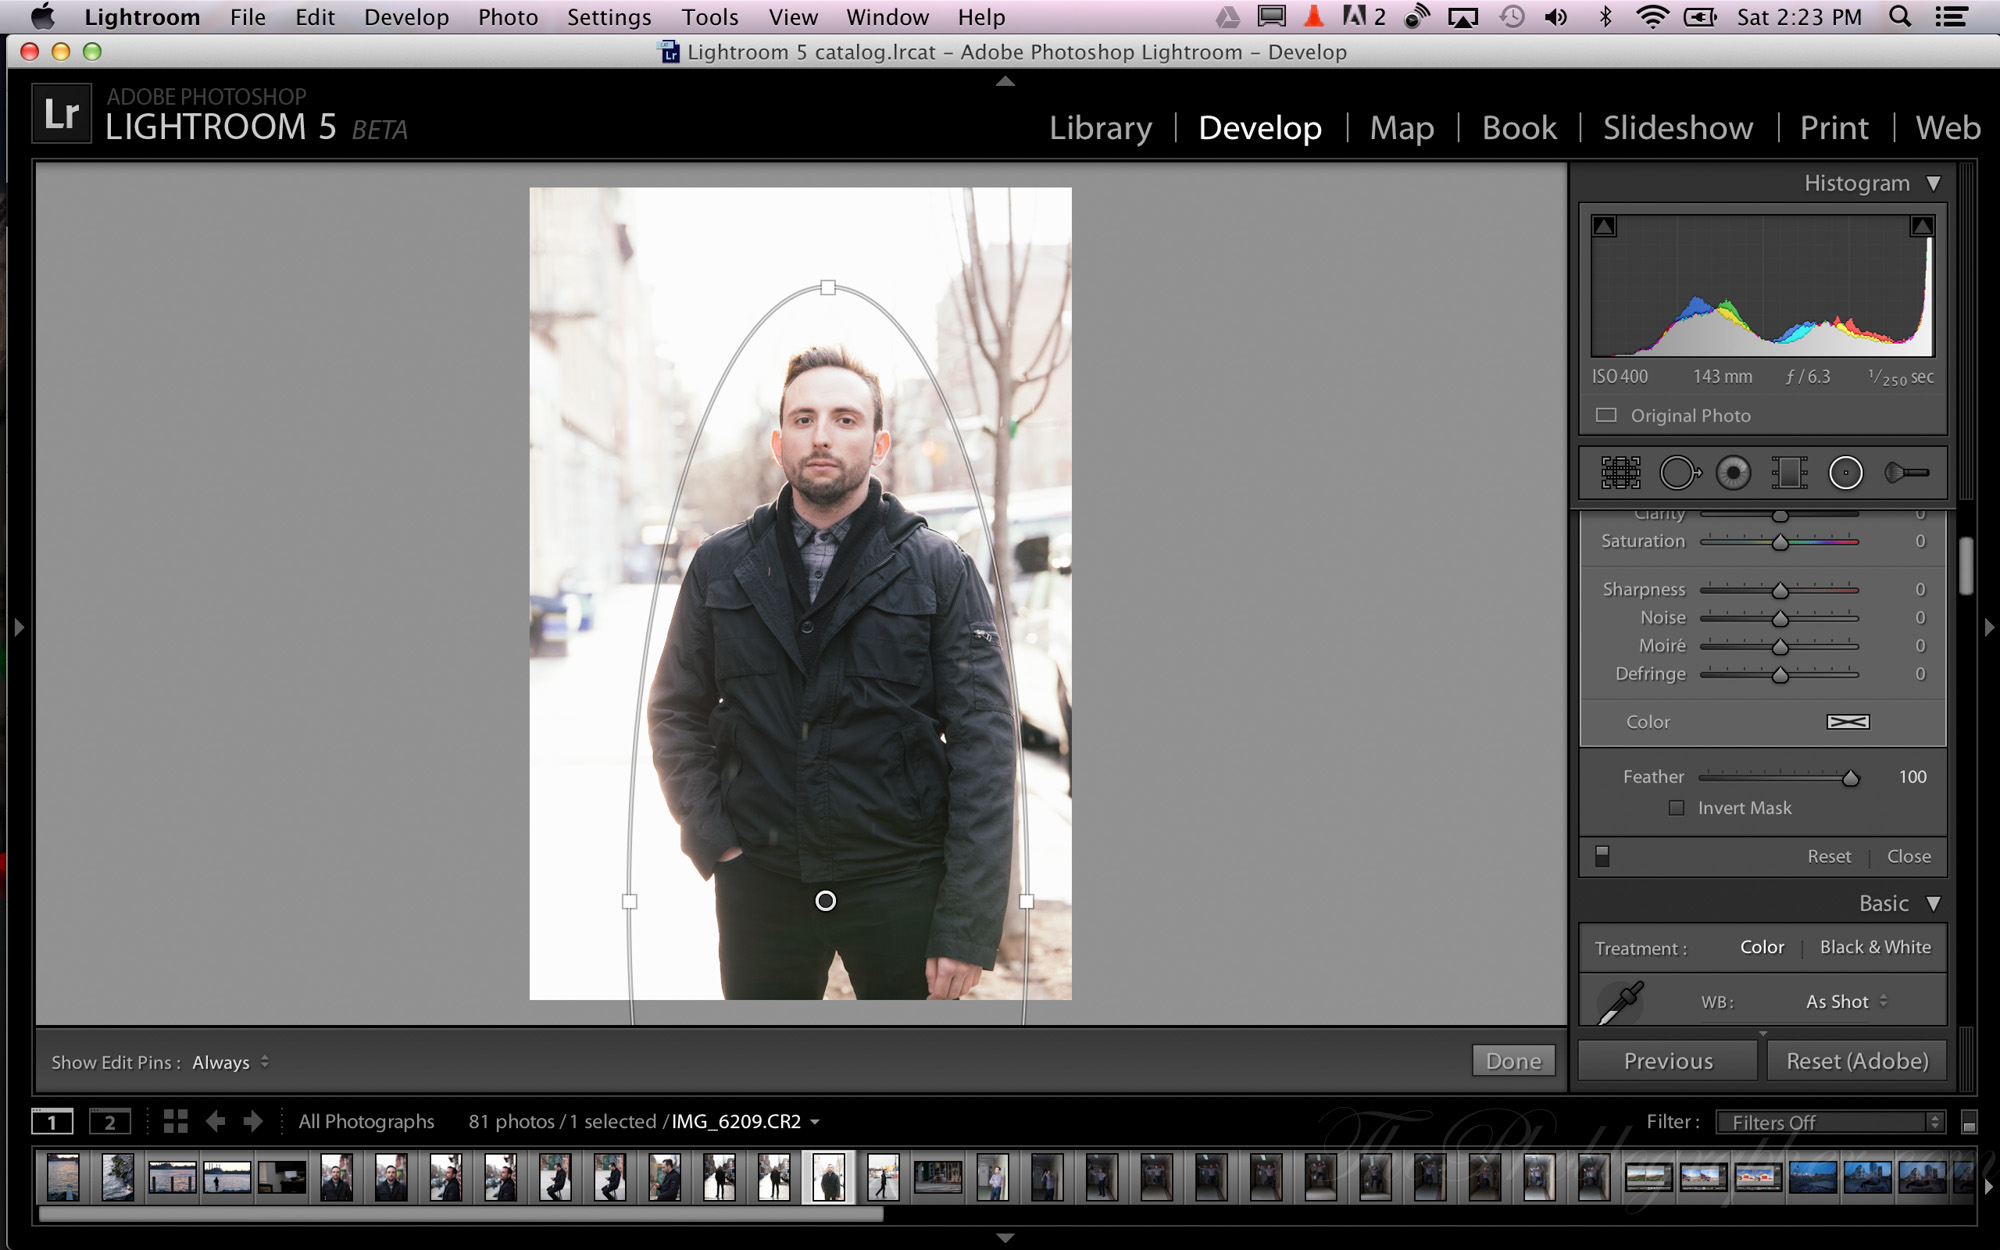
Then we just had some fun and inverted the adjustments we asked for. Doesn’t this look precious? 😉
With our copy we noticed some problems with switching the radial filter on and off. When we went from image to image, the filter selection stayed on and we couldn’t apply it to another image for some odd reason–the cursor instead reverted back to the magnify pointer. In order to fix this, we needed to turn the radial filter on and off a couple of times.
It’s a beta pain, and we’re sure it will get fixed.
Upright
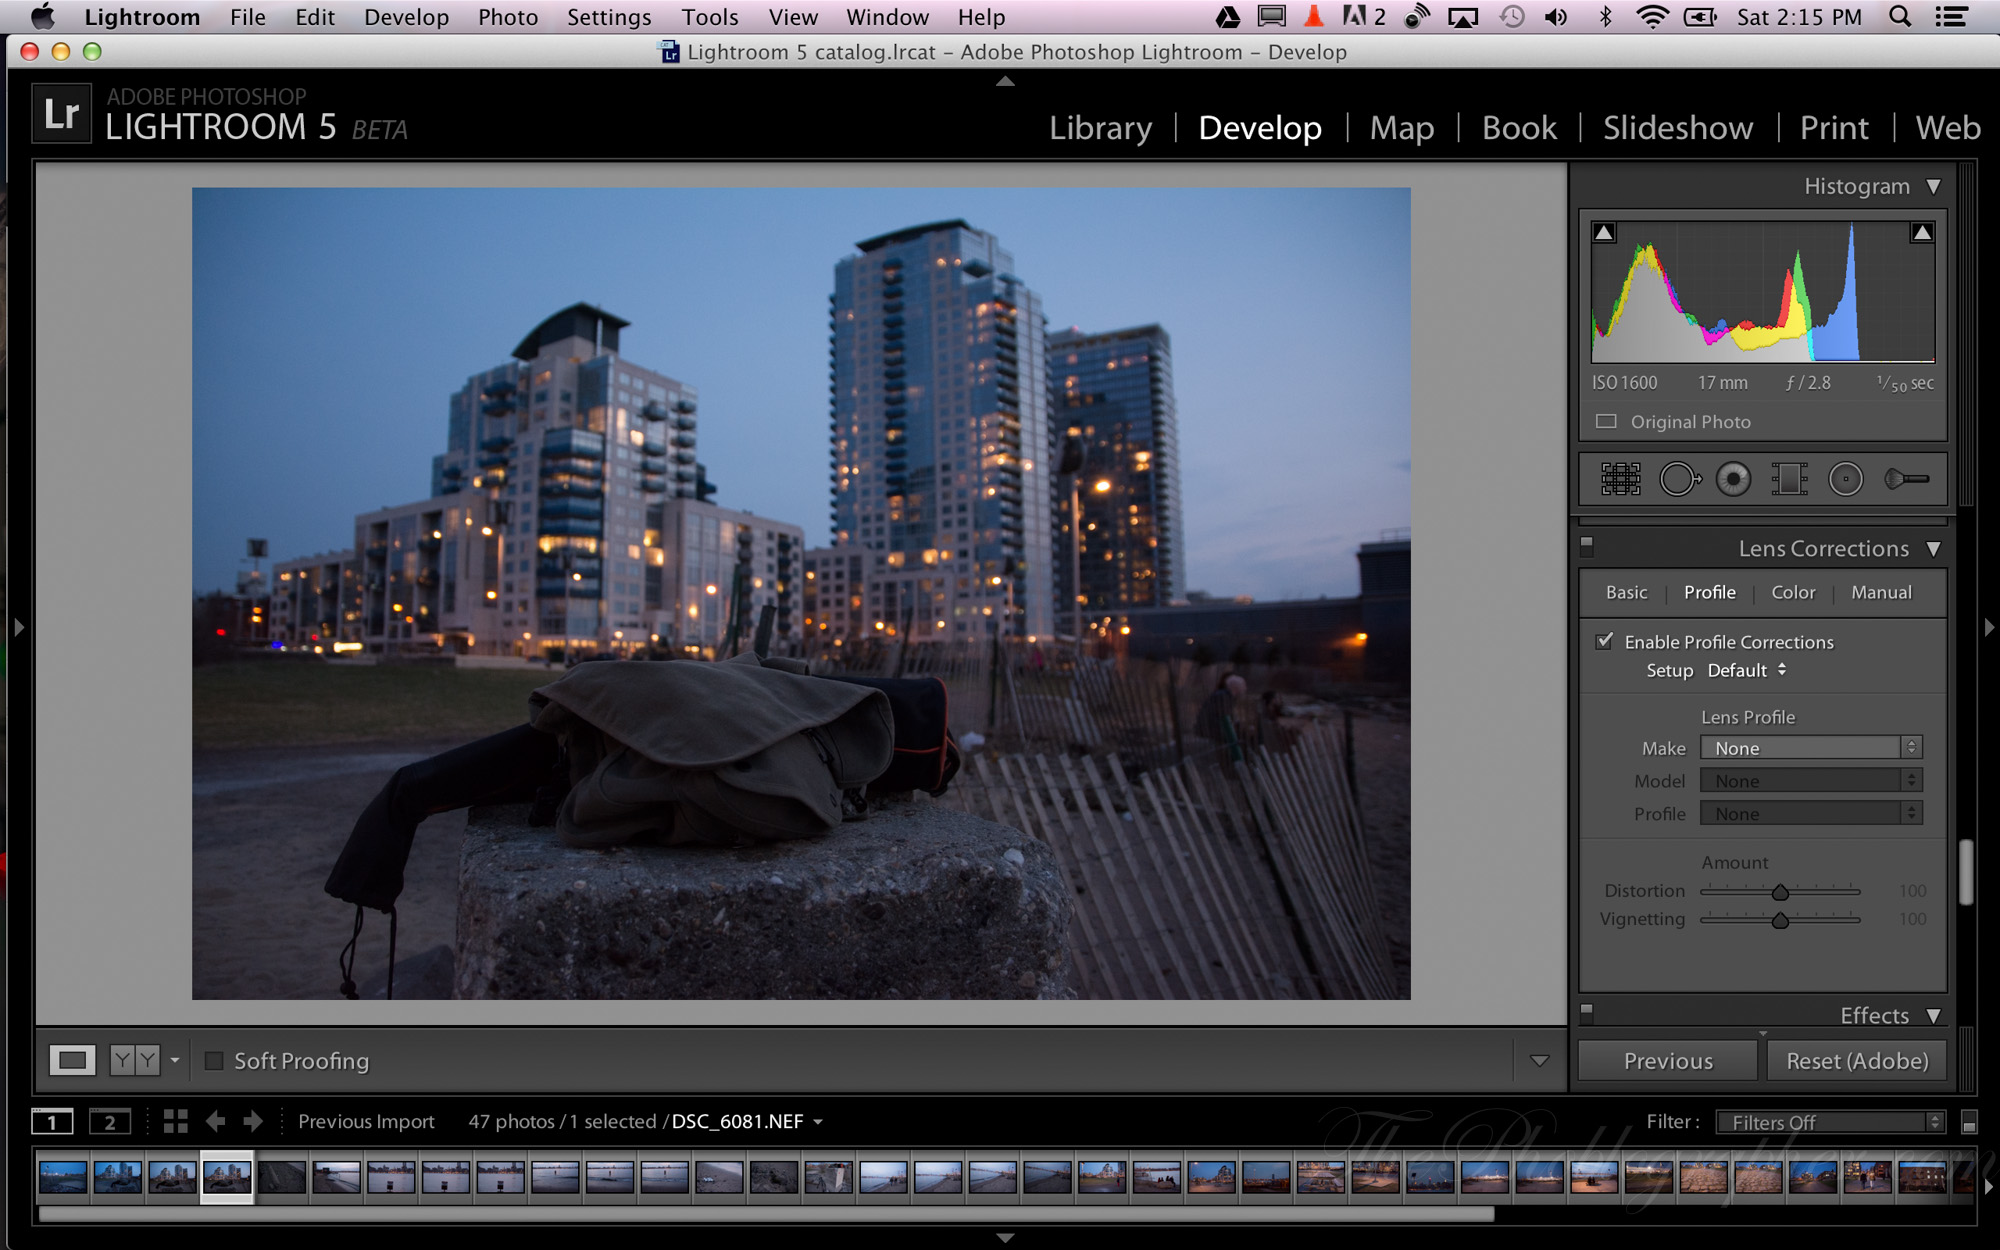
Upright is going to be extremely useful for landscape photographers and those that love to shoot wide. It’s essentially a variation of the lens profile correction but with some major superpowers. It also applies crops and straightening to totally fix a perspective. This image was shot with the Sigma 17-70mm f2.8-4 DG HSM OS–which is pretty darn well corrected as it is, but nothing is perfect.

In order to get to it you’ll need to go down to the lens correction area and instead of working in the profile mode, switch to basic. Upright is then visible and for the most part we recommend using the auto feature to correct for perspectives.
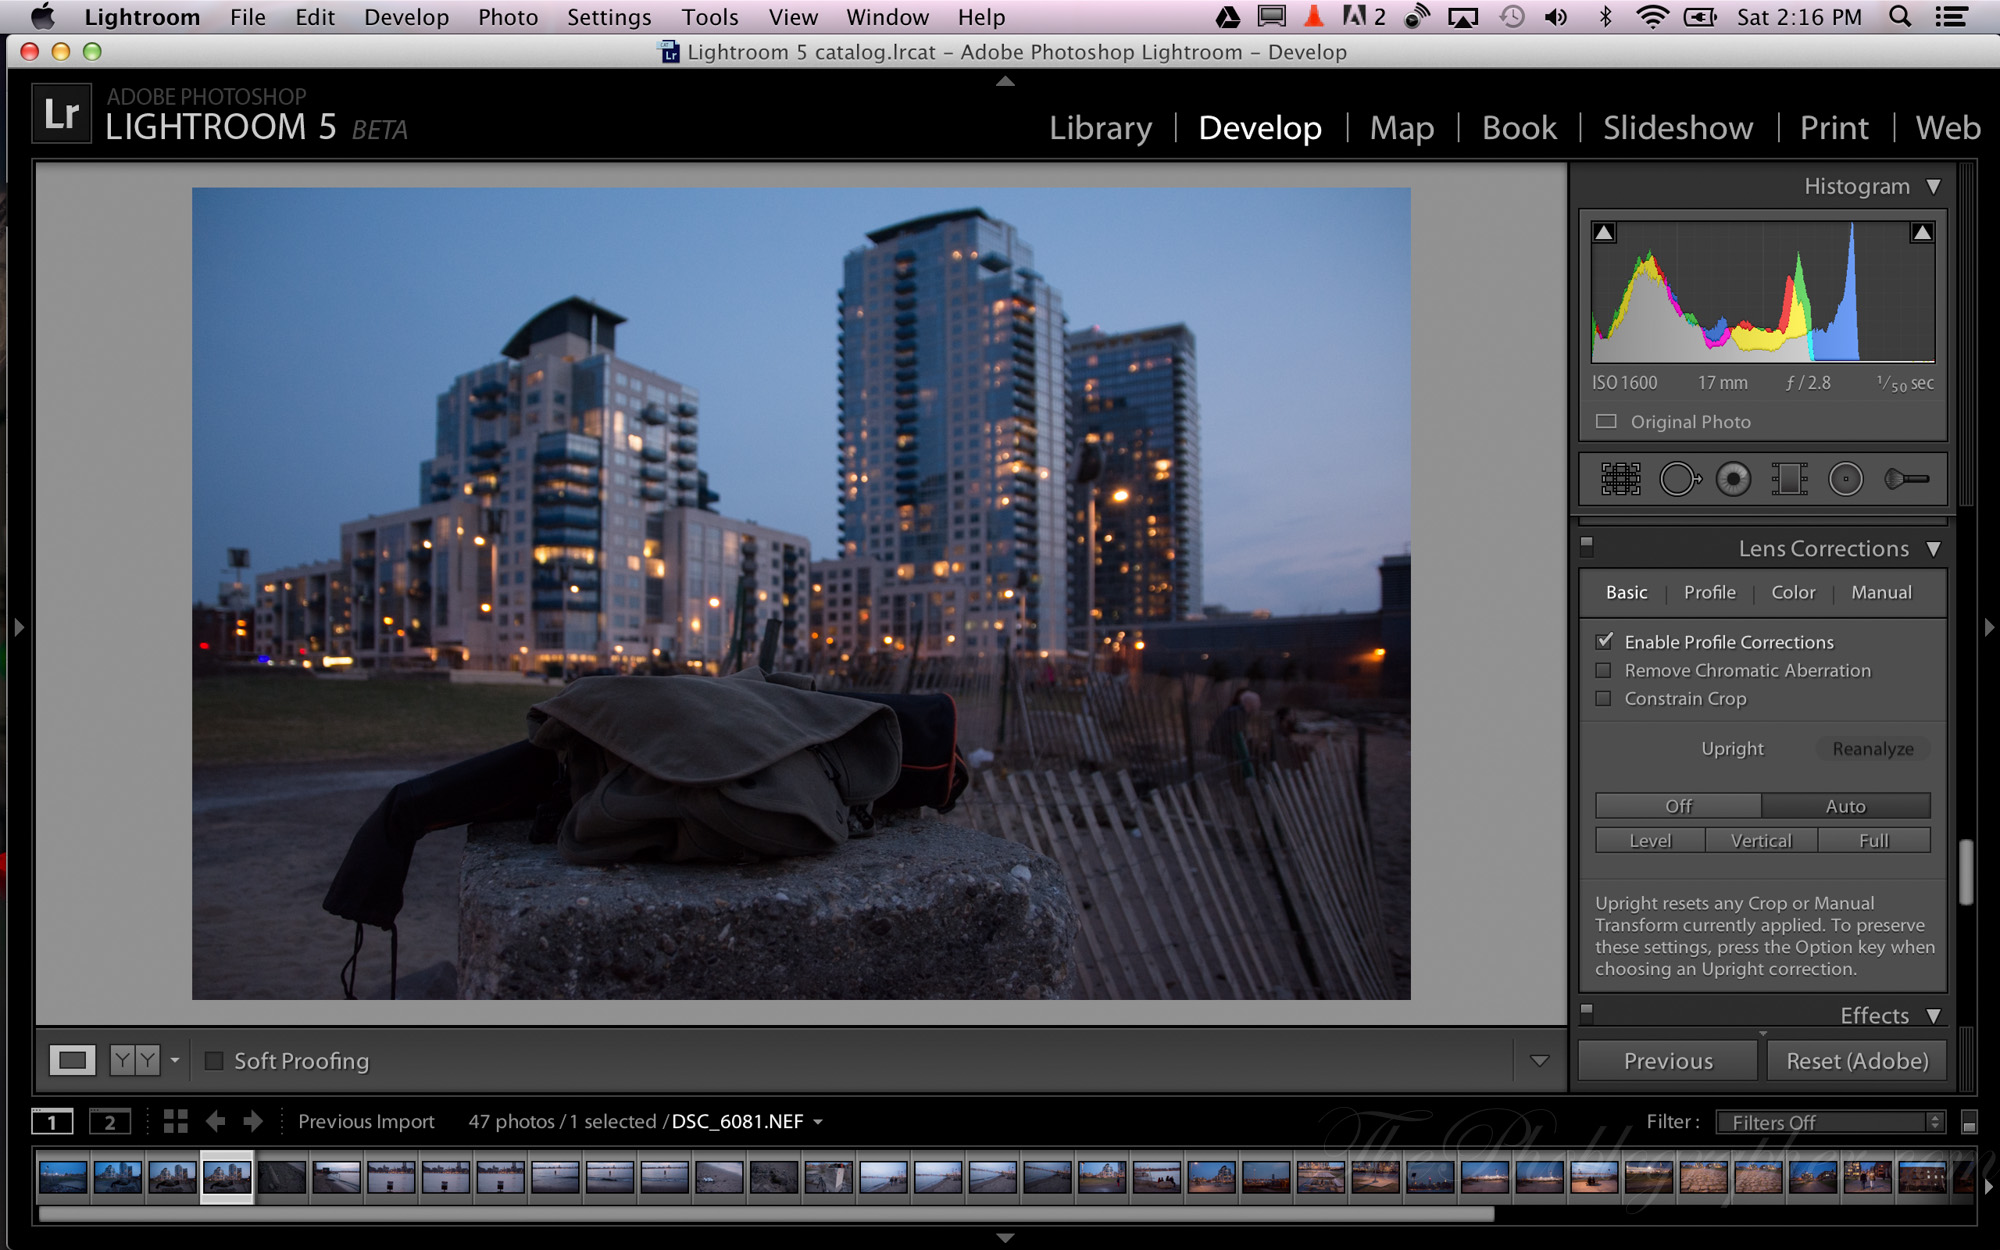
And when that is applied you can see that the image was partially cropped and that the buildings in the background don’t look like they’re falling inward.
First Impressions
So far, I’ve been playing with the Beta and have been really, really liking it. It runs relatively smoothly and addresses most of the problems that I originally had with Adobe Lightroom 4. I still really wish that they added more video editing features besides putting them into a slideshow, but they’ve also give us some features that I wouldn’t have thought of but that I can see myself using creatively for processing images.
At this point, we’ve only been playing with the program for a couple of days–but if we find any other major flaws we’ll surely let you know.
Adobe Photoshop Lightroom 5 beta is available immediately as a free download on both Windows and Mac at The Adobe Lab. Customers can submit feedback on the community powered feedback site.
Please Support The Phoblographer
We love to bring you guys the latest and greatest news and gear related stuff. However, we can’t keep doing that unless we have your continued support. If you would like to purchase any of the items mentioned, please do so by clicking our links first and then purchasing the items as we then get a small portion of the sale to help run the website.
Also, please follow us on Facebook, Flickr and Twitter.
Get rid of the ads!
Did you enjoy reading this article as much as we enjoyed writing it? There's a way to support us and our reporting, getting ad-free navigation and more as a bonus. Subscribe to us for less than a coffee per month —just $3.99— or take advantage of our yearly subscription with a hefty discount for only $25.- An ad-free experience
- A free mystery box for Lightroom or Capture One
- All the books in our store
- 20% discount on Capture One
- 30% discount on Imalume Photo Theft Protection
- 20% off Herbs and Kettle Tea Company.