Last Updated on 05/15/2011 by Sander-Martijn
So the time has come to test the Fuji X100’s high ISO settings, neutral density filter and to explore the metering and white balance settings a bit more. We’ve already done some exhaustive testing. Not long ago, I tested it for product photography using and the light from my Visisble Dust SensorLoupe, I’ve tested the film modes, took the Fuji X100 with me to a small celebration for Cinco De Mayo with co-workers, and expolored a slew of problems: especially the metering. The day before that, I compared it to the Olympus EP-2 and was just getting a feel for it.
Exposure Fine Tuning
First off there is something out there that hasn’t been talked about much—and that’s how to fine tune your exposures. Are you ready Canon and Nikon lovers? Because you’re going to love this! Plus, using these features are going to slow you down a bit and force you to take your photos more carefully.
To set the exposures on the Fuji X100, one needs to turn the apertures dial around the lens and the shutter dial on the top of the camera. The problem is that these dials only give the user full stops. What hasn’t been talked about is how to fine tune it.
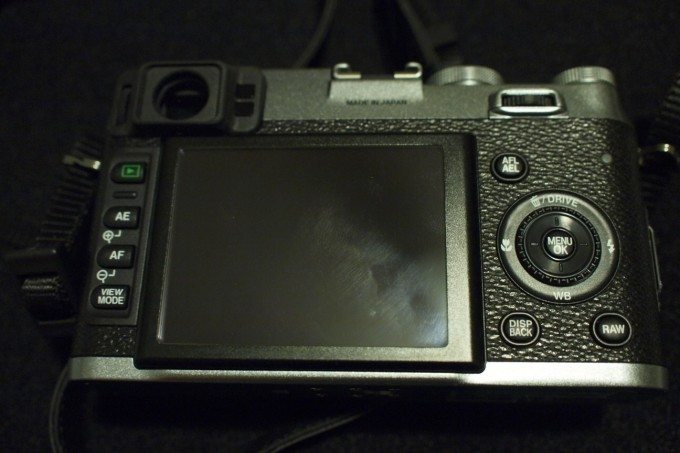
On the back of the camera in the photo above, there is a switch on the top right hand corner. Push it left or right and you’ll be able to tweak your apertures. So if your lens is set to F/2.8 then you’ll be able to get the aperture to be F/3.5 or F/2.5 by using this little dial. When using it, I couldn’t help but be reminded of the Nikon D700 used recently.
See the back circular dial with the white balance, drive, flash and macro setting around it? That can fine tune the shutter speeds. That way you can get to 1/40th of a second instead of moving from 1/30th straight to 1/60th. This dial will make Canon users feel right at home.
With all these extra dials, I couldn’t help but try to figure out where to best place my thumb when shooting. Indeed, using this camera kept making me almost want to turn a film advance lever like in the Leica M7 I reviewed. With this said, it’s best to place your thumb between the hot shoe and the switch on the top right hand side.
Now here’s the other problem: they need to get rid of that exposure compensation dial. Instead it needs to be replaced with an ISO dial.
And finally, when the camera has confirmed autofocus, I’d like to be able to change the exposure settings. Instead, I need to focus, meter, let go of the AF button, manually dial in my settings, focus again, and then recompose. It’s a bit of a pain but you learn to deal with it. As I stated, it forces you to slow down.
Exploring the Metering Issue a Bit More
Before I jump into it, this needs to be said: fine tuning the exposures can help with solving the metering issues a bit. In fact, I miraculously had fewer problems with metering last night when I was shooting. I’ve read on forums that other users experienced metering problems and then suddenly they were going away. That’s totally weird. Nonetheless, my ultimate metering mode is still by analyzing the scene and reading the histogram.
Now here are three examples of the same scene being metered over and over again using the different metering methods. I’m focusing on and metering for the end of the subway tunnel. The scene has a lot of contrast to it, so take a look at the results closely.
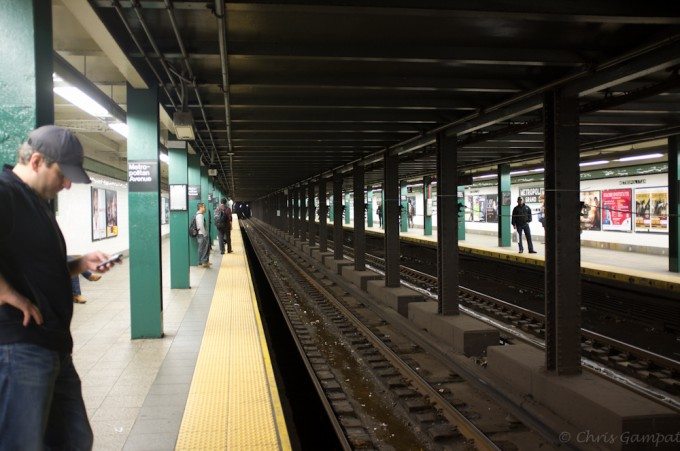
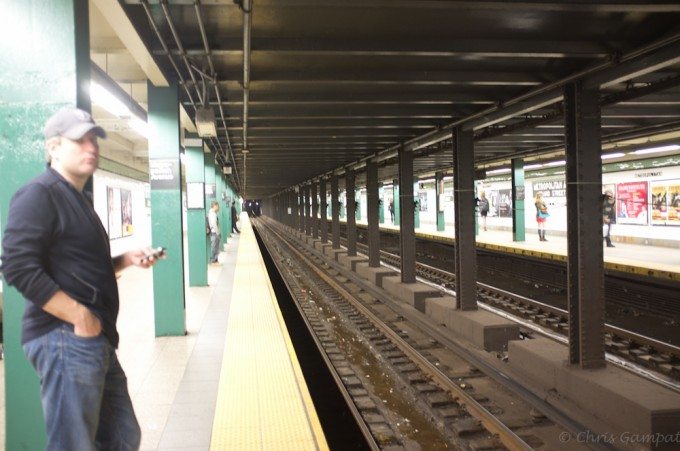
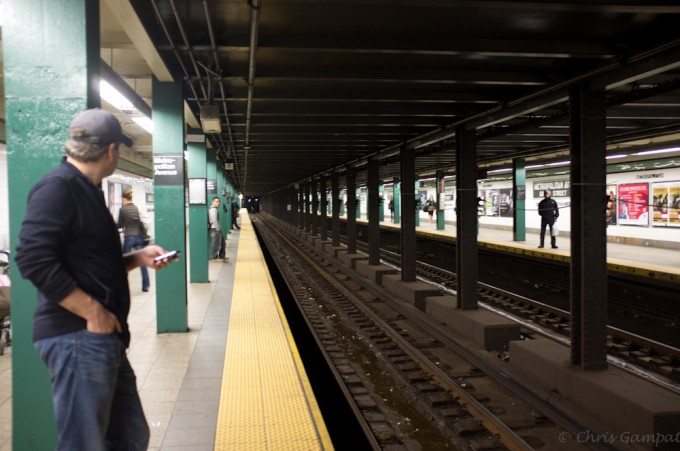
The metering was better this time around, but because of the previous issues that I suffered I have to give the camera an overall inconsistency in metering just to be fair. Don’t let this intimidate you though, I personally feel that every camera out there has metering problems except for old Leicas.
Plus because of the way my personal shooting work has evolved to incorporate more off-camera lighting and light modifiers, I’m used to using light meters or my own mathematical calculations and analysis to get the exposure that I want to suit my editing style. I refrain from using the best exposure because while there are generally acceptable terms for this, each person wants different settings and vibes from their images.
This comes with time, experience, and understanding your camera’s meter. We’ve got an article here for you in the dark art of metering to give you a bit more insight.
Hey, at least you don’t need image stabilization when shooting at a very slow shutter speed at all. You don’t even feel the camera’s shutter.
The Neutral Density Filter
It needs to be said, the neutral density filter on this camera is totally awesome. In fact, I still stick to my belief that there should be a switch for it instead of having to need to go through the menus to activate it. The reason why is because if one shoots in lighting situations that change often (like encountered in NYC) you’ll want quicker access to a setting like that without compromising the other settings that are important to you.
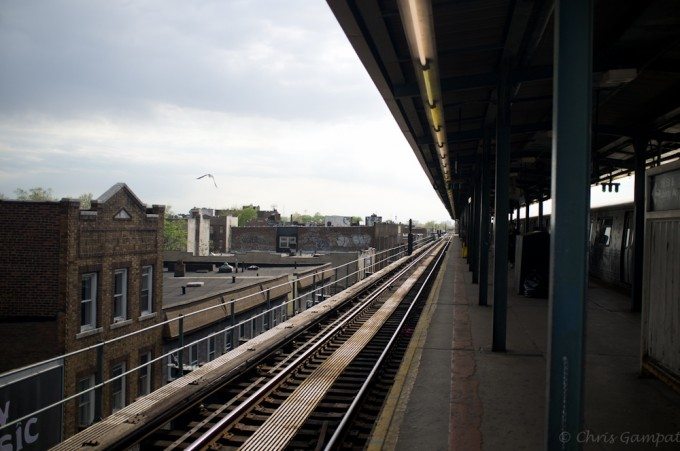
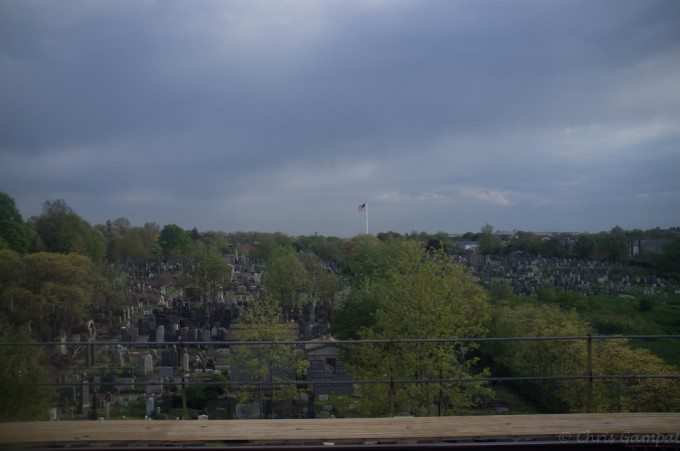
This photo was shot outside of a subway window. The filter helped me to retain lots more detail in the sky but I feel that it made the overall scene suffer in terms of vividness a bit. That’s okay though, I can fix that in post-production! All photos in this story were converted straight from RAWs to JPEGs in order to stay as true to what happened in camera as possible
High ISOs and Low Light Focusing
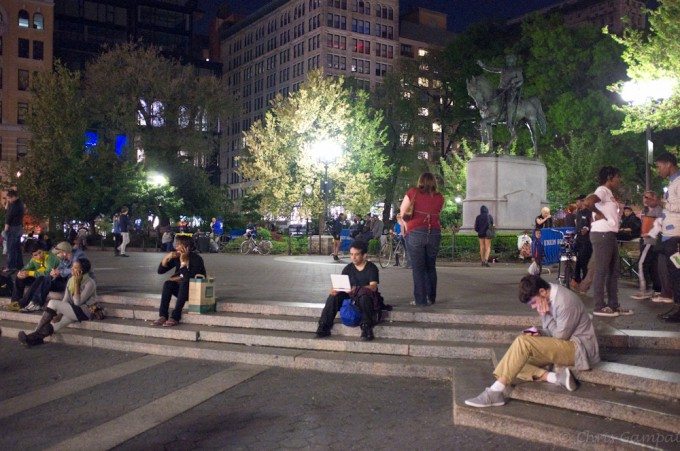
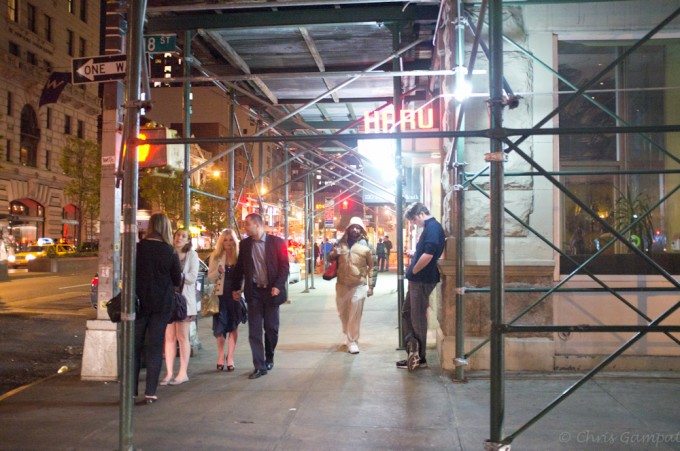
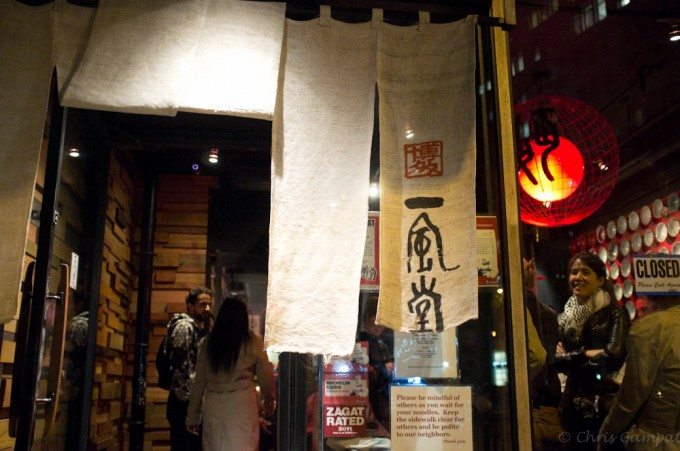
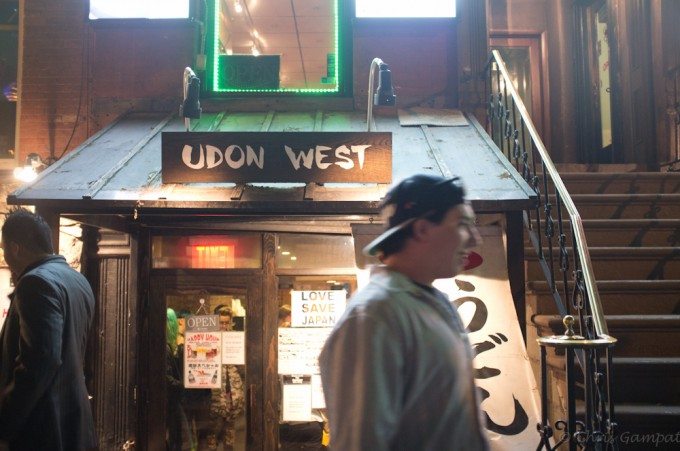
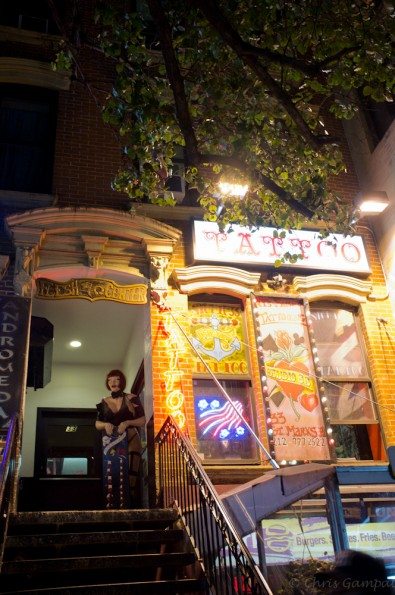
So how are the high ISOs on this camera? To be honest, I feel them to be on par with the Canon Rebel T3i that I reviewed. Although you can see in Day 3 of the Rebel’s testing that the Fuji X100’s dynamic range and color depth absolutely slaughter the Rebel’s. The little Canon camera almost has no chance! However, the quality of the high ISO images are on par to one another.
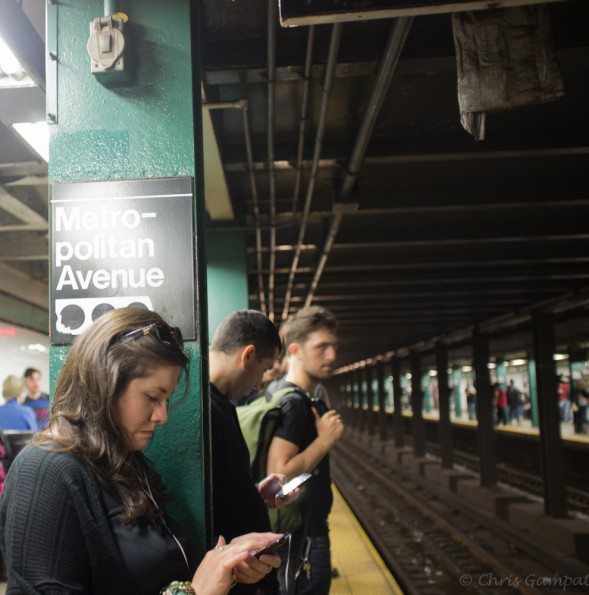
The Fuji X100’s high iso images aren’t terribly noisy at ISO 6400, 3200 or 1600 at all. And the little noise that is there is easily fixed in post-production with something like Lightroom 3.
The places where I’m often seeing noise is in the blues and darker areas.
Most people will be okay with these noise issues. Pros: not so much. You’ll want to do some editing for sure.
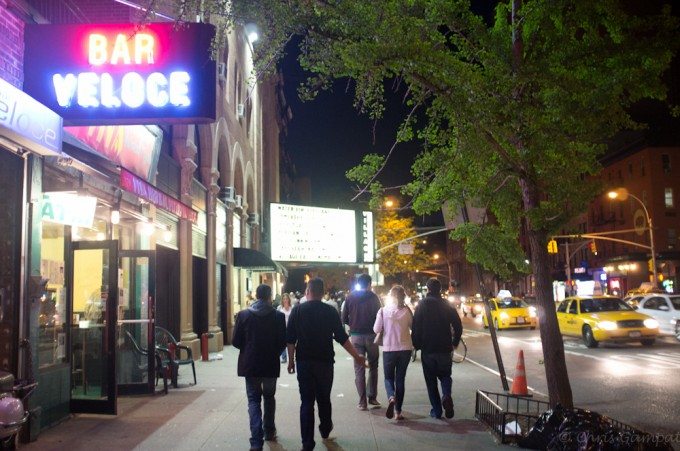
However after shooting for a while I began to realize that I in fact didn’t need to be at ISO 6400 and 3200. The sensor is very light sensitive and I was actually able to shoot at 1600 fairly easily at a little bit before midnight.
Of course with all that said one needs to keep in mind that all of this is being shot outside. If I were in a nightclub or somewhere else inside, I’d need flashes and the like.
Auto White Balance Explored
I’ve shot with every camera brand under the sun and have observed how they all white balance under the Auto setting. For the most part, they’re all similar with their own variations. Some will go warmer, some will go cooler, some more incandescent, and some more red.
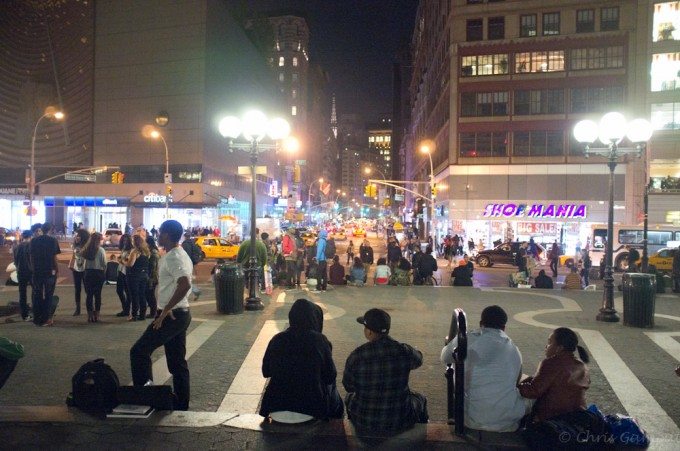
For the most part, the camera can white balance very accurately. But like every other camera, it will run into problems that will require you to either manually white balance each scene or go in and do it in post-production.
With that in mind, we need to remember that it is only a machine and in the end it’s us that really tells it what to do.
Canon, Nikon, Sony and Olympus would’ve rendered all of these scenes differently. Said companies should take a leaf from Fujifilm’s book on white balancing in various situations.
I thought that maybe Fuji’s film modes would have an affect on the white balancing. When I changed from Provia to Velvia, it didn’t really seem to at all. Colors were just more vivid in Velvia. With that said, the most accurate colors came from Provia. So if you want the best white balance possible, use Provia and then adjust the luminosity, saturation, and hues of the various colors in post-production.
Take into consideration that the camera seems to capture green colors very well. Blues are pretty damned good and reds are nice but nothing like Sony or Nikon’s rendering.
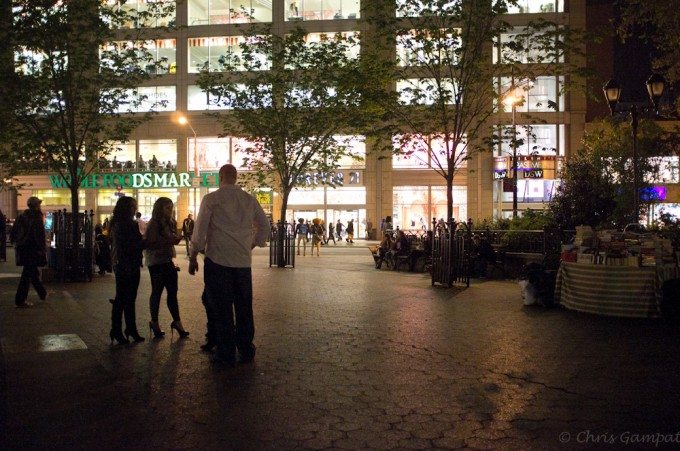
And with the end of this piece, I leave you with a photo of a woman standing in just the right area to look like she has Minnie Mouse ears.
Coming soon: a test in the studio, more street photography, and we go to the New York Photo Festival this week!
You can purchase the Fujifilm X100 from B&H Photo. Please also consider making purchases from Amazon by clicking the links as they help to support this site.
Please Support The Phoblographer
We love to bring you guys the latest and greatest news and gear related stuff. However, we can’t keep doing that unless we have your continued support. If you would like to purchase any of the items mentioned, please do so by clicking our links first and then purchasing the items as we then get a small portion of the sale to help run the website.


