Last Updated on 07/30/2011 by Chris Gampat

Light metering is one of the black arts of photography: one of those mysterious skills possessed only by the elite of the photographers who understand the yin and yang of light and shade…or at least that’s what some would have you believe. It’s simply not true, and the basics of light metering are pretty simple.
Editor’s Note: For more, you can take a look at our list of photography terminology.
At its core, exposure is about the intensity of light which is bouncing off your subject, traveling through your lens and landing on your sensor or film, and the length of time it does so.
Your camera has an electronic sensor inside it which measures the amount of light bouncing off the subject. In DSLRs that sensor lies deep inside the camera, often measuring the light after it’s reflected off the film or sensor—TTL (Through The Lens) metering.
This is great, because it means the aperture you’re using, and filters you may have fitted, will be taken into account by the camera’s meter.
What the meter is trying to do is measure the light to determine a ‘correct’ exposure. If you allow too much light onto your sensor, you get over exposure, not enough is under exposure. To a certain extent, this is subjective: I often like images which are technically a little underexposed, because it saturates the colors more, others prefer slight overexposure so shadows have more detail.
If you use your camera in a fully automatic mode, it will set your shutter speed and aperture (and possibly ISO) automatically. In the semi-automatic modes (shutter priority (Tv) and aperture priority (Av)), the photographer sets one or the other (and usually ISO) while the camera uses its metering to determine the correct exposure.
Many hand-held meters measure light as an EV, or exposure value: you’ll find this figure expressed in the specifications of many cameras. An EV of 1 is very dark (think candles), an EV for 20 is really bright (think a summer beach). There’s a doubling of light with each EV (EV10 is twice as bright as EV9).
So the connection between an EV and your camera is that an EV is equivalent to an f-stop. Change from f/2.8 to f/2, or from 1/500th to 1/250th, and you’ve doubled the amount of light which reaches the sensor. Changing the ISO from 400 to 200 doubles the amount of light needed for a correct exposure.
Being able to control the various aspects of exposure can make a huge difference to your photography. Deliberate blur requires a long shutter speed, so a small aperture can compensate. If you want very narrow depth of field you’ll need to choose a wide aperture, so a short (fast) shutter speed is required. Shooting hand-held at in dim conditions usually requires a high ISO setting.
But at its heart, a good exposure is one which allows the right amount of light to be recorded to produce the image the photographer wanted. Digital photography has some huge advantages over film here. I’m familiar enough with the screens on the back of my cameras to be confident I’ve got the image I wanted, and if I really need to I can check the histogram, which displays how much of the image is underexposed (on the left) or overexposed (crowded to the right) in an image.
A histogram is just another tool though: a high-key image (one with lots of white or very light colours) should be jammed up to the right of a histogram, while a low-key will show few highlights.
A lightmeter can’t tell if you subject is a kaleidoscope of colors or destined for black and white conversion though, so it really does improve your images if you can get the exposure you want when the shot is made: why try to fix things in post production if you don’t have to?
All in-camera lightmeters are assuming the subject is 18% gray. The average scene, it turns out, is 18% gray, and a camera meter simply assumes the subject is gray. Try shooting a piece of black cardboard—the camera’s meter will overexpose the image, rendering it gray. Do the same with white and it will underexpose, again resulting in a gray image. Grey cards such as this set will probably be rendered perfectly.

To compensate for this, camera manufacturers have multi-zone metering patterns which try to balance out irregularities in a scene to improve the performance of their meters, and in many cases they are very successful: modern DSLRs produce great results at the camera’s recommended exposure most of the time. But knowing what’s going on can improve your photography.
I set up my modern camera to have exposure compensation easily accessible. I like to shoot in aperture or shutter priority, depending on the subject, but I like to have control over exposure—so I use exposure compensation. If I were ever asked to photograph some black cardboard, I would underexposure by about two stops. Conversely, a totally white subject might require two stops of overexposure, but these are extremes.
In difficult lighting conditions I like to bracket, shooting one frame at the recommended exposure and one under and one overexposed. I usually use 2/3 of a stop for this, because 1/3 is very narrow and a full F-stop sometimes too much. Many DSLRs can do this automatically – look for AEBS, or Automatic Exposure Bracketing.
Difficult conditions are also why many cameras have different metering systems built in, such as partial and spot. Partial metering takes the reading from a large circle in the middle of the frame, while spot metering usually just reads from about 3 per cent of the viewfinder.

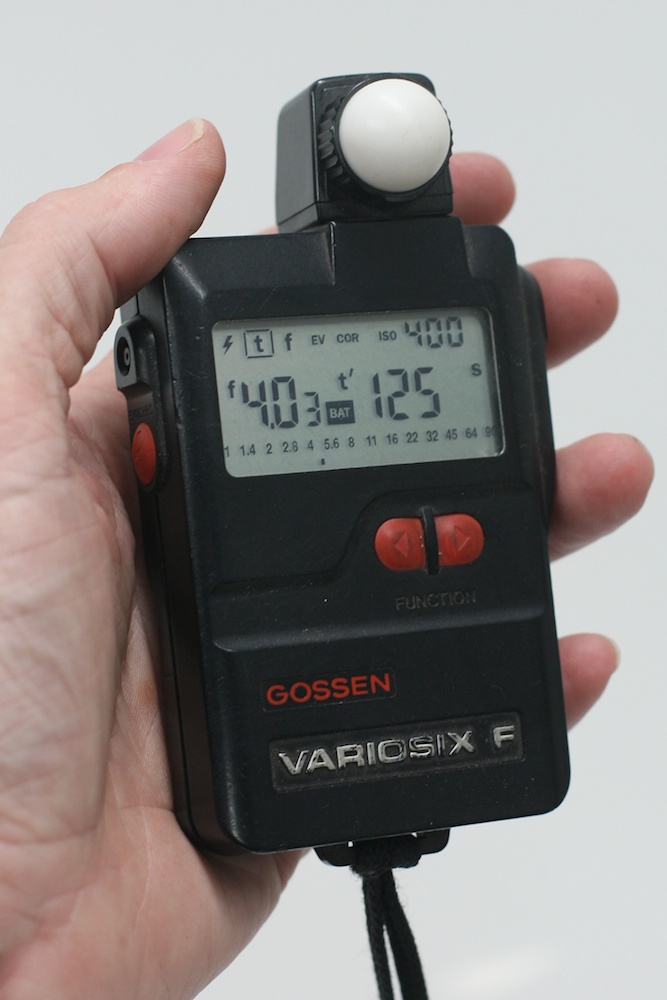
Another great way to assess required exposure is to take the subject out of the equation, and effectively measure the light itself. The best way to do this is with a hand-held light meter, set to incident, and held just in front of the subject. An incident meter measures the light falling on the subject, so it will recommend the same exposure for white, gray or black—and it will be very, very close to perfect. A cheaper and simpler option is the gray card. This is an 18% matte-finish gray piece of cardboard or material. Place it in the same light that’s falling on the subject and set your camera to a manual exposure based on the reading when the card is in place, and again you should get a correct exposure.
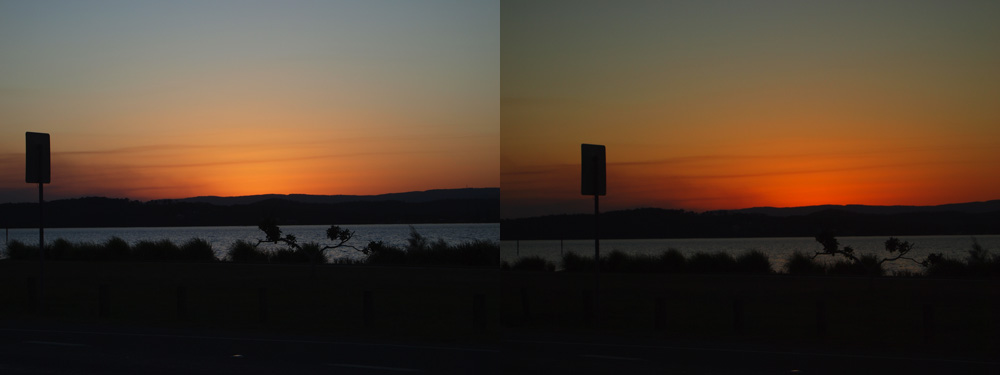
Other subjects which throw out meters include vehicle headlights, silhouettes, sunsets, fireworks and spotlight subjects.


Please Support The Phoblographer
We love to bring you guys the latest and greatest news and gear related stuff. However, we can’t keep doing that unless we have your continued support. If you would like to purchase any of the items mentioned, please do so by clicking our links first and then purchasing the items as we then get a small portion of the sale to help run the website.

