
Connecting a camera to a smartphone is a process I find almost universally frustrating across multiple brands and bodies. What worked one day often won’t work the next. When a camera app doesn’t connect to the camera itself, it can even mean that wirelessly transferring images takes longer than popping the SD card into a laptop. And, chances are, connectivity issues often pop up when I need it most, like when I’m quickly trying to transfer photos to print Instax shots at a wedding reception or when I’m trying to take a quick selfie using Live View.
As someone who reviews cameras for a living, I’ve seen my fair share of camera app Wi-Fi issues. And while the exact steps vary by both the brand of camera that you are using and the smartphone, there are a few tricks that tend to be universally helpful. If you’ve ever felt personally victimized by wonky connectivity issues from a camera app, here are 7 things to try to restore a connection.
1. Ensure your camera firmware and app version are up to date.
Camera apps are often annoyingly slow at keeping up with the latest iOS and Android software updates. If you were able to previously connect your camera successfully, the first thing to check is the app version. If there are any app updates, install them — they may be essential to get the app properly working with the current iOS or Android system. The same applies for the camera itself — check to see if there are any firmware updates for your camera, as these downloads often include bug fixes.
2. Use Wi-Fi instead of Bluetooth.
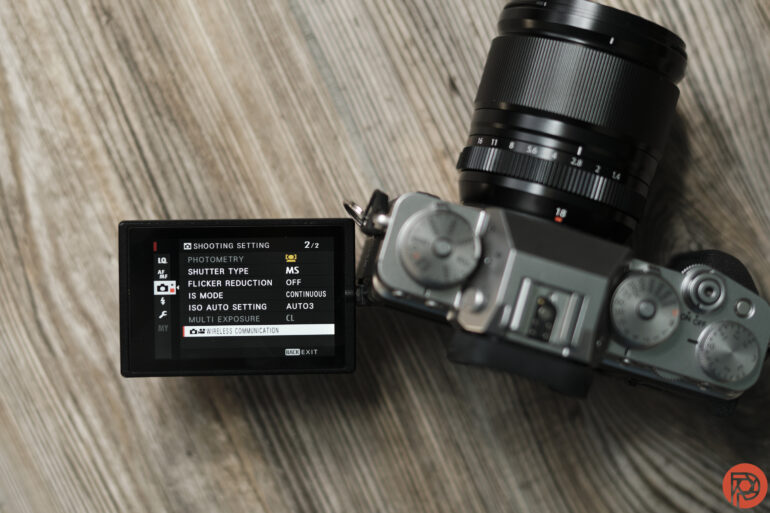
Many modern camera bodies have both Wi-Fi and Bluetooth — but you don’t necessarily need both. Bluetooth offers the fastest connection with limited power consumption. But, it doesn’t handle large amounts of data, so Bluetooth is often typically reserved for reduced resolution transfers. Wi-Fi is typically required for full-resolution transfers as well as Live View remote control. Try turning the Bluetooth off and using only Wi-Fi. Alternatively, you can try using only Bluetooth but remember these are typically low-resolution files.
3. Restart the app.

Many software glitches can be fixed with a restart — and camera apps are no exception. Restart the camera app. Don’t just minimize the app; fully exit the app and restart it. On iOS, for example, swipe up to reveal all the currently running apps. Then, swipe up again on the camera app to close it out. On Android, head into Settings, then Apps, select the camera app, then choose “force stop.”
4. Restart the camera and reinstall the battery.
Similarly, rebooting the camera can often fix weird glitches. Turn the camera off. Some camera bodies with certain settings activated will continue to leave Bluetooth on with the camera off. For good measure, take the camera battery out to ensure everything reboots. Then, reinstall the battery and turn the camera back on.
5. Restart the smartphone’s Wi-Fi.

Whenever I’m having smartphone connectivity issues — and in particular, standing next to someone who does have a signal — I like to reboot all the connections by turning the airplane mode on. Then, wait a few seconds and turn airplane mode back off. This reboots both the Wi-Fi and cellular data. But, it doesn’t reboot the Bluetooth, so you may want to turn Bluetooth off and back on as well.
6. Tell the smartphone to “forget” the camera’s Wi-Fi and/or Bluetooth network.
Saving network data helps speed up the connection process after that initial link. But, sometimes, this is where errors pop up. The last time I had issues connecting my two Fujifilm XT4 bodies to my iPhone, forgetting the network and reconnecting fixed the issue, and it hasn’t cropped up again since. To do this, head into the settings on your phone and locate the Wi-Fi options. On iOS, this is done inside Settings > Wi-Fi. Tap the camera’s network and then choose “Forget This Network.” The process is similar on Android: Inside Settings, then Network & Internet, tap on the camera’s Wi-Fi network name, then hit the gear icon. Next, tap the trash can icon that says “forget.”
After forgetting the network, you’ll need to walk through the full Wi-Fi setup just like you did the first time you connected your camera, including typing in the password or scanning the QR code.
7. For file transfers, make sure you are working with JPEG, not RAW.

If your camera app is connected, but you keep getting errors when transferring files, make sure you are trying to transfer JPEGs, not RAW files. For example, when trying to transfer to my smartphone using the camera’s interface, I kept getting error messages because I was accessing the first SD card slot, where all the RAW files are. Once I went into the playback menu and switched to slot two, where all the JPEGs are, the issue was resolved.
Still having connectivity issues? Check these guides for specific brands.
While things like restarting and reconnecting tend to work universally, some issues are specific to the brand or even model of the camera that you are using. If the seven tricks above didn’t correct the issue, consult these guides for your specific camera brand:
Get rid of the ads!
Did you enjoy reading this article as much as we enjoyed writing it? There's a way to support us and our reporting, getting ad-free navigation and more as a bonus. Subscribe to us for less than a coffee per month —just $3.99— or take advantage of our yearly subscription with a hefty discount for only $25.- An ad-free experience
- A free mystery box for Lightroom or Capture One
- All the books in our store
- 20% discount on Capture One
- 30% discount on Imalume Photo Theft Protection
- 20% off Herbs and Kettle Tea Company.
- 20% off your order from MPIX printing services.
- 5% off Viltrox Products via their eCommerce store.
- 10% off all film developing, printing and scanning services from Blue Moon Camera and Machine
- 15% off 7Artisans products: The lens and accessory maker is offering a sweet discount for Phoblographer's readers.