
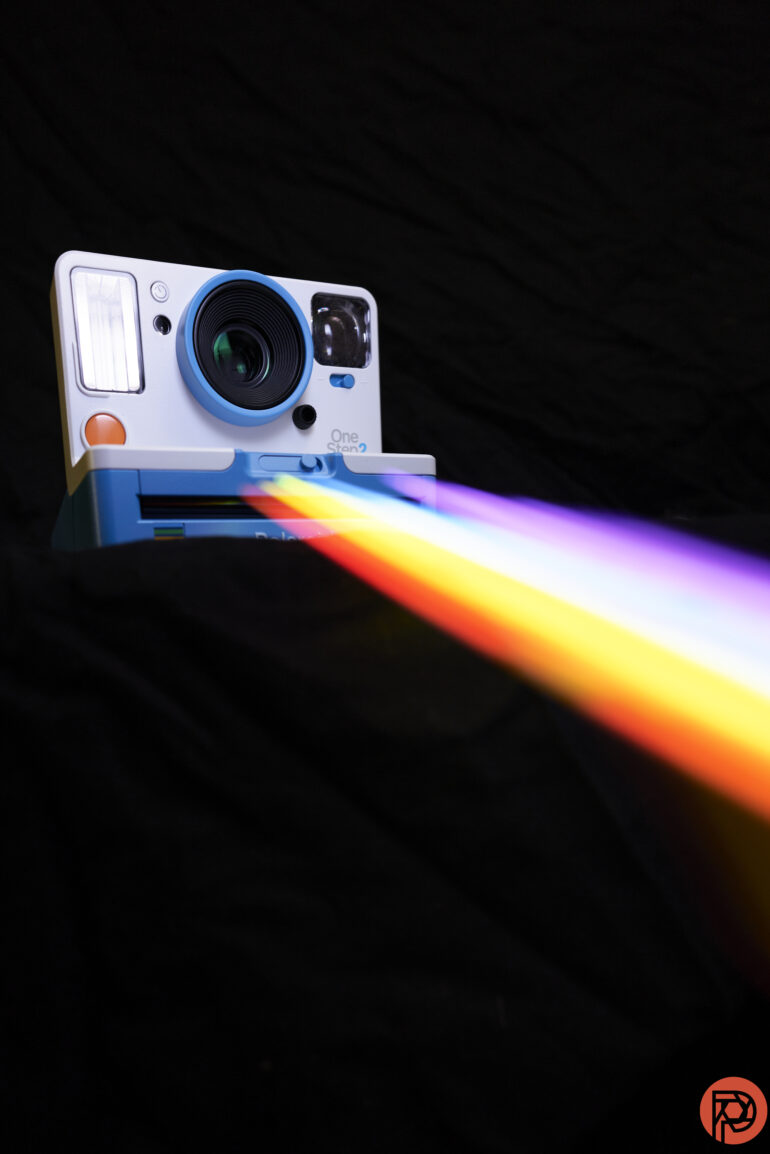
In light painting photography, the light is a paintbrush and the camera sensor the canvas. Drawing with light opens up endless possibilities for adding to an existing scene or even creating art from scratch on a black canvas. But, with endless possibilities comes little room for error. Just like painters need to master holding a brush, photographers need to master the techniques. By mastering the How to, light painting photography opens up a new real of possibility for photographers.
What you’ll need for light painting photography
The craft of light painting requires three basic things: a camera, a tripod, and a light source. The first is obvious. The second keeps your camera in place so that the only blur is the blur that you want.
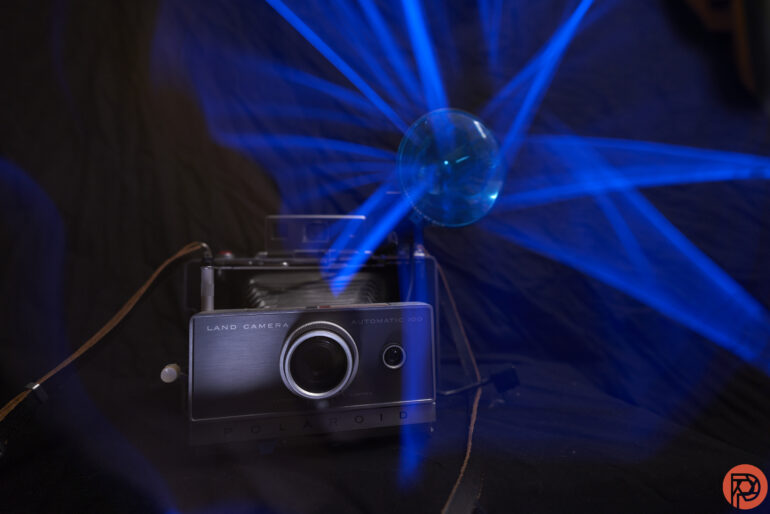
But, that third item on the must-have list leaves lots of room for creativity. You’ll need something that emits light that’s portable enough to wave around. But, there are lots of different kinds of portable light sources, including but not limited to glow sticks, flashlights, battery-operated string lights, LED balls, sparklers, steel wool, video light wands, drone lights and more.
As you consider what light source to use, think about color and size. The color of the light source will be the color of the final painting, unless you do some dramatic editing. The size is important too. Smaller light sources offer more control, but may take longer to create more elaborate paintings.
Light painting can also be done with existing light that’s already in the scene, such as headlights or even fireflies. The difference with this type of light painting is that you can’t control what the light does — you just see what the light is doing already and capture it.
What camera settings are best for light painting photography?
Light painting is a form of long exposure photography. Once you decide what to shoot, you’ll mount the camera on a tripod and use either shutter priority or manual mode in order to keep the shutter open for as long as it takes to finish the light painting. Turn on the timer or use a remote or camera app to trigger the photo if you will be both taking the photo and painting with the light source.
There’s no magic number for where to set the shutter speed for light painting. Simple light paintings may only be a few seconds long. More elaborate light paintings will require more time. If you’re unsure, try setting the exposure for 10 seconds, give the light painting a try and add or reduce the time from there. If you didn’t have time to finish the painting, the exposure was too short. If the light is too bright, the exposure was too long.
If you need more than 30 seconds to finish your light painting, you’ll need to set the shutter to bulb. This shutter mode starts the photo when you first press the shutter release, then ends the exposure when you press the button a second time. Along with achieving shutter speeds longer than the 30 second limit on most cameras, this is also an option for when you don’t know how long the light painting will take. You can simply start the photo, paint, then end the photo.
What about the rest of the camera settings? Keep the ISO low, such as 100, to avoid noise. Set the aperture low, such as f1.8, if you want to blur the background, higher if you want more of the image to be sharp, such as f8.
With a proper exposure, your light source should still retain color. If your light is a pure white blob, the photo is overexposed and needs a shorter shutter speed, narrower aperture, or higher ISO.
What are the best light painting techniques?
Like painting with, well, actual paint, how you hold the light matters. There are two different types of light painting. The first is using the light source in the photo itself to draw in the air. The second is holding the light source off-camera and using it to add light to the subject. These two methods can also be combined, creating light drawings while the subject is still well lit.
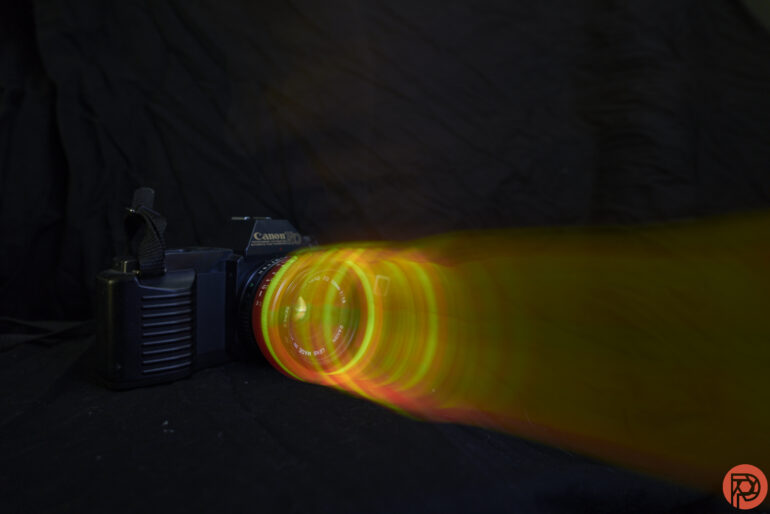
Avoid pointing the light directly at the camera lens, or you’ll get an overexposed photograph — especially when working with something like a flashlight. Keep your movement fluid. Hesitations will become hot spots in the final image so move at a consistent speed.
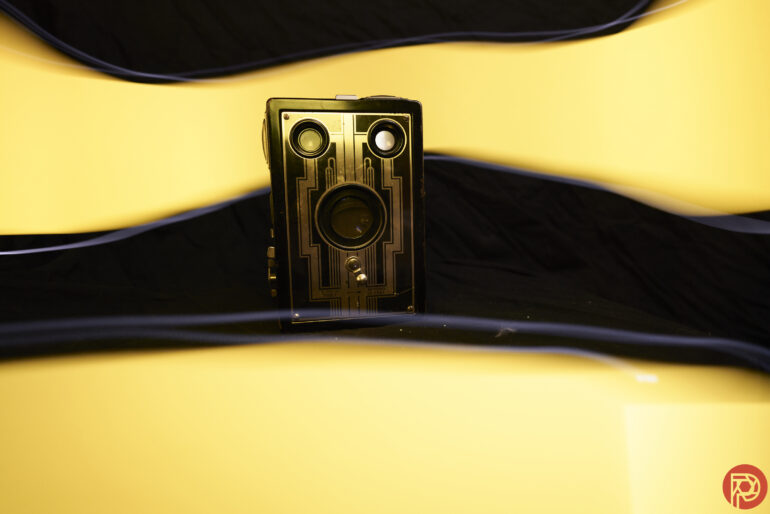
Unlike painting with paint, you have a 3D canvas with light painting. Yes, the final image will be in 2D. But, keep in mind that you can move the light closer or farther from the camera and that you can also weave the light behind and in front of objects. Don’t limit yourself to just writing in one direction.
When drawing with a light source, be careful to hold the light so that it doesn’t light anything that you don’t want visible in the image. If the light is too close to the background or the person holding the light, then those things will no longer blend into the black background. While some of this can be corrected with editing using the shadows, blacks, highlights and whites sliders as well as dodging and burning, getting it right in camera is always easiest
How do you stay invisible when light painting?

How you hold the light also plays a role in whether or not you (or the person holding the light) actually end up visible in the final image. Hold the light away from your body and don’t point the light directly at yourself.
Another trick to disappearing in a light painting photograph is to wear dark clothing and sometimes even black gloves. Depending on what you are photographing, it’s often possible to hide by standing directly behind the subject.
If the painter rather than just the light is still showing up in the final image, then it’s likely that either the shutter speed is too fast, or the painter is moving too slow. The longer the shutter speed is, the easier it is to disappear from the photograph by moving quickly. Another common issue is not moving fast enough — if your movements are too slow, you’ll be caught on the camera instead of disappearing into the dark background.
How to: Light painting photography with a phone
While a dedicated camera typically delivers the best results, it is possible to create light paintings with a phone camera. You’ll still need a tripod and you’ll also need a camera app that allows for long exposures, such as Slow Shutter Cam or Shutter Stop. Many of the camera apps that have manual exposure settings will also allow photographers to take long exposures.
Of course, just like holding your phone in the air creates a light for concerts, the phone screen itself could also be used to paint with. Just display a photo on the screen that has the colors that you are looking for. Or, use an app designed for light painting such as ColorX.
Get rid of the ads!
Did you enjoy reading this article as much as we enjoyed writing it? There's a way to support us and our reporting, getting ad-free navigation and more as a bonus. Subscribe to us for less than a coffee per month —just $3.99— or take advantage of our yearly subscription with a hefty discount for only $25.- An ad-free experience
- A free mystery box for Lightroom or Capture One
- All the books in our store
- 20% discount on Capture One
- 30% discount on Imalume Photo Theft Protection
- 20% off Herbs and Kettle Tea Company.
- 20% off your order from MPIX printing services.
- 5% off Viltrox Products via their eCommerce store.
- 10% off all film developing, printing and scanning services from Blue Moon Camera and Machine
- 15% off 7Artisans products: The lens and accessory maker is offering a sweet discount for Phoblographer's readers.