
Last Updated on 02/25/2023 by Mark Beckenbach
A good macro lens can do a multitude of things: not only shoot macro photos. But of course, you’re probably purchasing it to get up close and personal with your subjects. So if you’re new to photography and want to explore the world around you, macro photography is a unique and creative way of doing it. Here are some macro photography tips we think outdoor photographers will really value.
Table of Contents
Why a Lens Filter is Better Than a Lens Hood
Everywhere you look, you hear that lens hoods are great. In most cases, they really are. However, with macro photography, the lens hood can often be larger than the macro distance from the subject. So, instead, the next time you head outdoors to photograph flowers or fungi, consider a lens filter. It will protect the front element of the lens and still let you get closer to your subject. When you’re done shooting macro photos, you can always put the lens back on. But if you really want to make the most of the lighting and close focusing distances, consider removing the lens hood.
Shoot on Bright Days
Lots of photographers would tell you to go into the world on a bright day and use a flash. And we agree with them. If you want the best-balanced photo, using a flash can certainly help fill in shadows. But we know there are folks who can’t yet use a flash very well, so we recommend doing macro photography on a bright day. Lower the ISO, shoot at a fast shutter speed, and use focus stacking to get the photos you want.
If you’re planning on fixing the photos in post-production, consider reading the histogram in addition to using the exposure preview setting. Make sure the readings are mostly in the middle when working with the histogram.
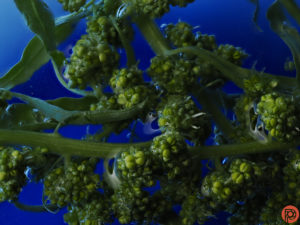
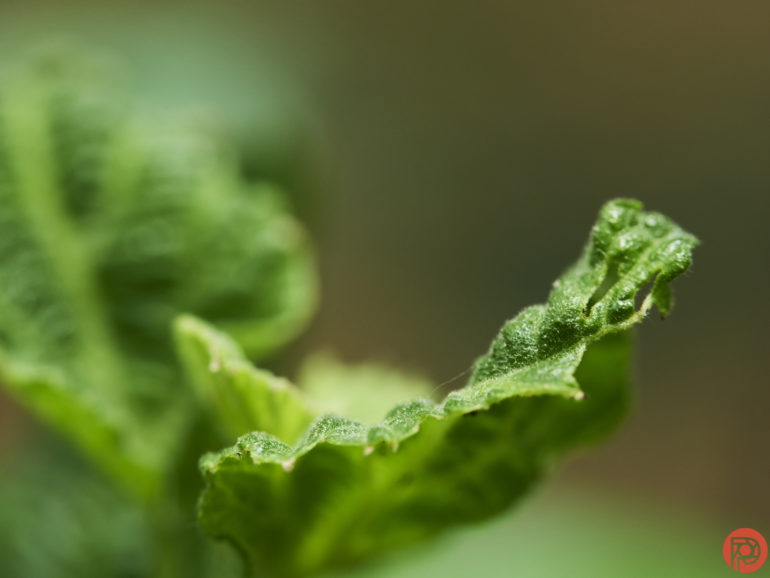
Choose a Simple Background
One of the most important parts of this macro photography tips list is choosing an uncomplicated background. It’s pretty simple to do when pretty much everything is out of focus. But you can and should get a simple background by changing up your angle. A simple background will help emphasize the subject in focus. It comes by delivering contrast through colors, lighting, etc.
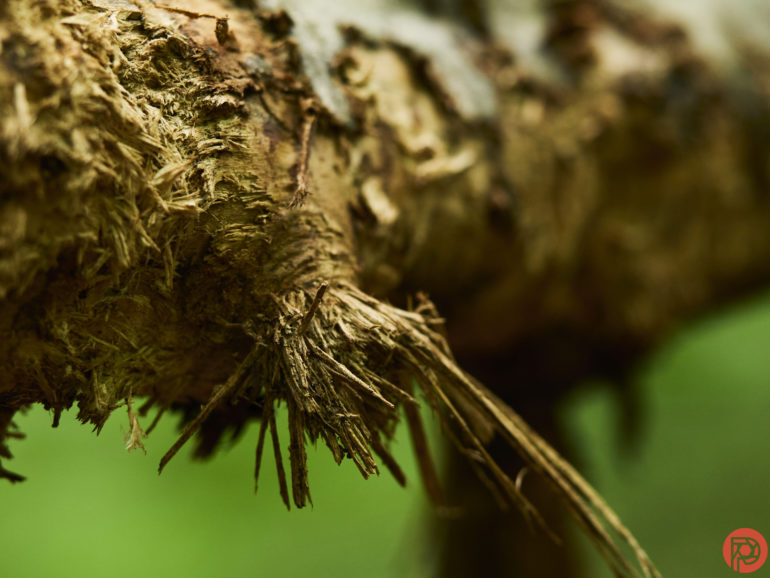
Understanding Magnifications and Macro Depth of Field
Macro lenses have different focusing distances. And when they talk about ratios, they’re specifically speaking about magnification. For most of us, this doesn’t mean anything much. But know that the closer you are to the 1:1 ratio, the closer you can focus on your subject.
However, what you should consider is that the closer the ratio is to 1:1, the thinner the depth of field will be at a given macro focusing distance. This is because the lens is focusing closer overall. In macro photography, f2.8 is very thin compared to how it is when you’re photographing a bird.
Macro lenses with longer focal lengths have a longer minimum focusing distance, allowing for more working space between you and your subject. This will come handy when you want to shoot small wildlife and insects in macro. Even when you’re photographing an inanimate object, you’d want ample distance from what you’re shooting, so you don’t block out the light and cast a shadow over your subject.
A Macro Tutorial We’ve Previously Published
The Gear We Recommend for These Macro Photography Tips
Some of the gear we recommend to go shooting macro are the following:
- OM SYSTEM OM-1: This camera has a focus stacking ability that makes focusing closely pretty easy while shooting wide open.
- OM SYSTEM OM-5: The OM-1’s little brother. It isn’t built as robust, but it’s durable for the great outdoors.
- M.Zuiko 12-40mm f2.8 PRO II: This comes available as a kit lens option for the OM-1 and it’s one of the most versatile lenses we’ve tested in years.
- M.Zuiko 30mm f3.5 Macro: One of the Zuiko lineup’s more affordable macro lenses.
- M.Zuiko 60mm f2.8 Macro: A higher-end macro lens that’s incredibly versatile and capable.
This piece is presented in partnership with OM SYSTEM. We’ve independently and ethically reviewed all the products in this post already without sponsorship. And we worked with them to recommend a few key gems to you.
Get rid of the ads!
Did you enjoy reading this article as much as we enjoyed writing it? There's a way to support us and our reporting, getting ad-free navigation and more as a bonus. Subscribe to us for less than a coffee per month —just $3.99— or take advantage of our yearly subscription with a hefty discount for only $25.- An ad-free experience
- A free mystery box for Lightroom or Capture One
- All the books in our store
- 20% discount on Capture One
- 30% discount on Imalume Photo Theft Protection
- 20% off Herbs and Kettle Tea Company.
- 20% off your order from MPIX printing services.