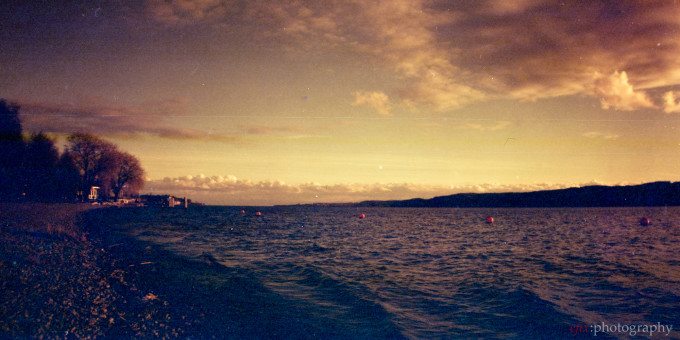
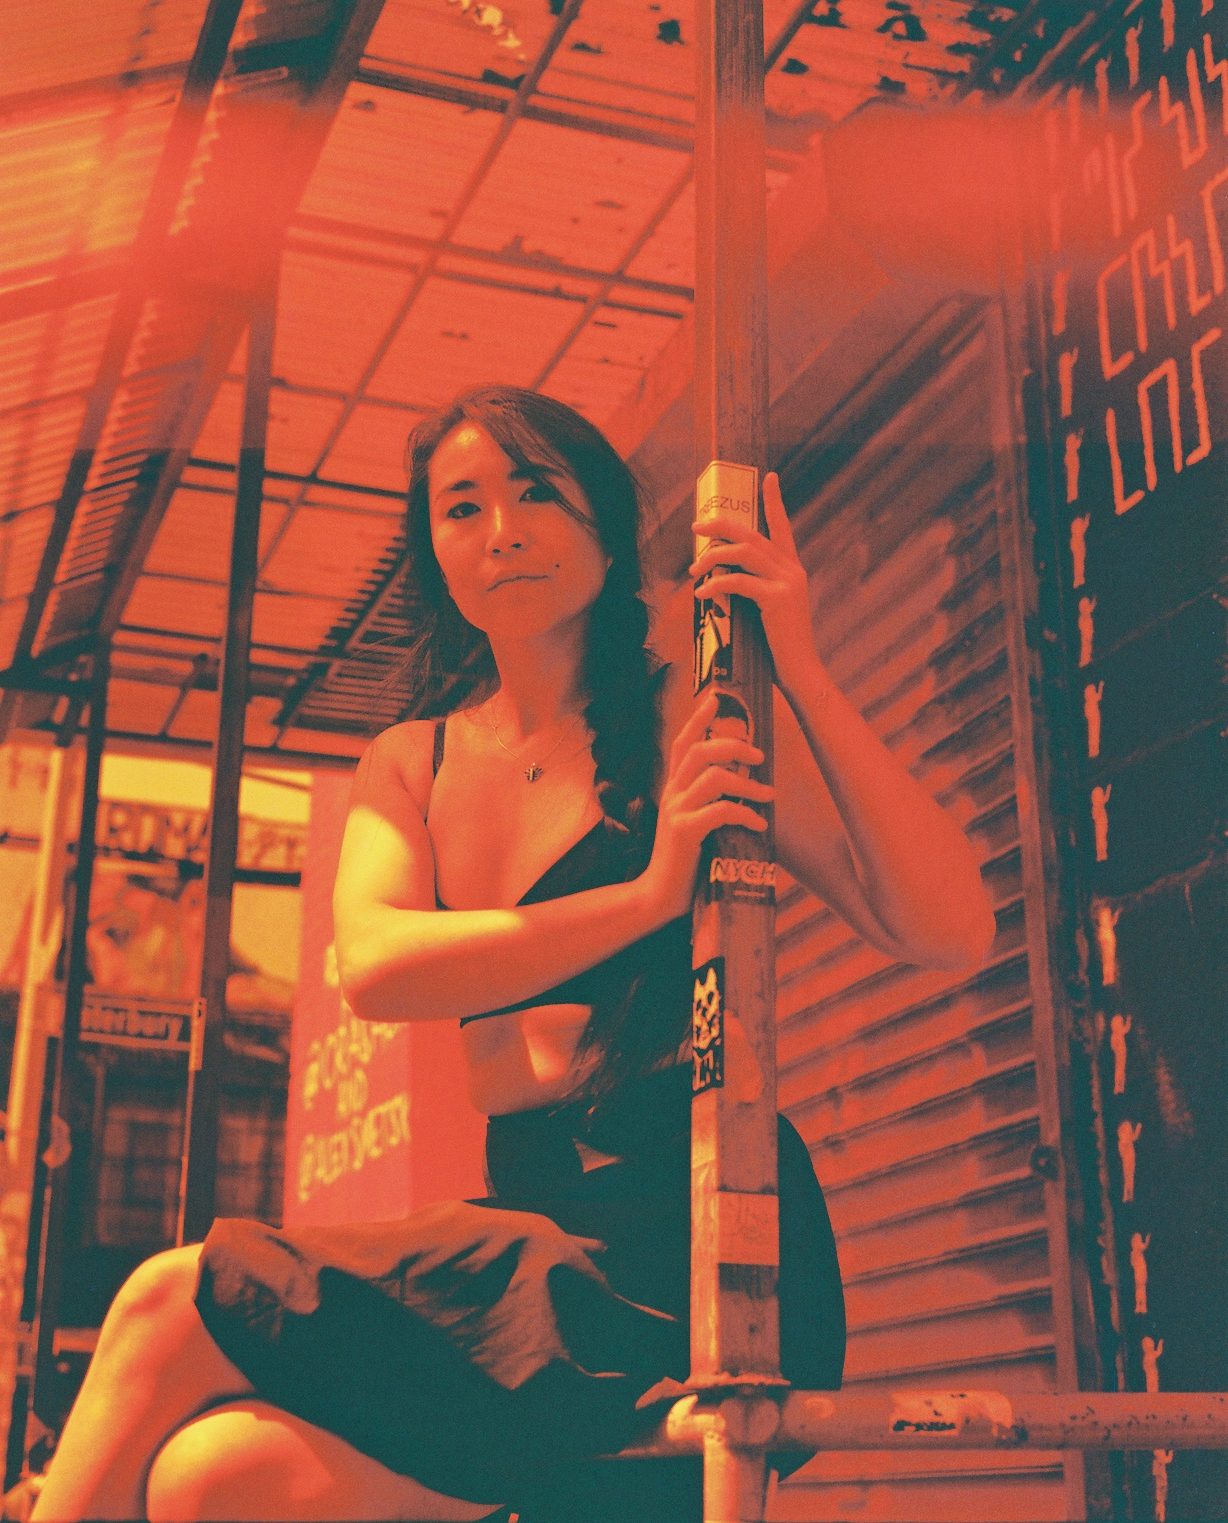
You’d be shocked at just how simple it is to get the redscale look everyone loves and craves. The redscale look derives from the organic look you can get from film. And so, I’m going to preface this piece by saying you should just shoot film. But you can also totally get the look digitally in-camera. Better yet, you don’t need to do post-production. In this short, useful photography tip, we’re going to teach you how to get the redscale look.
Want more useful photography tips? Click here.
If you’re organically shooting for the redscale look with film, it will vary depending on how you expose for it. Years ago, we reviewed Redscale by Lomography. We said the following:
“…the shorter your exposures are, the more red and orange the film results will be. But the longer your exposures are, the more normal they’ll look.”
So basically, the less light you give it, the more extreme the look. The more light you give it, the less the effect will be. You’ll need to dial in the look according to your preferences. Of course, if you shoot digital, you might want to just try the look. Well, you don’t need some fancy preset and you don’t need to even step into post-production. You can shoot the image and then just port it straight to your phone. That means you can just focus on creating the entire time. Here’s how to get the redscale look.
Tungsten Light and Daylight White Balance
Tungsten-colored light is a big way to start getting the redscale look. How do you know what Tungsten light looks like? Well, is there warm light in the room or whiter light? If it’s warmer, it’s closer to Tungsten. Does the light remind you of the warmer lights you see in bars? If that’s the case, then that orange light is closer to tungsten. Most street lamps are also tungsten-colored. Whiter light is more daylight colored.
Combine tungsten light in the environment with daylight white balance to get the redscale look. Your camera should have a daylight setting. But daylight white balance is anywhere between 5200-5600 Kelvin on your camera. Yes, this means, that you need to manually set the white balance by kelvin and not by using the white point option.
This is just one way to do it, but there is, of course, yet another way to get the look too!
10,000 Kelvin White Balance

In most lighting situations involving the outdoors or daylight, you can get the redscale look using 10,000 Kelvin white balance on your camera. For most cameras, this is the most extreme option on the warmer end. Want the extremely warm look with the clothes to be a different tone? Well, use a flash or shoot in daylight. Everything will have a tint of orange going over it and you’ll get a pretty awesome look without needing to do post-production.
Some of you might wonder if this is possible with an orange filter on the lens. An orange filter just makes the entire scene orange. That’s a cool look for sure, but it’s not quite the redscale look you want.


