
The 50mm f1.8 lens is an affordable option that photographers use to get images that really “wow” them.
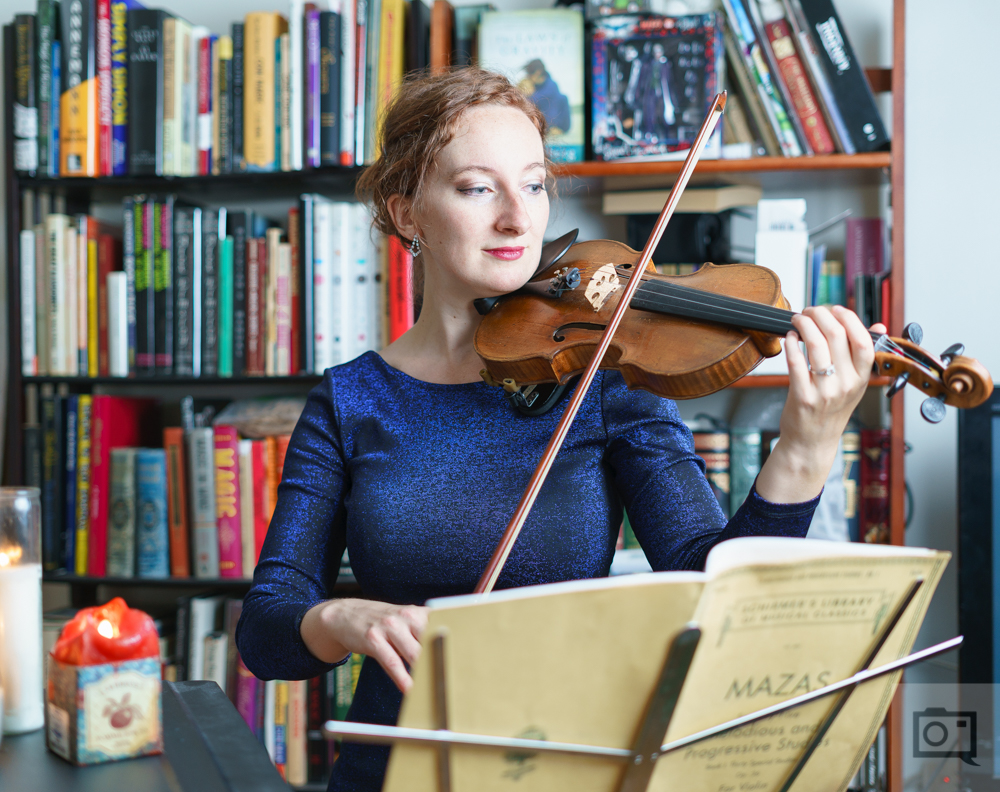
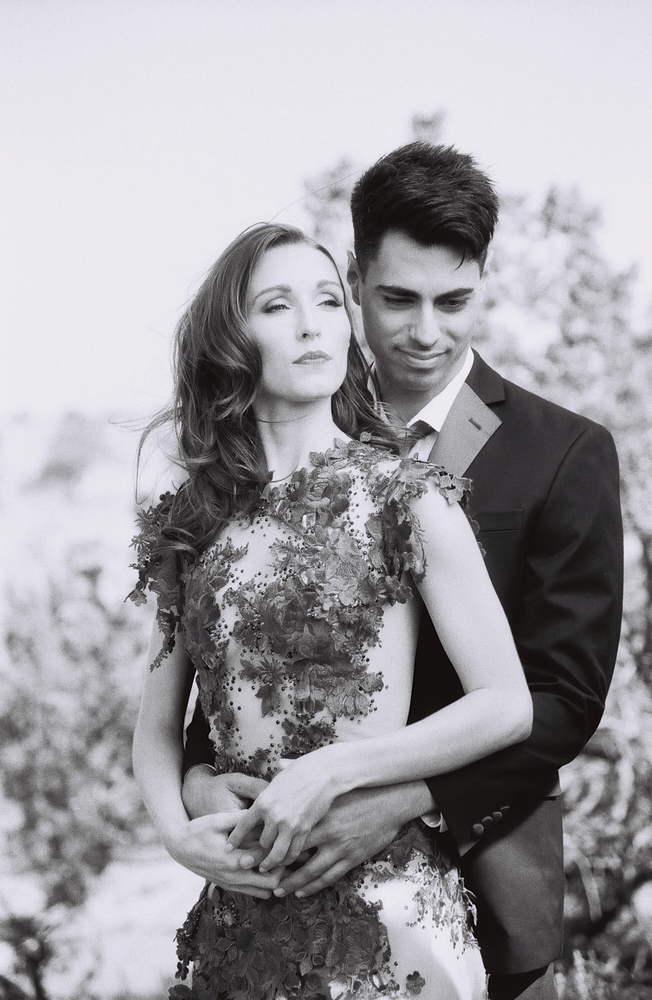
Photographers who get into the artform because of their interest in portraits will often reach for a lens like a nifty 50 — the 50mm f1.8. Though it isn’t the most ideal option overall, these lenses are highly capable. For their affordable price points, these lenses can remain in a photographer’s camera bag for years as a staple option to shoot portraits with. Over the years they have become better, incorporating better optical formulas, nicer bokeh, arguably better build quality, and most of all the ability to keep up with the demands of higher resolution cameras. So if you want to shoot portraits with a nifty 50 lens, then consider the fact that the tool ultimately doesn’t matter: it’s all about how you use it.
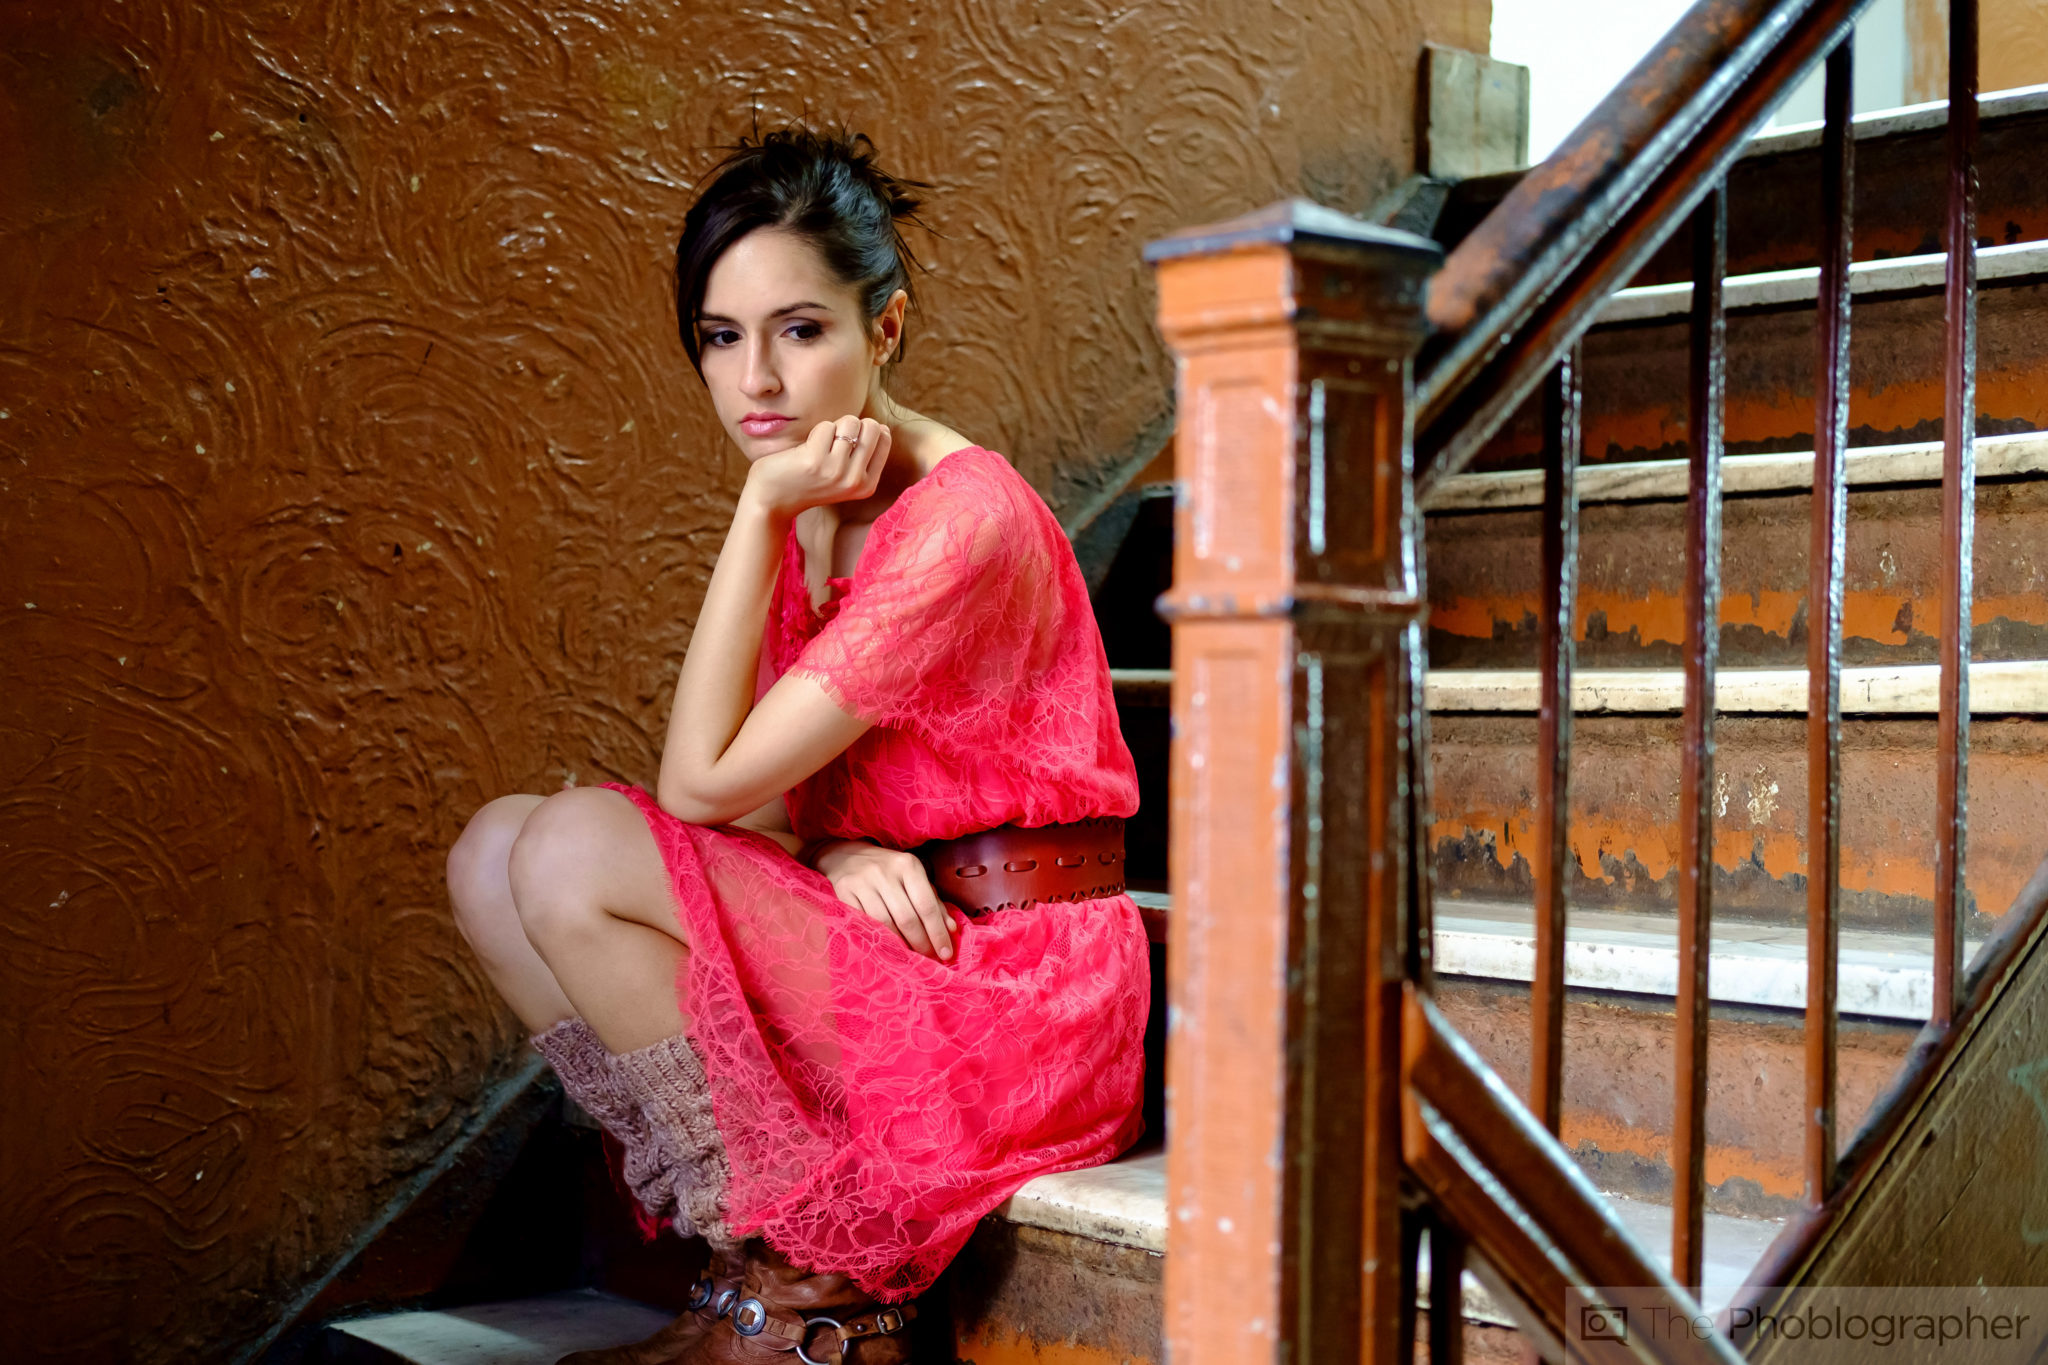
Editor’s Note: All images in this tutorial were shot with various iterations of a 50mm f1.8 lens. The images were pulled from our various reviews over the years.
The Biggest Tip: Use an Off-Camera Flash
What you’ll learn first and foremost is that lighting is ultimately the key to everything. There is an old saying that says amateurs worry about gear, but masters worry about lighting. Lighting is the most essential tool to creating a better portrait with a 50mm f1.8. Notice how we said creating and not capturing. What better way to create a portrait with a 50mm f1.8 lens than to have full control over the light in the scene. You can do this with an off-camera flash. The best thing to do when starting out is either mimic the look of window lighting or enhance the light from the window. As an introductory tip, do the following:
- Set a flash to 1/4 power
- Point it at a 45 degree angle towards a wall
- Place subject on the other side of the light, but near the wall
- Shoot a photo of your subject
- Adjust your aperture, ISO, or the flash output accordingly
Here’s a video tutorial on how to mimic the look of window lighting easily:
“There is an old saying that says amateurs worry about gear, but masters worry about lighting.”
Slightly Stop the Lens Down
When you’re working with a 50mm f1.8 lens, it is natural to want to shoot with it wide open all the time. If you’re looking to embrace a softer look with a lot more bokeh, then that’s fine. But if you want a sharper image and more of your portrait subject to actually be in focus, then stop the lens down just a bit. This advice may come as common sense to most photographers, but you’d amazed at how often we forget to do this. As a rule of general recommendation:
- f1.8: just the eyes
- f2: the very frontal area of the face
- f4: the whole face
- f5.6 the whole head for the most part
Pro Tip: Let David Hobby “The Strobist” give you a few more off-camera flash tips!
“50mm prime lenses have a field of view that’s incredibly close to what the eyes see naturally, and due to fewer moving parts, fixed focal length lenses are much sharper than their zoom lens siblings. Because you’ll have to use your feet to zoom in and zoom out, prime lenses make you think about your composition much more too, which in turn will make you a better photographer. Not being able to rely on your lens to recompose will make your think about your images in a completely new way.” – From Five Great 50mm Lenses Under $600 to Improve Your Photography in 2019
A 2/3rds Portrait

The 50mm f1.8 lens is a nice option for many reasons, but it’s not best for up close and personal portraits with your subjects. As a rule of safety when shooting with a nifty 50 lens, consider stepping back a bit. Get the upper 1/4 to 2/3rds of the subject in the frame. This advice adheres to the general person who doesn’t spend 24/7 tailoring their body to ensure that they look great on camera. (Translation: most people.) On the other hand, if you’re shooting a model, they should know about posing, but you should also communicate with them what frame they’re working in.
“Why is a 50mm prime lens the perfect one to help you grow as a photographer you say? To start with they are usually very cheap and are within reach of photographers with any kind of budget. The 50mm focal length is incredible versatile. A nifty fifty is perfect for street photography, portraits, documentary style photography, events, and even landscape work.” – From Five Wallet Friendly 50mm Prime Lenses That Will Help You Grow as a Photographer
Horizontal Over Vertical (Generally Speaking)
This is a tip that you probably never heard. But, here’s why I prefer horizontal portraits (landscape orientation) over vertical portraits (portrait orientation) when working with a 50mm f1.8 lens. It often has to do with distortion. When you shoot vertically, you’re more likely to get a subject around the edges, which is where things get distorted no matter what a piece of software might say. With landscape orientation, this is less likely to happen. You can keep your subject closer to the center area which is where the intersecting points of the rule of thirds are anyway. This way they will look better.
“Rule: Keep your subject closer to the center to avoid distortion and adher to the rule of thirds. Not everyone is a model, and this makes it easier to create a better portrait.”
Pose Your Subject to the Focus Plane

“Pretty much everyone has a higher shoulder. The higher shoulder will need to be moved back slightly to equalize the way that they look in a photo. If you don’t do this, the shoulders will appear uneven and unflattering.” – From The Step-by-Step Process of Posing Someone for a Portrait
Here’s a video we did a long time ago about how to pose a subject:
Get rid of the ads!
Did you enjoy reading this article as much as we enjoyed writing it? There's a way to support us and our reporting, getting ad-free navigation and more as a bonus. Subscribe to us for less than a coffee per month —just $3.99— or take advantage of our yearly subscription with a hefty discount for only $25.- An ad-free experience
- A free mystery box for Lightroom or Capture One
- All the books in our store
- 20% discount on Capture One
- 30% discount on Imalume Photo Theft Protection
- 20% off Herbs and Kettle Tea Company.
- 20% off your order from MPIX printing services.
- 5% off Viltrox Products via their eCommerce store.
- 10% off all film developing, printing and scanning services from Blue Moon Camera and Machine
- 15% off 7Artisans products: The lens and accessory maker is offering a sweet discount for Phoblographer's readers.