
Take control of the dust that loves to live on your camera sensor.
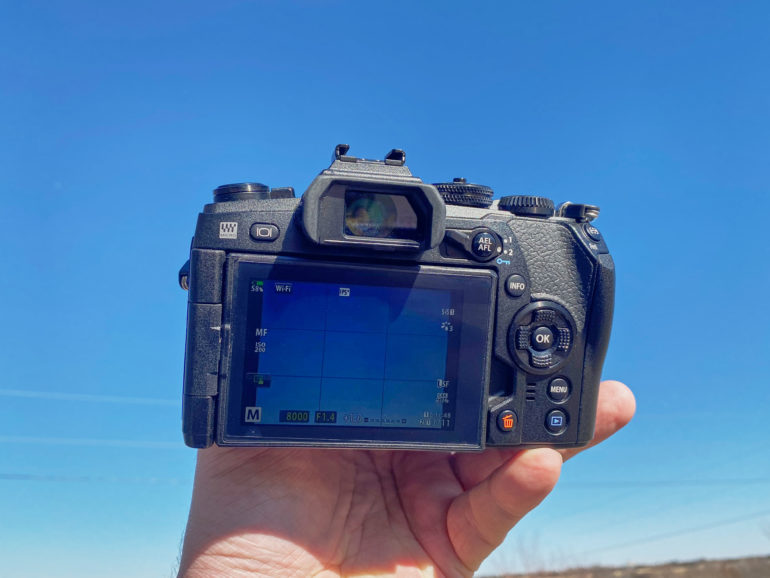
If you have owned a DSLR or mirrorless interchangeable lens camera for any amount of time, we are sure you’re well aware of how annoying and sometimes costly dust can be. Dust loves electronics, and your camera sensor is not excluded from its list of things to invade. Have no fear, though, as this quick guide will show you not only how to check for dust on your camera sensor, but how to clean your camera sensor too.
Dust is such an annoyance. You can go out and capture gorgeous photos only to feel despair when you see the big black blobs of dust appear on your images in Capture One, Lightroom, or whatever image editing software you use. Sure, you can remove those specks from your image quickly and easily in post, but that’s only putting a band-aid on the problem. The dust is still present on your sensor, and the next time you shoot, it will still be there.
A lot of cameras these days have a sensor cleaning feature, and that comes in handy. But really, those features are not solving the problem at all. Internal sensor cleaning systems shake the dust off inside the camera, where it can easily get stuck on your sensor again at a later date. There is no way to eliminate dust getting on your sensor, it’s just something we have to deal with, but we can do things to help. Making sure your camera is facing down when you change lenses will stop dust particles falling into your camera, and of course, not leaving your sensor exposed to the elements is another. If you suspect that you have dust on your sensor, follow these easy steps below.
How to Check for Dust on Your Camera Sensor
To check for dust, you just need to follow this easy list of steps:
- Step outside on a clear, sunny day
- Power on your camera and set it to manual mode
- Manually focus your lens to infinity, set the aperture to f16
- Point your camera at the sky, expose as you would for a normal shot, but make sure you use the lowest ISO possible
- Snap a few pictures so you can make sure during post that dust spots are present in each image

Once you get the image into your editing software (or you have zoomed into the image on your cameras LCD), you will be able to see very quickly if you do indeed have dust spots on your sensor. You may even see dust on the rear element of your lens as well. You can tell the two apart due to the size of the spots. Dust on the sensor will show up as small black dots, whereas dust on the rear element of your lens will show up as large spots.
How to Clean Your Sensor with a Blower
So, if you have dust on your sensor, what should you do, and what shouldn’t you do. Try not to worry about damaging the sensor, because the first thing we will be doing is using a safe blower like the Giottos Rocket Air Blaster.
This small tool is a hand-powered air blower with a nozzle that can safely be used on your camera. Don’t worry if you do not have this particular brand as any hand-powered blower will be just fine. Under no circumstances though should you use canned air. Just get that thought out of your head right now. No canned air, hand blowers only. Are we clear here? Okay, good. Canned air is a sure-fire way to kill your sensor.
To remove loose dust from your sensor follow these easy steps:
- Remove the lens from the camera body.
- DSLR users lock your mirror up (this is found in the settings menu).
- Point the lens mount on the camera towards the ground.
- Insert the tip of the blower at the lens mount opening. Be sure you do not hit the sensor.
- Squeeze the blower a few times to dislodge the dust.
- Let gravity take over and watch the loosened dust fall out of the camera.
Do not use the blower while the camera is lying down with the lens mount facing the ceiling. All you will do is blow the dust around inside the camera, and there is no telling where it will land. Dust is the enemy, and we need to eliminate it. Follow the steps above and make sure the camera is facing down so that the dust can fall out. At this point, you can re-attach your lens, take another picture of the sky, and then recheck the image in your editing software. If the dust spots are gone, congrats, you have just eliminated the threat. If, however, there are still dust spots on your camera sensor, you may need to clean your sensor more thoroughly.
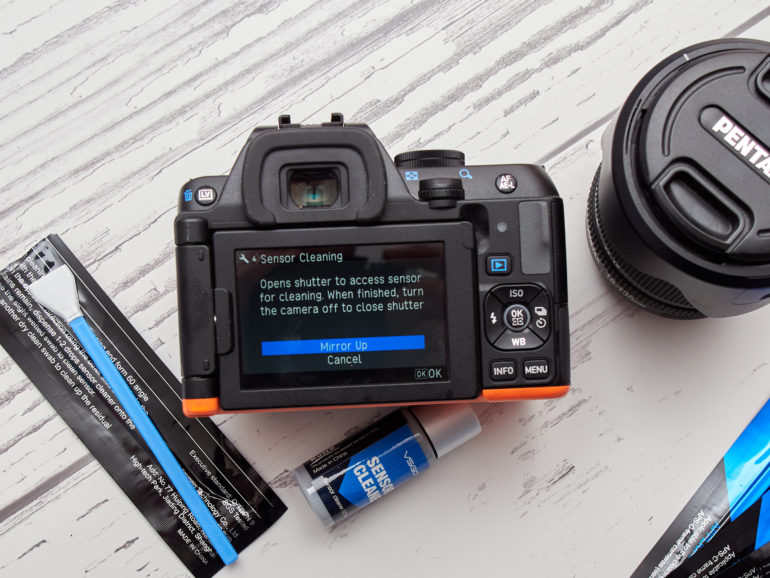
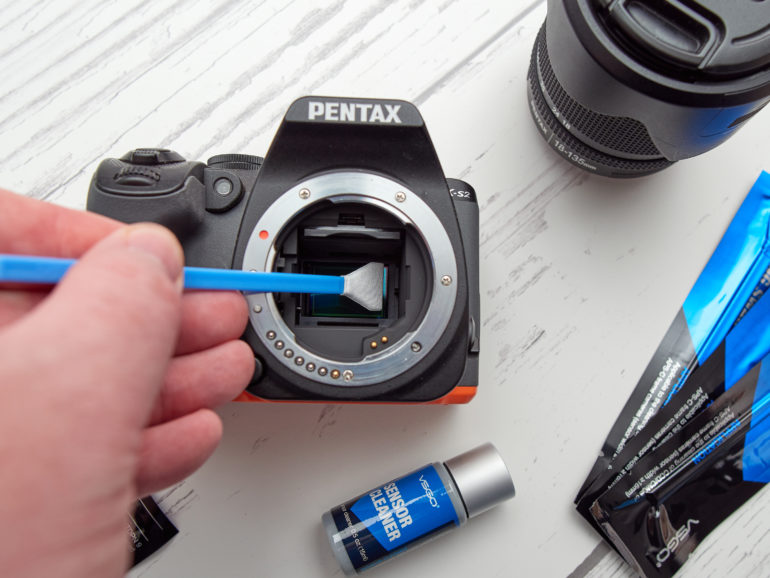
Give Your Camera Sensor a Deeper Clean
If you find that the dust on your sensor is stuck pretty hard, you will need to give your sensor a thorough cleaning. At this point, many photographers would opt to take their camera to a local camera shop so that the cleaning service can be performed, but really, there is no need to pay $75 or more for a sensor cleaning when you can do this yourself at home.
Yes, it does sound a little scary, and I will admit that I was scared the first time I cleaned my camera sensor. But, if you take your time, there is little to worry about. I only have to wet clean my sensor once or twice a year, but knowing how to clean the sensor yourself will be invaluable. Let’s clear something up here, first. When we say clean your sensor, you’re not cleaning the sensor itself. The camera sensor has a layer of film on it, so at no time do you touch the sensor. With this in mind, it doesn’t make cleaning your sensor with a wet swab sound quite as horrifying.
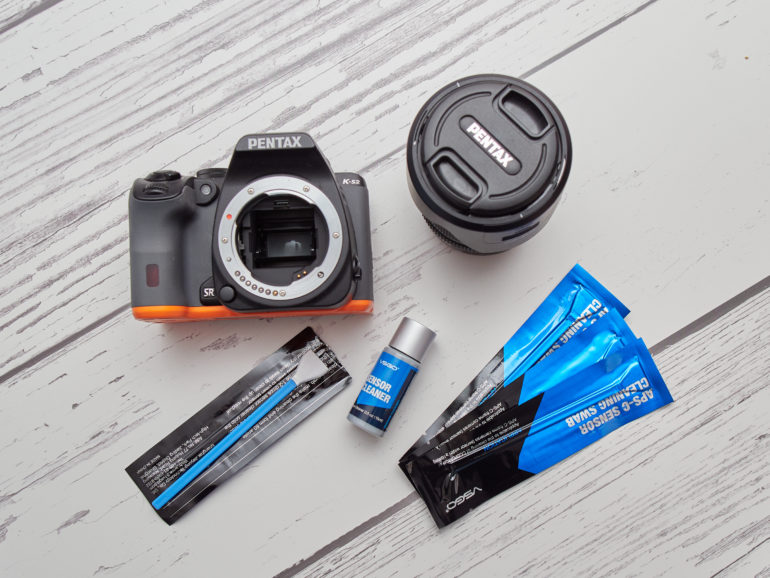
There are very few steps to cleaning the sensor in your camera. All you will need is a set of camera sensor swabs (like these for APS-C, Full Frame, and Medium Format sensors), a little time, and a little confidence. A couple of things you want to make sure of is that the swabs you are using are covered in soft microfiber, and that they do not contain any cleaning substances with alcohol. Once you have the swabs, follow these steps:
- If you are using a DSLR, lock the mirror in the up position.
- Remove the lens that is attached to your camera.
- Lay the camera on a flat surface with the lens mount facing the ceiling.
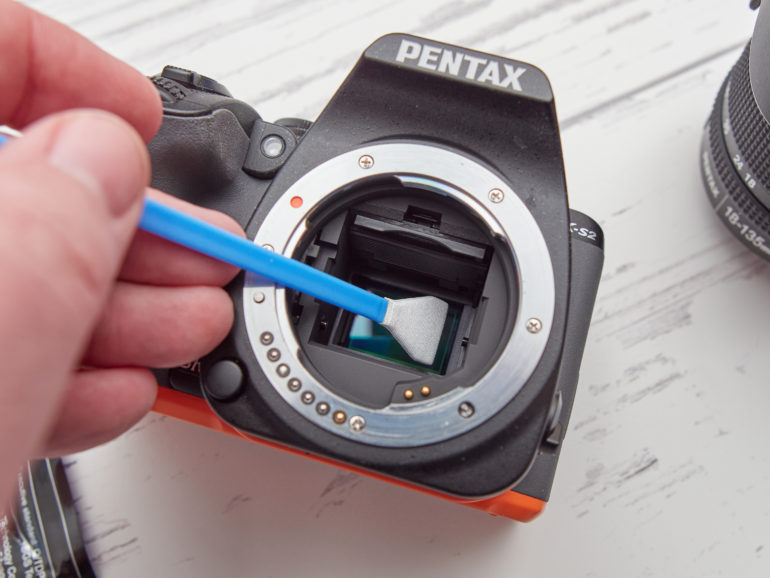
- Grab a sensor swab and blow on it a few times with your hand-blower to remove any loose strands of fiber from it.
- Take the cleaning solution that comes with the swabs and apply one or two drops. Do not add more than two drops or you may over-saturate the swab, which will likely cause streaks on the sensor.
- With one gentle motion, and without applying a great deal of pressure, swipe the swab across the sensor from left to right.
- Turn over the swab and again, with very little pressure, swipe the swab from right to left. There should be no residue on the sensor at all.
- If you see streaks on the sensor, wait a few minutes for it to dry, then get another swab. Apply less cleaning solution and clean again.
- Check the sensor to see if you can visibly see any dust (the light from your phone can help here).
- Take some test shots and import them into your editing software to check that the sensor is clean.
Cleaning the sensor in your camera is this simple. As mentioned above, the first time you do this, it will make your heart race, but you can do it at home, and save a ton of money in the process. Learning how to clean a camera sensor is one of the best things you can do if you own any cameras. Don’t be afraid, follow this simple guide, and give it a go. After the first time, you’ll see there is very little to be worried about.
Get rid of the ads!
Did you enjoy reading this article as much as we enjoyed writing it? There's a way to support us and our reporting, getting ad-free navigation and more as a bonus. Subscribe to us for less than a coffee per month —just $3.99— or take advantage of our yearly subscription with a hefty discount for only $25.- An ad-free experience
- A free mystery box for Lightroom or Capture One
- All the books in our store
- 20% discount on Capture One
- 30% discount on Imalume Photo Theft Protection
- 20% off Herbs and Kettle Tea Company.
- 20% off your order from MPIX printing services.
- 5% off Viltrox Products via their eCommerce store.
- 10% off all film developing, printing and scanning services from Blue Moon Camera and Machine
- 15% off 7Artisans products: The lens and accessory maker is offering a sweet discount for Phoblographer's readers.