
Last Updated on 10/03/2018 by Mark Beckenbach
Learn how to work with both natural lighting and off camera flash outdoors in this quick portrait photography tutorial.
Spotted a picture-perfect location for some portrait photography projects and practice? Working with natural light isn’t your only option to get some impressive shots. In this quick video, find out what you can achieve with both natural light and off camera flash, and decide which look you want.
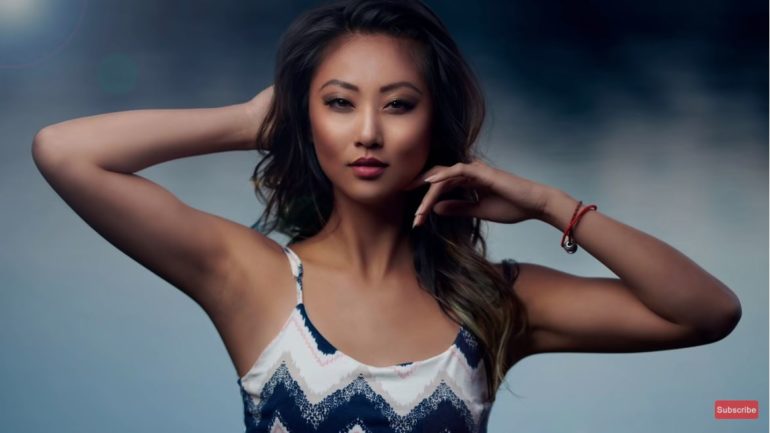
One of the most common misconceptions about shooting portraits outdoor is that you can only work with natural light. A flash, especially an off camera one, will eventually come in handy when the natural light becomes challenging to work with. In the video below by Craig Beckta, he takes on a challenge with fellow photographer Josh to show us the different techniques and approaches with both lighting techniques.
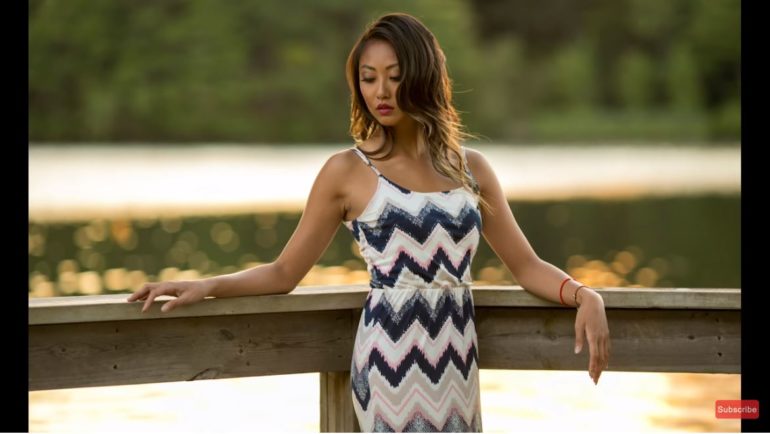
It’s worth noting first that both approaches are valid and produce impressive results. As both photographers mentioned, it’s just a matter of taste and preference. Josh prefers going after warm tones and incorporating elements of the location. Craig’s portrait style, meanwhile, leans towards cool tones, and distinctly blurred backgrounds to put the subject in focus.
Working with natural light may seem like the easier route, but the challenge shows that it can get pretty tricky to get the subject properly illuminated with the sun behind. This is where the flash comes in handy, especially an off camera flash that can be placed in front of your model so you can just walk around freely. Another advantage is that the flash can help you either balance the brightness of your background and how your subject is illuminated, or let you achieve the darkened background shown in the video.
However, if you’re lucky and happen to shoot in a location where the natural light is mostly balanced, you may find controlling the light by using a reflector would suffice. You might want to play with a gold reflector to make the bounce light a little warm. Shooting during the so-called Golden Hour, or the time of the day when the sun is close to setting may also give your shots that beautiful, summery glow — and it’s perfect if you want to show a little more of the location, like Josh prefers.
Knowing both approaches and when to choose one over the other will surely open you up to more creative possibilities. Try both approaches and see which one works best for your style.
Check out Craig Beckta’s YouTube channel for more of his photography tips and tricks.
Screenshot images from the video by Craig Beckta
Get rid of the ads!
Did you enjoy reading this article as much as we enjoyed writing it? There's a way to support us and our reporting, getting ad-free navigation and more as a bonus. Subscribe to us for less than a coffee per month —just $3.99— or take advantage of our yearly subscription with a hefty discount for only $25.- An ad-free experience
- A free mystery box for Lightroom or Capture One
- All the books in our store
- 20% discount on Capture One
- 30% discount on Imalume Photo Theft Protection
- 20% off Herbs and Kettle Tea Company.
- 20% off your order from MPIX printing services.
- 5% off Viltrox Products via their eCommerce store.
- 10% off all film developing, printing and scanning services from Blue Moon Camera and Machine