
Last Updated on 06/06/2018 by Chris Gampat
The Kodak Scanza is a simple to use scanner with a few quirks.
I’ve reviewed options like the Kodak Scanza before that I wish were higher in quality, but what you’re getting for the most part isn’t really all that awful. It takes your 35mm film and can deliver up to 22MP JPEG files. If you want TIFFs or DNG files, then you’ll need something significantly higher end that is bound to take up more real estate on your desk. But if you just want to scan your photos, it’s seriously tough to beat the Kodak Scanza. It works via a simple interface that takes your film, gives you an immediate preview with color corrections, and allows you to scan by simply pressing a button. These images are then put onto an SD card or onto your computer directly. This all sounds fantastic, except that the Kodak Scanza suffers from a few design issues that are holding back my highest recommendations.
Pros and Cons
Pros
- Simple to use
- 22MP is nice
- Options of black and white, color negative and slide
- You can scan smaller format film.
- Nice, big, bright LCD screen
- Not large at all
- Delivers pretty good scans when used correctly
Cons
- Getting the film holder to line up just right is incredibly difficult if not impossible at times. But this is common for products like this.
Tech Specs
Specs taken from Kodak’s own website
Scan and save 35mm, 126, 110, Super 8 and 8mm film negatives and slides.
Features:
- 14/22 Megapixel resolution
- Adjustable scanning resolution, brightness and coloration
- PC/MAC® compatible (software not required)
- Save to computer of SD™ card (not included)
- Video-out for TV connection
- Convenient, easy-loading film and negative adapters and inserts
- Tilt-up 3.5” color TFT LCD screen
Ergonomics
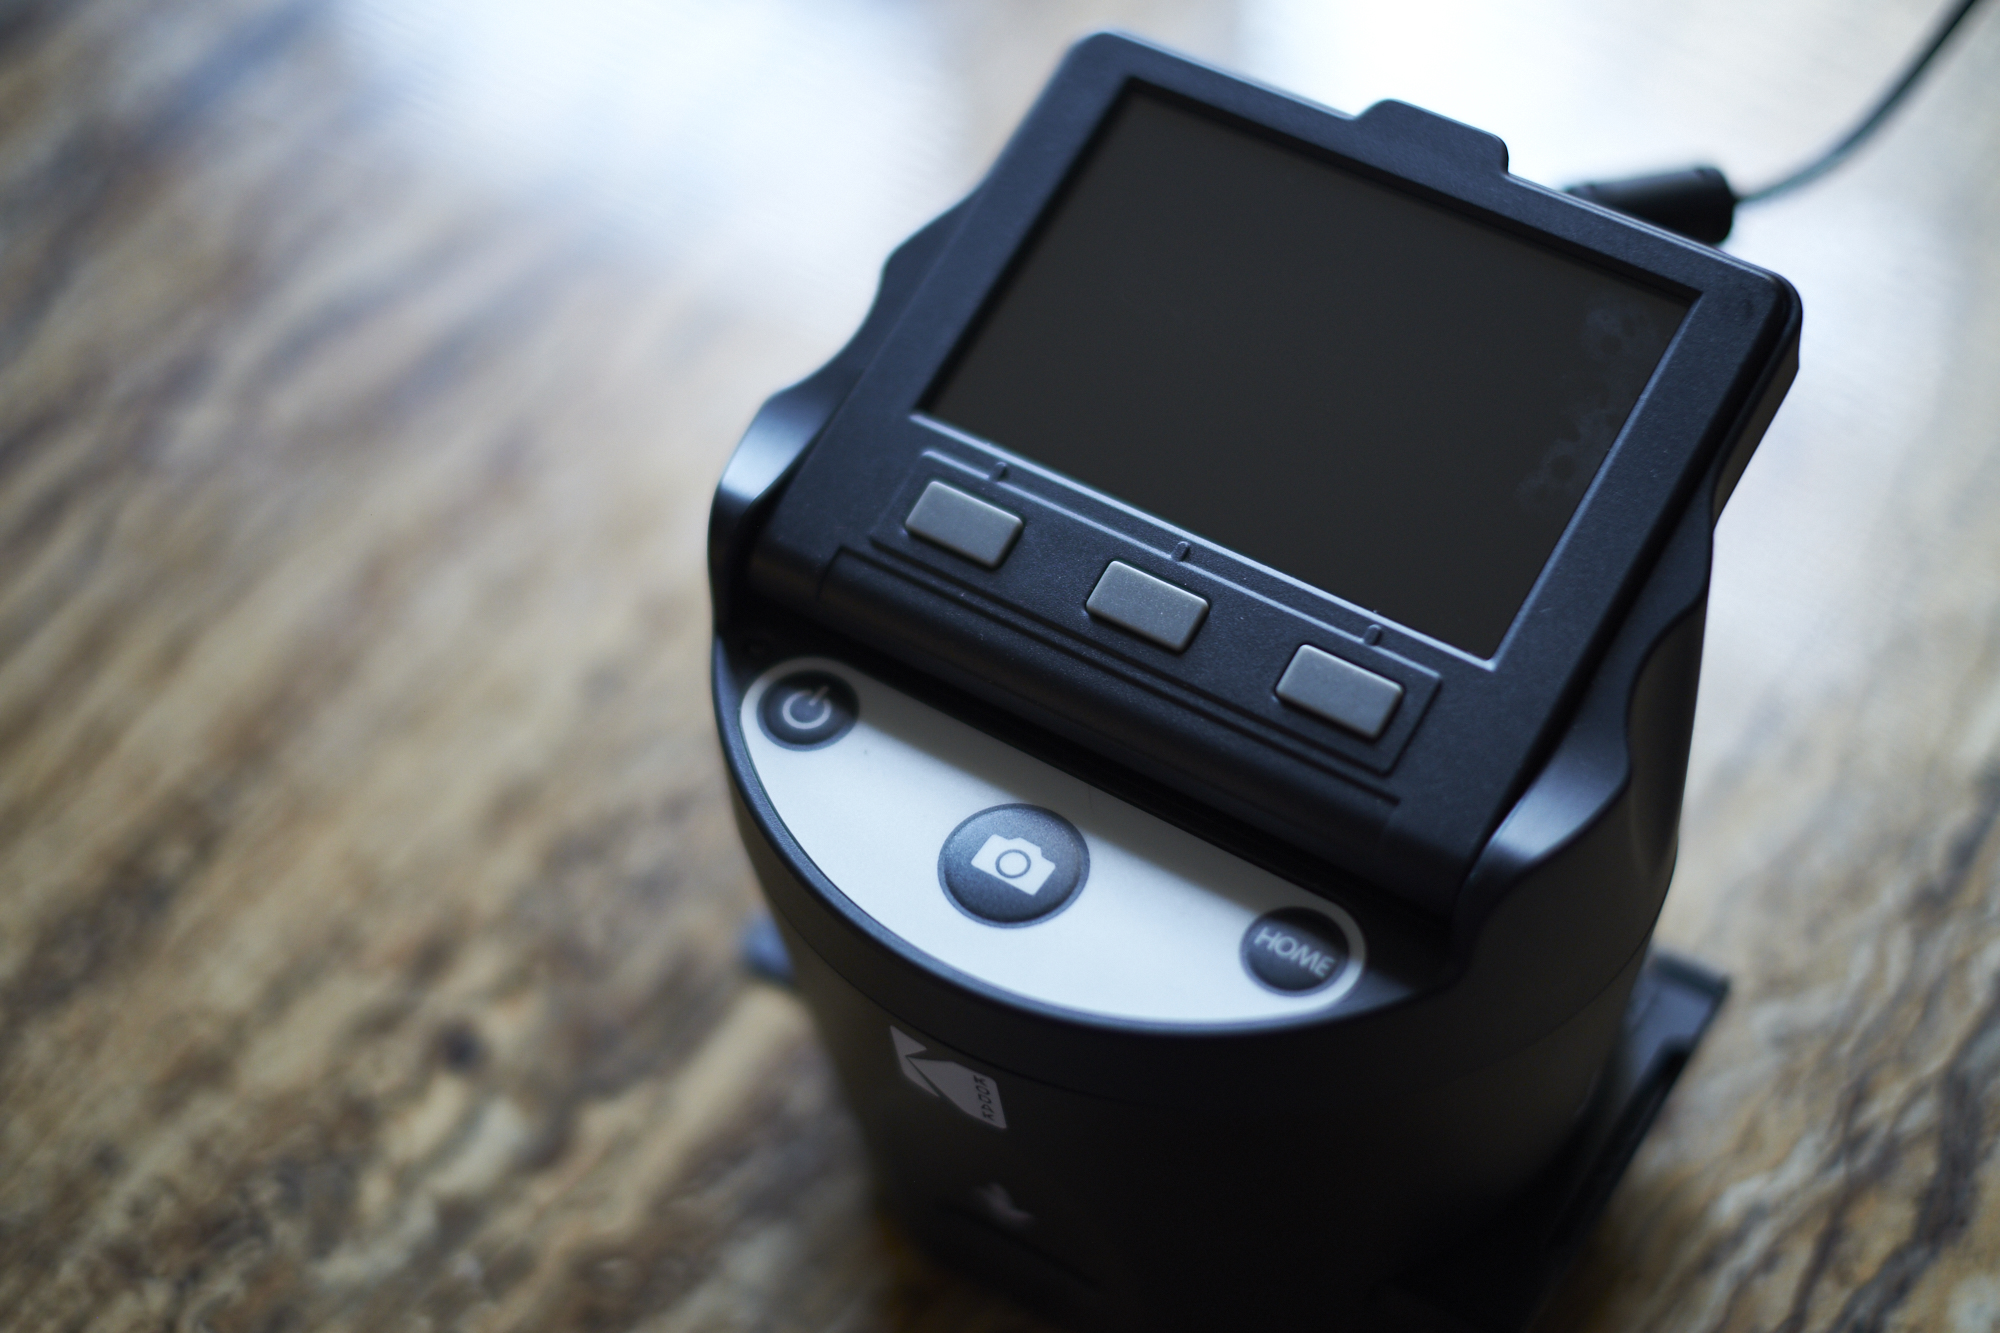
The Kodak Scanza is mostly characterized by the massive screen on top. Below that are three buttons that operate various functions based on what the screen is telling you. Below those are another three buttons which are hardwired to on/off, shooting the photo, and the home button. That’s it. While the screen looks like it will swivel up and down, it doesn’t.
Here’s where you’ve got access to scanning one film type that I’ll probably never use. So let’s move on.

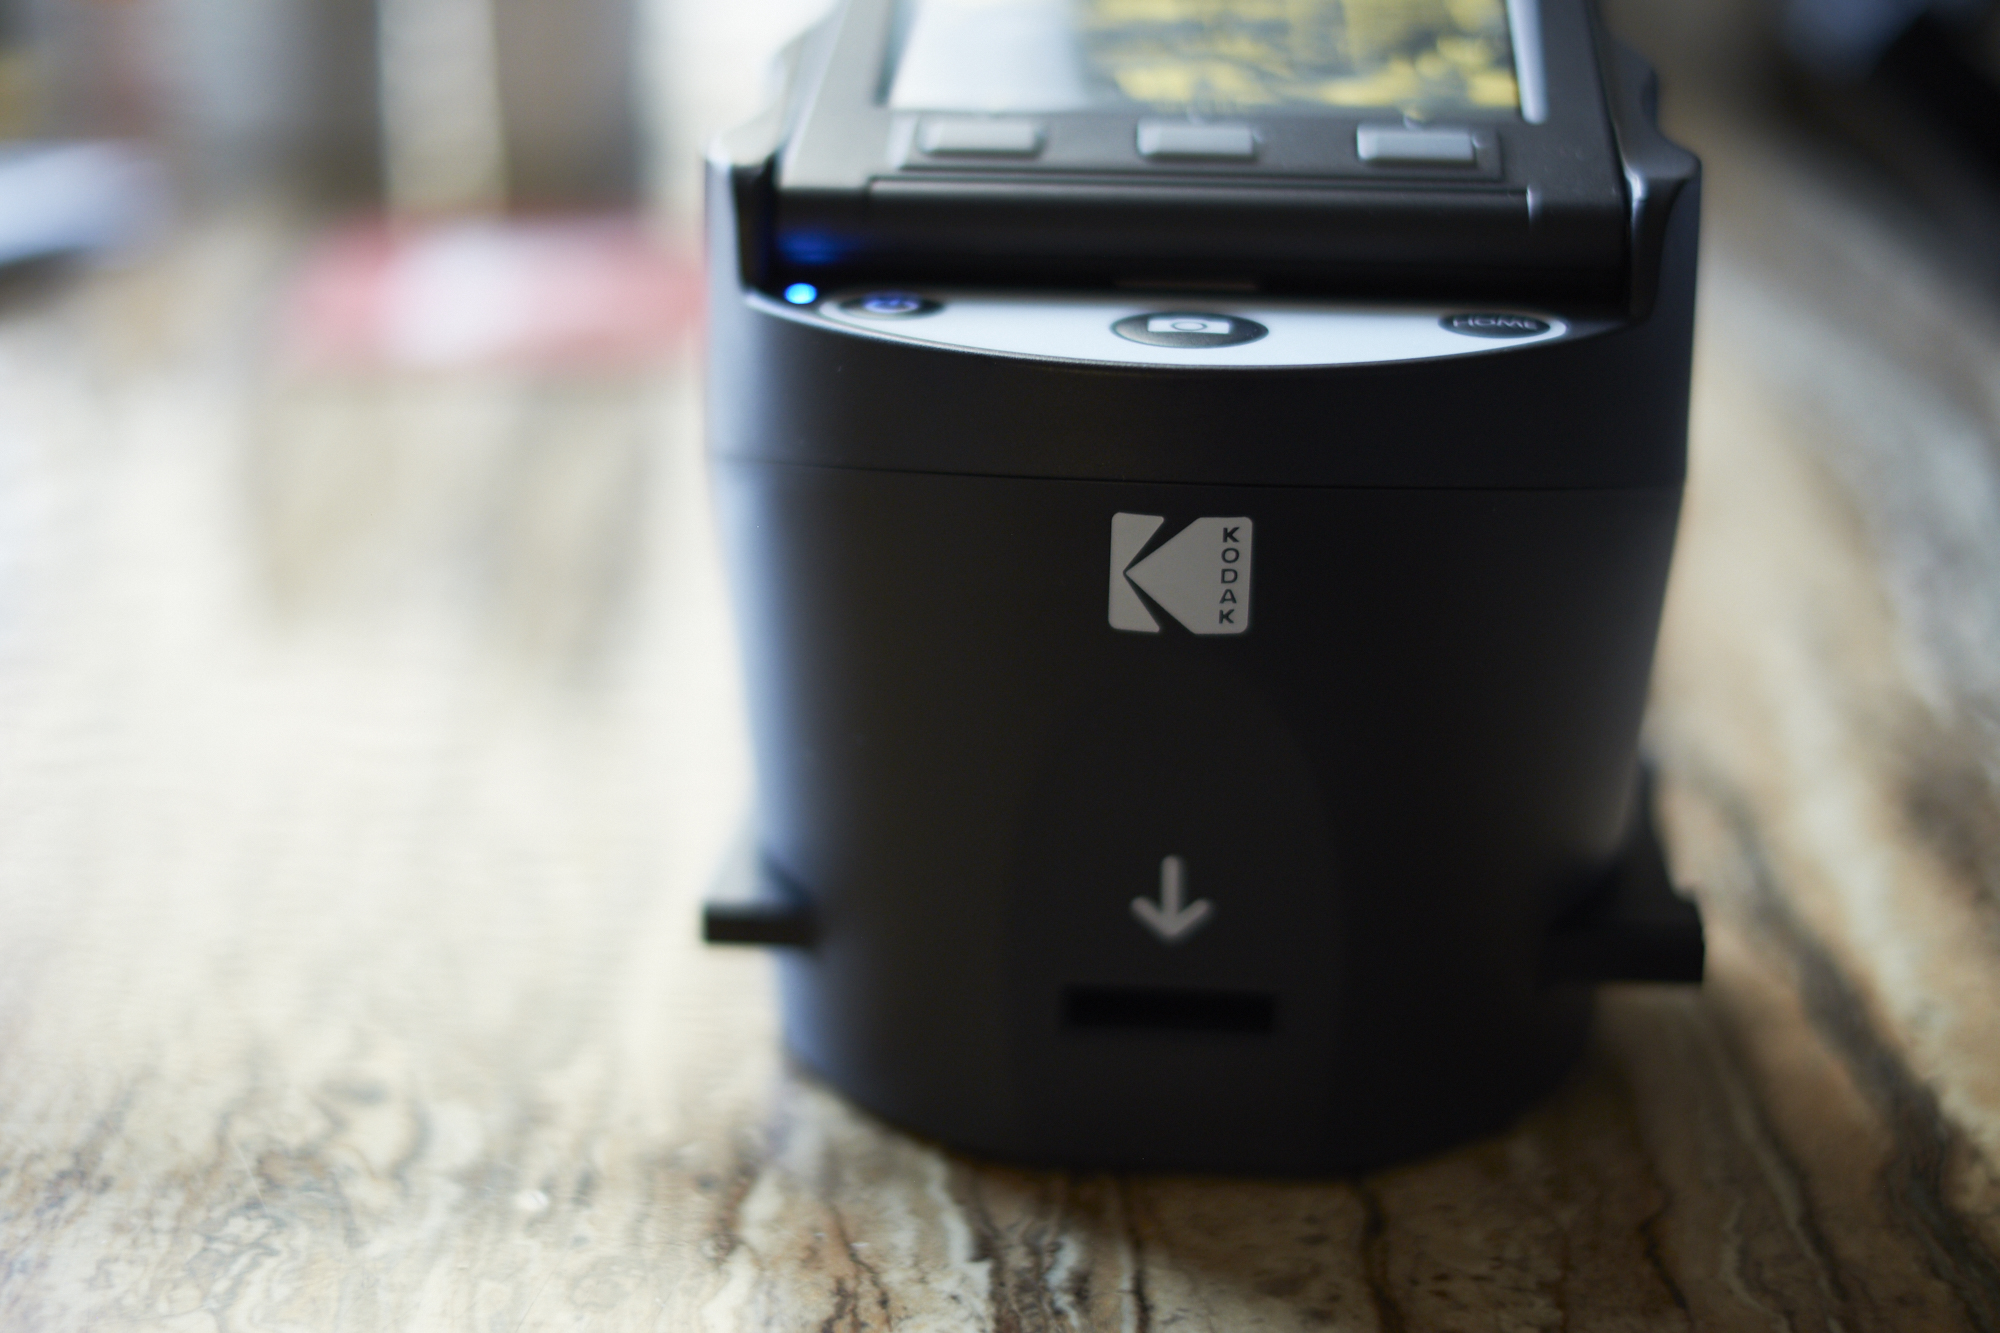
The side here is where you’ll spot the film slit for the Kodak Scanza. You can shove your holders in here to hold the 35mm film that you can use.

Turn the Kodak Scanza and what you’ll find here are ports. You can see the SD card port, the power ports, the HDMI port, the USB port, etc. Nothing more there.

Using the provided film holders, you can stuff your film inside for scanning. This is probably the biggest issue with the Kodak Scanza. But more on that in a bit.
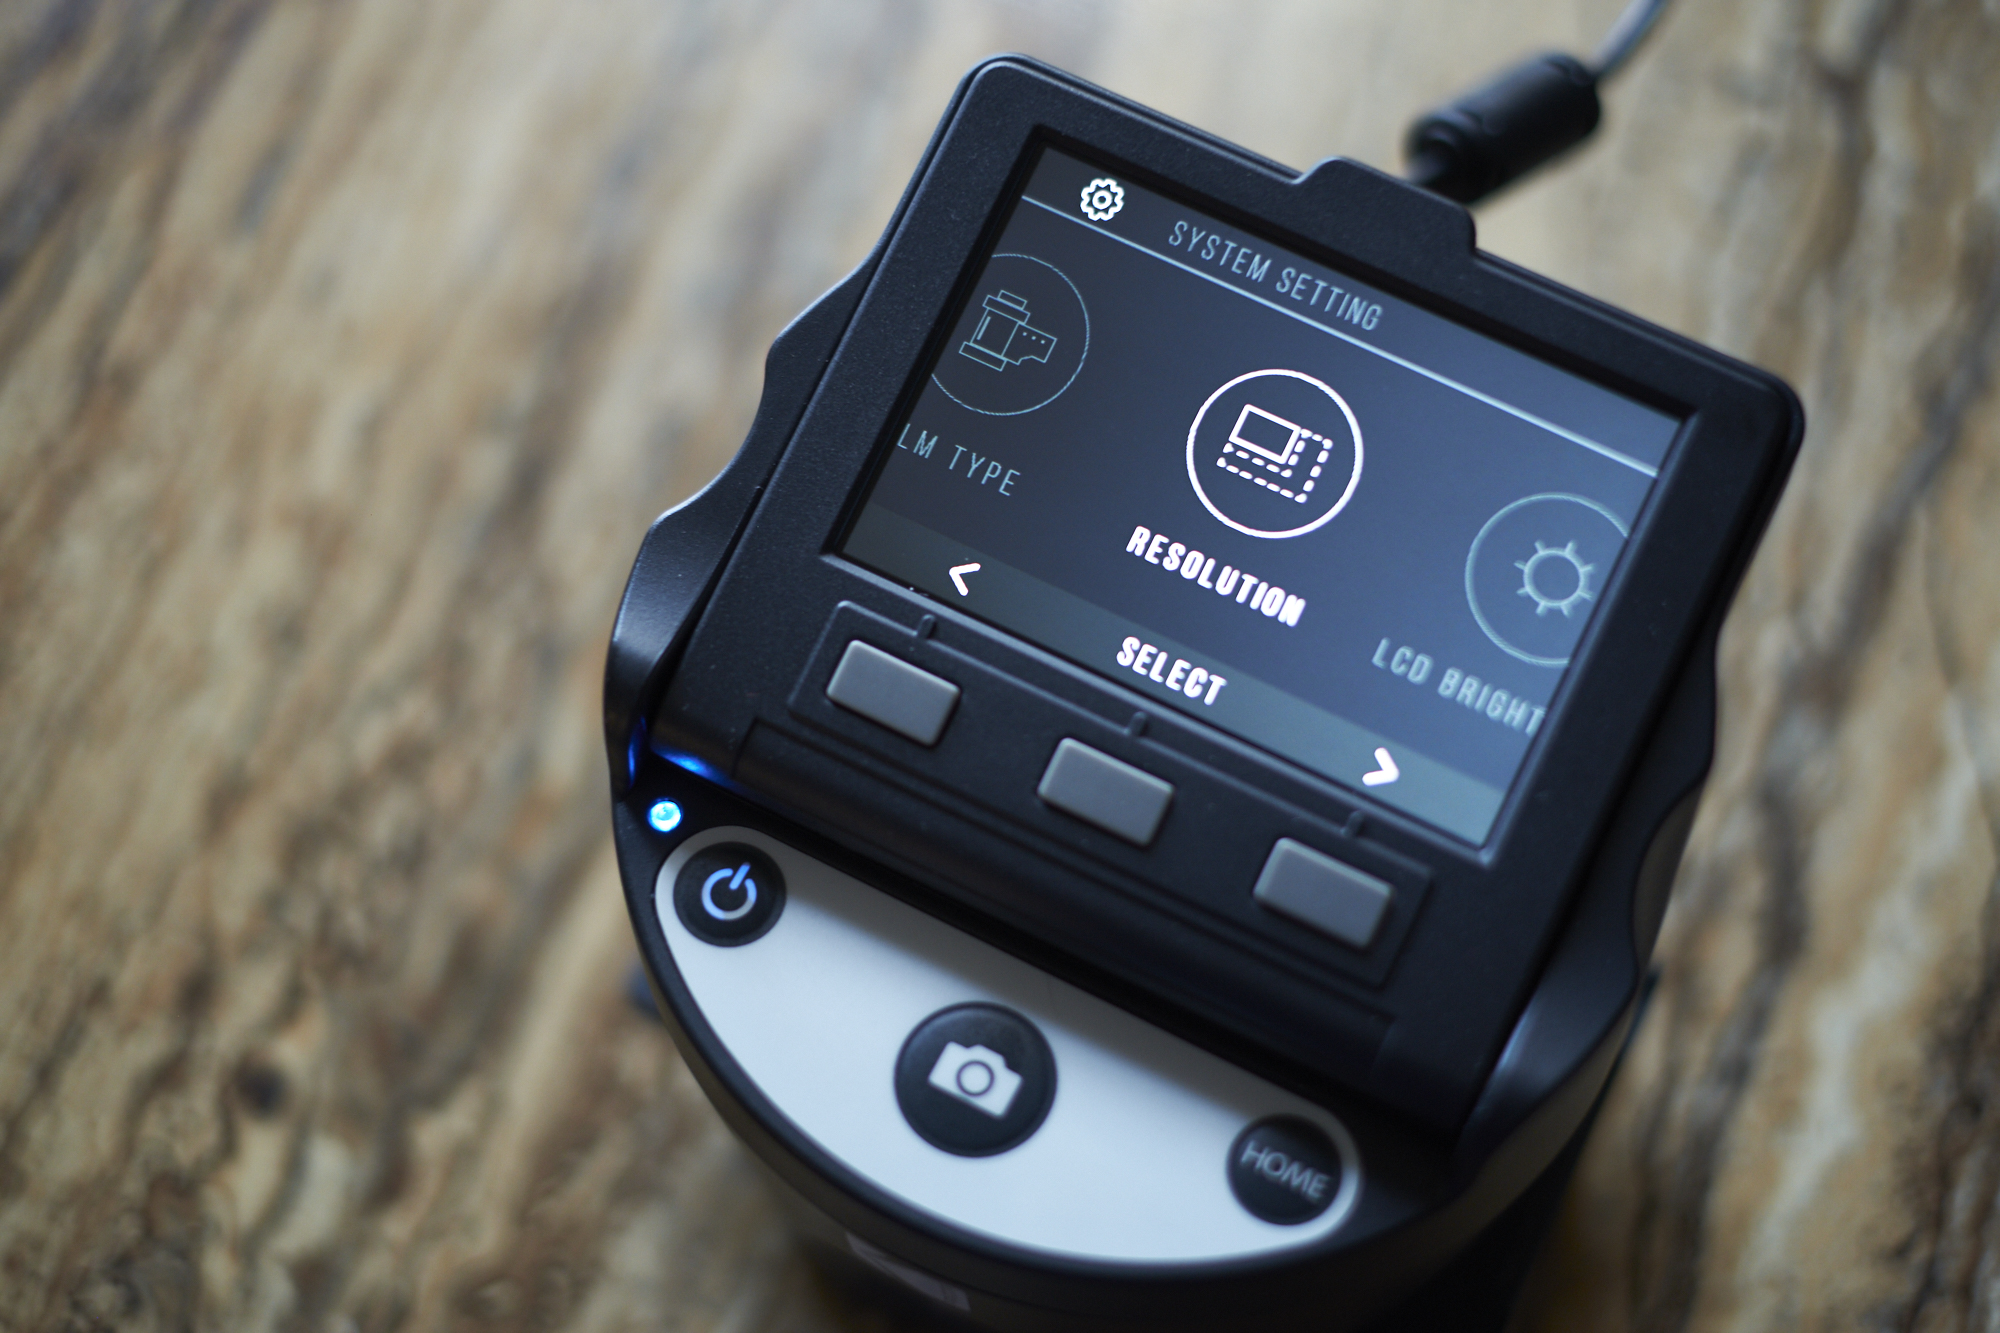
Ease of Use

Scanners like the Kodak Scanza couldn’t be simpler to use. You boot it up, plug in an SD card, tell the scanner what type of film you want to scan and what size, take the holder out so you can load up film, pull the film through and scan the ones you want. It’s that simple. This is one of the very nice features of the Kodak Scanza. I can hand this to someone that is technophobic and they’ll be able to figure it out for themselves providing that they give it the time and the patience. My mom, who would’ve been in her 60s at this point, probably would’ve been able to figure it out despite barely even knowing how to use the printer we used when growing up. But my Dad and my mom’s relatives would have no issues figuring this out at all. In truth, it’s really simple.
The results that it can give you are also very good. We scanned CineStill, Fujifilm, and Kodak film emulsions with the Kodak Scanza and were very happy with the results. However, there are a fair amount of exceptions to that statement.
In an ideal world, the Kodak Scanza would be able to do the following:
- Scan the entire photographic area of the 35mm negative/slide
- Not get any white space or black space in the scan
- Keep the negative holder firmly in place
Unfortunately, the Kodak Scanza can’t do these three things. So what you end up getting at times are scans where the edges are just odd. Thankfully, it does a pretty fantastic job of keeping dust and specks off the photographic area of the scan. This is the unfortunate price that you’re overall paying for the convenience. The Wolverine, which is a scanner very similar to this that I’ve used before, is even worse quality. So I’d consider the Kodak Scanza to be a second version with a significant amount of improvements. However, inconsistency with scans can be pretty annoying.
You can ask a photo lab to scan your film for you, but you’d be shocked at the variety in quality that you’ll get.
Something else I experienced — the files scan in a way that has problems with Capture One. I talked to my C1 reps about this, and they found it to be scanning images into an odd way that didn’t let me export the photos. Adobe Lightroom handled it fine on the other hand.
Conclusions
I think that the Kodak Scanza is an improvement over many of the other options that have been out there on the market. But I’d love for a scanner to be able to be compact, hold the film perfectly in place, give you high resolution scans, and to give you 100% of the photographic area of the film. At least in my mind, I don’t find that too difficult to ask for. But where the Kodak Scanza provides its most value is with its simplicity. And if you’re a person who wants to easily digitize most of your images, this is probably the way to do it while also being careful.
The Kodak Scanza receives three out of five stars. Want one? They’re on Amazon for $169.
Get rid of the ads!
Did you enjoy reading this article as much as we enjoyed writing it? There's a way to support us and our reporting, getting ad-free navigation and more as a bonus. Subscribe to us for less than a coffee per month —just $3.99— or take advantage of our yearly subscription with a hefty discount for only $25.- An ad-free experience
- A free mystery box for Lightroom or Capture One
- All the books in our store
- 20% discount on Capture One
- 30% discount on Imalume Photo Theft Protection
- 20% off Herbs and Kettle Tea Company.
- 20% off your order from MPIX printing services.
- 5% off Viltrox Products via their eCommerce store.
- 10% off all film developing, printing and scanning services from Blue Moon Camera and Machine
- 15% off 7Artisans products: The lens and accessory maker is offering a sweet discount for Phoblographer's readers.