
With analog film photography on the rise, there is obviously the need and want for many city dwelling photographers with little room in apartments to want to scan their photos; and that’s where the Wolverine F2D Mighty 20MP 7-in-1 Film to Digital Converter comes into play. No, it’s not a drum scanner. And it’s surely not one of those scanners well over $1,000. But it’s also not supposed to be. This film scanner scans 110 film, super 8 film, and 35mm negative and slide film in addition to black and white. For only [amazon_link asins=’B00O46B7TY’ template=’PriceLink’ store=’thephobl-20′ marketplace=’US’ link_id=’c8ab35ba-de67-11e6-965f-bfba3e10fa0d’] though, you really can’t complain about the quality.
Yes, those of us who shoot 120 film are probably scoffing at this. Though my more serious work tends to be 120, I’m known to engage in working with small format every now and again. It scans 20MP JPEG images. And if you’re fine with that, then you have no problems.
And believe it or not, I really like this scanner. In fact, I’m going to keep using it.
Tech Specs
If you truly care about specs, then you should check out the company’s PDF file about this scanner.
Ergonomics
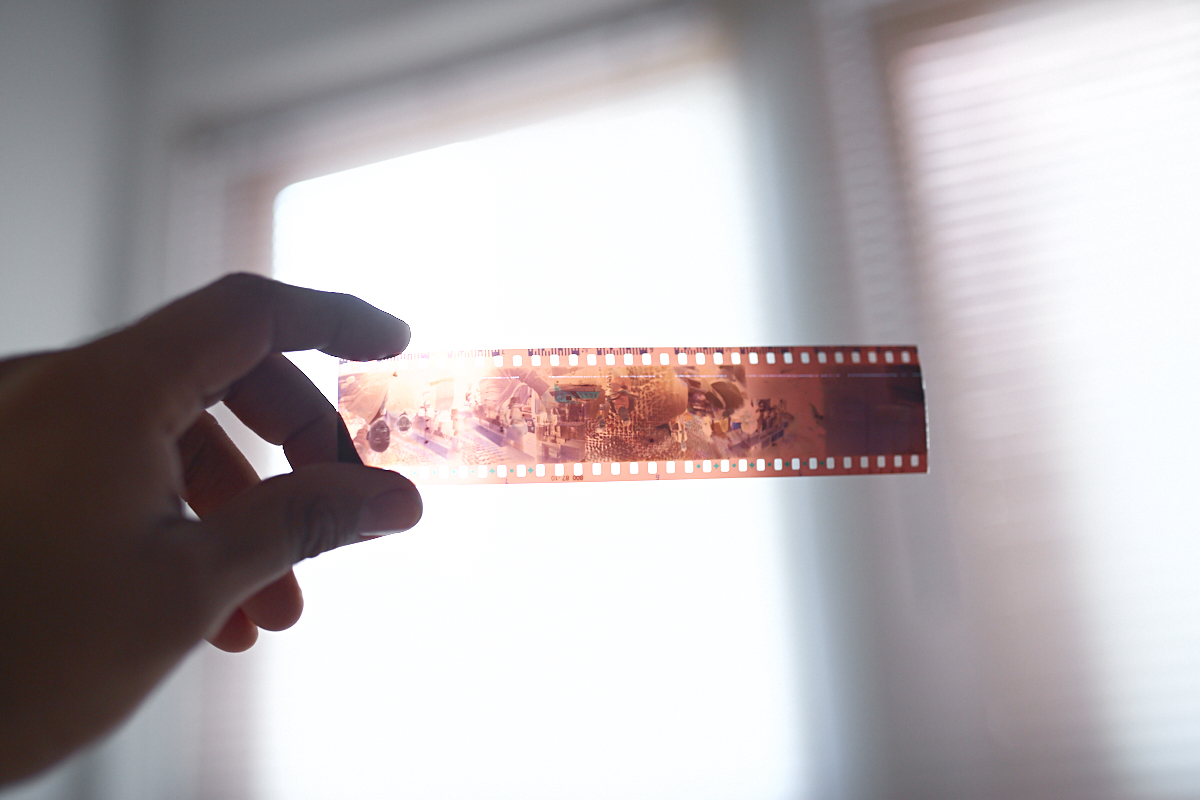
This is a small film scanner. Now calm down, you see cut negatives there; but I prefer my negatives cut sometimes. You can use it in either way.
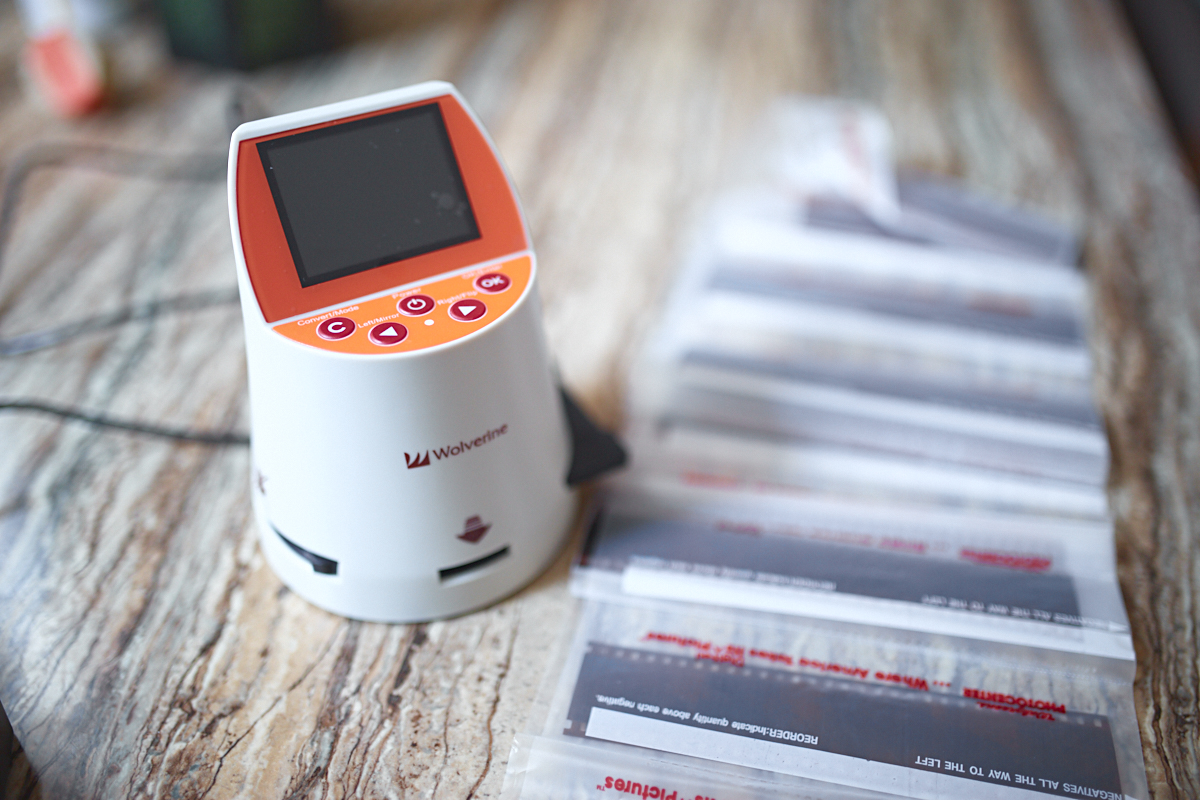
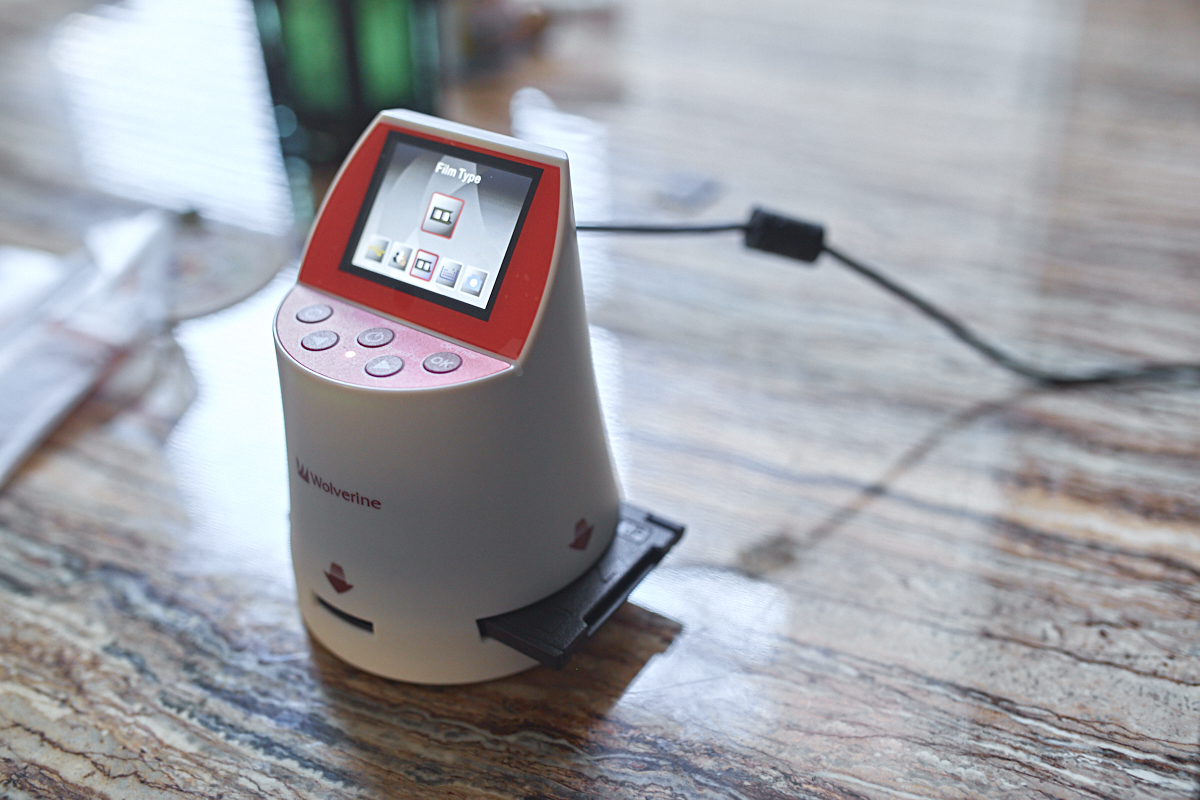
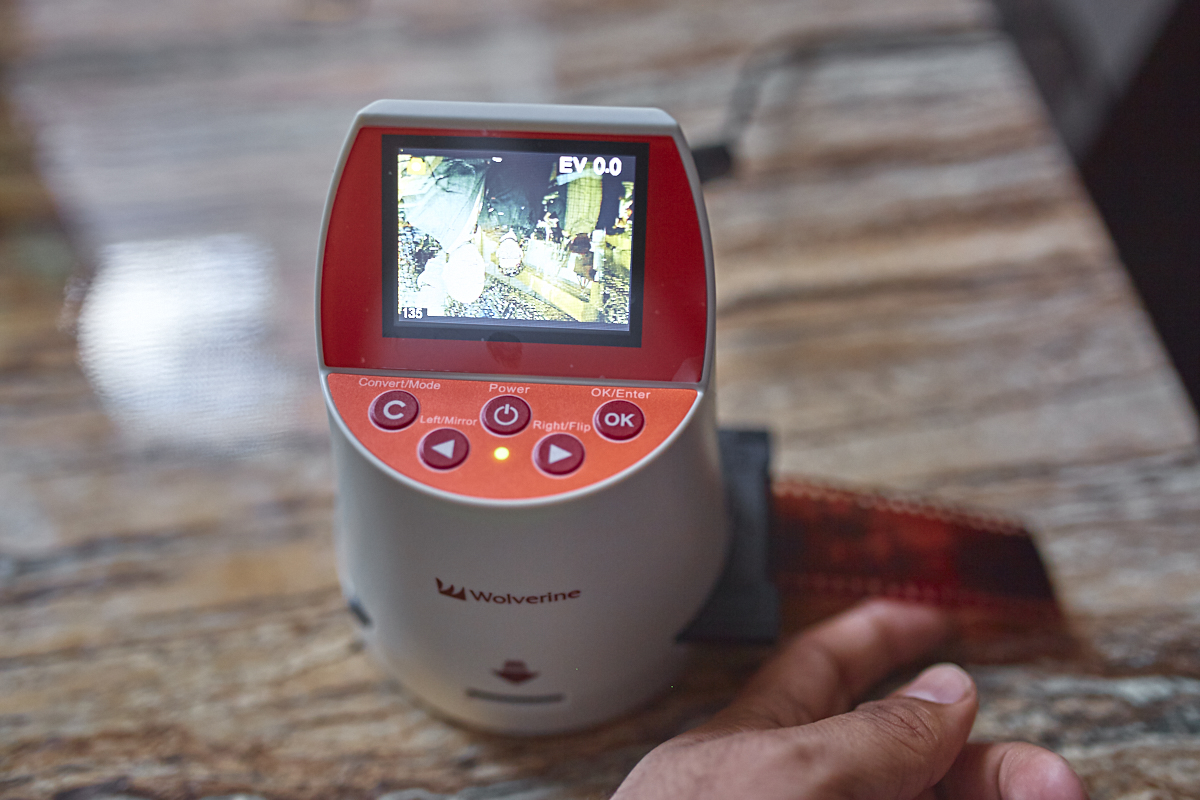
The Wolverine F2D looks kind of like a kiosk–but fun sized.
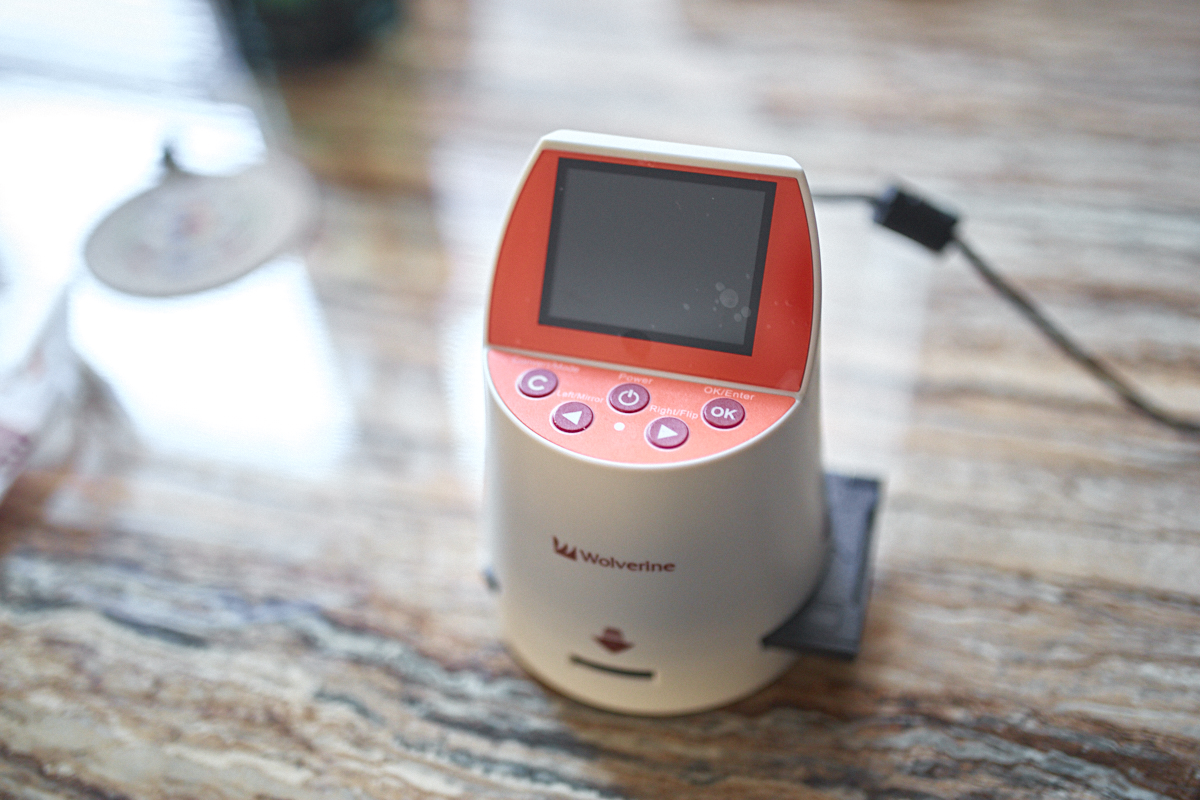
Most of the interaction will be done via this interface. You get directional buttons, a back button, an OK button and a power button. Then you look at everything that comes up on the screen.
The F2D can hold photos with its internal storage, but you can also use SD cards. Generally if you use anything above 32GB, it will lag the scanner. So go for something a bit smaller.

To insert the film into the scanner, you use a holder like this. There are various types depending on the film that you’re using. The holders each tell you what kind of film they’re for.
Ease of Use

When you turn the Wolverine F2D on, you’ll get a screen that gives you a number of options. You can delete photos, scan, etc.
In order to scan, you’ll need to find the according holder for the type of film you want to work with.
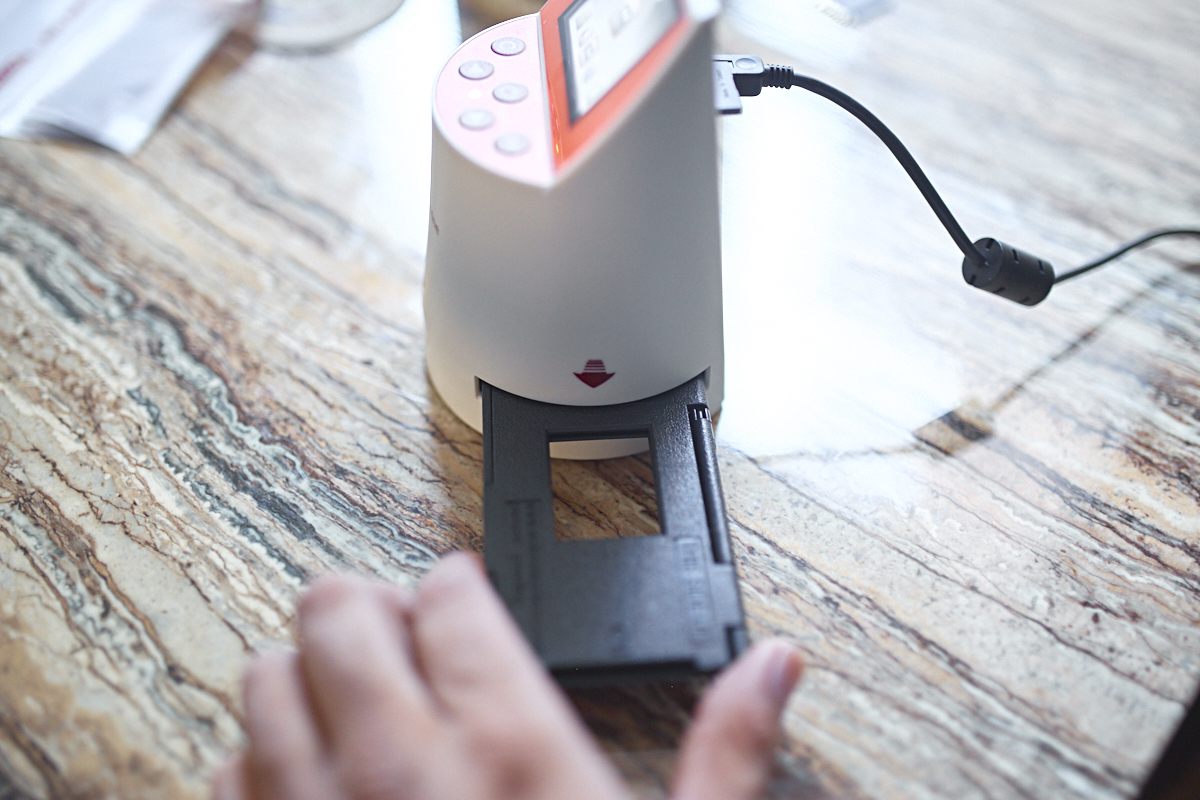
They go in just like this.
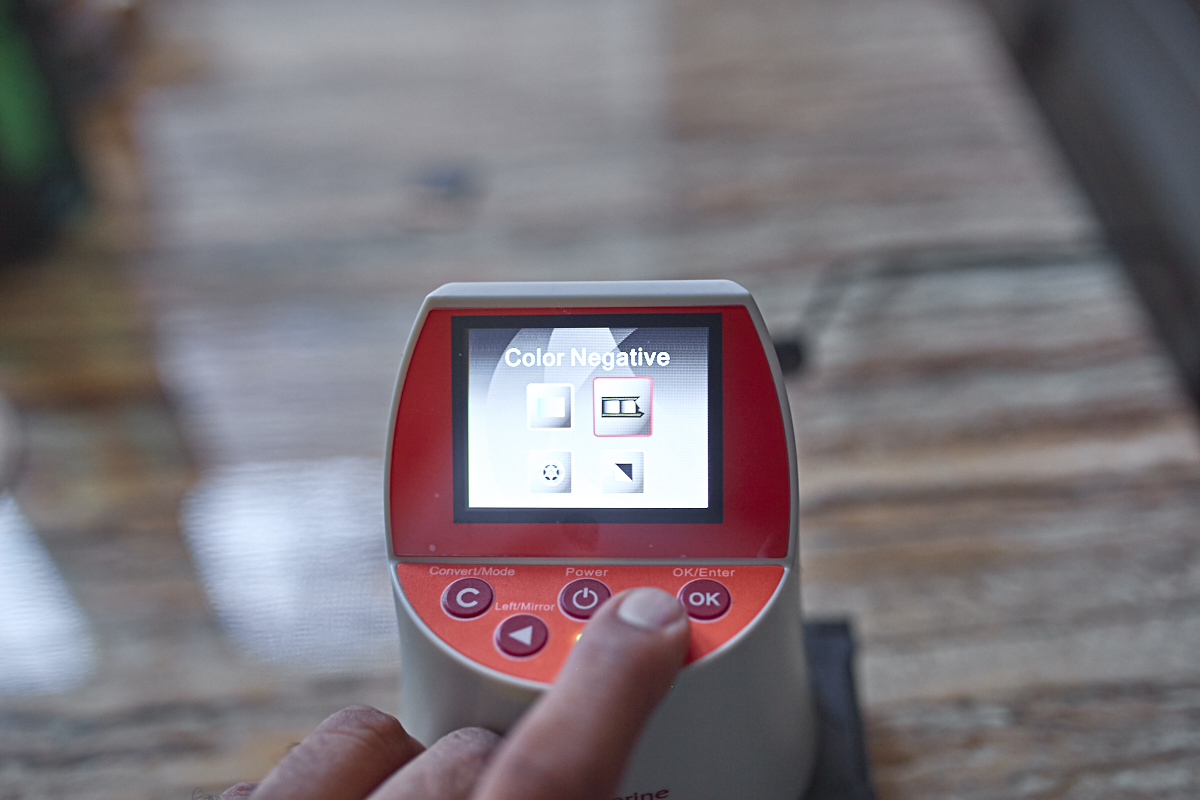
Then you select the type of film you want to work with. You get slide, color negative, black and white or movie film.

When the film goes into the scanner, the screen shows you what it’s got. You can manually move the film in and out using your own fingers.
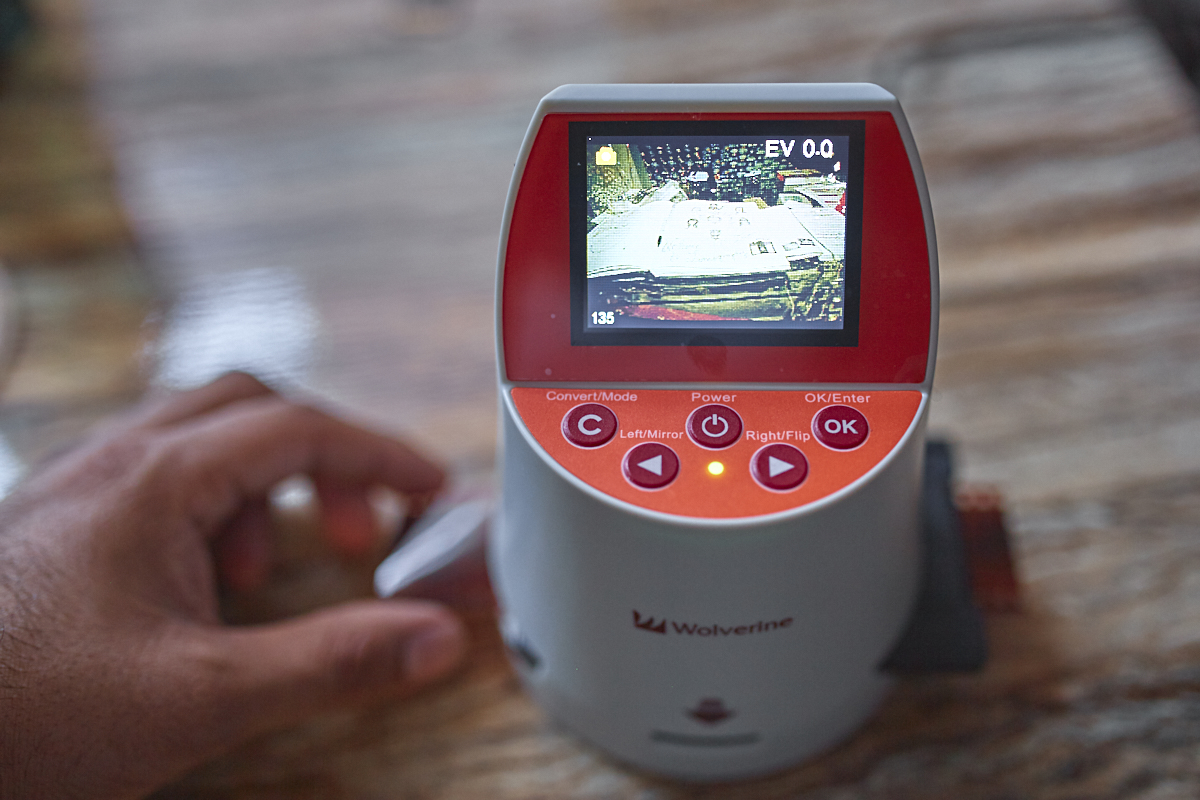
When you find a photo you like, you can choose to scan it and save it. The scanning and saving process is SUPER simple. You’ve got the option of tuning the RGB and the exposure.
In this way, you can be very selective about the types of photos you’re scanning or which ones from a roll you want saved.
Image Quality

I’ve scanned a few rolls so far, but by far and large my favorite has been a roll that I shot from years ago when I started the website. It was Kodak 400BW CN–a film that’s now gone but was highly underrated.

The Wolverine F2D does a pretty great job with scanning the photos. After I got my scans, I printed some of these at 13×18 and they still continue to look good.

What’s really awesome here is the grain structure that it’s able to capture. If you printed this picture, it would surely look different if scanned vs printed straight from the negative. But either way you’re bound to get something that you’ll appreciate.


Conclusions
I really, really like the Wolverine F2D scanner. It’s small, lightweight, portable, versatile, and gives me more than good enough image quality. When taking film to labs, I no longer need to pay the sometimes excessive fees for scanning. Instead, I’ll just do it myself at my own leisure at home. And do it easily with more than a good enough image quality for what I need.
In the cases where I need the absolute best scan, I’d go to a lab that can deliver that product. But otherwise, I’m amazingly satisfied with the Wolverine. I’m sure you will be too.
Get rid of the ads!
Did you enjoy reading this article as much as we enjoyed writing it? There's a way to support us and our reporting, getting ad-free navigation and more as a bonus. Subscribe to us for less than a coffee per month —just $3.99— or take advantage of our yearly subscription with a hefty discount for only $25.- An ad-free experience
- A free mystery box for Lightroom or Capture One
- All the books in our store
- 20% discount on Capture One
- 30% discount on Imalume Photo Theft Protection
- 20% off Herbs and Kettle Tea Company.
- 20% off your order from MPIX printing services.
- 5% off Viltrox Products via their eCommerce store.
- 10% off all film developing, printing and scanning services from Blue Moon Camera and Machine
- 15% off 7Artisans products: The lens and accessory maker is offering a sweet discount for Phoblographer's readers.