
Last Updated on 05/04/2017 by Chris Gampat
Some of the biggest problems with mirrorless cameras for photojournalists, street photographers, wedding photographers and others has to be the performance. Sometimes it’s just too slow when they need to capture a moment super quickly lest they completely miss it. In street photography, if you’ve already seen the moment, it’s gone. Surely, anticipation can help, but it can only do so much.
To get the most from your mirrorless camera, we’ve put together a number of tips on how to get faster performance.
Don’t Let The Camera Go to Sleep
You’re walking along the streets when suddenly you see some gorgeous light and a fantastic, picturesque moment about to happen in front of you. So you bring your camera up to your eye, autofocus and press the shutter. But the camera is asleep and so you miss the moment while it wakes up. You, not realizing this, keep hammering the shutter until you bring the camera away from your face in disgust.
The problem: your camera was asleep. So for starters, turn off the ability to put the camera to sleep. Heck you can even go as far as telling it to also not darken the LCD screen to save power also. What this will mean is that your camera is always awake and always able to shoot. This is one of the worst issues with phones.
At least you never had this problem with film cameras 😉
Turn off WiFi, Dim the Screen and the Viewfinder, Turn off Image Review For More Battery Life

Since you’re not allowing your camera to go to sleep or darken the viewfinder/LCD screen while in use, you’ll be pulling more power from it consistently. It’s always going to be ready for you to shoot with. So to compensate for this, have the camera put less emphasis on the other battery draining tasks.
- If you’re not using WiFi to upload images to your phone, then turn it off. When you’re ready to do it, turn it back on. Otherwise, the camera is going to continue to scan for access points.
- Dim the screen and the viewfinder: this has been huge for years now. LCD screens pull a lot of power and while a brighter screen will look nice, if all you’re doing is using the exposure controls it shouldn’t be as necessary with the exception of needing to compose. At the same time, turn off exposure preview because if the camera can keep some sort of consistency, then it’s not changing parameters every time.
- Turn off the image review. If you’re confident that you got the shot, there’s no point in chimping the LCD screen.
That last tip also makes you a better photographer.
Lock the Viewing Mode to Either the Viewfinder or the LCD Screen
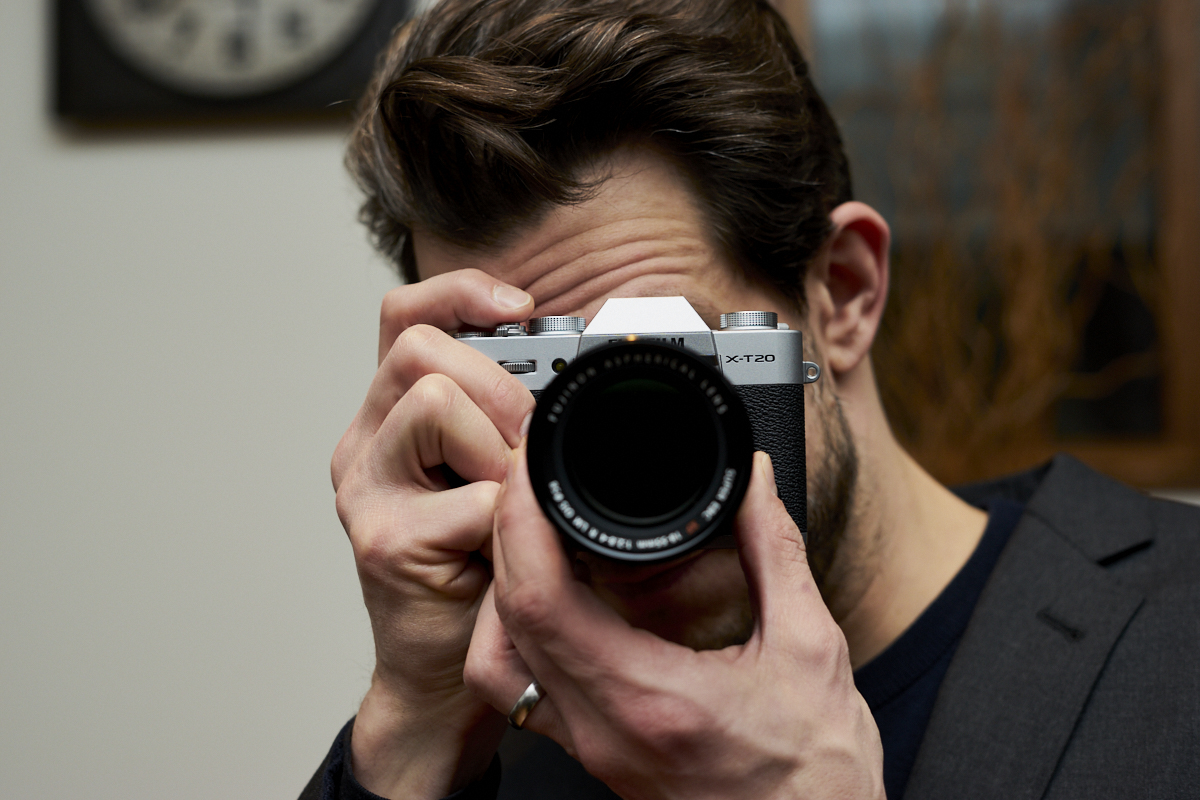
Sometimes when you’re a photographer who often uses an electronic viewfinder, the camera will need to sense your eye, then switch on the viewfinder. So if you’re out shooting, why not just use the viewfinder in the first place? That will mean that the viewfinder is constantly on. Otherwise, just use the LCD screen.
No need to have the camera switch between the two really otherwise you’re just delaying the performance.
Zone Focus
When it comes to focusing, sometimes the absolute best thing to do is to use the zone focusing system. Zone focusing is basically focusing out to a given distance away, stopping the lens down and looking at the lens to see how much of the scene will be in focus. Ever heard the phrase “F8 and be there?” It comes from that idea.
Center Focus Point, Autofocus, Recompose
If you’re hellbent on using autofocus, I strongly suggest using the center focus point, focusing and recomposing. Otherwise, you’ll need to look through the viewfinder, select the focusing point (or ensure it’s on your subject to begin with) and then shoot–all while hoping that the moment isn’t gone. Using the center focusing point and recomposing is faster.
Using the zone focusing method means that the subject is in focus to begin with.
Get rid of the ads!
Did you enjoy reading this article as much as we enjoyed writing it? There's a way to support us and our reporting, getting ad-free navigation and more as a bonus. Subscribe to us for less than a coffee per month —just $3.99— or take advantage of our yearly subscription with a hefty discount for only $25.- An ad-free experience
- A free mystery box for Lightroom or Capture One
- All the books in our store
- 20% discount on Capture One
- 30% discount on Imalume Photo Theft Protection
- 20% off Herbs and Kettle Tea Company.
- 20% off your order from MPIX printing services.
- 5% off Viltrox Products via their eCommerce store.
- 10% off all film developing, printing and scanning services from Blue Moon Camera and Machine
- 15% off 7Artisans products: The lens and accessory maker is offering a sweet discount for Phoblographer's readers.