
Last Updated on 04/06/2017 by Chris Gampat
If you’re like me, then you’re one of the many photographers who has recently jumped ship from Adobe Lightroom to Capture One for its improved (yet albeit advanced) workflow. Indeed, working with Capture One is a different process and requires you to think in a more complex, sectioned way when editing images. What worked for you in Lightroom won’t necessarily work for you in Capture One 10. If anything, think about it as going from aperture priority on your camera to manual mode. But like, full, full manual.
Recently, I had the opportunity to photograph a Thai kickboxer and decided to try something a bit different by gelling a flash with red to give him more of a neon look and have him stand out more from the background. So here’s how I saved the image.
So when I first approached the image I thought carefully to myself and asked, “What do I want?”
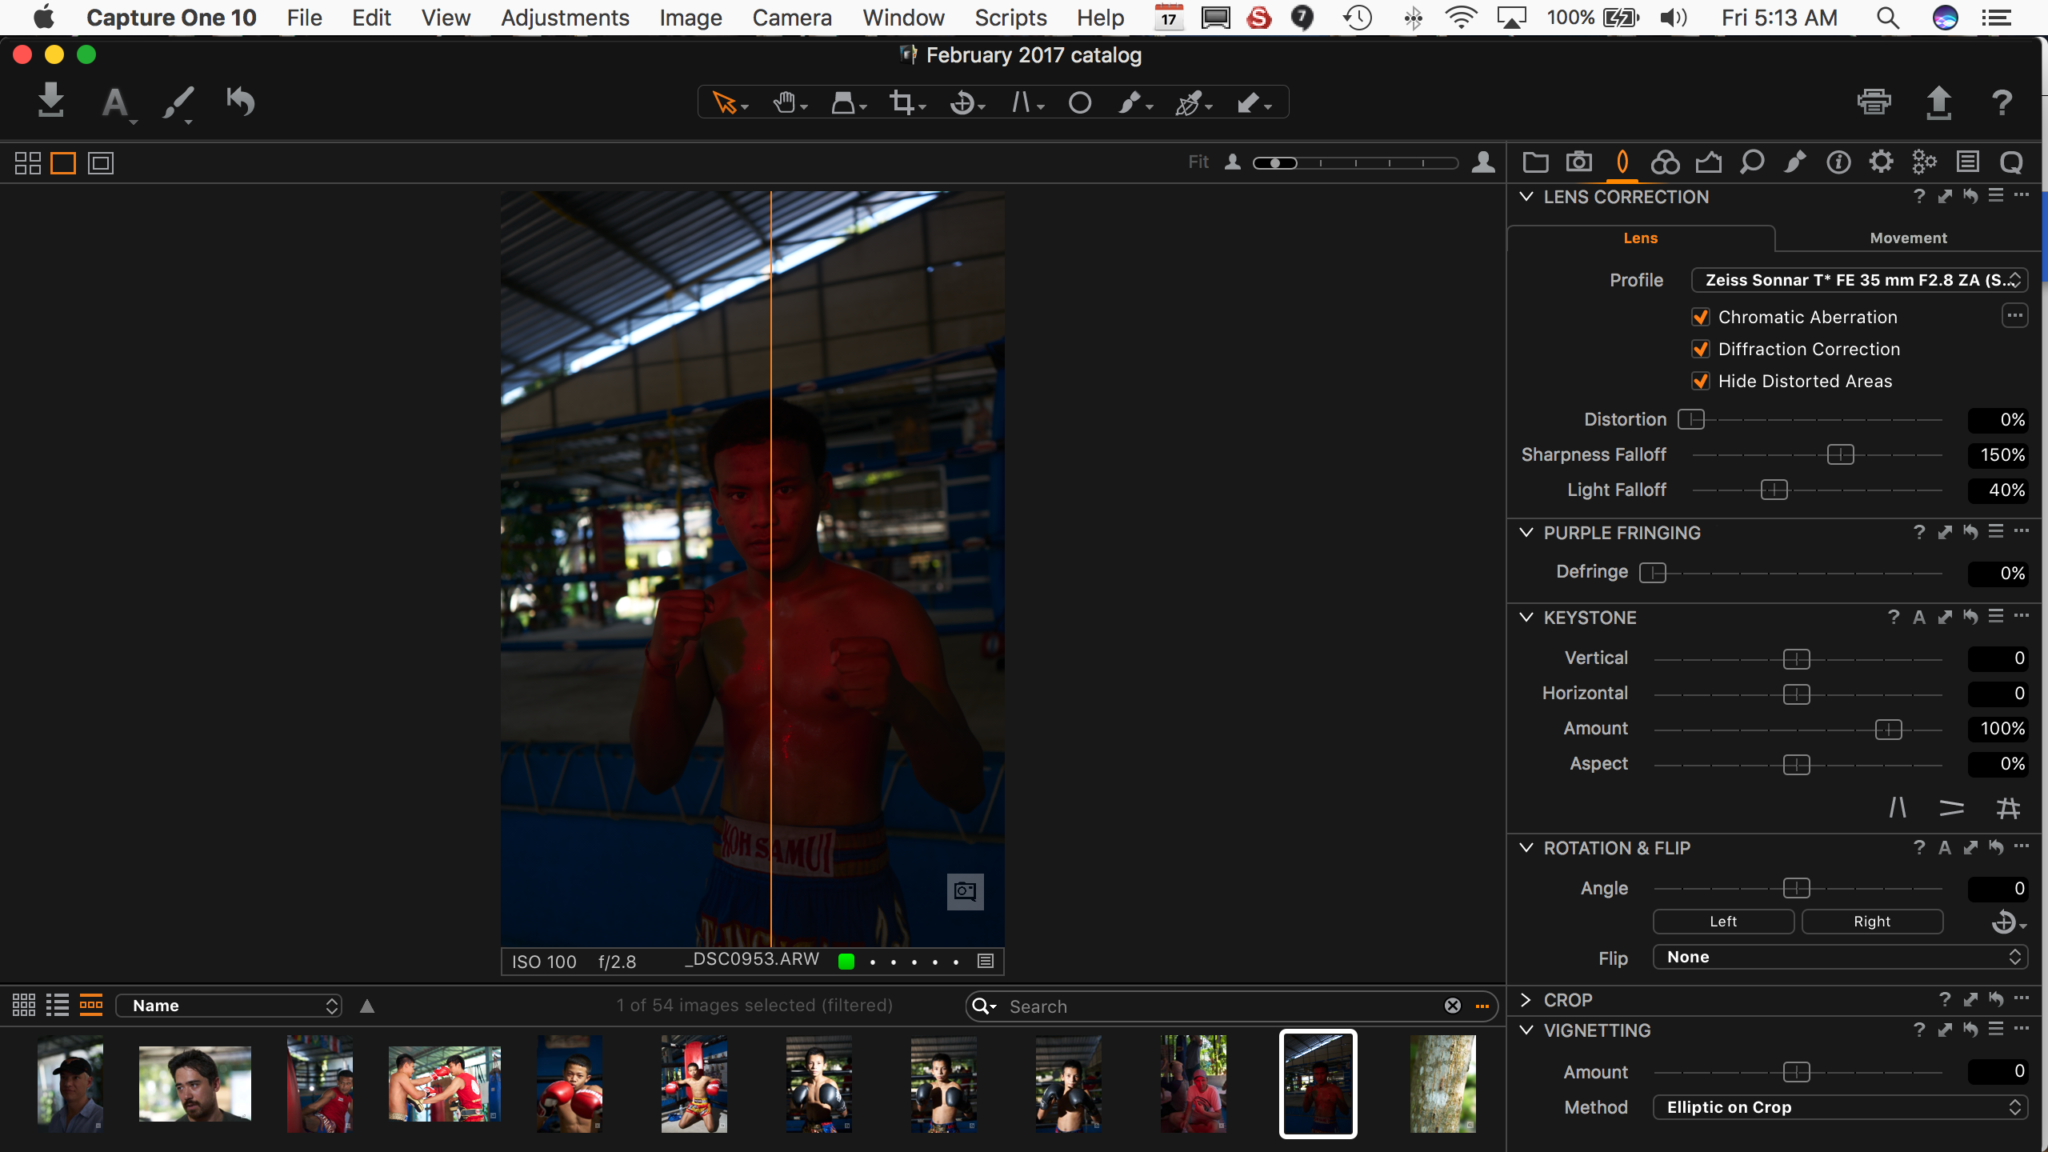
This, above anything else, is what you should ask yourself. If you’re the type of person that messes around in Lightroom until you get something you like, Capture One isn’t for you. Once you understand the concepts, then you can move on up. For this particular image, I had my own creative vision that I wanted in the end. So I started out with lens corrections in Capture One.
This image was shot with the Sony 35mm f2.8 on the Sony a7r II with a Flashpoint Zoom Lion and ExpoImaging gels.
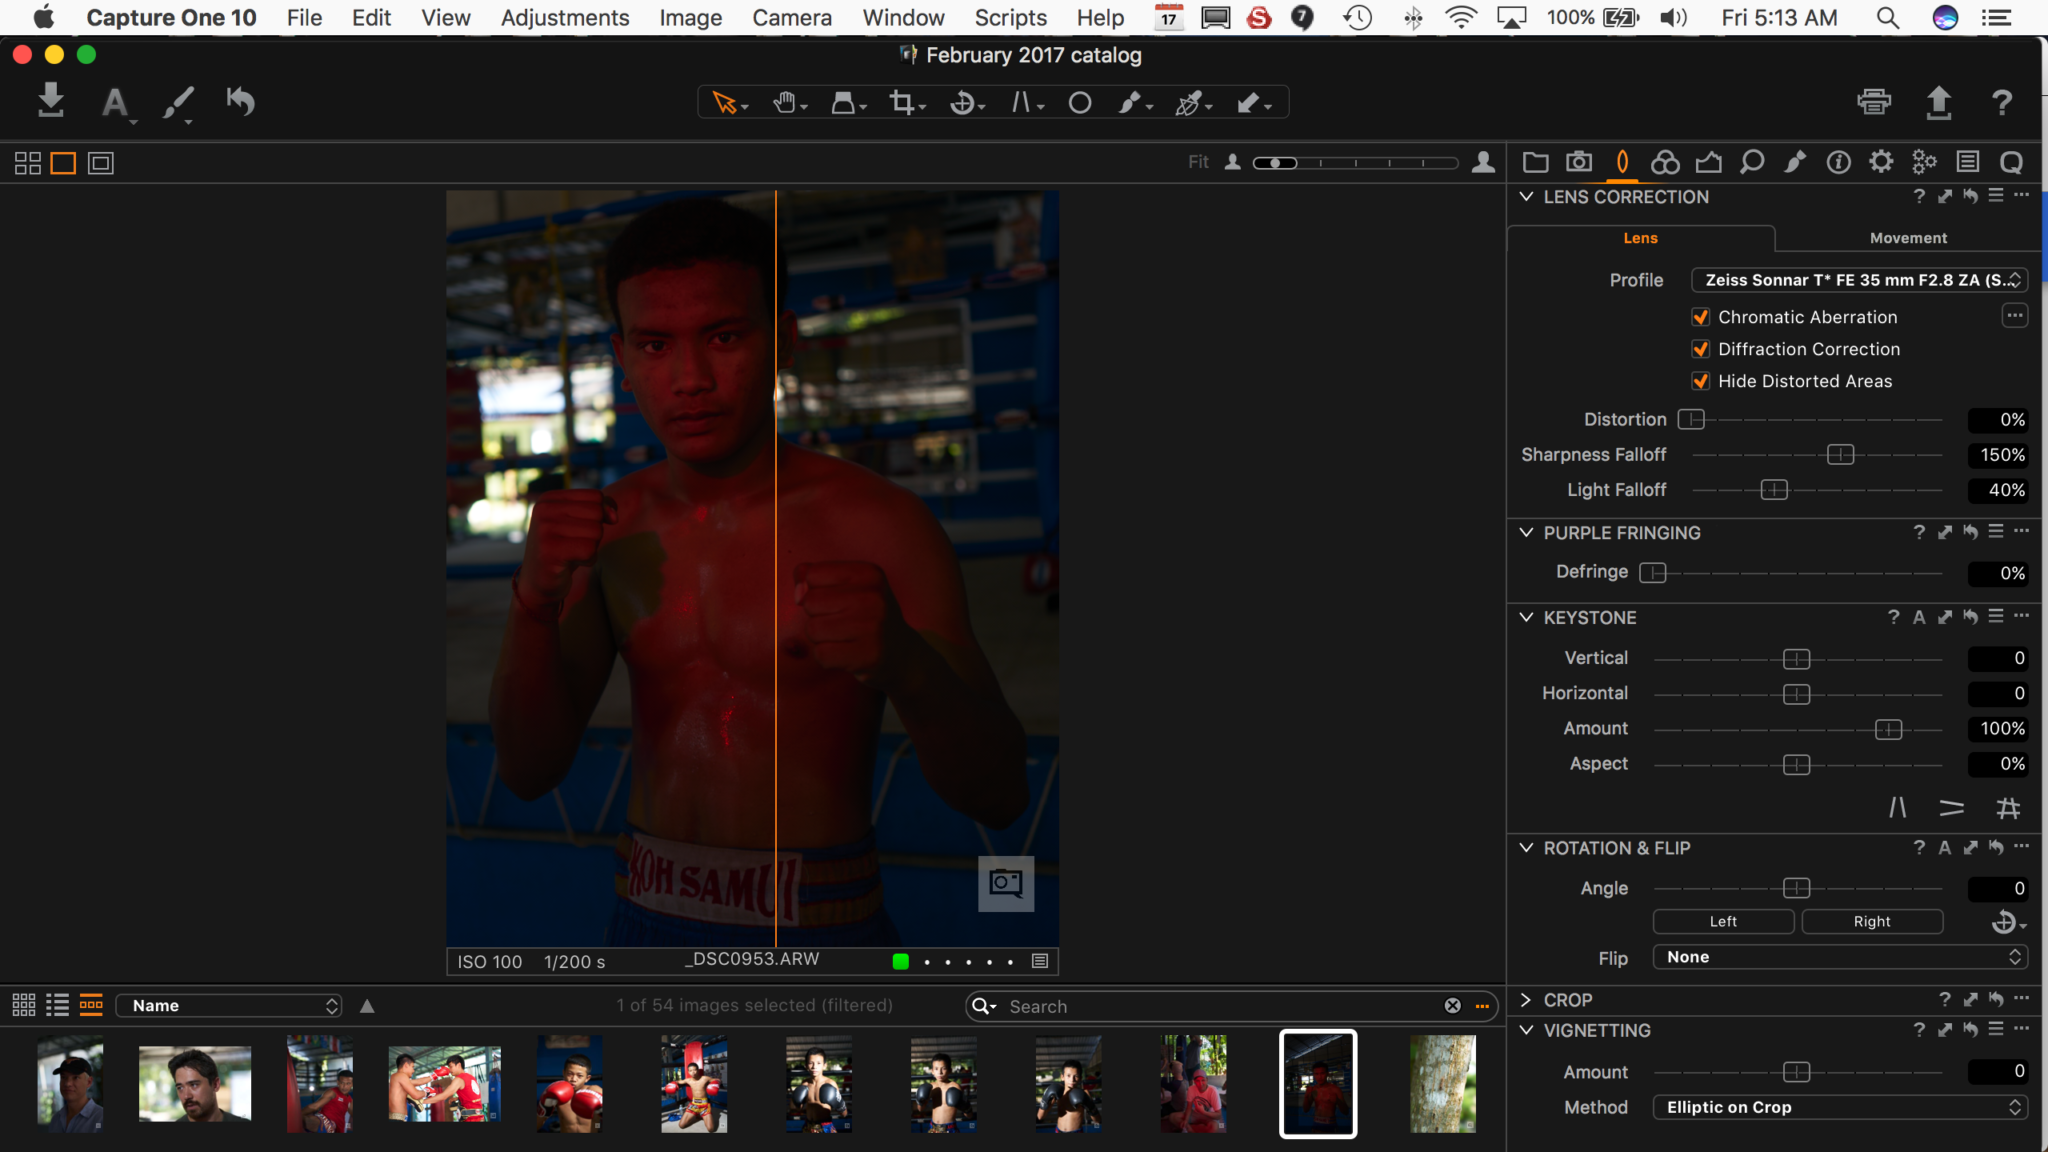
After doing the lens corrections, I cropped the image the way I wanted it. With this composition, the emphasis is much higher on the fighter vs being in the larger spot overall. We can tell that he’s in a gym by the ring in the background; and that’s enough of an important detail.
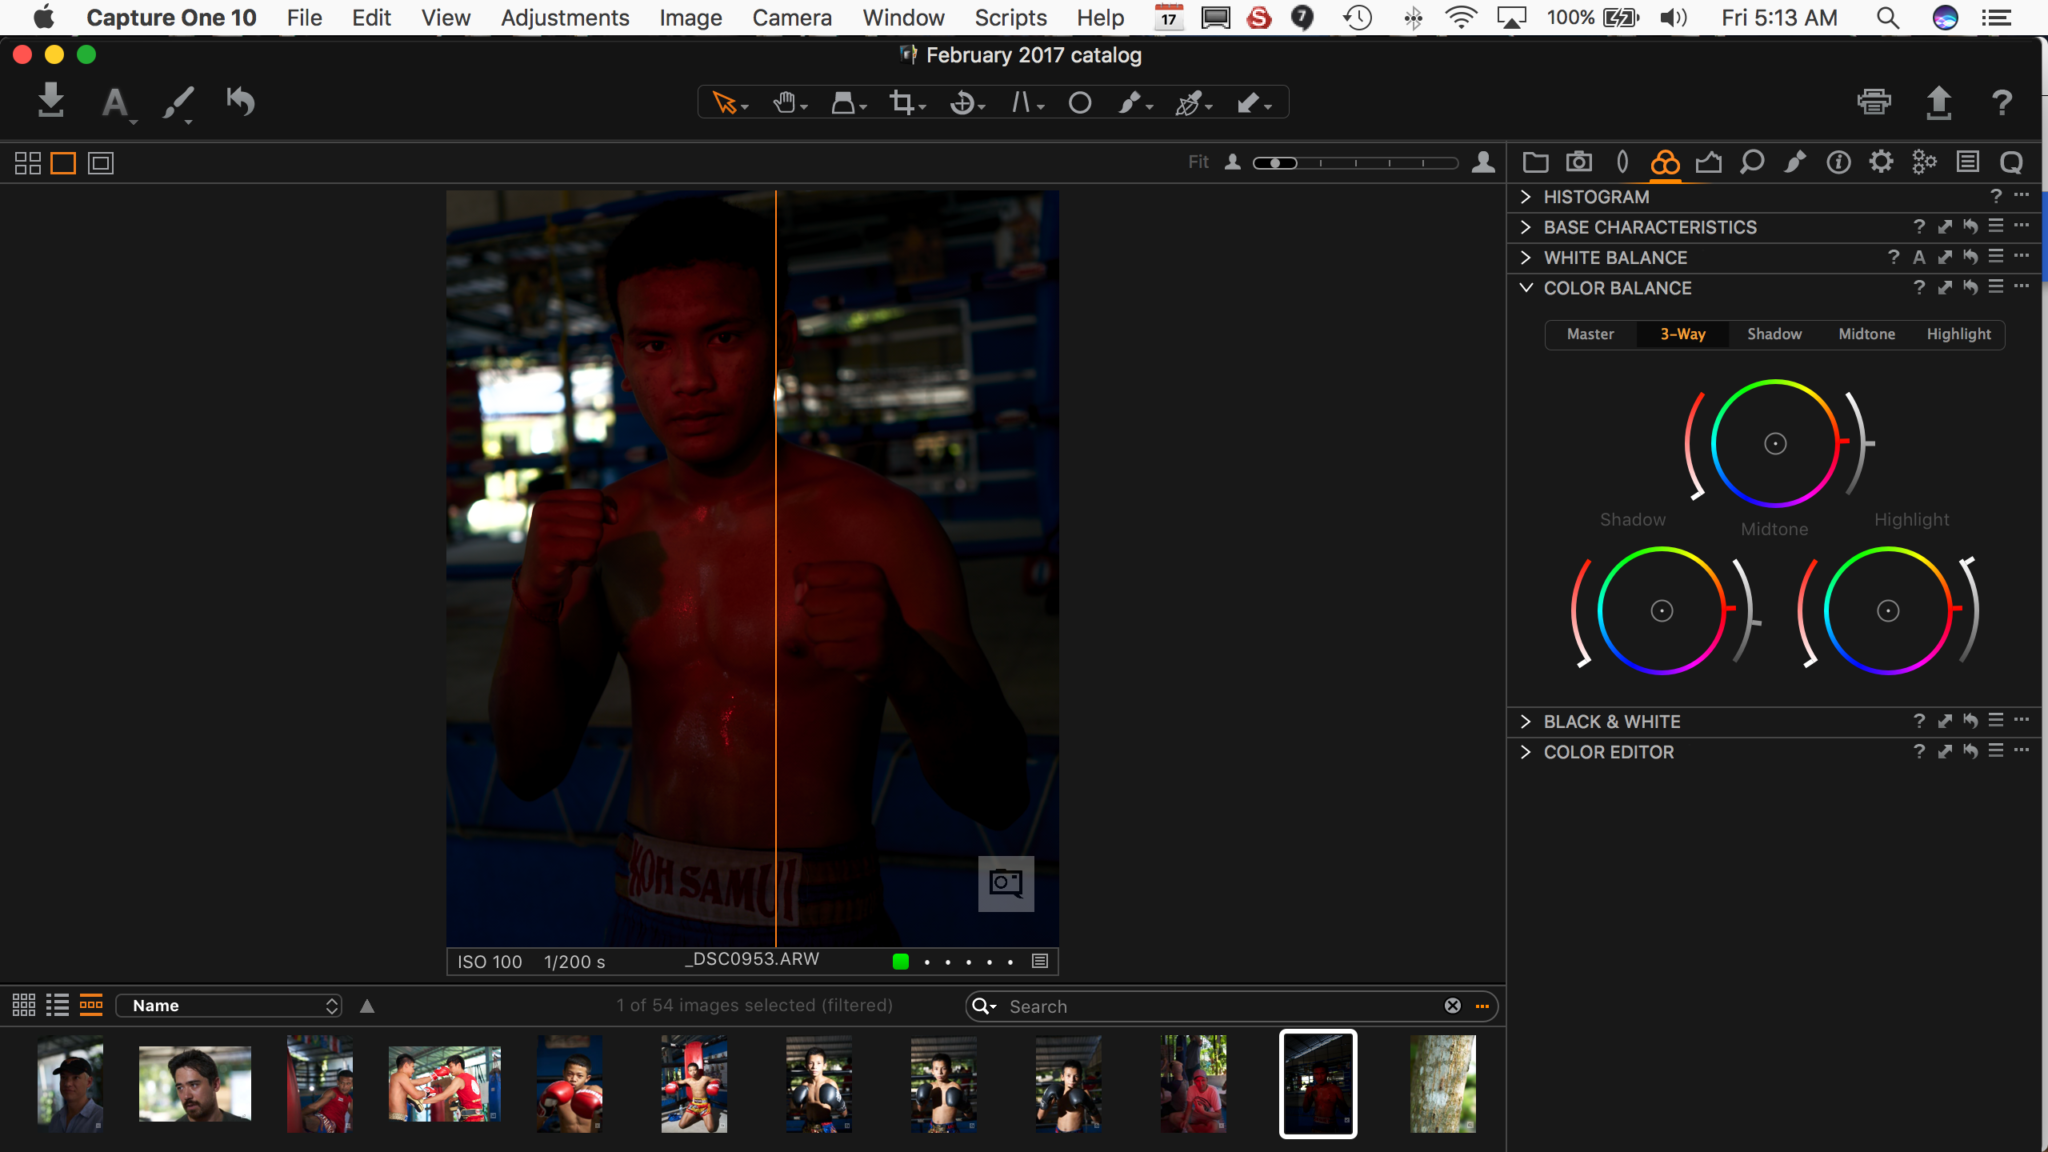
I tend to work with White balances first. My camera is always locked to either Daylight or Tungsten (3200K) due to the way I try to mimic the look of film when possible. After that’s all set in post-production, I move onto Capture One’s color editor. Here is where I adjust the highlights and the shadows to my liking. Of course, this image is underexposed, but you’ll see what’s possible.
In Capture One, the photographer can go ahead and edit the saturation and lightness of each set channel. The main colors here are red and blue. So I primarily worked in those channels to get the most from them.

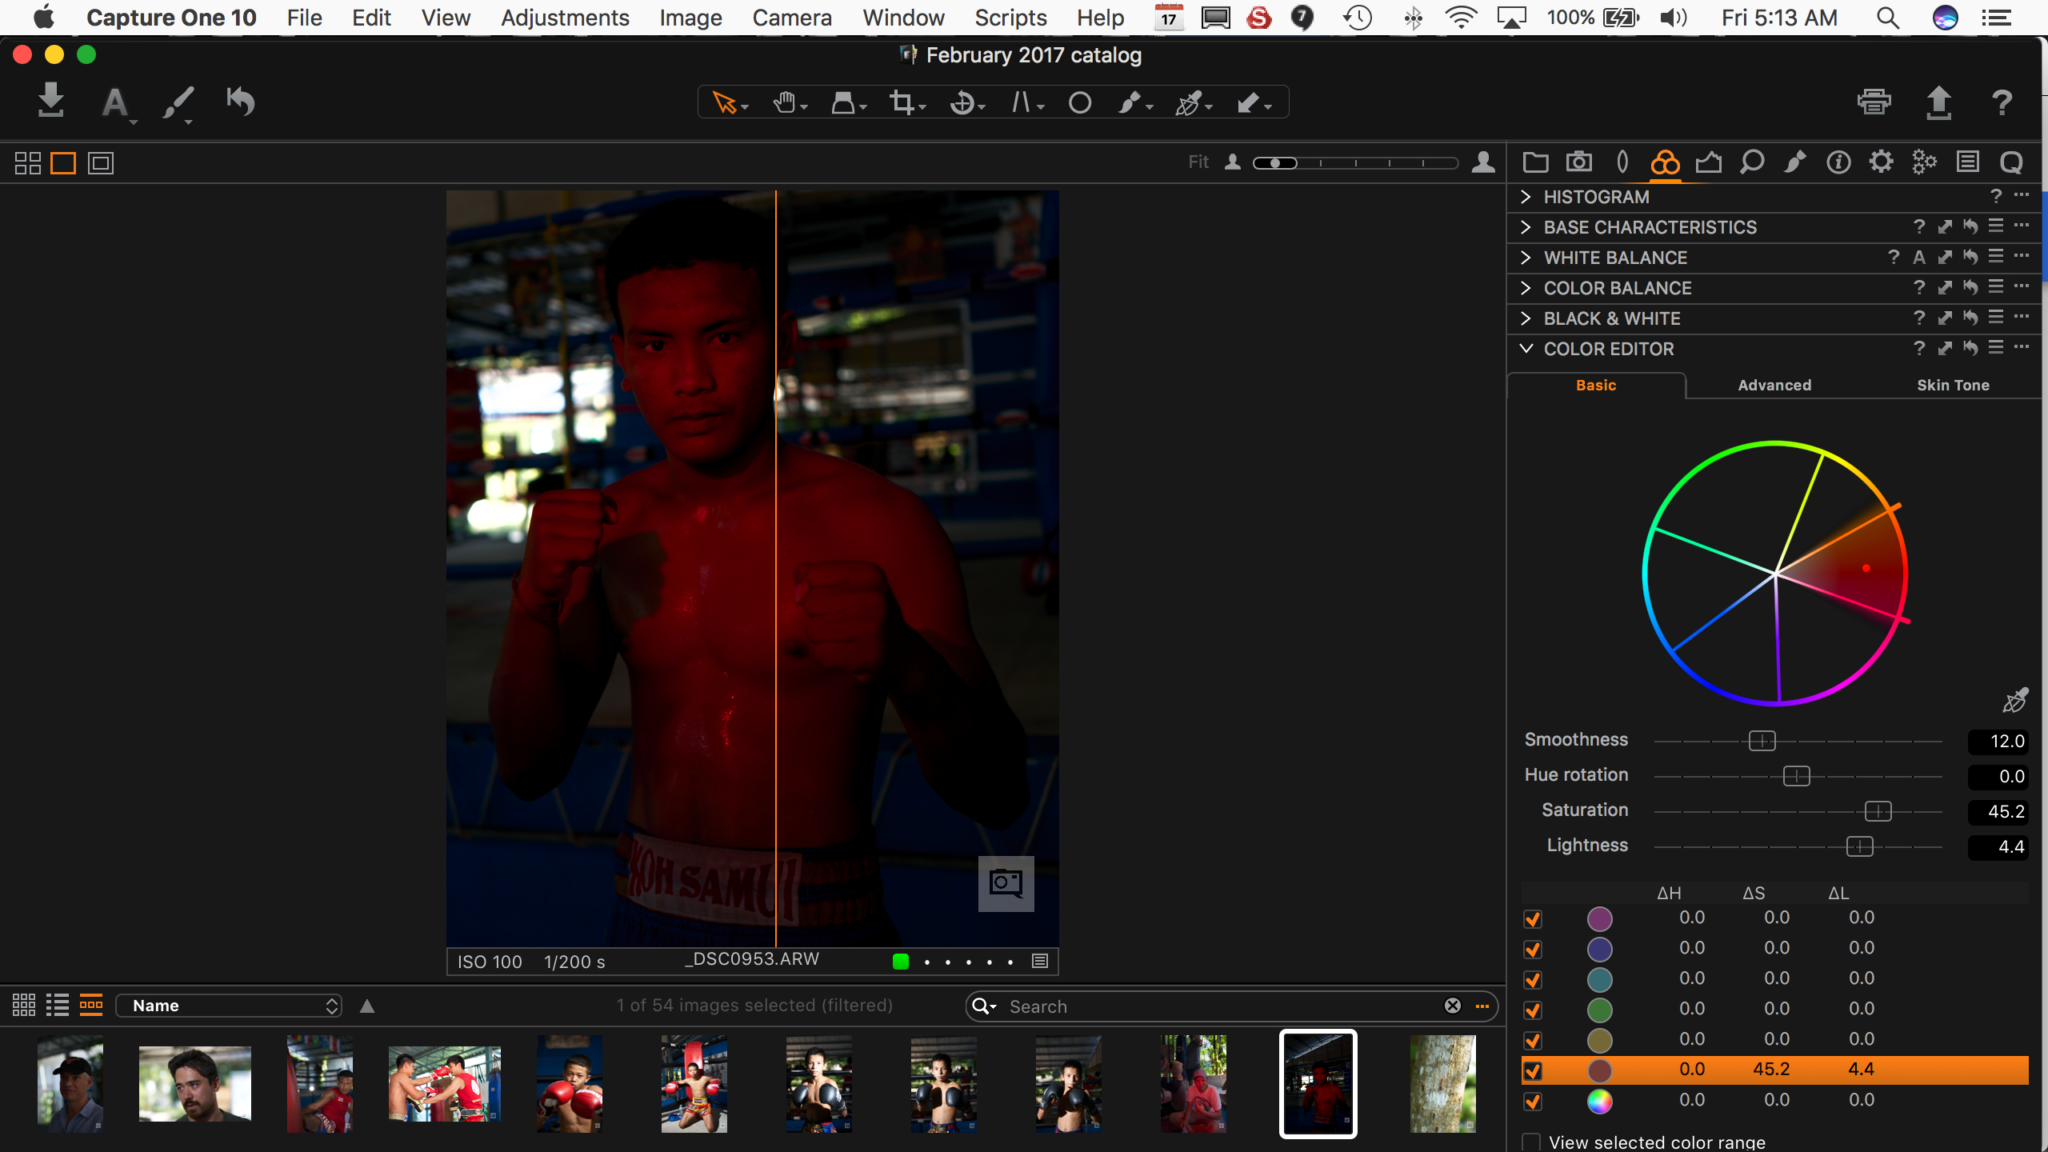
Sometimes what helps a lot is using the color selection tool to boost a specific color as it relates to a channel. To return back to the normal pointer, you can select the pointer tool from above.
Here is where I’m starting to almost get the photo to be what I want. Notice how more detail has come from the red and the blues? But I need more.
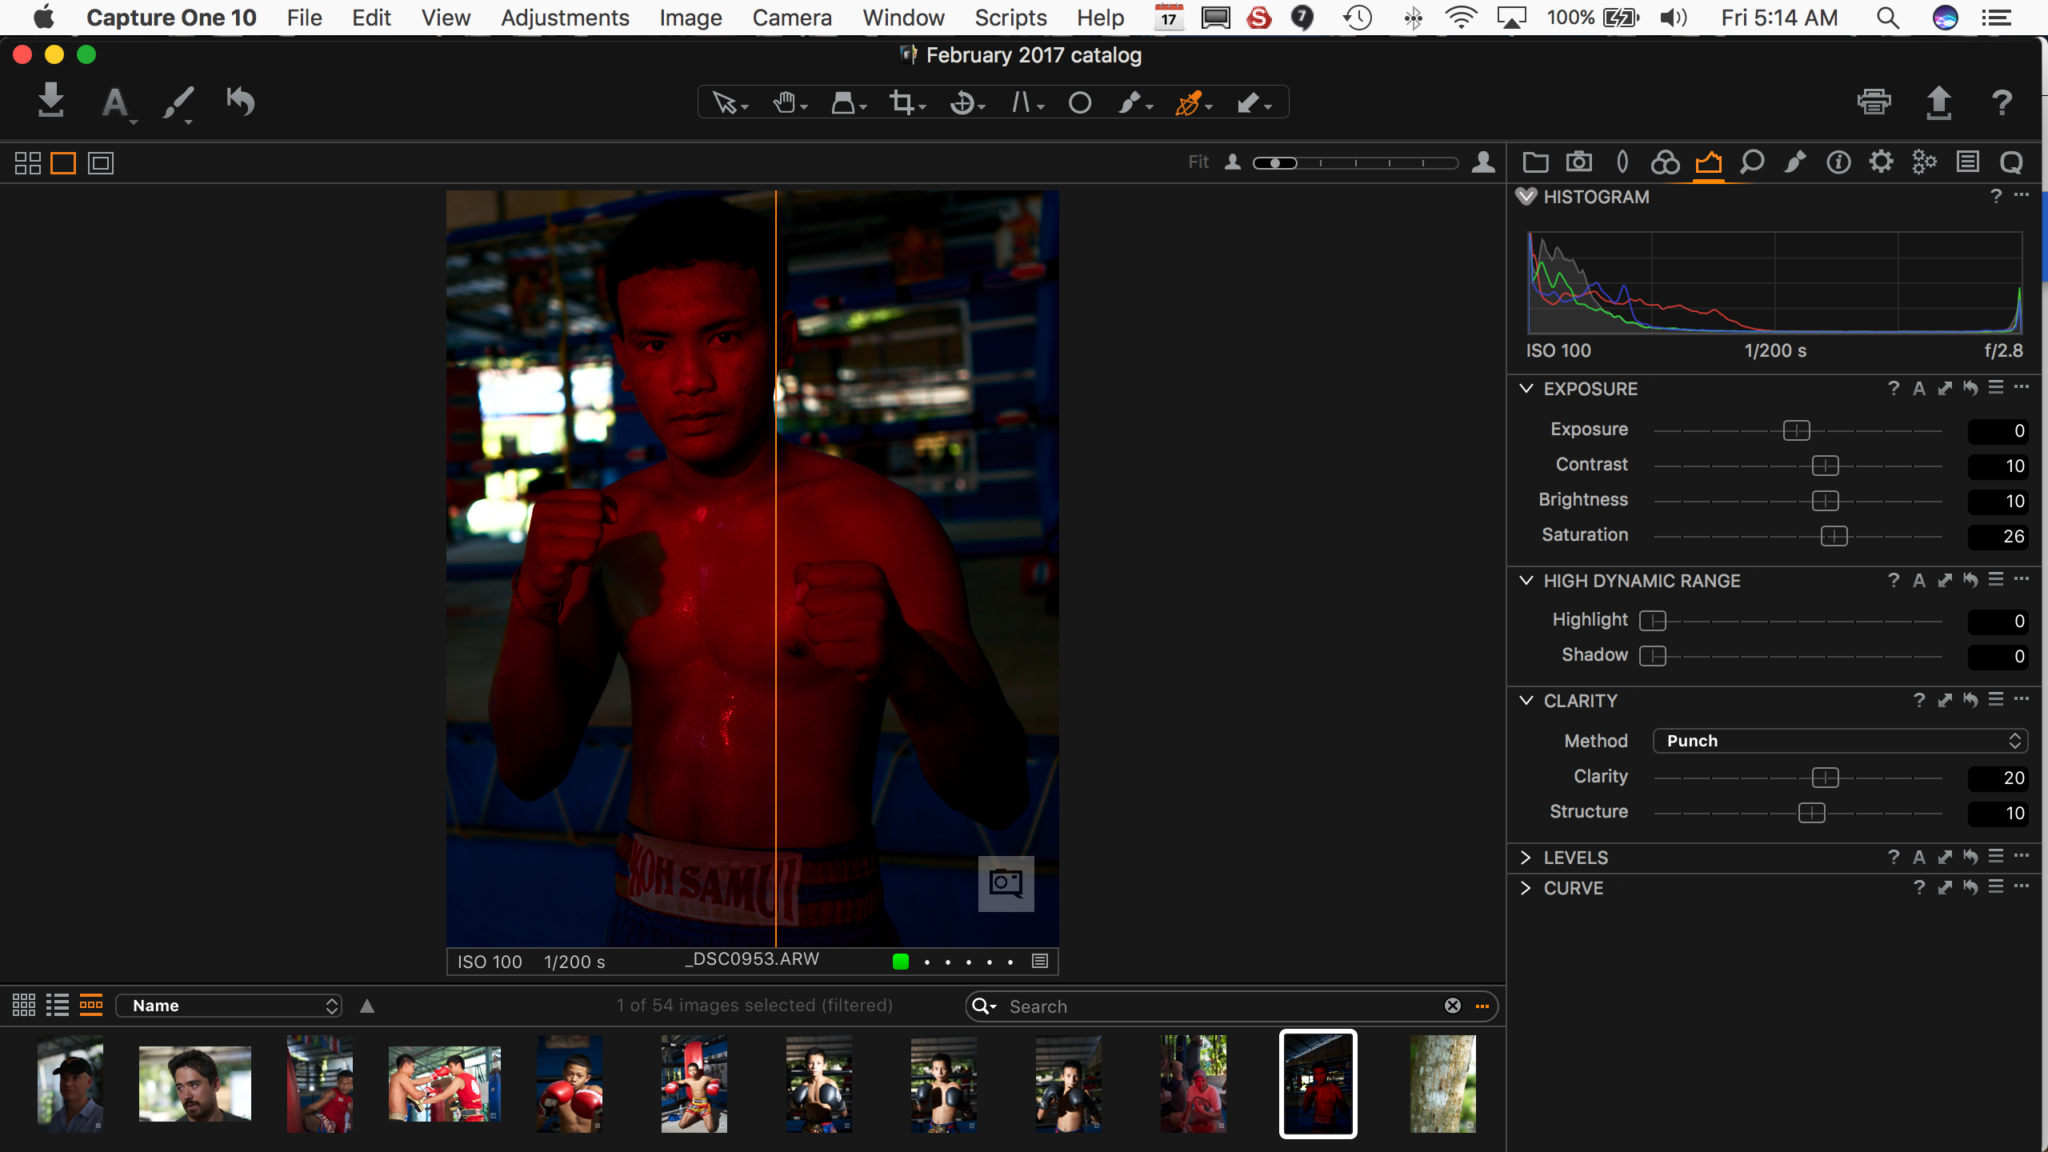
After working with and massaging the colors, I feel confident enough to work with more globalized changes. These are the exposure, clarity, contrast, brightness etc. In Capture One, it’s best to make selective changes first before the global settings.

With that in mind, I had no issue moving forward and working with the sharpness and even adding film grain. I adore the look of it and a gritty look will go very well here considering the subject matter and the neon looking light.

Finally, I want to do a bit more touch up so I return to the advanced color editor (vs the basic one) and choose another shade of red on the Thai kickboxer. Then I saturate it more and watch the colors come out fully. Then the lightness is adjusted and we get even more details. Thankfully, Sony’s RAW files are very versatile.
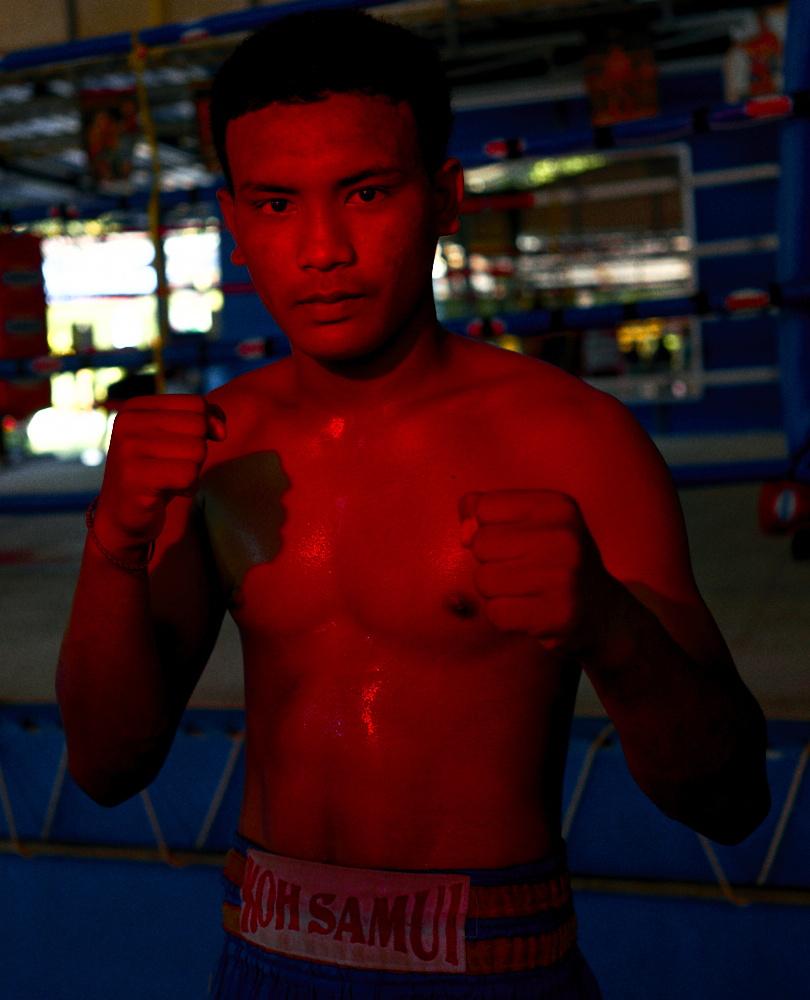
In the end, this is my final image. You’ve got grit, the look of hunger and seriousness in the boxer’s face, and those cool (or hot) colors I was going for. I understand that not everyone will like this look; but I do. It delivers something a whole lot less sterile than most portraits out there.
Get rid of the ads!
Did you enjoy reading this article as much as we enjoyed writing it? There's a way to support us and our reporting, getting ad-free navigation and more as a bonus. Subscribe to us for less than a coffee per month —just $3.99— or take advantage of our yearly subscription with a hefty discount for only $25.- An ad-free experience
- A free mystery box for Lightroom or Capture One
- All the books in our store
- 20% discount on Capture One
- 30% discount on Imalume Photo Theft Protection
- 20% off Herbs and Kettle Tea Company.
- 20% off your order from MPIX printing services.
- 5% off Viltrox Products via their eCommerce store.
- 10% off all film developing, printing and scanning services from Blue Moon Camera and Machine
- 15% off 7Artisans products: The lens and accessory maker is offering a sweet discount for Phoblographer's readers.