
The softbox is perhaps the most common and spoken of light modifier for portraiture and in general with photographers. They’re called softboxes because of their ability to take otherwise harsh lighting and make it look softer overall. This softer light references the quality of the shadows–the more opaque the light is the harder it is in general. This quality of light is highly valued in the photography community because of the very appealing look that it can deliver in the right situation.
The light is pretty beautiful, and we’re going to teach you some of the basics of using a softbox.
Understanding How Softboxes Work
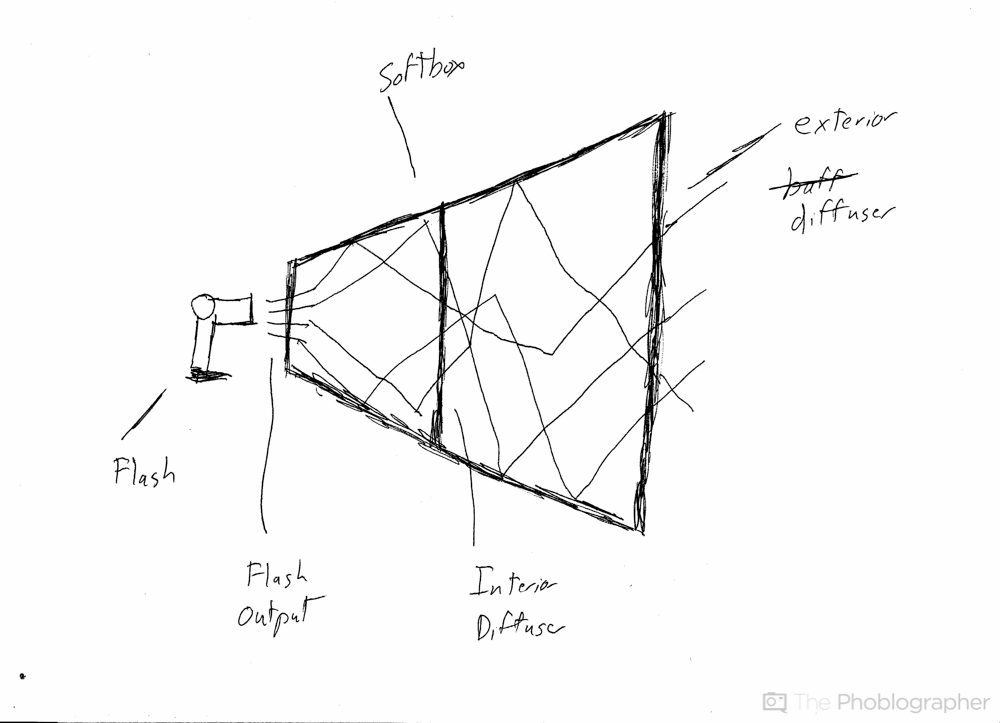
To illustrate to you how a softbox works, I took some time to actually draw something partially because I was super bored and I like working with my hands and partially because it makes a heck of a lot more sense here.
The diagram has a few key parts:
- The exterior diffuser
- The interior diffuser
- The flash
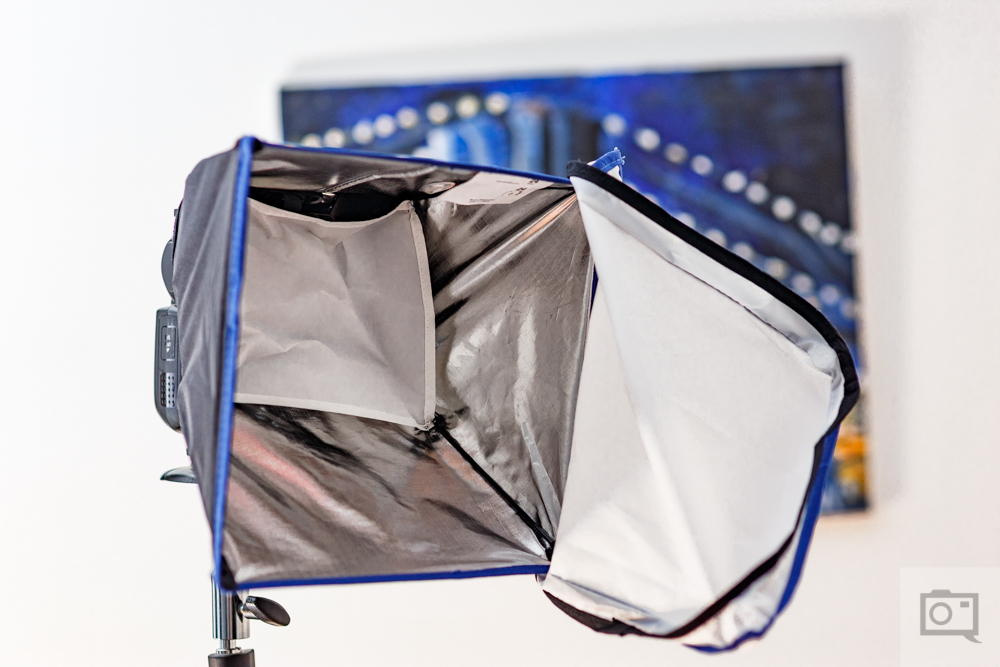
Here’s what those look like on an actual softbox, in the image above you’ll see the exterior diffuser hanging off and the white interior diffuser put inside. The interior of this softbox is silver–and we’re going to come back to that.
The softbox works this way:
- Flash or strobe at the back end (or sometimes from the bottom)
- Flash fires into softbox
- Light bounces around and gets diffused by interior diffuser
- Light goes through interior diffuser and bounces around more
- Light hits exterior diffuser
If the interior is white in color, then it’s going to reflect a lot of light. If it’s silver, it’s going to be more punchy and render more details in the scene.
The soft light output is a result of the diffusers and the shape of the softbox actually controlling, channelling and shaping the light to hit the subject.
That’s where this gets more complicated.
Size and Shape in Proportion To The Scene
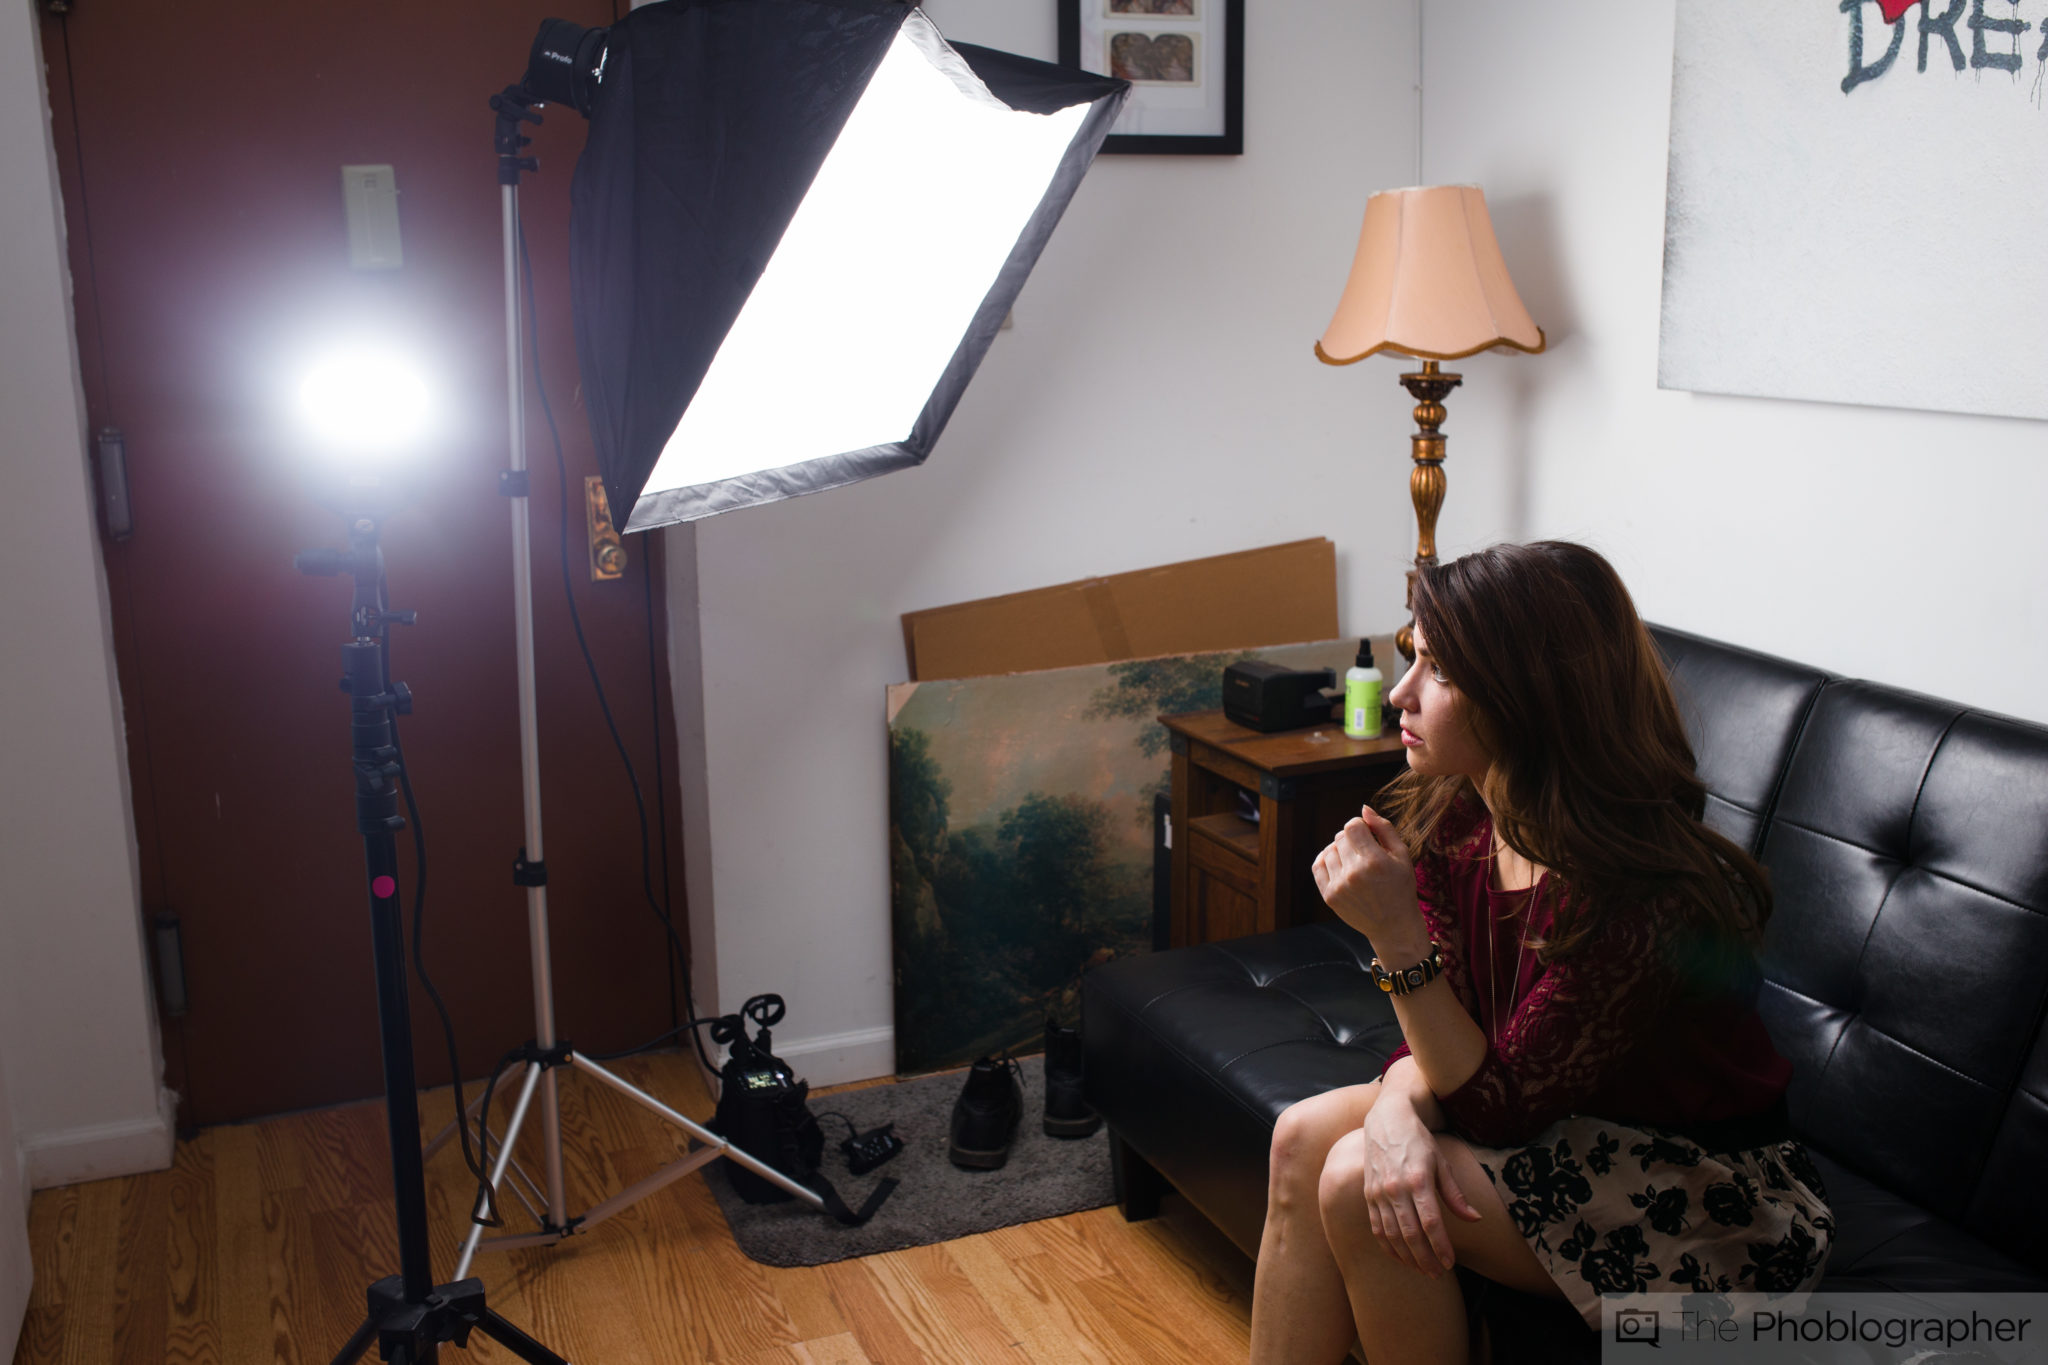
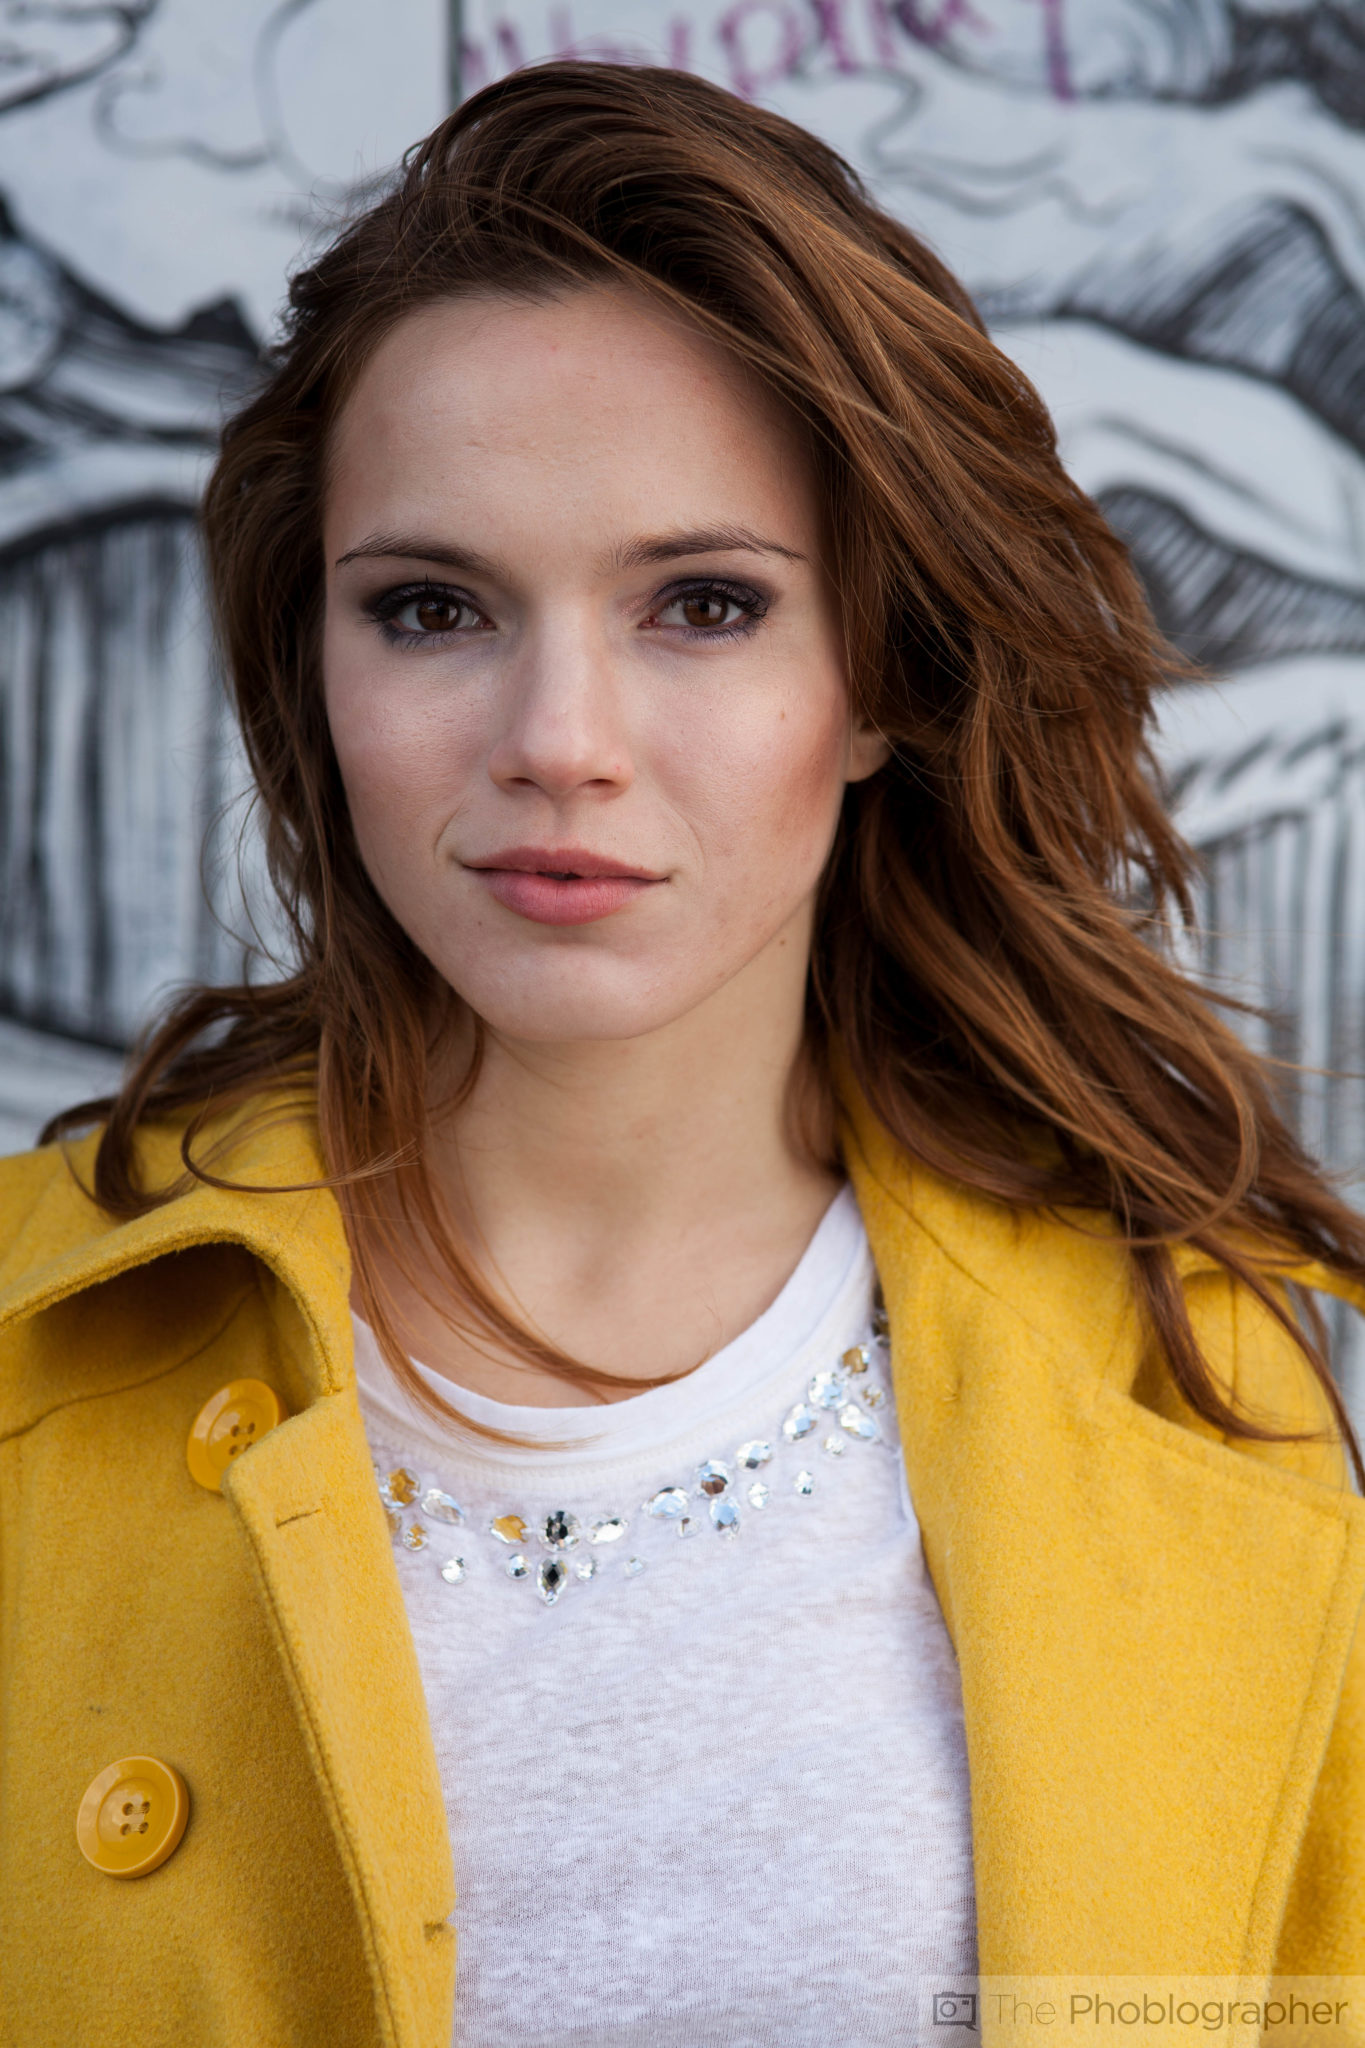
So take a look at this image above. The softbox in the scene is above Megan and probably around the size of her torso.
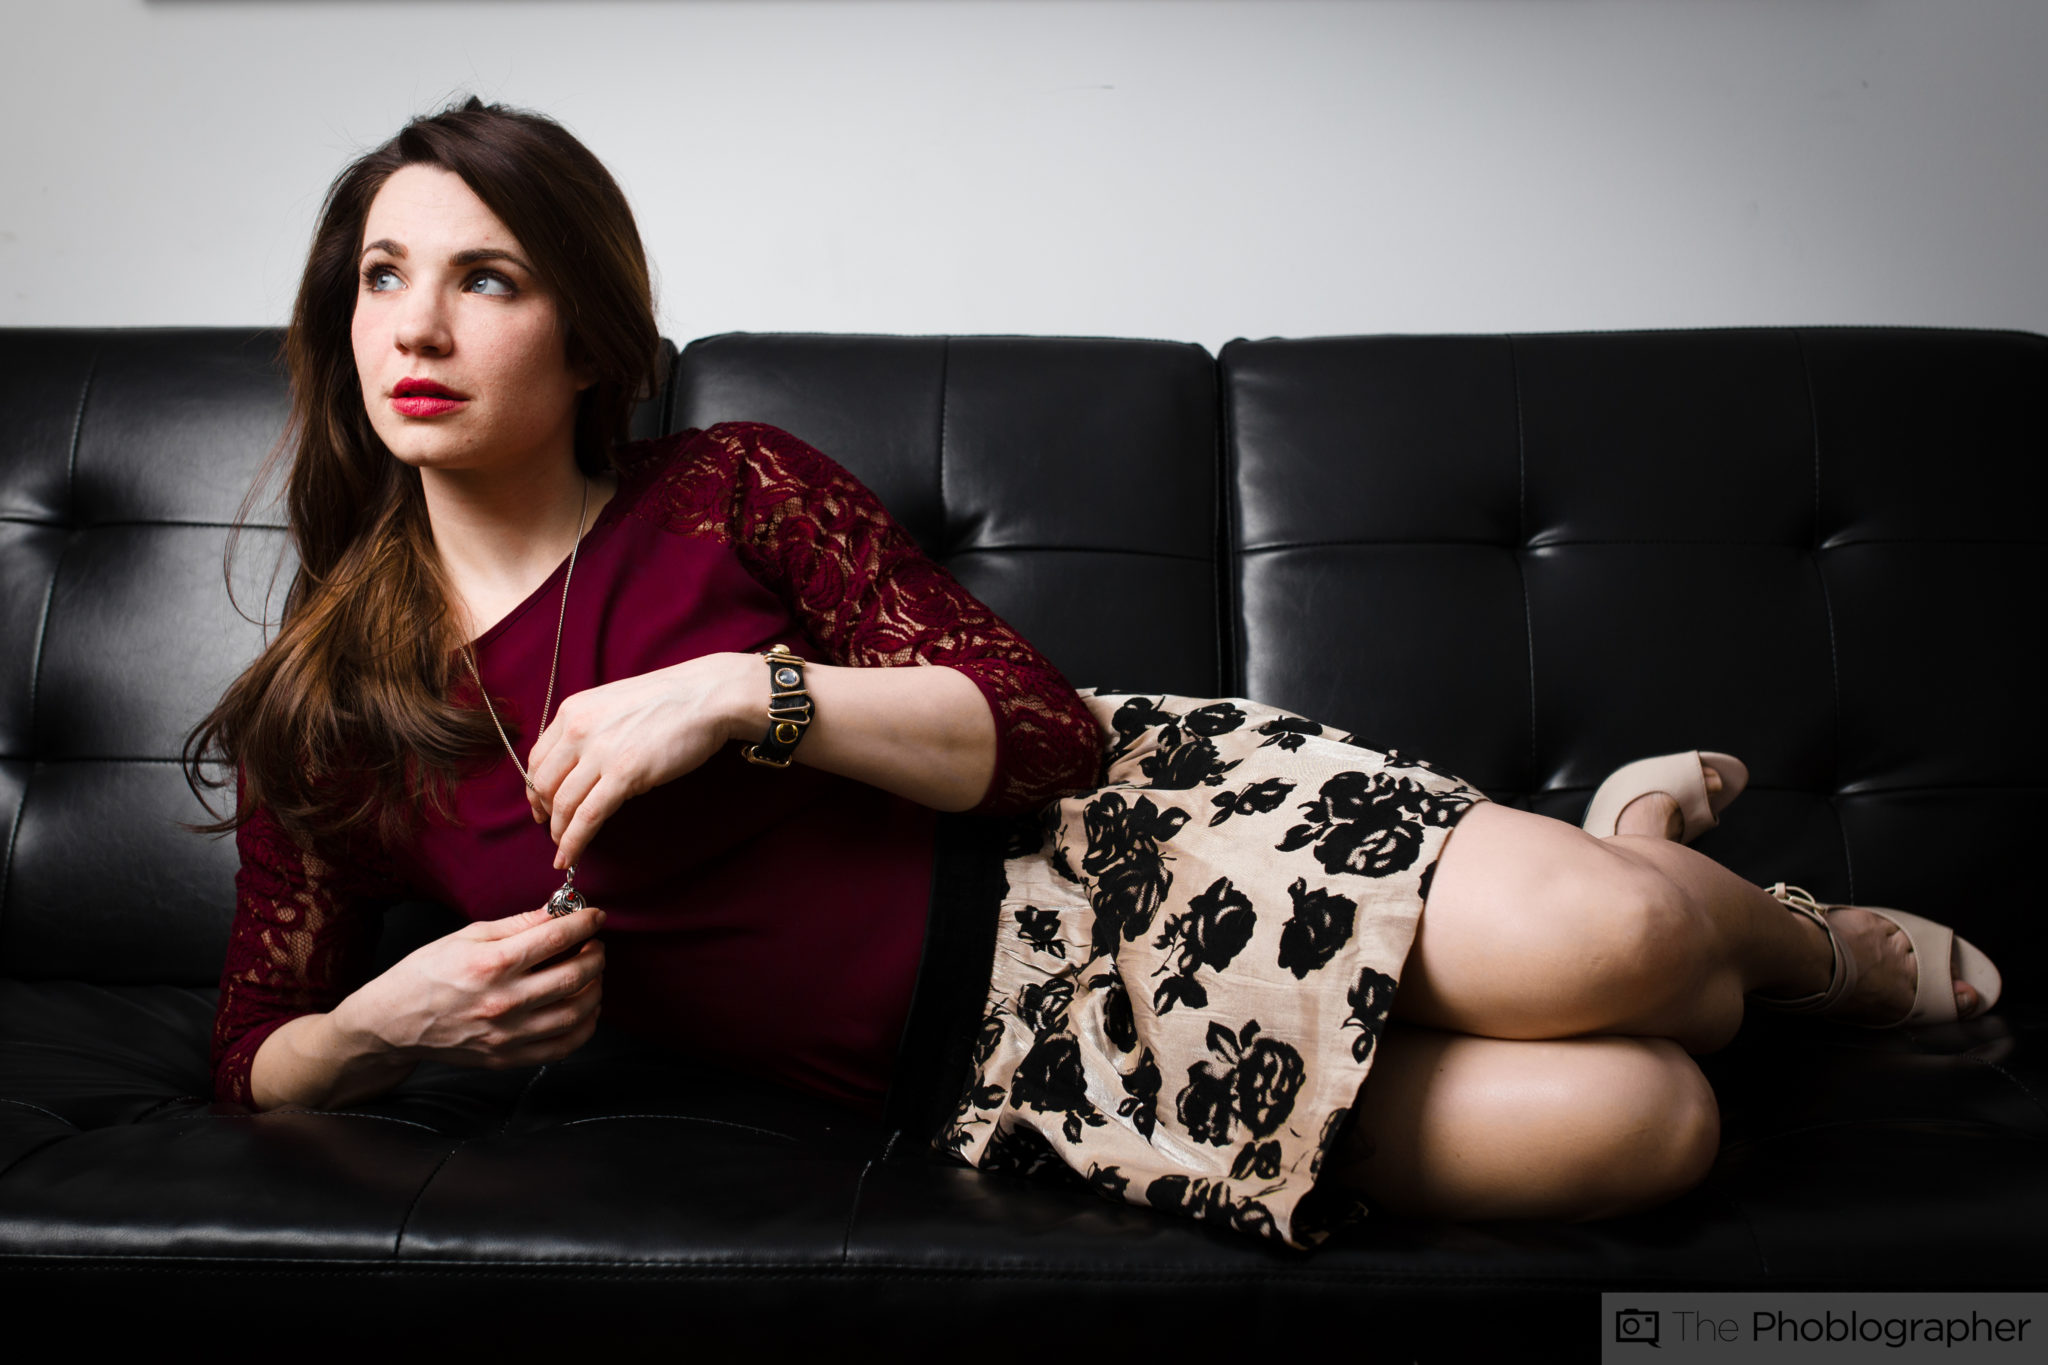
The softbox of this size helped to create this image. It’s positioned camera left as is evident from the way tha the shadows are falling. Notice how the light is very soft the on the left and gets harder on the right? This is because of the size of the softbox. A larger softbox (remember that it’s around the size of her torso) would have been able to cover a larger area with ease.
Also keep in mind: the larger and closer the light source is to the subject based on its size, the softer the light.
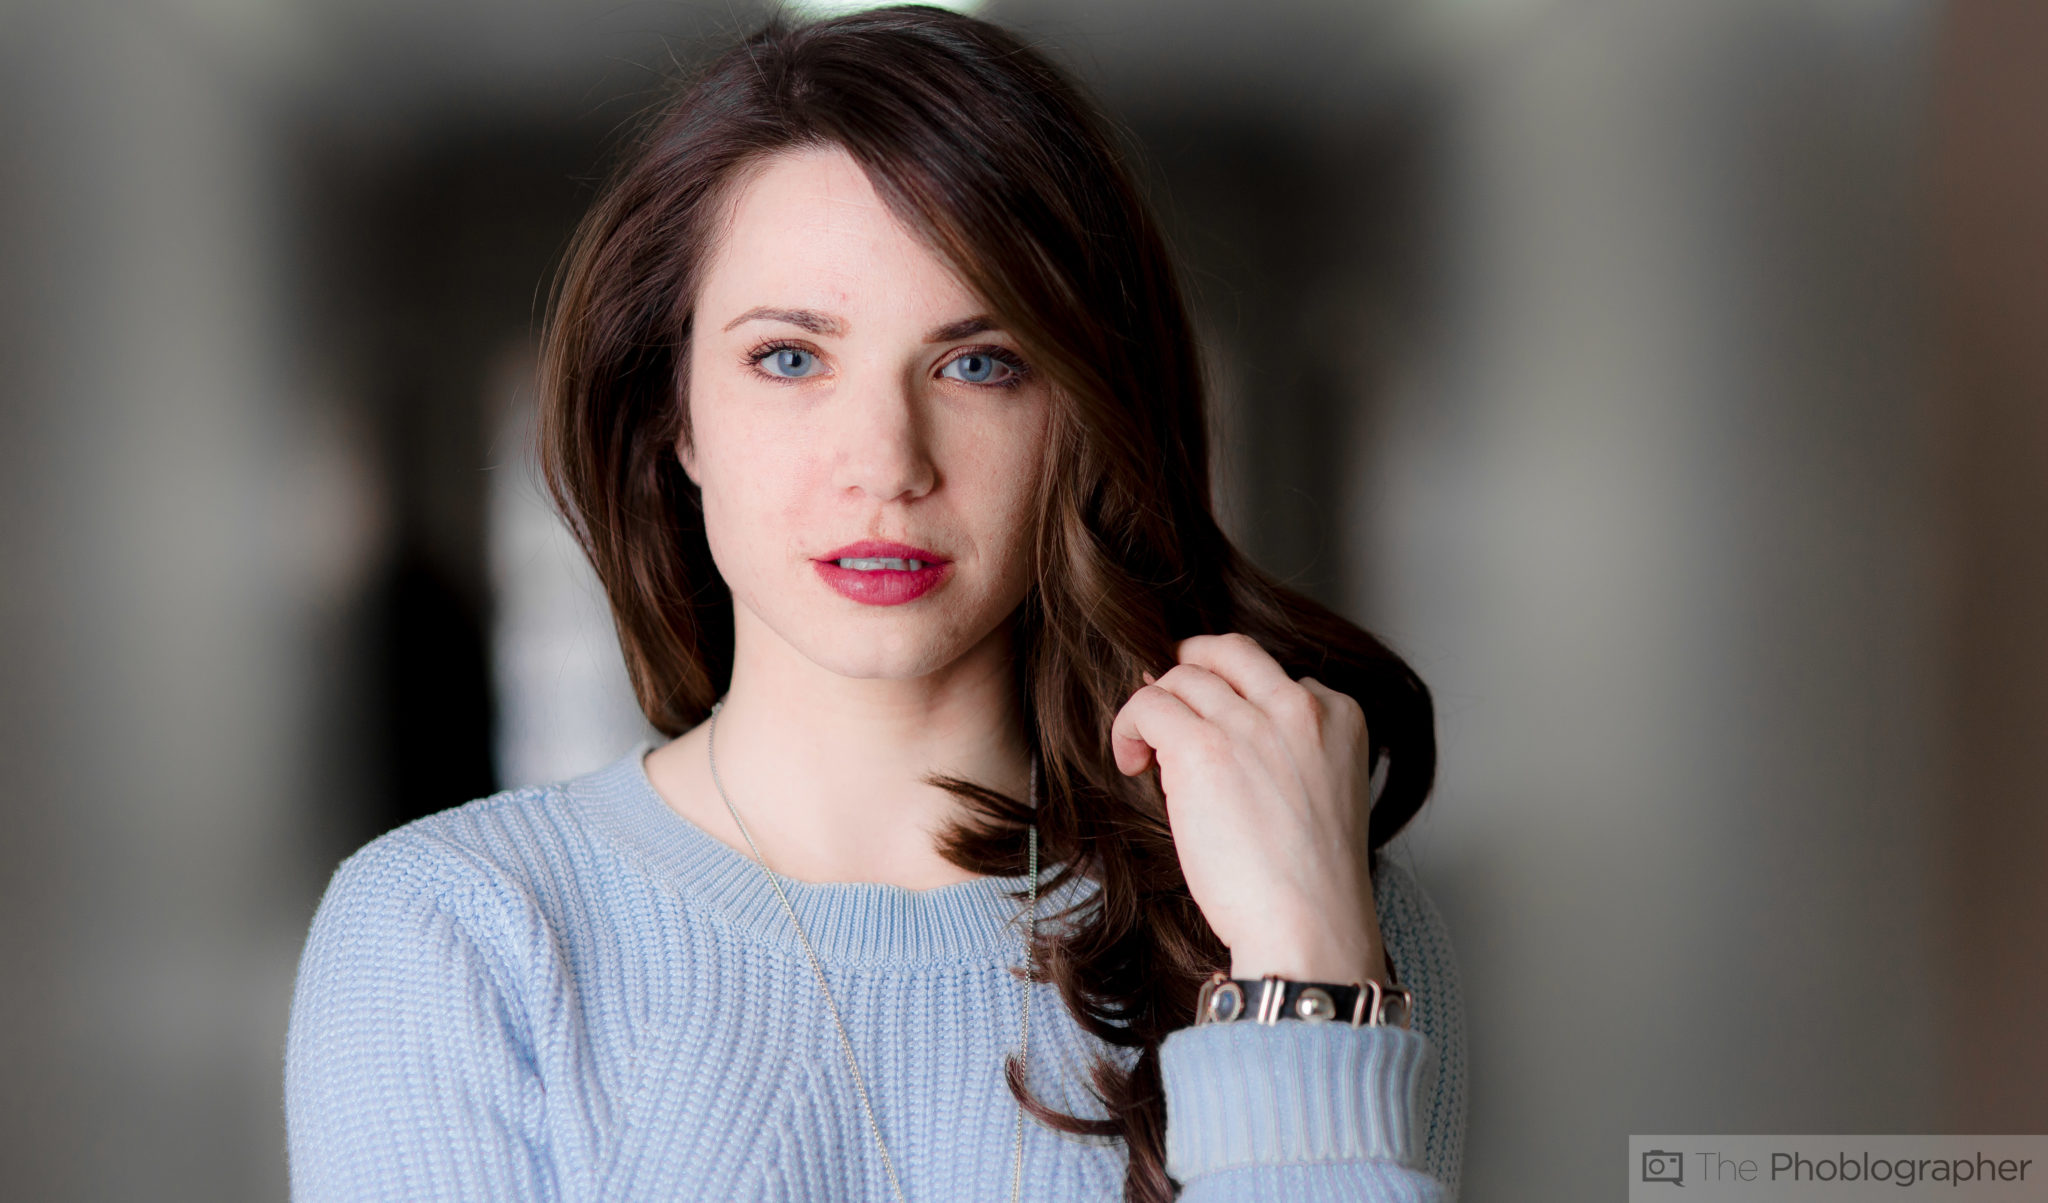
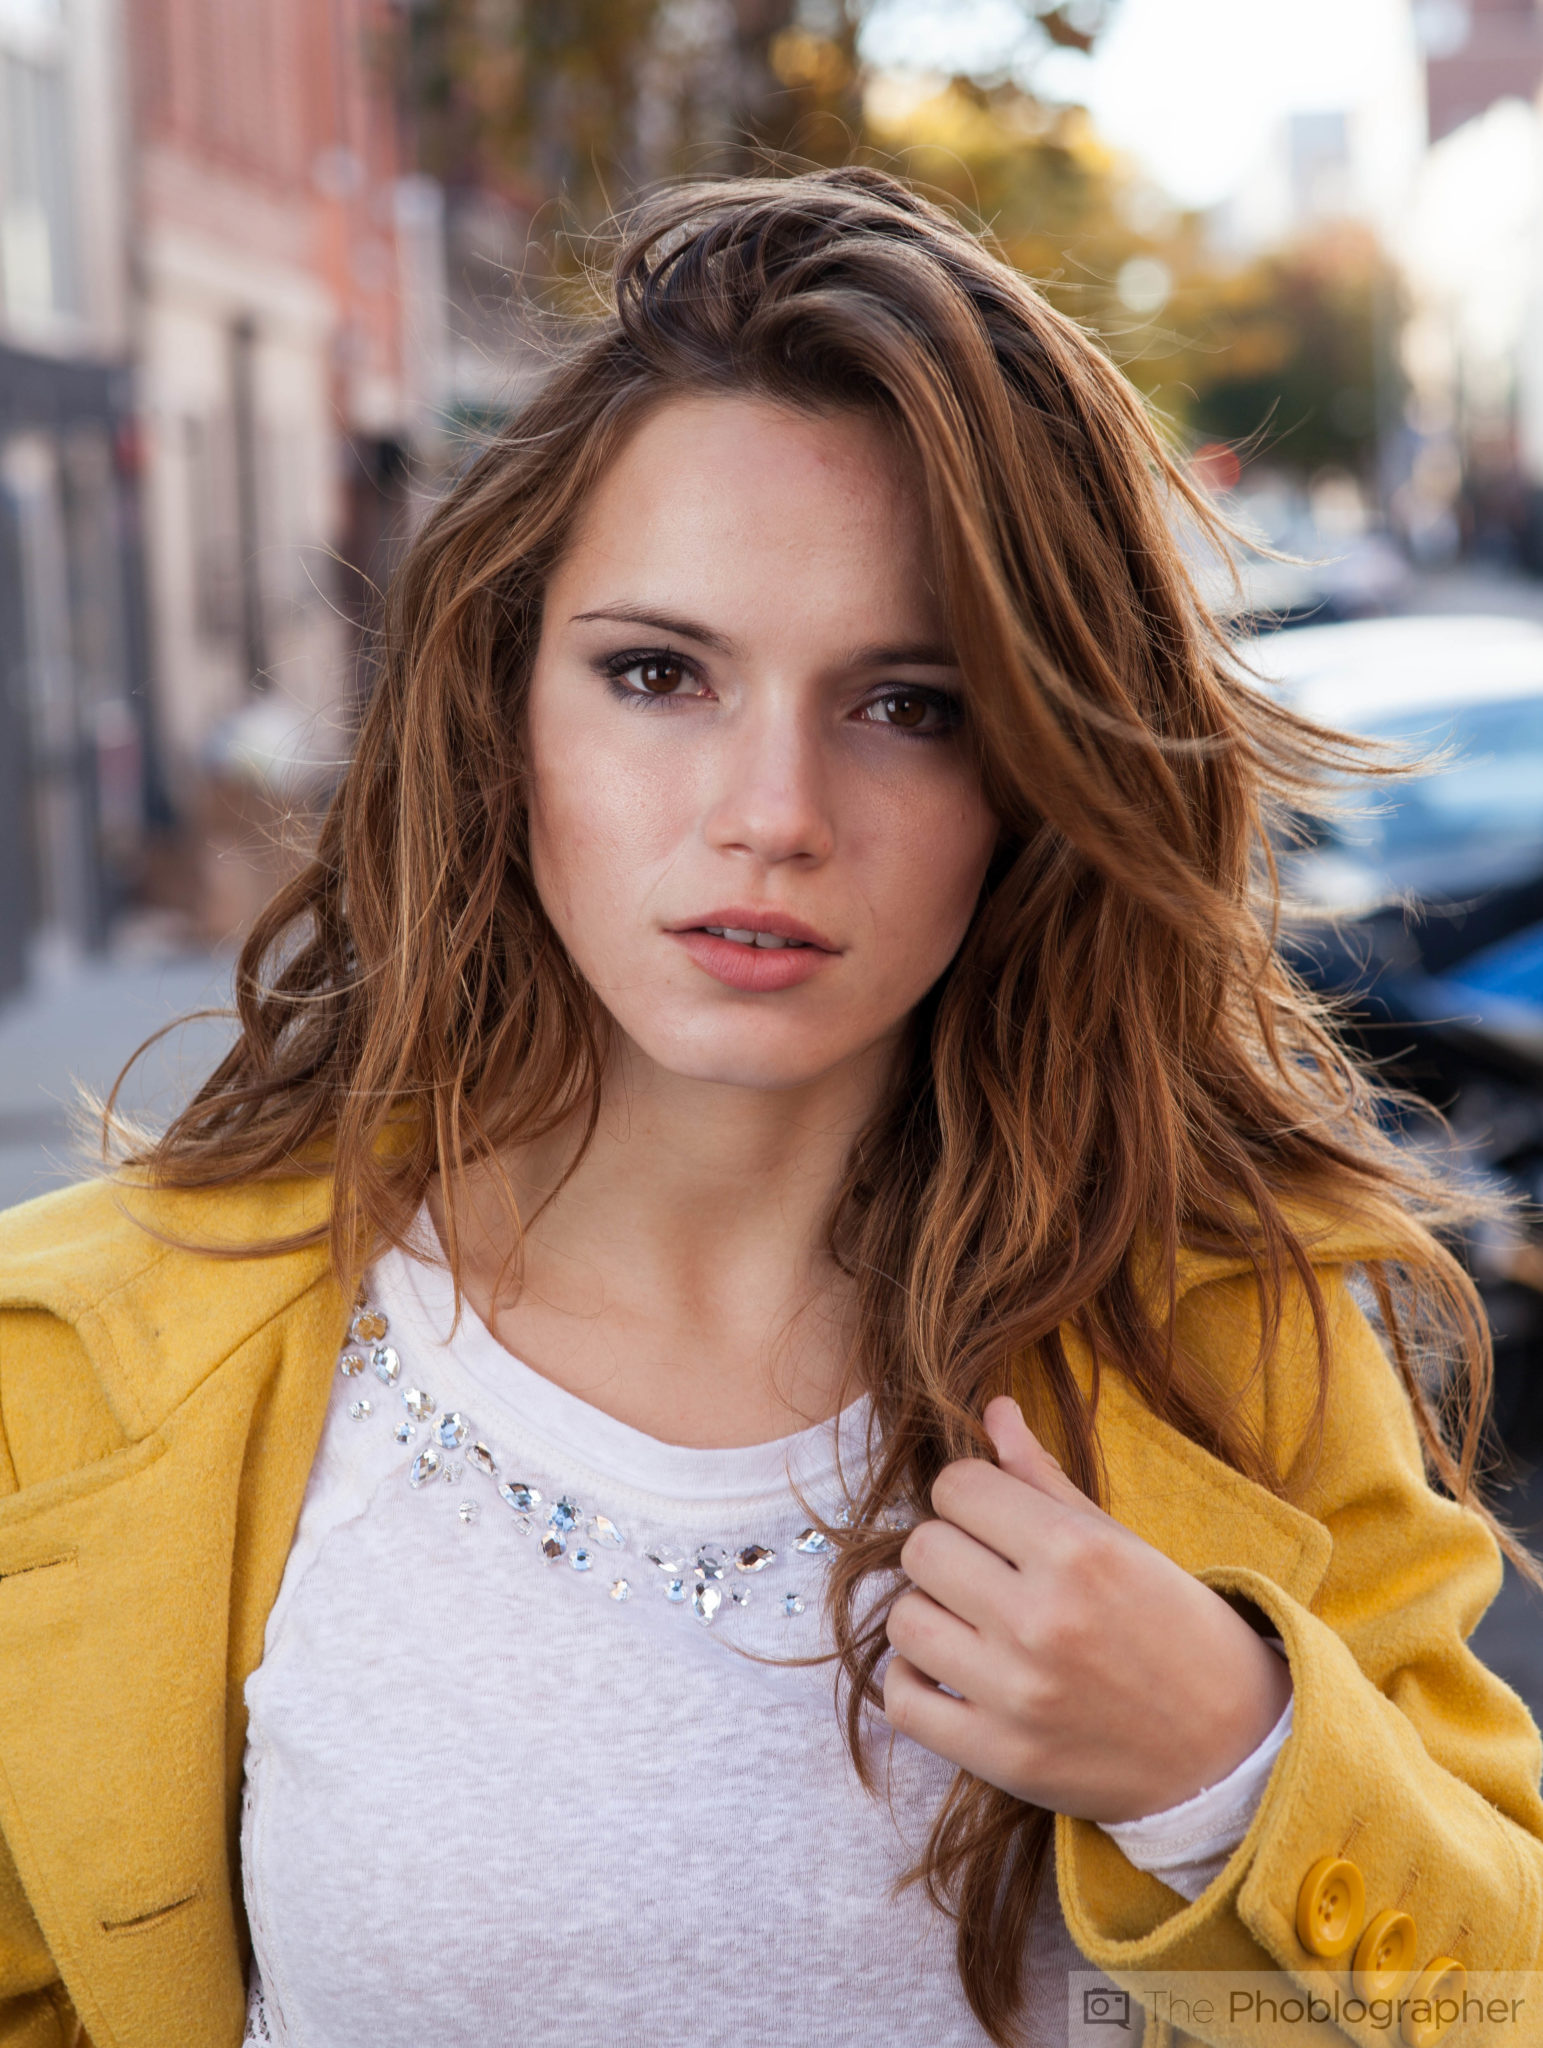
Here’s another, tighter portrait of Megan with the same softbox. See how we’re focusing on a smaller area now? Also notice just how soft the light is overall.
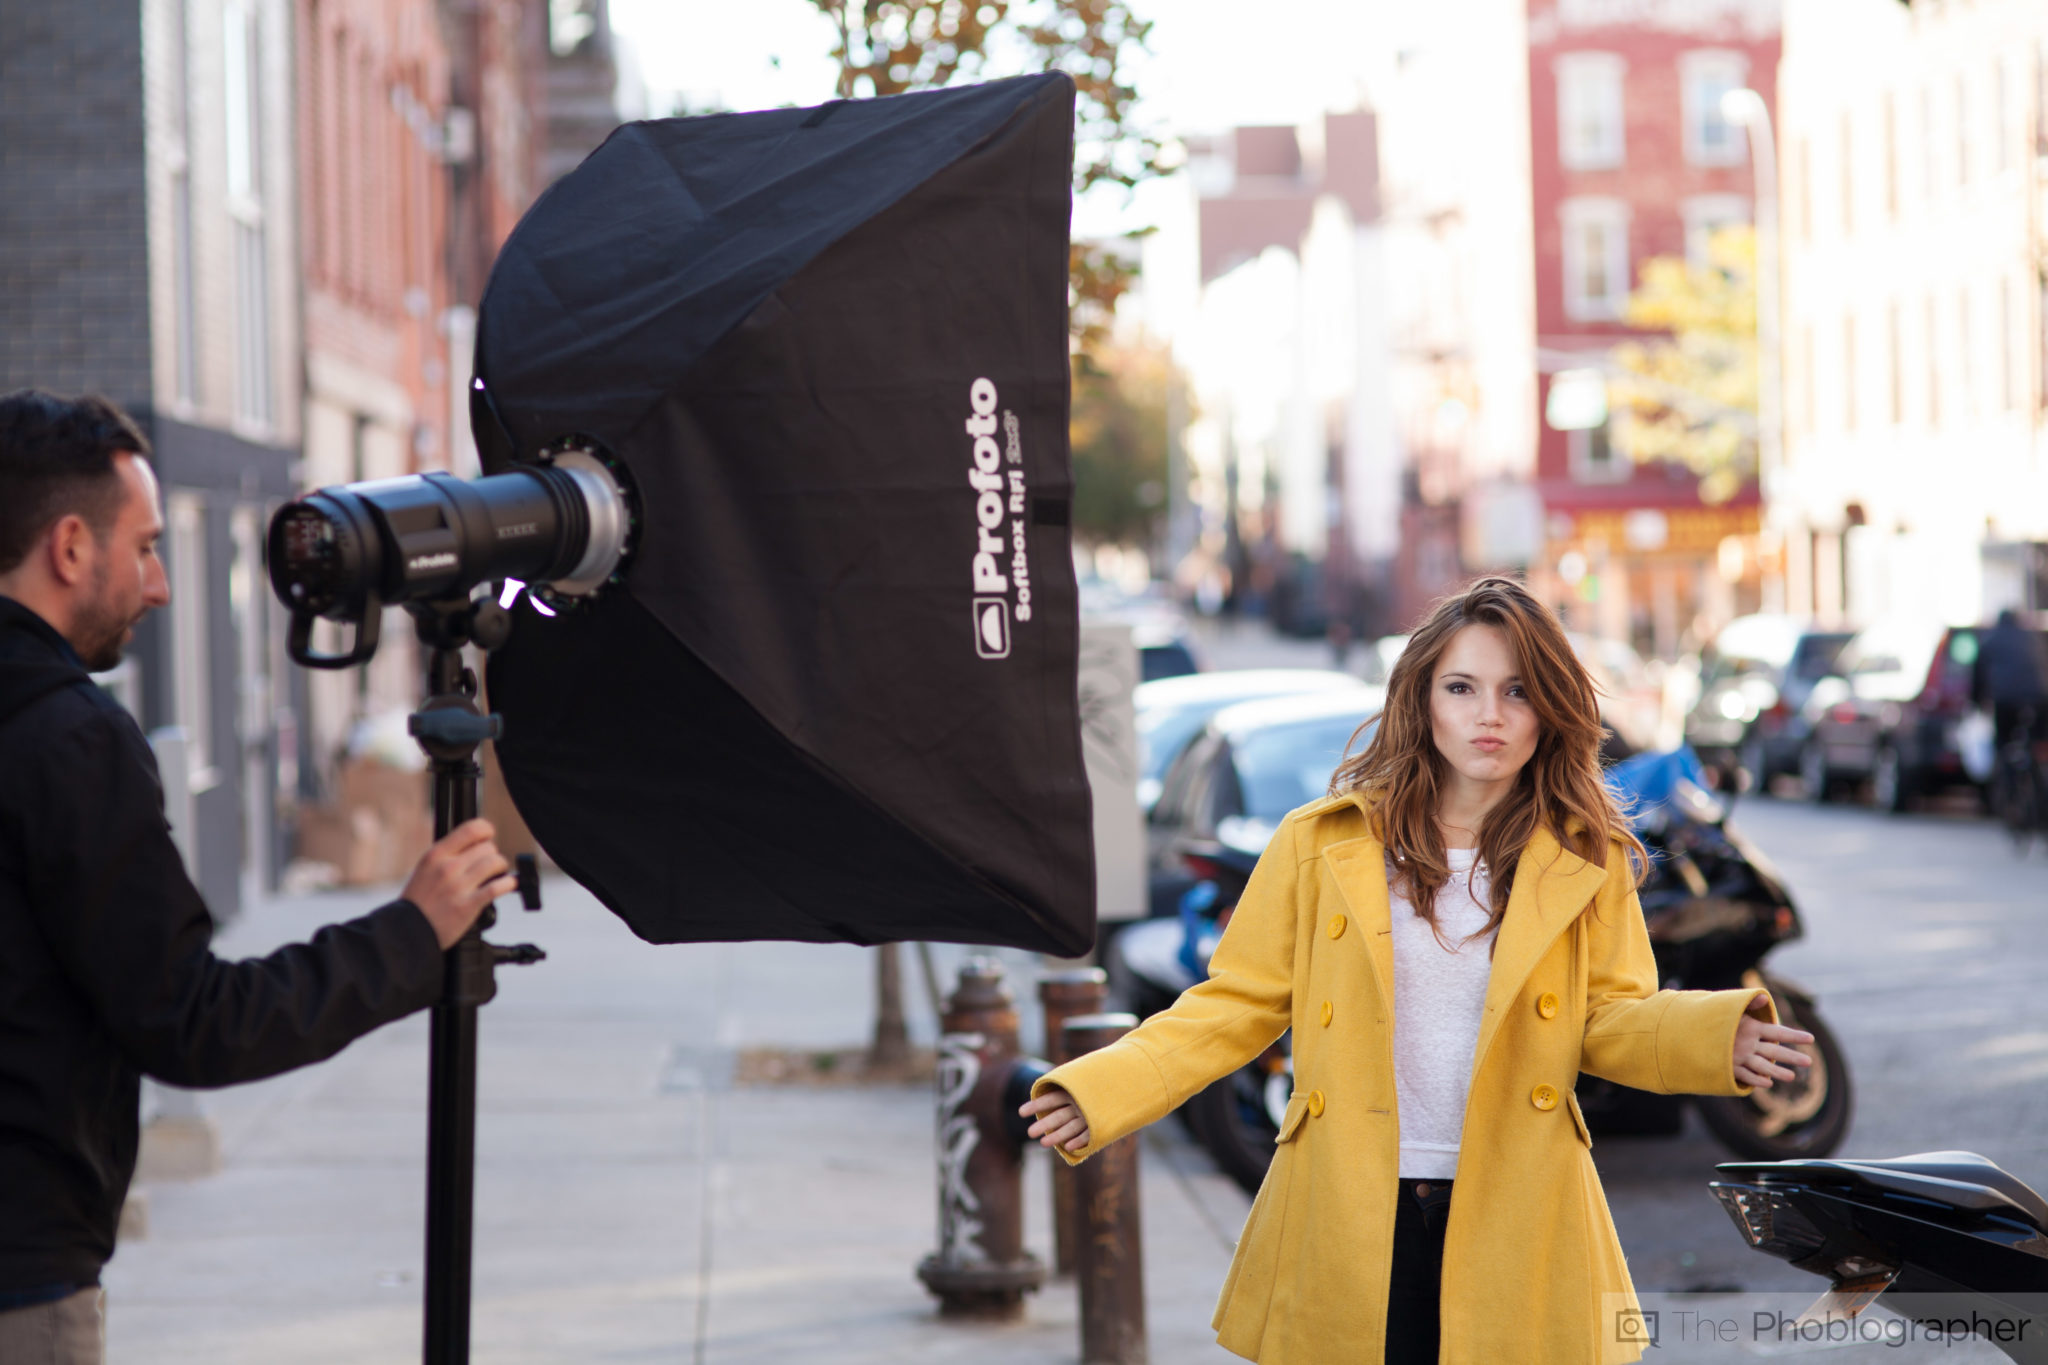
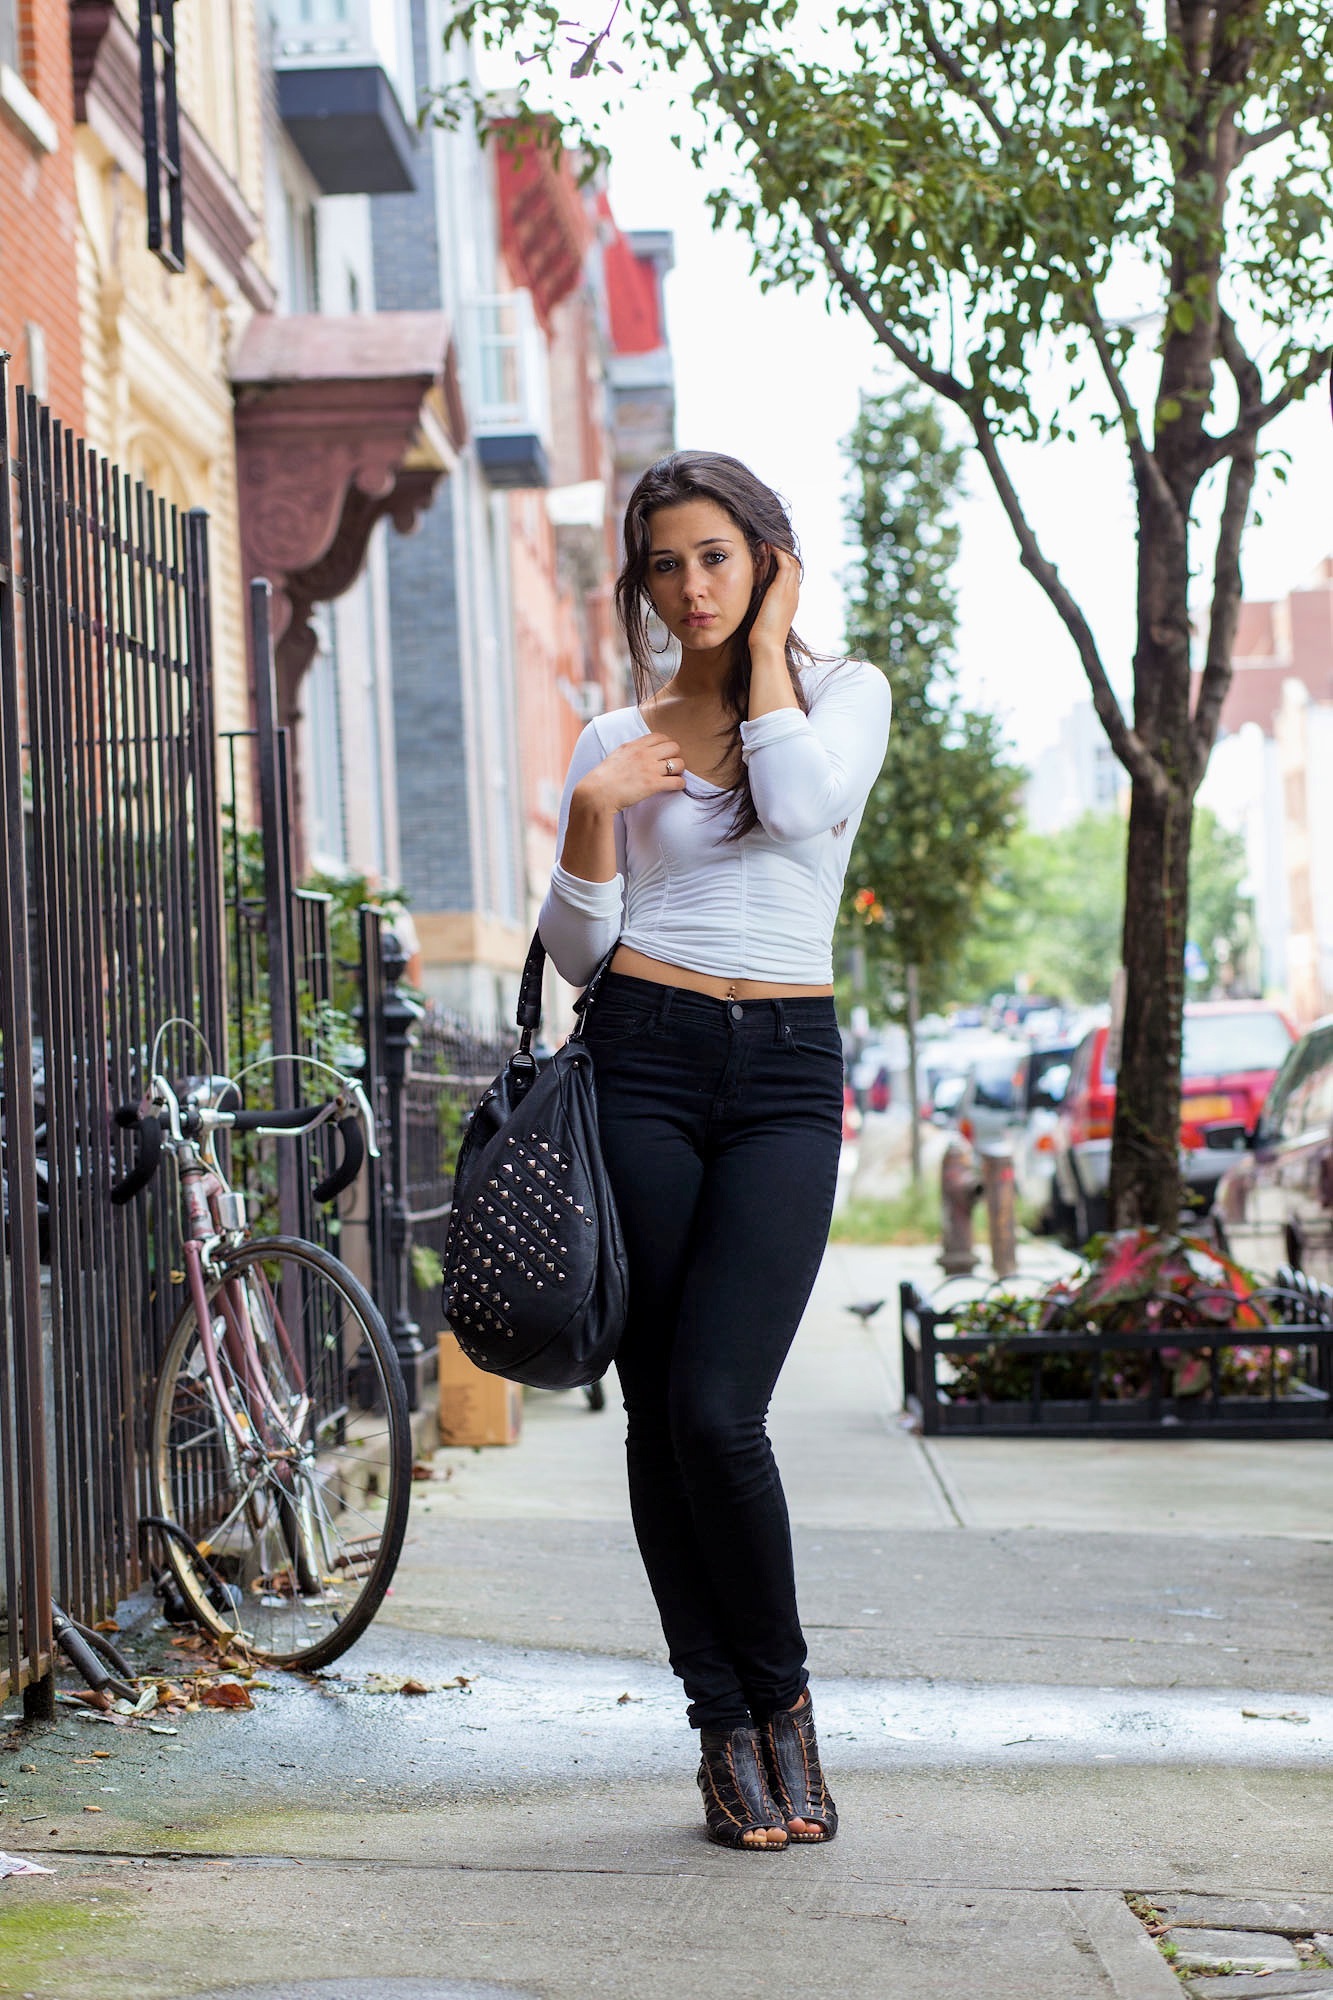
Now here’s another image showing off yet another softbox. This one is pretty large. In fact, I’d say that it’s probably around the size of a little bit more than half of Grace’s height. Let’s take a look at some of the results that it outputs.
To really hammer this point home, we’re going to show you various types of framing.
Here’s a wider scene, notice how soft the light is because the softbox is larger.
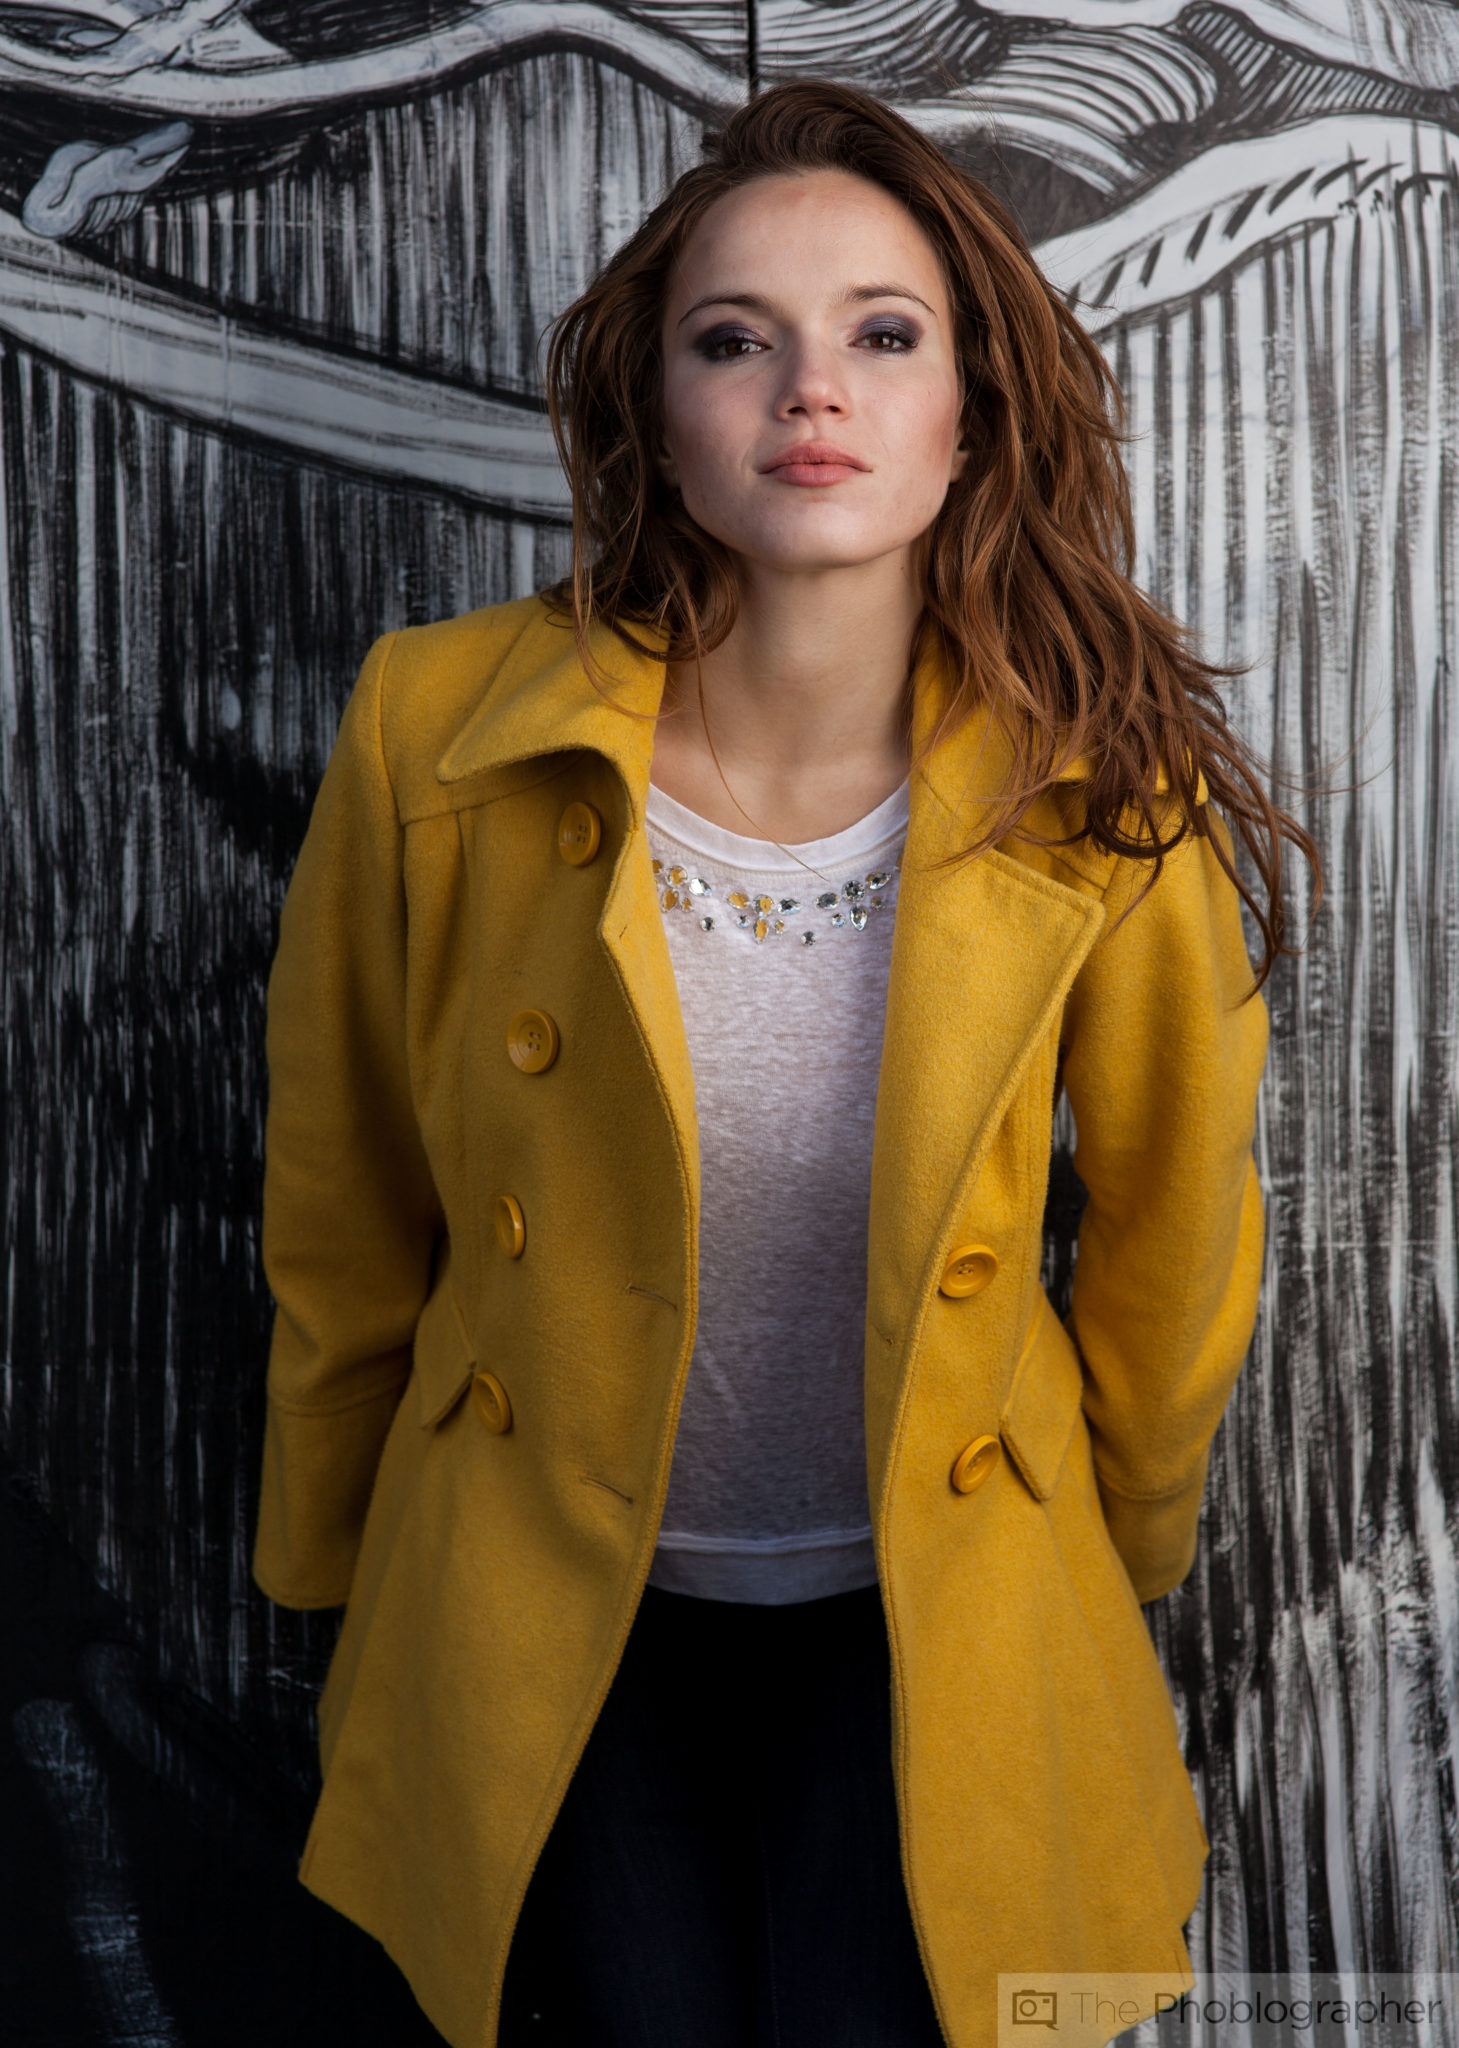
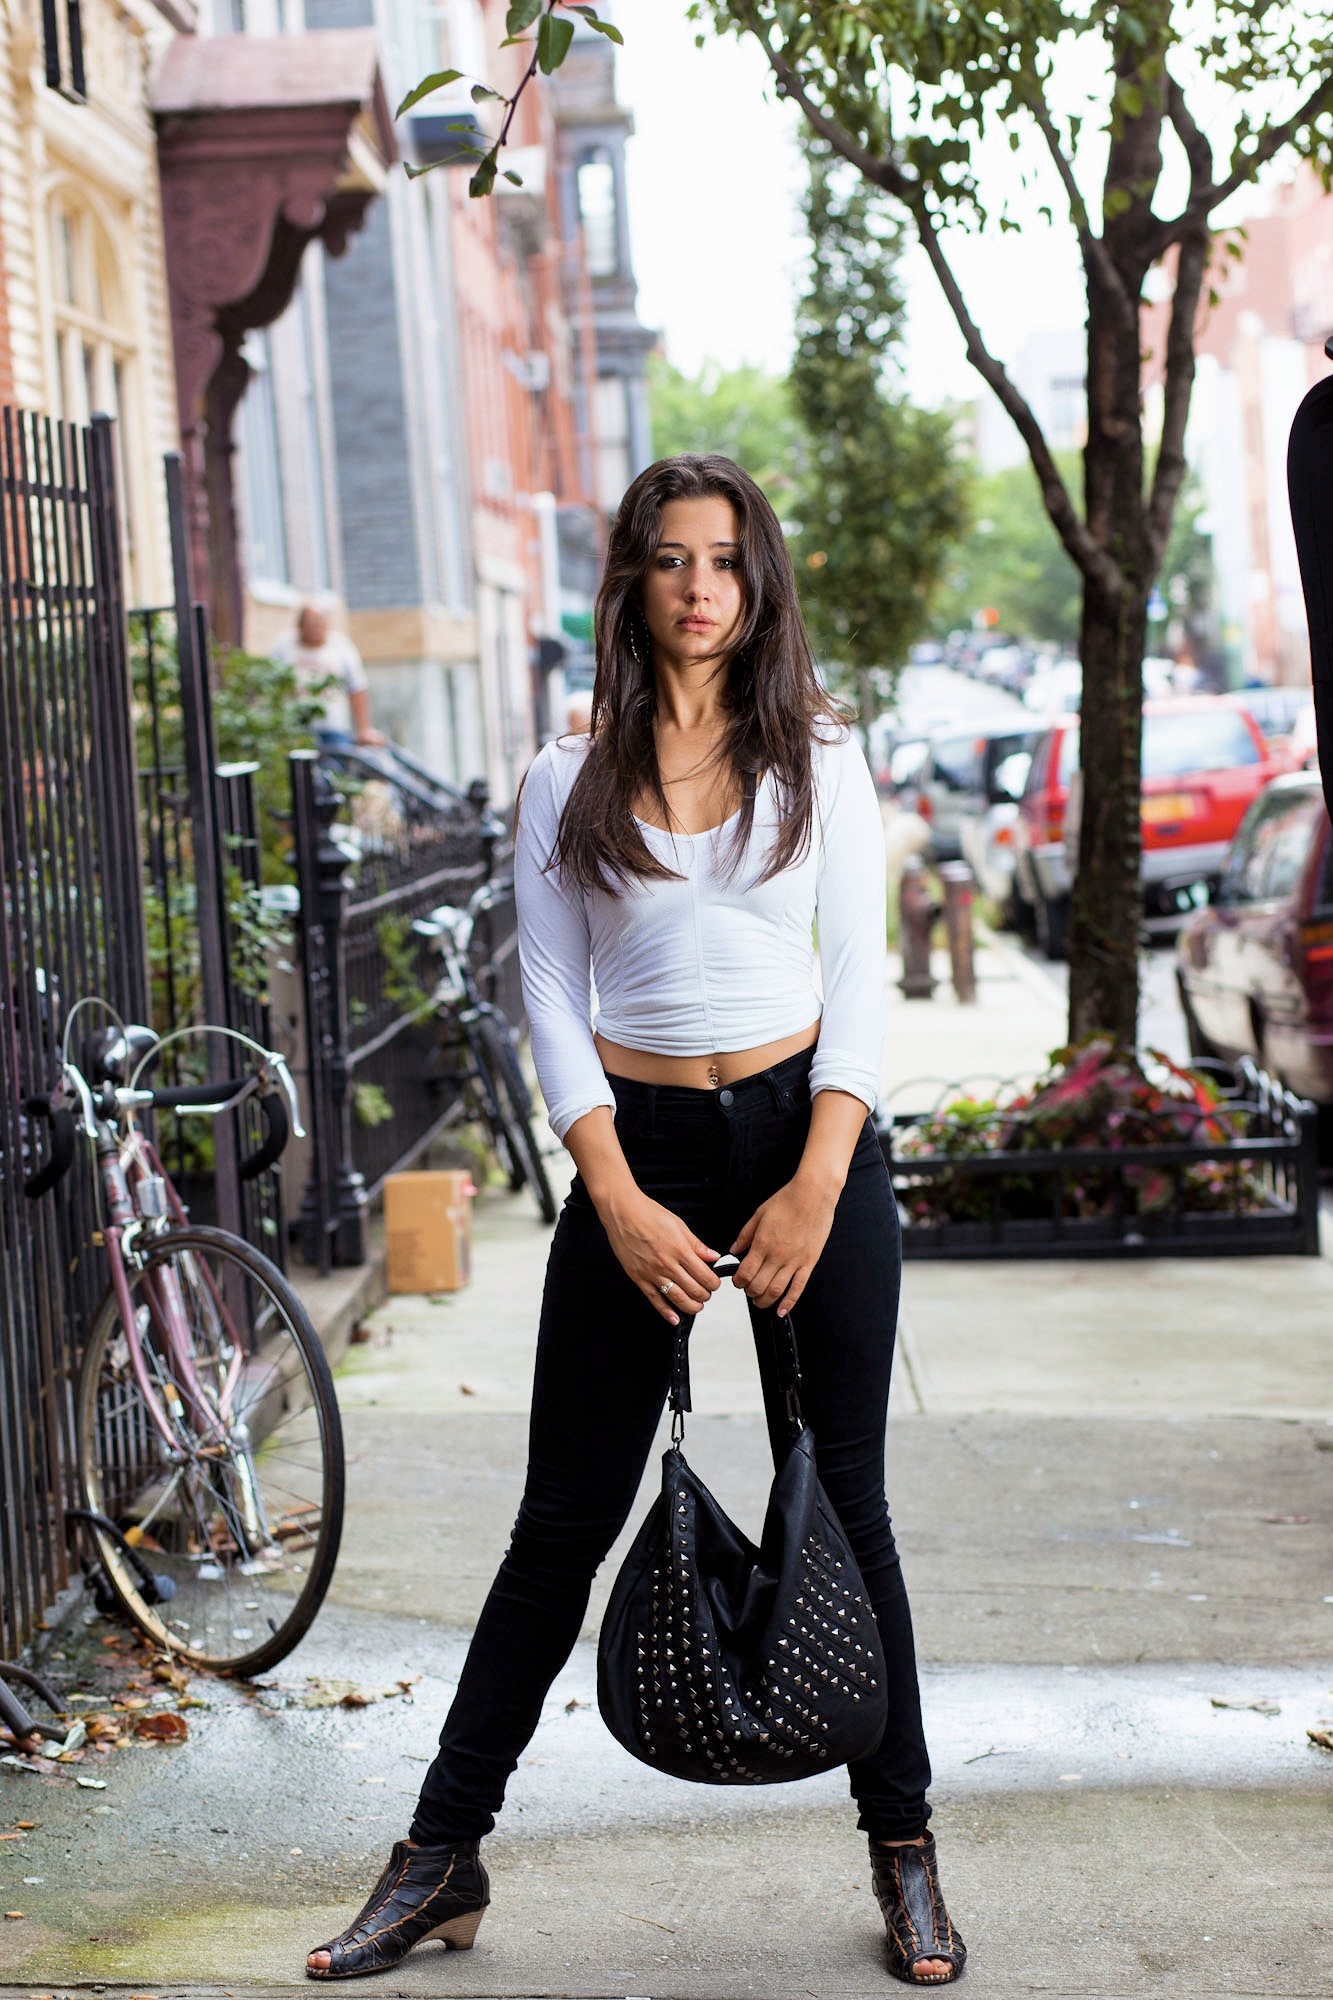
When you get tighter in, you’ll notice that the light still remains soft because of the softbox being so large.

With the flash being camera left, we still get a pretty darn soft light output. Again, this is due to how large the softbox is–further hitting home the fact that the larger the softbox, the softer the light will be.

This softbox is a 24×24 square shape. That’s great for tighter headshots, but let’s see how it works with photographing a person.
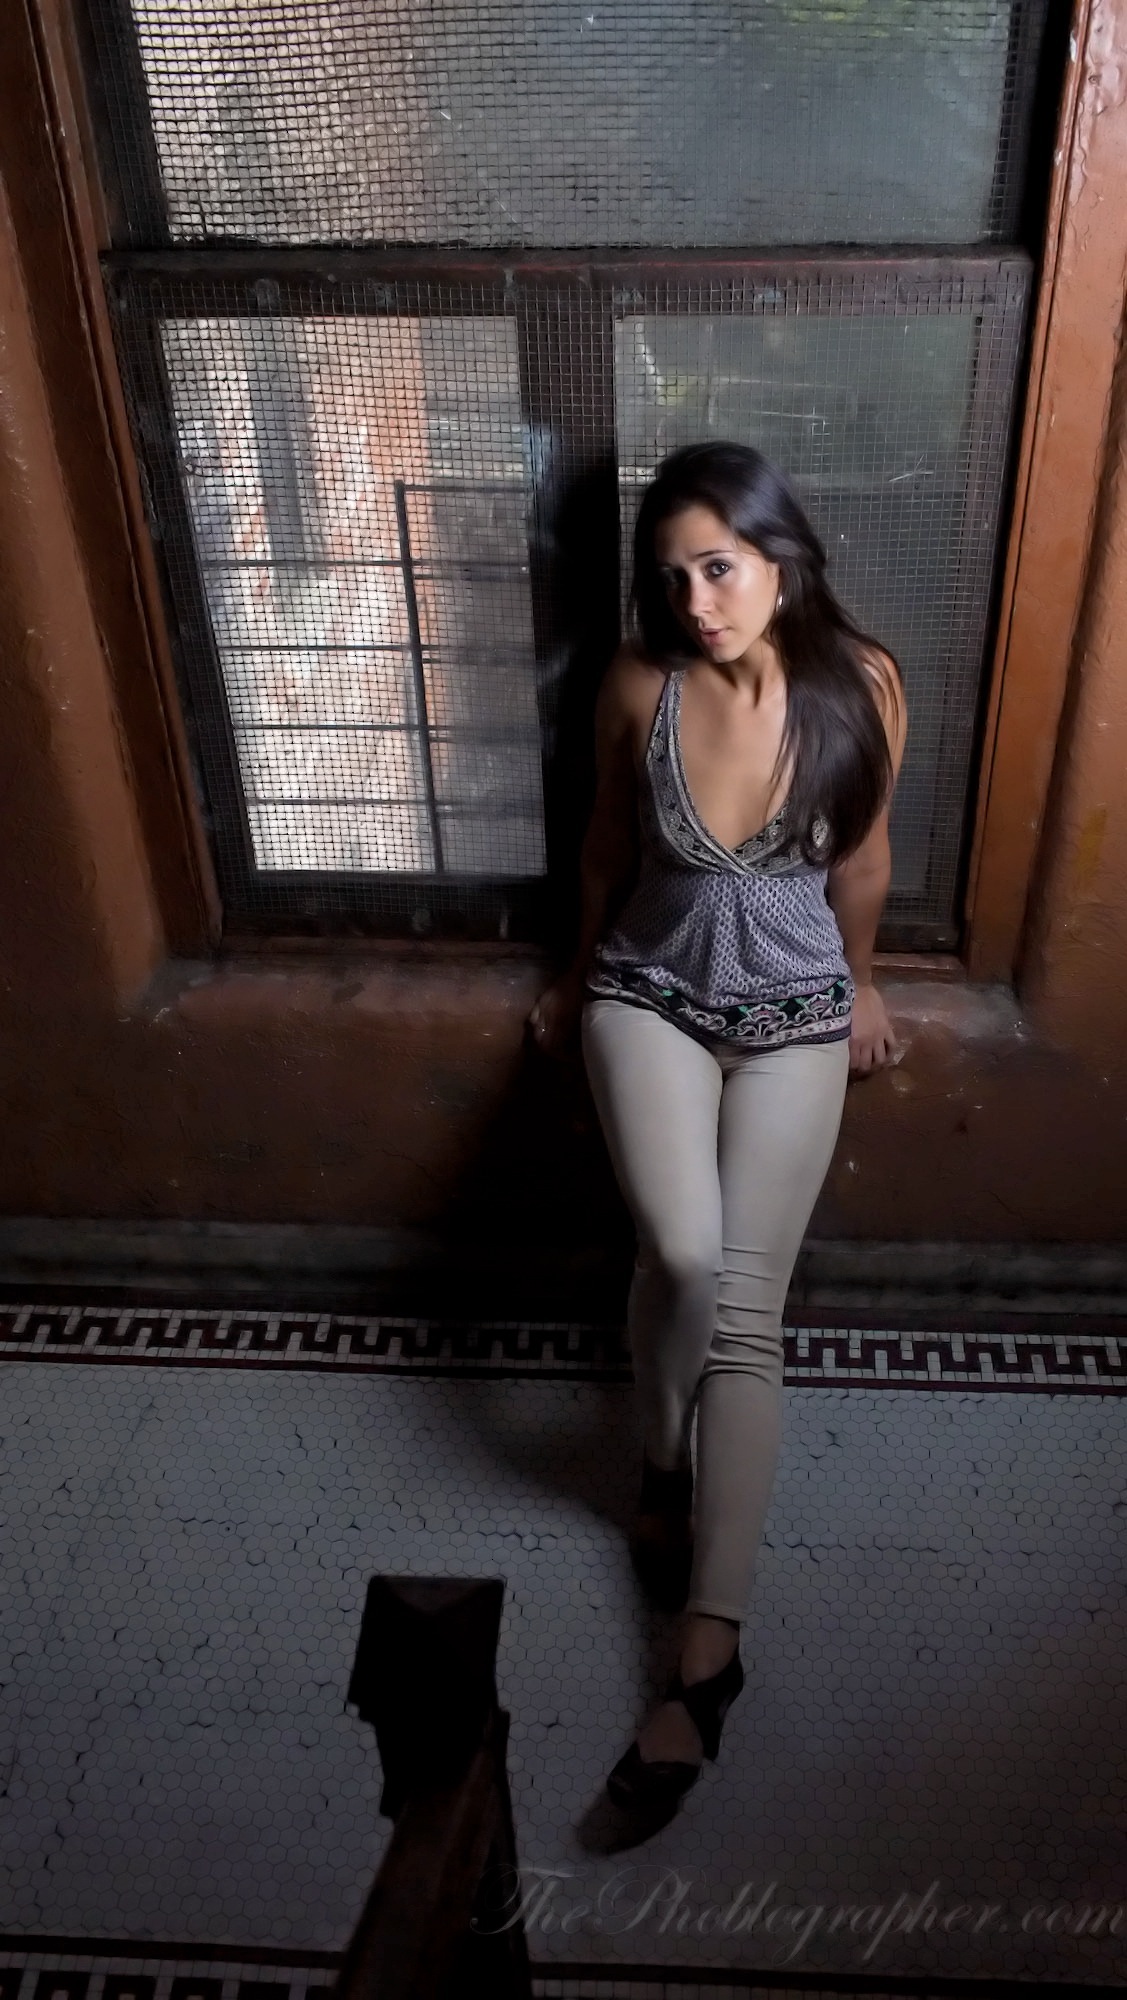
Notice just how hard the light is here now because of the smaller softbox.
Because of the smaller size, you get slightly harder light. But this light is pretty edgy and looks good due to how we created the scene overall.
The softbox can be seen a little bit camera right. Notice how you can very clearly see where the light is illuminating Samantha due to the shadows. On her right side (left in the image) you can see the transition to a shadow pretty easily.
Where to Place Them
So lastly: we’re going to cover where you should place a softbox. The answer is pretty simple:
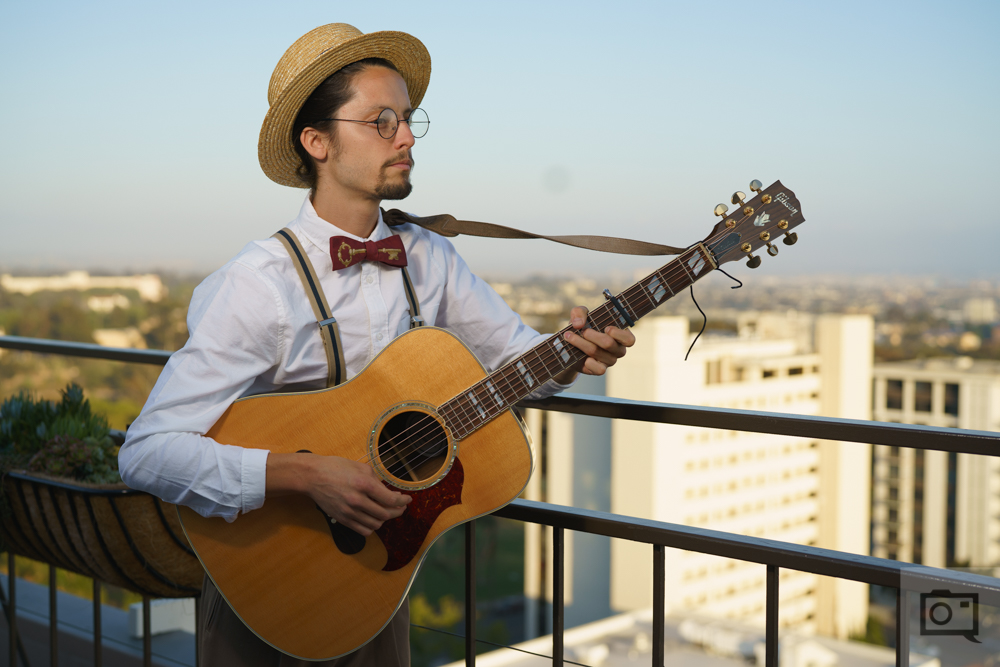
Always place a softbox so that the light stuffed into it is above the subject’s eyes. Then angle the softbox towards the subject.
So why would you do this? This is naturally how we see lights. Street lamps, the sun, ceiling lamps–they’re all above us. Unless you have a very specific creative vision that dictates that you don’t want it above someone, then don’t use it there. But if you’re reading this, then you’re probably not at that space yet.
Questions? Let us know in the comments.
Get rid of the ads!
Did you enjoy reading this article as much as we enjoyed writing it? There's a way to support us and our reporting, getting ad-free navigation and more as a bonus. Subscribe to us for less than a coffee per month —just $3.99— or take advantage of our yearly subscription with a hefty discount for only $25.- An ad-free experience
- A free mystery box for Lightroom or Capture One
- All the books in our store
- 20% discount on Capture One
- 30% discount on Imalume Photo Theft Protection
- 20% off Herbs and Kettle Tea Company.
- 20% off your order from MPIX printing services.
- 5% off Viltrox Products via their eCommerce store.
- 10% off all film developing, printing and scanning services from Blue Moon Camera and Machine
- 15% off 7Artisans products: The lens and accessory maker is offering a sweet discount for Phoblographer's readers.