All images in this post by Jamie A MacDonald. Used with permission.
Catchy title for a post? I hope it has you thinking,because that title is exactly how I work the majority of the time I am out shooting. So what exactly does that mean? To “Make what I feel”?
Let me see if I can explain.
When I am out shooting landscapes I am quite often in what I consider to be an elevated emotional state. I know it may sound a little over the top but all I mean is that I am in a good place spiritually. When I head out to shoot and the sky is moody, the land is begging for me to find a beautiful scene, I am happy. And when I do find that place to shoot, I want to convey that emotion in the final image I create. So as you will see, I am often shooting emotion, more than a straight out of the camera image.
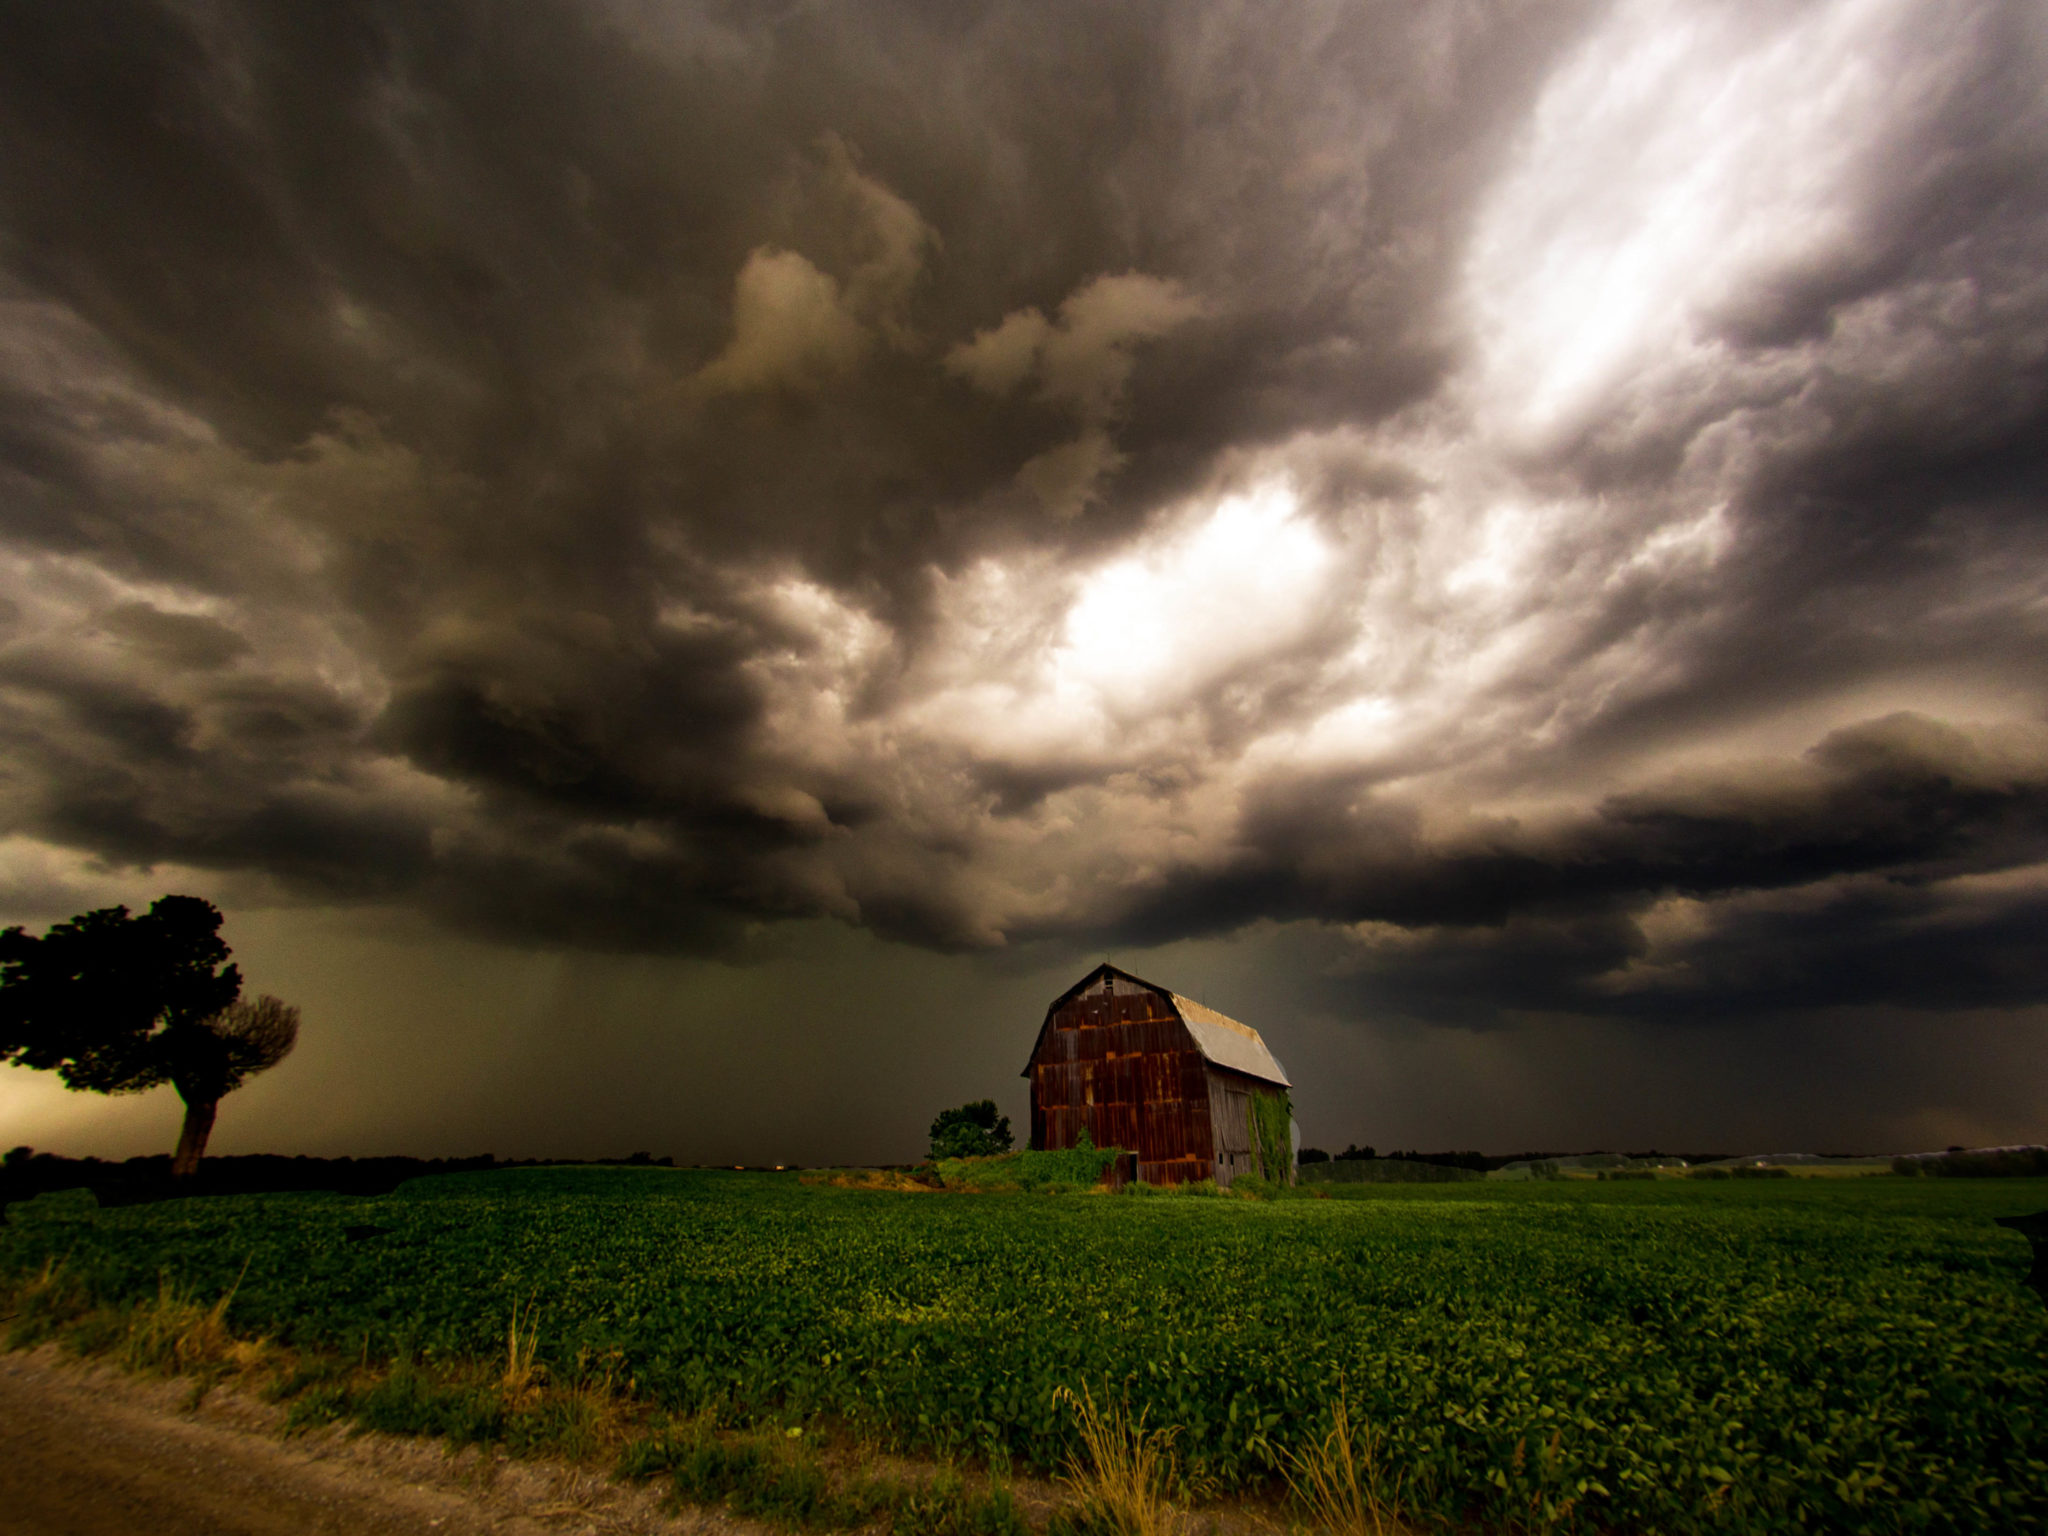
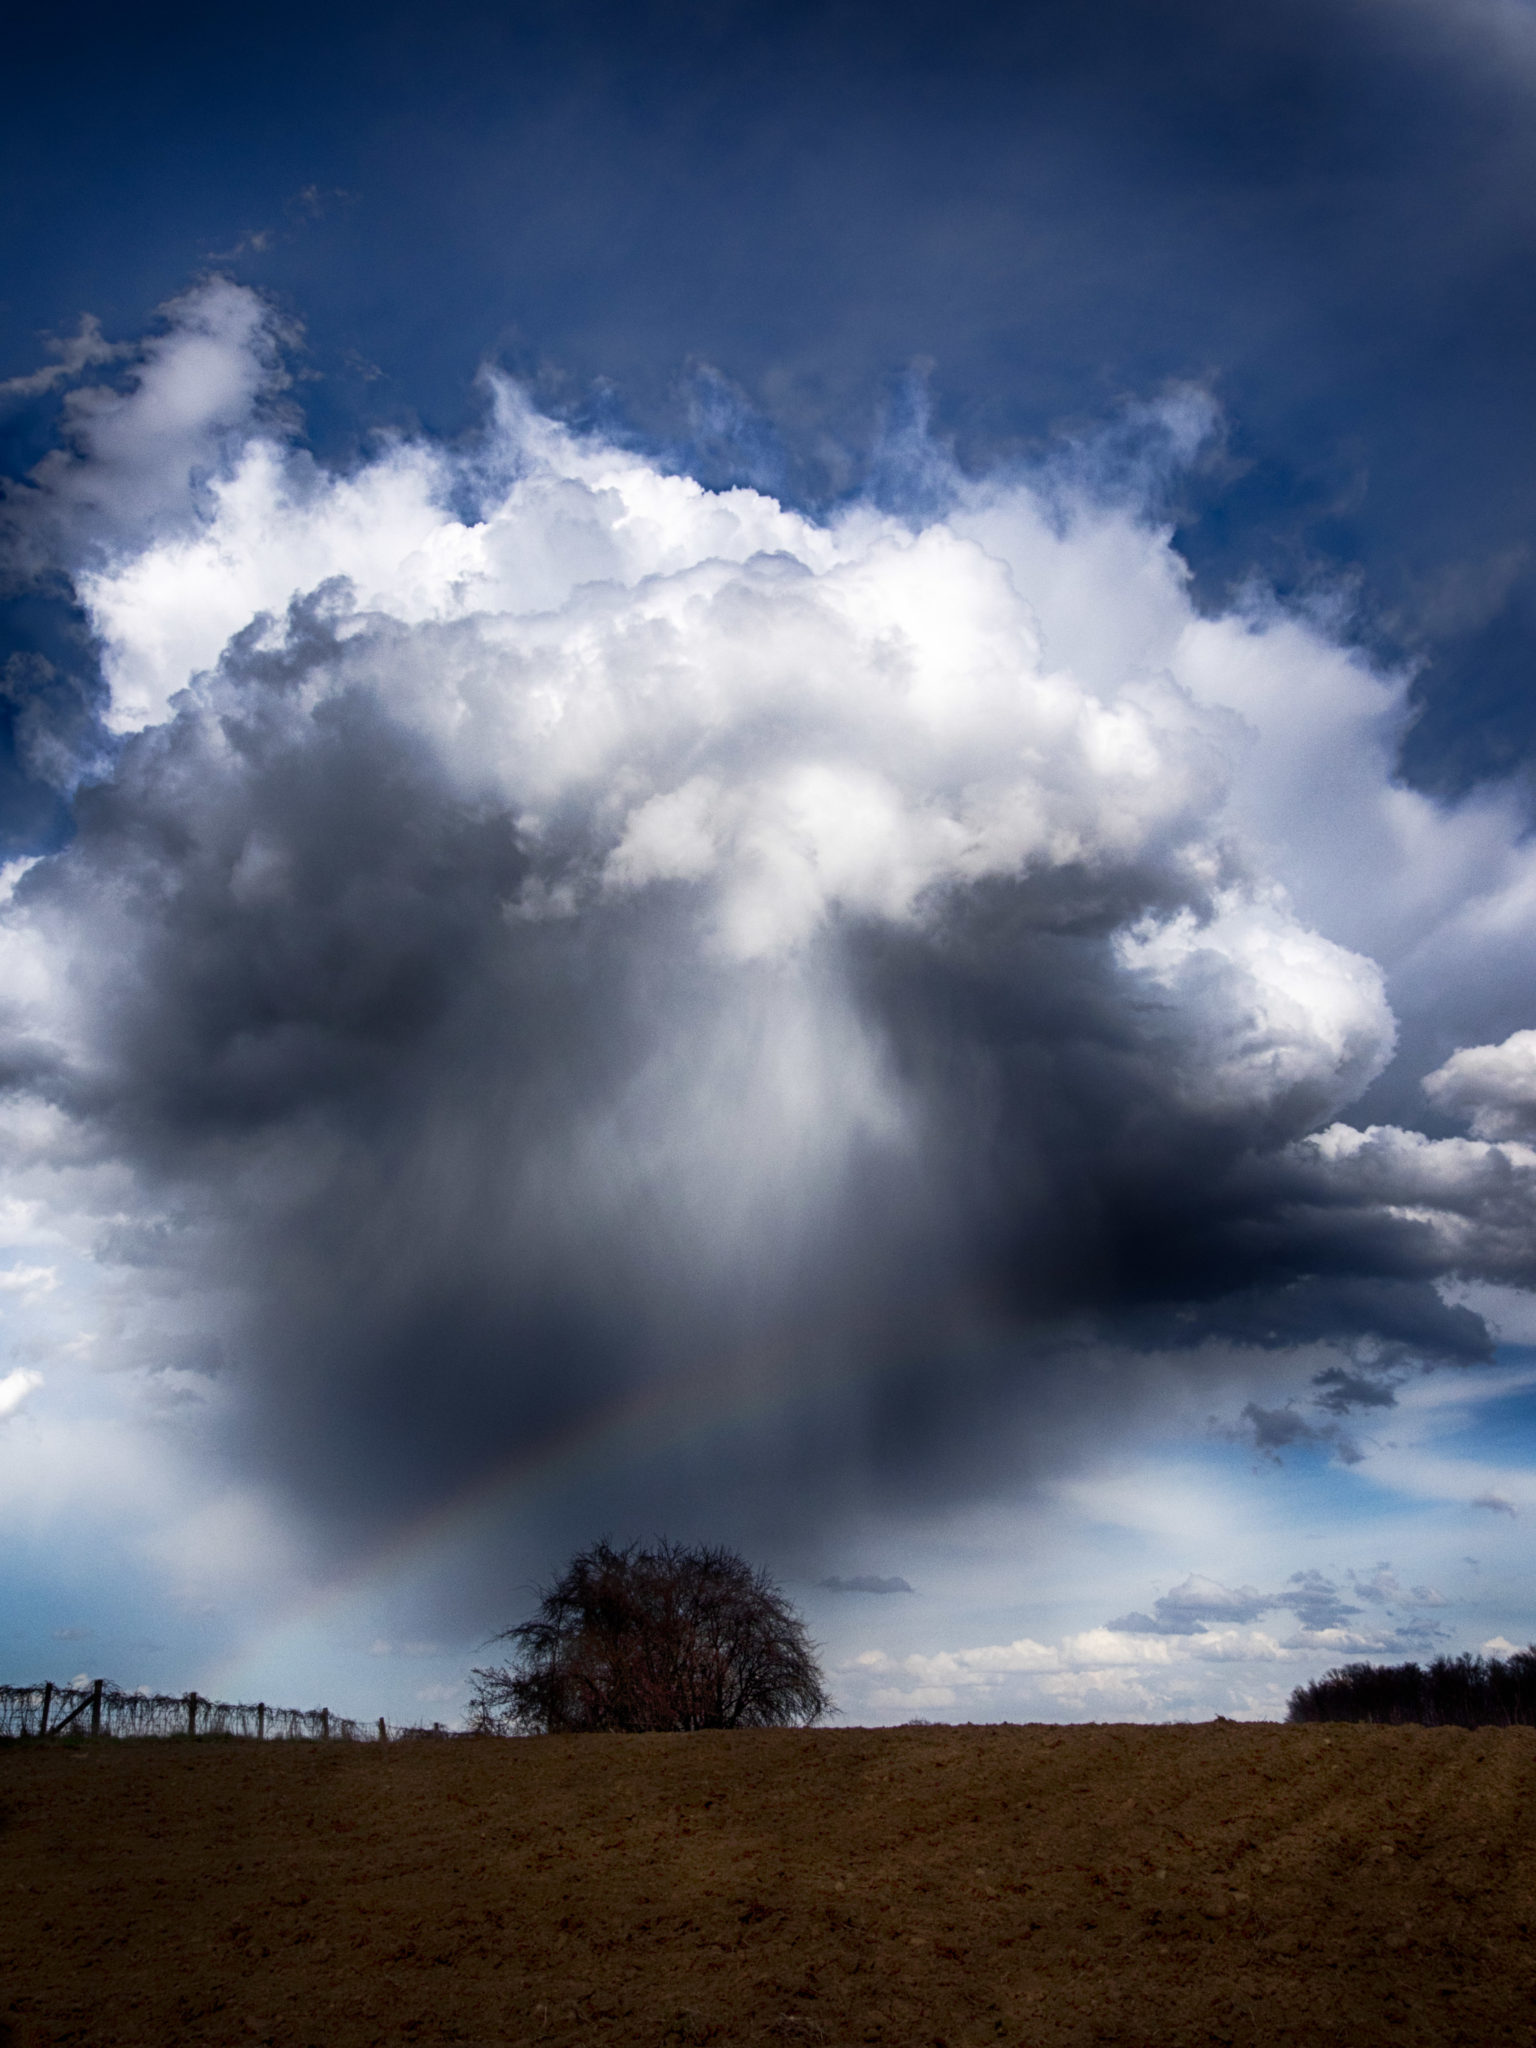
Before I begin there are a few criteria that need to be met for me to begin shooting. The first is dynamic skies. I am definitely a cloudscape kind of guy so a flat overcast sky is not going to work for me. In my mind, and in my workflow, cloud structure is very important to a landscape image.
The next element I look for is something to lead my eye to the sky. Whether it be a strong foreground element, leading lines, or an object that just ties it together by placement.
Once I have a day with some cloud structure, I just head out and explore. My goal is to get lost in the countryside while watching the sky and my foreground. I won’t lie, there are many days where I head out and all I do is come back with an empty card. But when things come together and I find that location with some foreground interest, and the skies are promising, I stop and create what I feel. Let’s see what that looks like because I think you might be surprised how it all starts.
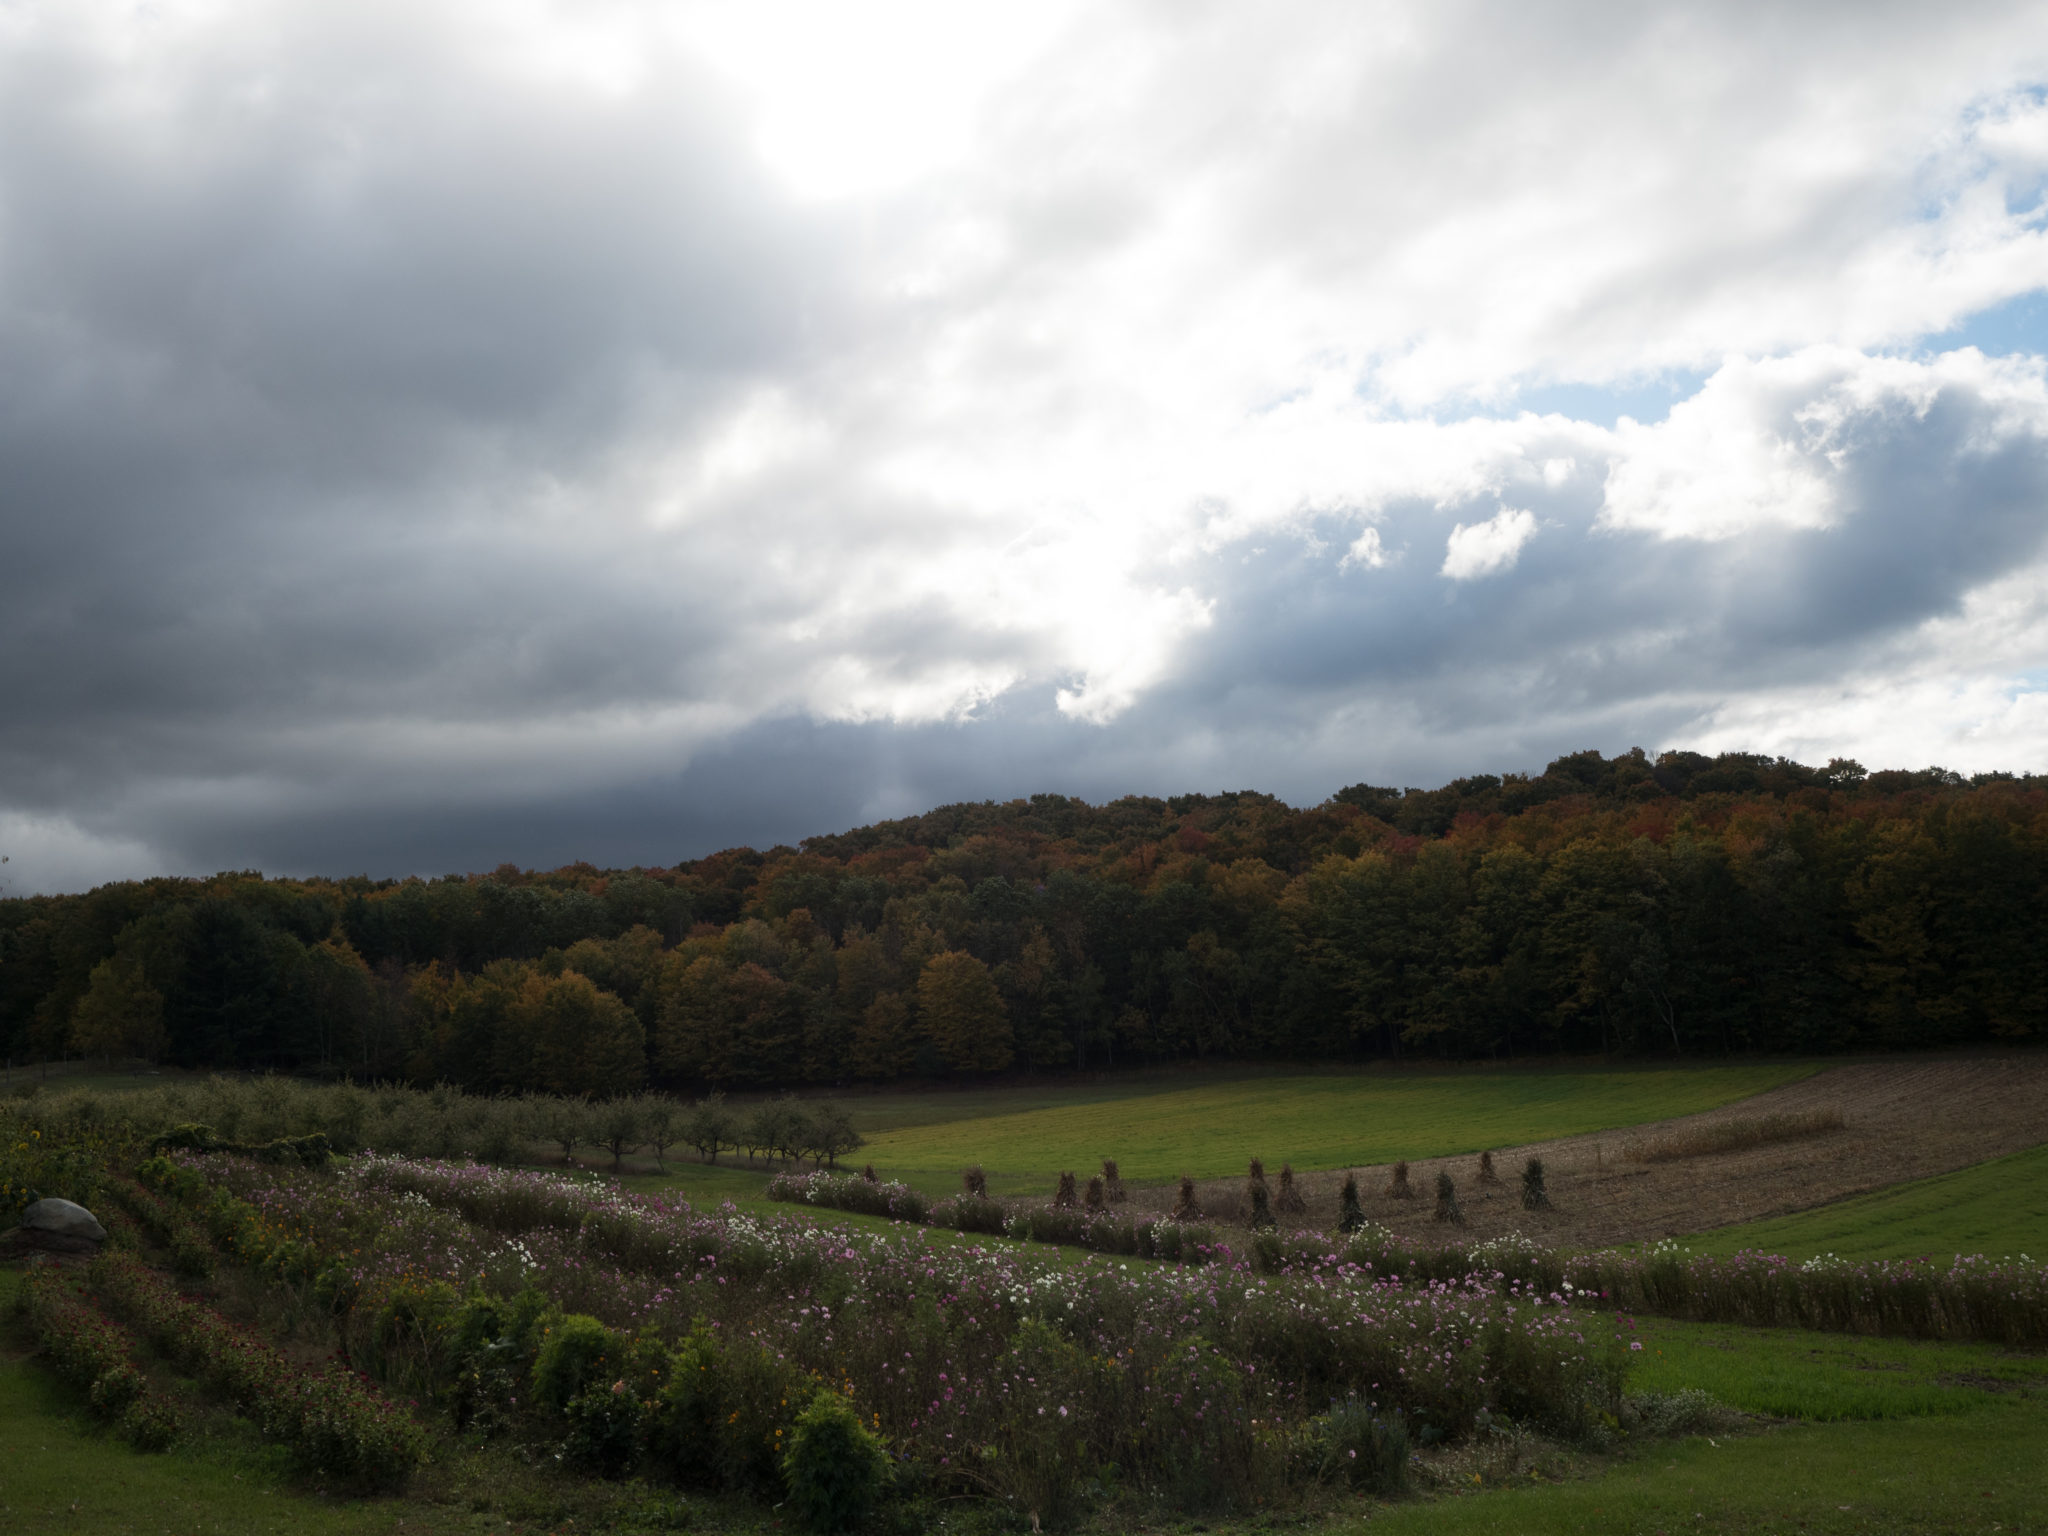
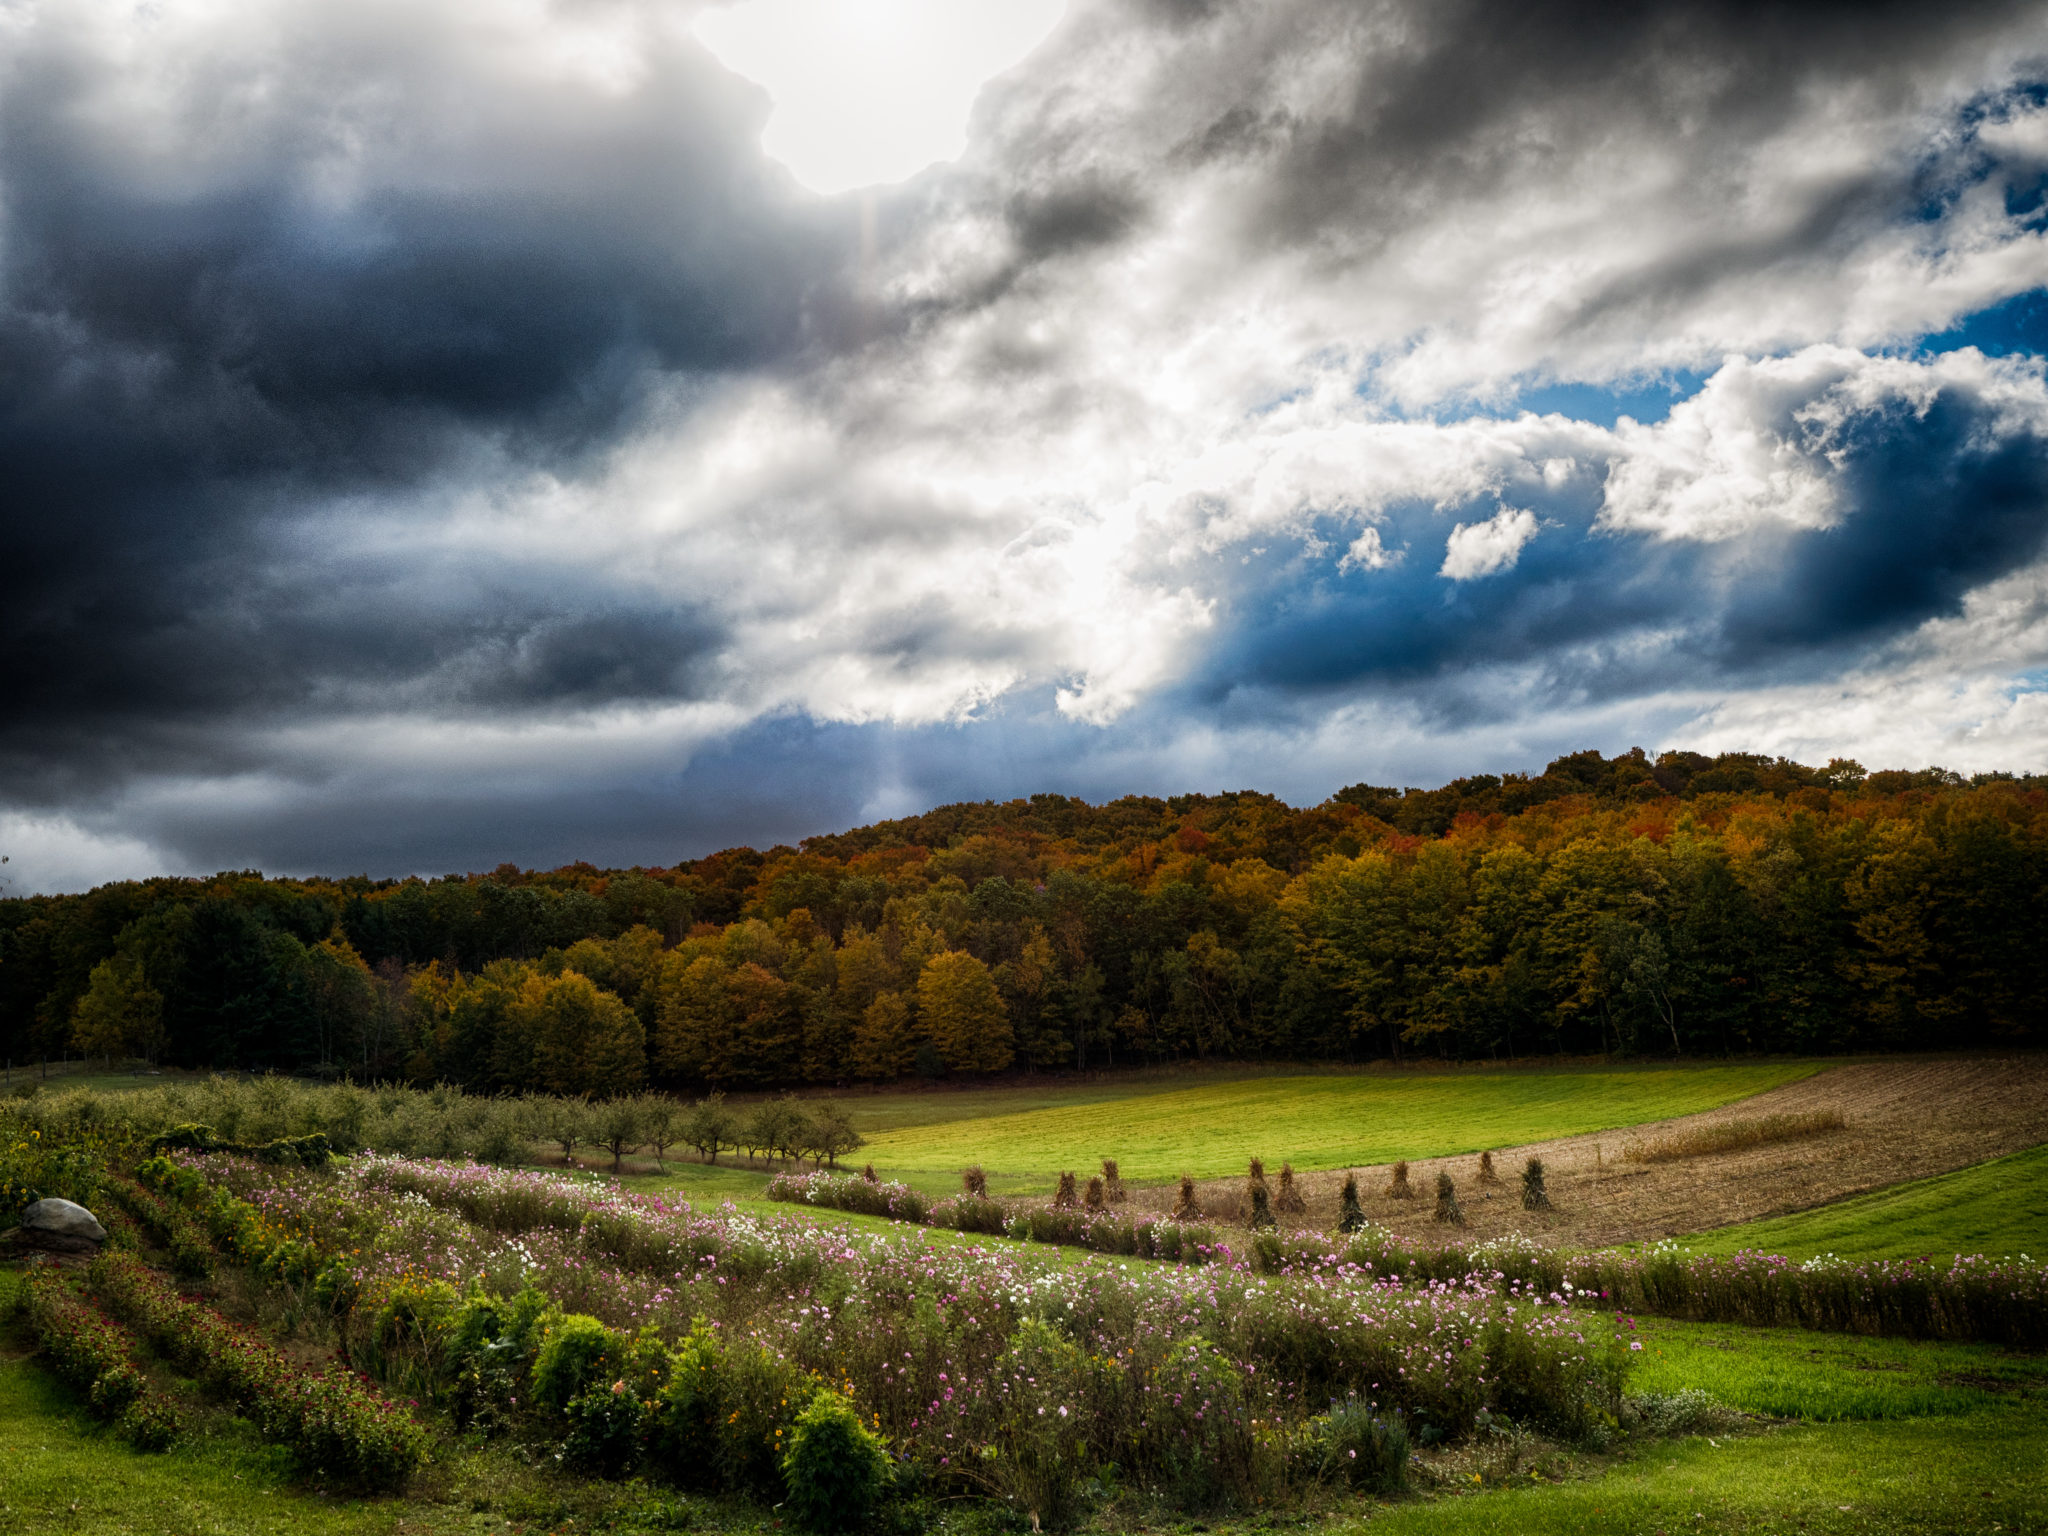
At first glance this scene may not appear to be “dynamic” nor one that would seem to evoke strong emotion. But, if you look close you can see some shape in the clouds, there are trees in the distance starting to show their autumn colors, and in the foreground a small garden with colorful flowers still hanging on to their blooms. What you can’t see is how I felt. I was with my family exploring northern Michigan and I was excited! It was a much needed break from a difficult couple of months for us. So I was full of hope, and I was still holding onto some pain.
That is what I felt, and that is what I will try to convey in my processing. So let’s get started!
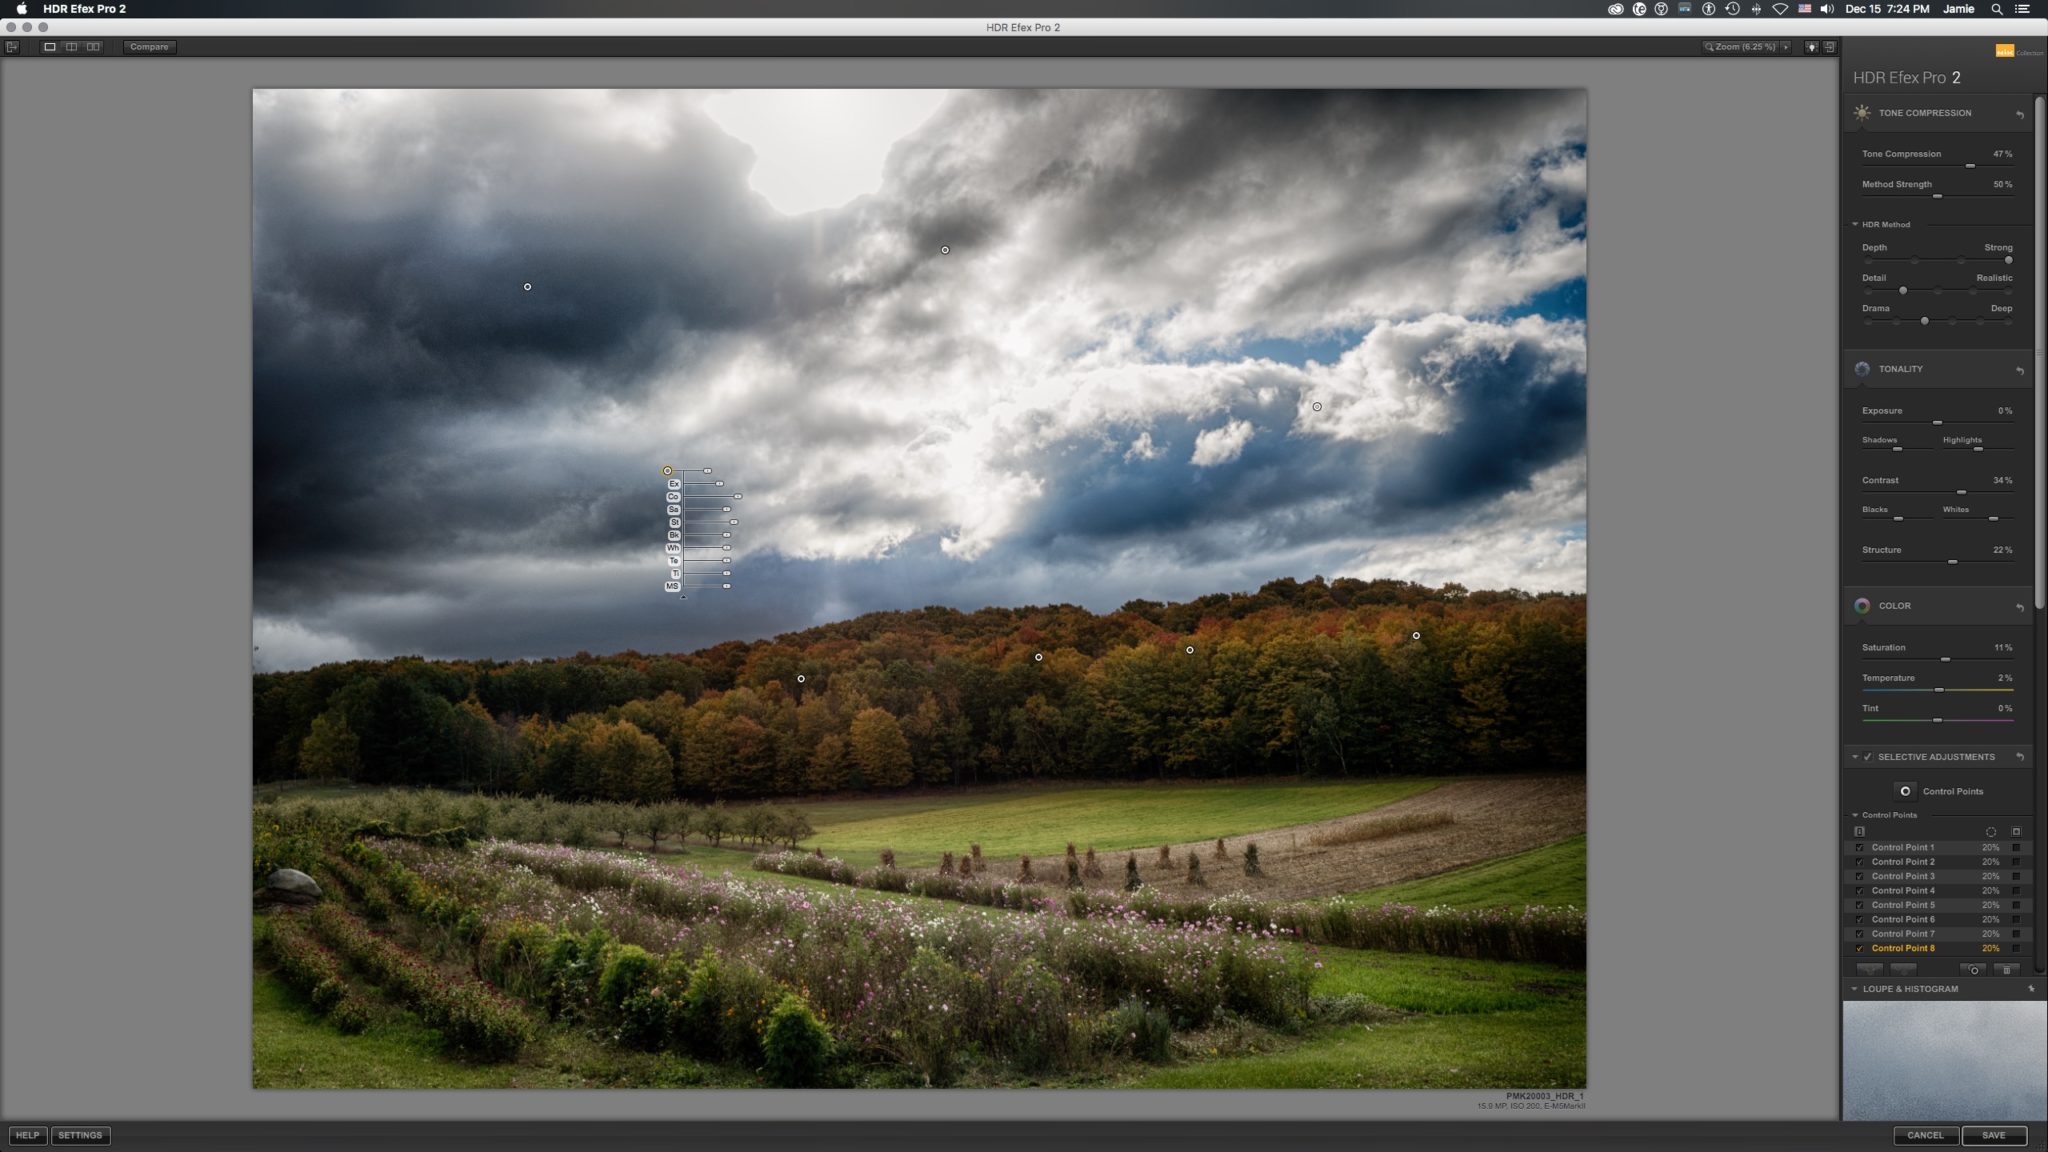
I started by opening Lightroom CC and selecting this raw file that was shot with my Olympus OM-D EM5MkII w/ mZuiko 12-40mm f/2.8 PRO lens attached. When I shot this I used AEL (Auto Exposure Lock) to set my exposure in such a way as to start exposing the the trees in the distance, without overexposing the entire sky. I composed to allow for plenty of foreground and just as much sky. This breaks the rule of thirds completely, but then I am not one to follow the rules all the time. From Lightroom I export the image to HDR Efex PRO2, and although this is NOT a bracketed multi exposure shot, there is still enough information in the raw file to do some tone mapping and bring out a lot of detail in the shadows and add some accentuation to the cloud structure. And to me, that cloud structure is what makes the image. The benefit of using the NIK software is that you have access to control points. These are points you place on the image that allow you to do precise localized adjustments. You can see from the image below that I ended up using 8 control points to add warmth and color to the trees, and to define the structure of the clouds. I also applied global adjustments to boost contrast and deepen saturation.
Now that the heavy lifting has been done in HDREfex PRO2 I can close that out and move back to Lightroom CC where I will fine tune a few things before saving. I always save things like sharpening, noise reduction, and cropping till the very end. That is just part of my workflow. But actually none of those things were done in this image.
What I DID do though was boost the saturation to individual color channels in the the Hue Saturation Luminance panel of Lightroom. You can see in the screenshot that I focused on the colors in the trees, primarily the reds, oranges, and yellows.
Another adjustment that I find important to a contrasty image is to adjust your tone curve to an S pattern. This will pump the highlights up some (although I am REALLY pushing it here with that bright spot in the sky) and drop some dark blacks into the deep shadows. Just don’t go too crazy with it.

I wrap things up with my new favorite toy in Lightroom CC, the Dehaze slider. This really makes the edges of clouds defined and adds to that intense sky look while at the same time removing the overcast areas in the sky and foreground.
So while the original image wasn’t full of the emotions that I had on that day, I was able to pour them into it and make it an image that showed what I felt.
I hope this write up shows you a trick or two that you can use in your processing, or maybe even inspires you to create what you are feeling, and not just what you are seeing.
Take care.
Jamie A. MacDonald
Get rid of the ads!
Did you enjoy reading this article as much as we enjoyed writing it? There's a way to support us and our reporting, getting ad-free navigation and more as a bonus. Subscribe to us for less than a coffee per month —just $3.99— or take advantage of our yearly subscription with a hefty discount for only $25.- An ad-free experience
- A free mystery box for Lightroom or Capture One
- All the books in our store
- 20% discount on Capture One
- 30% discount on Imalume Photo Theft Protection
- 20% off Herbs and Kettle Tea Company.
- 20% off your order from MPIX printing services.
- 5% off Viltrox Products via their eCommerce store.
- 10% off all film developing, printing and scanning services from Blue Moon Camera and Machine
- 15% off 7Artisans products: The lens and accessory maker is offering a sweet discount for Phoblographer's readers.