This is a syndicated blog post from Sam Gold. It and the images in this post are being republished with permission.
I have never been a fan of adding grain to my imagery. I think my obsession with having optimal image quality steered me away from the idea. Recently however, my sister sent me an old photo of our family and seeing it inspired me to experiment with grain in Lightroom. The less than good image quality stemmed from the photo being taken with a disposable film camera at night using the flash which illuminated the people in the photo but not the dark space around us which ended up grainy.
I did not want to sound like an oaf on this subject and while researching the properties of film grain I found this article (a tough but fun read) which states:
The term “film grain” is often incorrectly used to describe the “fundamental” particles in a chemical-based photographic image. Fundamental image particles are the smallest particles that form an image: (a) silver particles or (b) color dye clouds …
Film grain is a repeating noise pattern that is an order of magnitude larger than the fundamental image particles. Film resolution is directly related to the size and distribution of silver particles in an emulsion. The noise pattern tends to obscure detail rather than define detail. The pattern is superimposed over the image, not the source of the image.
A common mistake [made by the author many, many times], is to think that film grain is the image-forming element. Many Kodak and Fuji publications, including much of the popular photographic literature (magazines), commonly make the mistake of referring to fundamental film particles as film grain. This further propagates the imprecise usage of the term.
Although this information may seem archaic, the scientist in me found it to be very interesting because it helped me understand how I should better approach adding digital grain to an image.
I think the most important thing is that adding grain should be the very last thing you apply to a fully processed image. It helps to think of your edited RAW (or JPEG) file as the “fundamental image particles” (in the digital world it is actually the pixels making up the image) and the grain as a noise artefact being superimposed on top of it. The end result is that you obtain a digital image that has more of a film like rendering to it.

In Lightroom you are able to add grain in the “Effects” module and the adjustment sliders consist of “Amount”, “Size”, and “Rougness”. When adding grain into the mix, I usually toggle between the “1:1” and “FIT” to look at the changes on a magnified and overall level. This ensures image quality does not deteriorate to the point where you lose fine detail. Size and roughness play a major role in this and amount impacts the overall effects of both. As with all my processing, I just adjust the sliders around until the end result is something I am looking for. In the week of playing around with this process I like Amount:50, Size:20, Roughness:20 for moderate grain and Amount:50, Size:20 Roughness:50 for a more distinct look. Some other things to note are that:
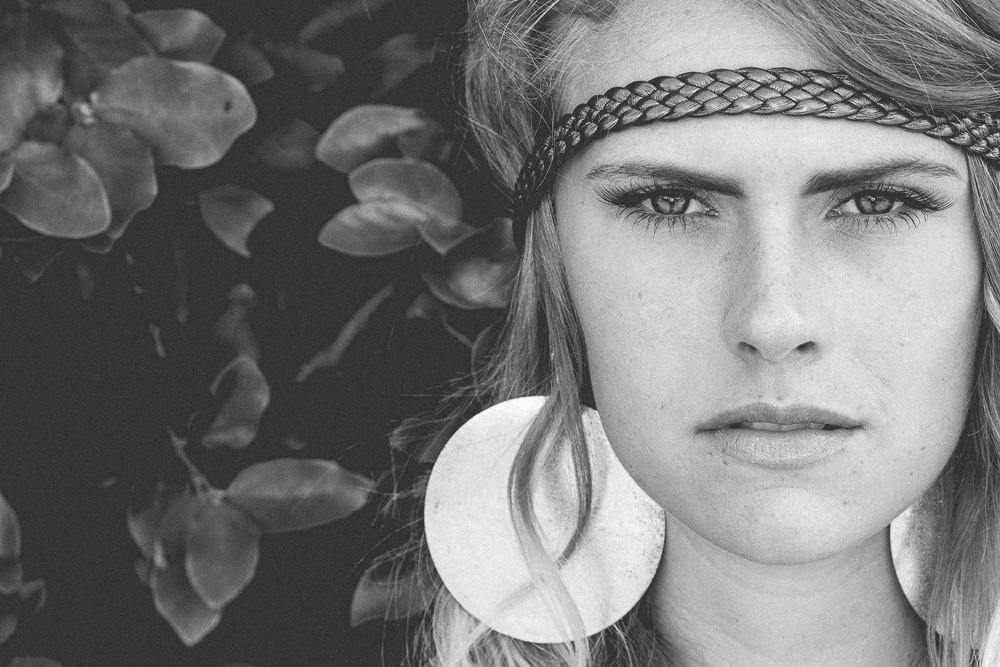
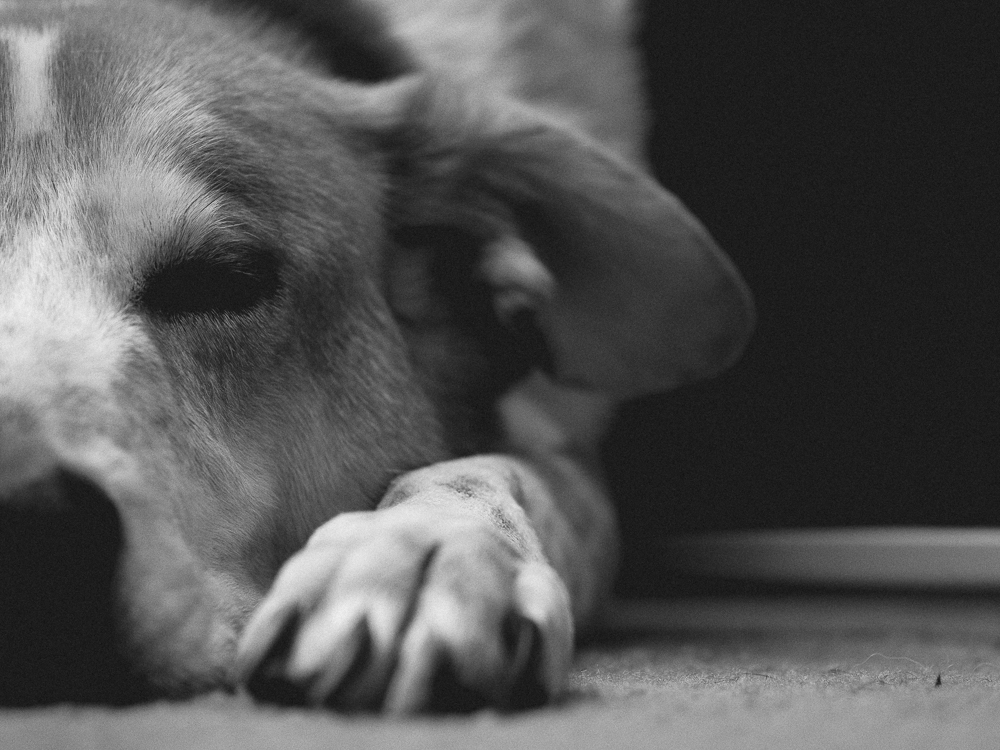
- Grain is more noticeable in the darker areas of a photo, especially the mid-tones (or “clipped”/”faded” blacks).
- Grain is also more evident in out of focus areas.
- Increasing the grain deteriorates image quality especially in subjects with fine detail such as hair or eyelashes.
- It helps to look at film images to help understand what looks natural.
- When noise reduction is not set to 0, the effect of adding grain is diminished.
- If the image was shot at a high ISO, you probably do not need to add additional grain.
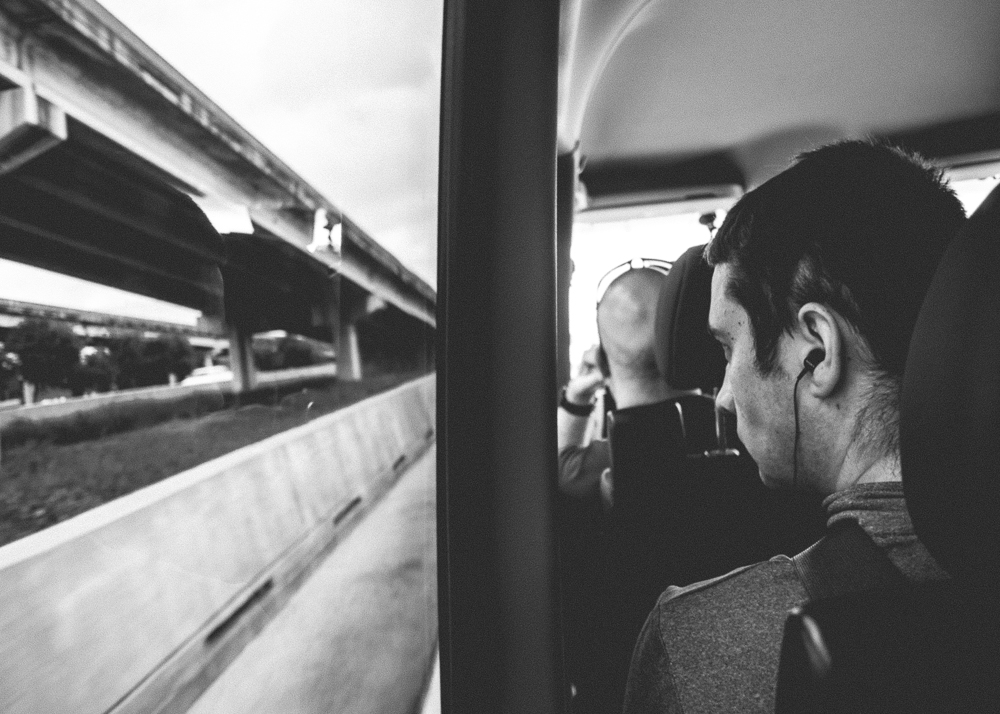
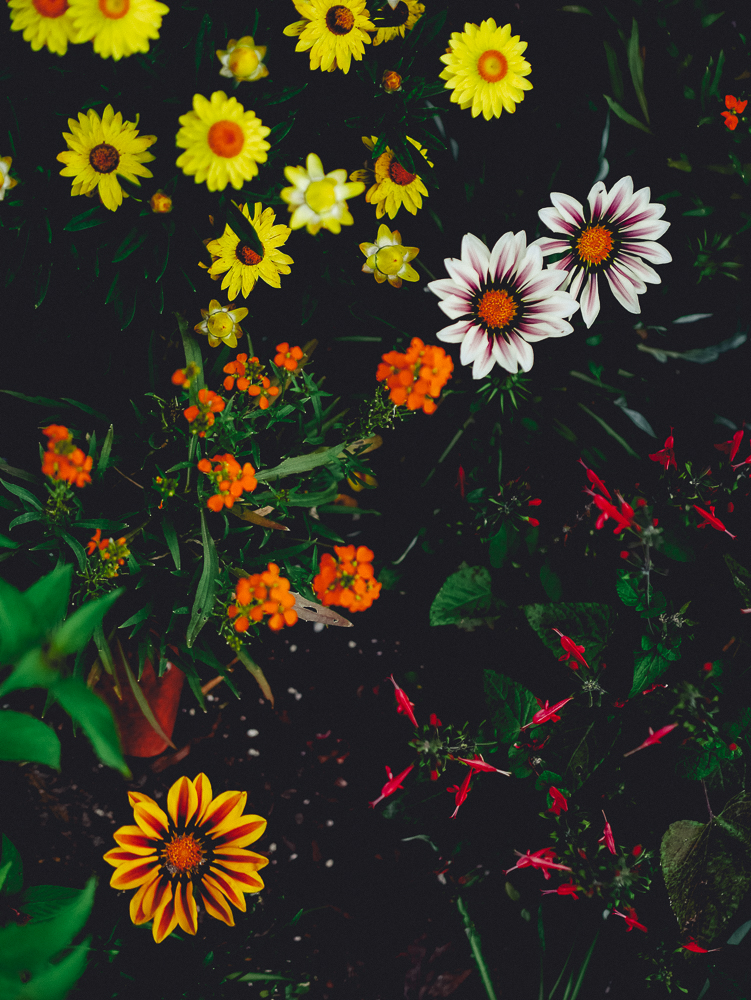
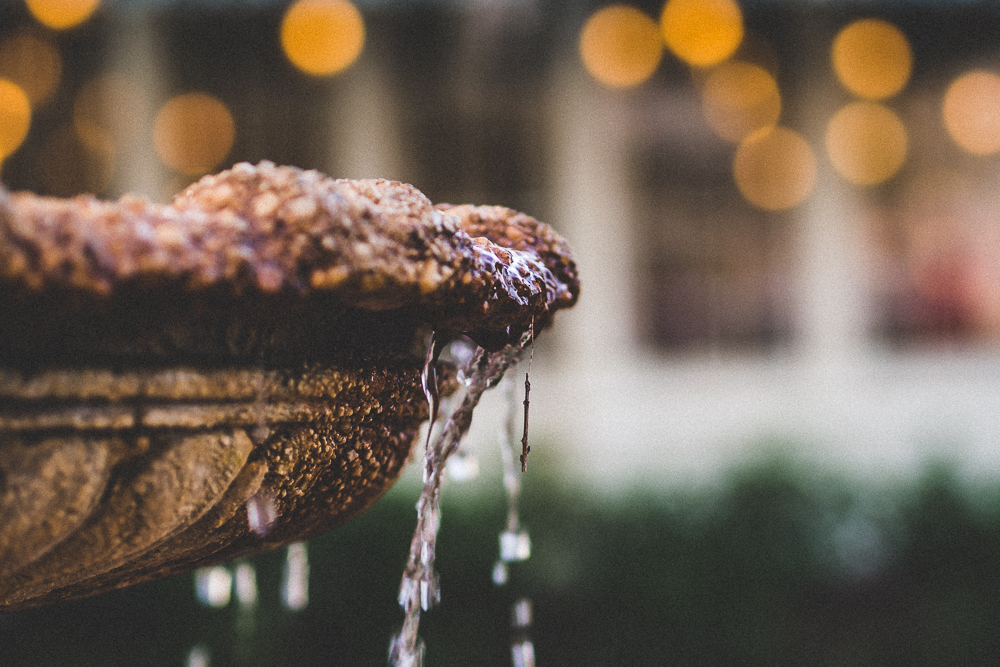
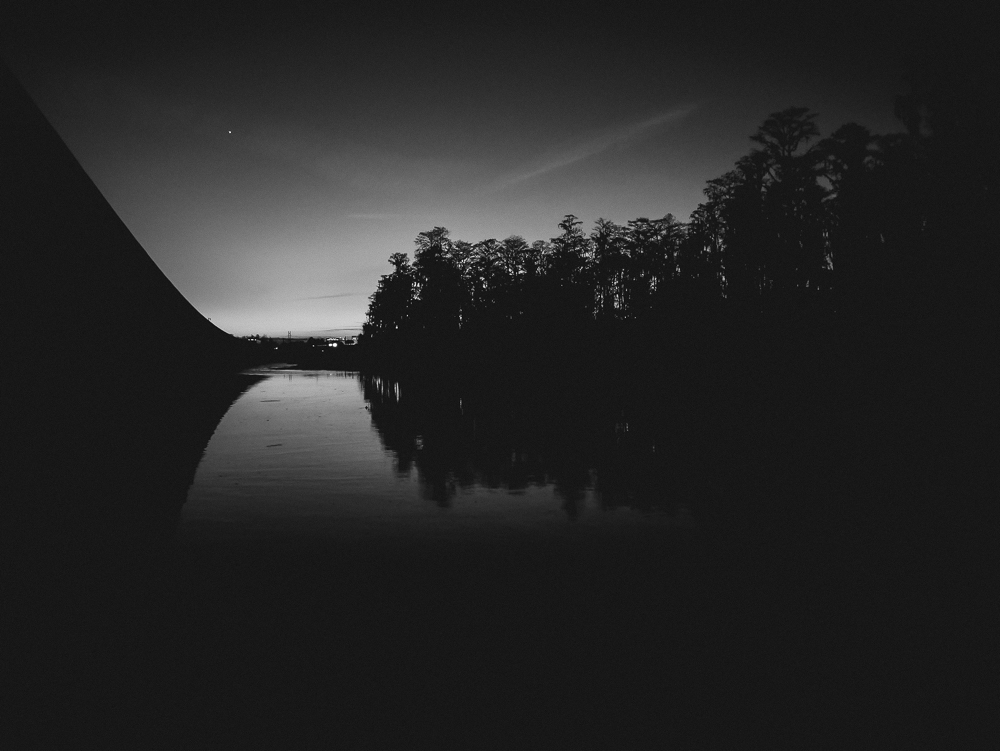
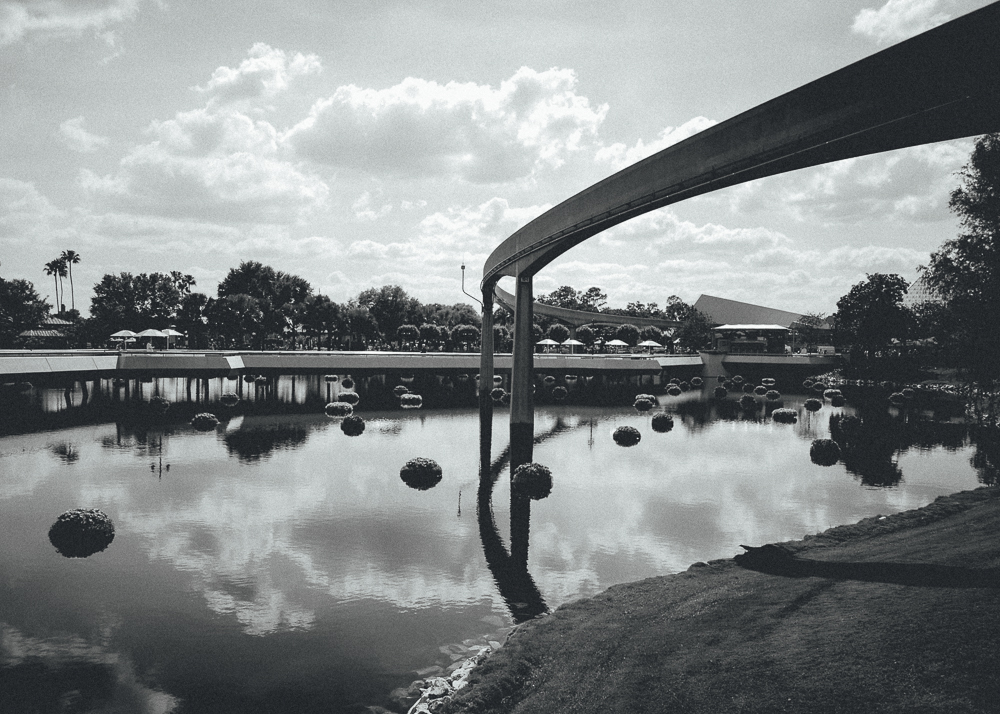
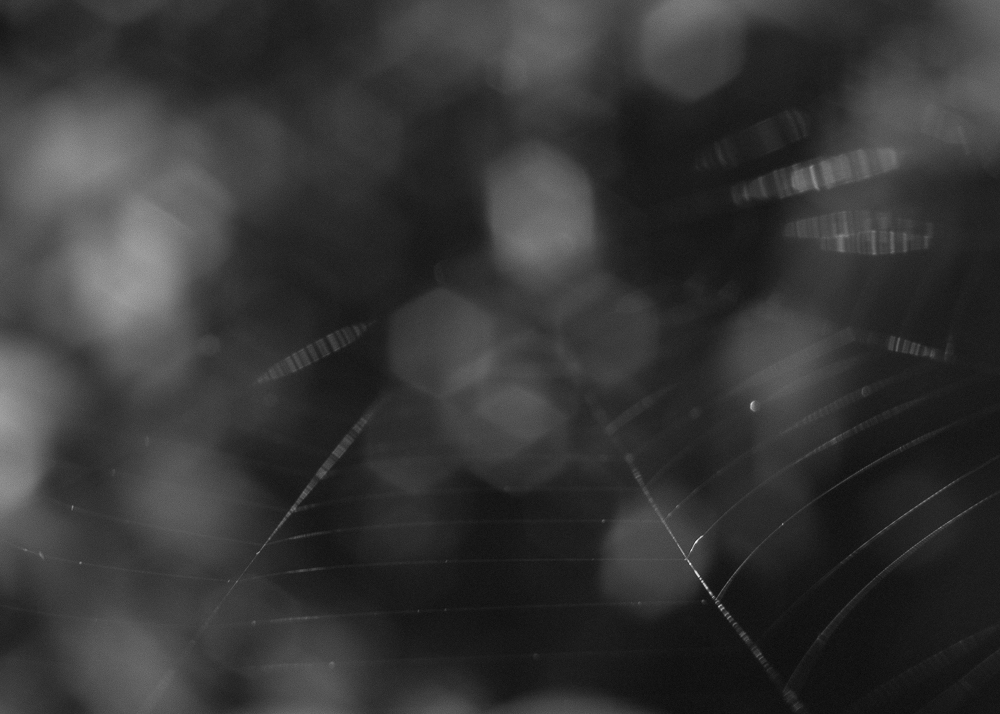
Image Samples


Again, I have only been experimenting with this for a short period of time so the information I presented here should be taken with a grain of salt. Some may think it is silly to strive for a good digital camera with a nice sharp lens only to ruin the output with the addition of grain, but I have definitely had fun playing around with it. I am sure film photographers out there would say “just shoot film”. For digital photographers who haven’t used the medium however, working grain into your aesthetic can a step in the right direction. Anyone else out there add grain in their post processing workflow?? I’d love to hear your thoughts/tips in the comments section =)
– Sam
Get rid of the ads!
Did you enjoy reading this article as much as we enjoyed writing it? There's a way to support us and our reporting, getting ad-free navigation and more as a bonus. Subscribe to us for less than a coffee per month —just $3.99— or take advantage of our yearly subscription with a hefty discount for only $25.- An ad-free experience
- A free mystery box for Lightroom or Capture One
- All the books in our store
- 20% discount on Capture One
- 30% discount on Imalume Photo Theft Protection
- 20% off Herbs and Kettle Tea Company.
- 20% off your order from MPIX printing services.
- 5% off Viltrox Products via their eCommerce store.
- 10% off all film developing, printing and scanning services from Blue Moon Camera and Machine
- 15% off 7Artisans products: The lens and accessory maker is offering a sweet discount for Phoblographer's readers.