The idea of using one light to create better photos isn’t a new one. It’s one that famed photographer Zack Arias tends to preach, and that every photographer can make work for them very simply. It’s also the starting point for many photographers who learn to use one light and later on to use multiple sources to create the scene that they want.
But for most setups, what most folks need and want can be done with one light and blending with natural/ambient light.
Specific Coverage Of Your Portrait Subject
When using a single artificial light source, you’ll need to consider that this source is adding light to the scene that doesn’t exist. So with that in mind, you need to be able to envision what’s going on or what might happen.
Now there are many ways that this can be done. You can bounce the lighting off of a ceiling or wall–this is a common tactic used by wedding and event photographers because it’s quick, cheap and effective enough for what they do. But at the same time, these photographers are forever aware of their surroundings. They’ll know if a ceiling is too high, a wall is right behind them and low enough for them to bounce the light onto someone’s face, etc. But more importantly, they also keep in mind the colors of the surrounding areas. If a wall is white, it’s going to bounce off white light. However, if the wall is a red brick, then your light will be tinged with red in the photo.
Whatever you’re using though, you’ll need to ensure that your subject is covered with enough light to the point that it matches your creative vision in your head. And again, this is how specific lighting coverage deals with your creative vision.
If you don’t have that, then start to envision one and get inspired by people and the locations that you’re on. Essentially, go back to the drawing board. Once you observe everything and have an idea, then pay keen attention to scene and figure out how you can get the images you want created. It’s a method that many location shooters do.
Browse through 500px or check out the site’s Creating the Photograph series to see how photographers created specific effects.
Large Light Modifiers
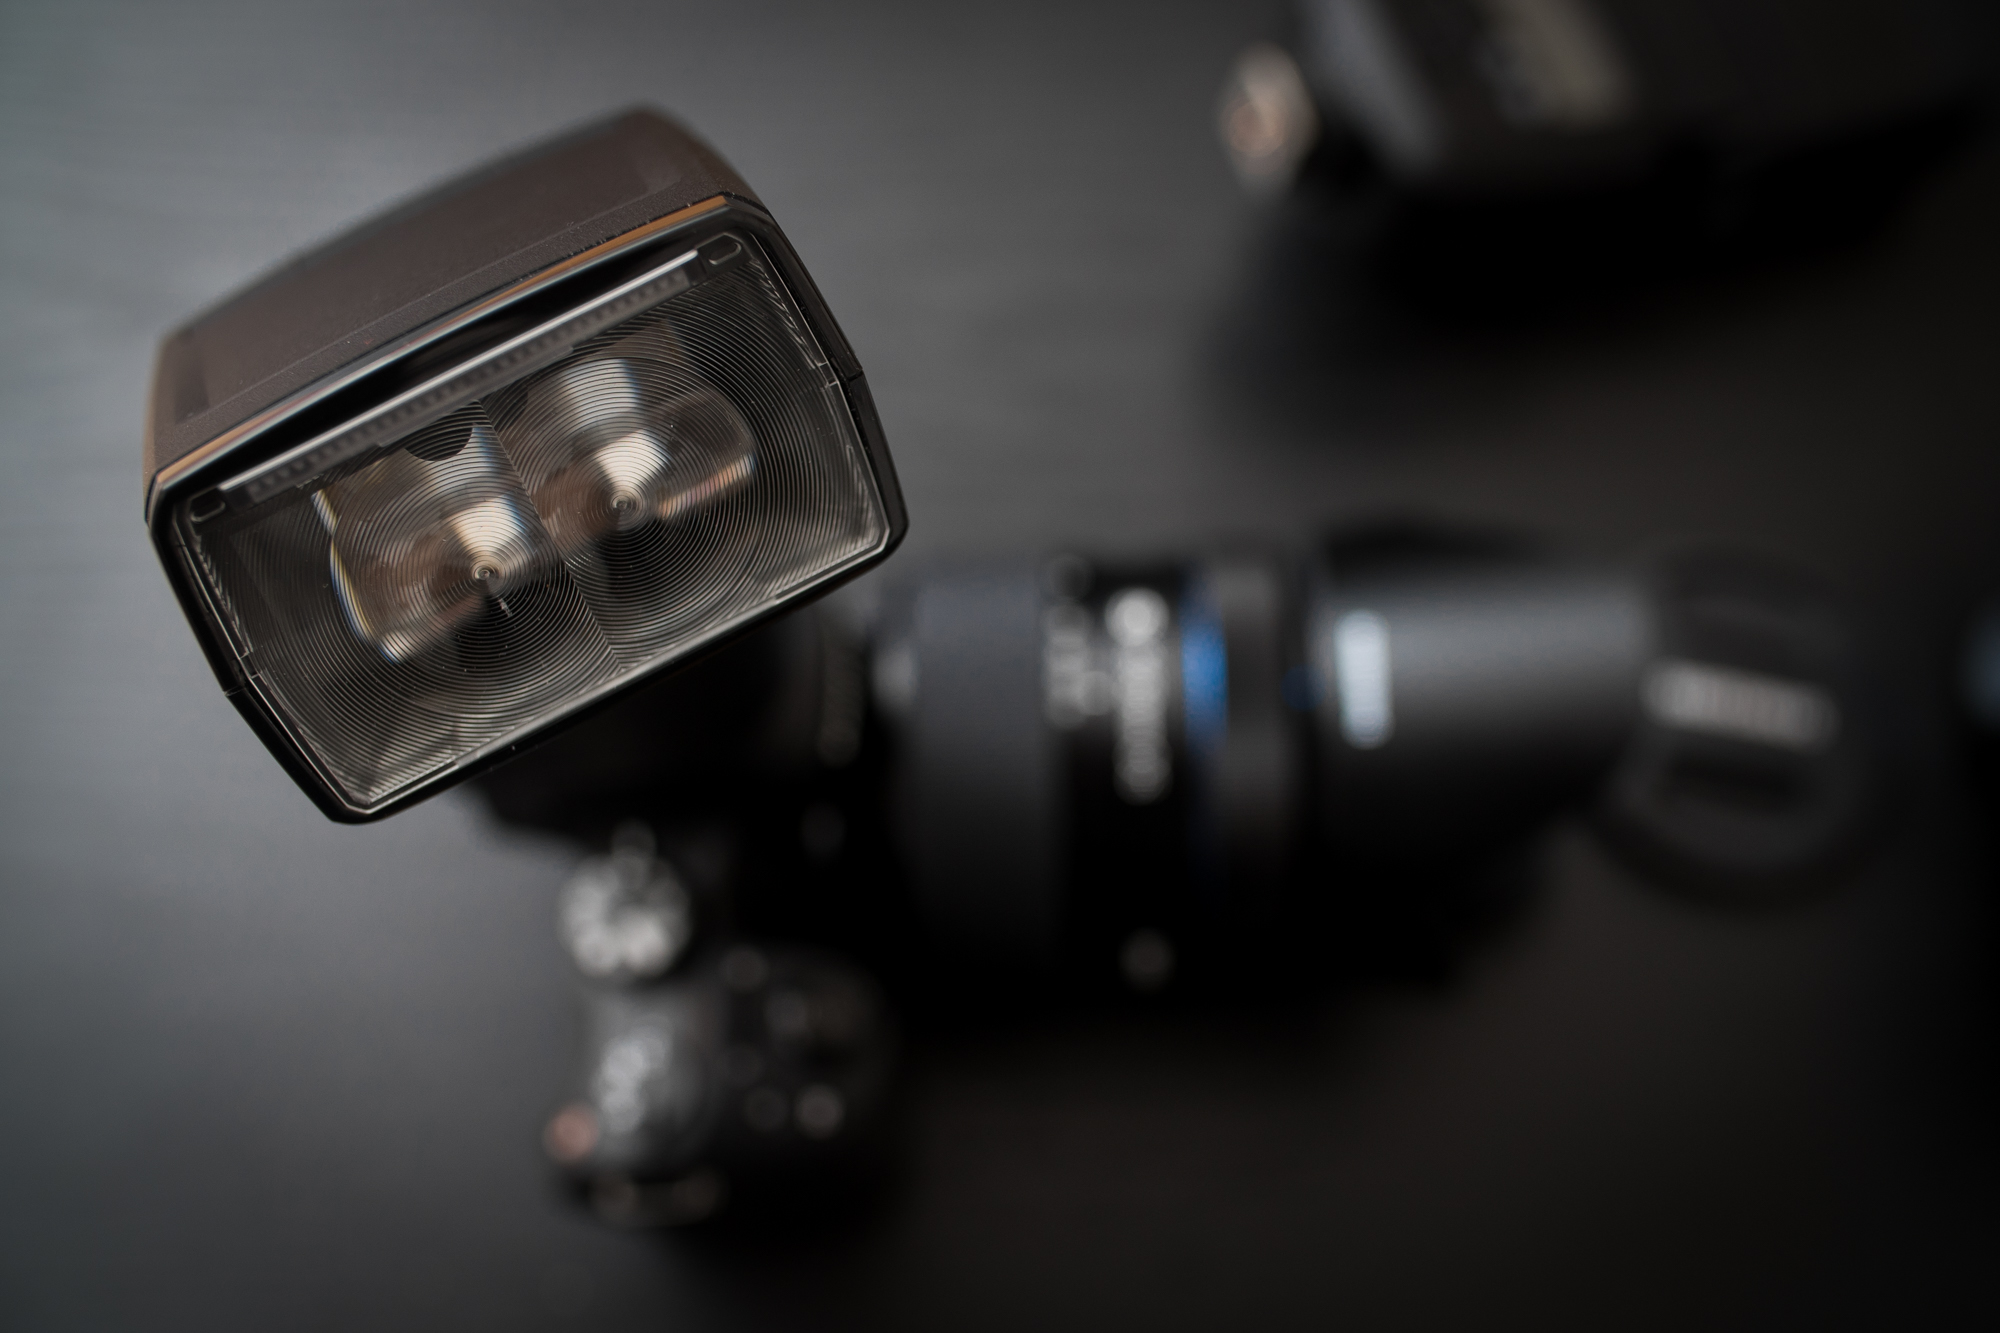
Light modifiers are what shape the light that you’re working with. There are the walls and ceilings that were talked about, but light modifiers do a lot more than just that. They direct and shape the light vs letting it spill out everywhere. It’s a fact that can’t be argued: a softbox will direct light forward onto a subject. In contrast, light being fired out onto a ceiling will spill everywhere. To that end, light modifiers are really all about shape and coverage–something we talked about earlier. Further, light spilling is light that you have no control over and can’t effectively help you tell the story you want to in the image you’re creating.
Light modifiers, and specifically the ones that you want to work with when it comes to portraits, need to be larger than your subject to deliver a nice soft light. But if you want hard light, you can always use the light bare or with an umbrella reflector.
These modifiers have different interiors: silver or white. Silver tends to be much more punchy and gives off incredible amounts of detail. White tends to be better for skin of all types unless you want everyone to see your portrait subject’s pores.
But let’s get back to shape for a second. If your light modifier is large enough in comparison to the size of your subject, the shape won’t matter that much because the light source is being projected at such a large size. But if it’s smaller, then it indeed does matter.
- Softboxes and beauty dishes will direct light forward
- Octabanks will direct light forward in more of a circular fashion
- Umbrellas direct light to a specific spot and then let it spill out everywhere
They all have their own different looks and in general most folks will be very happy with Umbrellas and Softboxes. Octabanks tend to emphasize more of a fashiony-style look.
Again though, they are how you can get more with a single flash as far as different looks and light renditions go.
Wide Angle Diffuser
If you’re using a hot shoe flash, you’ve got one more tool that works: it’s called the wide angle diffuser. With lighting consider this other Golden Rule:
- The larger the light source is in relation to the subject, the softer the light will be.
- The smaller the light source is in relation to the subject, the harder the light will be.
Light’s hardness or softness has to do with how transparent the shadows are. By using your flash’s wide angle diffuser, you can make the light cover a larger area and therefore make it softer in some situations. It’s something that I do often.
Depth of Field
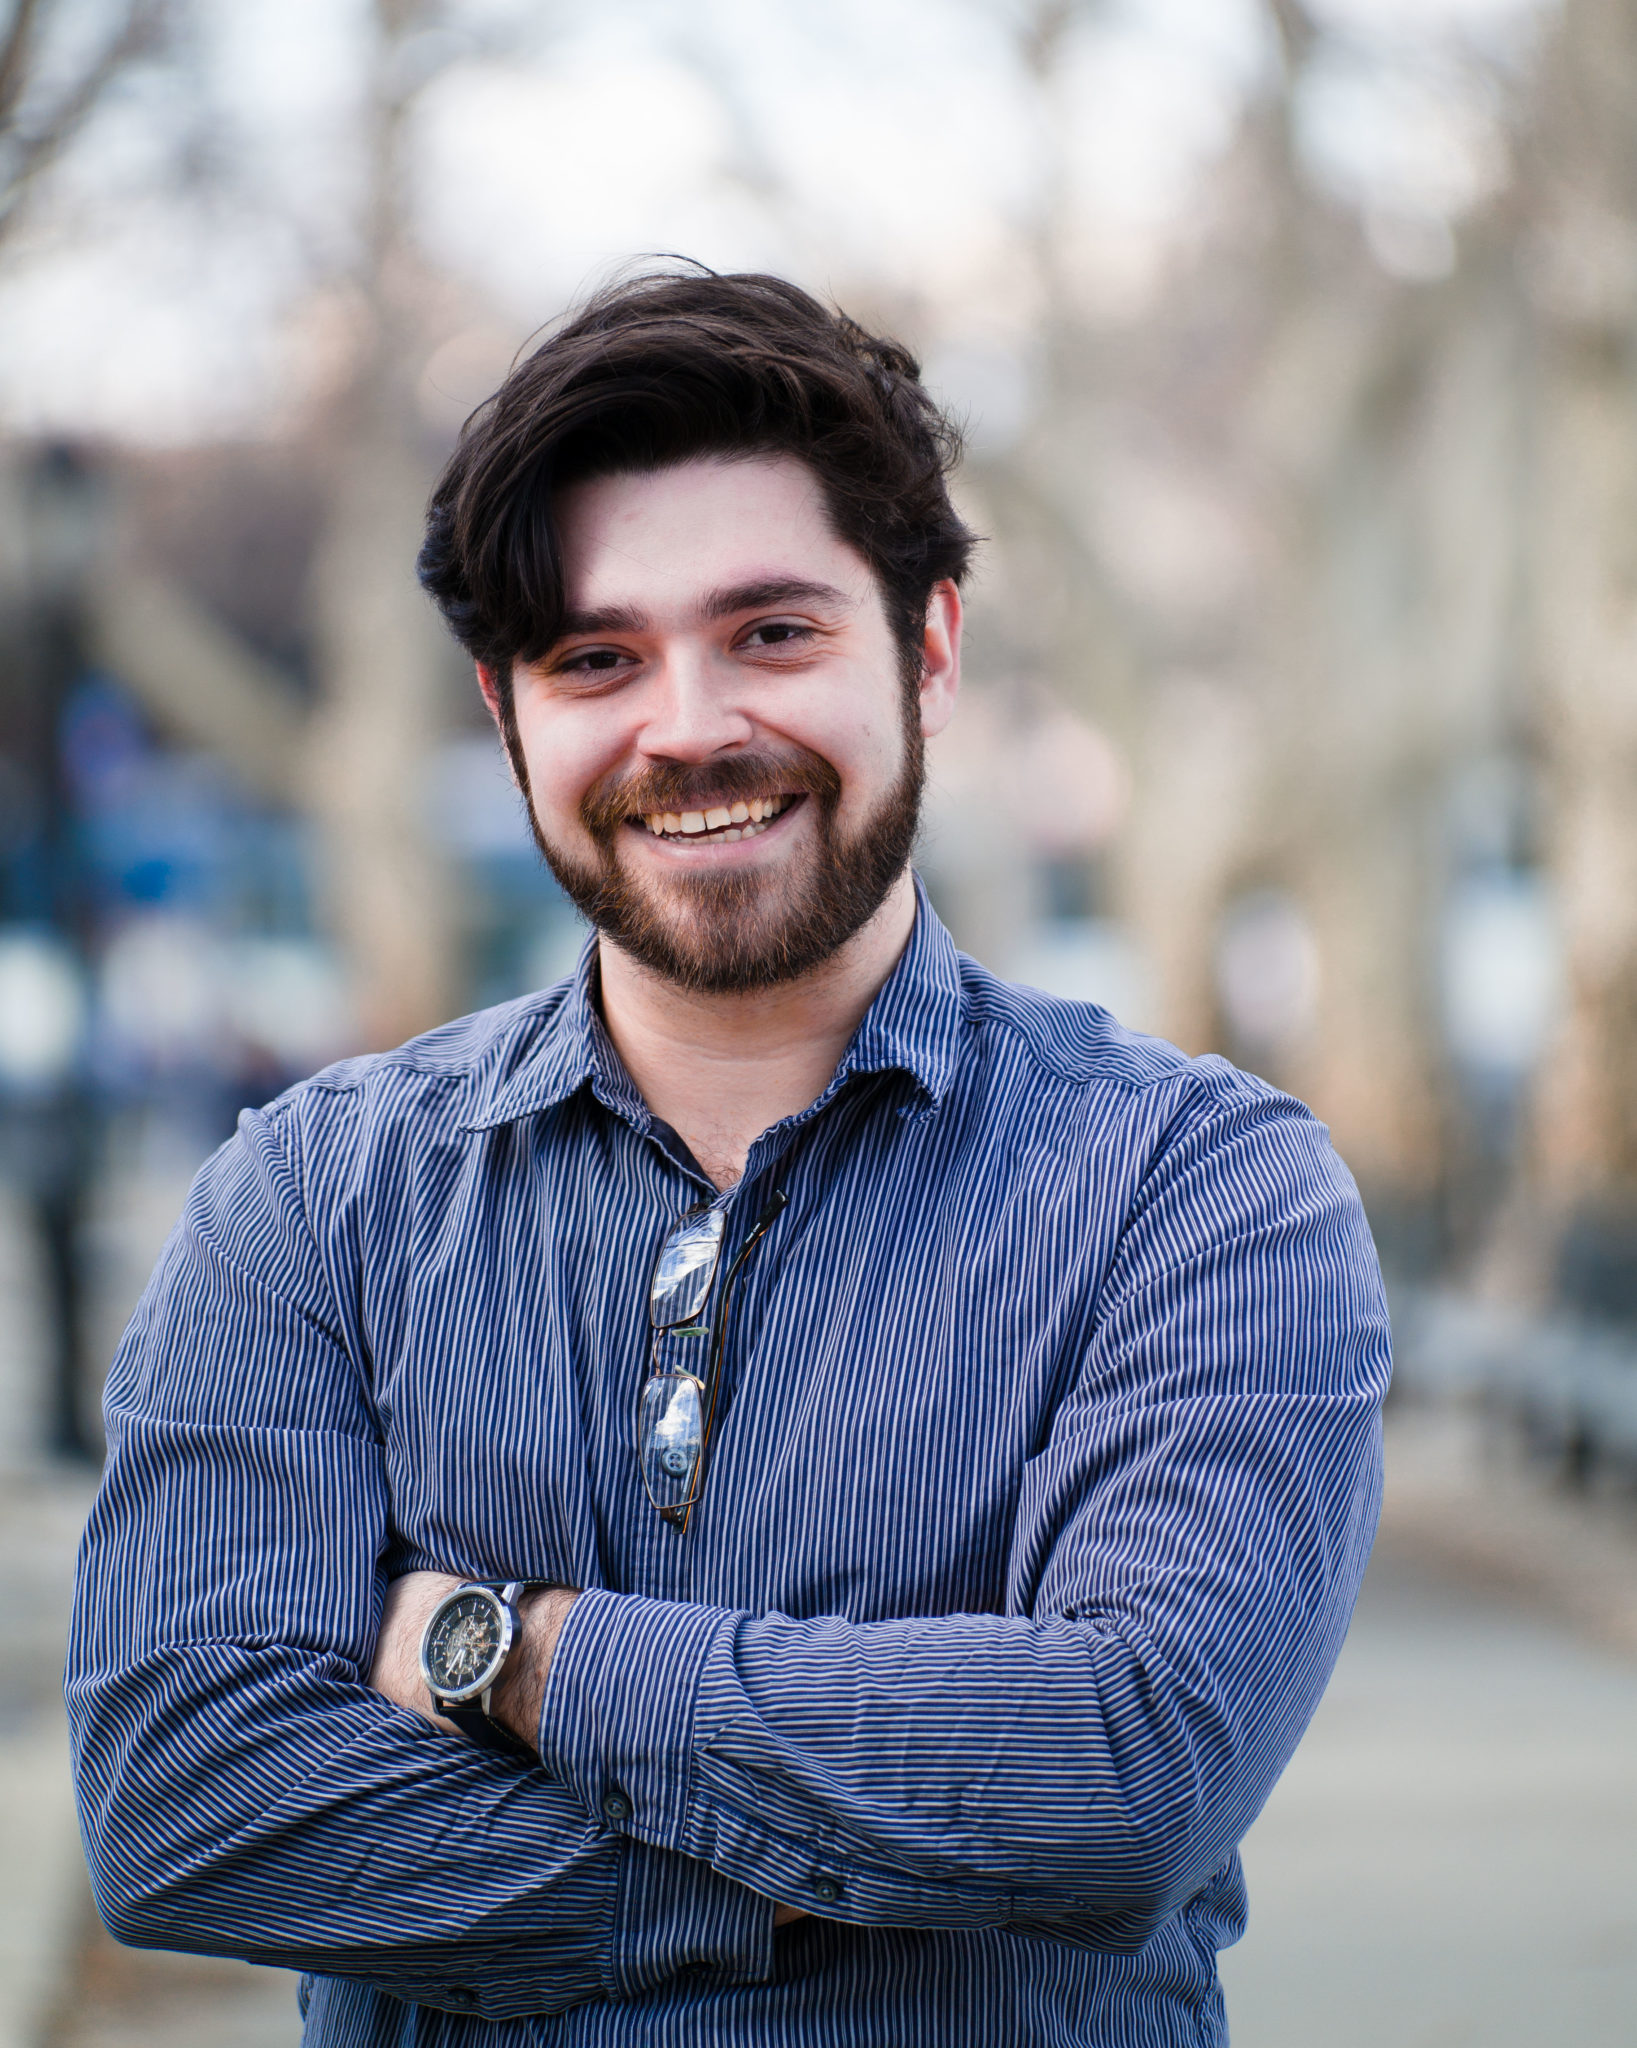
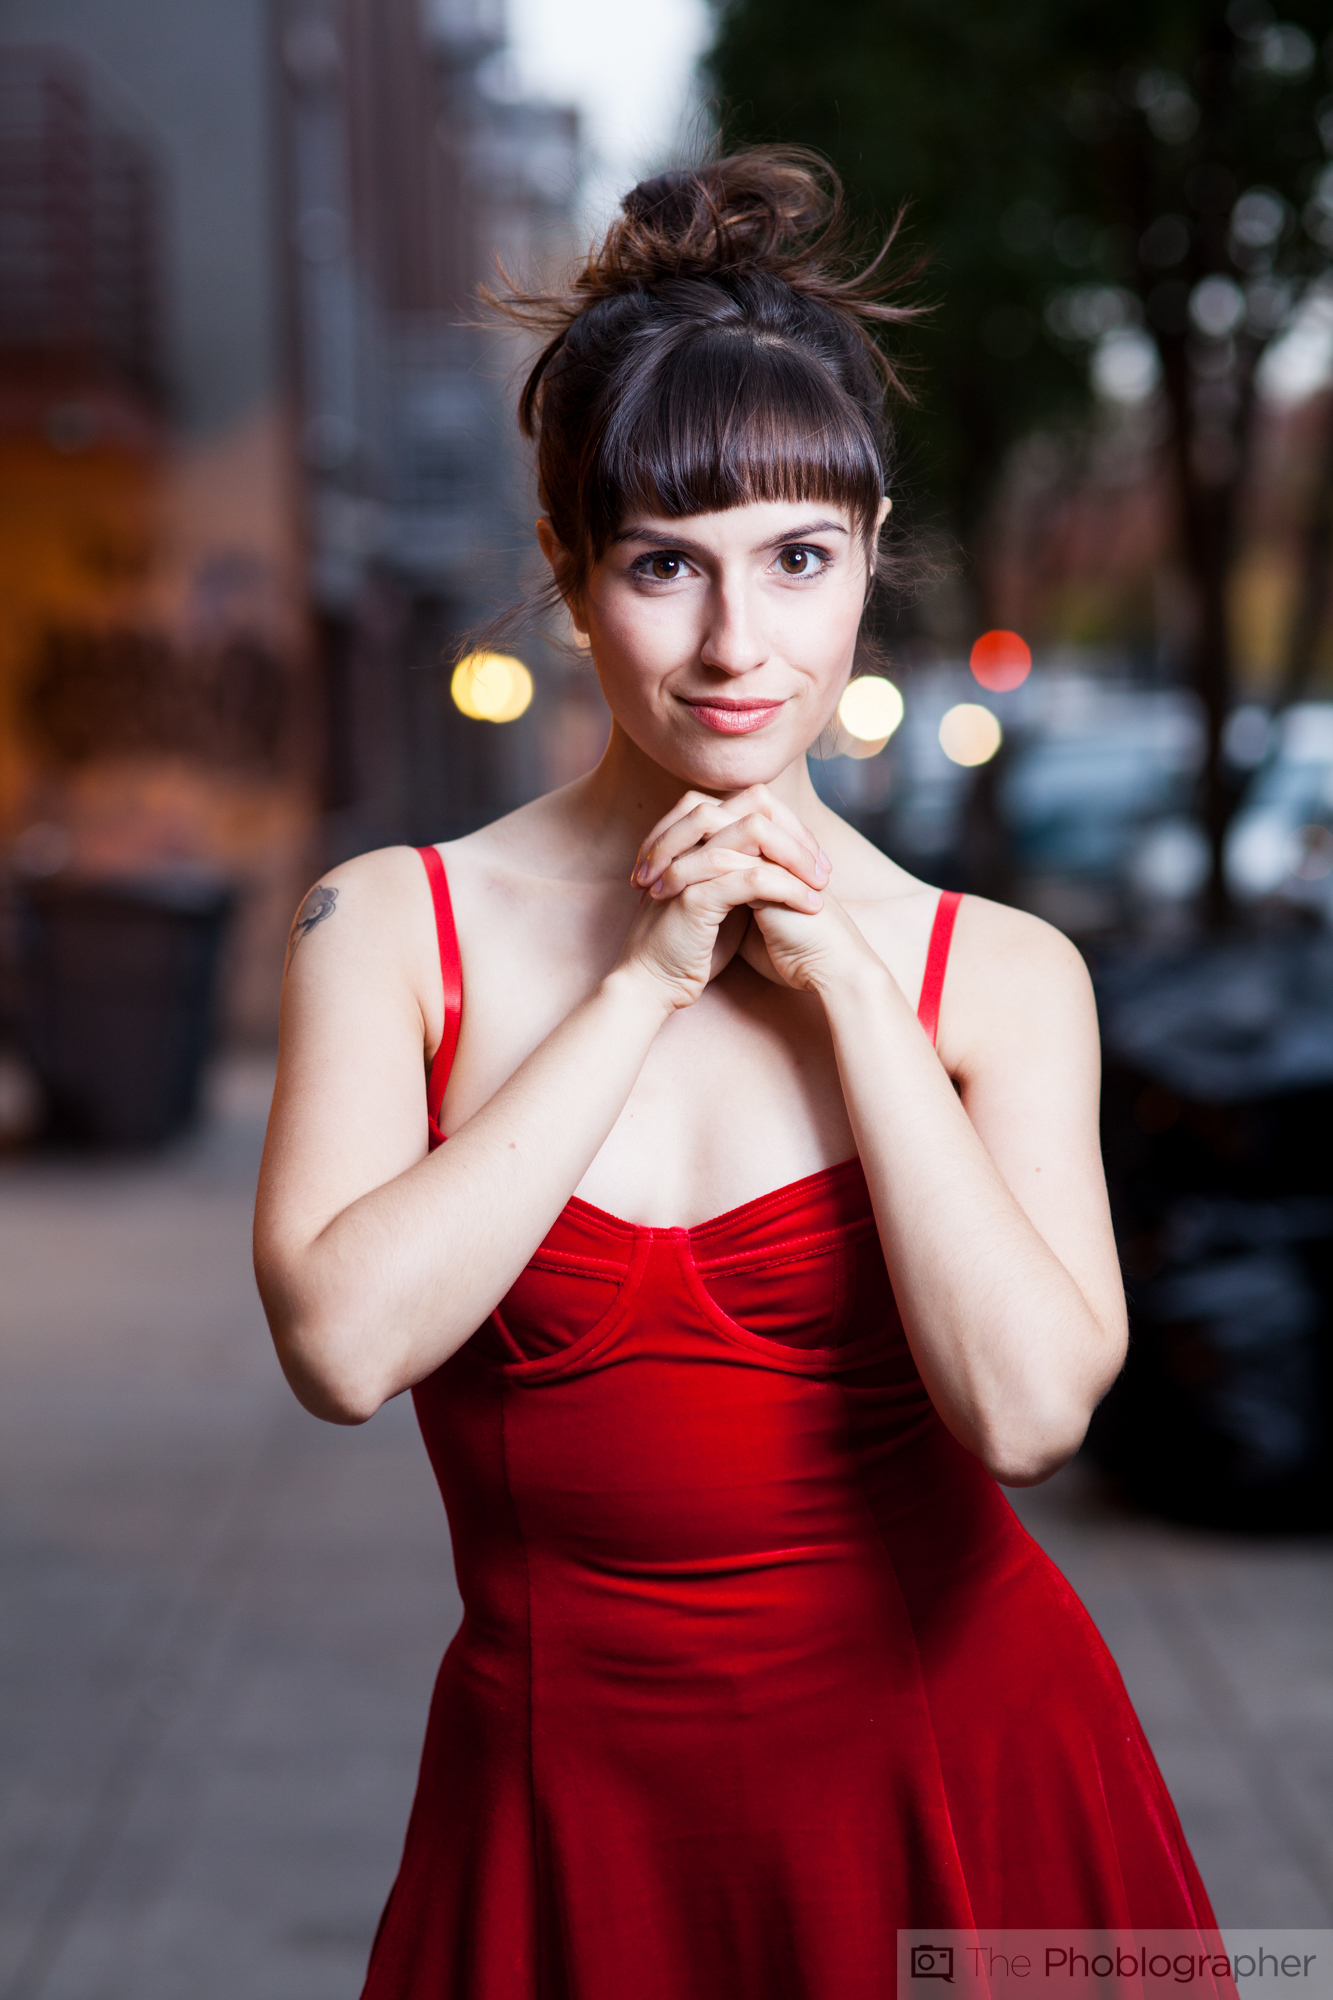
Getting those portraits with a blurry background (bokeh) is something that you can do with pretty much any lens to begin with; but when it comes to portraits you can make a subject pop from the background so much more by just using effective lighting in the way that has been presented in this tutorial. The image above was shot without a flash. To be fair, flash and ambient light can be blended together very well, but when a flash is added to a scene it can add extra pop to a subject.
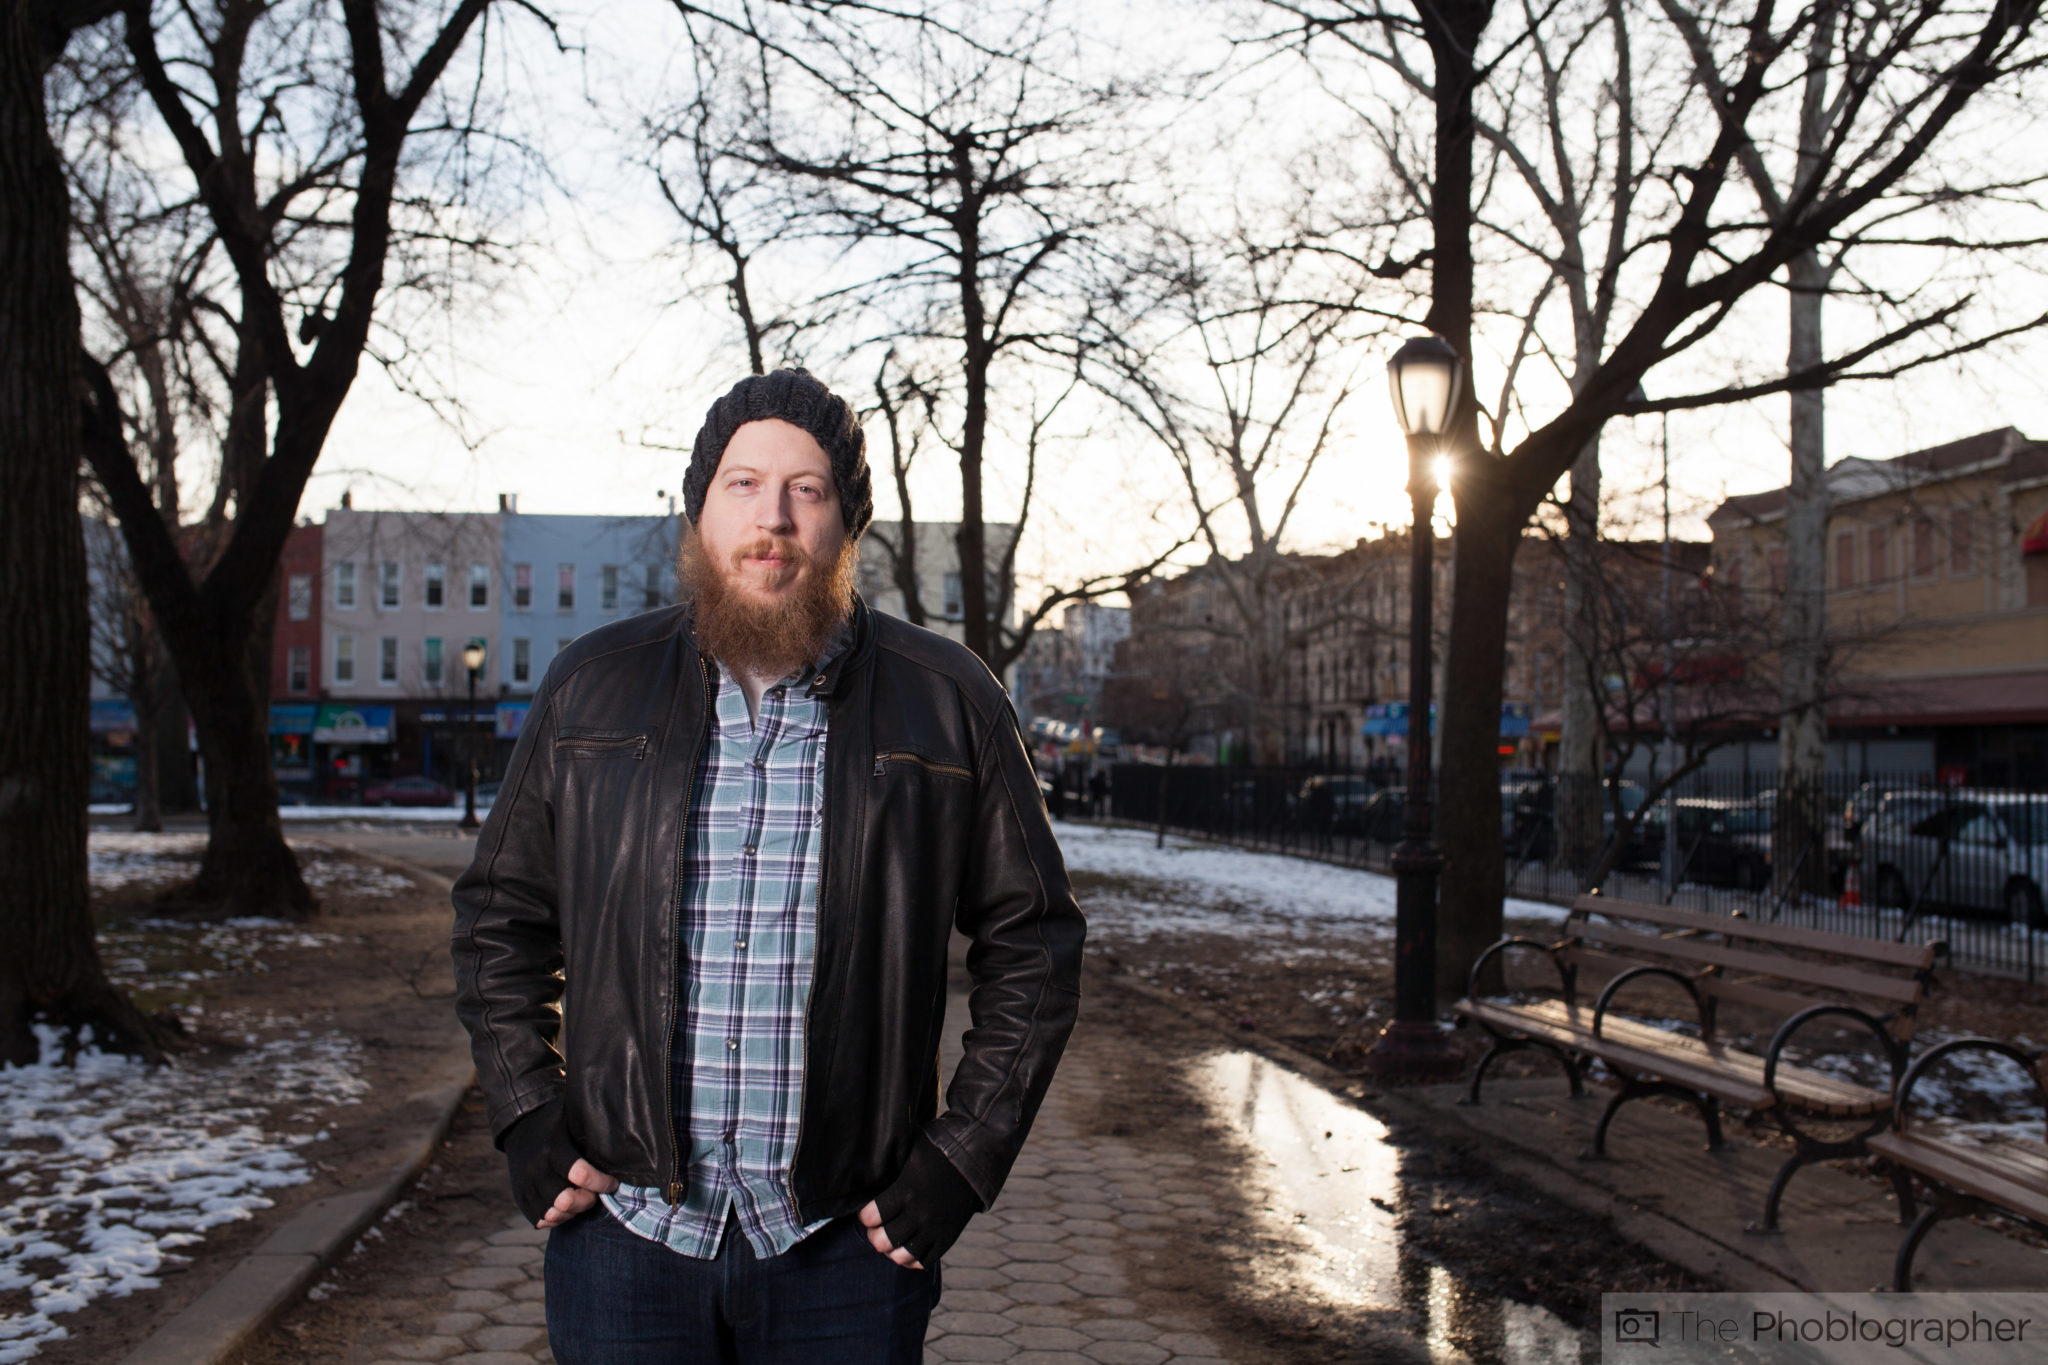
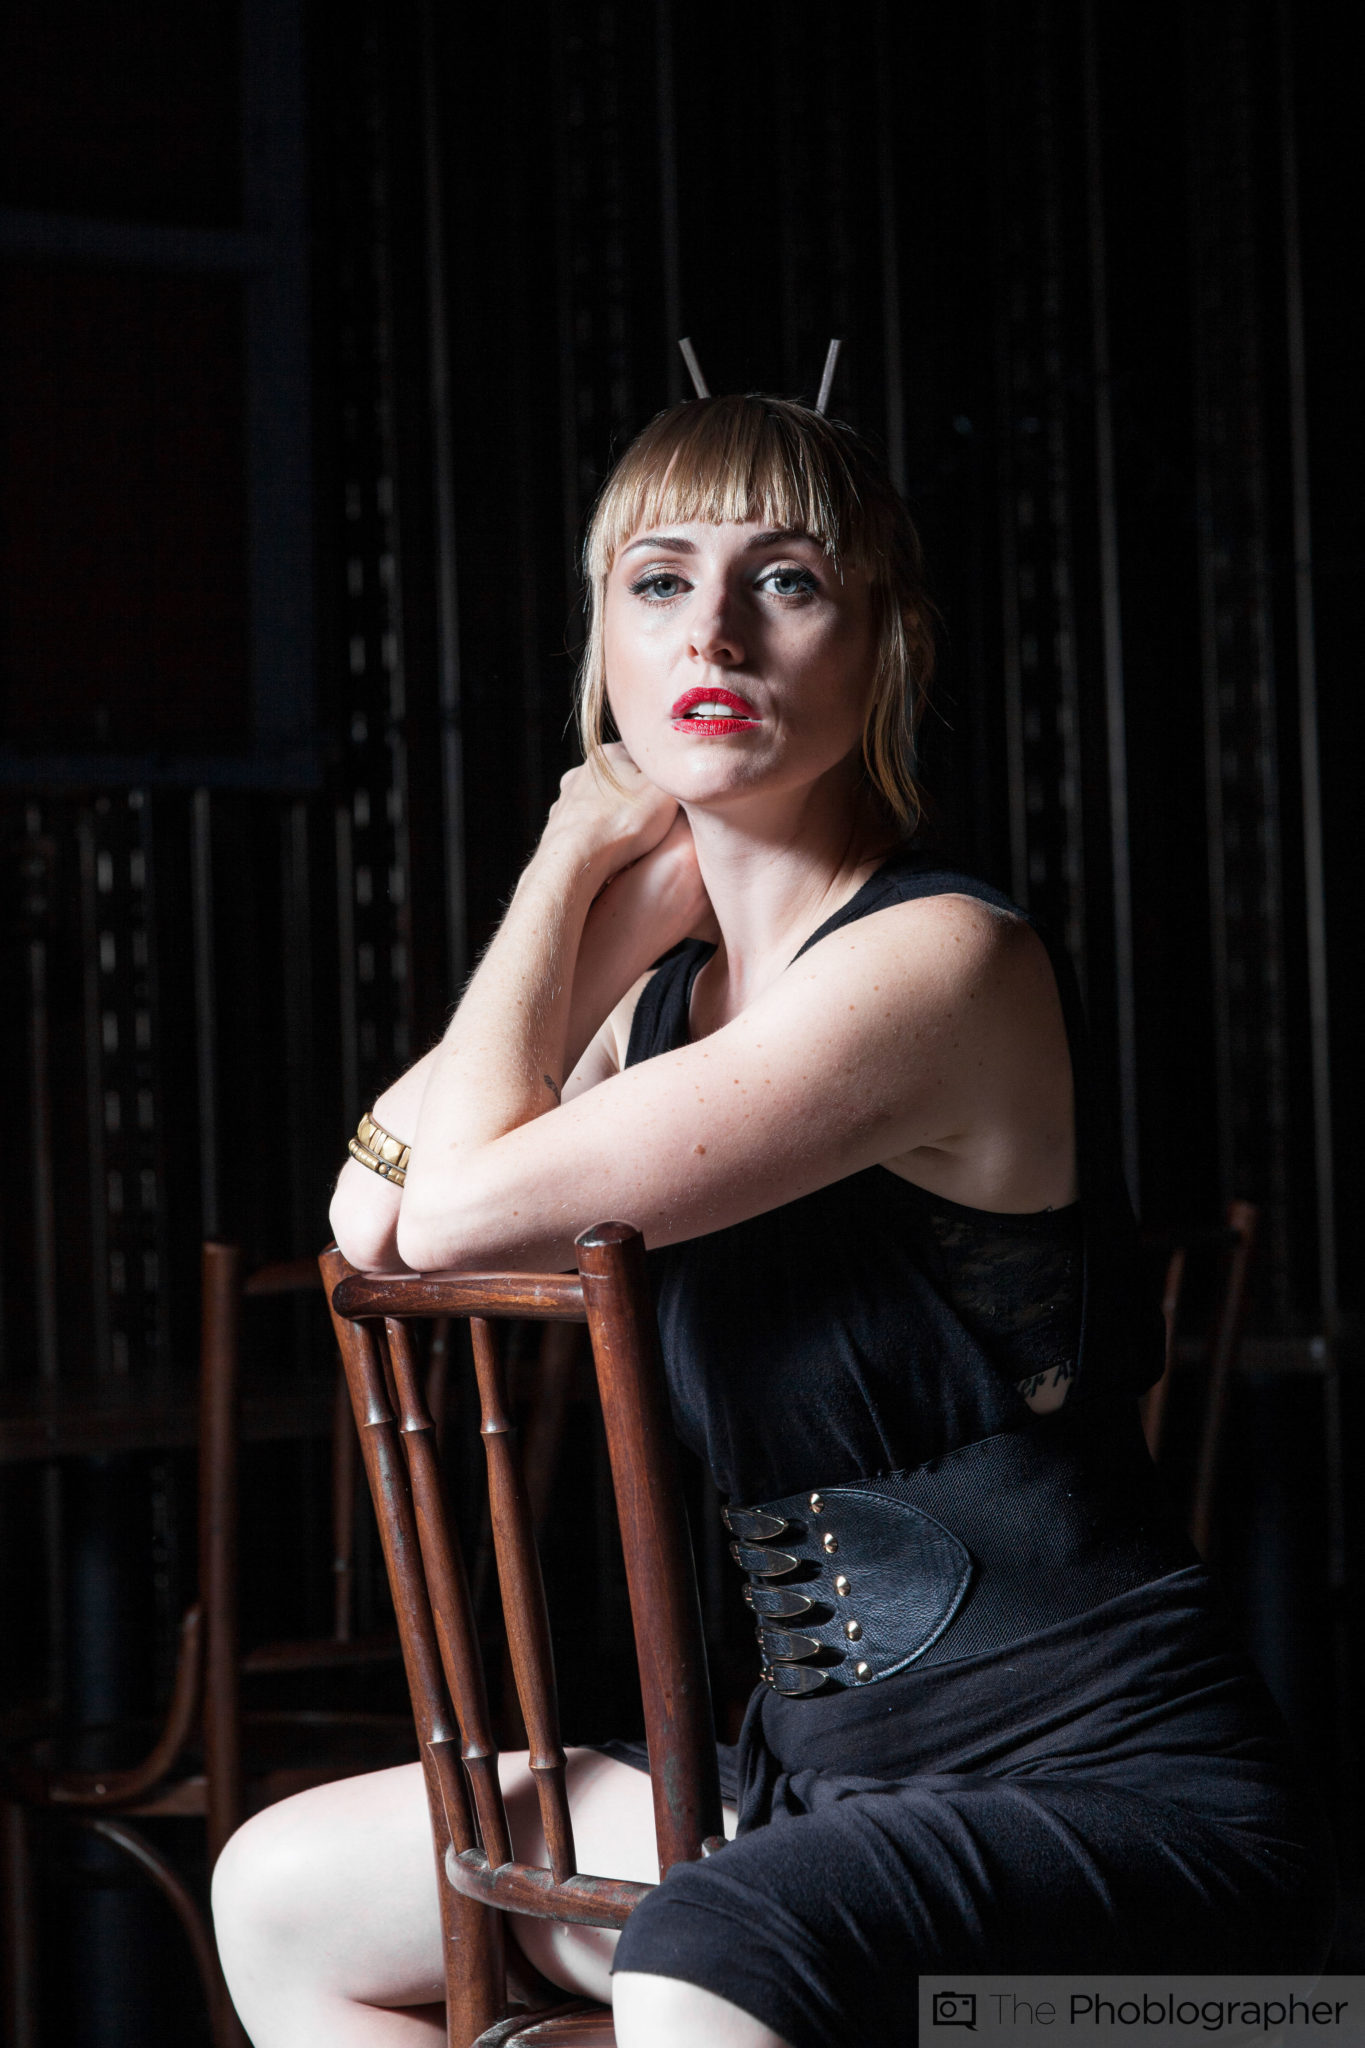
This image is an example of that. This image used flash in the scene. Not only by using depth of field am I making Stephen pop out more from the background, but also by adding in a single light. Go ahead, click on the image, you’ll see just how much more he pops out from the background despite the bokeh not being as deep as it was with the previous photo.
This was done with a single flash, and by combining that tool with effective depth of field, you can make your subject pop.
Get rid of the ads!
Did you enjoy reading this article as much as we enjoyed writing it? There's a way to support us and our reporting, getting ad-free navigation and more as a bonus. Subscribe to us for less than a coffee per month —just $3.99— or take advantage of our yearly subscription with a hefty discount for only $25.- An ad-free experience
- A free mystery box for Lightroom or Capture One
- All the books in our store
- 20% discount on Capture One
- 30% discount on Imalume Photo Theft Protection
- 20% off Herbs and Kettle Tea Company.
- 20% off your order from MPIX printing services.
- 5% off Viltrox Products via their eCommerce store.
- 10% off all film developing, printing and scanning services from Blue Moon Camera and Machine
- 15% off 7Artisans products: The lens and accessory maker is offering a sweet discount for Phoblographer's readers.