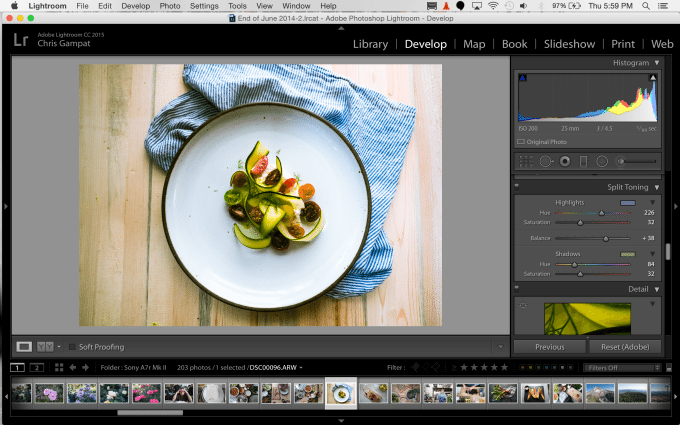
If you’re a reader of this site, we’re very positive that you’re using Adobe Lightroom to edit your images. Overall, it’s an industry standard–and we teach you new things about it all the time that you probably don’t utilize.
For example, consider this: did you know that there are two ways to edit the highlights and shadows? As many of you know, the basic adjustments panel offers this–and beyond that many photographers don’t care to make other edits. But there is also an area below this in the Tone Curve section.
Again, we put high emphasis on many! However as we’ve shown before, there are better ways to work with saturation and brightness of specific parts of the images through the color channels.
So then why would Adobe add two different ways to edit highlights and shadows?
This response came from Eric Chan, Adobe Principle Scientist working on Adobe Camera Raw and Lightroom.
“In the Basic panel, Highlights and Shadows serve as the primary tone mapping controls. They are sensitive to image content and edges within the image. They are effective at adjusting overall (global) contrast, while preserving local contrast. They are useful for tone mapping high dynamic range (HDR) images. They automatically expand their effective range when applied to high-contrast images (like HDR images), and automatically reduce their range when applied to low-contrast (e.g., foggy) images. The underlying mechanism behind Highlights and Shadows is generally known as “local adaptation,” which means that the controls do different things in different parts of the image. It’s as if each pixel has its own tone curve. In short, the Highlights and Shadows controls in the Basic panel are very “dynamic” in nature.
In the Tone Curve panel, Highlights and Shadows are much more straightforward or “direct” controls. They simply adjust a portion of the overall global tone curve. Unlike the controls of the same name in the Basic panel, the ones in the Tone Curve panel act globally, and do the same thing at every pixel. Their range is always fixed. They do not adapt automatically to image content in any particular way.
For these reasons, I recommend using Highlights and Shadows first in the Basic panel for primary adjustment, and then (optionally) using Highlights and Shadows in the Tone Curve for fine-tuning (later in the workflow). Put another way, we have the more adaptive, dynamic, “smarter” controls in the Basic panel, and the more low-level, direct, “standard” controls in the Tone Curve panel.”
So basically, lots of photographers have a great reason to spend most of the time in the basic adjustments. But sometimes that just doesn’t cut it and so fine tune adjustments need to be made. But then the question is why do you do said fine tune adjustments?
To be honest, that’s a very subjective question. It all literally depends on what your personal preferences are in each and every situation. We imagine that if you’re very underexposed and want more details from the shadows that you’d boost the overall exposure just enough and then push the shadows in the basic adjustments panel then add a bit more fine tuning.
Unfortunately, the same thing doesn’t always work out with highlights because many modern cameras can’t render as much information from the highlights as it can the shadows.


