“Shoot in RAW! It’s what the pros do. It’s what you have to do to create better photos.”
Yes, in some ways this is true, and in some ways it’s not very smart to limit your own capabilities when it comes to creating images. But if you’re a photographer that shoots in RAW and only tries to edit the images to look like the JPEGs, then you’re pretty much just wasting your time.
RAW files are capable of doing so much more, and in some ways this situation is like purchasing a Canon 1D X when what you need is a Rebel.
Bring your images into Adobe Lightroom and then consider the types of editing and work that you do to your images. The majority of people don’t go beyond the basic adjustments panel unless they’re doing lens corrections. Chances are that many photographers (especially those with less experience) are just doing some of the most basic edits. This includes raising the exposure, bumping up the saturation, or adding a bit of contrast. When these images are exported, they typically look a lot like the JPEGs that they’re creating.
Let’s make this a bit more specific: Fujifilm cameras have a Velvia color profile that is designed to mimic the look of that film. Many people shoot with it because they like the colors and when they edit the RAWs, they bring them into Lightroom and try to make them look exactly like what they see on the back of the screen. If you really wanted to do this, you could simply head to the bottom of the editing panel and apply the camera profile.
But if that’s all you’re doing, then what’s the point of shooting in RAW?
RAW photos allow you much more versatility and today, creating a better photo is significantly cheaper and easier to do than it was in the darkroom. In darkrooms, you need chemicals–and those run out after a while. But in digital, you’ve got more options. And if you’re shooting in RAW, you really should be putting more time and effort into each image that you’ve culled out of the import that you’ve shot. These images are obviously important to you and there is much more that someone can do to the files than a bit of the basic adjustments. For example, there are all the color channels that can be manipulated.
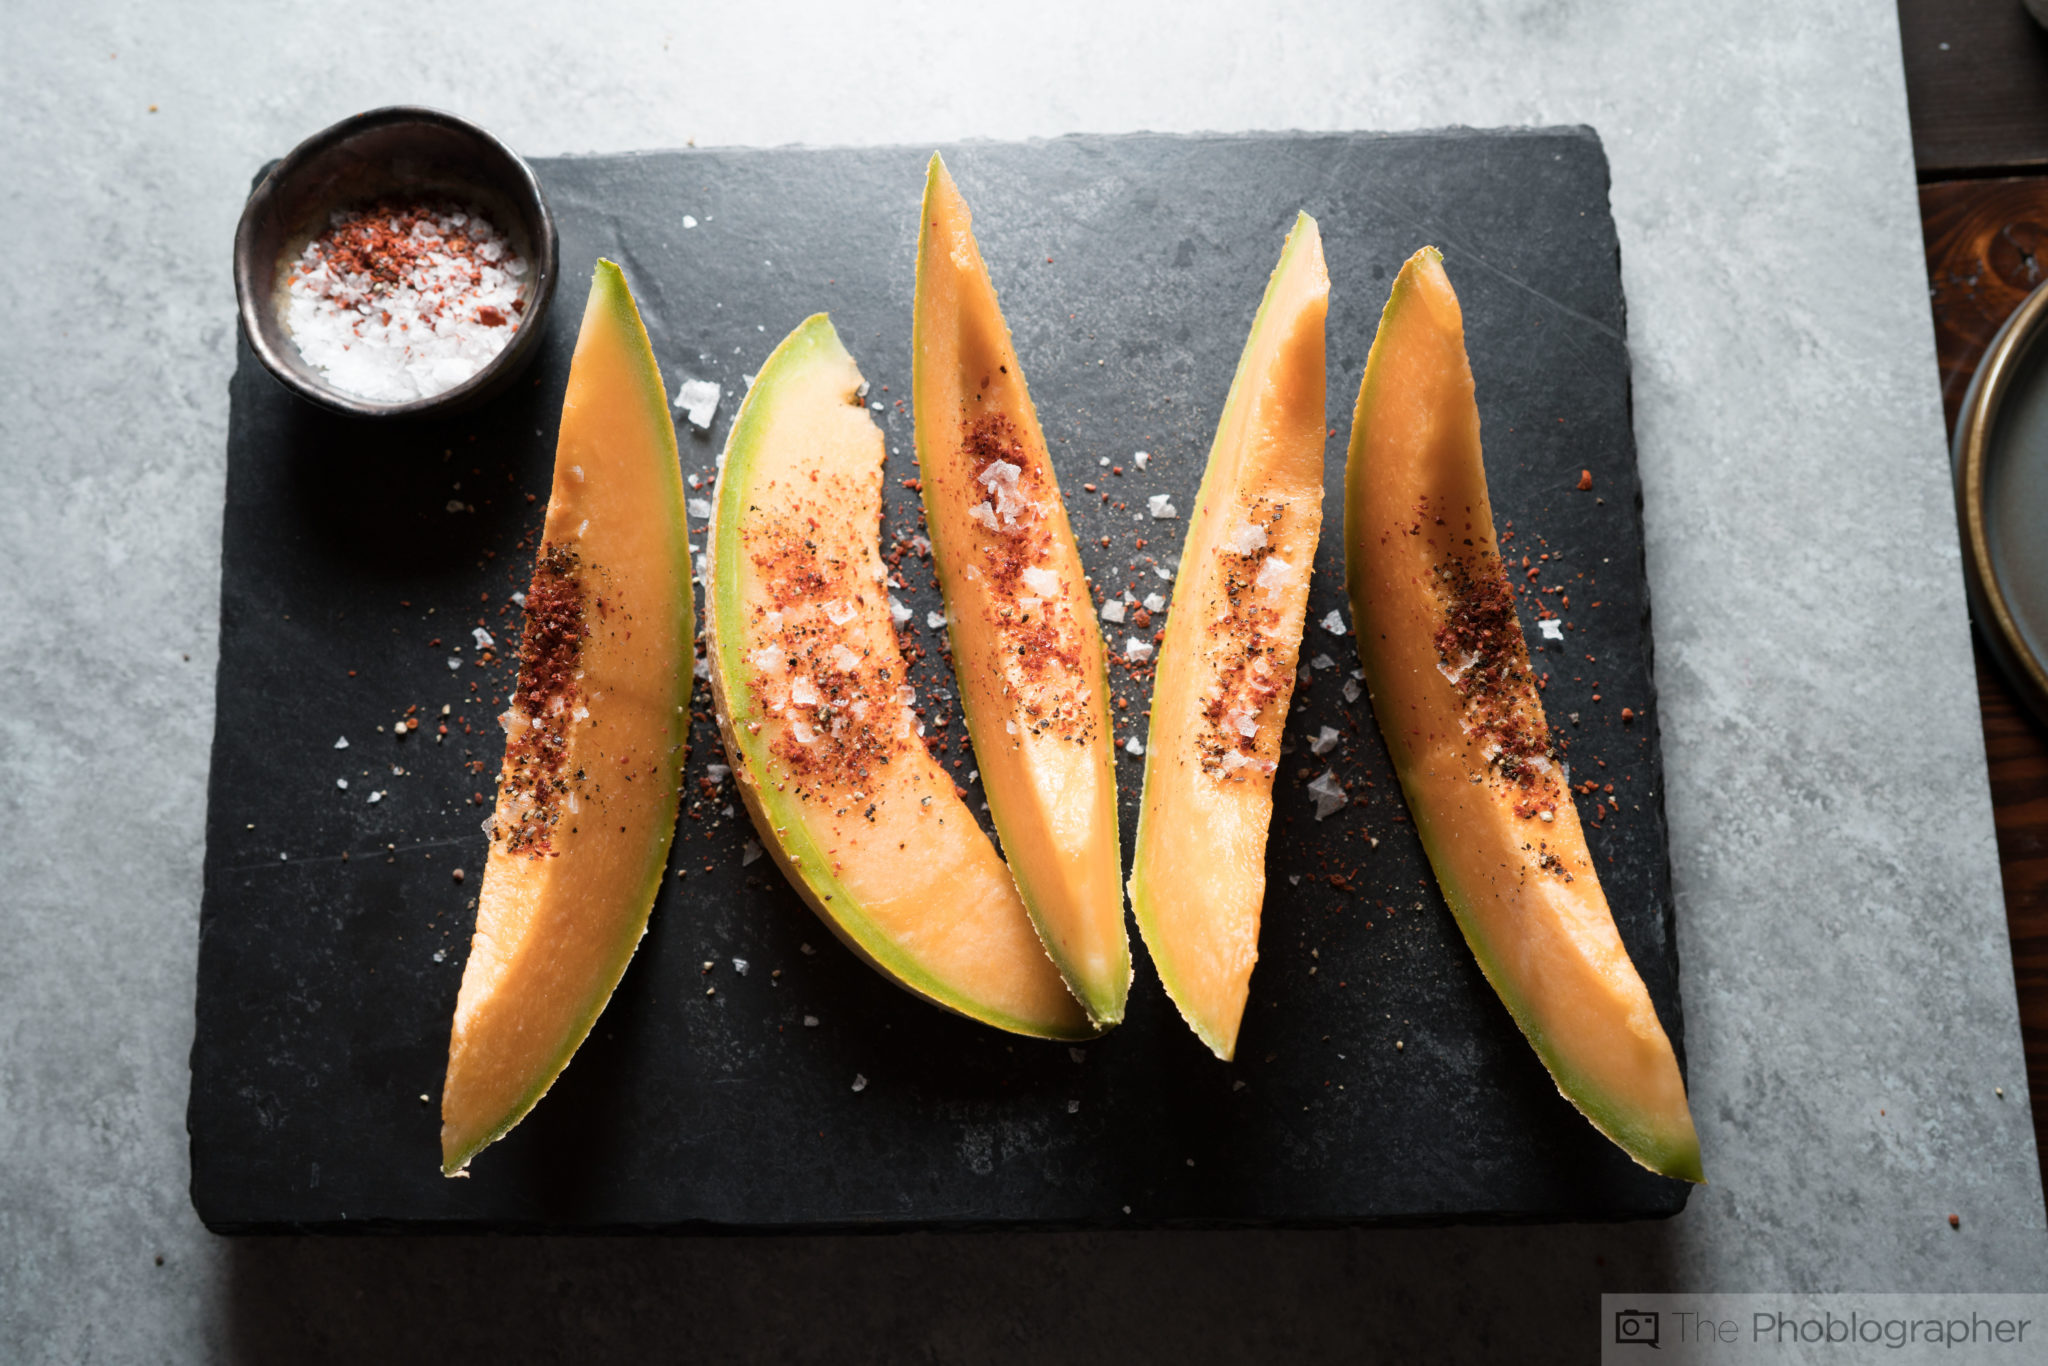
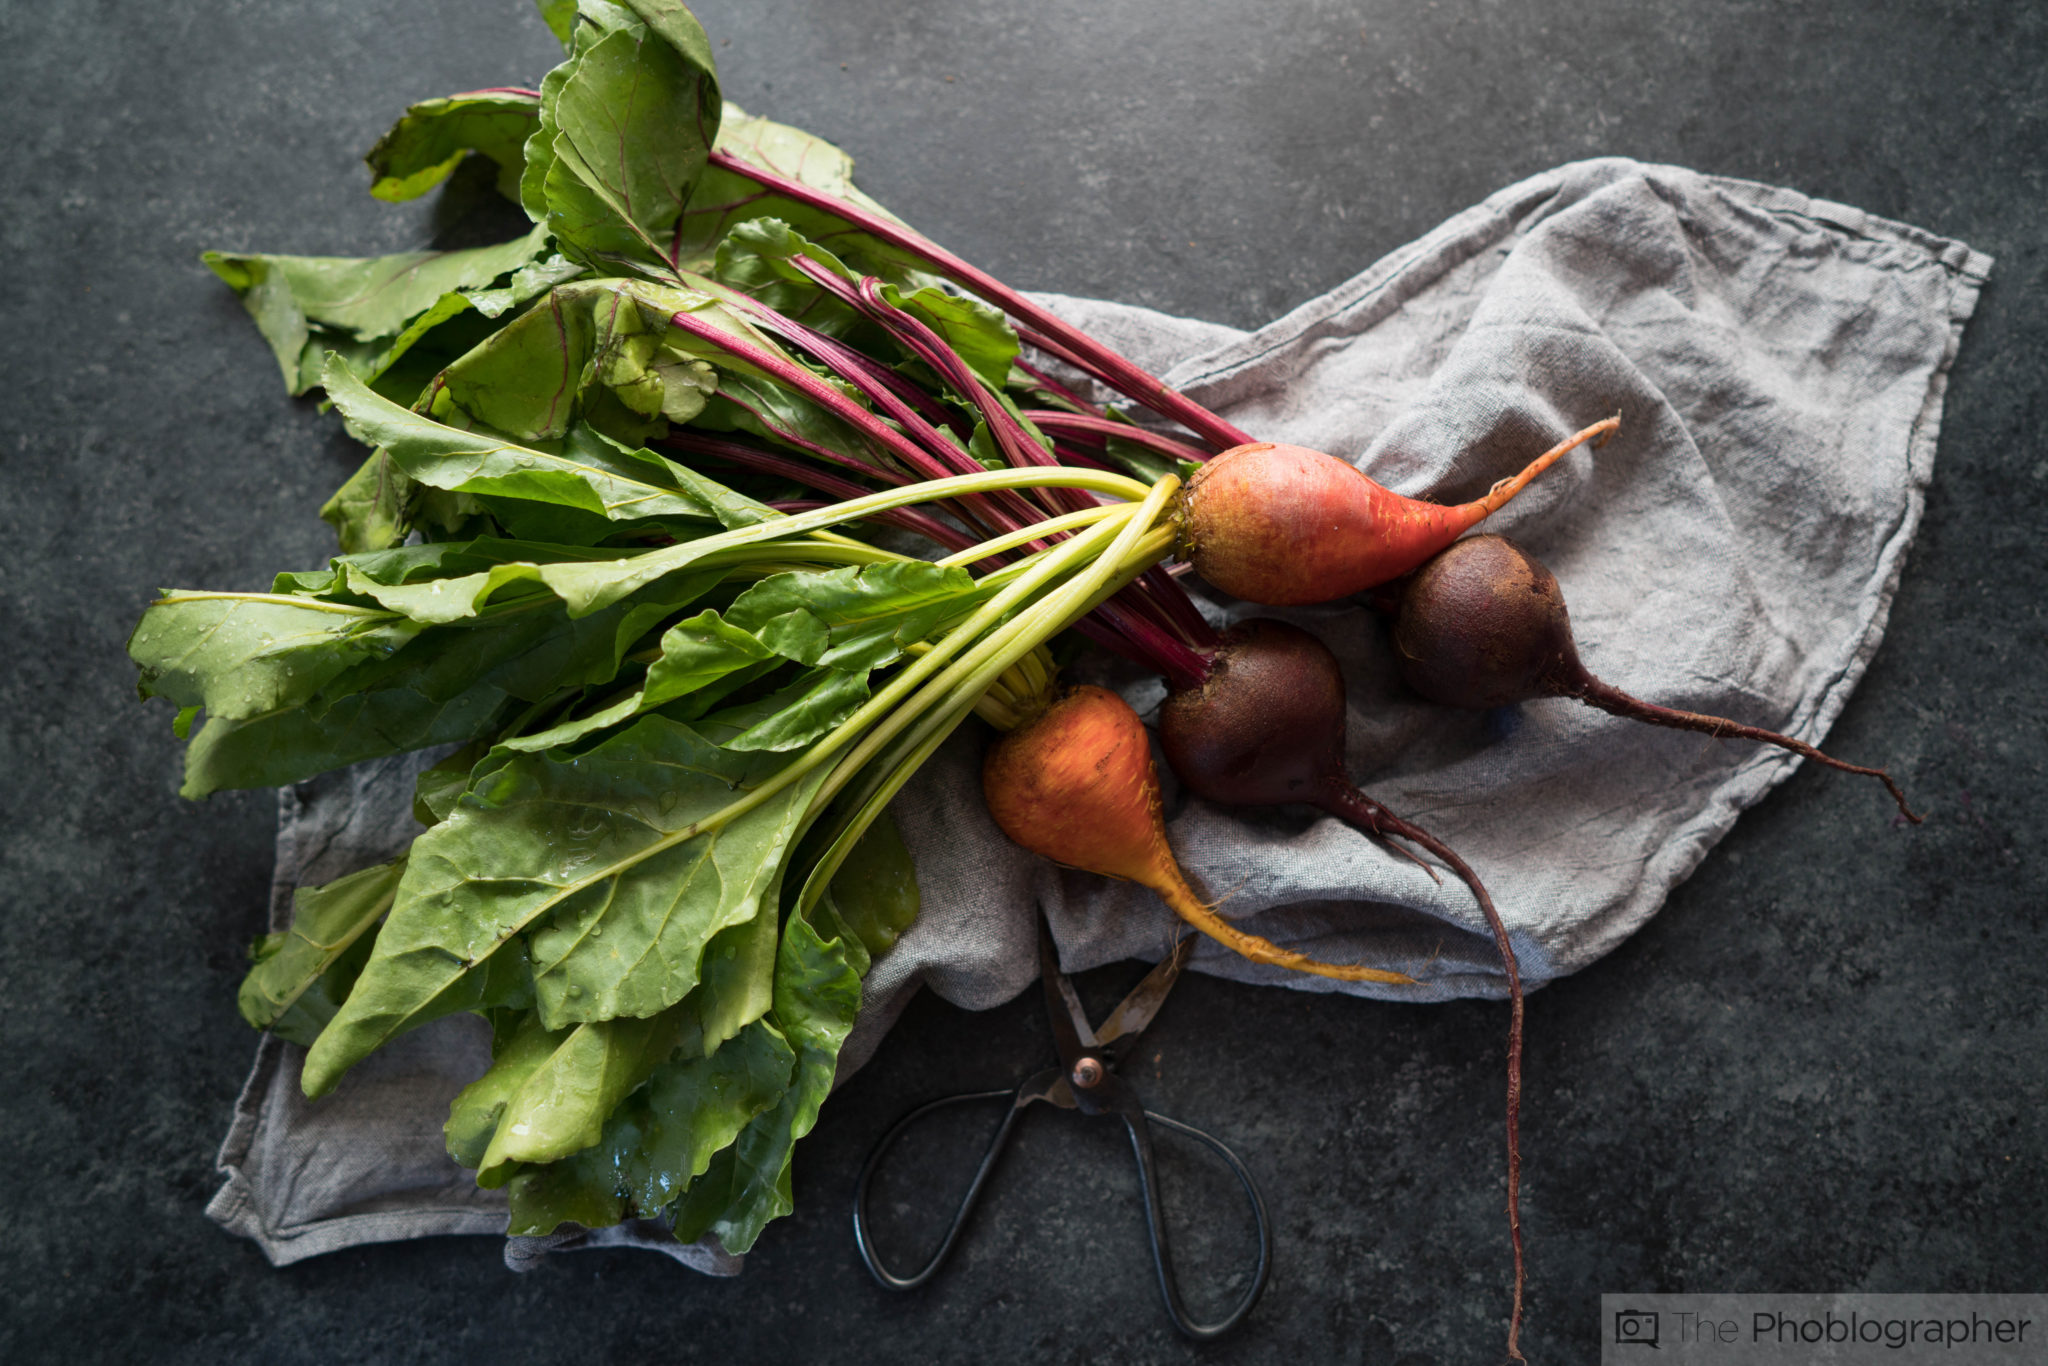
To be more specific, if you’re photographing images of food, then you can tweak the color channels to make the colors in the food and overall scene look so much more appetizing and appealing to people.
This isn’t a rant more so than it is a strong recommendation–but if you really think about it then shooting a RAW and making it look just like the JPEG is a waste of time when you can just shoot a JPEG. If you’re shooting a RAW, then you give yourself so much more potential.
It just makes sense.
Get rid of the ads!
Did you enjoy reading this article as much as we enjoyed writing it? There's a way to support us and our reporting, getting ad-free navigation and more as a bonus. Subscribe to us for less than a coffee per month —just $3.99— or take advantage of our yearly subscription with a hefty discount for only $25.- An ad-free experience
- A free mystery box for Lightroom or Capture One
- All the books in our store
- 20% discount on Capture One
- 30% discount on Imalume Photo Theft Protection
- 20% off Herbs and Kettle Tea Company.
- 20% off your order from MPIX printing services.
- 5% off Viltrox Products via their eCommerce store.
- 10% off all film developing, printing and scanning services from Blue Moon Camera and Machine
- 15% off 7Artisans products: The lens and accessory maker is offering a sweet discount for Phoblographer's readers.